Home>Articles>How To Remove Bathroom Faucet Handle Without Screws

Articles
How To Remove Bathroom Faucet Handle Without Screws
Modified: May 6, 2024
Learn the best technique to remove a bathroom faucet handle without screws with this comprehensive article. Ensure a smooth and hassle-free process with our step-by-step guide.
(Many of the links in this article redirect to a specific reviewed product. Your purchase of these products through affiliate links helps to generate commission for Storables.com, at no extra cost. Learn more)
Introduction
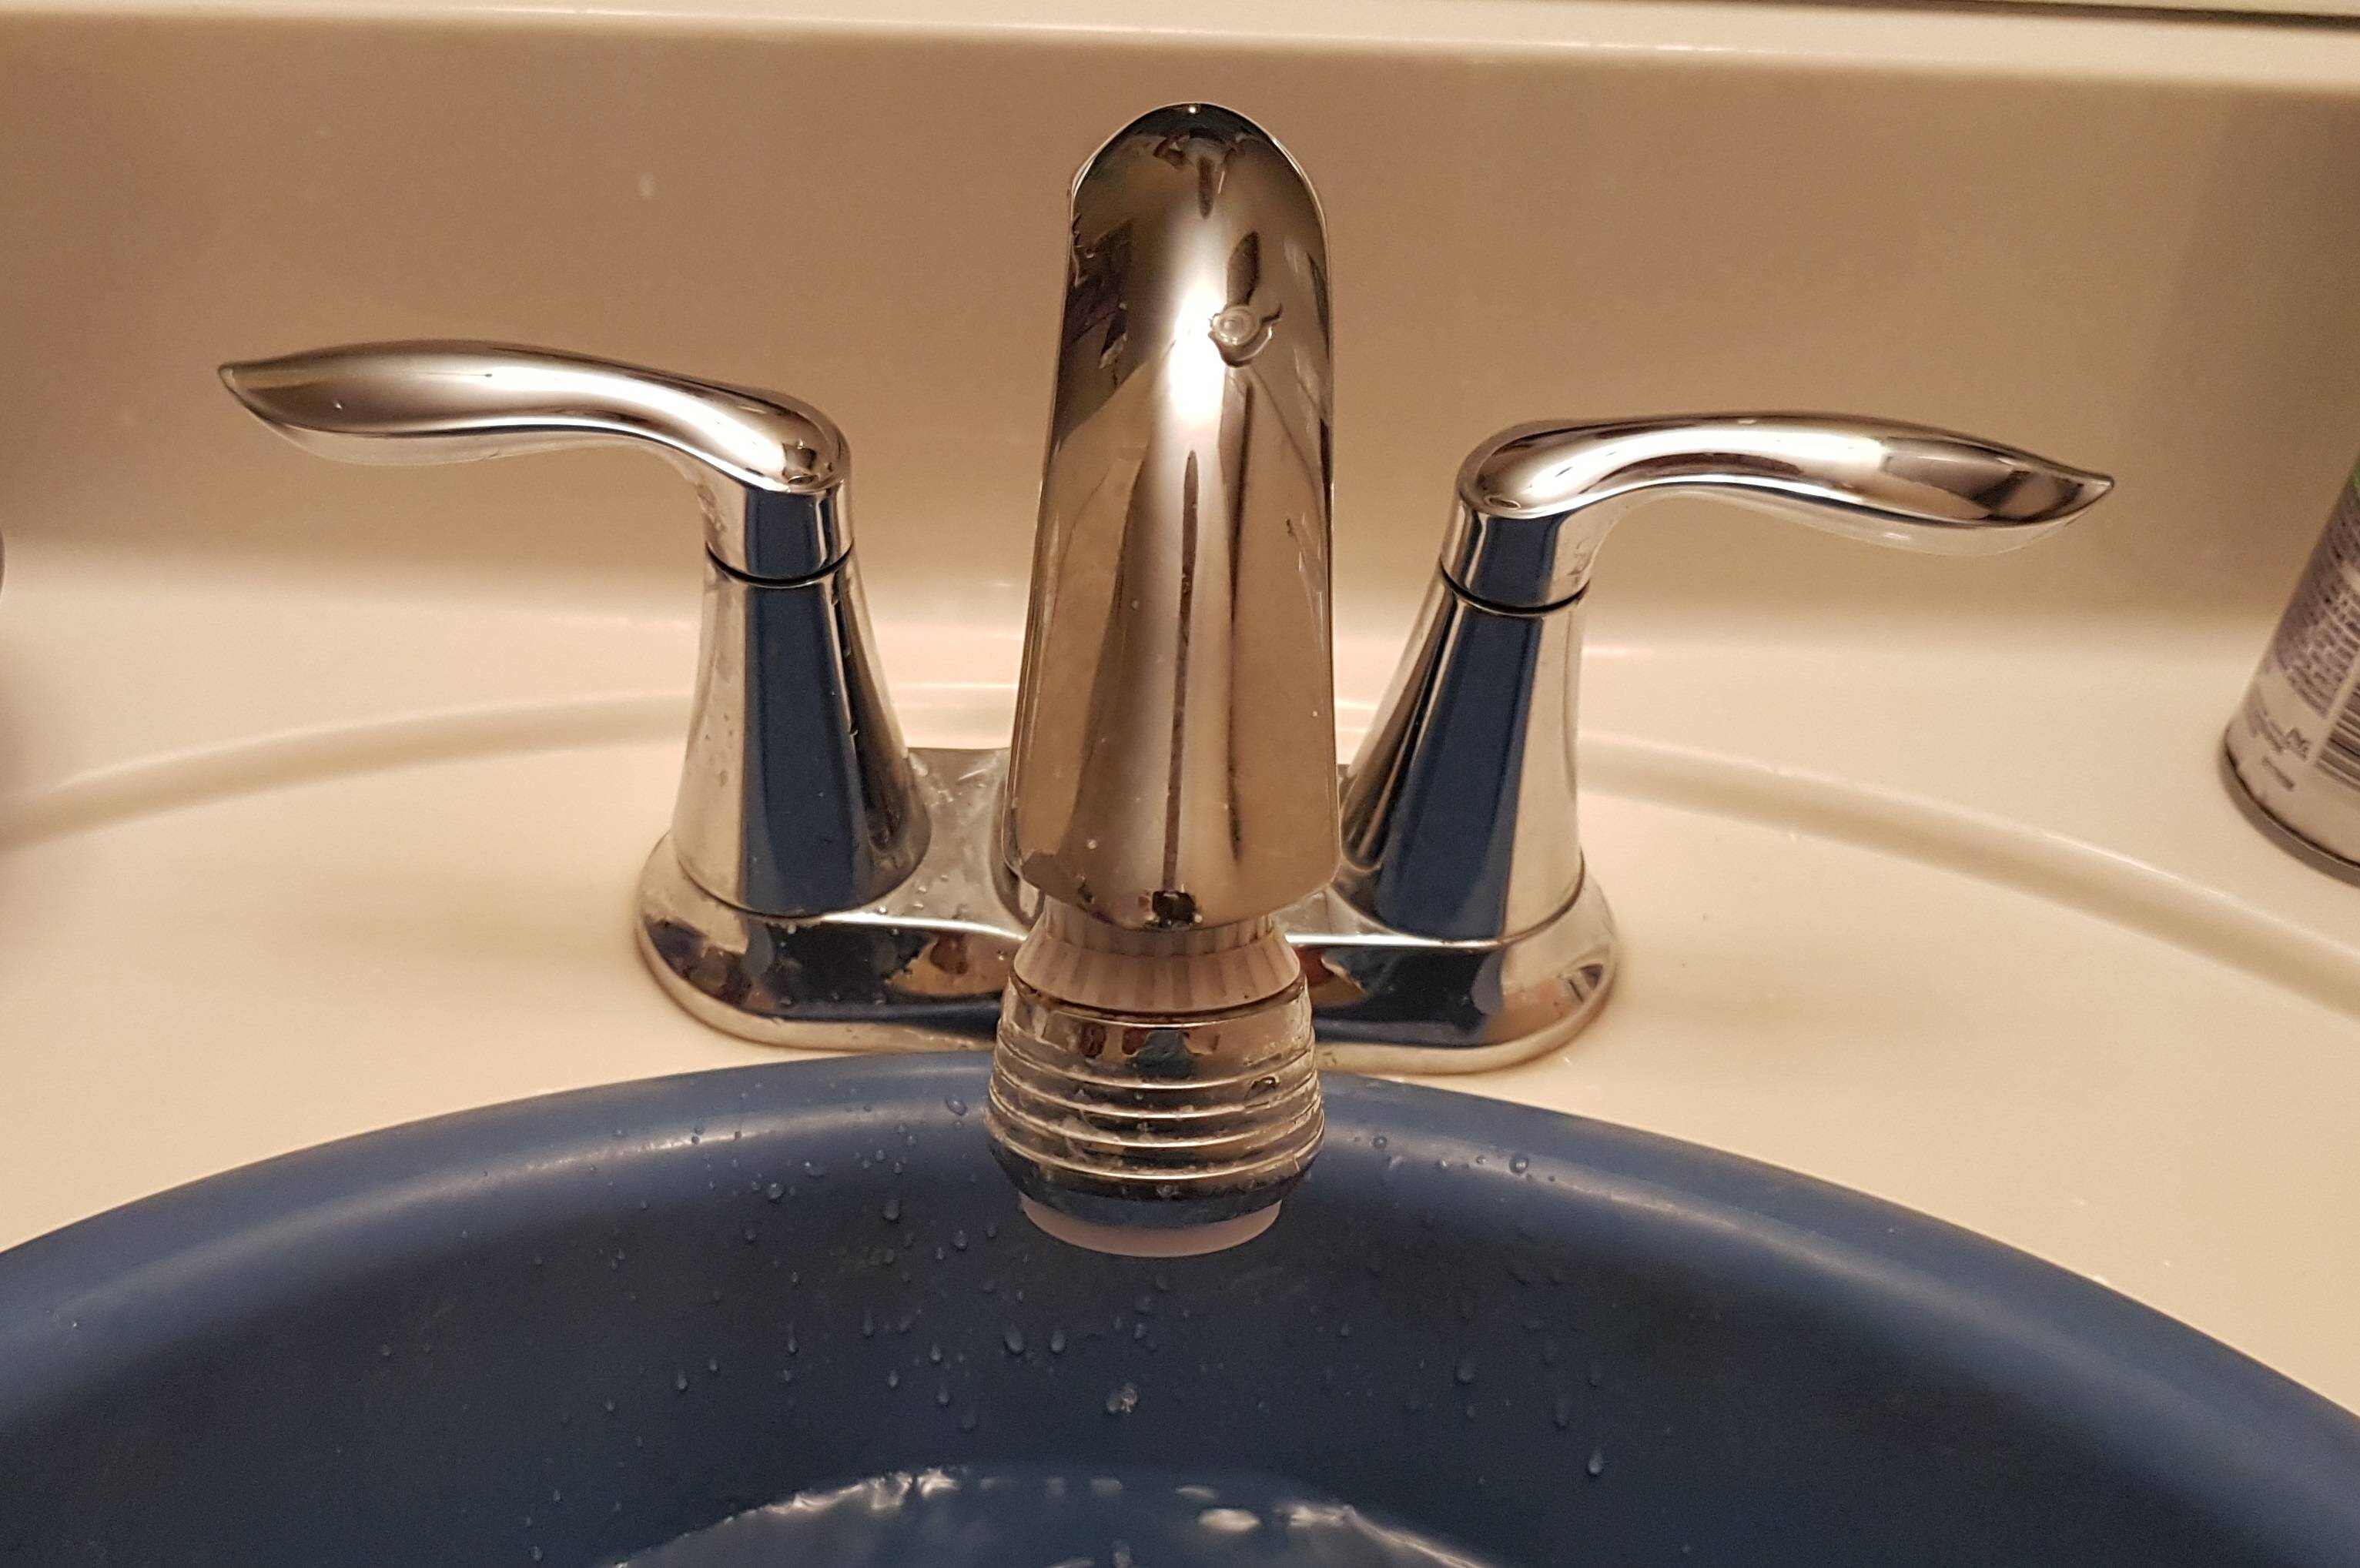
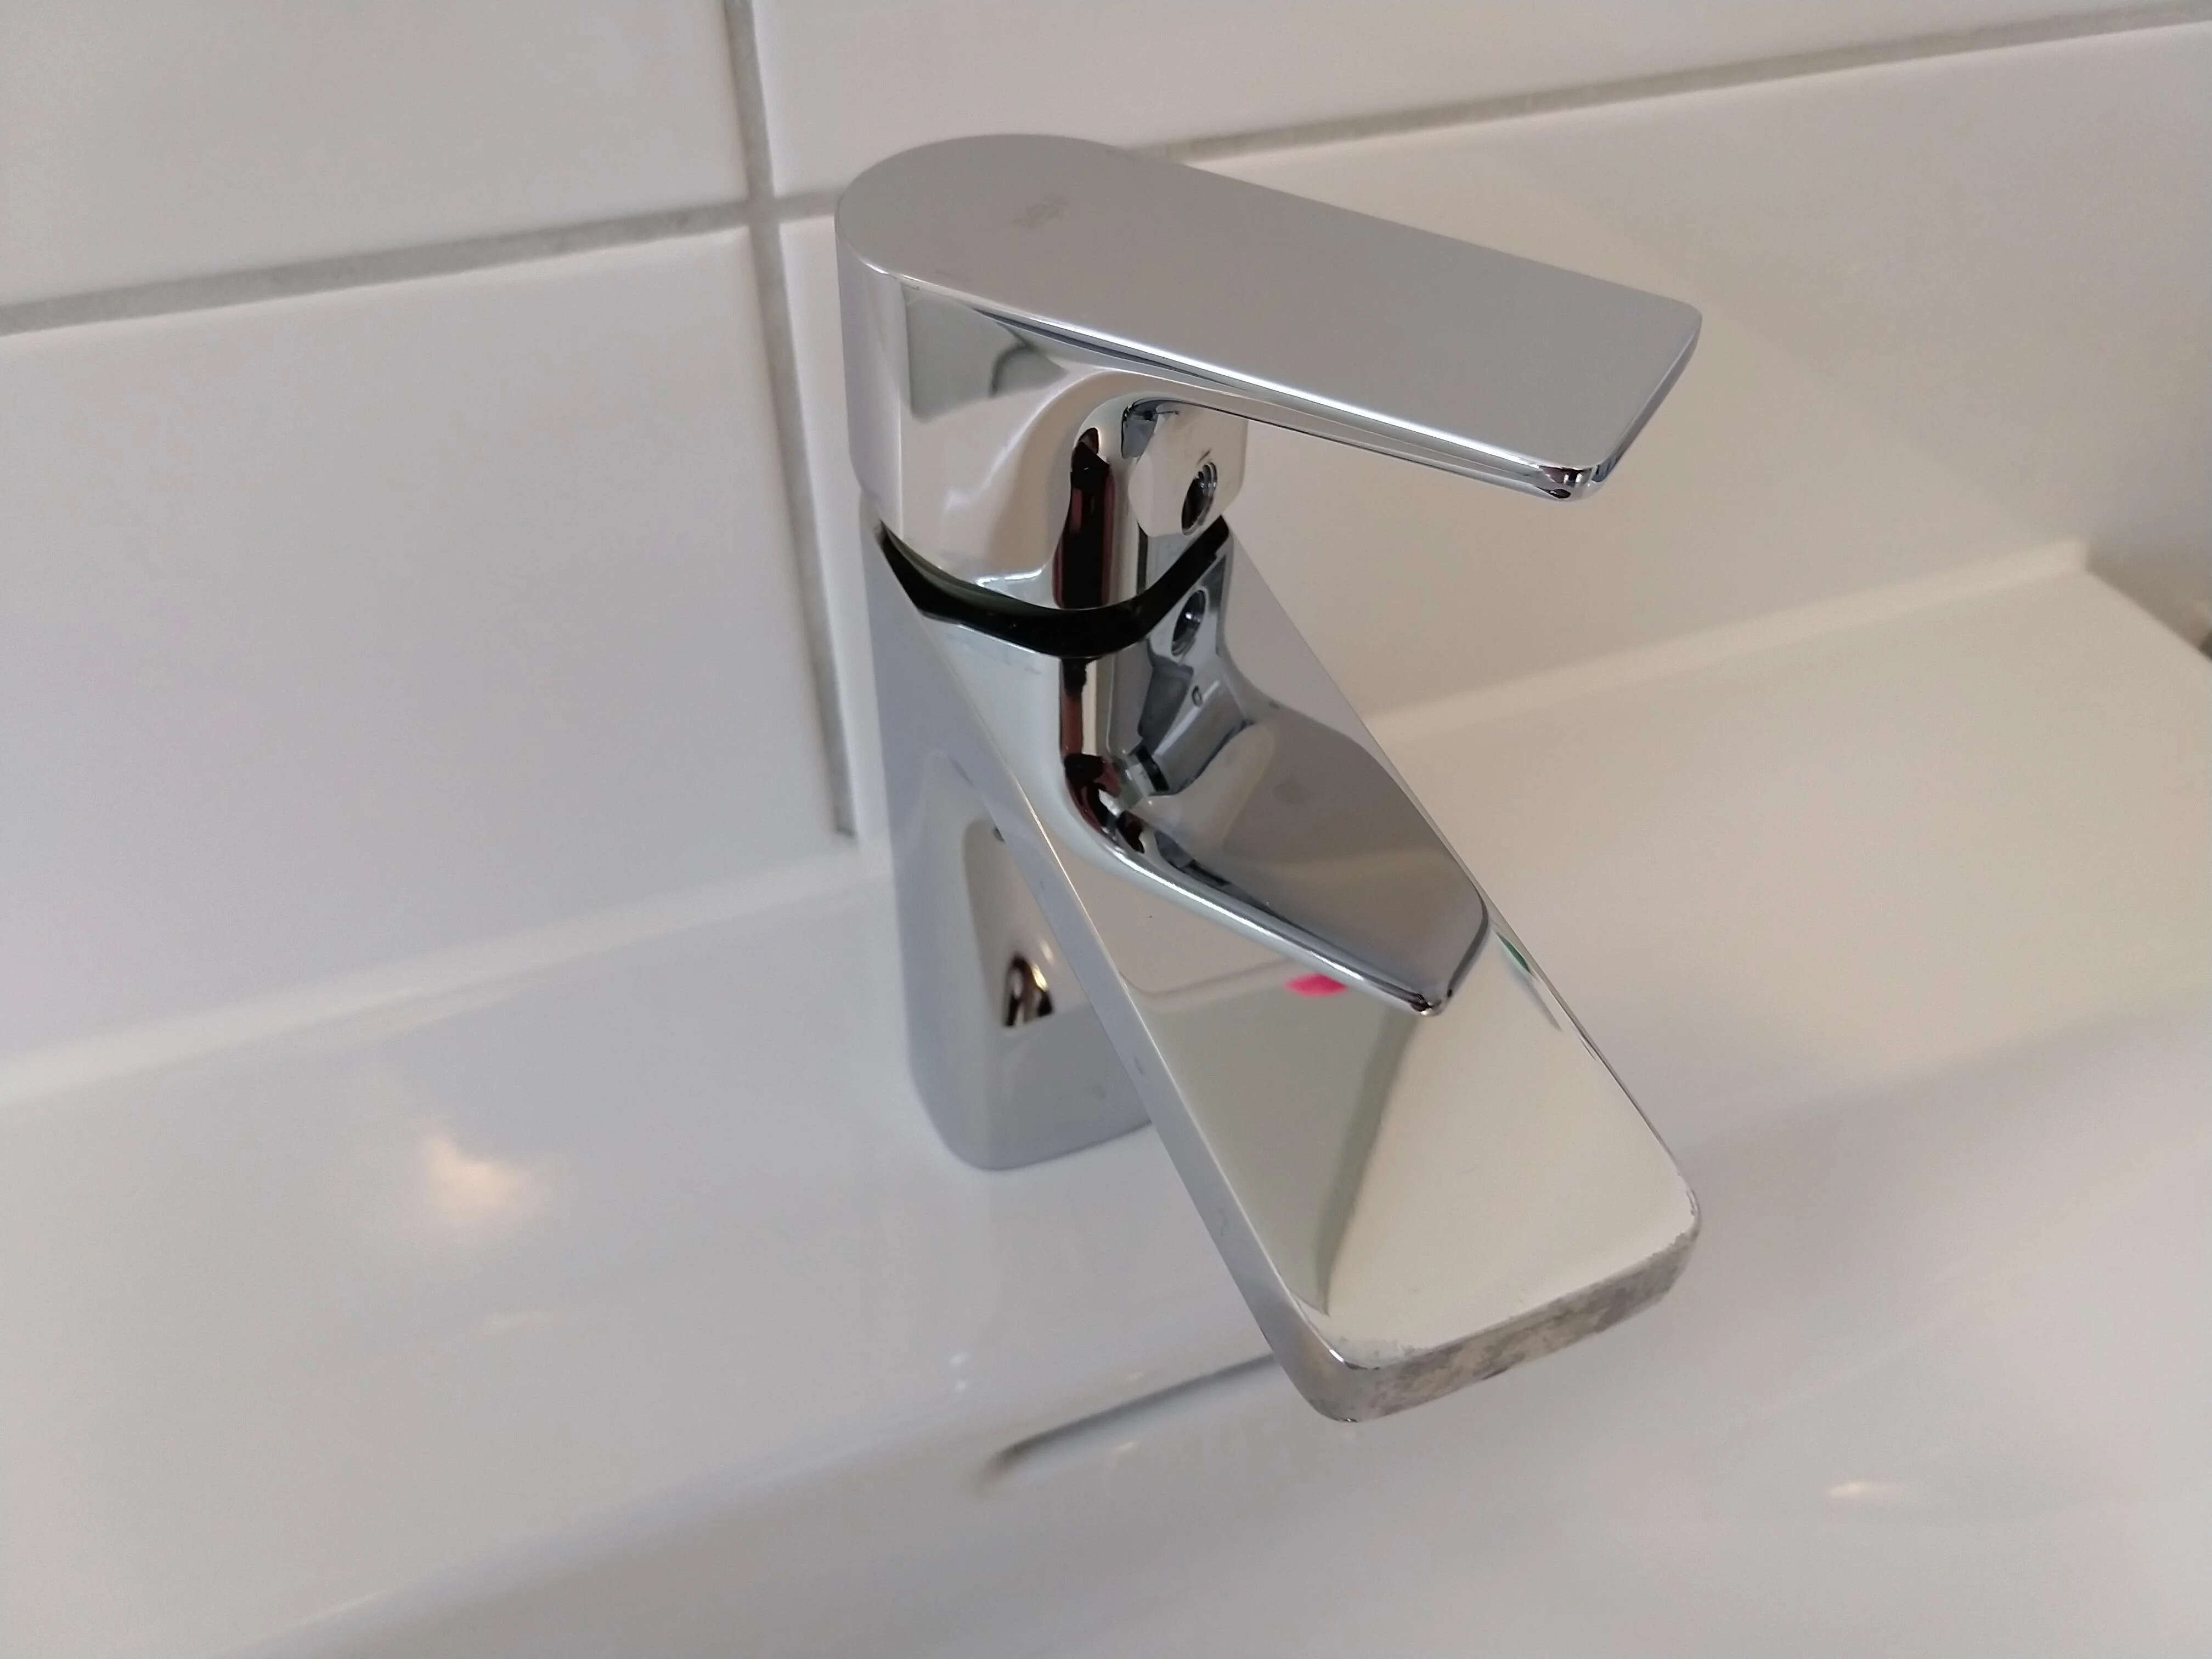
Have you ever encountered a stubborn bathroom faucet handle that seems impossible to remove? Maybe you need to replace a worn-out handle or fix a leaky faucet, but you can’t figure out how to remove the handle without any visible screws.
Don’t fret! In this article, we will guide you through several methods to successfully remove a bathroom faucet handle without screws. Whether you’re a DIY enthusiast or just looking to save some money on plumbing repairs, these techniques will come in handy.
We understand the frustration you might feel when faced with a seemingly uncooperative faucet handle. But fear not, as we’re about to share some effective tricks that will make the task easier for you. So, let’s dive into the different methods you can use to remove a bathroom faucet handle!
Key Takeaways:
- Easily remove a stubborn bathroom faucet handle without visible screws using methods such as prying, twisting, and utilizing heat and cold. These DIY techniques can save you time and money on plumbing repairs.
- A faucet handle puller can provide the necessary leverage to release stubborn handles without causing damage, making it a valuable tool for challenging removal situations. Always proceed with caution and patience when attempting to remove a bathroom faucet handle.
Read more: How To Remove A Two-Handle Bathroom Faucet
Method 1: Pry off the handle
If you have a bathroom faucet handle that doesn’t have visible screws, one of the first methods you can try is prying off the handle. This method is applicable when the handle is attached to the faucet using hidden clips or adhesive.
Here’s how you can remove the handle by prying it off:
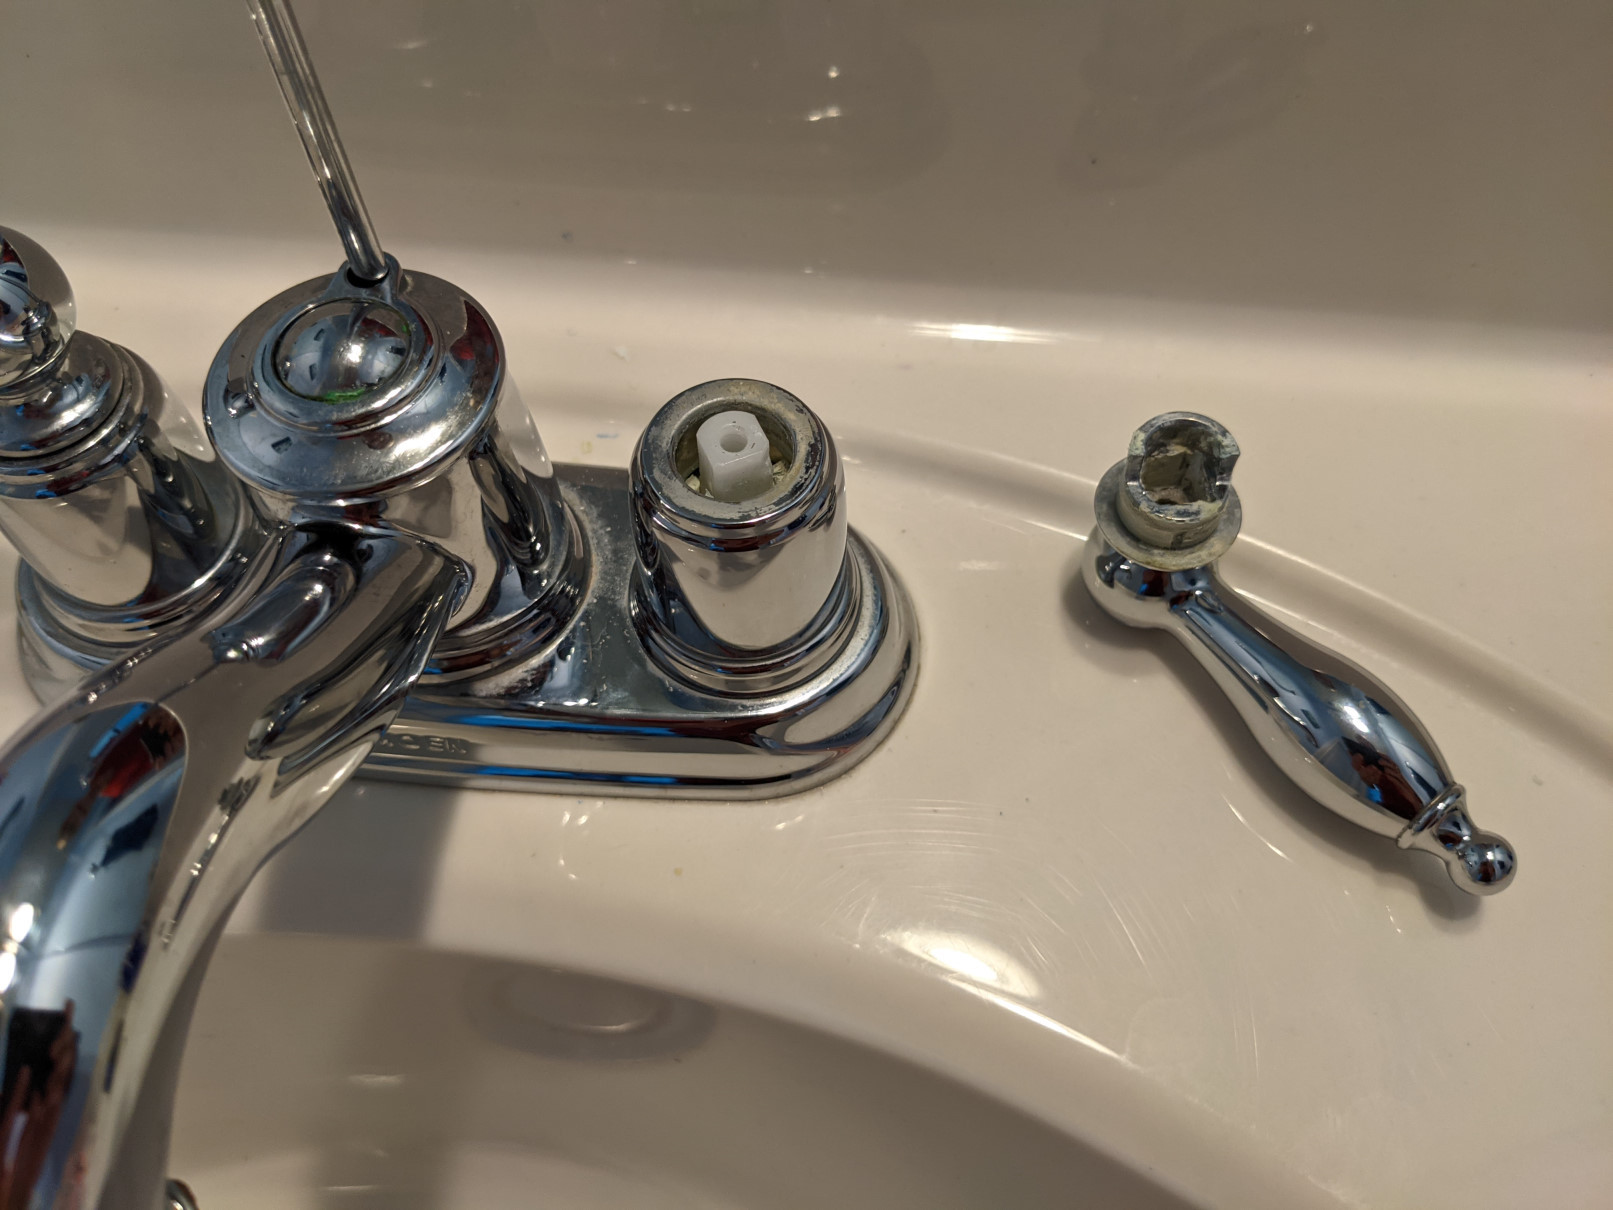
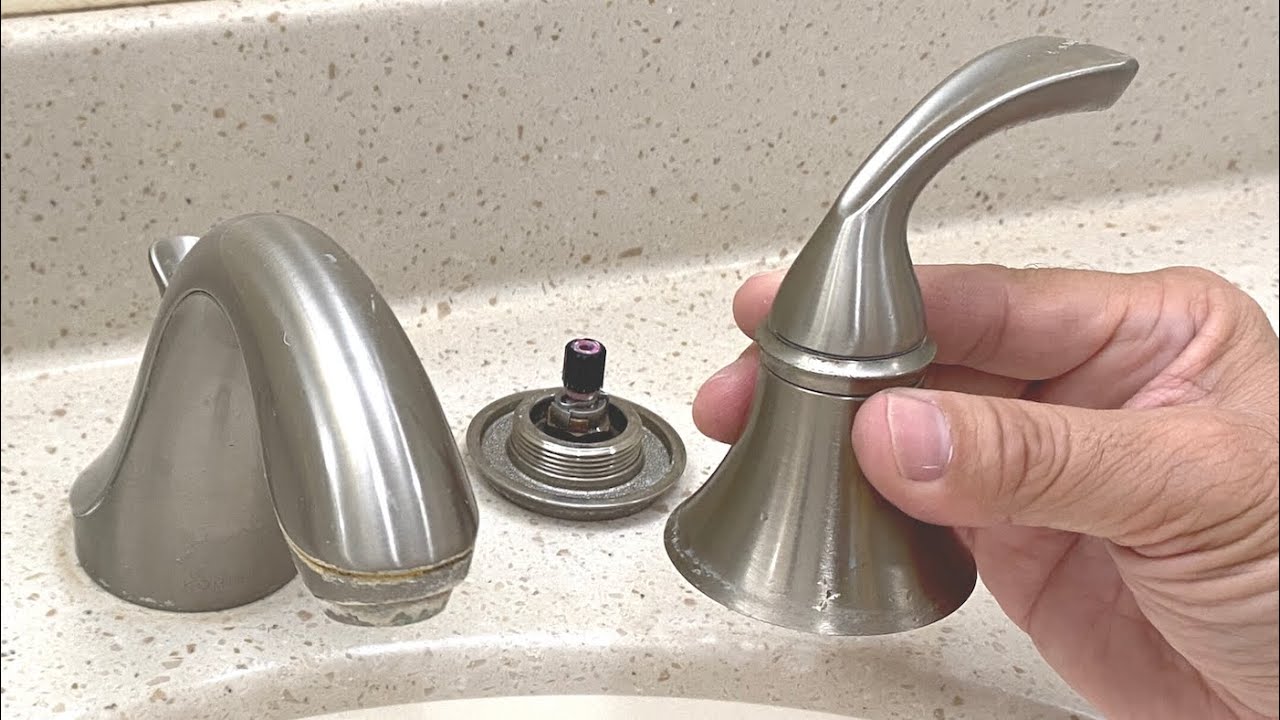
- Start by locating the small cap or decorative cover on the handle. This cover is usually located near the base of the handle or on the top if it’s a lever handle.
- Take a small flat-head screwdriver or a similar tool and carefully insert it under the cap. Gently pry the cap off, being careful not to scratch or damage the handle or faucet.
- Once you’ve removed the cap, you may find a hiding screw underneath. If so, use a screwdriver to unscrew it and set it aside for reinstallation later.
- If there are no visible screws, the handle might be attached with hidden clips. In this case, use a flashlight to locate the clips inside the handle body.
- Insert a flat-head screwdriver into the gap between the handle and the faucet body. Apply gentle pressure and carefully pry the handle away from the clips.
- Continue prying around the handle until it comes loose. Be patient and work your way around all sides until the handle is completely free from the faucet.
By following these steps, you should be able to remove the bathroom faucet handle successfully. Once the handle is off, you can proceed with your repair or replacement task.
Method 2: Twist and pull off the handle
If prying off the bathroom faucet handle didn’t work or if you don’t see any visible clips, another method you can try is twisting and pulling off the handle. This method is often effective for handles that are secured with a threaded stem.
Here’s how you can remove the handle by twisting and pulling:
- Before you begin, turn off the water supply to the faucet to avoid any accidental leaks or water damage.
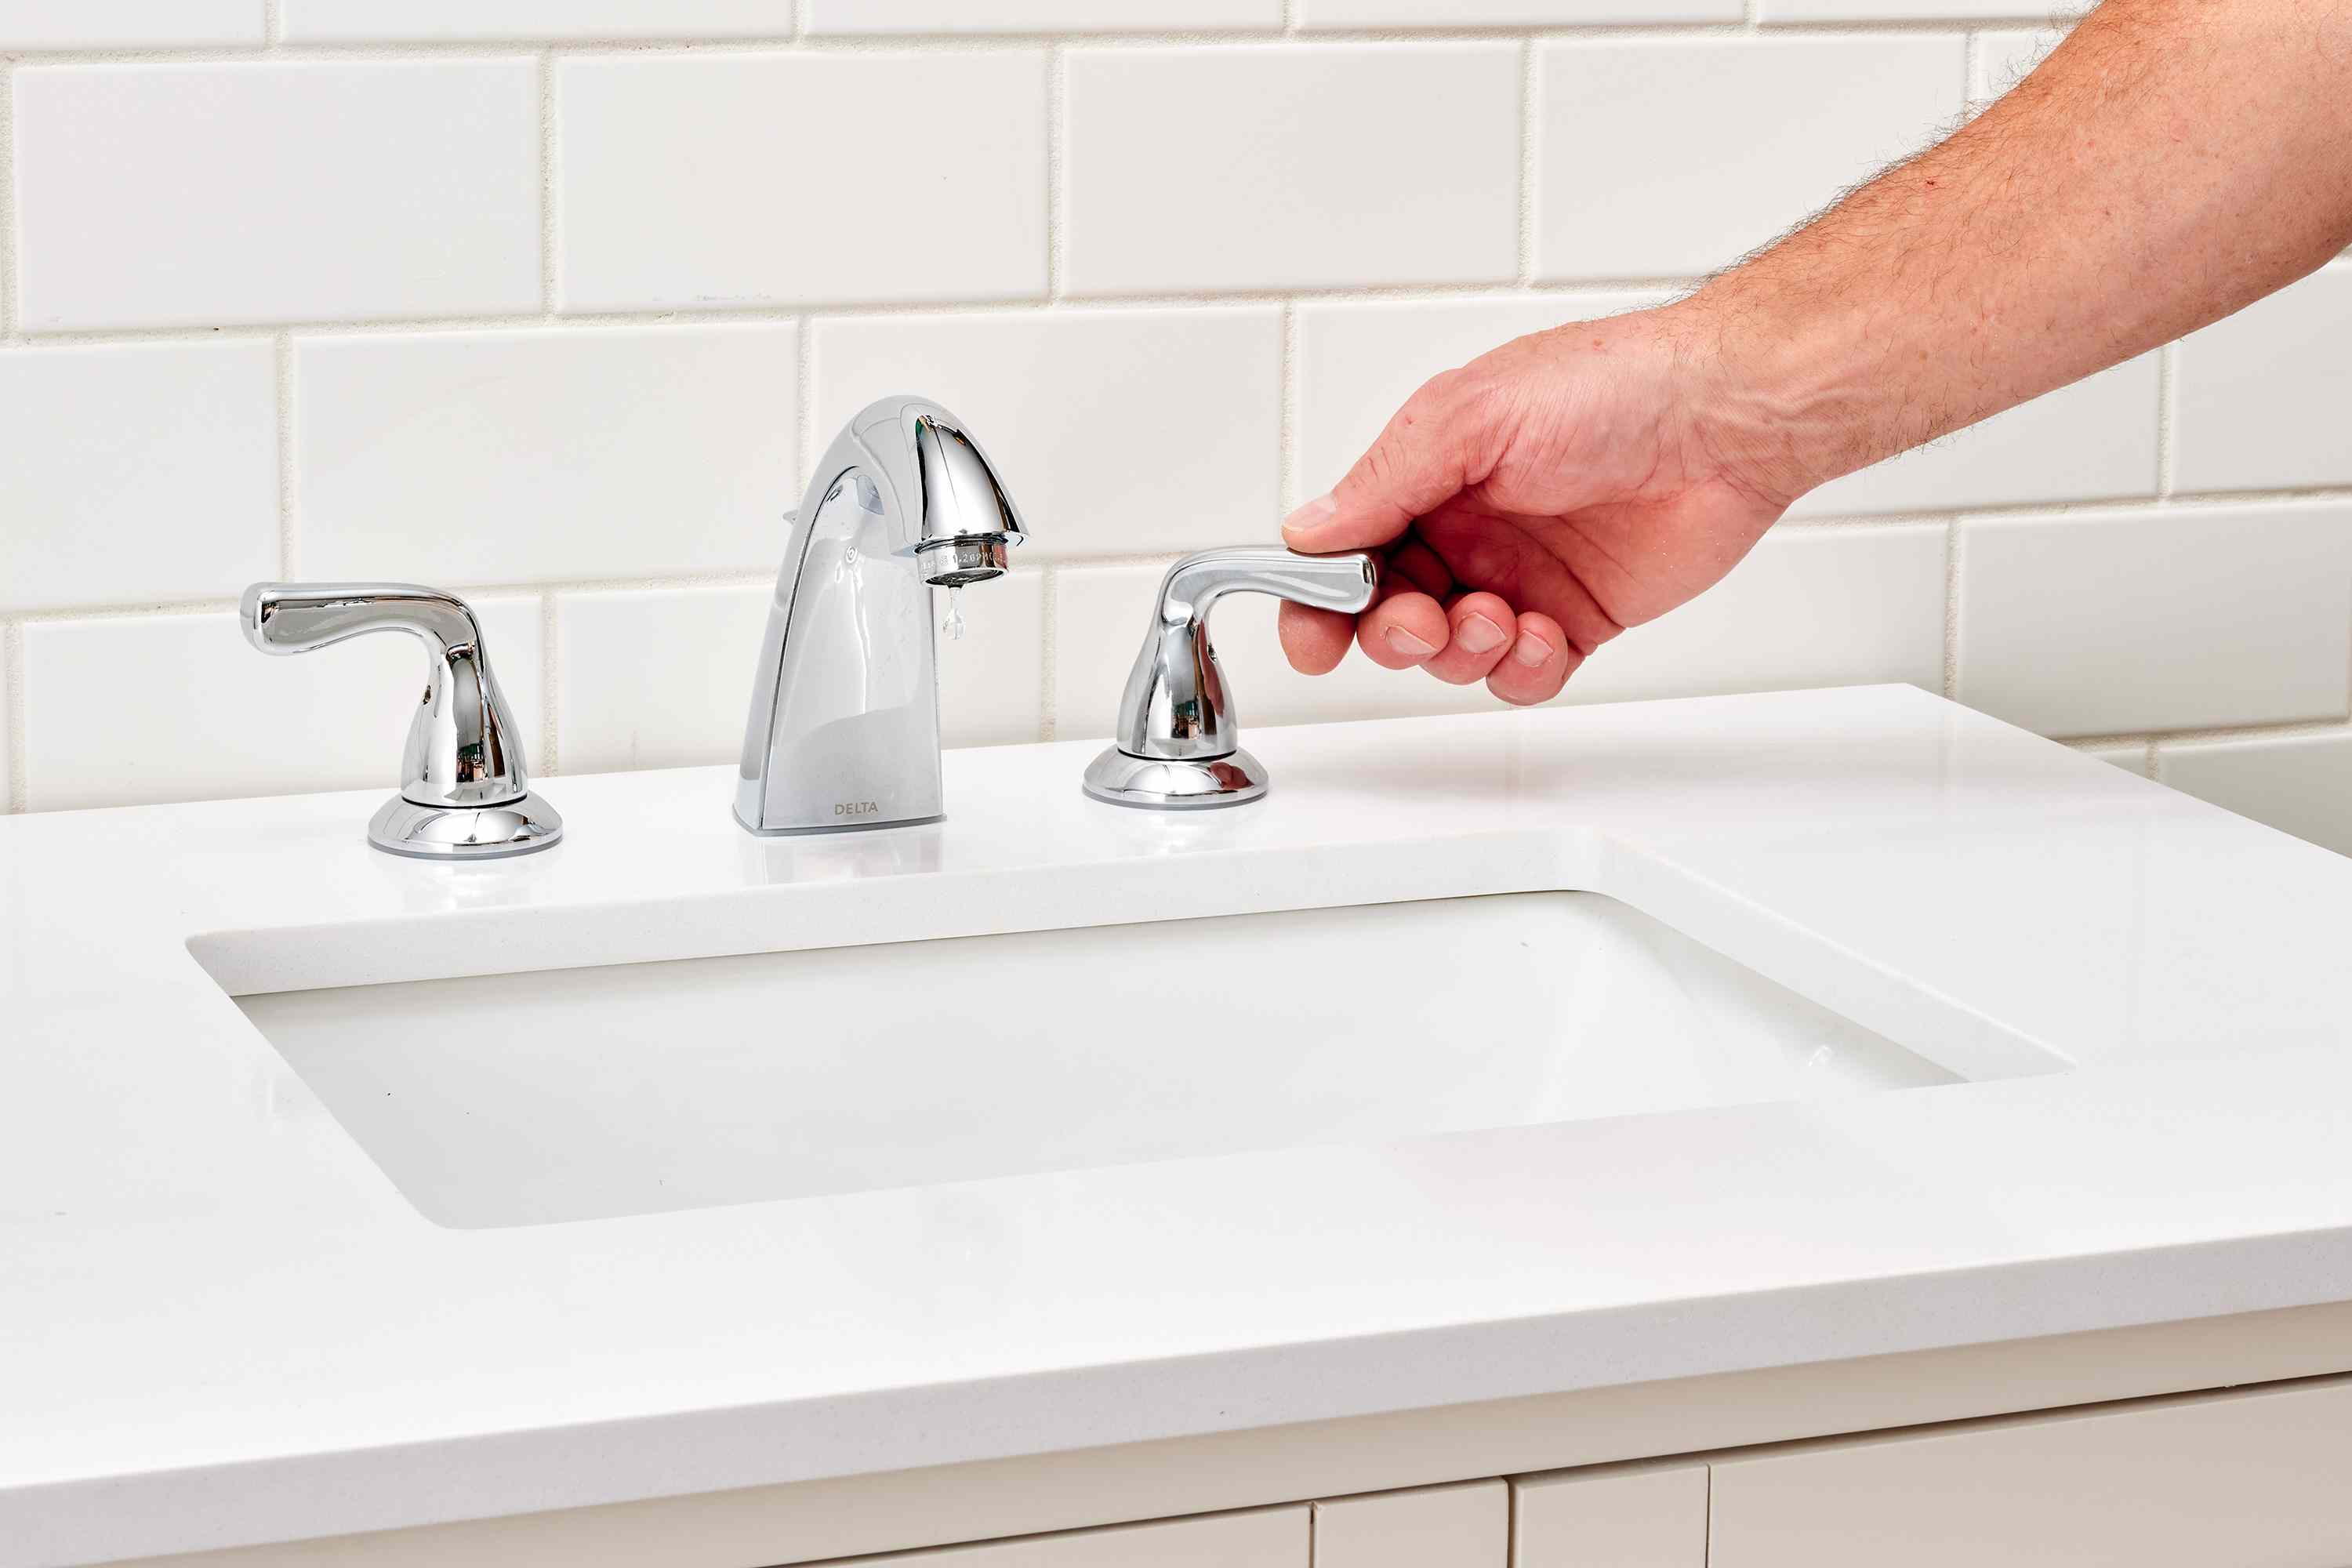
- Find a firm grip on the handle and try twisting it counterclockwise. Apply steady pressure while turning to loosen the handle from the stem.
- You may need to use some force, but be sure not to apply excessive pressure as it may damage the handle or faucet.
- Once the handle starts to loosen, continue twisting until you can pull it straight off the stem.
- If the handle seems stuck, you can try using a strap wrench for added leverage. Wrap the strap wrench around the handle and tighten it securely. Then, twist the wrench counterclockwise to loosen the handle and pull it off.
Remember to be patient and take your time when twisting and pulling off the handle. If the handle still won’t budge, it’s possible that there may be some corrosion or mineral buildup causing it to stick. In this case, you can try using a penetrating lubricant like WD-40 to help loosen the handle.
With the handle removed, you can proceed with your repair or replacement task. If you’re unsure about the specific steps for your particular faucet model, consult the manufacturer’s instructions or seek professional assistance.
Method 3: Use a strap wrench
If the previous methods didn’t work or if you’re dealing with a stubborn bathroom faucet handle that refuses to come off, using a strap wrench can be a powerful tool to help you overcome the challenge. A strap wrench provides a strong grip and added leverage, making it easier to remove the handle.
Here’s how you can use a strap wrench to remove the bathroom faucet handle:
- Start by locating the base of the handle where it meets the stem or valve.
- Wrap the strap wrench around the handle and tighten it securely. Make sure the strap is positioned close to the base for maximum grip.
- Hold the strap wrench firmly and turn it counterclockwise to loosen the handle.
- Apply steady pressure while turning to break any resistance or corrosion that may be causing the handle to stick.
- Continue turning the strap wrench until the handle is completely loose and can be pulled off.
Using a strap wrench can make the removal process easier, especially if the handle is tightly secured or difficult to grip. The adjustable strap allows you to get a tight hold on the handle, making it easier to twist and remove.
After successfully removing the handle, you can proceed with your repairs or replacements as needed. Remember to exercise caution and avoid applying excessive force that could potentially damage the handle or faucet.
If you don’t have a strap wrench on hand, you can also try using a pair of adjustable pliers or channel locks, though these tools may not provide as secure of a grip as a strap wrench.
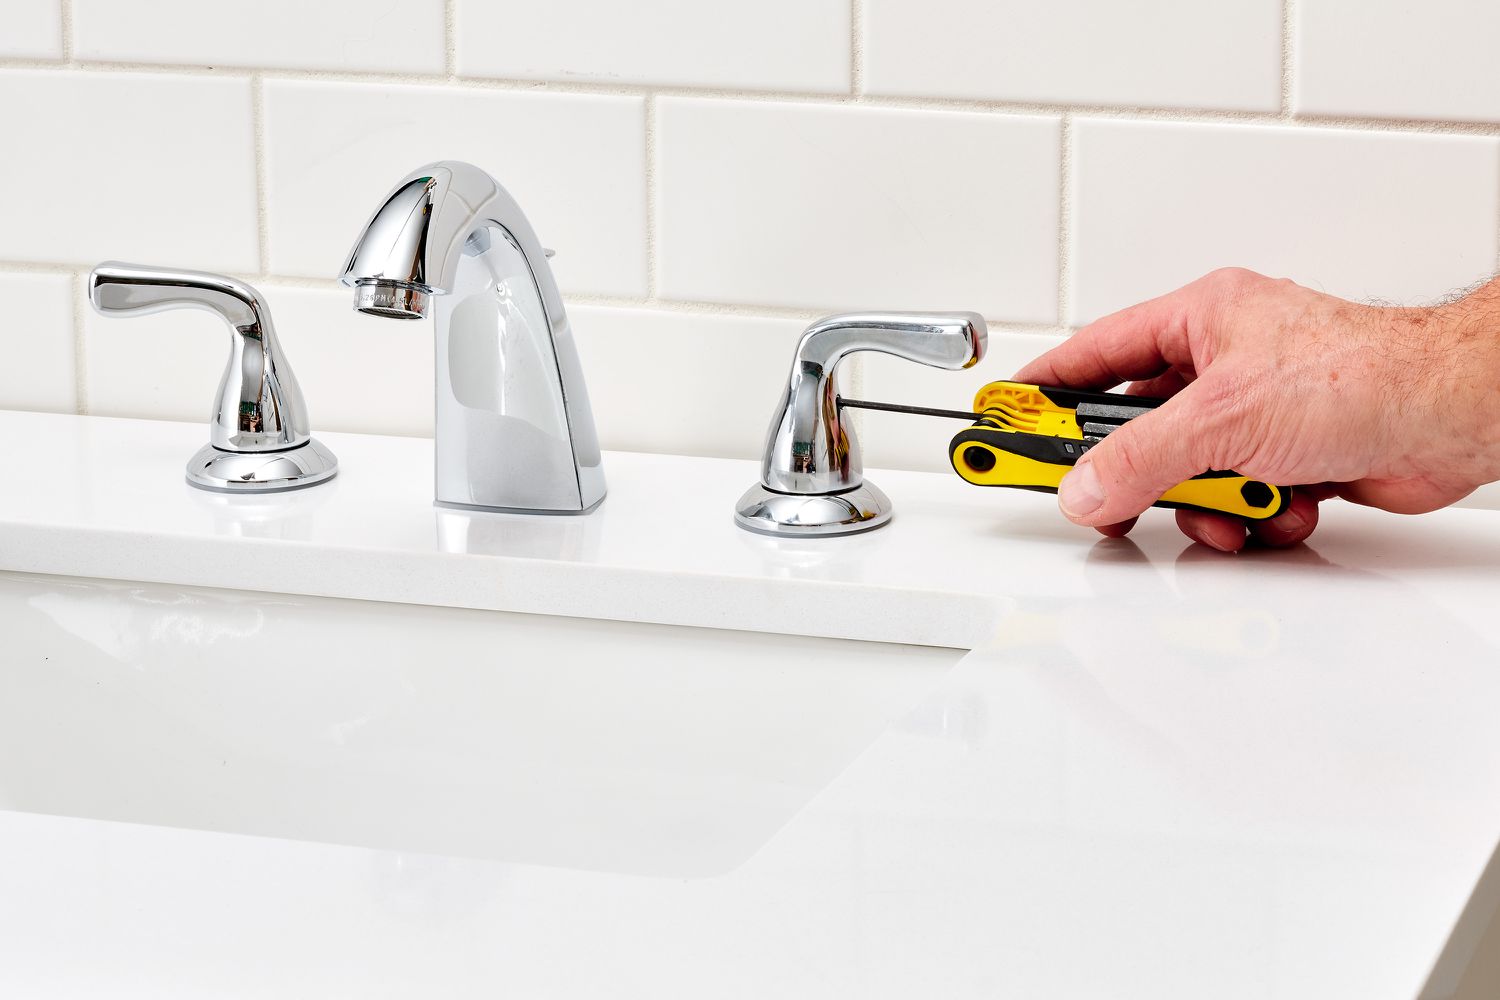
Use a flathead screwdriver to carefully pry off the decorative cap on the handle. Underneath, you may find a screw or a set screw that can be loosened to remove the handle.
Method 4: Utilize heat and cold
When dealing with a stubborn bathroom faucet handle that won’t come off, utilizing heat and cold can be a helpful technique to break the grip of any stuck components. The contrasting temperatures cause the metal to expand and contract, which can help loosen the handle.
Here’s how you can use heat and cold to remove the bathroom faucet handle:
- Start by turning off the water supply to the faucet to avoid any potential accidents.
- Use a hairdryer or heat gun to apply heat to the faucet handle. Focus the heat on the handle and the surrounding area, heating it for a couple of minutes. This heat will cause the metal to expand, making it easier to remove the handle.
- After applying heat, quickly switch to using a can of compressed air or a cold pack. Direct the cold air or cold pack onto the handle. The sudden change in temperature will cause the metal to contract, which can help break any corrosion or mineral deposits that may be causing the handle to stick.
- While the handle is still cold, try twisting and pulling it off using your hands or a tool like a strap wrench. If the handle doesn’t come off easily, repeat the process of heating and cooling a few more times to further loosen it.
Remember to be careful when applying heat and cold to the faucet handle. Avoid overheating the handle or using extreme temperatures, as this could potentially damage the handle or other components of the faucet.
By utilizing heat and cold, you can create a thermal shock that helps to break the grip of the stuck handle. This method can be particularly effective if the handle is corroded or tightly secured, as the contrasting temperatures can help loosen the connection.
Once the handle is successfully removed, proceed with your repair or replacement tasks as needed. If you’re uncertain about the specific steps for your faucet model, consult the manufacturer’s instructions or seek professional assistance.
Read more: How To Remove Stuck Faucet Handle
Method 5: Try using a faucet handle puller
If you’ve exhausted the previous methods and the bathroom faucet handle is still stubbornly refusing to come off, it may be time to bring out a specialized tool known as a faucet handle puller. A faucet handle puller is designed specifically for removing stubborn handles and can provide the necessary leverage to break the seal and remove the handle.
Here’s how you can use a faucet handle puller to remove the bathroom faucet handle:
- Start by turning off the water supply to the faucet to prevent any accidental leaks.
- Locate the center screw on the faucet handle puller. Insert the screw into the hole or opening at the center of the handle.
- Tighten the screw on the puller firmly, ensuring a secure grip on the handle.
- Once the puller is securely attached to the handle, begin turning the handle puller counterclockwise. Apply steady pressure to break the seal and release the handle.
- Continue turning the handle puller until the handle is completely loosened and can be pulled straight off the stem or valve.
A faucet handle puller is designed to evenly distribute pressure, preventing any damage to the handle or faucet. It provides a strong grip and mechanical advantage, making it easier to remove stubborn handles without causing any harm.
If you don’t have access to a faucet handle puller, you may be able to rent or borrow one from a local hardware store or seek assistance from a professional plumber who is equipped with the necessary tools.
With the handle successfully removed, you can proceed with your repairs or replacements. Remember to exercise caution and patience throughout the process, as forcing the handle off or using excessive pressure can lead to damage.
Each faucet handle removal situation may vary, so it’s crucial to adapt and choose the method that works best for your specific situation. If you’re uncertain about the specific steps for your faucet model, it’s always advisable to consult the manufacturer’s instructions or seek professional guidance.
Conclusion
Removing a bathroom faucet handle without visible screws can be a frustrating process, but with the right techniques, it can be easily accomplished. In this article, we’ve explored several methods to help you remove a stubborn handle and proceed with your repair or replacement tasks.
First, we covered the method of prying off the handle. By locating hidden clips or adhesive, you can gently pry the handle away to free it from the faucet.
Next, we discussed the method of twisting and pulling off the handle. This method is applicable when the handle is secured with a threaded stem. By applying steady pressure and using a strap wrench if necessary, you can loosen and remove the handle.
We then explored the use of a strap wrench as a standalone method. This versatile tool provides a firm grip to twist and loosen the handle, making it easier to remove.
Utilizing heat and cold was another effective technique we covered. By applying heat to expand the metal and then applying cold to contract it, you can break the grip of any corrosion or mineral deposits and remove the handle with ease.
Finally, we discussed the option of using a faucet handle puller. This specialized tool offers the necessary leverage to release stubborn handles without causing damage.
When undertaking any of these methods, it’s important to proceed with caution, patience, and precision. Avoid applying excessive force that could potentially harm the handle or faucet. Always refer to the manufacturer’s instructions or seek professional assistance when uncertain.
Removing a bathroom faucet handle without visible screws might initially seem like a daunting task, but with the right techniques and tools at hand, it becomes a manageable endeavor. By following the steps outlined in this article, you’ll have the knowledge and confidence to successfully remove a stubborn bathroom faucet handle and complete your plumbing repairs or replacements.
Now that you've mastered removing a bathroom faucet handle, why not take your DIY skills further? For those experiencing issues with their faucets, our detailed guide on the best Delta faucet repair kits offers valuable insights and recommendations. Perfect for anyone looking to tackle repairs confidently. Meanwhile, if you're contemplating a bigger project, our comprehensive analysis on how long bathroom renovations typically last provides essential planning information. Both resources promise to equip you with the knowledge needed for successful home improvement endeavors.
Frequently Asked Questions about How To Remove Bathroom Faucet Handle Without Screws
Was this page helpful?
At Storables.com, we guarantee accurate and reliable information. Our content, validated by Expert Board Contributors, is crafted following stringent Editorial Policies. We're committed to providing you with well-researched, expert-backed insights for all your informational needs.

0 thoughts on “How To Remove Bathroom Faucet Handle Without Screws”