Articles
How To Change A 2 Pin Halogen Light Bulb
Modified: September 2, 2024
Learn how to easily change a 2 pin halogen light bulb with this step-by-step article. Replace your old bulb and brighten up your space.
(Many of the links in this article redirect to a specific reviewed product. Your purchase of these products through affiliate links helps to generate commission for Storables.com, at no extra cost. Learn more)
Introduction
Changing a 2-pin halogen light bulb may seem like a daunting task for some, but with a little know-how and the right tools, it can be a simple and straightforward process. Whether you want to replace a burnt-out bulb or upgrade to a more energy-efficient option, this article will guide you through the steps to ensure a successful and safe bulb replacement.
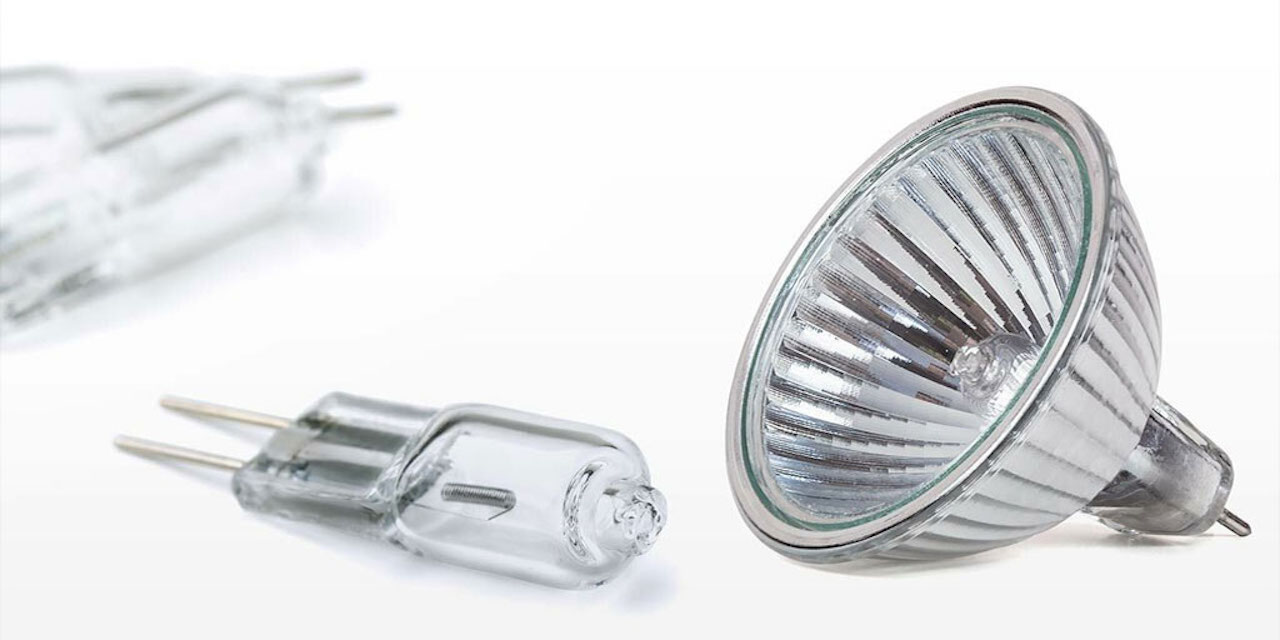
Halogen light bulbs are commonly used in various lighting fixtures, including desk lamps, ceiling fixtures, and recessed lighting. These bulbs provide bright, white light and are known for their long lifespan. However, like any light bulb, they will eventually need to be replaced.
Before we dive into the step-by-step process, it is important to keep in mind that safety should always be a priority when working with electrical appliances. Make sure to follow the safety precautions outlined in this article to avoid any accidents.
So, if you’re ready to learn how to change a 2-pin halogen light bulb, let’s get started!
Key Takeaways:
- Safety is paramount when changing a 2-pin halogen light bulb. Always turn off the power, wear protective gloves, and handle the old bulb with care to avoid accidents and ensure a successful replacement.
- Proper disposal of the old halogen bulb is crucial for safety and environmental impact. Follow local regulations, wear protective gloves, and consider recycling to minimize waste and ensure responsible waste management.
Read also: 14 Amazing Bi Pin Halogen Bulb for 2025
Safety Precautions
Before you begin the process of changing a 2-pin halogen light bulb, it’s essential to take some safety precautions to protect yourself and prevent any potential accidents. Here are some important measures to keep in mind:
- Turn off the power: Before you start working on any electrical fixture, make sure to turn off the power source to eliminate the risk of electric shock. Locate the circuit breaker or switch that controls the area where the light fixture is and turn it off.
- Allow the bulb to cool down: Halogen bulbs can become very hot, especially when they’ve been in use for a while. As a safety precaution, wait for the bulb to cool down completely before attempting to touch or remove it to avoid potential burns.
- Wear protective gloves: To protect your hands and improve grip, it’s a good idea to wear a pair of protective gloves when handling the bulb. This will prevent accidental drops or breakage, reducing the risk of injury.
- Use a sturdy ladder or step stool: If the light fixture is out of reach, ensure you have a stable and appropriately sized ladder or step stool to access it safely. Avoid standing on furniture or unstable surfaces as this can lead to falls and accidents.
- Check for any visible damage: Before installing a new bulb, inspect the light fixture for any signs of damage, such as cracks, loose wires, or corrosion. If you notice any issues, it’s best to consult a professional electrician to address them before proceeding.
- Properly dispose of the old bulb: Halogen bulbs contain pressurized gas and can shatter if mishandled. To prevent injuries or contamination, wrap the old bulb in a plastic bag or use a bulb recycling kit and dispose of it according to your local regulations for hazardous waste.
By following these safety precautions, you can ensure a safe and successful process of changing a 2-pin halogen light bulb. Now that we’ve covered the necessary safety measures, let’s move on to the step-by-step guide for changing the bulb.
Step 1: Turn off the Power
Before you begin the process of changing a 2-pin halogen light bulb, the first and most crucial step is to turn off the power to the light fixture. This will eliminate the risk of electric shock and ensure your safety throughout the entire process. Follow these steps to turn off the power:
- Locate the circuit breaker: In your home’s electrical panel, locate the circuit breaker that controls the area where the light fixture is located. It’s usually labeled to indicate the specific circuit or room.
- Open the circuit breaker panel: Use a screwdriver or your hand to open the panel cover, exposing the circuit breakers.
- Find the corresponding breaker: Identify the breaker switch that corresponds to the specific circuit for the light fixture. Flip the switch to the “Off” position, ensuring that power is no longer flowing to the fixture.
- Test the power: Before proceeding, it’s important to test the power. Turn the light switch on to verify that the light doesn’t illuminate. If it does, return to the circuit breaker panel and double-check that you’ve turned off the correct breaker.
Always remember that electricity can be dangerous, so take extra precautions and ensure the power is completely turned off before proceeding with any work on the light fixture.
Now that you’ve successfully turned off the power, you can proceed to the next step, which involves gathering the necessary tools for the bulb replacement.
Step 2: Gather the Necessary Tools
Before you can begin changing the 2-pin halogen light bulb, it’s important to gather all the necessary tools. Having everything prepared and within reach will make the process smoother and more efficient. Here’s a list of tools you’ll need:
- Gloves: Wear a pair of protective gloves to prevent any direct contact with the bulb and to improve grip while handling it.
- Ladder or step stool: Depending on the height of the light fixture, you might need a stable ladder or step stool to safely access it. Ensure that the ladder or step stool is sturdy and positioned correctly.
- New light bulb: Purchase a replacement 2-pin halogen light bulb of the correct wattage and type. Check the specifications of the old bulb to ensure that you choose the appropriate replacement.
- Screwdriver or pliers: Some light fixtures require the use of a screwdriver or pliers to remove certain parts or fasteners. Check if your fixture requires any specific tools for disassembly.
- Flashlight: A flashlight will come in handy if you’re working in a dimly lit area or need to examine the fixture more closely.
- Plastic bag or bulb recycling kit: To dispose of the old bulb safely, have a plastic bag or a specialized bulb recycling kit ready to contain and transport it.
Make sure you have all the necessary tools nearby before continuing to the next step. This will save you time and ensure a smoother transition during the bulb replacement process.
Now that you’re prepared with the required tools, it’s time to move on to the next step, which involves removing the old bulb from the light fixture.
Step 3: Remove the Old Bulb
Now that you have gathered the necessary tools, it’s time to move on to the next step: removing the old 2-pin halogen light bulb. Follow these steps to safely remove the old bulb:
- Put on protective gloves: Before you start handling the bulb, ensure that you’re wearing protective gloves to avoid any potential injury from broken glass or burns.
- Locate the bulb housing: Identify the bulb housing in the light fixture. This is where the bulb is inserted and secured.
- Check for any retaining clips or covers: Some light fixtures may have retaining clips or covers that hold the bulb in place. Look for these and carefully remove them if present.
- Gently twist or pull the bulb: Depending on the design of the fixture, you may need to twist the bulb counterclockwise or pull it straight out to remove it. Be gentle and avoid applying excessive force to prevent damaging the fixture or breaking the bulb.
- Dispose of the old bulb: Once you have successfully removed the old bulb, place it in a plastic bag or use a bulb recycling kit to contain it. Properly dispose of the old bulb according to your local regulations for hazardous waste.
Remember, halogen bulbs can become very hot during use, so it’s important to exercise caution when handling the old bulb. Allow it to cool down completely before disposing of it to avoid burns or injuries.
With the old bulb safely removed, you’re now ready to move on to the next step: preparing the new bulb for installation.
When changing a 2 pin halogen light bulb, make sure to turn off the power and allow the bulb to cool before handling. Use a clean, dry cloth to handle the new bulb to avoid oil residue, which can cause the bulb to overheat.
Read more: How To Change A Light Bulb
Step 4: Prepare the New Bulb
Now that you have successfully removed the old bulb, it’s time to prepare the new 2-pin halogen light bulb for installation. Follow these steps to ensure a smooth and hassle-free preparation process:
- Check the wattage and type: Confirm that the new bulb you have purchased matches the wattage and type specified by the old bulb. Using the wrong wattage or type could lead to improper functioning or damage to the light fixture.
- Inspect the new bulb: Before proceeding, carefully inspect the new bulb for any visible damage or defects. Check for cracks, broken filaments, or any other irregularities. If you notice any issues, replace the bulb with a new one.
- Handle the bulb with care: Halogen bulbs are sensitive to oils and dirt from your skin, which can reduce their lifespan. Wear gloves or use a clean cloth when handling the new bulb to avoid any direct contact or contamination.
- Align the pins: Take a moment to familiarize yourself with the two pins on the base of the new bulb. Ensure that the pins are straight and aligned properly before proceeding with the installation.
By taking the time to prepare the new bulb correctly, you can ensure optimal performance and a longer lifespan for your replacement halogen bulb. Once you have completed these steps, you are ready to move on to the next step: inserting the new bulb into the light fixture.
Step 5: Insert the New Bulb
Now that you have prepared the new 2-pin halogen light bulb, it’s time to insert it into the light fixture. Follow these steps to properly install the new bulb:
- Align the pins: Take the new bulb and align the pins on the base with the slots or holes in the bulb housing. Make sure the pins are properly seated before proceeding.
- Insert the bulb: Gently insert the new bulb into the bulb housing, making sure it fits securely. Be careful not to force the bulb or twist it too aggressively, as this can damage the pins or the fixture.
- Twist the bulb: Depending on the design of the light fixture, you may need to twist the bulb clockwise to lock it in place. Follow the manufacturer’s instructions or refer to the old bulb’s position for guidance.
- Verify the secure fit: After twisting the bulb, give it a slight tug to ensure it is securely locked into position. If it feels loose or wobbly, remove and re-insert it, making sure it is properly seated.
By carefully following these steps, you can ensure that the new bulb is securely installed in the light fixture. Now that the new bulb is in place, it’s time to move on to the next step: testing the bulb to ensure it’s functioning correctly.
Step 6: Test the Bulb
After successfully inserting the new 2-pin halogen light bulb into the fixture, it’s important to test it to ensure that it is functioning properly. Follow these steps to test the bulb:
- Turn on the power: Return to the circuit breaker panel and flip the switch for the light fixture back to the “On” position. This will restore power to the fixture.
- Flip the light switch: Go to the wall switch or control panel that operates the light fixture and turn it on. This will activate the bulb and test its functionality.
- Check for illumination: Observe the light fixture to see if the bulb illuminates. If the room is well-lit, you may need to dim the surroundings or cover the fixture with a cloth to see the bulb’s glow clearly.
- Test the switch: Turn the light switch off and on a few times to check if the bulb responds correctly. It should turn on and off smoothly without any flickering or delay.
If the new bulb illuminates properly and responds correctly to the switch, congratulations! You have successfully installed and tested the new 2-pin halogen light bulb. If you encounter any issues, such as flickering or no illumination, double-check the bulb’s installation and verify that the power is properly restored.
Now that you have tested the bulb and confirmed its functionality, it’s time to proceed to the final step: properly disposing of the old bulb.
Step 7: Dispose of the Old Bulb Properly
Once you have successfully replaced the 2-pin halogen light bulb and confirmed that the new one is working correctly, it’s essential to dispose of the old bulb properly. Halogen bulbs contain pressurized gas and may shatter if mishandled. Follow these steps to dispose of the old bulb safely:
- Allow the bulb to cool down: Ensure that the old bulb has cooled down completely before attempting to handle it to avoid the risk of burns or injuries caused by hot glass.
- Wear protective gloves: Put on a pair of protective gloves to handle the old bulb. This will protect your hands from any potential cuts or accidents.
- Wrap the old bulb: Carefully wrap the old bulb in a plastic bag or use a specialized bulb recycling kit. This will prevent any glass shards from scattering and contain any hazardous materials within the bulb.
- Dispose of the old bulb: Check your local regulations and guidelines for the proper disposal of halogen bulbs. Some areas have designated recycling centers or hazardous waste facilities where you can safely dispose of the old bulb. Avoid throwing the bulb in regular trash bins.
- Recycle if possible: Consider recycling the old bulb if recycling facilities are available in your area. Recycling helps reduce waste and allows for the proper handling of the materials within the bulb.
Remember, the proper disposal of the old bulb is essential to minimize environmental impact and ensure the safety of waste management personnel. Be sure to follow the local regulations and guidelines to dispose of the bulb responsibly.
Congratulations! You have successfully completed the process of changing a 2-pin halogen light bulb, from turning off the power to disposing of the old bulb. By following these steps and taking the necessary safety precautions, you can maintain a well-lit and safe environment in your home or workspace.
Enjoy the bright and efficient lighting provided by your new halogen bulb!
Read more: How To Change A Brake Light Bulb
Conclusion
Changing a 2-pin halogen light bulb may seem like a daunting task, but with the right knowledge and precautions, it can be a straightforward process. By following the step-by-step guide outlined in this article, you can successfully replace a burnt-out bulb or upgrade to a more energy-efficient option.
Throughout the process, safety should always be a priority. Remember to turn off the power, wear protective gloves, and use a sturdy ladder or step stool when necessary. Take the time to gather the necessary tools and prepare the new bulb properly before installation.
Once you’ve installed the new bulb, it’s crucial to test it to ensure it is functioning correctly. Check for proper illumination and responsiveness to the switch. If any issues arise, double-check the installation and power supply.
Lastly, dispose of the old bulb responsibly. Halogen bulbs contain hazardous materials and should be handled with care. Wrap the old bulb, follow local disposal guidelines, and consider recycling if options are available in your area.
By following these guidelines, you can safely and confidently change a 2-pin halogen light bulb. Remember, if you are unsure or uncomfortable with the process, it’s always best to consult a professional electrician for assistance.
Enjoy the bright and efficient lighting provided by your new halogen bulb, and may it illuminate your space with warmth and clarity!
Now that you've mastered changing a 2-pin halogen bulb, consider upgrading your lighting setup for enhanced efficiency and brightness. Our next guide on halogen bulb replacement offers insightful tips on opting for LED alternatives that are not only power-efficient but also longer-lasting. This detailed article will shed new light on making your home more energy-efficient with modern lighting solutions.
Frequently Asked Questions about How To Change A 2 Pin Halogen Light Bulb
Was this page helpful?
At Storables.com, we guarantee accurate and reliable information. Our content, validated by Expert Board Contributors, is crafted following stringent Editorial Policies. We're committed to providing you with well-researched, expert-backed insights for all your informational needs.


0 thoughts on “How To Change A 2 Pin Halogen Light Bulb”