Articles
How To Repair A Plaster Ceiling Hole
Modified: December 7, 2023
Learn how to repair a plaster ceiling hole with our informative articles. Gain the knowledge and skills necessary to fix your ceiling efficiently and effectively.
(Many of the links in this article redirect to a specific reviewed product. Your purchase of these products through affiliate links helps to generate commission for Storables.com, at no extra cost. Learn more)
Introduction
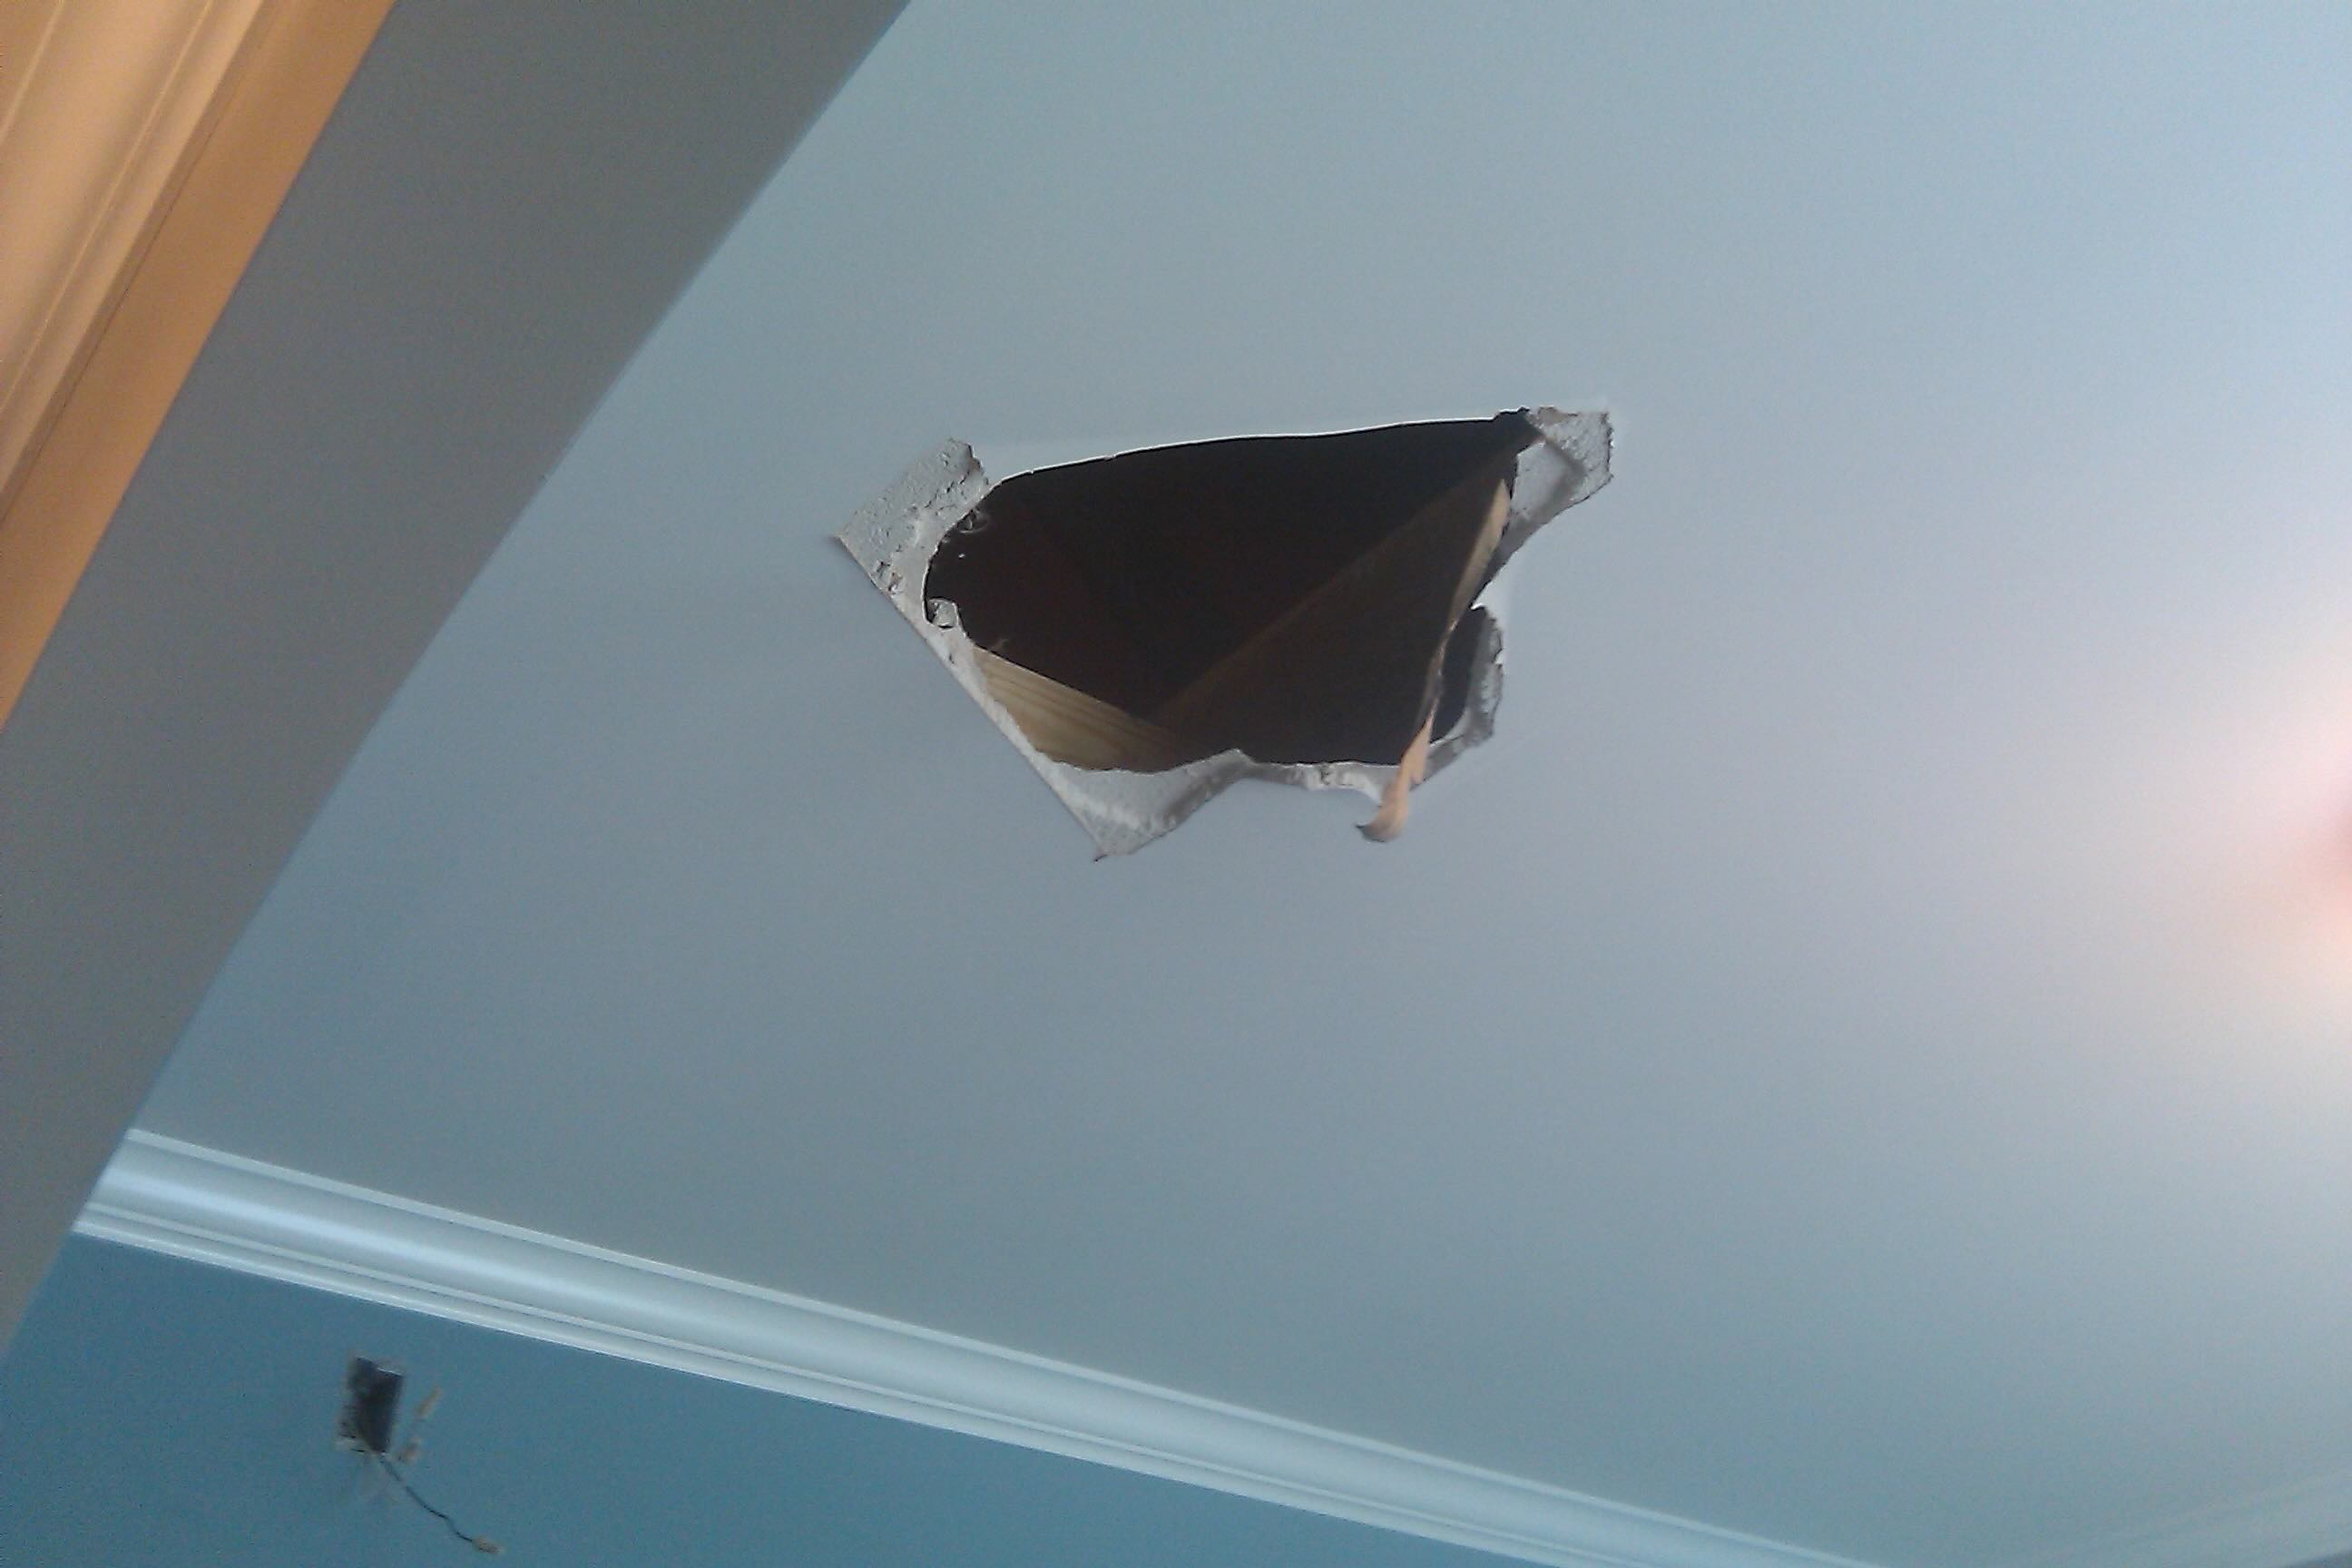
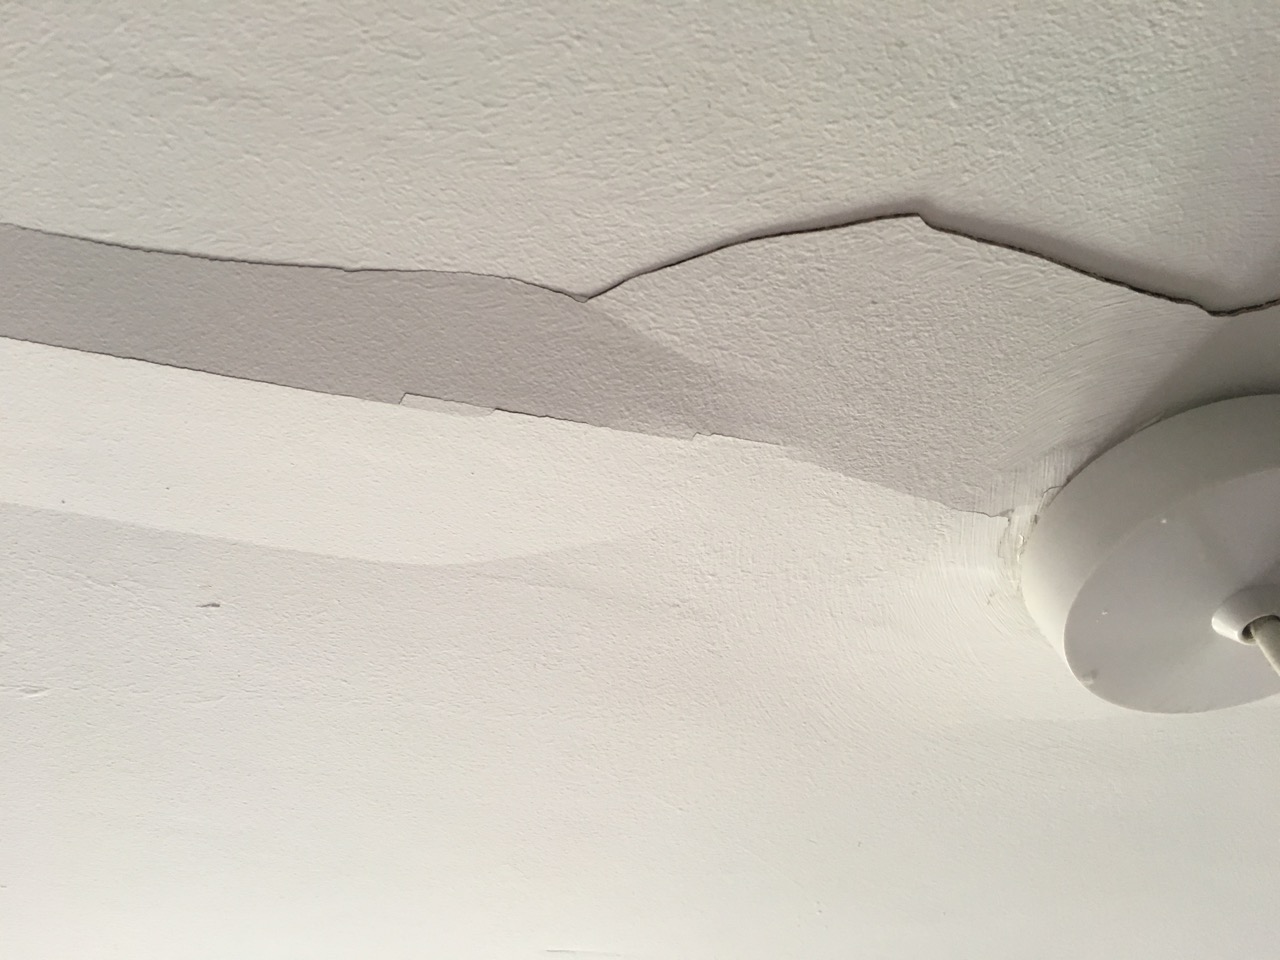
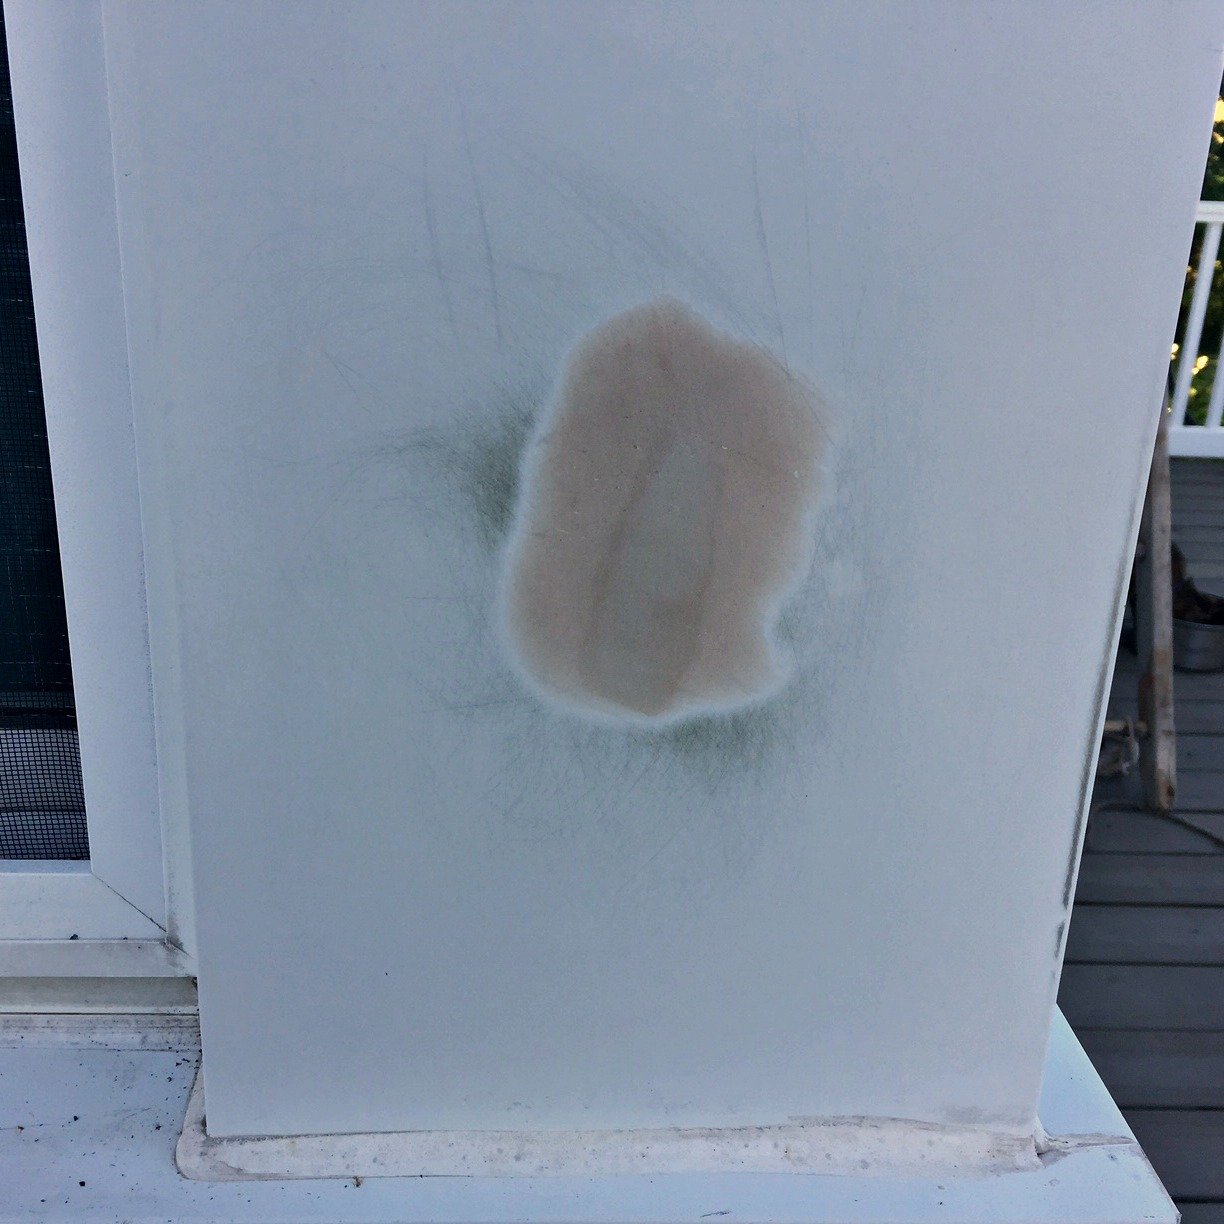
A plaster ceiling can add a touch of elegance and character to any room. However, over time, it is not uncommon for a plaster ceiling to develop holes or cracks. These imperfections can be a result of age, humidity, or even accidental damage. Whatever the cause may be, repairing a plaster ceiling hole is a task that can easily be tackled with the right materials and techniques.
This article will guide you through the steps of repairing a plaster ceiling hole, from preparing the area to applying layers of plaster and finishing it off with a smooth surface. We will also discuss the importance of priming and painting the repaired area to seamlessly blend it with the rest of the ceiling.
Before we dive into the repair process, let’s take a look at the materials you will need to complete the job:
Key Takeaways:
- Proper preparation, cleaning, and layering of plaster are crucial for a successful DIY plaster ceiling hole repair. Follow the steps and take your time for a seamless and long-lasting result.
- Priming and painting the repaired area not only enhance its appearance but also provide added protection. With the right materials and techniques, you can restore your plaster ceiling to its former elegance.
Read more: How To Plaster A Ceiling
Materials Needed
Before you begin repairing a plaster ceiling hole, it’s essential to gather all the necessary materials. This will ensure that you have everything you need within easy reach, making the process smoother and more efficient. Here’s a list of materials you’ll need:
- Dust sheet: To protect the surrounding area from dust and debris.
- Protective goggles and gloves: Safety should always be a priority while working with plaster and other materials.
- Masking tape: To create clean lines and prevent excess plaster from spreading to unwanted areas.
- Plaster filler: Choose a high-quality plaster filler that is specifically designed for repairing holes in plaster ceilings.
- Trowel or putty knife: To apply the plaster filler smoothly and evenly.
- Sanding block or sandpaper: For sanding and smoothing the repaired area.
- Primer: A primer helps the paint adhere to the repaired area and provides a uniform finish.
- Paint: Choose a paint color that matches the rest of the ceiling.
- Paintbrush or roller: To apply the paint to the repaired area.
- Ladder or step stool: Depending on the height of the ceiling, you may need a stable platform to reach the damaged area.
By ensuring that you have all these materials on hand, you’ll be well-prepared to repair the plaster ceiling hole effectively and efficiently. Before you start the repair process, make sure to read and follow the instructions on the product labels for any specific precautions or guidelines.
Step 1: Prepare the Area
Before you begin repairing a plaster ceiling hole, it’s important to prepare the area to ensure a clean and smooth repair. Follow these steps to properly prepare the area:
- Cover the surrounding area: Place a dust sheet or protective covering over any furniture, flooring, or objects in close proximity to the repair site. This will protect them from dust, debris, and potential splatters.
- Remove loose debris: Carefully inspect the damaged area and remove any loose plaster or debris using a brush or vacuum cleaner. Be gentle to avoid causing further damage.
- Secure any loose plaster: If there are any areas of loose or sagging plaster surrounding the hole, use a putty knife or scraper to gently remove them. Then, use screws or adhesive to reinforce and secure the surrounding plaster to prevent further damage.
- Clean the area: Wipe the repair area with a damp cloth to remove any remaining dust or dirt. This will ensure proper adhesion of the plaster filler.
- Apply masking tape: Use masking tape to create clean lines around the hole, defining the exact area you will be working on. This will prevent excess plaster from spreading beyond the repair area.
By taking the time to thoroughly prepare the area, you’ll create a clean and stable working environment, allowing for a more successful plaster ceiling hole repair.
Step 2: Clean the Hole
Once you have prepared the area, it’s time to clean the hole in the plaster ceiling. Cleaning the hole is important to ensure proper adhesion of the plaster filler and create a strong and seamless repair. Follow these steps to clean the hole effectively:
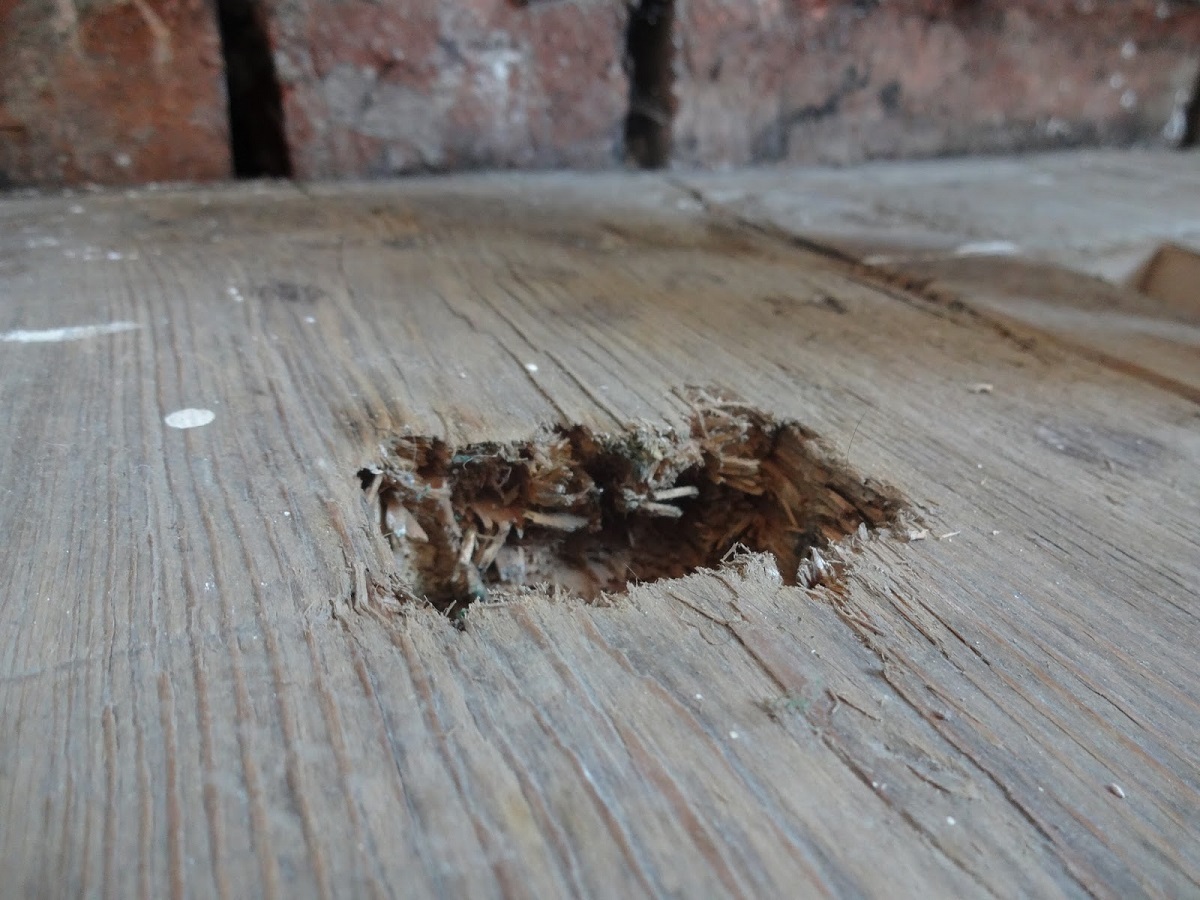
- Remove loose plaster: Use a putty knife or scraper to carefully remove any loose or damaged plaster around the edges of the hole. Be gentle to avoid causing further damage to the surrounding area.
- Smooth the edges: Use sandpaper or a sanding block to smooth the edges of the hole, creating a clean and even surface. This will help the plaster filler adhere better and result in a smoother finished repair.
- Clean the area: Wipe the hole with a damp cloth to remove any dust, debris, or loose particles. Make sure the area is clean and dry before proceeding to the next step.
- Fill any gaps: If there are any noticeable gaps or cracks around the edges of the hole, use a small amount of plaster filler to fill them in. Smooth the filler with a putty knife so that it is level with the surrounding plaster.
By thoroughly cleaning the hole and ensuring a smooth and even surface, you’ll create a solid foundation for the plaster filler to adhere to. This will result in a stronger and longer-lasting repair for your plaster ceiling hole.
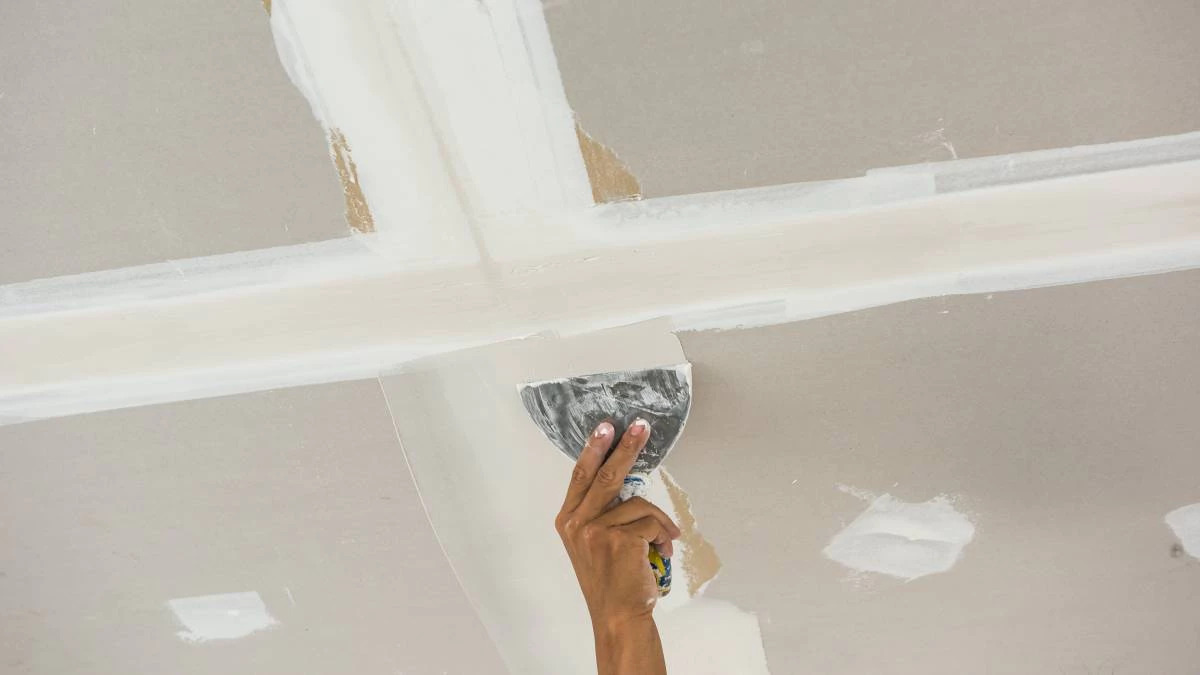
Step 3: Apply the First Layer of Plaster
With the hole cleaned and prepped, it’s time to start applying the plaster filler. This step involves applying the first layer of plaster to fill the hole and create a base for additional layers. Follow these instructions to apply the first layer of plaster:
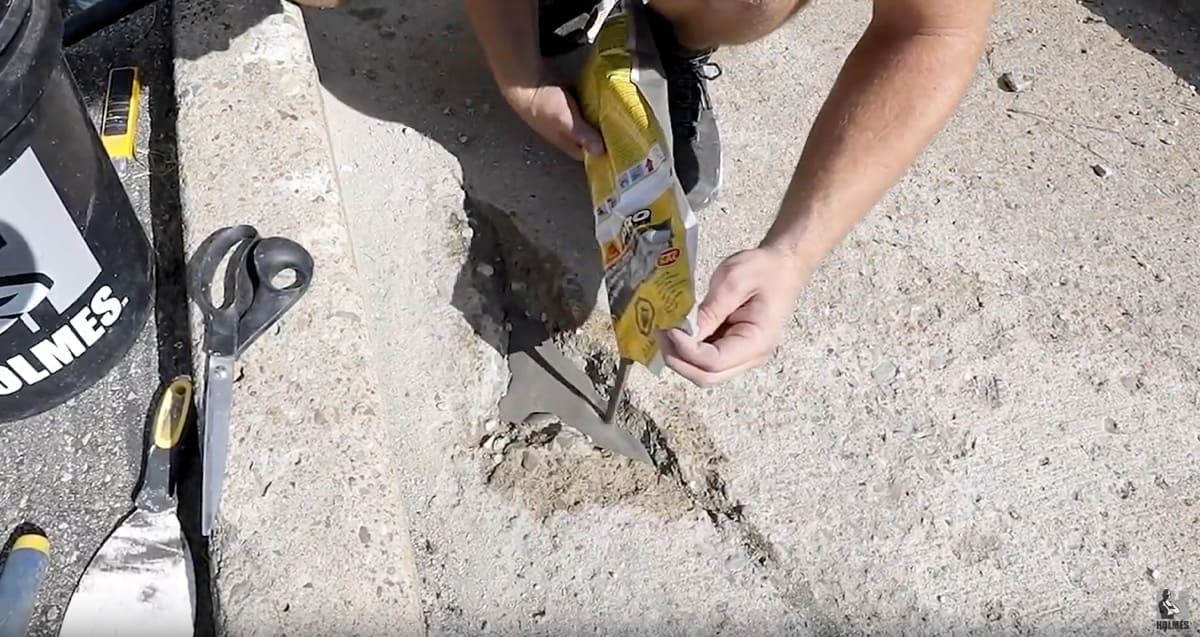
- Prepare the plaster filler: Follow the instructions on the product label to prepare the plaster filler. Mix it according to the recommended proportions until you achieve a smooth and workable consistency.
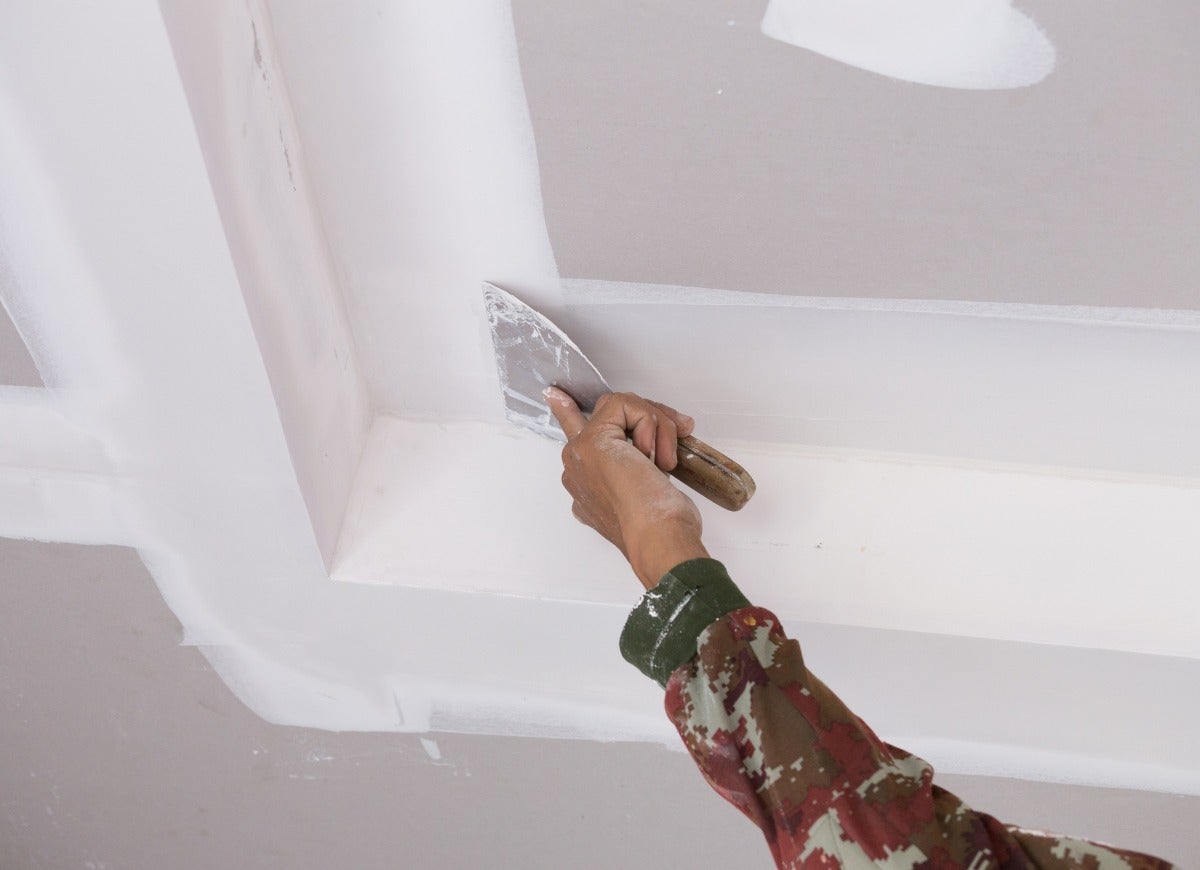
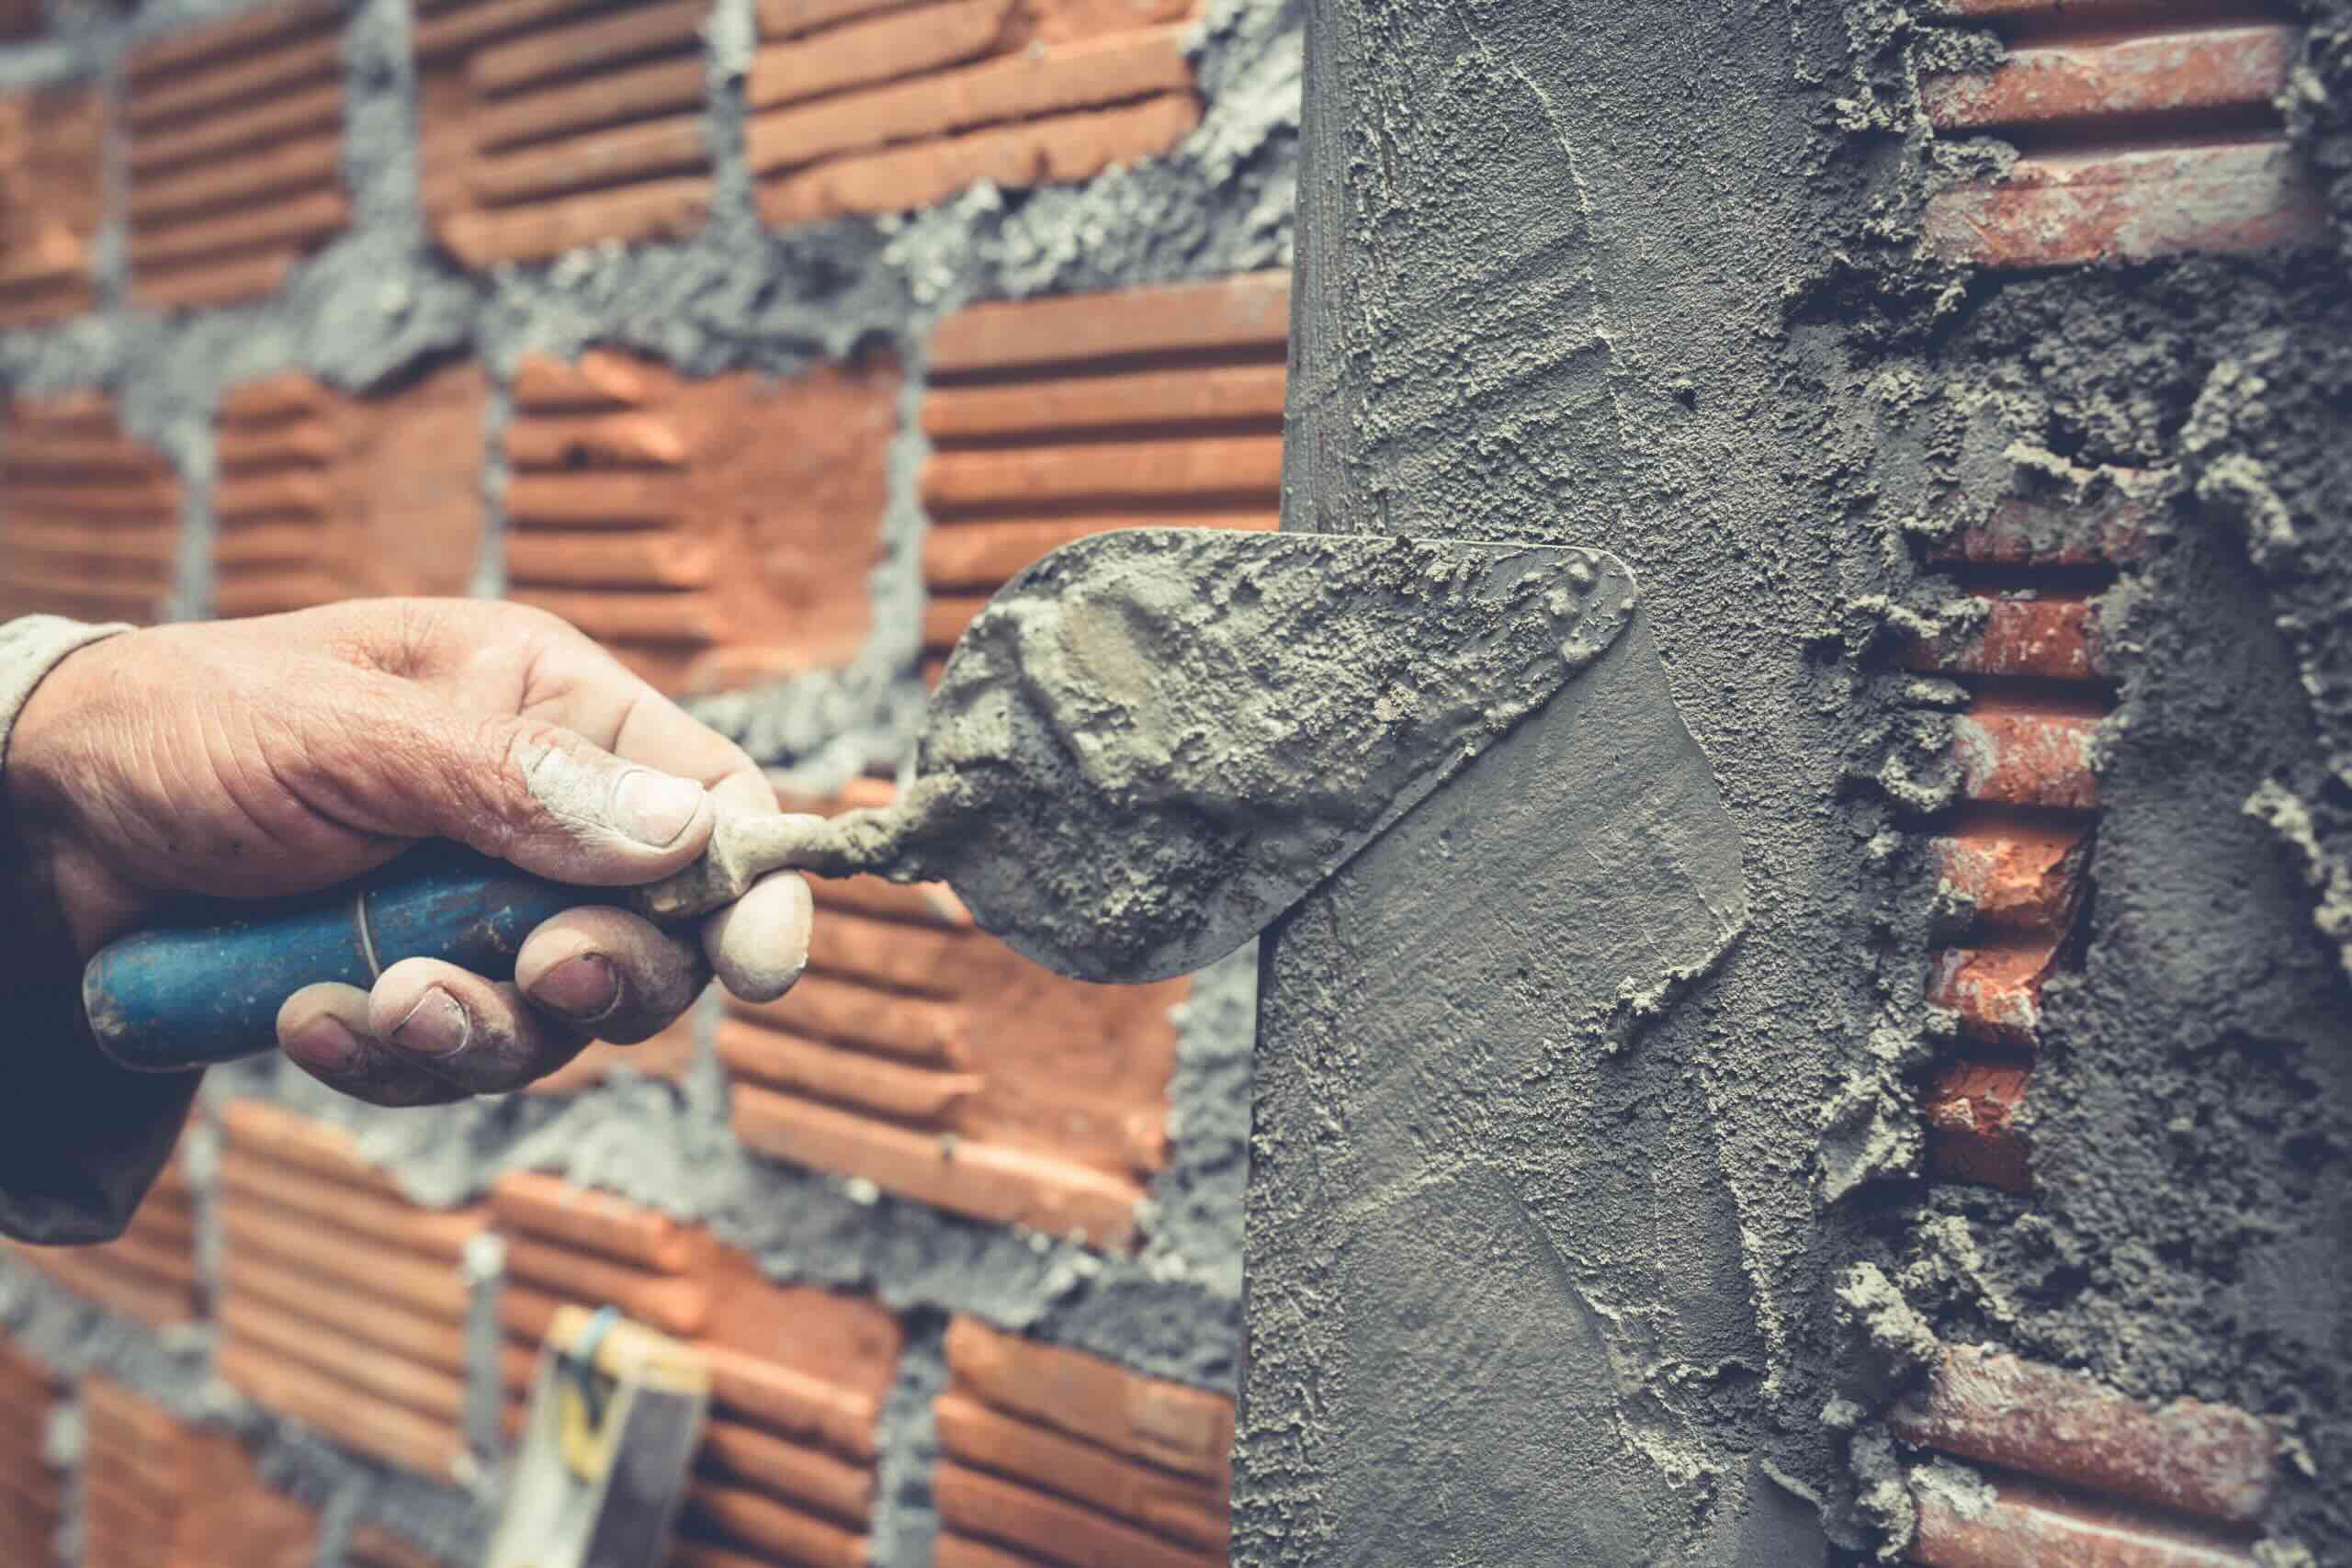
- Apply the plaster filler: Using a putty knife or trowel, scoop a small amount of plaster filler onto the blade. Holding the tool at a slight angle, carefully spread the filler over the hole, starting from the center and working your way outward. Apply enough filler to slightly overfill the hole.
- Smooth and level the filler: Use the putty knife or trowel to smooth and level the plaster filler, ensuring it is even with the surrounding plaster. Work in gentle, sweeping motions to create a seamless transition between the filler and the plaster ceiling.
- Remove excess filler: While the plaster is still wet, use a damp sponge or cloth to remove any excess filler or smudges around the repaired area. Be careful not to disturb the freshly applied plaster.
Allow the first layer of plaster to dry completely according to the instructions provided by the manufacturer. This is crucial to ensure a solid and stable base for the subsequent layers of plaster. Once dry, you can move on to applying the second layer of plaster.
Use a putty knife to remove loose plaster around the hole. Cut a piece of drywall slightly smaller than the hole and attach it with joint compound. Sand and paint for a seamless finish.
Read more: How To Repair A Plaster Ceiling
Step 4: Apply the Second Layer of Plaster
After the first layer of plaster has dried, it’s time to apply the second layer. This layer will help to further fill and smooth the repaired area, creating a seamless finish. Follow these steps to apply the second layer of plaster:
- Check the first layer: Before applying the second layer, inspect the first layer of plaster to ensure it has dried completely and is firm to the touch. If there are any areas that still feel wet or soft, allow them more time to dry.
- Prepare the plaster filler: Mix a fresh batch of plaster filler following the manufacturer’s instructions.
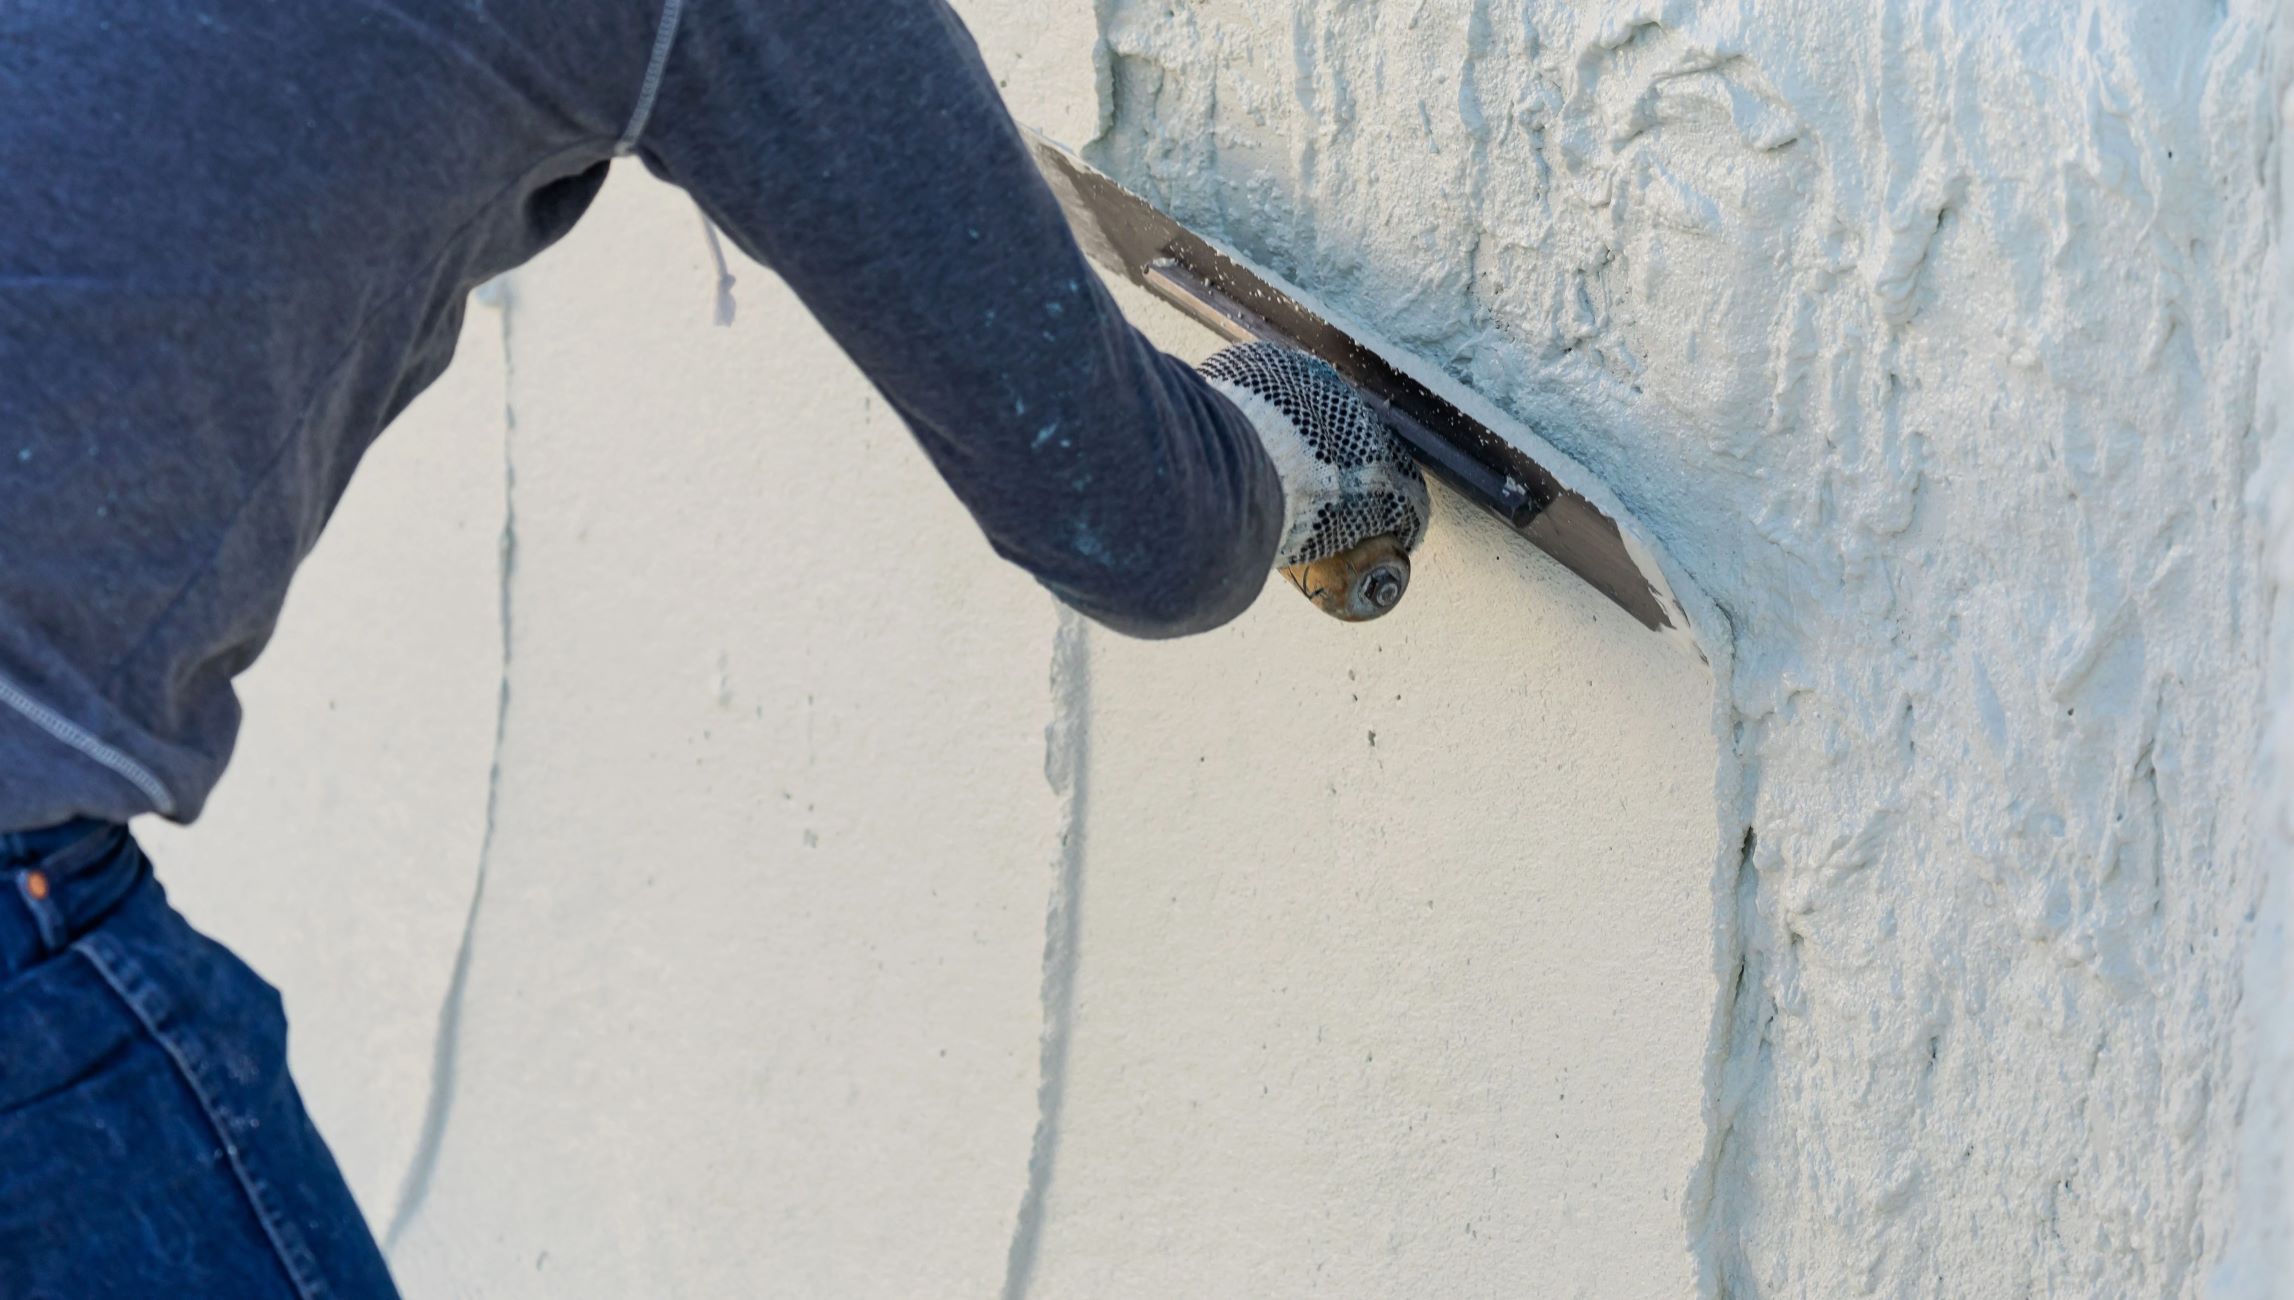
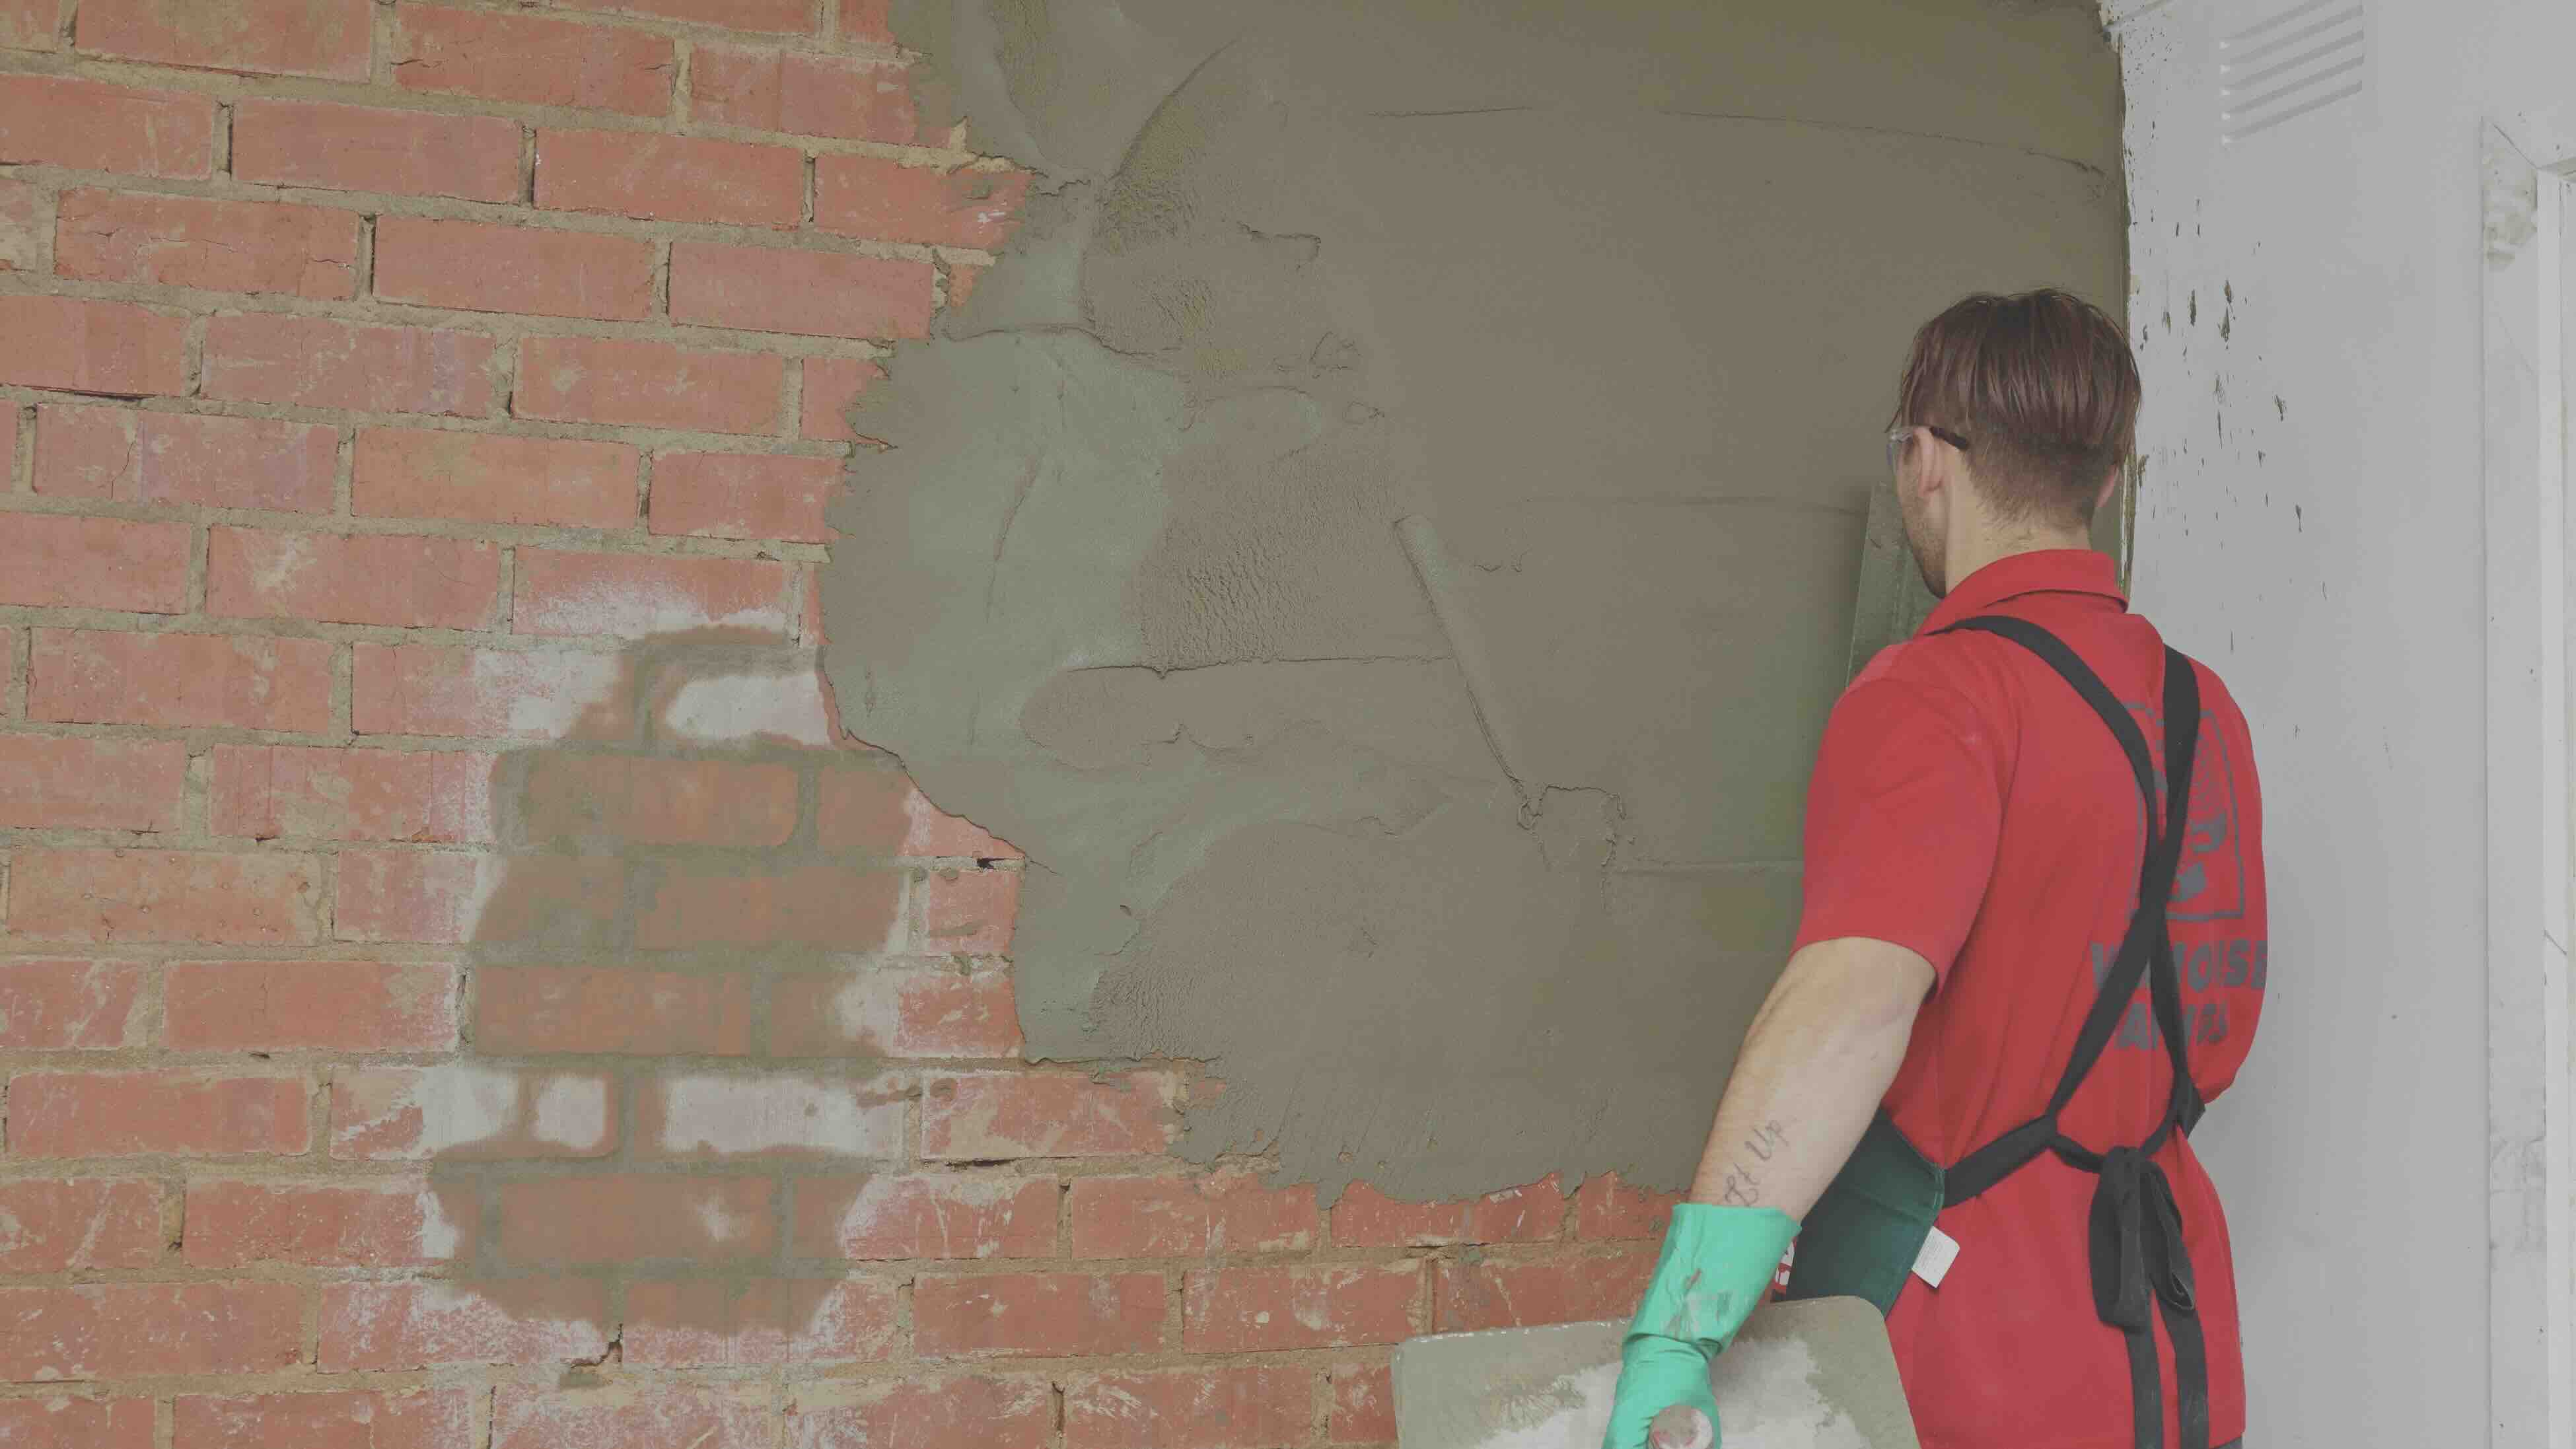
- Apply the second layer: Using a putty knife or trowel, apply a thin layer of plaster filler over the first layer. Blend it smoothly with the surrounding plaster, feathering the edges to create a seamless transition.
- Smooth and level the plaster: Work the putty knife or trowel in gentle, sweeping motions to smooth and level the second layer of plaster. Ensure that it is even and flush with the surrounding plaster.
- Remove excess filler: While the plaster is still wet, use a damp sponge or cloth to carefully remove any excess filler or smudges around the repaired area. Take care not to disturb the freshly applied plaster.
Allow the second layer of plaster to dry completely according to the manufacturer’s instructions. This may take some time, so be patient and avoid touching or disturbing the repaired area. Once dry, you can proceed to the next step and prepare the surface for finishing touches.
Step 5: Sand and Smooth the Surface
Now that the second layer of plaster has dried, it’s time to sand and smooth the surface. This step will ensure that the repaired area blends seamlessly with the surrounding plaster, creating a professional-looking finish. Follow these steps to sand and smooth the surface:
- Gather the necessary materials: You will need a sanding block or sandpaper with varying grits, ranging from coarse to fine. Start with a coarser grit and gradually work your way to a finer grit for a smoother finish.
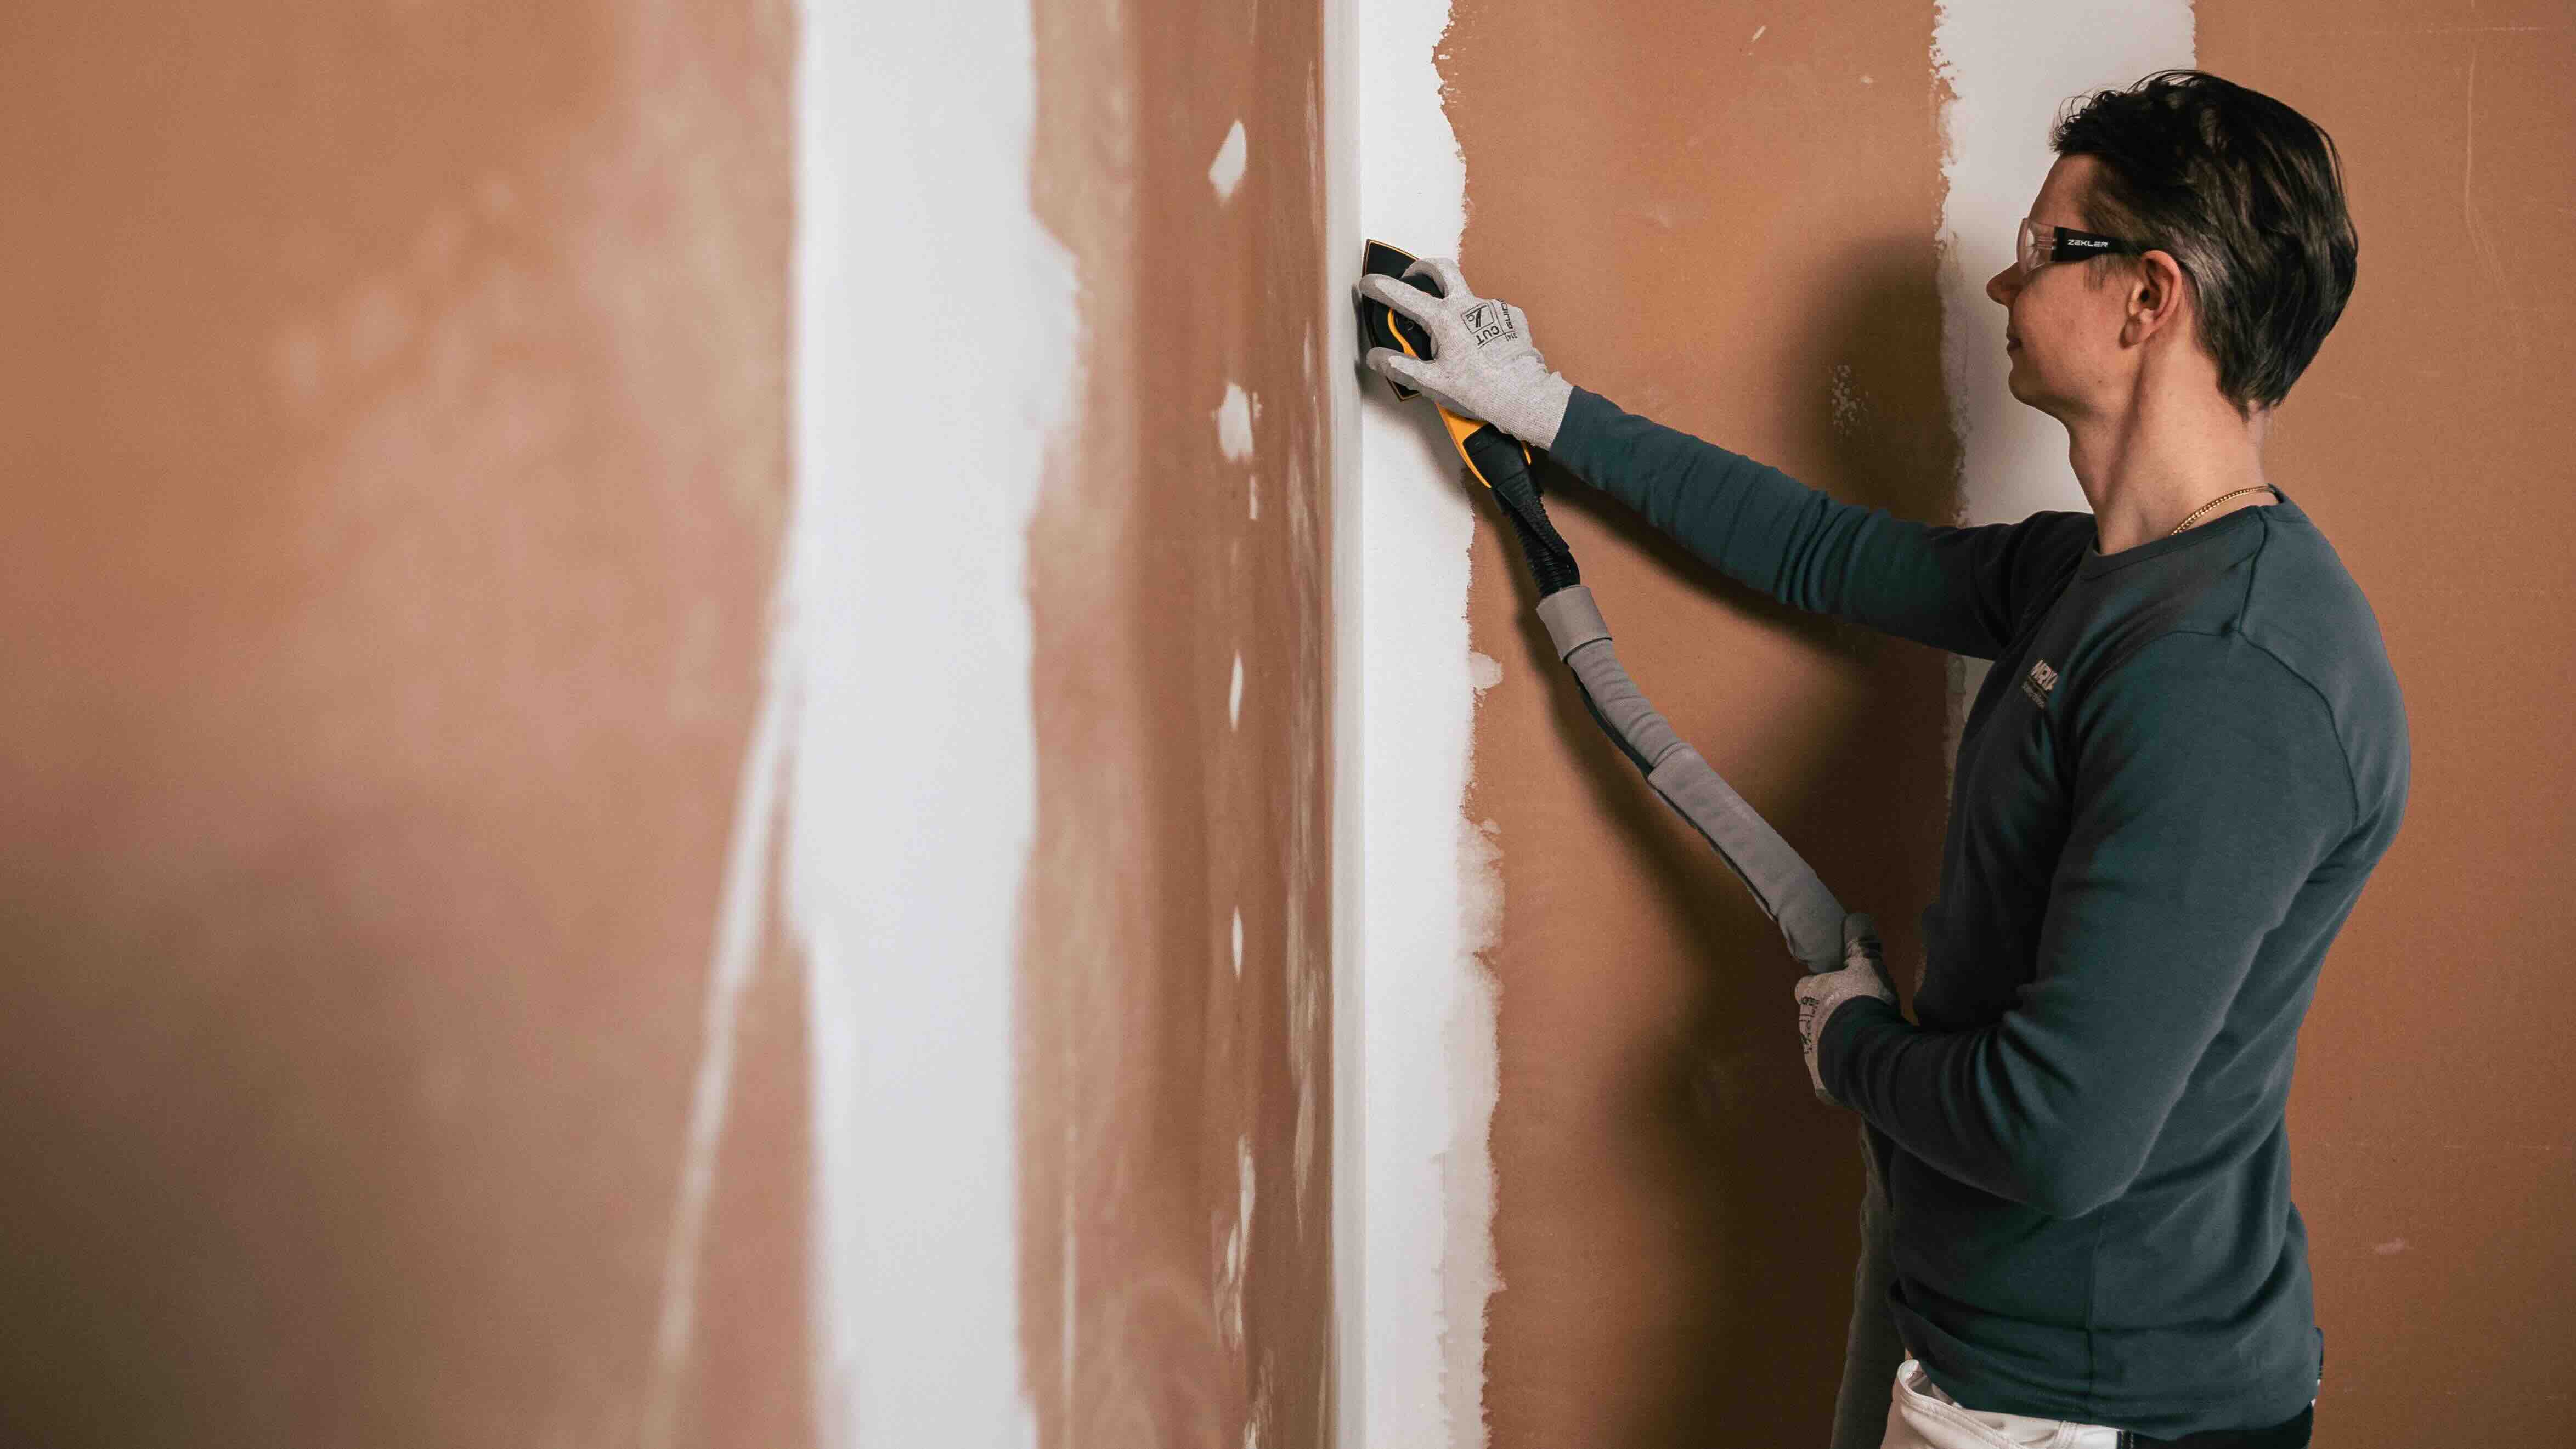
- Sand the repaired area: Gently sand the repaired area in a circular or back-and-forth motion. Start with the coarsest grit to remove any unevenness or rough spots, and then switch to finer grits to achieve a smoother surface.
- Blend the edges: Pay close attention to the edges of the repaired area and the surrounding plaster. Use a light touch to feather the edges, creating a seamless transition between the repair and the rest of the ceiling.
- Wipe away dust: Use a damp cloth or sponge to wipe away any dust or debris created during the sanding process. Ensure the area is clean and dry before moving on.
At this stage, it’s essential to carefully evaluate the repaired area. If any imperfections or unevenness are still noticeable, you may need to apply an additional thin layer of plaster filler and repeat the sanding process. Take your time and strive for a smooth and flawless surface.
Once you are satisfied with the smoothness of the repaired area, you can proceed to the final steps of priming and painting to complete the restoration of your plaster ceiling.
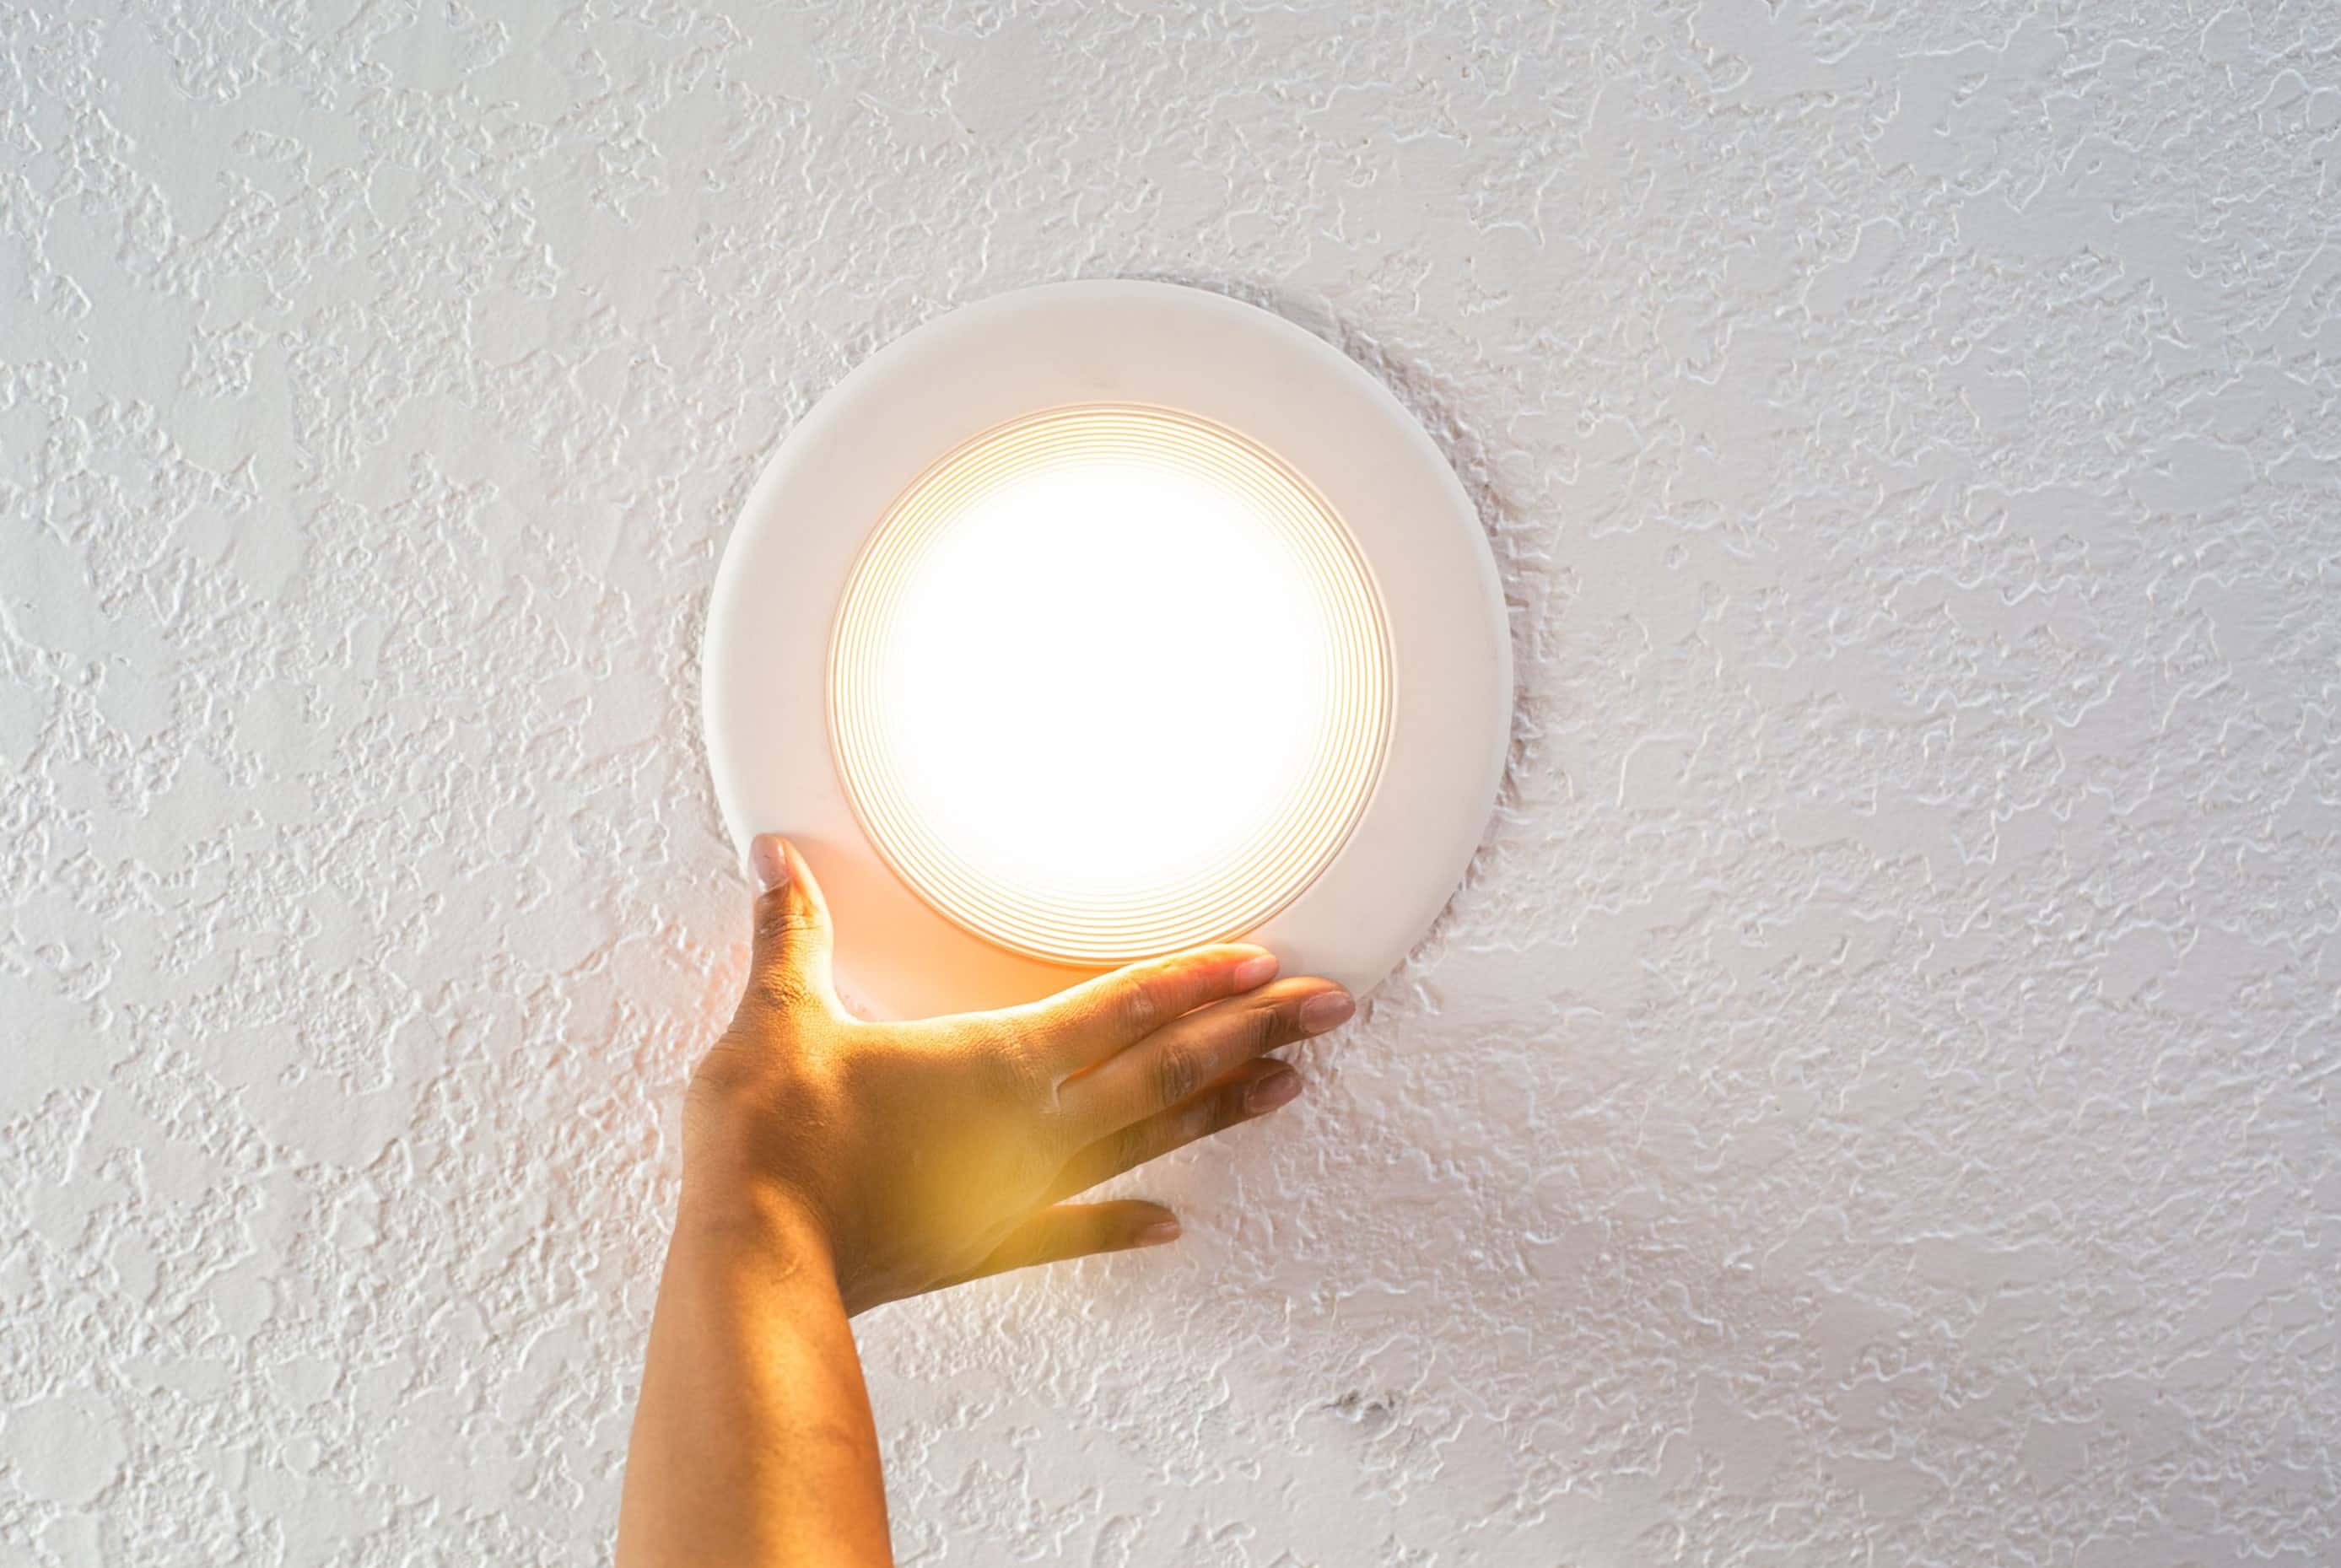
Step 6: Prime and Paint the Repaired Area
After sanding and smoothing the repaired area, it’s time to prime and paint the surface to seamlessly blend it with the rest of the ceiling. Priming and painting will not only enhance the appearance of the repaired area but also provide added protection. Follow these steps to prime and paint the repaired area:
- Prepare the area: Ensure that the repaired area is clean and free from any dust or debris. Use a damp cloth to wipe away any remaining particles and allow the area to dry completely.
- Apply a primer: Use a roller or brush to apply a coat of primer to the repaired area. Priming will help the paint adhere better, provide a uniform surface, and prevent the repaired area from standing out. Follow the manufacturer’s instructions for drying time.
- Sand lightly: Once the primer is dry, lightly sand the area with a fine-grit sandpaper to smooth any roughness or imperfections. Wipe away any dust with a clean, damp cloth.
- Paint the repaired area: Using a brush or roller, carefully apply paint that matches the color of the surrounding ceiling. Start from the edges and work your way towards the center, using smooth and even strokes. Apply additional coats if necessary, allowing each coat to dry completely before adding the next one.
- Blend the paint: To ensure a seamless transition between the repaired area and the rest of the ceiling, feather the paint by using long, light strokes along the edges of the newly painted section.
- Clean up: Dispose of any used paint containers, brushes, or rollers properly. Clean your tools promptly according to the paint manufacturer’s instructions.
Allow the paint to dry completely before inspecting the repaired area. If needed, touch up any areas that require additional paint to achieve a seamless finish. Once satisfied with the result, step back and admire your restored and repaired plaster ceiling.
By following these steps, you can confidently repair a plaster ceiling hole and restore its beauty. It’s important to note that larger or more complex plaster ceiling repairs may require professional assistance.
Conclusion
Repairing a plaster ceiling hole may seem like a daunting task, but with the right materials and techniques, it can be accomplished successfully. By following the steps outlined in this article, you can restore the beauty of your plaster ceiling and eliminate unsightly holes or cracks.
Remember, proper preparation is key to achieving a seamless and long-lasting repair. Take the time to gather all the necessary materials and prepare the area before beginning the repair process. Cleaning the hole and applying layers of plaster ensures a solid and stable foundation for a smooth finish.
By sanding and smoothing the repaired area, you can seamlessly blend it with the rest of the ceiling. Priming and painting provide the finishing touches, not only enhancing the appearance but also adding an extra layer of protection.
It’s important to note that while smaller plaster ceiling repairs can be tackled as a DIY project, larger or more complex repairs may require the expertise of a professional. Additionally, always follow the manufacturer’s instructions for any products used during the repair process and prioritize safety by wearing protective gear.
With patience, attention to detail, and the guidance provided in this article, you can breathe new life into your plaster ceiling and enjoy a beautifully restored and repaired space.
Frequently Asked Questions about How To Repair A Plaster Ceiling Hole
Was this page helpful?
At Storables.com, we guarantee accurate and reliable information. Our content, validated by Expert Board Contributors, is crafted following stringent Editorial Policies. We're committed to providing you with well-researched, expert-backed insights for all your informational needs.


0 thoughts on “How To Repair A Plaster Ceiling Hole”