Articles
How To Repair A Plaster Ceiling
Modified: October 28, 2024
Learn how to repair a plaster ceiling with these informative articles. Step-by-step guides and expert tips to help you fix your ceiling efficiently and effectively.
(Many of the links in this article redirect to a specific reviewed product. Your purchase of these products through affiliate links helps to generate commission for Storables.com, at no extra cost. Learn more)
Introduction
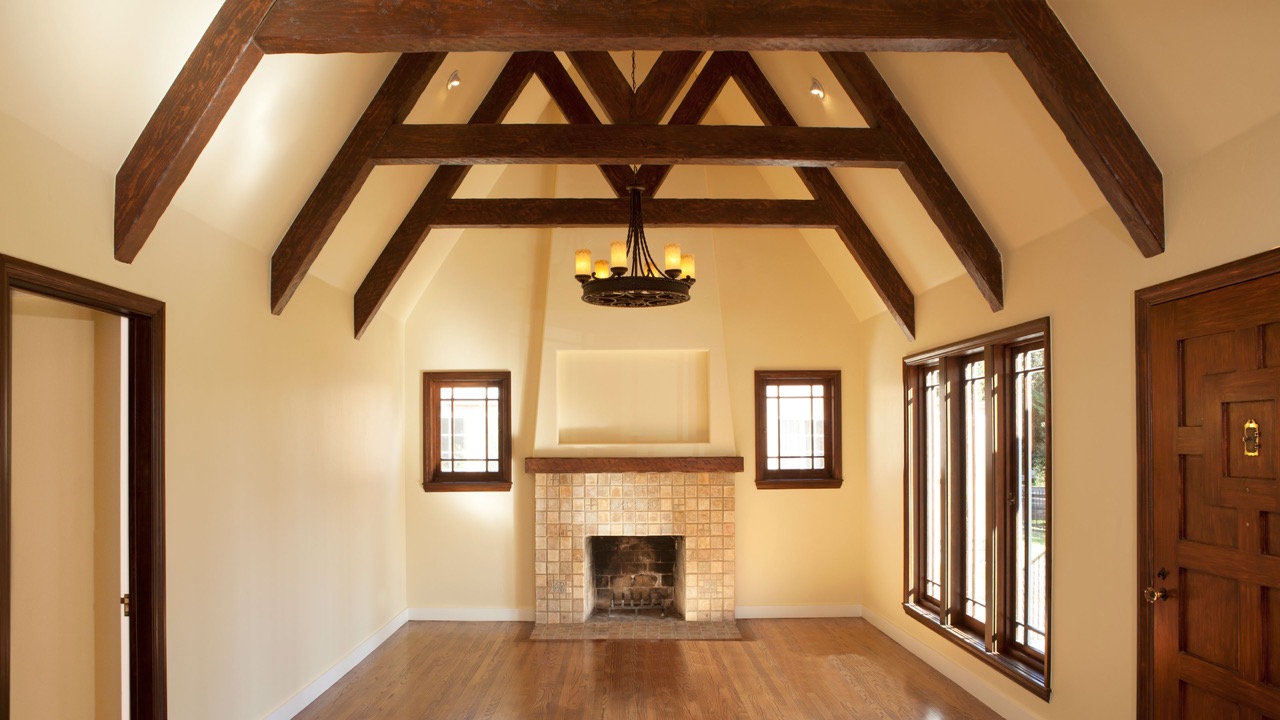
Welcome to our guide on how to repair a plaster ceiling. Plaster ceilings are a beautiful and classic feature in many homes, but over time, they can develop cracks, holes, or other signs of damage. If left untreated, these issues can worsen and compromise the integrity of the ceiling. However, with the right supplies and techniques, you can restore your plaster ceiling to its former glory.
Repairing a plaster ceiling may seem like a daunting task, but it’s a project that can be accomplished with patience and attention to detail. Whether you’re a seasoned DIY enthusiast or a novice looking to learn new skills, this step-by-step guide will walk you through the process of repairing a plaster ceiling.
Before we dive into the repair process, it’s essential to gather the necessary supplies and tools. Having everything at hand will streamline the process and ensure that you can complete the project efficiently.
Supplies and Tools Needed:
- Plaster patching compound
- Plaster mesh or tape
- Putty knife
- Sanding block or sandpaper
- Primer
- Paint
- Drop cloth or plastic sheeting
- Painter’s tape
- Safety goggles
- Dust mask
- Protective gloves
Once you have all the necessary supplies and tools, you can begin repairing your plaster ceiling. However, before diving into the repair process, it’s crucial to prepare the area properly.
Key Takeaways:
- Repairing a plaster ceiling requires thorough preparation, from gathering the necessary supplies to assessing the damage and removing loose plaster. Following the step-by-step guide ensures a successful restoration process.
- Prioritizing safety, taking time to work in small sections, and following manufacturer’s instructions are crucial for achieving a seamless and professional result when repairing and painting a plaster ceiling.
Read more: How To Plaster A Ceiling: An Expert Guide
Supplies and Tools Needed
Before you embark on repairing a plaster ceiling, it’s important to gather all the necessary supplies and tools. Having everything at hand will ensure a smooth and efficient repair process. Here is a list of the essential supplies and tools you’ll need:
- Plaster patching compound: This is the main material you’ll use to fill in cracks and holes in the plaster ceiling. Make sure to choose a high-quality compound that is specifically designed for plaster repairs.
- Plaster mesh or tape: This is used to reinforce larger cracks or areas of damage. Plaster mesh is a self-adhesive fabric that provides extra strength and stability to the repaired area.
- Putty knife: A putty knife will be your primary tool for applying the plaster compound and smoothing it out. Choose a putty knife with a flexible blade for easier application.
- Sanding block or sandpaper: Once the plaster compound has dried, you’ll need a sanding block or sandpaper to smooth out any rough edges and create a seamless finish.
- Primer: It’s important to prime the repaired area before painting to ensure proper adhesion and a consistent finish. Choose a primer that is specifically formulated for plaster surfaces.
- Paint: After priming, you’ll need paint to match the existing color of your ceiling. Choose a high-quality paint that is suitable for plaster surfaces.
- Drop cloth or plastic sheeting: To protect your floor and furniture from dust and debris, it’s important to lay down a drop cloth or plastic sheeting before starting the repair process.
- Painter’s tape: Painter’s tape is useful for masking off adjacent areas that you don’t want to get paint or primer on.
- Safety goggles: When working with plaster, it’s essential to protect your eyes from debris and dust. Safety goggles will shield your eyes and prevent any potential injuries.
- Dust mask: Plaster dust can be harmful when inhaled, so it’s important to wear a dust mask to protect your respiratory system while sanding or handling plaster.
- Protective gloves: Gloves will protect your hands from the plaster compound and any chemicals you may be using.
Having all these supplies and tools ready will make your plaster ceiling repair project go smoothly. Now that you’re prepared, let’s move on to preparing the area before starting the actual repairs.
Preparing the Area
Before you begin repairing a plaster ceiling, it’s crucial to properly prepare the area to ensure a successful and efficient repair process. Here are the steps to follow when preparing the area:
- Cover the floor and furniture: Start by laying down a drop cloth or plastic sheeting to protect the floor and any furniture in the room. This will prevent dust, debris, and potential drips of plaster compound or paint from causing damage.
- Remove any loose debris: Use a broom or a vacuum cleaner with a brush attachment to remove any loose debris, cobwebs, or dust from the damaged area and its surroundings. This will ensure a clean surface for the repair.
- Clean the damaged area: Use a damp cloth or sponge to clean the damaged area. This will remove any dirt, grease, or loose particles that may affect the adhesion of the plaster compound.
- Mask off adjacent areas: If there are any adjacent areas or surfaces that you don’t want to get paint or plaster compound on, use painter’s tape to mask them off. This can include walls, trim, or any other surfaces that you want to keep clean during the repair process.
- Ensure proper ventilation: Open windows or use fans to ensure proper ventilation in the room. This will help dissipate any fumes or odors from the plaster products you’ll be using.
By following these steps, you’ll create a clean and protected environment for your plaster ceiling repair project. Once the area is properly prepared, you can move on to assessing the damage and determining the best course of action for repairing your plaster ceiling.
Assessing the Damage
Before you can begin repairing a plaster ceiling, it’s important to assess the extent of the damage. This will help you determine the best approach and materials to use for the repair. Here are the steps to follow when assessing the damage:
- Inspect the entire ceiling: Take a close look at the entire plaster ceiling to identify any cracks, holes, or areas of damage. Use a flashlight if needed to ensure you don’t miss any subtle signs of damage.
- Note the size and location of the damage: Make note of the size and location of each damaged area. Measure the length, width, and depth of any cracks or holes to have a clear understanding of the repairs that need to be made.
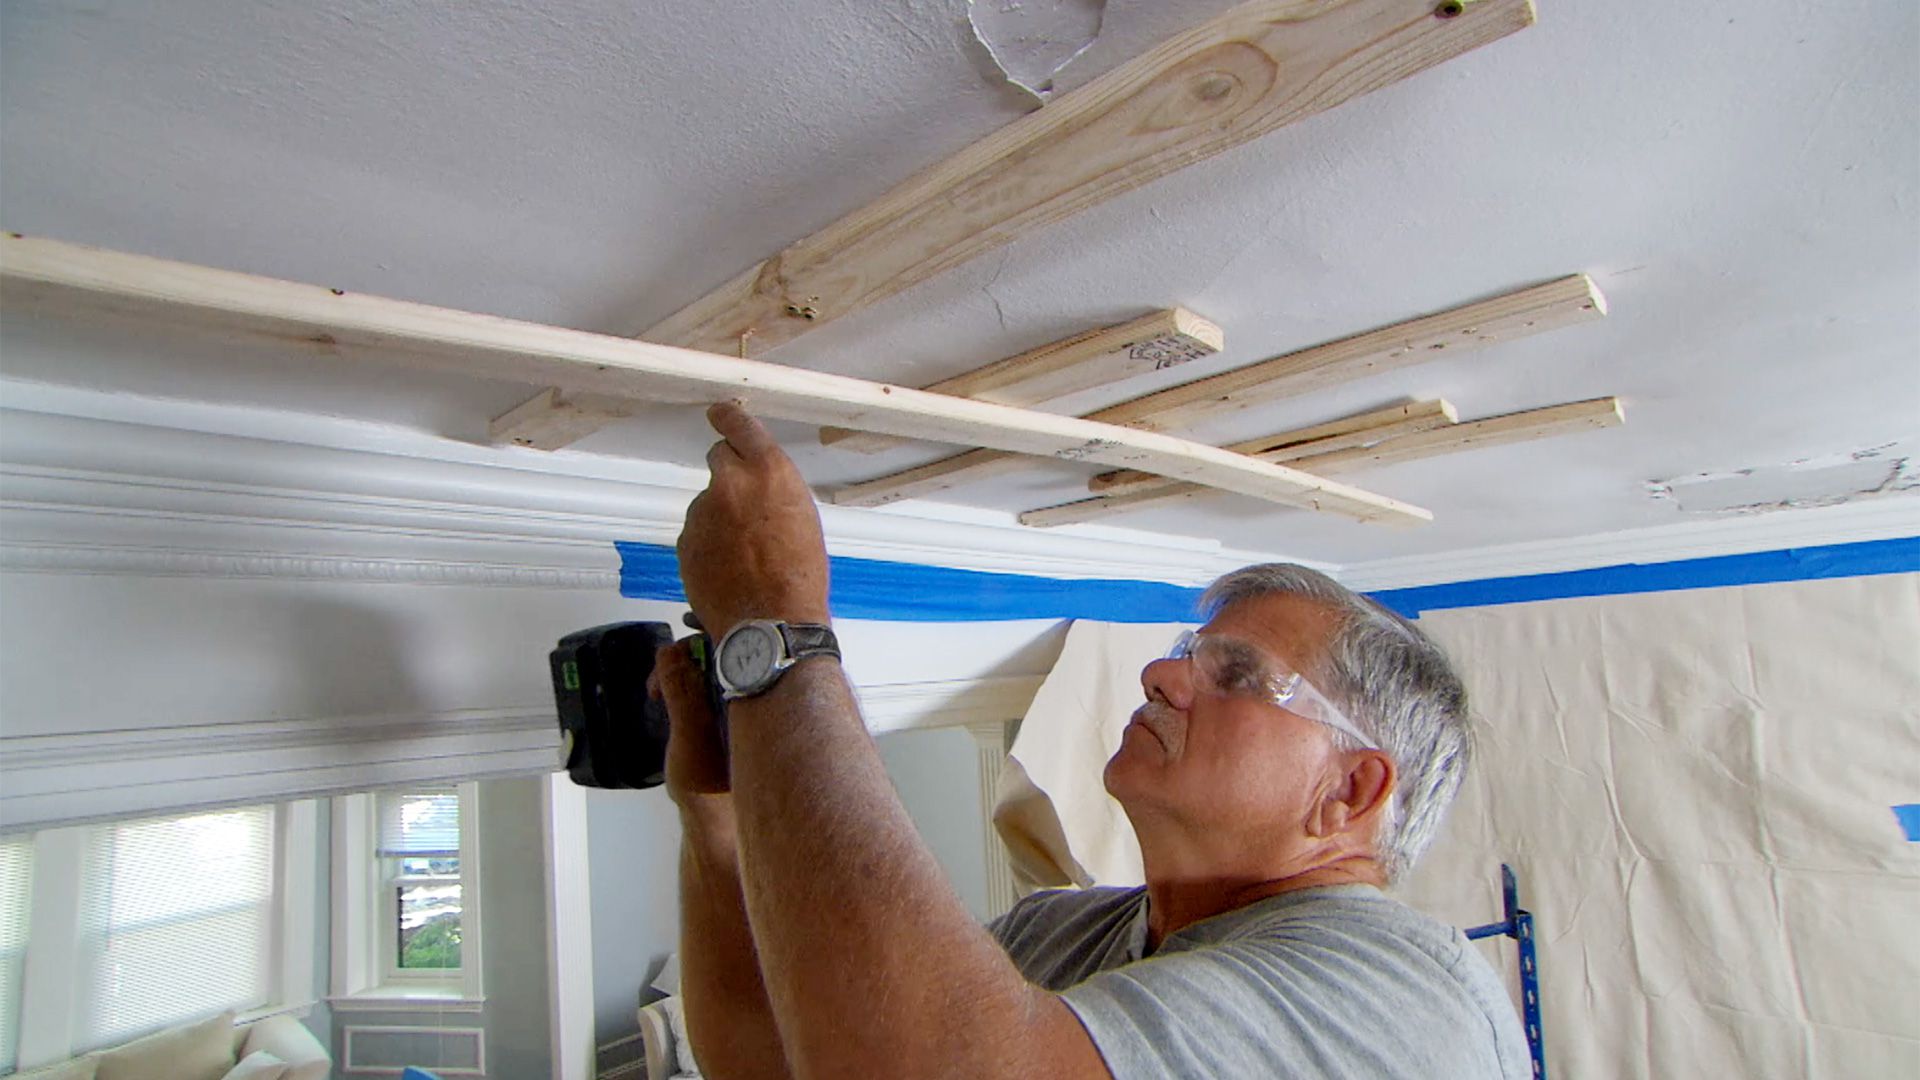
- Check for loose or sagging plaster: Gently tap on the ceiling with a wooden dowel or the handle of a screwdriver to check for any loose or sagging plaster. If you notice any movement or hollow sounds, this indicates that the plaster is no longer securely attached to the underlying structure.
- Assess the stability of the surrounding plaster: Examine the plaster around the damaged areas to ensure it is still in good condition. If you notice any signs of weakness, cracking, or flaking, it’s a sign that the surrounding plaster may also need attention.
- Consider the cause of the damage: Try to identify the cause of the damage, whether it’s structural issues, water damage, or other factors. Addressing the underlying cause will help prevent future damage and ensure a long-lasting repair.
By thoroughly assessing the damage, you can develop an effective plan of action for repairing your plaster ceiling. Small cracks or holes can often be repaired with simple patching techniques, while more extensive damage may require additional steps, such as reinforcing with plaster mesh or tape.
Once you have assessed the damage, you can move on to the next steps in the plaster ceiling repair process, which involve removing any loose plaster and preparing the surface for the repair compound. Stay tuned for the next section of our guide!
Removing Loose Plaster
After assessing the damage to your plaster ceiling, the next step in the repair process is to remove any loose or damaged plaster. This will ensure a clean and stable surface for the repair compound. Here’s how you can remove loose plaster effectively:
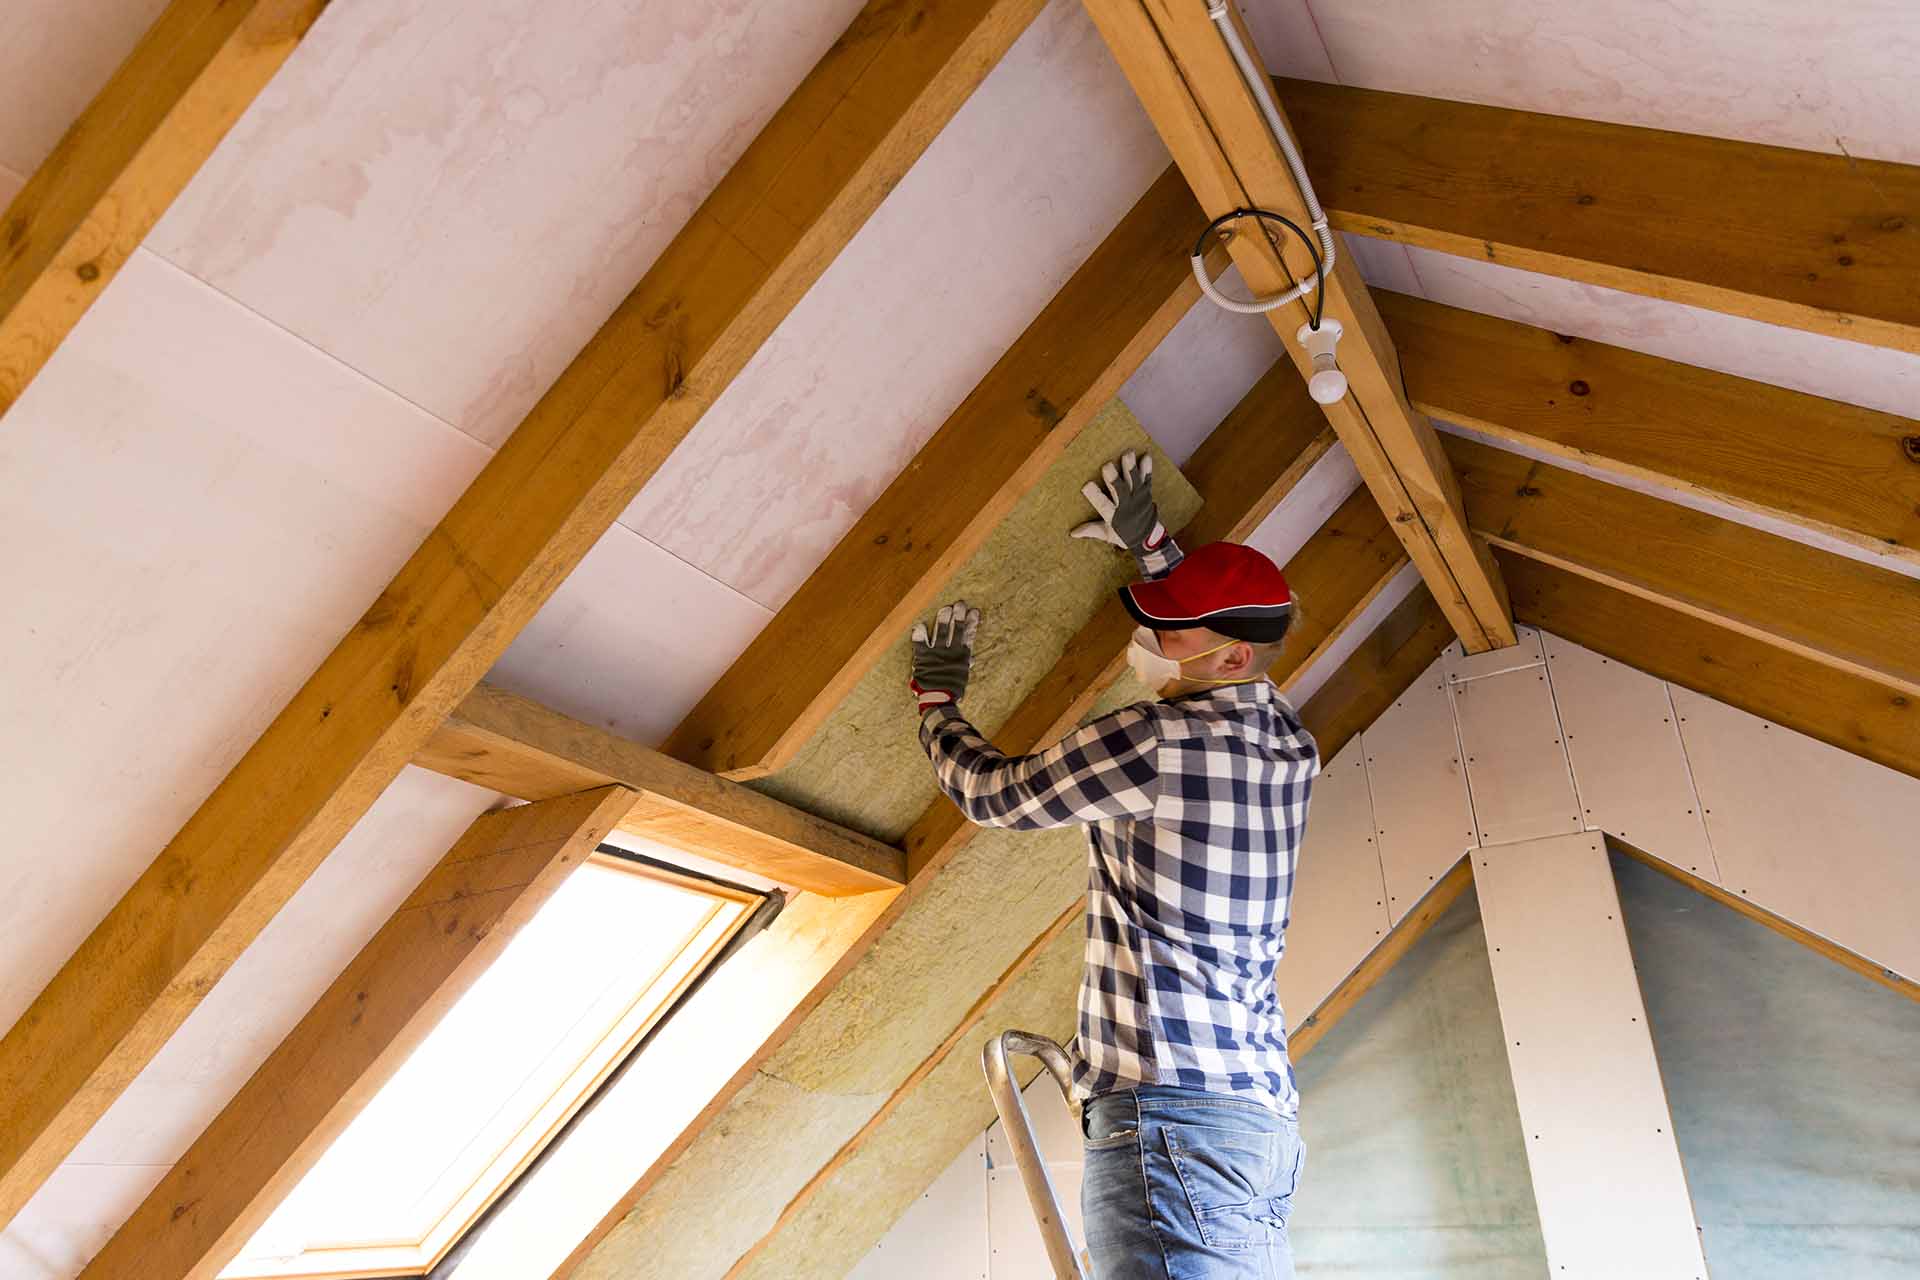
- Protect yourself: Before you begin, it’s important to protect yourself by wearing safety goggles, a dust mask, and gloves. This will shield you from any debris or dust that may be generated during the removal process.
- Stabilize the area: If you encounter any loose or sagging plaster, it’s essential to stabilize the area before proceeding. Carefully press or gently tap on the plaster to determine if it still adheres firmly to the lath or substrate. If it feels unstable or comes off easily, you’ll need to remove it until you reach a stable and solid surface. Use a putty knife or a chisel to carefully chip away the loose plaster.
- Remove additional damaged plaster: Look for any other areas of damaged plaster, such as cracks or loose sections. Use your putty knife or chisel to carefully remove these sections until you reach sound and stable plaster. Be cautious not to damage the surrounding areas.
- Clean the area: Once you have removed all the loose or damaged plaster, use a brush or a vacuum cleaner to clean the area thoroughly. This will remove any dust, debris, or loose particles that may affect the adhesion of the repair compound.
By taking the time to remove loose plaster, you are creating a stable foundation for the repair process. It’s important to note that if you encounter a significant amount of loose plaster or the damage is extensive, it may be necessary to seek professional help for a more thorough assessment and repair.
Now that you have removed the loose plaster, you can move on to the next step in the process, which is applying the plaster patching compound to fill in the cracks and holes. Stay tuned for the next section of our guide!
Read more: How To Repair Plaster Ceiling Cracks
Applying Plaster Patching Compound
Now that you have removed any loose plaster from your ceiling, it’s time to apply the plaster patching compound to fill in the cracks, holes, or damaged areas. This compound will help restore the integrity of your plaster ceiling. Here are the steps to follow when applying the plaster patching compound:
- Prepare the compound: Follow the manufacturer’s instructions to prepare the plaster patching compound. This may involve mixing the compound with water or another specified liquid. Make sure to mix it to a smooth and workable consistency.
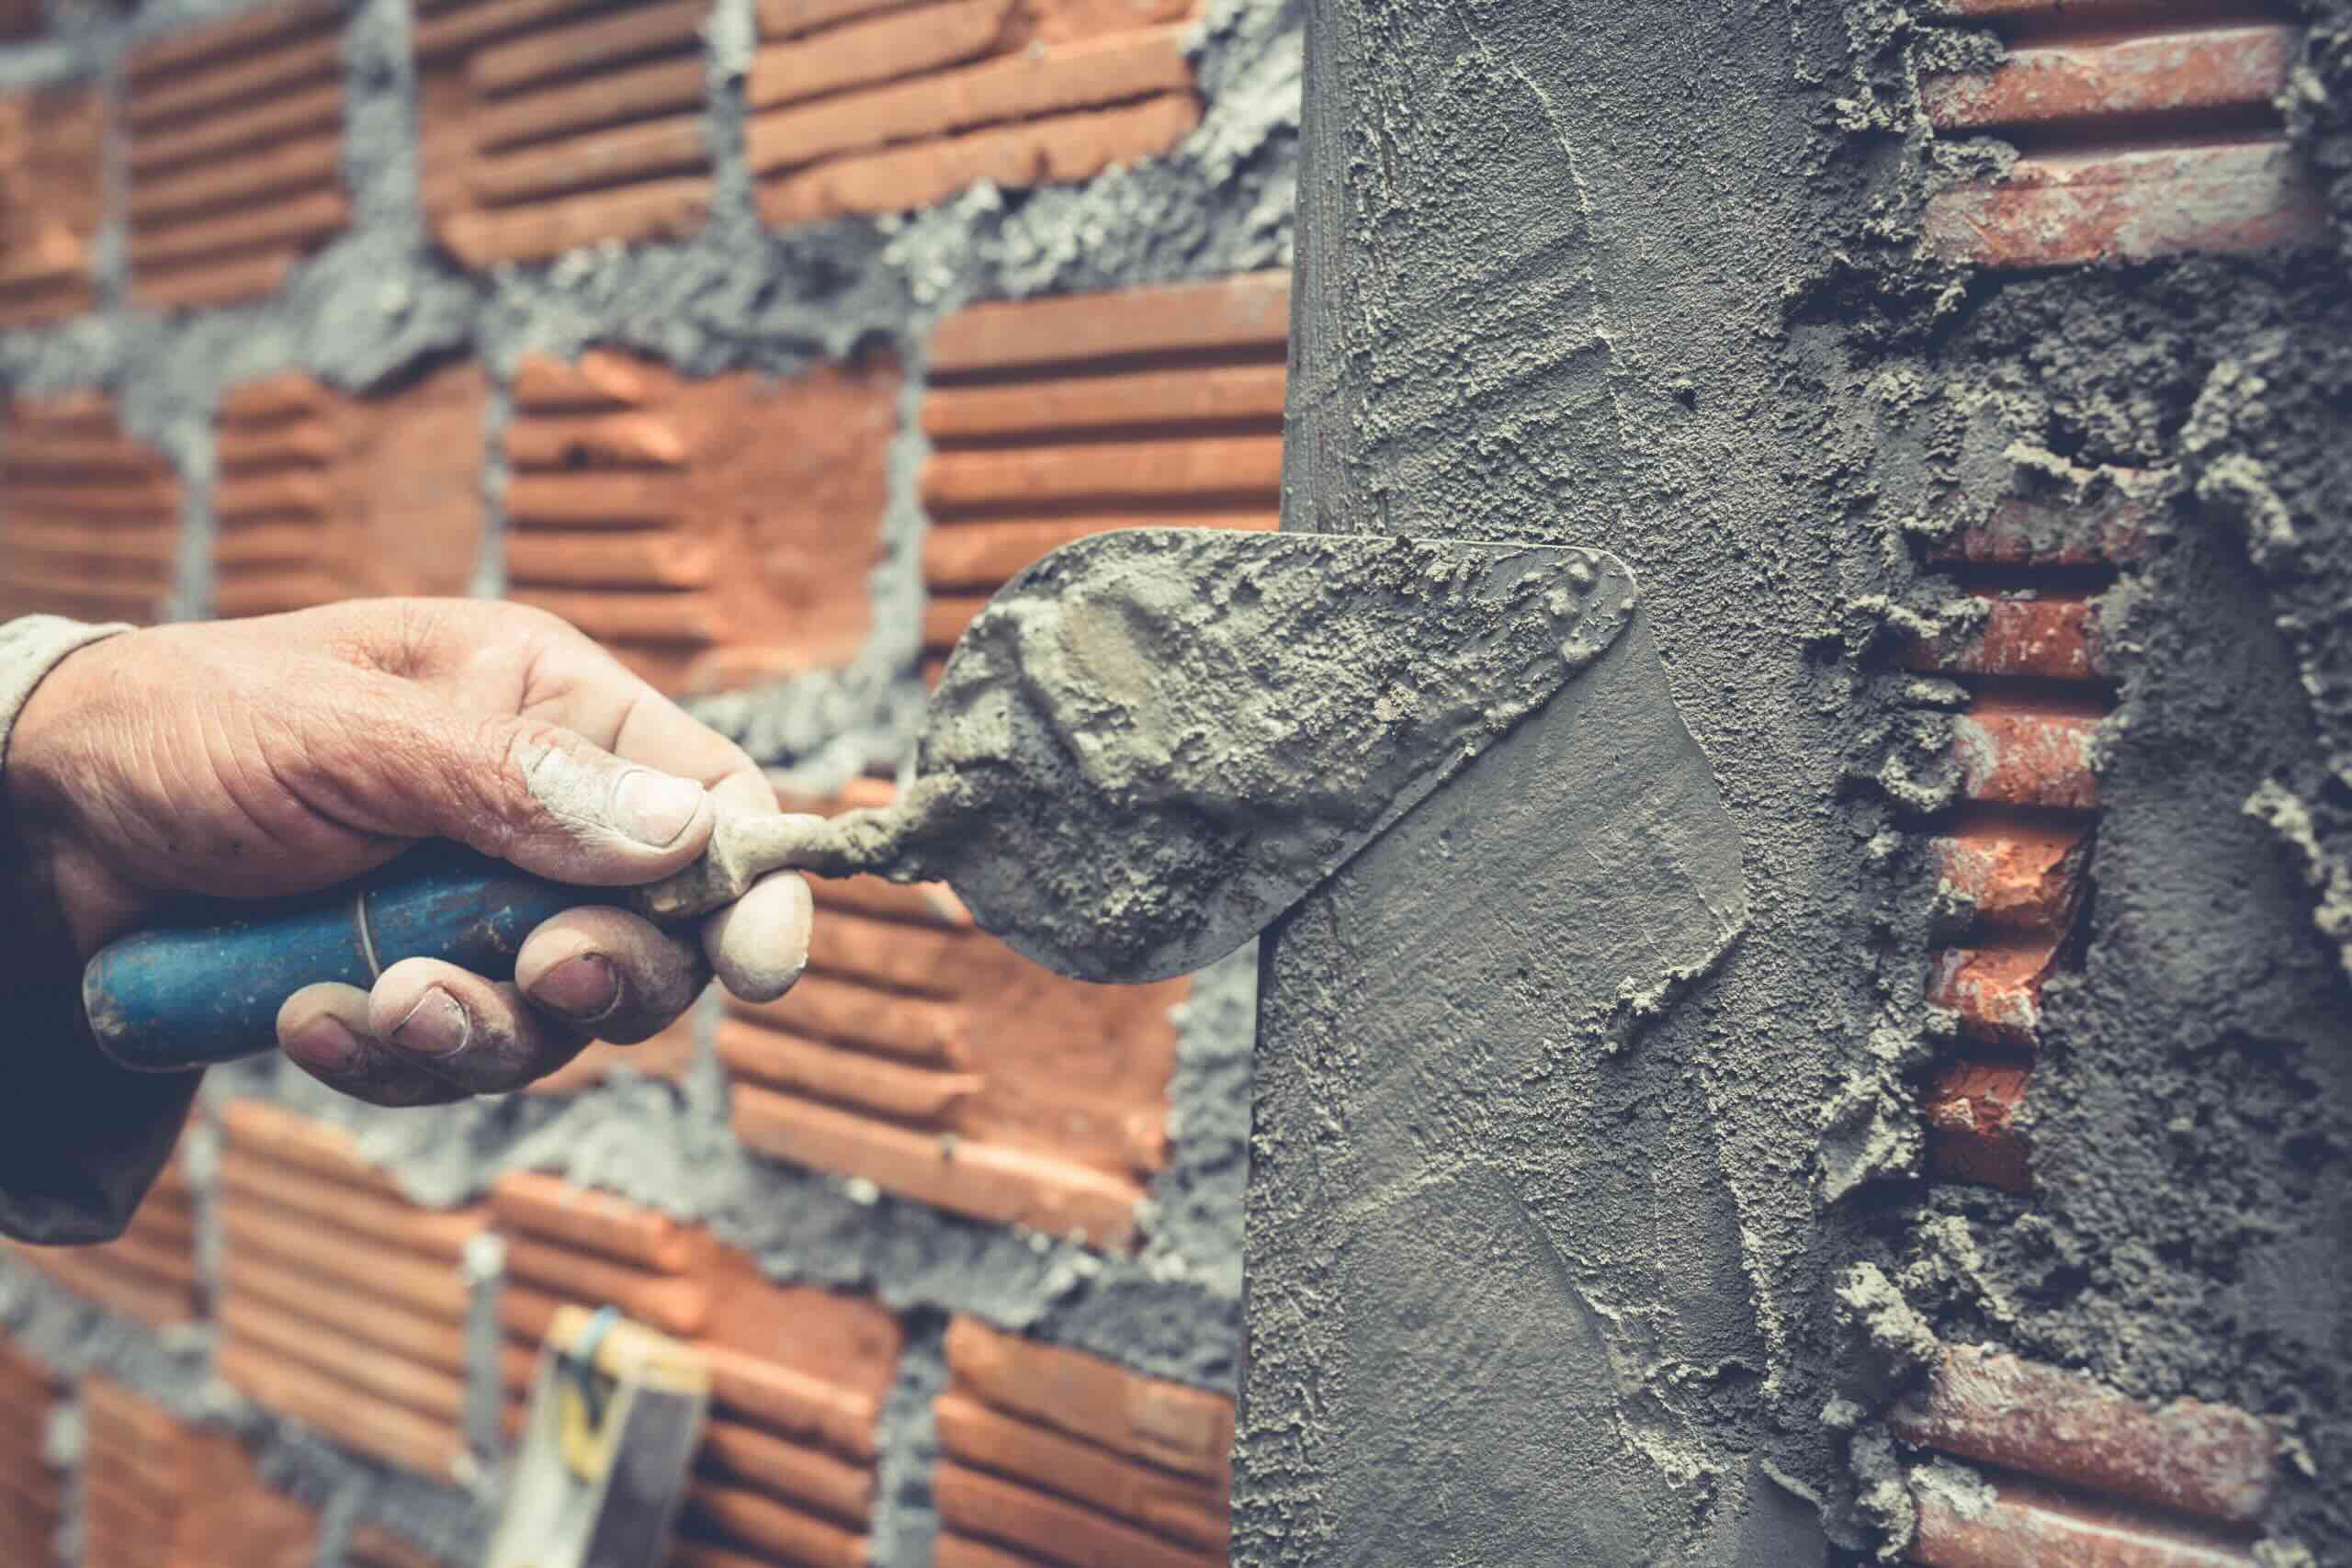
- Apply the compound with a putty knife: Using a putty knife, scoop up a small amount of the compound and apply it to the damaged area. Press the compound firmly into the cracks, holes, or damaged sections, ensuring that it fills the entire space. Smooth and level the compound with the putty knife, removing any excess or protruding compound.
- Use plaster mesh or tape for larger repairs: For larger cracks or areas of damage, you may need to reinforce the repair with plaster mesh or tape. Cut a piece of mesh or tape that is slightly larger than the damaged area and press it firmly into the wet compound. Apply additional compound over the mesh or tape, using the putty knife to smooth it out and blend it with the surrounding plaster.
- Allow the compound to dry: Follow the manufacturer’s instructions for the drying time of the plaster patching compound. It typically takes several hours or overnight for the compound to fully dry and harden. Avoid touching or disturbing the repaired area during this time.
Remember to work in small sections at a time, as the plaster patching compound can dry quickly. If you’re working on a larger area, it may be necessary to do the repairs in stages.
Once the compound has dried, you can move on to the next steps in the repair process, which involve smoothing the surface, sanding, and cleaning. Stay tuned for the next section of our guide!
When repairing a plaster ceiling, make sure to clean the area thoroughly before applying any patching material to ensure a strong bond and smooth finish.
Smoothing the Surface
After applying the plaster patching compound to your ceiling and allowing it to dry, the next step in the repair process is to smooth the surface. This will create a seamless and professional finish. Here are the steps to follow when smoothing the surface:
- Inspect the repaired areas: Take a close look at the repaired areas to identify any unevenness, ridges, or rough edges. Use your fingers or a light touch to feel for any imperfections.
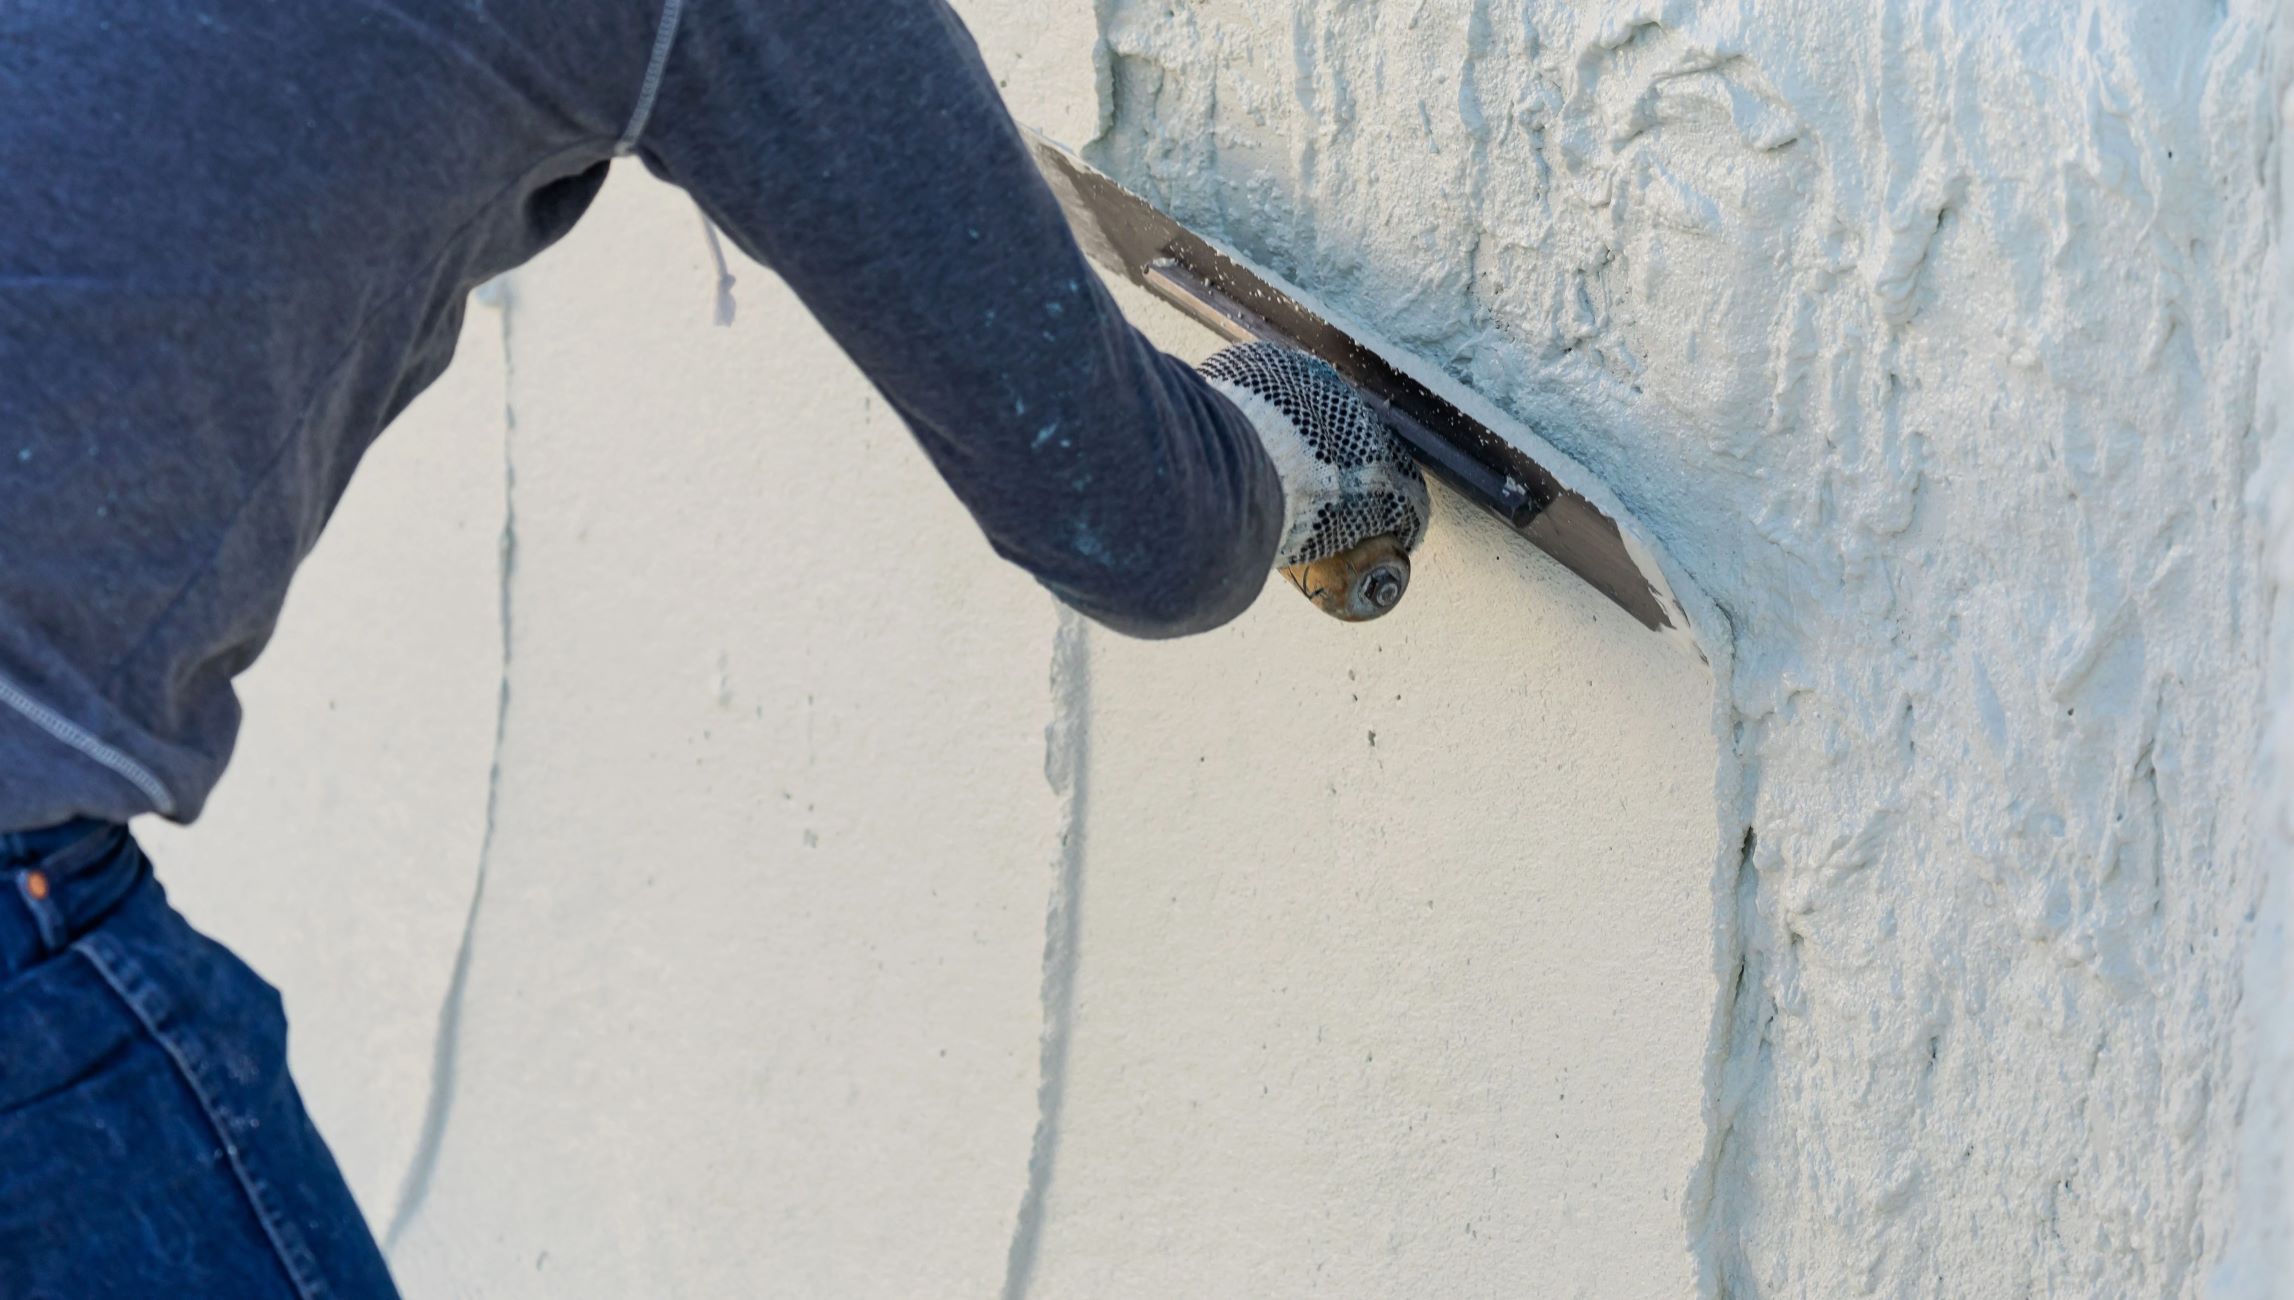
- Use a putty knife or a trowel: Take a putty knife or a small trowel and gently scrape across the surface of the dried compound. This will help smooth out any high spots or ridges. Use light pressure and multiple passes to achieve a flat and even surface.
- Blend the edges: Pay attention to the edges of the repaired areas, ensuring they blend seamlessly with the surrounding plaster. Feather the edges by gently tapering the compound towards the existing plaster, creating a smooth transition.
- Inspect and touch up: After smoothing the surface, inspect it again to ensure a uniform and smooth finish. If you notice any remaining imperfections or uneven spots, use your putty knife or trowel to carefully touch up those areas. Blend them into the surrounding surface for a seamless result.
The key to smoothing the surface is to work with a light touch and take your time to achieve the desired result. It’s important to note that perfection may not be attainable, and slight variations may still be visible. However, the goal is to create a surface that is visually appealing and blends well with the surrounding plaster.
Once you have smoothed the surface, the next step in the repair process is to sand and clean the area to prepare it for priming and painting. Stay tuned for the next section of our guide!
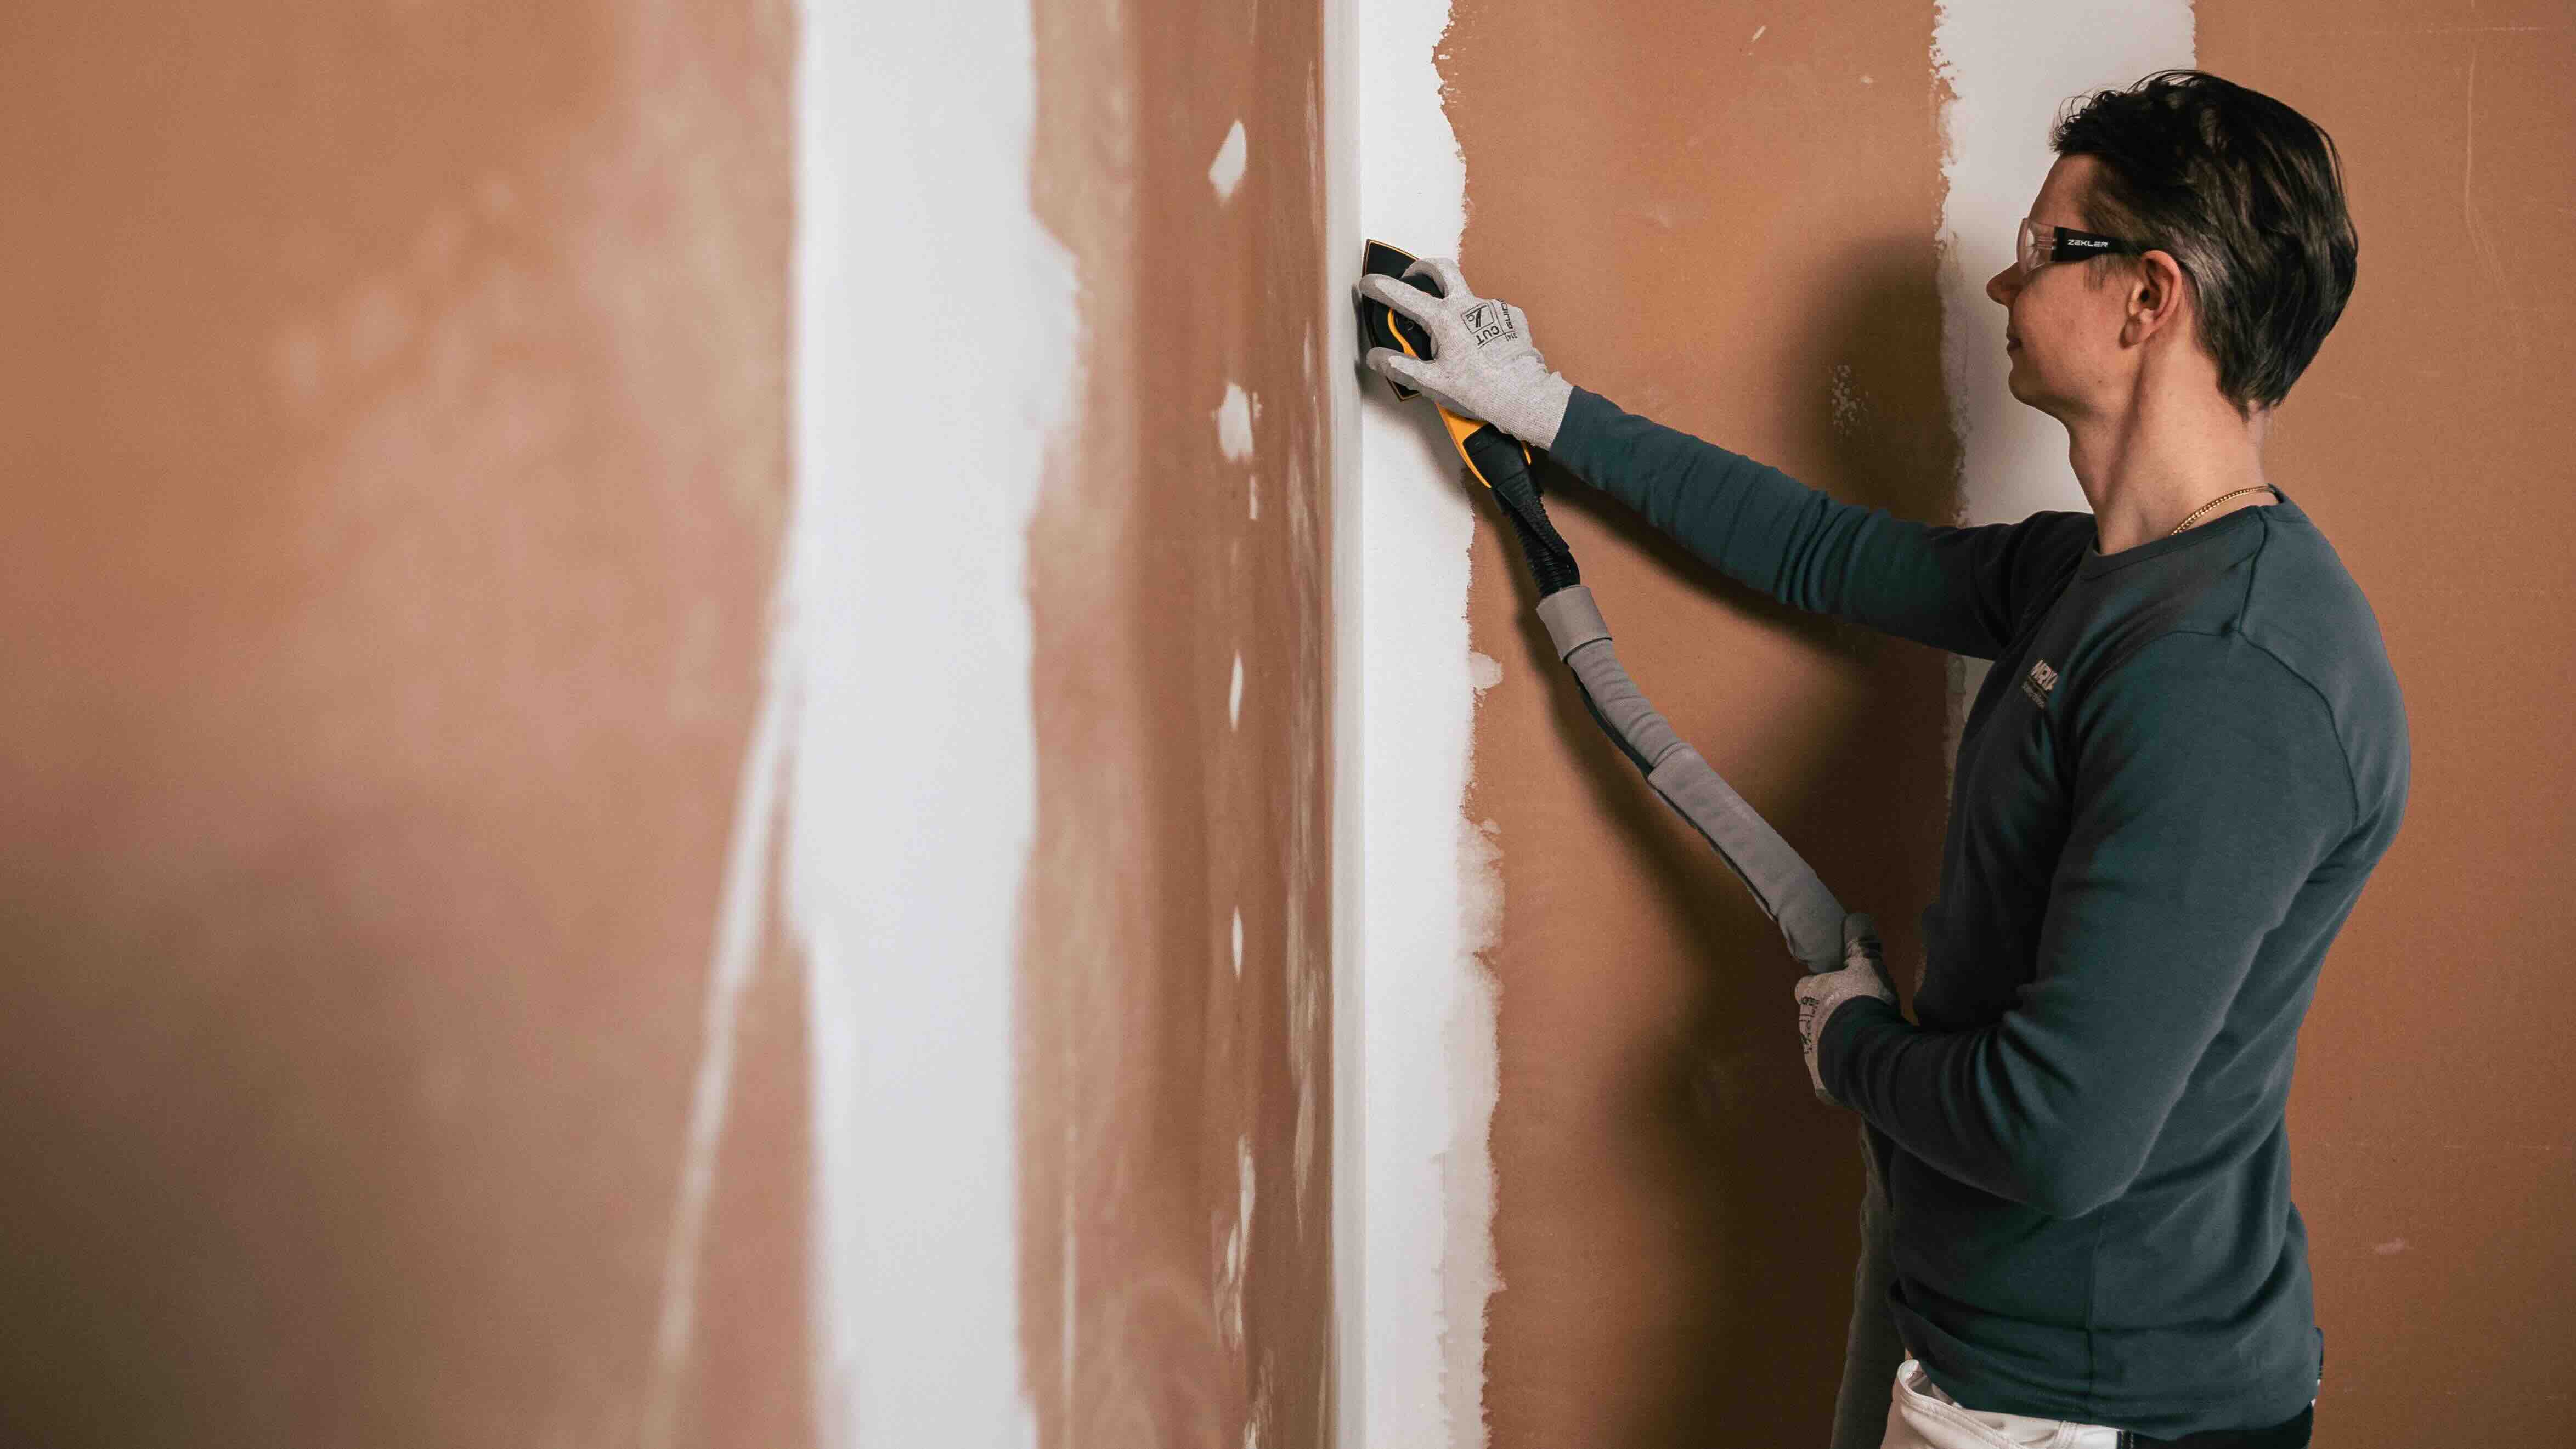
Sanding and Cleaning
After smoothing the surface of your plaster ceiling, the next step in the repair process is to sand and clean the area. This will help create a smooth and polished surface, ensuring optimal adhesion for primer and paint. Here’s how to sand and clean the repaired area:
- Gather your sanding materials: You’ll need a sanding block or sandpaper with a medium grit (around 120-150) to sand the repaired areas. Additionally, have a dust mask and a brush or vacuum cleaner with a brush attachment ready for cleaning up after sanding.
- Sand the repaired areas: Use the sanding block or sandpaper to gently sand the repaired areas. Work in light circular motions, applying even pressure, to smooth out any roughness or imperfections. It’s important to keep the pressure consistent and avoid over-sanding, as this can damage the repaired surface or create unevenness.
- Clean up the dust: After sanding, use a brush or vacuum cleaner to remove any sanding dust from the repaired areas. Ensure that the surface is clean and free of debris before proceeding to the next step.
- Wipe down the area: Dampen a clean cloth or sponge with water and gently wipe down the repaired areas. This will help remove any remaining dust or residue from sanding. Allow the area to dry completely before moving on.
By sanding and cleaning the repaired areas, you are preparing them for priming and painting. It’s important to note that the level of sanding required may vary depending on the extent of the repairs and the desired finish. Be mindful not to sand too aggressively, as this can affect the smoothness of the surface and create more work in the long run.
Now that you’ve sanded and cleaned the area, you’re ready to move on to the next steps in the repair process, which involve priming the ceiling. Stay tuned for the next section of our guide!
Priming the Ceiling
After sanding and cleaning the repaired areas of your plaster ceiling, it’s time to prime the surface. Priming is an essential step that prepares the repaired areas for paint and ensures proper adhesion and durability. Here’s how to prime your ceiling:
- Choose the right primer: Select a primer that is specifically formulated for plaster surfaces. Look for a high-quality primer that offers good coverage and adhesion. It’s recommended to consult with a paint professional or follow the manufacturer’s guidelines to ensure you choose the appropriate primer.
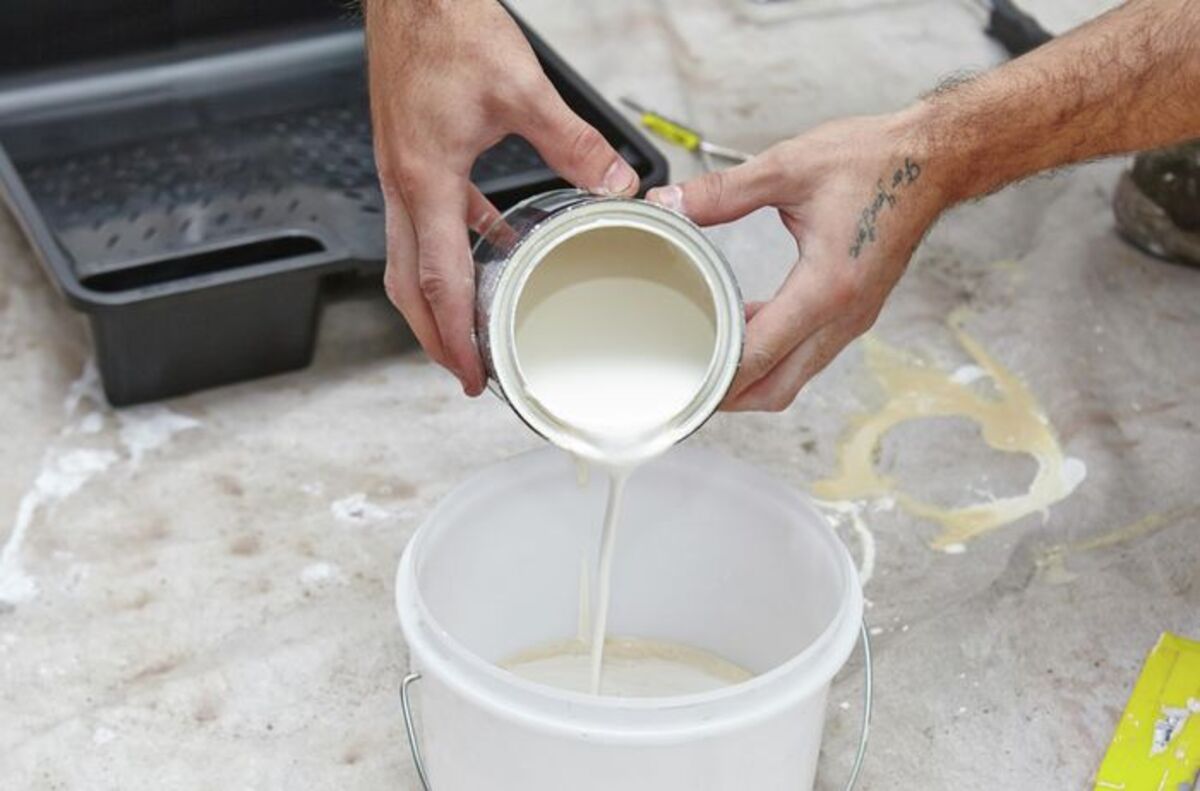
- Prepare the primer: Follow the manufacturer’s instructions to prepare the primer. This may involve stirring the primer thoroughly or thinning it with a specified liquid, such as water or paint thinner.
- Protect the surrounding areas: Use painter’s tape and plastic sheeting to protect any adjacent areas or surfaces that you don’t want to get primer on, such as walls or trim.
- Apply the primer: Pour a small amount of primer into a paint tray or use a brush or roller to apply it directly to the repaired areas. Work in small sections, starting from one corner and moving across the ceiling. Apply the primer evenly and in thin coats, following the manufacturer’s recommended drying time between coats if necessary.
- Ensure full coverage: Make sure to fully cover the repaired areas with primer, ensuring that there are no bare spots or missed spots. This will provide a uniform base for the paint and help conceal any repairs.
- Allow the primer to dry: Follow the manufacturer’s instructions for the drying time of the primer. It typically takes a few hours, but it’s best to allow it to dry overnight for optimal results. Avoid touching or disturbing the primed areas during this time.
Priming the ceiling creates a smooth and consistent surface, enhancing the adhesion and longevity of the paint. It also helps to even out the texture and color variations between the repaired areas and the existing ceiling.
Once the primer has dried, you’re ready for the final step: painting the ceiling. Stay tuned for the next section of our guide!
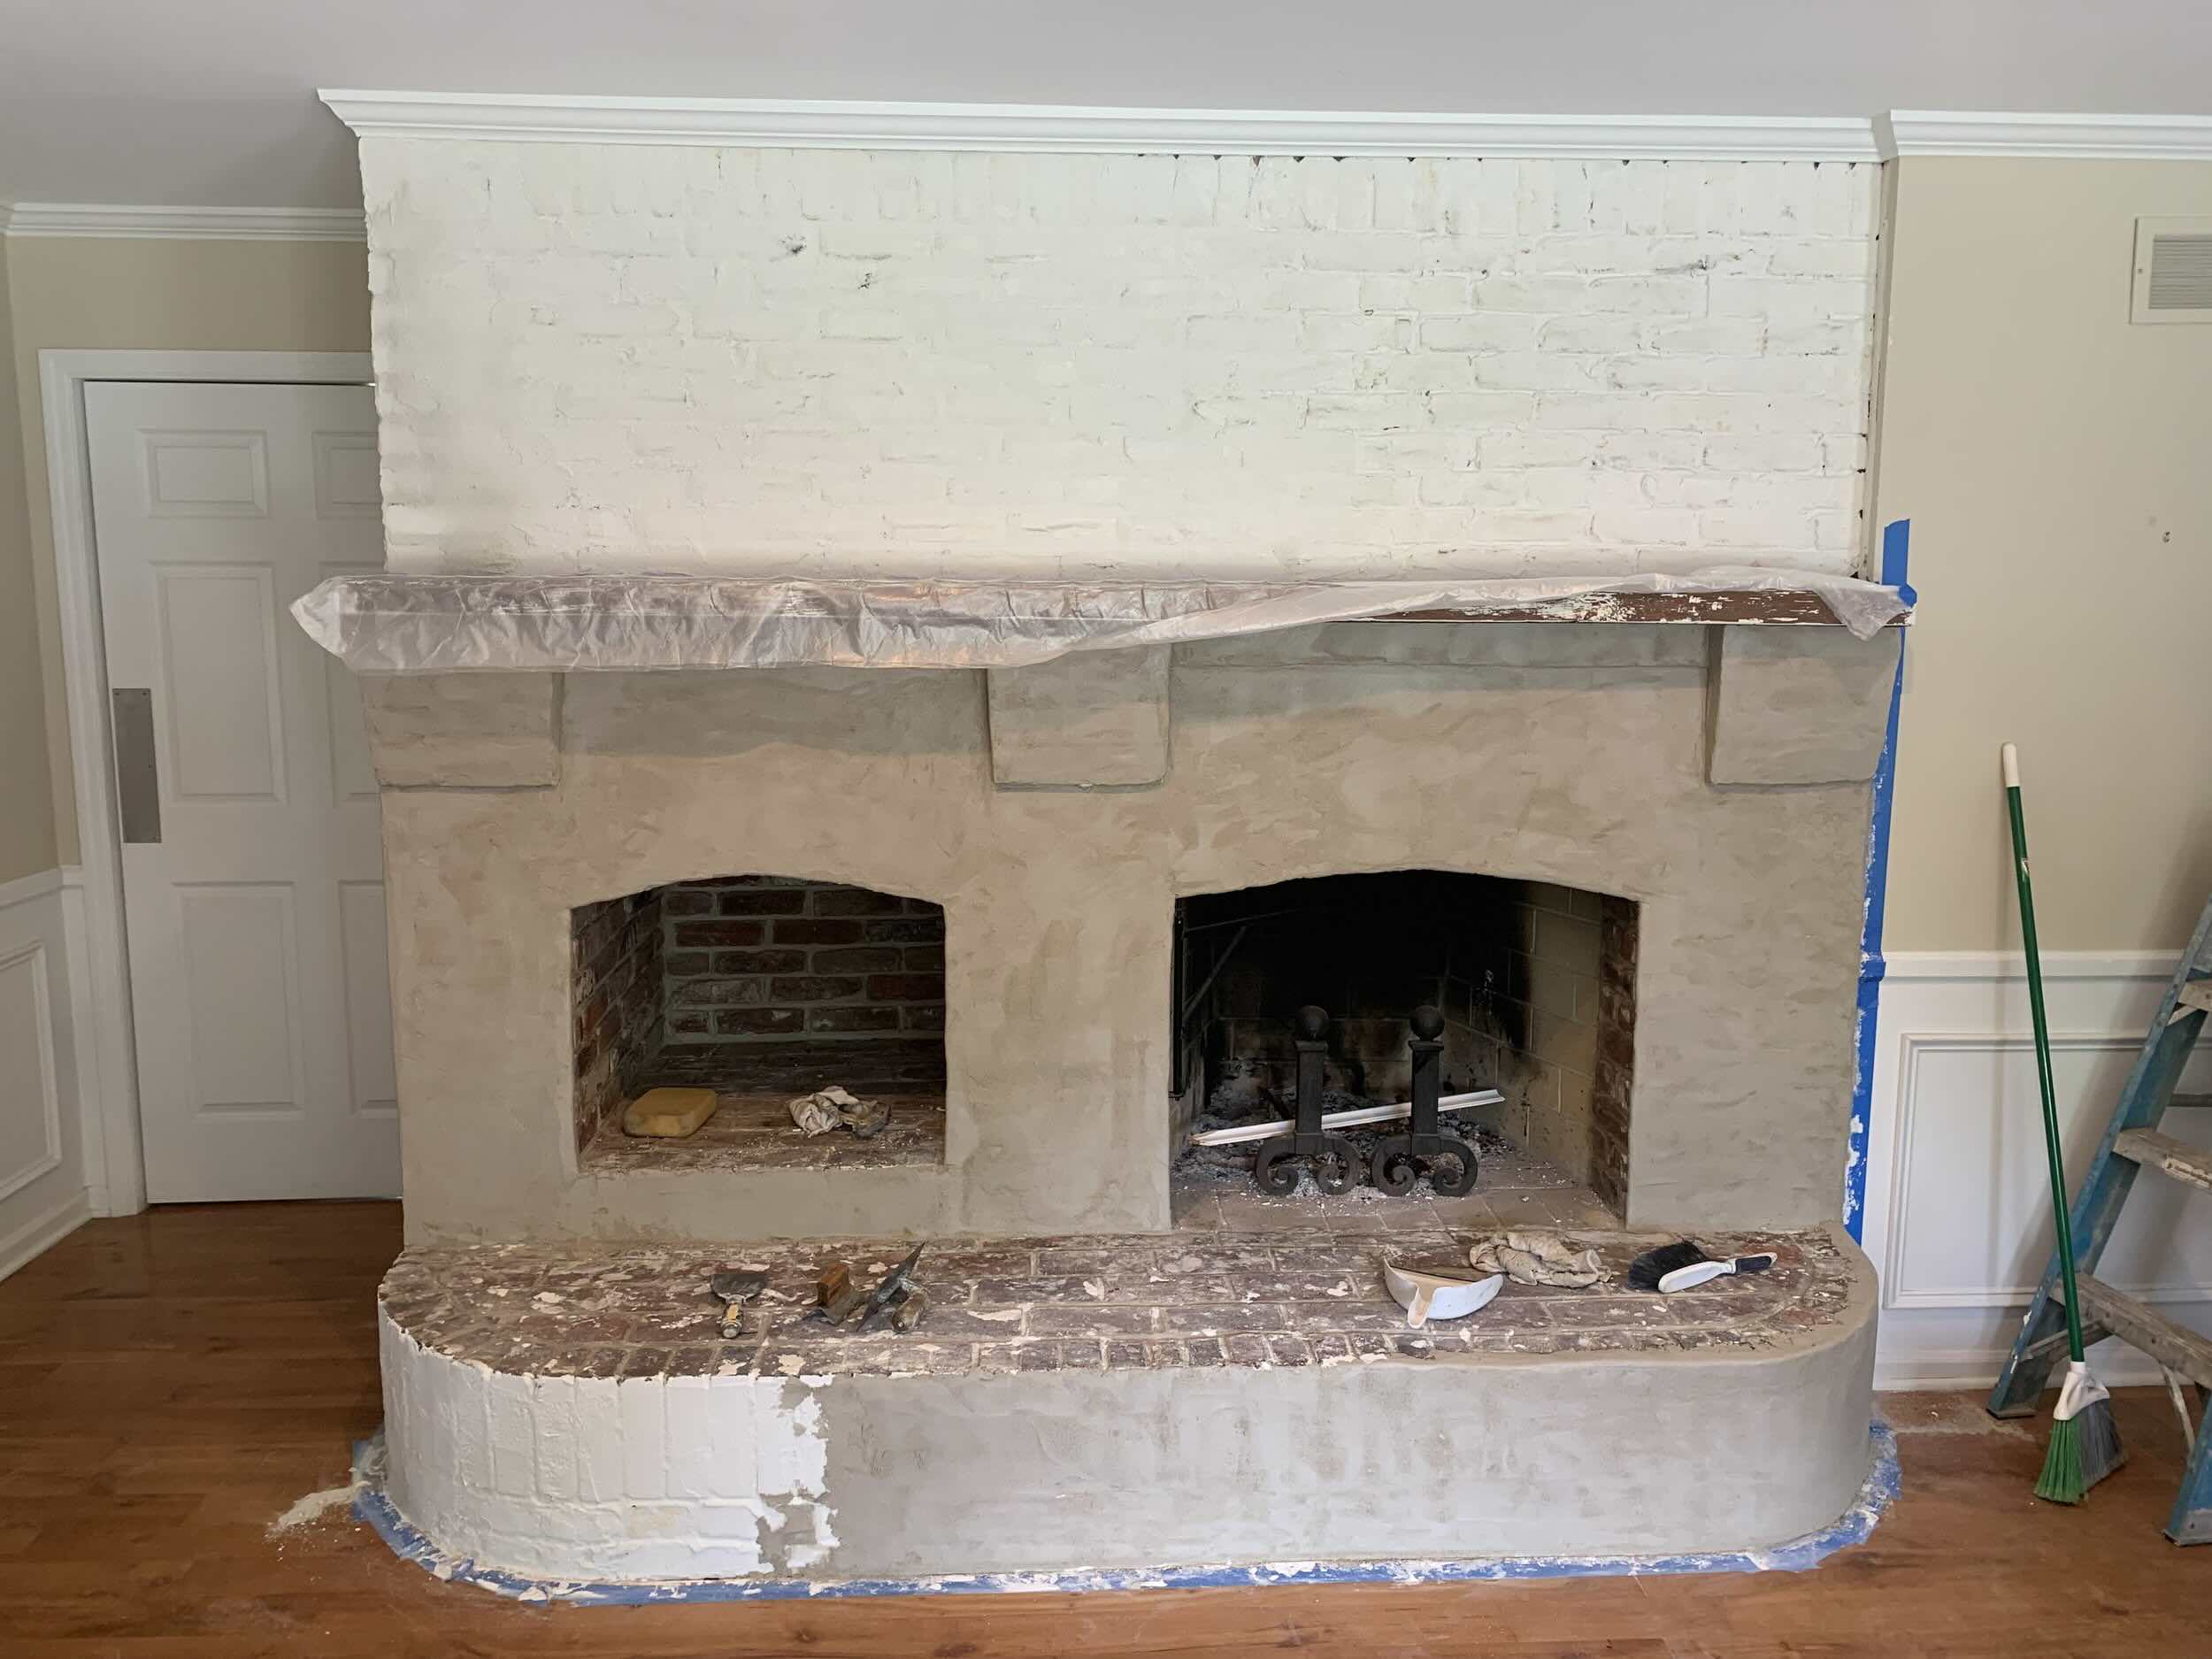
Read more: How To Plaster Fireplace
Painting the Ceiling
After priming the repaired areas of your plaster ceiling, it’s time to paint! Painting not only provides a finished look but also helps protect the surface and enhances the overall aesthetics of the room. Here’s how to paint your ceiling:
- Choose the right paint: Select a high-quality paint that is specifically formulated for plaster surfaces. Consider the desired finish, such as matte or satin, and choose a color that complements your room’s décor.
- Prepare the paint: Follow the manufacturer’s instructions to prepare the paint. This may involve stirring it thoroughly or thinning it with a specified liquid, such as water.
- Protect the surrounding areas: Cover the floor, furniture, and any adjacent surfaces with drop cloths or plastic sheeting to protect them from paint splatters or drips.
- Cut in the edges: Use a brush to cut in along the edges of the repaired areas, as well as along the perimeter of the ceiling. This will create clean lines and make it easier to paint the larger sections with a roller.
- Use a roller for the larger areas: Pour the paint into a paint tray and use a roller to apply it to the larger sections of the ceiling. Use long, even strokes, working in small manageable sections to ensure an even application.
- Apply multiple coats if necessary: Depending on the color and coverage of your chosen paint, you may need to apply multiple coats. Follow the manufacturer’s recommendations for drying time between coats to allow the paint to cure properly.
- Allow the paint to dry: Give the painted ceiling ample time to dry completely before removing any protective coverings or placing furniture back in the room. This will prevent smudges or damage to the freshly painted surface.
Painting the ceiling is the final step in the repair process, bringing your plaster ceiling back to its original beauty. Take your time and ensure thorough coverage for a professional and finished look.
Congratulations! You’ve successfully repaired and painted your plaster ceiling. Enjoy the refreshed and revitalized look it brings to your space!
If you’re unsure about any step of the repair or painting process, or if you have a particularly extensive or complex repair job, it’s always a good idea to consult with a professional for guidance and assistance.
Thank you for following our guide on how to repair a plaster ceiling. We hope it has been helpful and that you’ve achieved excellent results!
Conclusion
Repairing a plaster ceiling may seem like a challenging task, but with the right knowledge, supplies, and techniques, it is a project that can be successfully completed. By following the step-by-step guide outlined in this article, you can restore your plaster ceiling to its former glory and ensure its long-term durability.
Throughout the repair process, we covered essential steps such as assessing the damage, removing loose plaster, applying plaster patching compound, smoothing the surface, sanding and cleaning, priming the ceiling, and finally, painting the ceiling. Each of these steps plays a vital role in achieving a seamless and professional result.
Remember to always gather the necessary supplies and tools before starting the repair process. It is crucial to prepare the area properly by covering the floor and furniture, removing any loose debris, cleaning the damaged area, and masking off adjacent surfaces.
Assessing the damage will help you understand the extent of the repairs needed and determine the best approach. Removing loose plaster ensures a stable foundation for the repair compound, while applying the plaster patching compound restores the integrity of the ceiling.
After smoothing the surface, sanding and cleaning will create a smooth base for priming. Priming prepares the repaired areas for paint, and painting the ceiling completes the process, providing a finished look that enhances the overall aesthetics of the room.
Throughout the entire repair process, it’s essential to prioritize safety by wearing protective gear such as goggles, dust masks, and gloves. Additionally, take your time, work in small manageable sections, and follow the manufacturer’s instructions for the materials and products you are using.
We hope this comprehensive and informative guide has been of great help in your journey to repair your plaster ceiling. By following these steps, you can confidently tackle any small cracks, holes, or damage that may have occurred over time.
Remember, if you’re unsure about any aspect of the repair or painting process or if you have a more complex repair job, it’s always wise to seek guidance from a professional.
Thank you for joining us on this repair journey, and we wish you success in restoring your plaster ceiling back to its original beauty!
Frequently Asked Questions about How To Repair A Plaster Ceiling
Was this page helpful?
At Storables.com, we guarantee accurate and reliable information. Our content, validated by Expert Board Contributors, is crafted following stringent Editorial Policies. We're committed to providing you with well-researched, expert-backed insights for all your informational needs.


0 thoughts on “How To Repair A Plaster Ceiling”