
Articles
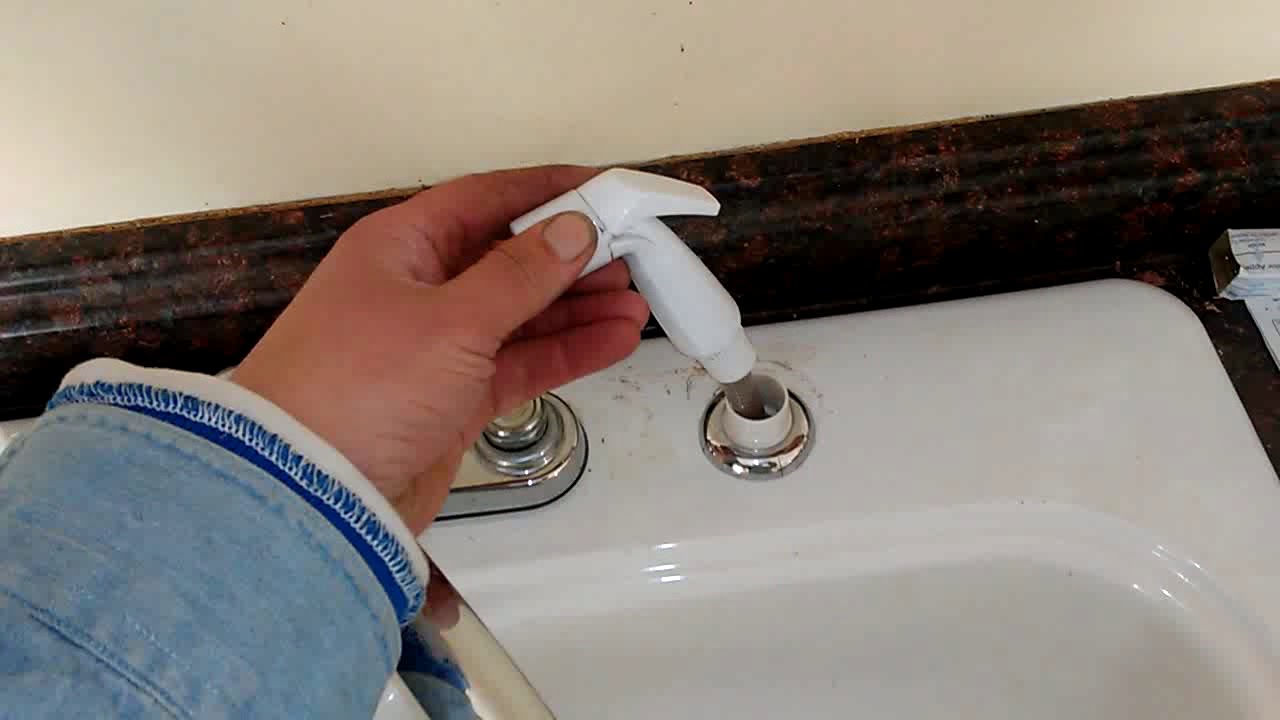
How To Replace Sink Sprayer
Modified: August 24, 2024
Learn how to replace a sink sprayer with our comprehensive articles. Discover step-by-step instructions and helpful tips to tackle this DIY project effortlessly.
(Many of the links in this article redirect to a specific reviewed product. Your purchase of these products through affiliate links helps to generate commission for Storables.com, at no extra cost. Learn more)
Introduction
When it comes to maintaining the functionality and aesthetics of your kitchen, a sink sprayer plays a crucial role. Over time, sink sprayers can wear out or become clogged, leading to a decrease in water pressure or even a complete malfunction. If you’re experiencing any issues with your sink sprayer, fear not! In this article, we will guide you on how to replace a sink sprayer easily and efficiently.
Replacing a sink sprayer might sound like a daunting task, but with the right tools and a little know-how, it can be a straightforward process. Whether you’re looking to upgrade to a new sprayer or simply need to swap out a worn-out one, we’ve got you covered.
In this step-by-step guide, we will walk you through the process of replacing your sink sprayer. We will cover everything from gathering the necessary tools and materials to disconnecting the old sprayer, installing the new one, and testing it for proper functionality.
Before we dive into the nitty-gritty, it’s important to note that safety should always be your top priority. Make sure to take proper precautions and follow any safety guidelines that may come with your specific sink sprayer model. Additionally, if you’re not confident in your abilities, it’s always a good idea to consult a professional plumber.
Now that we have the necessary precautions out of the way, let’s gather our tools and materials and get started on replacing that sink sprayer!
Key Takeaways:
- Easily replace your sink sprayer by following simple steps and using the right tools and materials. Prioritize safety and enjoy the improved functionality and convenience of your new sprayer.
- Ensure proper installation and testing of your new sink sprayer to avoid leaks, irregularities, or malfunctions. Regular maintenance will prolong its lifespan and keep it in optimal condition.
Read more: How To Replace Sprayer Hose On Kitchen Sink
Tools and Materials Needed
Before you begin the process of replacing your sink sprayer, it’s important to gather all the essential tools and materials. Having everything prepared in advance will save you time and frustration during the project. Here’s a list of what you’ll need:
Tools:
- Adjustable wrench
- Slip-joint pliers
- Bucket or towels
- Teflon tape
- Utility knife
- Flathead screwdriver
- Protective gloves
Materials:
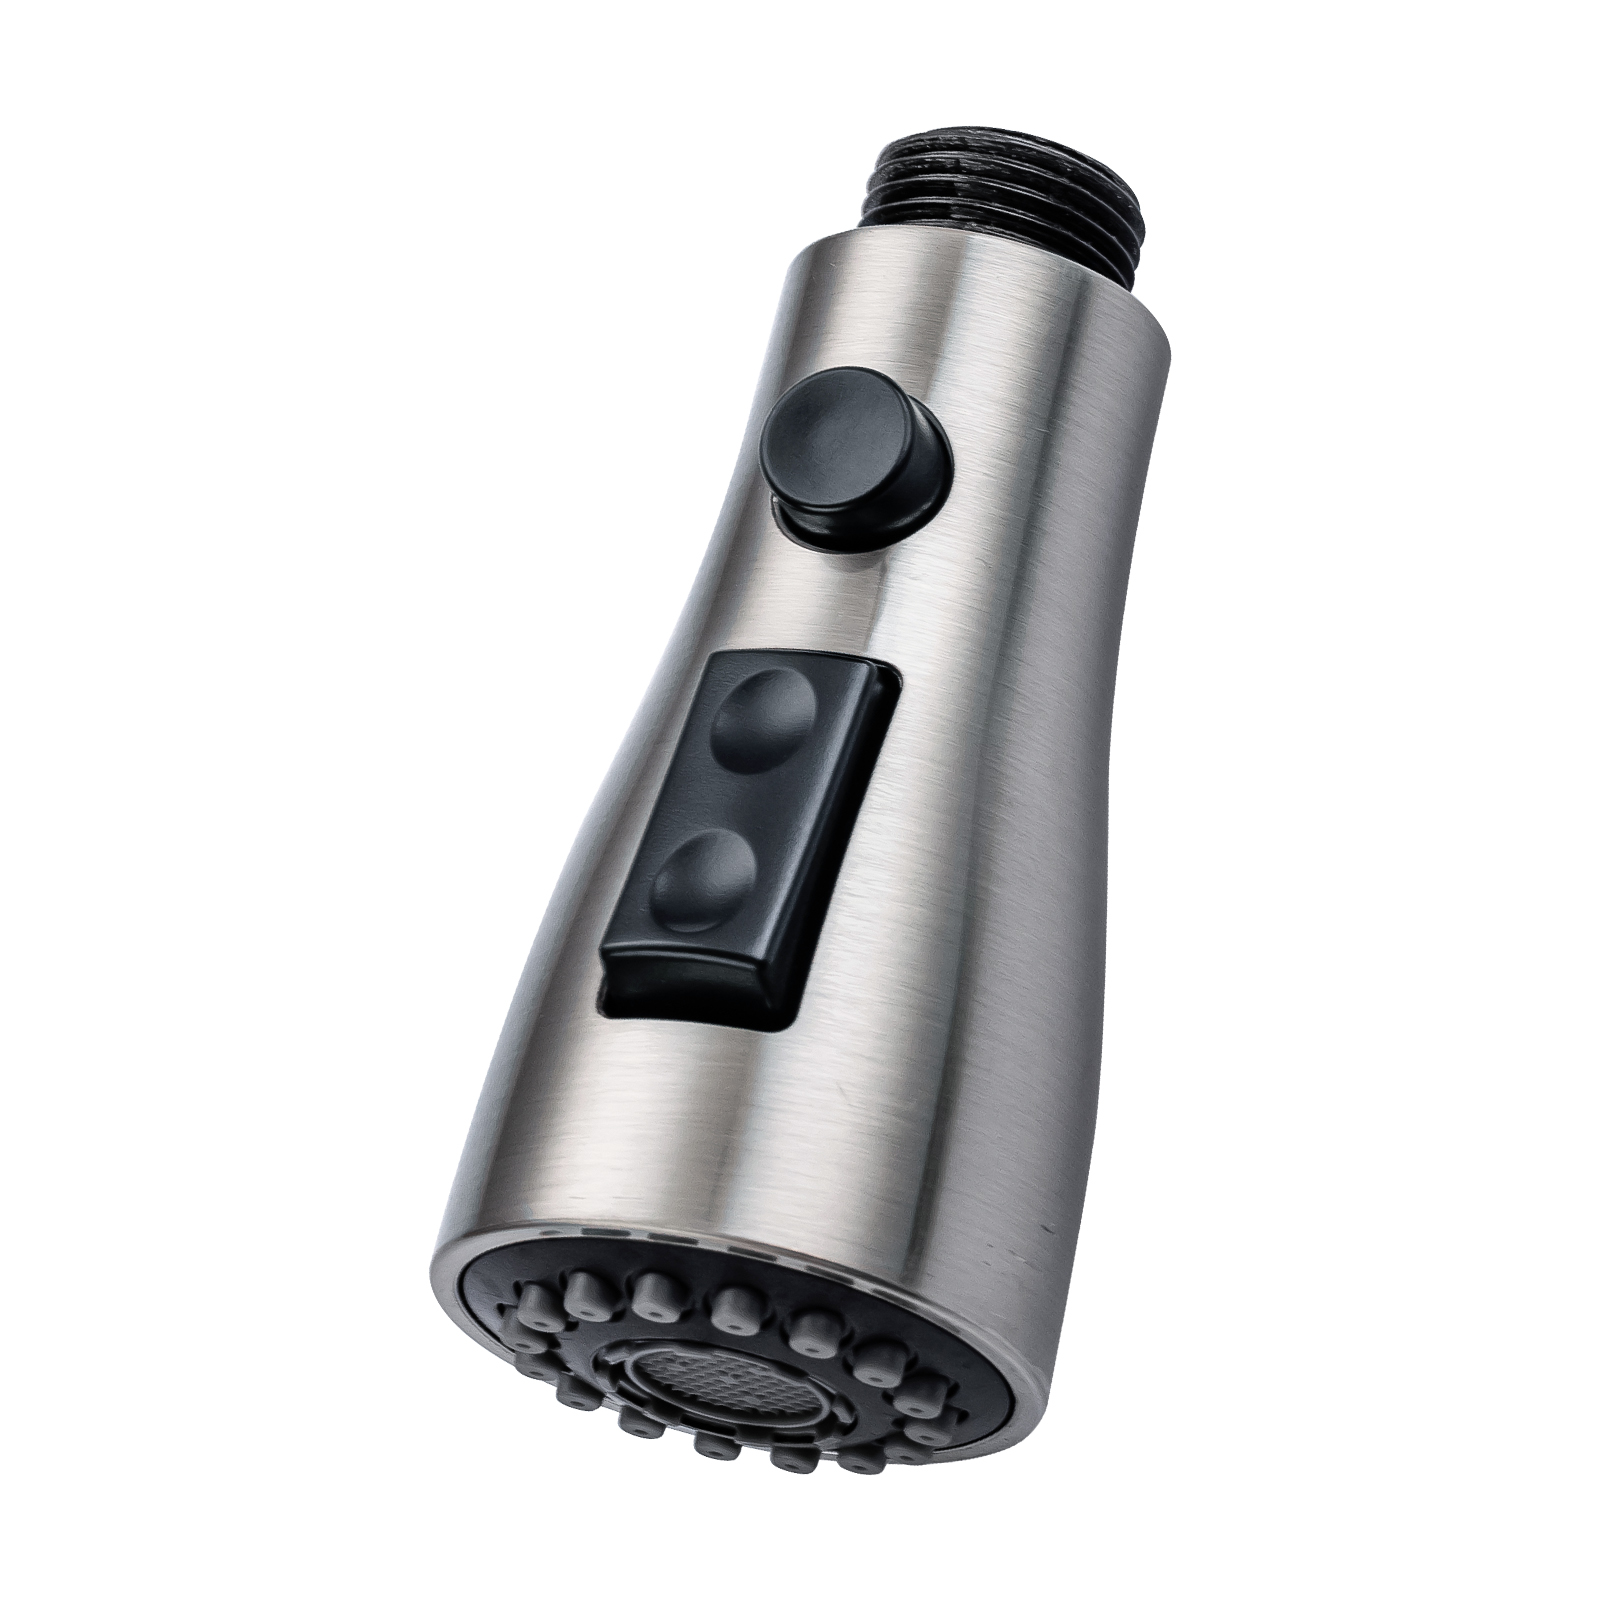
- New sink sprayer kit
- Replacement hose
- Replacement mounting hardware
Make sure the replacement sink sprayer kit matches the dimensions and brand of your existing sprayer. It’s always a good idea to take measurements and consult the manufacturer’s recommendations to ensure compatibility.
The bucket or towels will come in handy to catch any water that may drip during the removal and installation process. Additionally, the Teflon tape will be used to seal the connections and prevent any leaks.
Having the right tools and materials on hand will make the entire process smoother and more efficient. Once you’ve gathered everything, you’re ready to move on to the next step: shutting off the water supply.
Step 1: Shut off the Water Supply
Before starting any plumbing project, it’s crucial to turn off the water supply to avoid any potential accidents or water damage. Here’s how you can shut off the water supply for your sink sprayer:
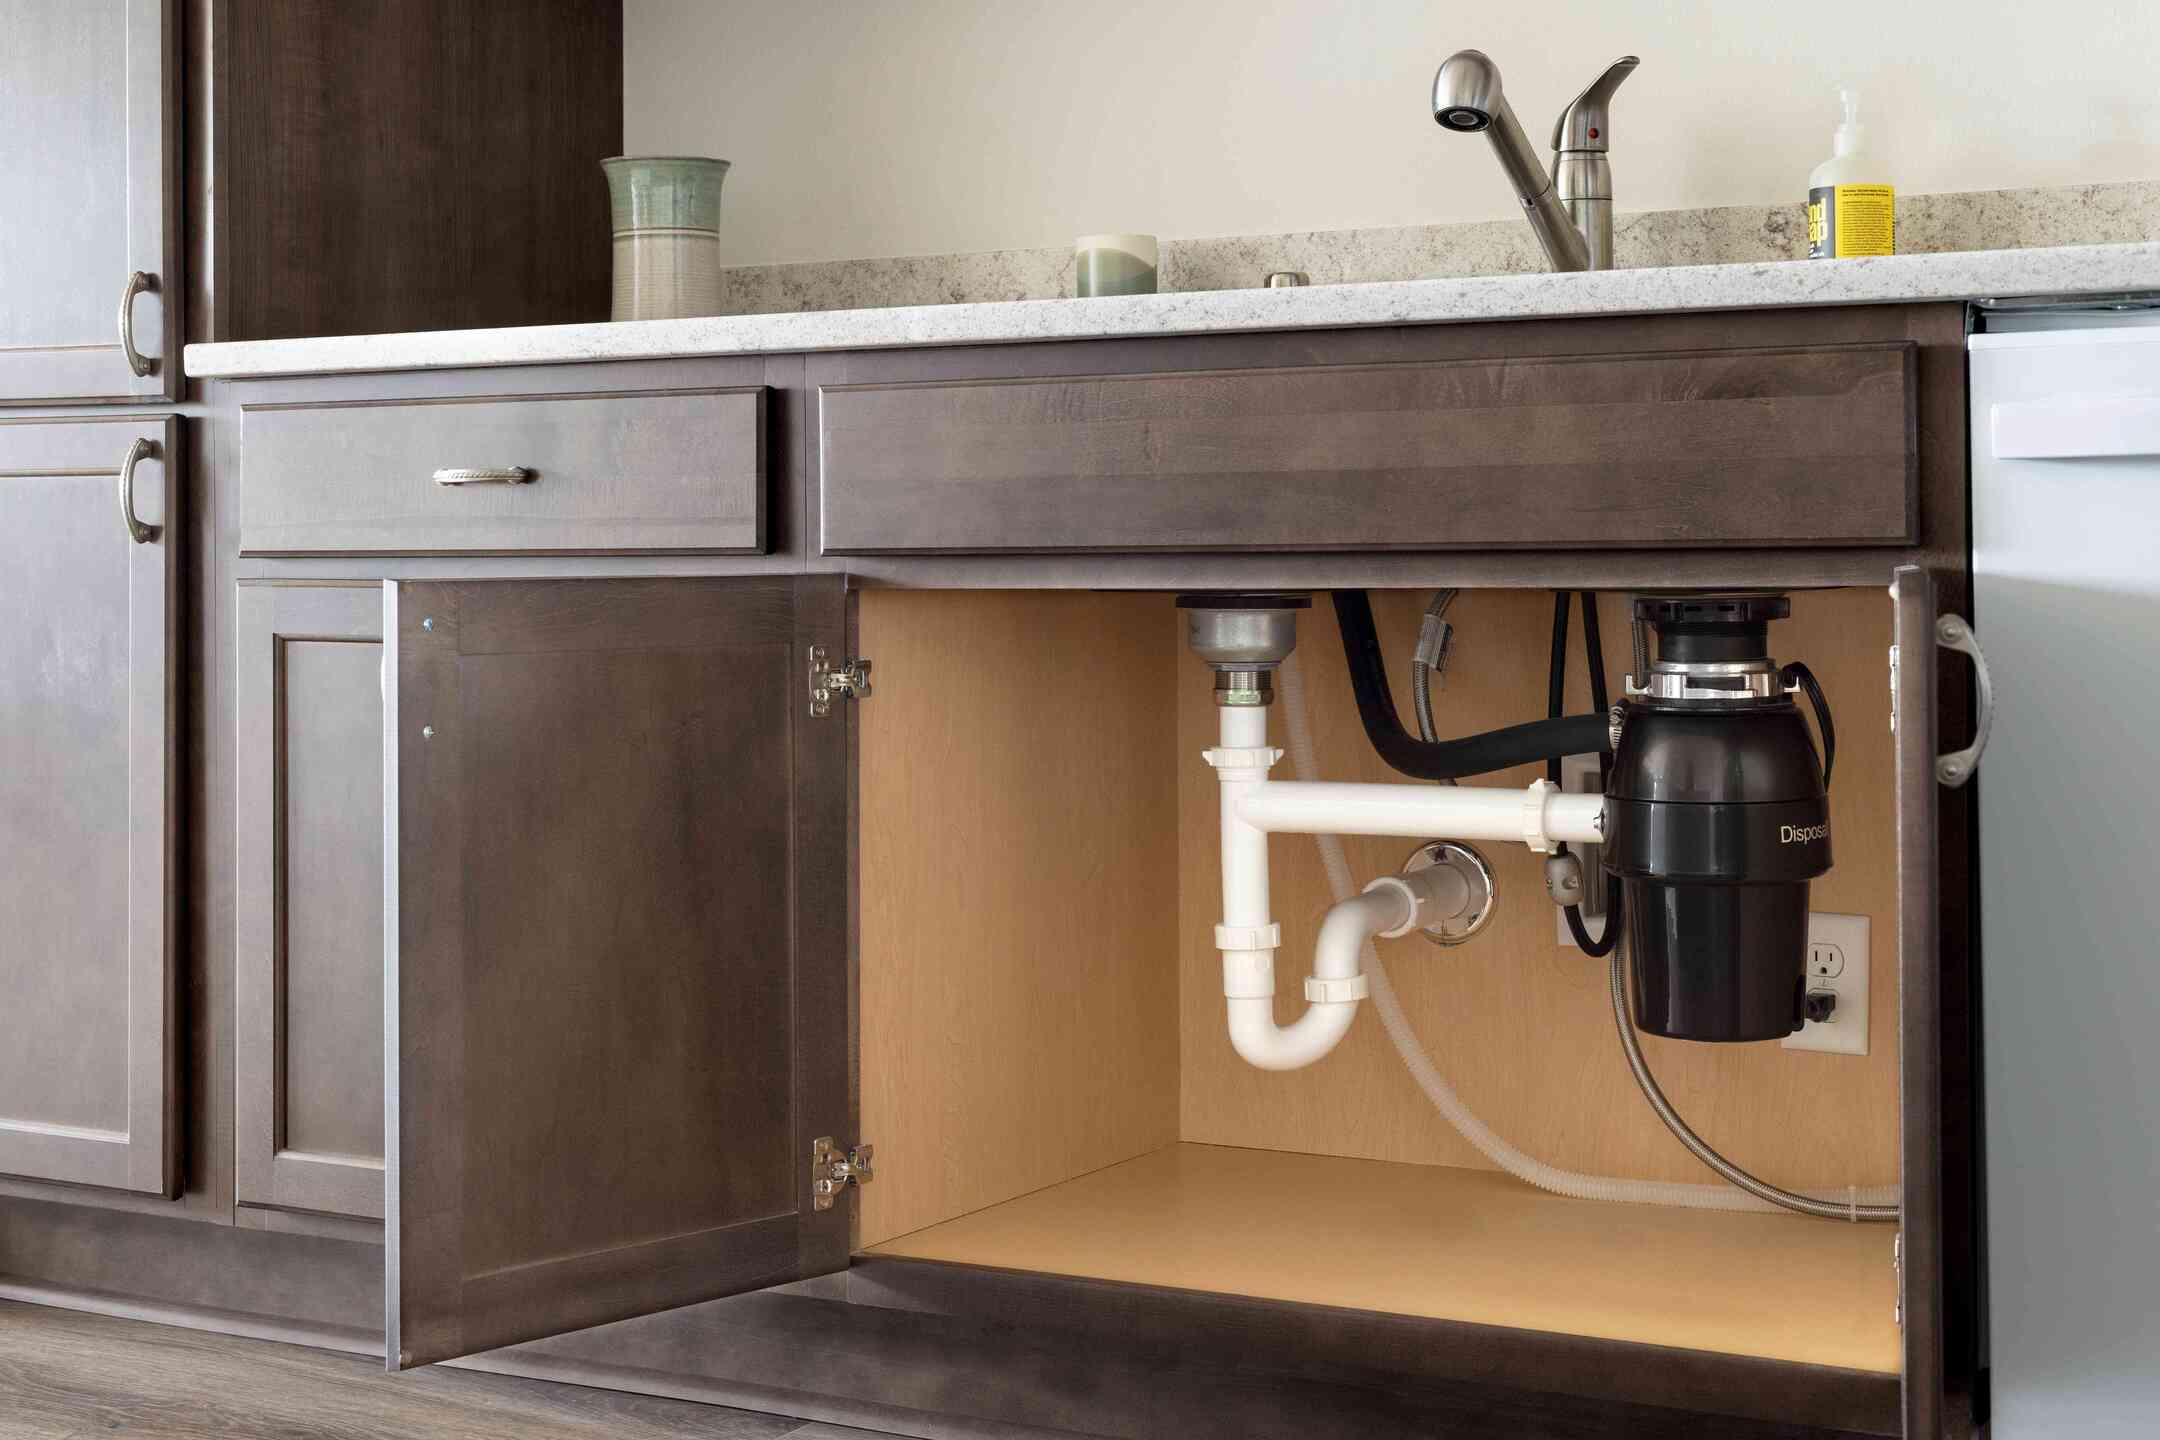
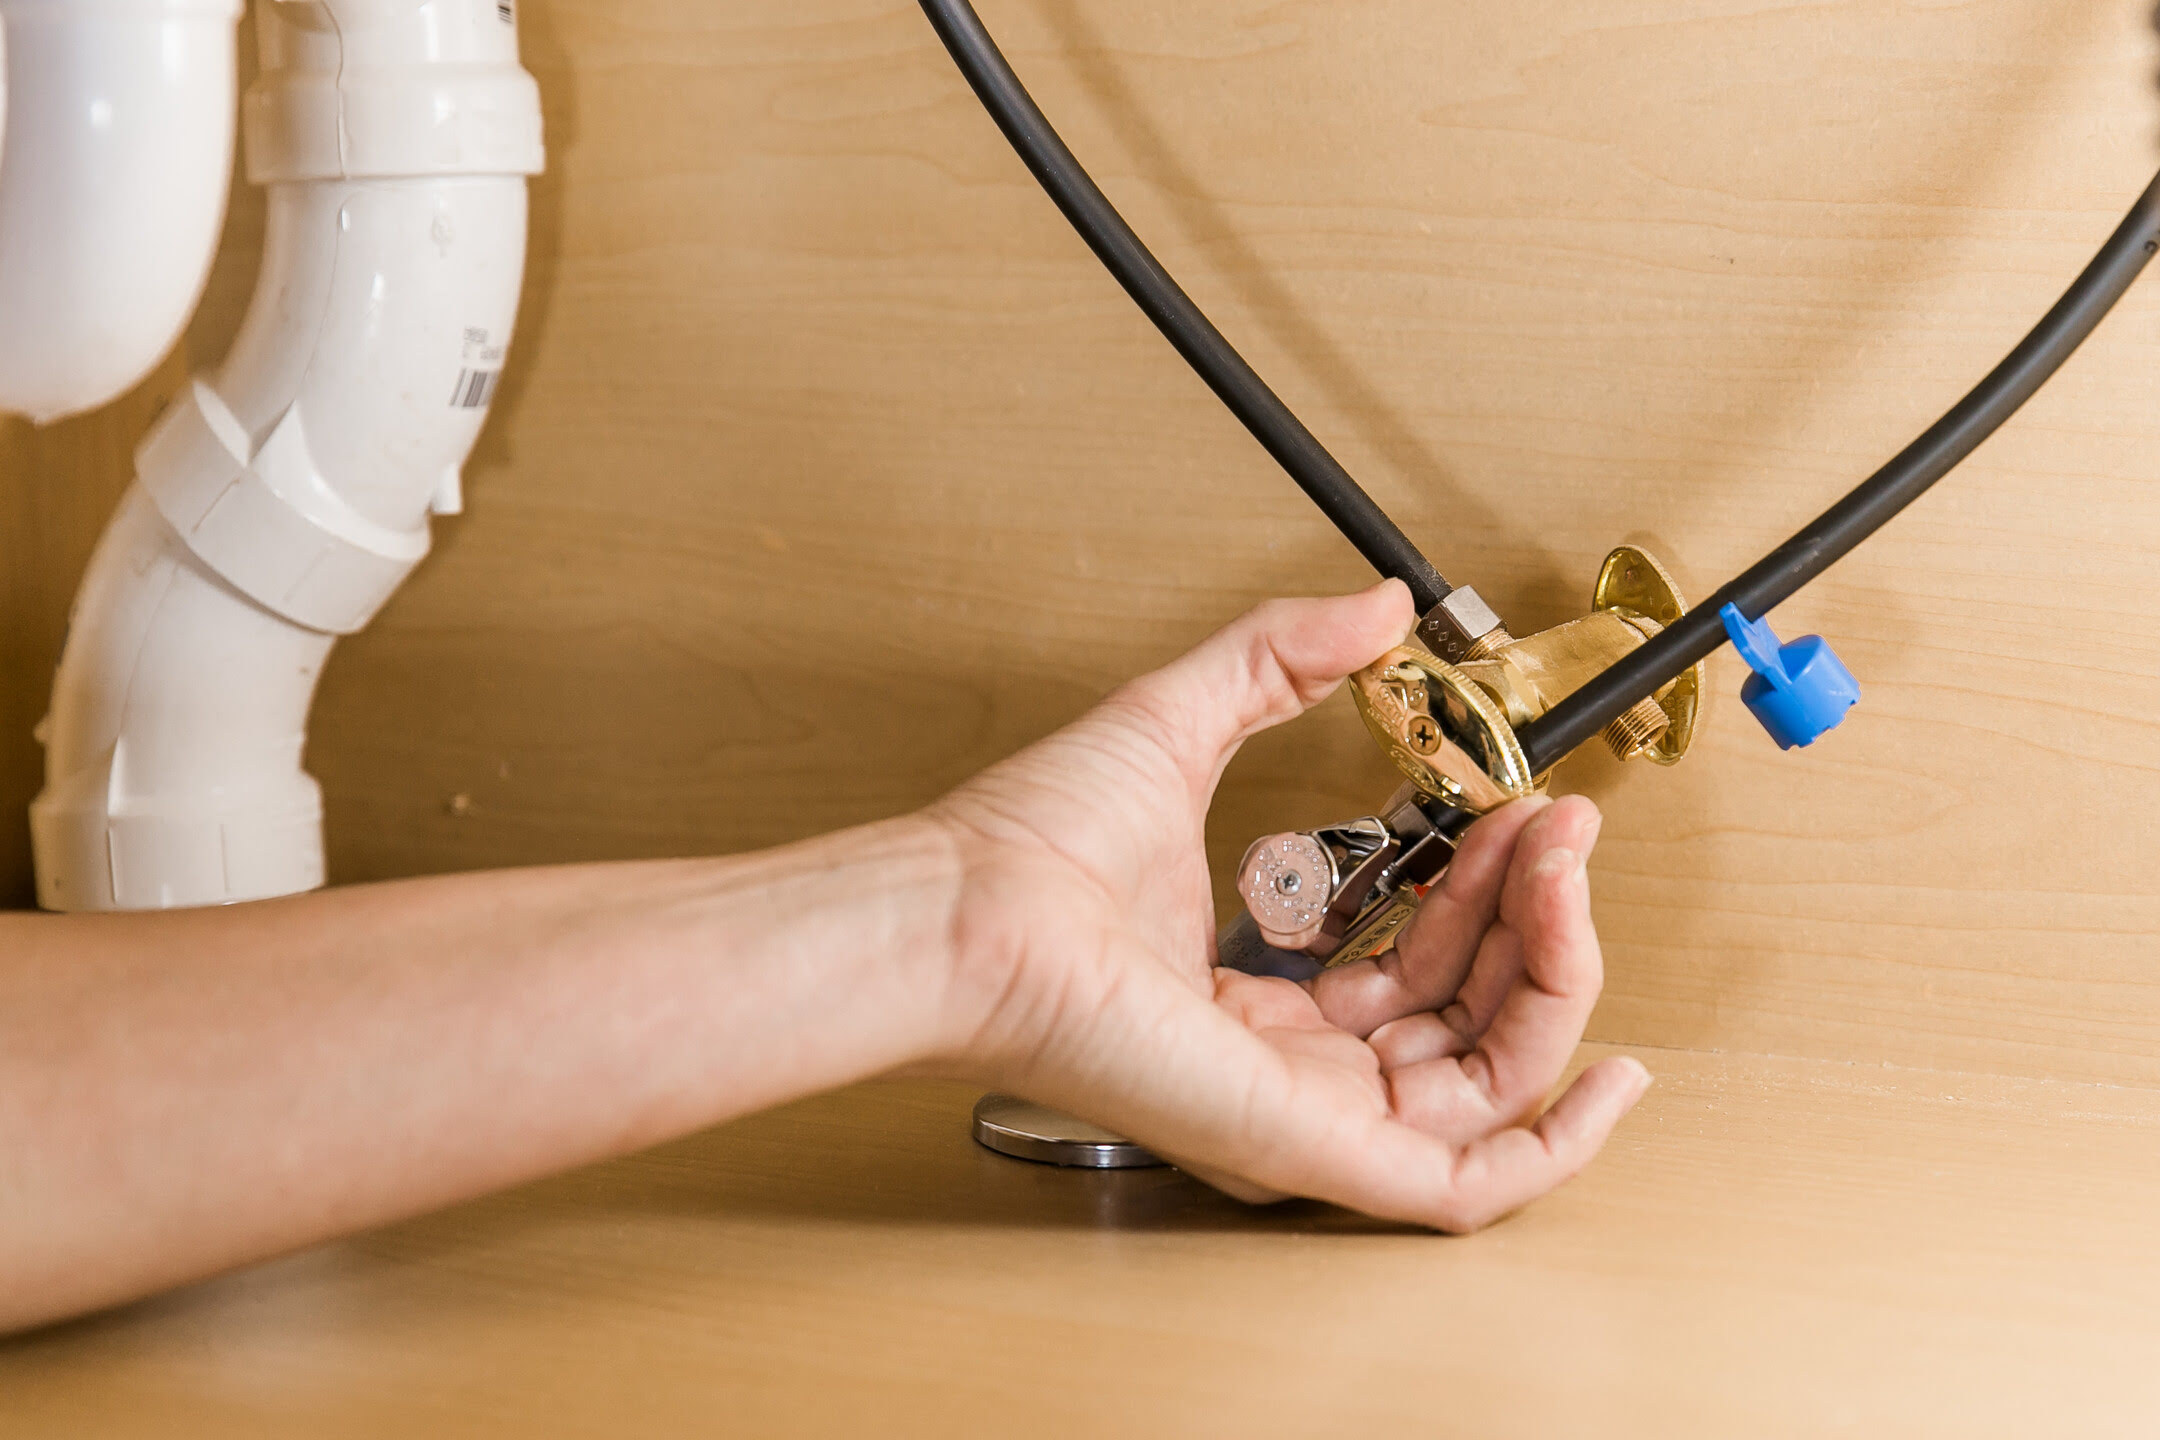
- Locate the shut-off valves: Look underneath your sink for the hot and cold water supply lines. You will find small valves connected to these lines.
- Close the shut-off valves: Turn the handles clockwise or to the right until they are fully closed. This will stop the flow of water to the sink sprayer.
- Test the water supply: To ensure that the water supply is completely shut off, turn on the sink faucet and the old sprayer. If no water comes out, you have successfully turned off the water supply.
It’s important to note that if your sink does not have shut-off valves, you may need to shut off the main water supply to your home. Locate the main shut-off valve, which is typically found near the water meter or where the main water line enters your home. Turn the valve clockwise or to the right to shut off the water supply for the entire house.
Once you have successfully shut off the water supply, you can move on to the next step of disconnecting the old sink sprayer.
Step 2: Disconnect the Old Sprayer
Now that you’ve shut off the water supply, it’s time to disconnect the old sink sprayer. Follow these steps to ensure a smooth disconnection:
- Inspect the sprayer connection: Take a close look at how the old sprayer is connected to the sink. It may be attached with a threaded connection or a snap-on connection. Understanding the type of connection will help you determine the best approach for disconnecting it.
- If it’s a threaded connection:
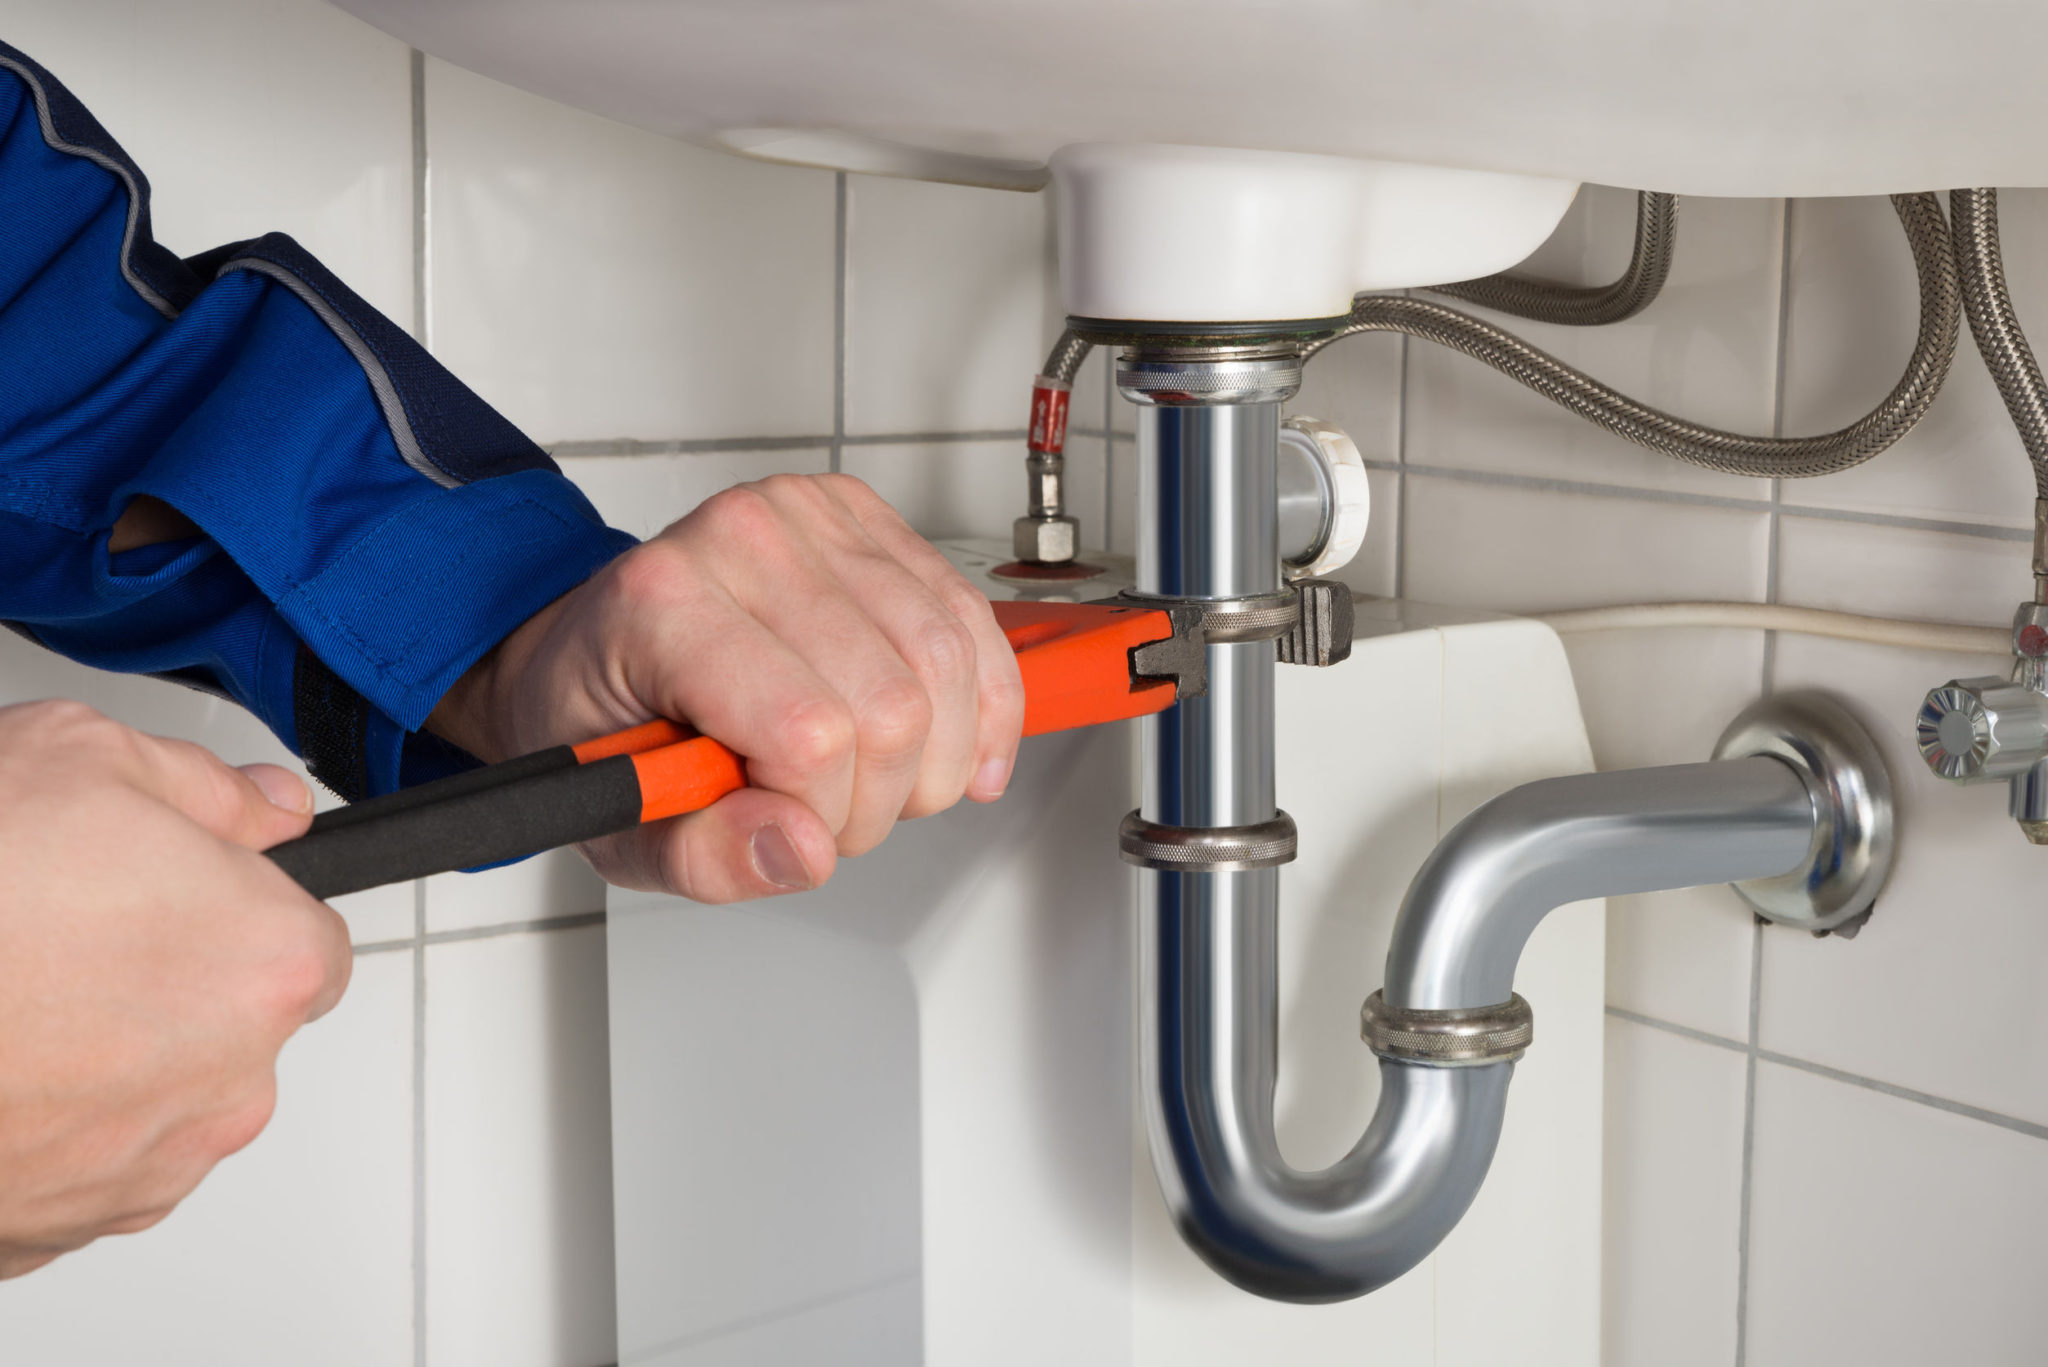
- Use an adjustable wrench or slip-joint pliers to grip the nut connecting the sprayer hose to the bottom of the sink. Hold the sprayer head firmly with your other hand to prevent it from moving or twisting.
- Turn the nut counterclockwise or to the left to loosen and remove it. Be careful not to apply excessive force, as it may damage the connection or other parts of the sink.
- If it’s a snap-on connection:
- Locate the plastic or metal clip securing the sprayer hose to the underside of the sink.
- Using a flathead screwdriver, carefully pry the clip open to release the sprayer hose.
- Gently pull the sprayer hose away from the connection point until it comes loose.
- Once the sprayer hose is disconnected, inspect it for any signs of damage or wear. If necessary, replace the hose with a new one from your sink sprayer kit.
After successfully disconnecting the old sink sprayer, you can proceed to the next step of removing the old sprayer from the sink.
Step 3: Remove the Old Sprayer
Now that the old sprayer is disconnected, it’s time to remove it from the sink. Follow these steps:
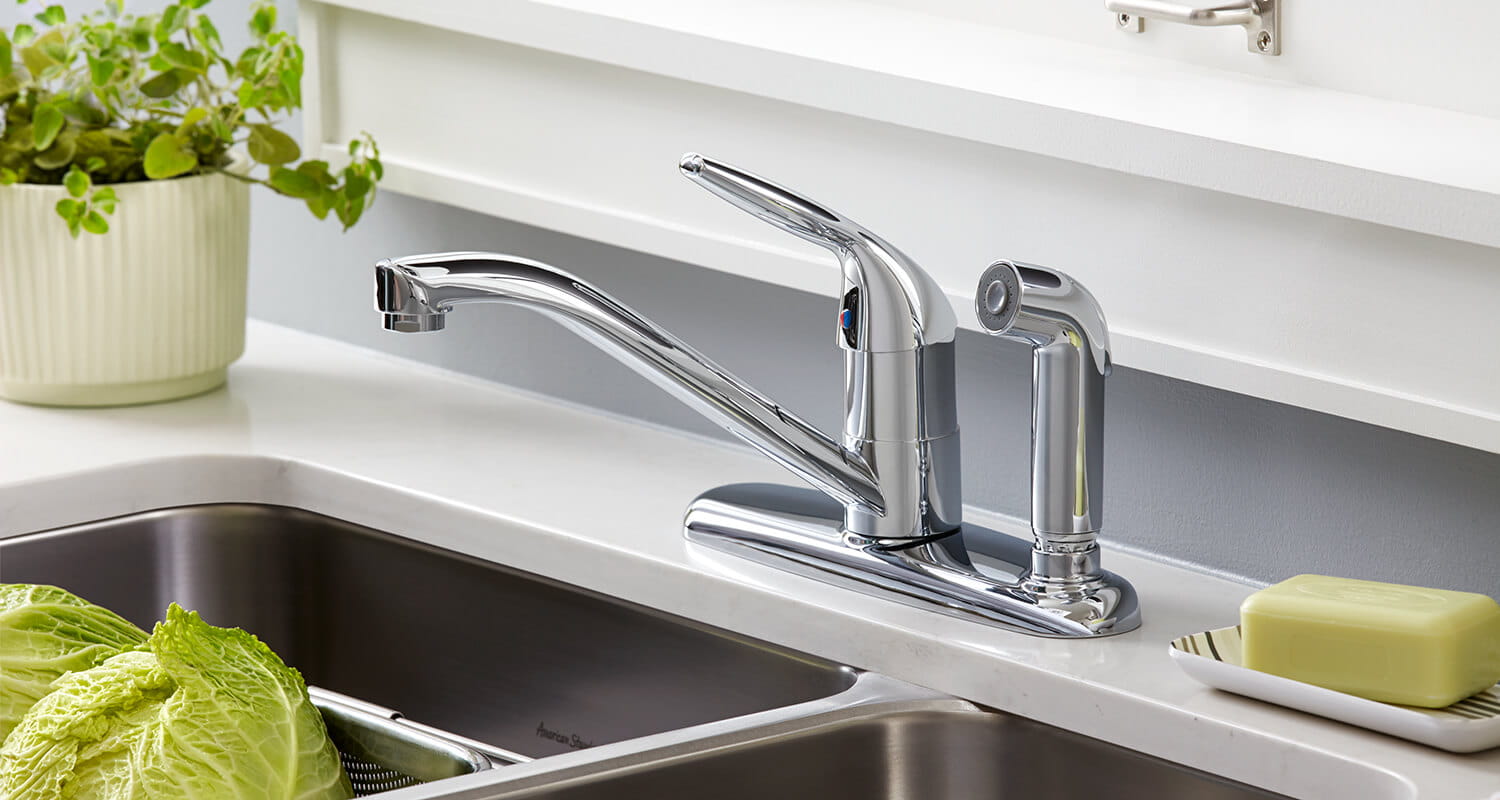
- Inspect the mounting hardware: Take a look at how the old sprayer is attached to the sink. It may be secured with a locknut, a screw, or a mounting bracket.
- If it’s secured with a locknut:
- Use a pair of slip-joint pliers to grip the locknut underneath the sink.
- Rotate the locknut counterclockwise or to the left to loosen and remove it.
- If it’s secured with a screw or a mounting bracket:
- Use a screwdriver to remove the screw or screws holding the sprayer in place.
- If there is a bracket, carefully detach it from the sink.
- Once the mounting hardware is removed, gently pull the old sprayer out of the sink. Be cautious not to damage the surrounding fixtures or surfaces.
With the old sprayer successfully removed, you can now move on to the exciting step of installing the new sink sprayer.
When replacing a sink sprayer, make sure to turn off the water supply to the sink before disconnecting the old sprayer. This will prevent any water from leaking out and causing a mess.
Read more: How To Fix Sink Sprayer
Step 4: Install the New Sprayer
Now that the old sprayer is removed, it’s time to install the new sink sprayer. Follow these steps for a successful installation:
- Inspect the new sprayer: Take a moment to familiarize yourself with the components of the new sink sprayer. Ensure that all the necessary parts are included and in good condition.
- Attach the mounting hardware: Depending on the design of the new sprayer, you may need to attach a locknut, screw, or mounting bracket.
- If using a locknut:
- Place the locknut over the mounting hole on the sink.
- Gently thread the locknut clockwise or to the right onto the sprayer base until it is snug against the sink.
- Use slip-joint pliers to tighten the locknut, ensuring that the sprayer is securely attached.
- If using a screw or mounting bracket:
- Follow the manufacturer’s instructions to properly attach the sprayer base to the sink using the provided screw(s) or mounting bracket.
- Make sure the sprayer is stable and securely fastened in place.
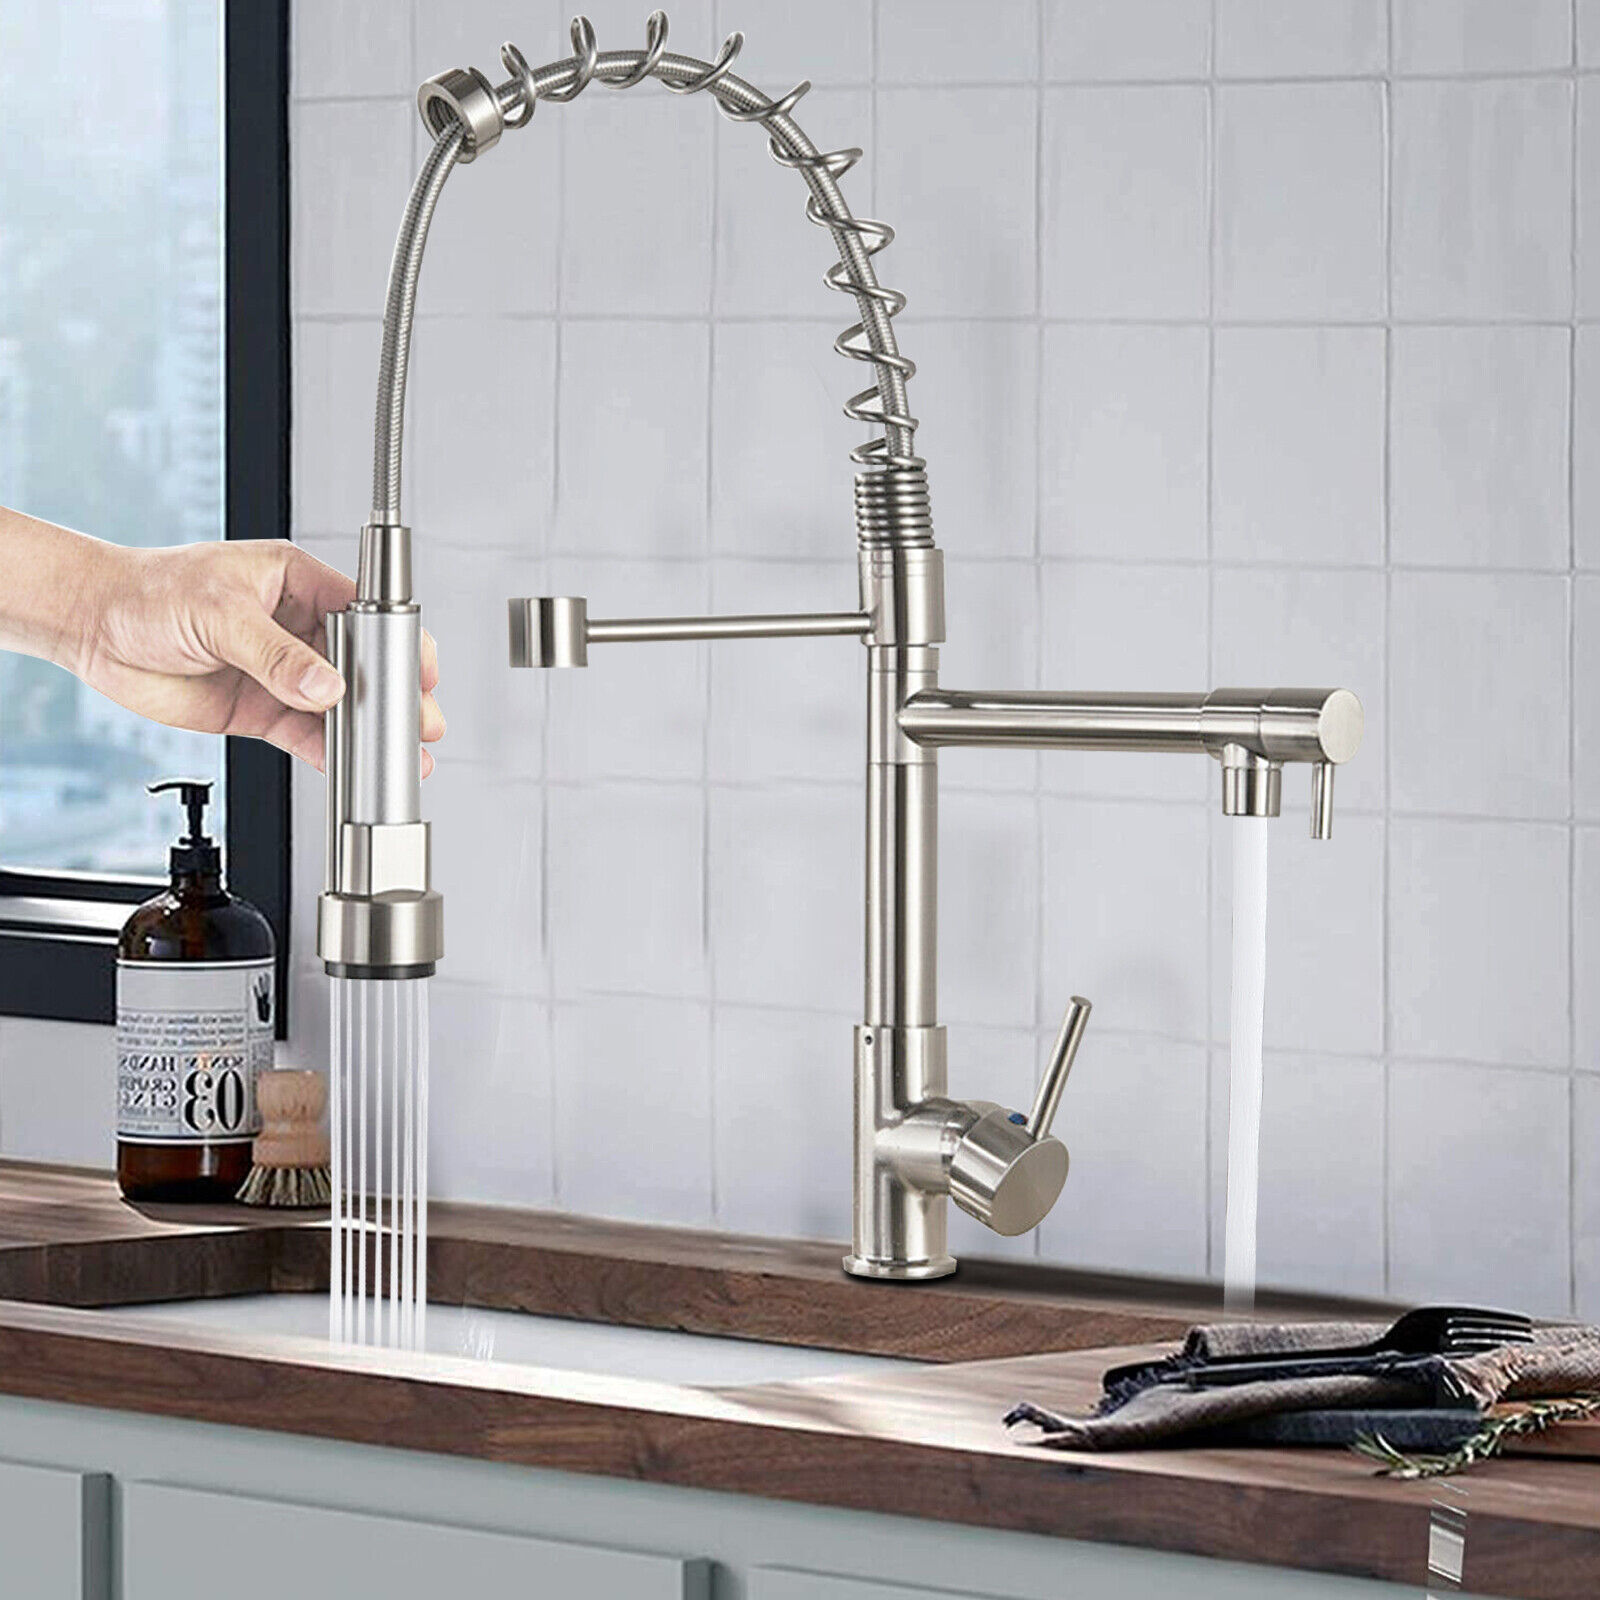
- Attach the sprayer hose: Take the new sprayer hose and connect it to the sprayer base. If it is a threaded connection, twist the hose clockwise or to the right to secure it. If it is a snap-on connection, push the hose until it clicks into place.
- Secure the sprayer head: If the sprayer head is detachable, attach it to the other end of the hose. Follow the manufacturer’s instructions for proper attachment.
With the new sink sprayer installed, you’re one step closer to enjoying its improved functionality. The next step is to reconnect the water supply.
Step 5: Reconnect the Water Supply
Now that the new sink sprayer is installed, it’s time to reconnect the water supply and ensure everything is properly connected. Follow these steps for a smooth reconnection:
- Inspect the water supply lines: Take a look at the hot and cold water supply lines under the sink. Ensure that they are in good condition and properly aligned.
- If necessary, replace any damaged or worn-out supply lines with new ones.
- Apply Teflon tape: To prevent any potential leaks, wrap a few layers of Teflon tape clockwise or to the right around the threads of the hot and cold water supply lines.
- Reconnect the sprayer hose: Take the sprayer hose and attach it to the threaded connection or snap-on connection underneath the sink, depending on the type of connection you have.
- If it’s a threaded connection, twist the hose clockwise or to the right until it is securely tightened.
- If it’s a snap-on connection, push the hose into place until you hear a click or feel it lock into position.
- Turn on the water supply: Slowly open the shut-off valves by turning the handles counterclockwise or to the left.
- Check for leaks: Once the water supply is turned on, carefully inspect all connections for any signs of leaks or drips.
- If you notice any leaks, use an adjustable wrench or slip-joint pliers to gently tighten the connections. Be careful not to overtighten, as it can cause damage.
- Test the new sprayer: Turn on the sink faucet and try out the new sprayer. Check for proper water flow and functionality. Ensure that there are no leaks or unusual noises.
If everything looks good and the new sprayer is working efficiently, congratulations! You have successfully reconnected the water supply. The final step is to test the new sprayer for proper functionality.
Step 6: Test the New Sprayer
After all the hard work of replacing the sink sprayer, it’s important to test it to ensure that it’s functioning properly. Follow these steps to test your new sprayer:
- Ensure that the water supply is turned on.
- Turn on the sink faucet and check for any leaks or drips. If you notice any, immediately turn off the water supply and inspect the connections to make sure they are properly tightened.
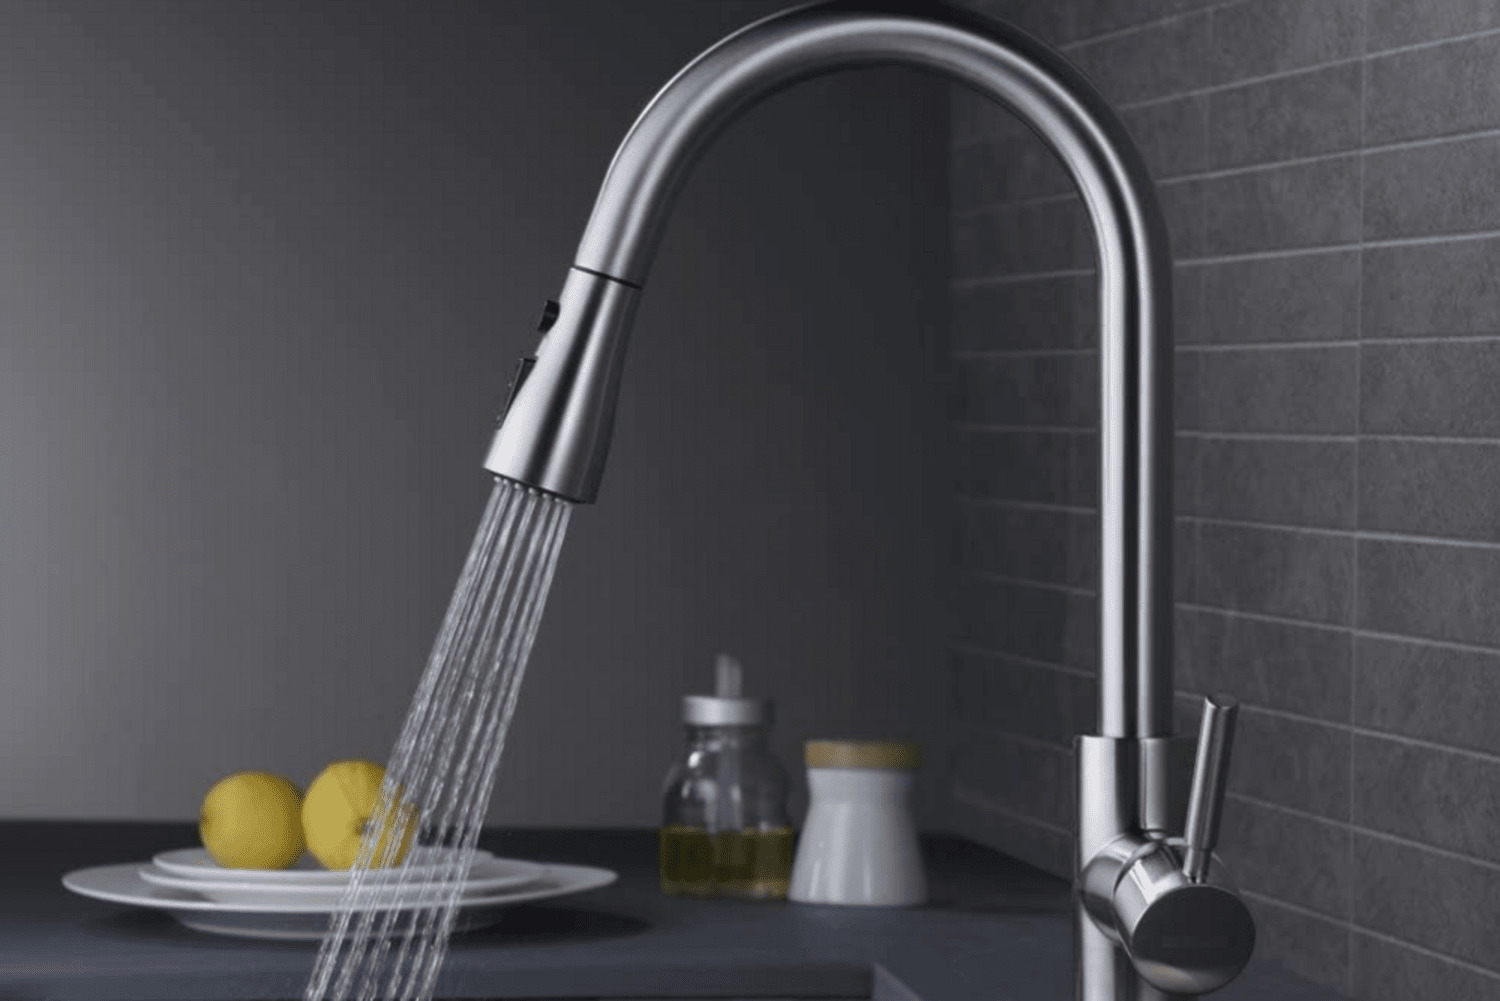
- Activate the new sprayer by pressing the button or lever. Observe the water flow and the sprayer’s ability to switch between different spray patterns, if applicable.
- Check for any irregular water pressure or flow issues. If the water pressure seems low, there may be a blockage or an issue with the sprayer itself. Double-check the connections and make sure everything is securely attached.
- Ensure that the sprayer handle or button operates smoothly without any sticking or difficulty when pressed or released.
- Listen for any unusual noises or vibrations coming from the sprayer. Unusual noises may indicate a problem with the installation or the sprayer itself.
- If any issues are detected during the testing process, refer to the manufacturer’s instructions for troubleshooting guidance. Alternatively, you may need to consult a professional plumber for further assistance.
Once you have confirmed that the new sink sprayer is working effectively without any leaks, irregularities, or malfunctions, congratulations! You have successfully tested the new sprayer and completed the installation process.
Remember to keep an eye on the sprayer’s performance in the coming days to ensure that it continues to function properly. Regular cleaning and maintenance will help keep your sink sprayer in excellent working condition for years to come.
With your new sink sprayer in place, you can now enjoy the convenience and functionality it provides for your everyday kitchen tasks. It’s time to appreciate your hard work and celebrate a job well done!
Conclusion
Congratulations on successfully replacing your sink sprayer! By following the step-by-step guide outlined in this article, you’ve taken a proactive approach to maintaining your kitchen’s functionality and enhancing your everyday tasks.
Replacing a sink sprayer may initially seem like a daunting task, but with the right tools, materials, and guidance, it can be easily accomplished. By shutting off the water supply, disconnecting the old sprayer, removing it from the sink, installing the new sprayer, reconnecting the water supply, and testing the sprayer for proper functionality, you’ve completed a crucial maintenance project for your kitchen.
Throughout this process, it’s important to prioritize safety and follow the necessary precautions. If you ever feel unsure or uncomfortable with any step, don’t hesitate to reach out to a professional plumber for assistance.
Remember to gather all the required tools and materials before starting, and always inspect the connections and components for any signs of damage or wear. Proper installation and testing will ensure that your new sink sprayer operates smoothly, without any leaks, irregularities, or malfunctions.
Now that your new sink sprayer is in place, take a moment to appreciate its improved functionality and convenience. Enjoy the ease of washing dishes, cleaning the sink, and completing kitchen tasks with the enhanced water pressure and spray patterns it offers.
Lastly, maintain your new sink sprayer by regularly cleaning it and addressing any potential issues promptly. This will help prolong its lifespan and ensure continued optimal performance.
Thank you for choosing to read this guide on how to replace a sink sprayer. We hope it has been informative and helpful to you. Happy plumbing!
Frequently Asked Questions about How To Replace Sink Sprayer
Was this page helpful?
At Storables.com, we guarantee accurate and reliable information. Our content, validated by Expert Board Contributors, is crafted following stringent Editorial Policies. We're committed to providing you with well-researched, expert-backed insights for all your informational needs.


0 thoughts on “How To Replace Sink Sprayer”