Articles
How To Set Up Water Pump
Modified: October 20, 2024
Learn how to set up a water pump with informative articles and step-by-step guides. Find the best tips and tricks to get your water pump running efficiently.
(Many of the links in this article redirect to a specific reviewed product. Your purchase of these products through affiliate links helps to generate commission for Storables.com, at no extra cost. Learn more)
Introduction
Welcome to our comprehensive guide on how to set up a water pump. Whether you’re looking to install a water pump for irrigation, water supply, or any other purpose, this step-by-step tutorial will walk you through the process. Setting up a water pump can be a beneficial addition to your home or property, providing a reliable water source for a variety of needs.
Before we dive into the details, it’s important to note that water pump installation may require some basic plumbing and electrical knowledge. If you’re not comfortable with these tasks, it’s always recommended to seek professional assistance. However, with basic DIY skills and the right tools, you can successfully set up a water pump on your own.
In this guide, we’ll cover everything you need to know, from gathering the necessary equipment to adjusting the water flow. So, let’s get started and learn how to set up a water pump!
Key Takeaways:
- Setting up a water pump involves gathering the right equipment, choosing a suitable location, and preparing the water source. By following the step-by-step guide, you can ensure a reliable and efficient water supply for various needs.
- Testing, adjusting, and maintaining the water pump are crucial for optimal performance and longevity. Regular monitoring and maintenance, along with safety precautions, will help you enjoy a dependable water source for years to come.
Read more: How To Lubricate A Water Pump
Step 1: Gather the necessary equipment
Before you begin setting up your water pump, it’s essential to gather all the necessary equipment. Here’s a list of items you’ll need:
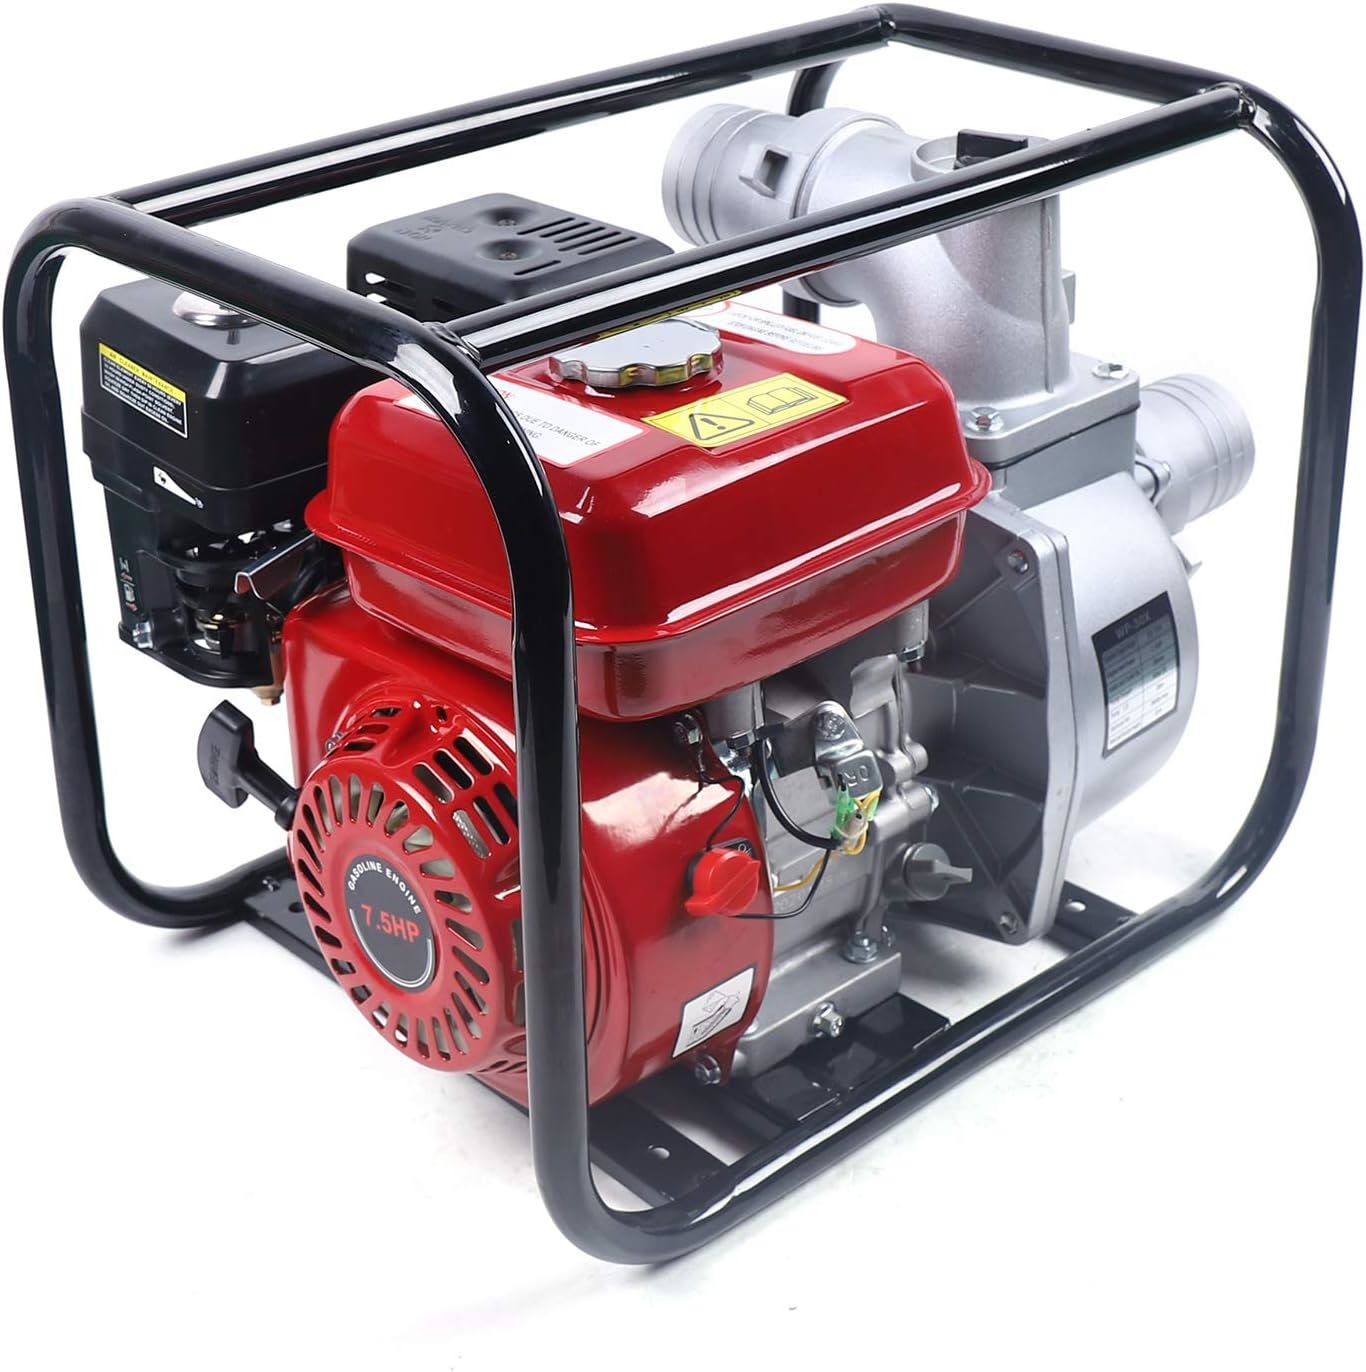
- Water pump: Choose a pump that fits your specific needs, such as a submersible pump for wells or a centrifugal pump for irrigation.
- Piping and hoses: Depending on your setup, you’ll need the appropriate pipes and hoses to connect the pump to the water source and distribution points.
- Power source: Determine the power supply requirements for your water pump and ensure you have the necessary electrical connections or generator.
- Tools: Gather basic tools such as wrenches, pliers, screwdrivers, and pipe cutters that will be needed for the installation process.
- Additional accessories: Depending on your setup, you may need additional accessories such as fittings, pressure gauges, and filters.
- Personal protective equipment: It’s crucial to prioritize safety during the installation process. Make sure you have gloves, safety glasses, and other protective gear.
Once you have gathered all the necessary equipment, you’re ready to move on to the next step of setting up your water pump.
Step 2: Choose a suitable location
Choosing the right location for your water pump is crucial for its efficiency and longevity. Here are some considerations when selecting a suitable location:
- Proximity to the water source: Place the water pump as close as possible to the water source to minimize the length of pipes and hoses needed.
- Accessibility: Ensure the chosen location allows easy access for maintenance and repairs.
- Stability: The location should be stable and able to support the weight of the water pump without any risk of sinking or shifting.
- Ventilation: Adequate ventilation is essential to prevent overheating of the pump. Avoid placing it in confined or poorly ventilated spaces.
- Noise considerations: If noise is a concern, place the water pump away from living areas or use noise-reducing measures such as soundproofing panels.
Once you have determined a suitable location, position the water pump in that area. Make sure it is level and secure it firmly to prevent vibrations and movement during operation.
Keep in mind that the specific requirements for the location may vary depending on the type and size of the water pump you are installing. Consult the manufacturer’s guidelines or seek professional advice if needed.
With the ideal location chosen, you’re now ready to move on to the next step of preparing the water source.
Step 3: Prepare the water source
Preparing the water source is a crucial step in setting up your water pump. Here’s what you need to do:
- Assess the quality of the water source: Check the water source for any contaminants, debris, or pollutants. It’s important to ensure that the water is clean and safe for use.
- Clear the area around the water source: Remove any obstructions or debris near the water source to prevent potential clogs or damage to the pump.
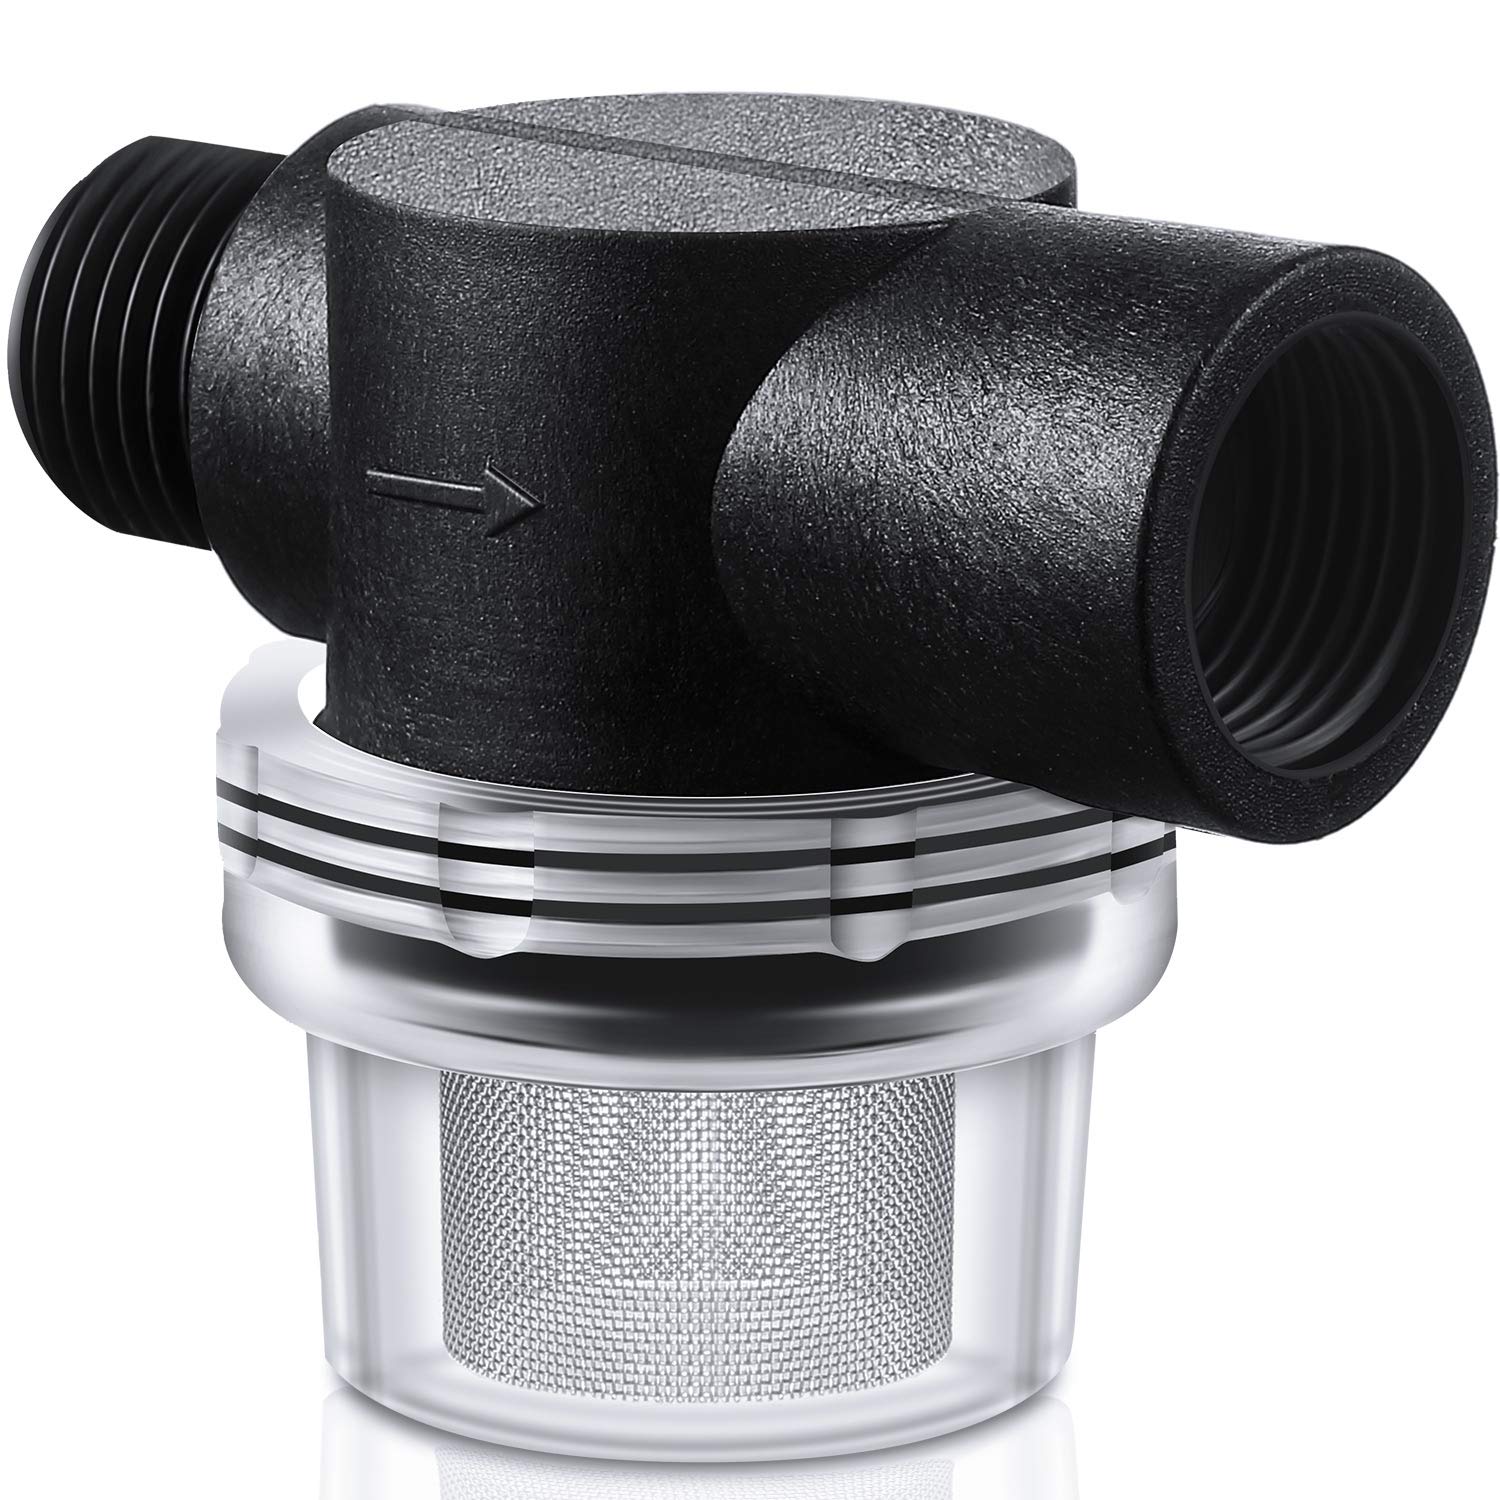
- Install a filter: Depending on the quality of the water source, consider installing a filter to remove impurities and protect the pump from damage.
- Ensure sufficient water supply: Ensure that the water source can provide an adequate and consistent supply of water to meet your needs. If necessary, consider implementing water conservation measures to optimize usage.
- Check the water source’s pressure: Measure the water pressure to determine if additional equipment, such as a pressure tank, is required to regulate the flow.
By properly preparing the water source, you ensure that you have a clean and reliable water supply for your pump. Taking these steps can help prevent potential problems and extend the lifespan of your pump.
Once you have prepared the water source, you can proceed to the next step of installing the water pump itself.
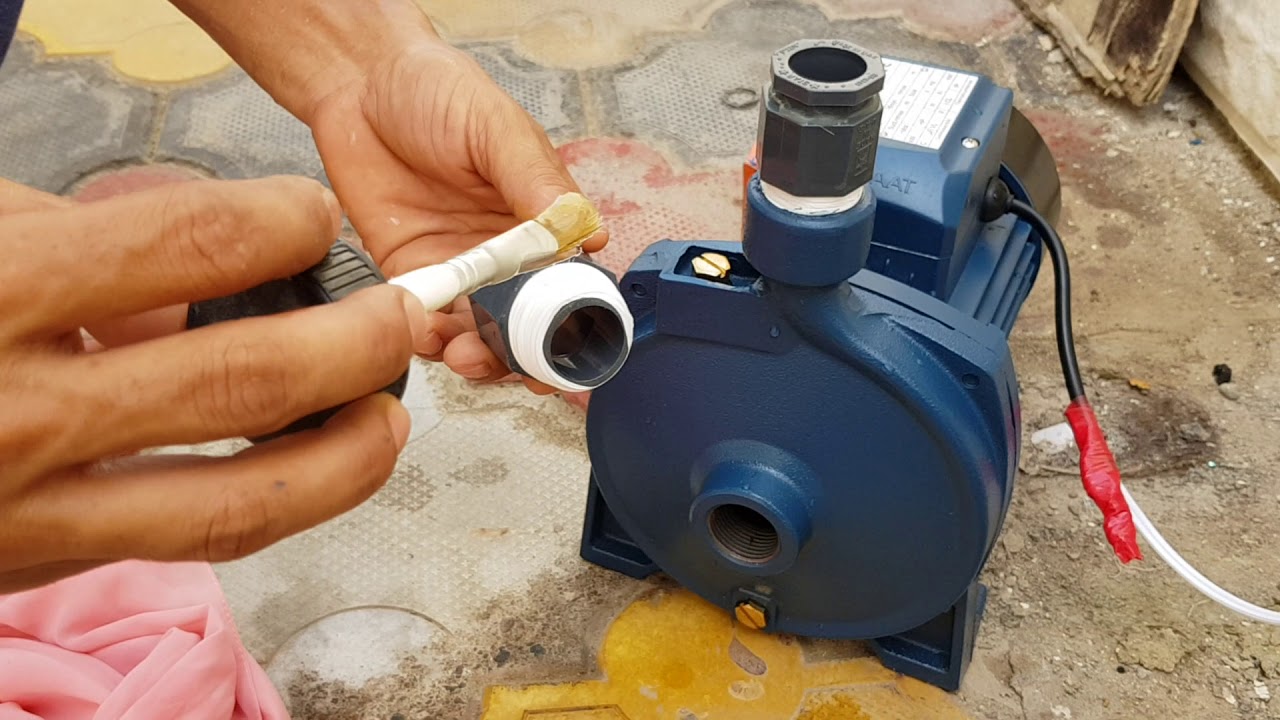
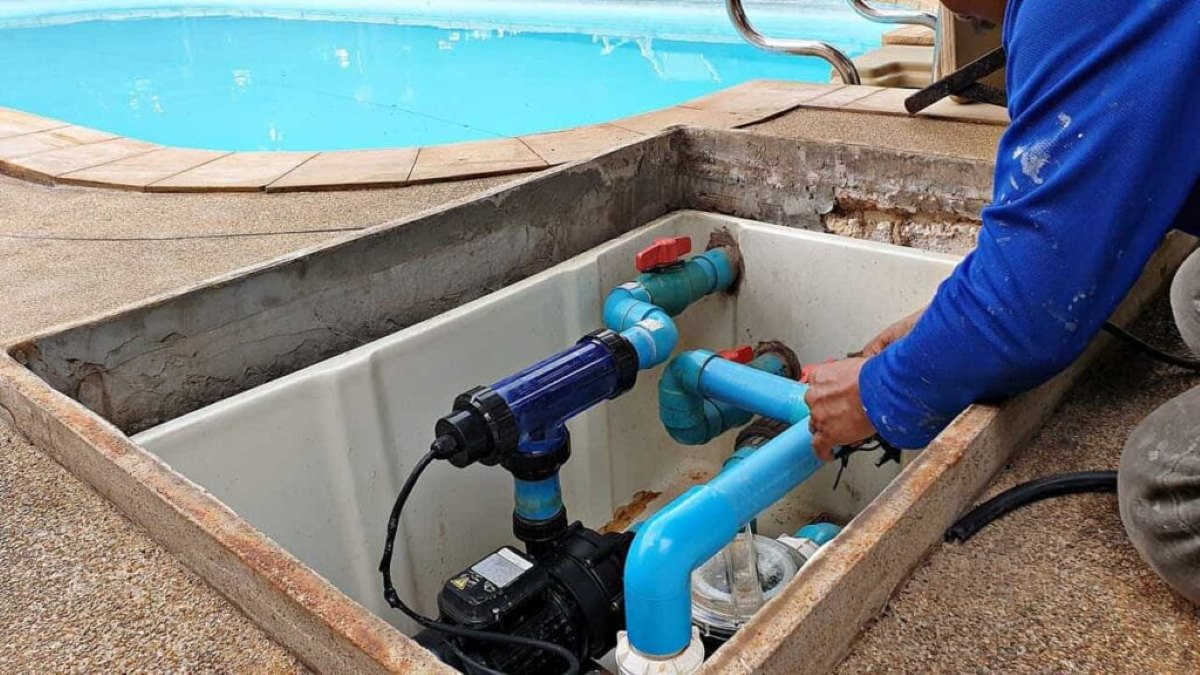
Step 4: Install the water pump
Now that you have gathered the necessary equipment and prepared the water source, it’s time to install the water pump. Follow these steps for a successful installation:
- Read the manufacturer’s instructions: Familiarize yourself with the specific installation guidelines provided by the manufacturer. This will ensure that you install the pump correctly and optimize its performance.
- Position the pump: Place the water pump in the chosen location, carefully aligning it with the piping system and the power source.
- Secure the pump: Use mounting brackets, screws, or other provided fixtures to securely fasten the pump in place. This prevents movement or vibrations during operation.
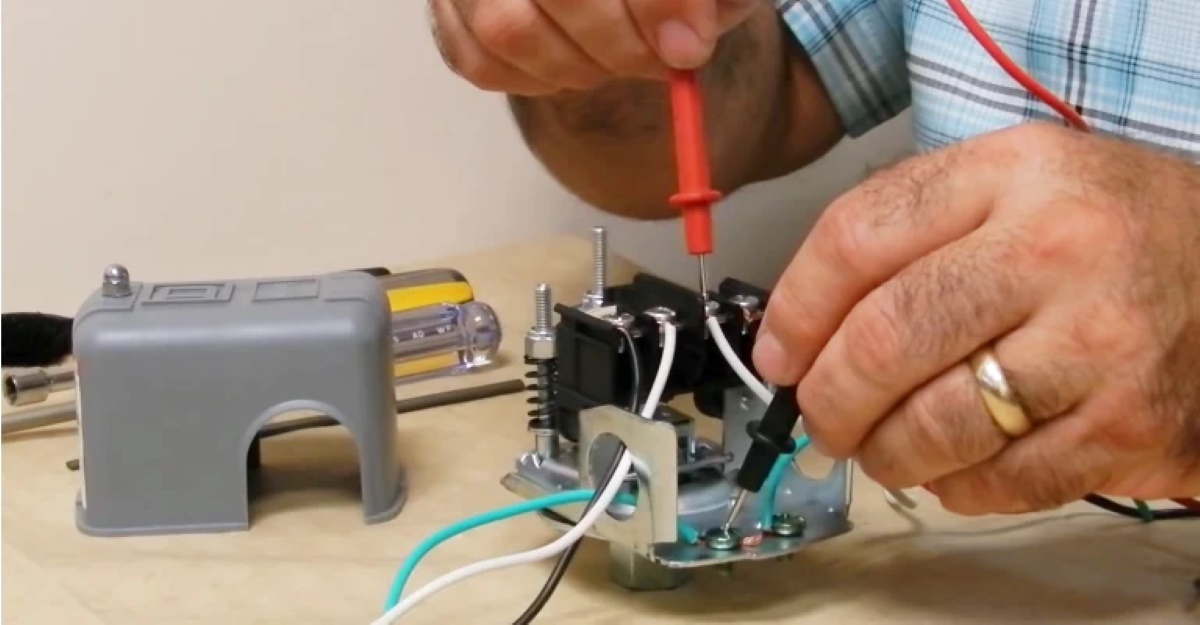
- Connect the power supply: Follow the electrical wiring instructions provided by the manufacturer to connect the pump to the power source. Ensure that all electrical connections are properly insulated.
- Prime the pump (if required): Some water pumps may require priming to remove air and create suction. Follow the manufacturer’s instructions to prime the pump before turning it on.
- Double-check connections: Before turning on the pump, double-check all the connections and ensure that they are secure and leak-free. This includes checking the piping, hoses, and electrical connections.
It’s important to note that the installation process may vary depending on the type and model of the water pump. Always refer to the manufacturer’s instructions for specific installation guidelines.
With the water pump successfully installed, you can now move on to the next step of connecting the necessary pipes and hoses.
When setting up a water pump, make sure to position it close to the water source and ensure that the intake is fully submerged to prevent air from entering the system. Regularly check and clean the intake to maintain optimal performance.
Read more: How To Fix Water Pump
Step 5: Connect the necessary pipes and hoses
Connecting the pipes and hoses is an important step in the setup of your water pump. Follow these steps to ensure proper connection:
- Measure and cut pipes: Measure the distance between the water pump and the water source, as well as between the pump and the distribution points. Use a pipe cutter to cut the pipes to the appropriate lengths.
- Attach fittings: Depending on the type of pipes and hoses you are using, attach the appropriate fittings to the ends of the pipes. Ensure a tight and secure fit.
- Connect the intake pipe: Connect one end of a pipe to the intake port of the water pump. This will draw water from the water source into the pump.
- Connect the discharge pipe: Connect another pipe to the discharge port of the water pump. This will carry the pressurized water from the pump to the desired distribution points.
- Secure connections: Use hose clamps or other fastening methods to secure the connections between the pipes and hoses. This prevents leaks and ensures a steady flow of water.
- Install check valves and pressure regulators (if necessary): Depending on your setup, you may need to install check valves and pressure regulators to maintain proper water flow and prevent backflow.
Ensure that all connections are tight and free from any leaks. Leaks can lead to reduced efficiency and wasted water.
Once you have connected the necessary pipes and hoses, you’re ready to move on to the next step of testing the water pump.
Step 6: Test the water pump
After completing the installation and connecting the pipes and hoses, it’s crucial to test the water pump to ensure proper functionality. Follow these steps to test your water pump:
- Ensure all connections are secure: Double-check all connections to ensure they are tight and free from leaks. This includes the intake and discharge pipes, as well as any additional fittings.
- Turn on the power: Switch on the power supply to provide electricity to the water pump. Verify that the pump receives power and is ready to operate.
- Open the water source valve: If there is a valve controlling the water flow from the source, open it to allow water to enter the pump.
- Prime the pump (if required): If your water pump requires priming, follow the manufacturer’s instructions to prime the pump to remove any air and create suction.
- Observe water flow: Monitor the flow of water from the pump. Check if there are any irregularities, such as air bubbles or weak water flow.
- Check for leaks: Inspect all connections and joints for any signs of leakage. If you notice any leaks, tighten the fittings or replace faulty components as necessary.
- Monitor pump performance: Pay attention to the pump’s performance, including its pressure, noise levels, and overall efficiency. Note any abnormalities that may require further adjustments or maintenance.
If the water pump operates smoothly, providing a steady and sufficient flow of water, it indicates a successful installation. However, if you encounter any issues or abnormalities, refer to the manufacturer’s instructions or seek professional assistance to troubleshoot and rectify the problem.
Testing the water pump ensures that it is functioning optimally and allows you to make any necessary adjustments before proceeding to the next step.
Step 7: Adjust the water flow
Once you have tested the water pump and ensured its proper functionality, you may need to adjust the water flow to suit your specific needs. Follow these steps to make any necessary adjustments:
- Locate the flow control valve: Determine if your water pump has a flow control valve. This valve allows you to regulate the water flow coming out of the pump.
- Open or close the valve: Depending on whether you want to increase or decrease the water flow, open or close the flow control valve accordingly. Turning the valve clockwise typically decreases the flow, while turning it counterclockwise increases the flow.
- Observe the water flow: After making adjustments to the flow control valve, monitor the water flow from the pump. It may take a few moments for the changes to take effect.
- Make further adjustments if necessary: If the current flow rate does not meet your requirements, you can continue adjusting the flow control valve until you achieve the desired water flow.
It’s important to note that the availability of a flow control valve and the method of adjustment may vary depending on the type and model of your water pump. If your pump does not have a flow control valve, you may need to explore alternative methods of adjusting the water flow, such as installing a pressure regulator or using additional valves in the piping system.
By adjusting the water flow, you can ensure that the pump operates at an optimal level, providing the right amount of water for your specific application.
Once you have achieved the desired water flow, you can proceed to the final step of monitoring and maintaining the water pump.
Step 8: Monitor and maintain the water pump
Monitoring and maintaining your water pump is essential to ensure its longevity and continued performance. Here are some steps to help you effectively monitor and maintain your water pump:
- Regularly inspect connections: Periodically inspect all connections, joints, and fittings for any signs of leaks, corrosion, or damage. Address any issues promptly by tightening loose connections or replacing faulty components.
- Check for unusual noises: Listen for any unusual noises coming from the water pump during operation, such as grinding or rattling sounds. Unusual noises may indicate a problem that requires further investigation and potentially professional assistance.
- Clean the intake filter: If your water pump has an intake filter, regularly clean or replace it to ensure it remains free from debris and maintains proper water flow.
- Monitor water pressure: Regularly check the water pressure from the pump to ensure it remains within the desired range. If there are significant fluctuations, it may indicate an issue that needs attention.
- Perform routine maintenance: Follow the manufacturer’s recommendations for routine maintenance tasks, such as lubricating moving parts, flushing out sediment, and inspecting seals and gaskets. Regular maintenance helps prevent major issues and extends the lifespan of your water pump.
- Keep the surrounding area clean: Ensure the area around the water pump is kept clean and free from debris, weeds, and other obstructions. This promotes proper ventilation and prevents potential damage to the pump.
- Maintain a maintenance schedule: Create a maintenance schedule to remind yourself of routine tasks and inspections. Regularly check and maintain your water pump, especially before seasonal changes or during periods of heavy use.
By consistently monitoring and maintaining your water pump, you can identify and address any issues early on, ensuring its reliable operation and prolonging its lifespan.
Remember to always refer to the manufacturer’s guidelines and recommendations for specific maintenance instructions related to your water pump model.
With proper monitoring and maintenance in place, you can enjoy a well-functioning water pump that meets your water supply needs for years to come.
Read more: How To Use A Water Pump
Conclusion
Setting up a water pump can provide a reliable water source for a variety of purposes and bring convenience to your home or property. By following the step-by-step guide outlined in this article, you can successfully install and set up a water pump on your own.
Starting with gathering the necessary equipment and choosing a suitable location, you’ll ensure a solid foundation for your water pump installation. Preparing the water source and meticulously connecting the pipes and hoses will ensure a steady and efficient water flow.
Testing the water pump and adjusting the water flow to your specific needs are crucial steps to guarantee optimal performance. By monitoring and maintaining the water pump regularly, you can identify and address any issues promptly, prolonging its lifespan.
Remember, safety should always be a priority during the installation and maintenance process. If you’re unsure about any step or lack the necessary skills, it’s best to seek professional assistance to ensure a safe and successful installation.
Now that you’re equipped with the knowledge to set up a water pump, it’s time to put it into action. Assess your needs, gather the required equipment, and take the necessary steps to enjoy the benefits of a reliable water source.
Whether you’re using a water pump for irrigation, water supply, or any other application, following these guidelines will help you set up a water pump effectively and efficiently.
With your new water pump in place, you can enjoy the convenience and peace of mind that comes with having a steady and dependable water supply.
Frequently Asked Questions about How To Set Up Water Pump
Was this page helpful?
At Storables.com, we guarantee accurate and reliable information. Our content, validated by Expert Board Contributors, is crafted following stringent Editorial Policies. We're committed to providing you with well-researched, expert-backed insights for all your informational needs.


0 thoughts on “How To Set Up Water Pump”