Home>Construction & Tools>Building Materials>How To Repair Broken Brick
Building Materials
How To Repair Broken Brick
Modified: February 28, 2024
Learn how to repair broken brick using the right building materials and techniques. Our expert guide will help you restore your brickwork with ease.
(Many of the links in this article redirect to a specific reviewed product. Your purchase of these products through affiliate links helps to generate commission for Storables.com, at no extra cost. Learn more)
Introduction
Repairing a broken brick in your home may seem like a daunting task, but with the right guidance and tools, it can be a manageable and rewarding project. Whether it's a cracked brick on your exterior wall or a damaged brick pathway, addressing the issue promptly can prevent further deterioration and maintain the structural integrity and aesthetic appeal of your property.
In this comprehensive guide, we will walk you through the step-by-step process of repairing a broken brick, providing valuable insights and practical tips to help you achieve a professional-looking result. From assessing the extent of the damage to gathering the necessary tools and materials, each stage of the repair process will be thoroughly explained to empower you with the knowledge and confidence to tackle this task effectively.
By following the techniques outlined in this guide, you can not only restore the functionality and visual appeal of the affected area but also gain a sense of accomplishment from successfully completing a home improvement project. So, roll up your sleeves, gather your tools, and let's embark on this repair journey together. Whether you're a seasoned DIY enthusiast or a novice homeowner eager to learn new skills, this guide is designed to cater to your needs and equip you with the expertise to handle brick repairs with ease.
Now, let's delve into the intricacies of assessing the damage and understanding the tools and materials required for the task at hand. With a clear understanding of the process, you'll be well-prepared to address the broken brick and restore the charm and functionality of your living space.
Key Takeaways:
- Don’t be intimidated by a broken brick – with the right tools and know-how, you can repair it yourself and take pride in a job well done. Assess, gather, remove, prepare, install, and maintain for a successful repair!
- Assess the damage, gather the right tools and materials, and follow the step-by-step process to repair a broken brick. With attention to detail and ongoing maintenance, you can achieve a professional-quality restoration.
Read more: How To Repair Broken Brick Steps
Assessing the damage
Before embarking on the repair of a broken brick, it is crucial to thoroughly assess the extent of the damage. This initial step sets the foundation for a successful repair process and ensures that the appropriate measures are taken to address the issue effectively.
Begin by closely examining the damaged brick, paying attention to any visible cracks, chips, or dislodged sections. Take note of the location and size of the damage, as well as any surrounding bricks that may have been affected. It's essential to determine whether the damage is superficial or if it has compromised the structural integrity of the brickwork.
Next, assess the underlying cause of the damage. Factors such as weather exposure, moisture infiltration, or impact damage can contribute to the deterioration of bricks. By identifying the root cause, you can implement preventive measures to safeguard the repaired area against future damage.
Additionally, consider the type of brick and mortar used in the original construction. Understanding the materials involved will guide you in selecting suitable replacement bricks and mortar for a seamless repair. Take note of any unique characteristics or patterns in the existing brickwork to ensure that the replacement brick aligns with the overall aesthetic of the structure.
Furthermore, evaluate the surrounding environment and conditions that may impact the longevity of the repair. Factors such as drainage, temperature fluctuations, and exposure to sunlight can influence the durability of the repaired brickwork. By considering these elements during the assessment, you can make informed decisions to enhance the longevity of the repair.
In some cases, consulting a professional brick mason or structural engineer may be necessary, especially if the damage is extensive or if there are concerns about the structural stability of the affected area. Their expertise can provide valuable insights and recommendations for addressing complex or severe damage.
By meticulously assessing the damage and its underlying causes, you will be equipped with a comprehensive understanding of the repair requirements. This knowledge forms the basis for the subsequent steps in the repair process, ensuring that the repair is tailored to address the specific needs of the damaged brickwork. With a clear assessment in hand, you are now prepared to gather the necessary tools and materials for the repair task ahead.
Gathering the necessary tools and materials
Gathering the necessary tools and materials is a crucial preparatory step before commencing the repair of a broken brick. Having the right equipment at your disposal ensures a smooth and efficient repair process, allowing you to address the damage with precision and confidence.
Tools:
-
Safety Gear: Prioritize safety by equipping yourself with protective gear, including safety goggles, work gloves, and a dust mask. These items safeguard against potential hazards such as dust, debris, and sharp edges during the repair.
-
Hammer and Chisel: These essential tools facilitate the removal of the damaged brick and any residual mortar. Opt for a brick hammer, which features a chisel end designed specifically for working with bricks.
-
Masonry Trowel: A masonry trowel is indispensable for applying mortar when installing the new brick. Choose a trowel with a comfortable grip and a sturdy, rust-resistant blade for optimal performance.
-
Joint Raker: This tool aids in the removal of old mortar from the joints, ensuring a clean and uniform surface for the new mortar application.
-
Wire Brush: Use a wire brush to clean the surrounding brickwork and remove any loose debris or mortar, promoting better adhesion for the new brick.
-
Level: To ensure the proper alignment and positioning of the new brick, a level is essential for achieving a professional finish.
-
Bucket and Mixing Tools: Prepare a bucket for mixing mortar and have a margin trowel or mixing hoe on hand for blending the mortar to the desired consistency.
Materials:
-
Replacement Brick: Acquire a replacement brick that closely matches the size, color, and texture of the existing bricks. This ensures a seamless integration with the surrounding brickwork.
-
Mortar: Select high-quality mortar that aligns with the composition and color of the original mortar. Pre-mixed mortar or mortar mix can simplify the preparation process.
-
Bonding Agent: Consider using a bonding agent to enhance the adhesion between the new brick and the surrounding mortar, promoting a durable and long-lasting repair.
-
Protective Sealant: Depending on the location of the repair, a protective sealant may be necessary to shield the brickwork from moisture and environmental elements, prolonging its lifespan.
By assembling these essential tools and materials, you are well-equipped to embark on the repair of the broken brick. This comprehensive preparation sets the stage for a successful and professional-quality repair, ensuring that the structural integrity and visual appeal of the brickwork are effectively restored.
Read more: How To Repair Broken Pipe Plumbing
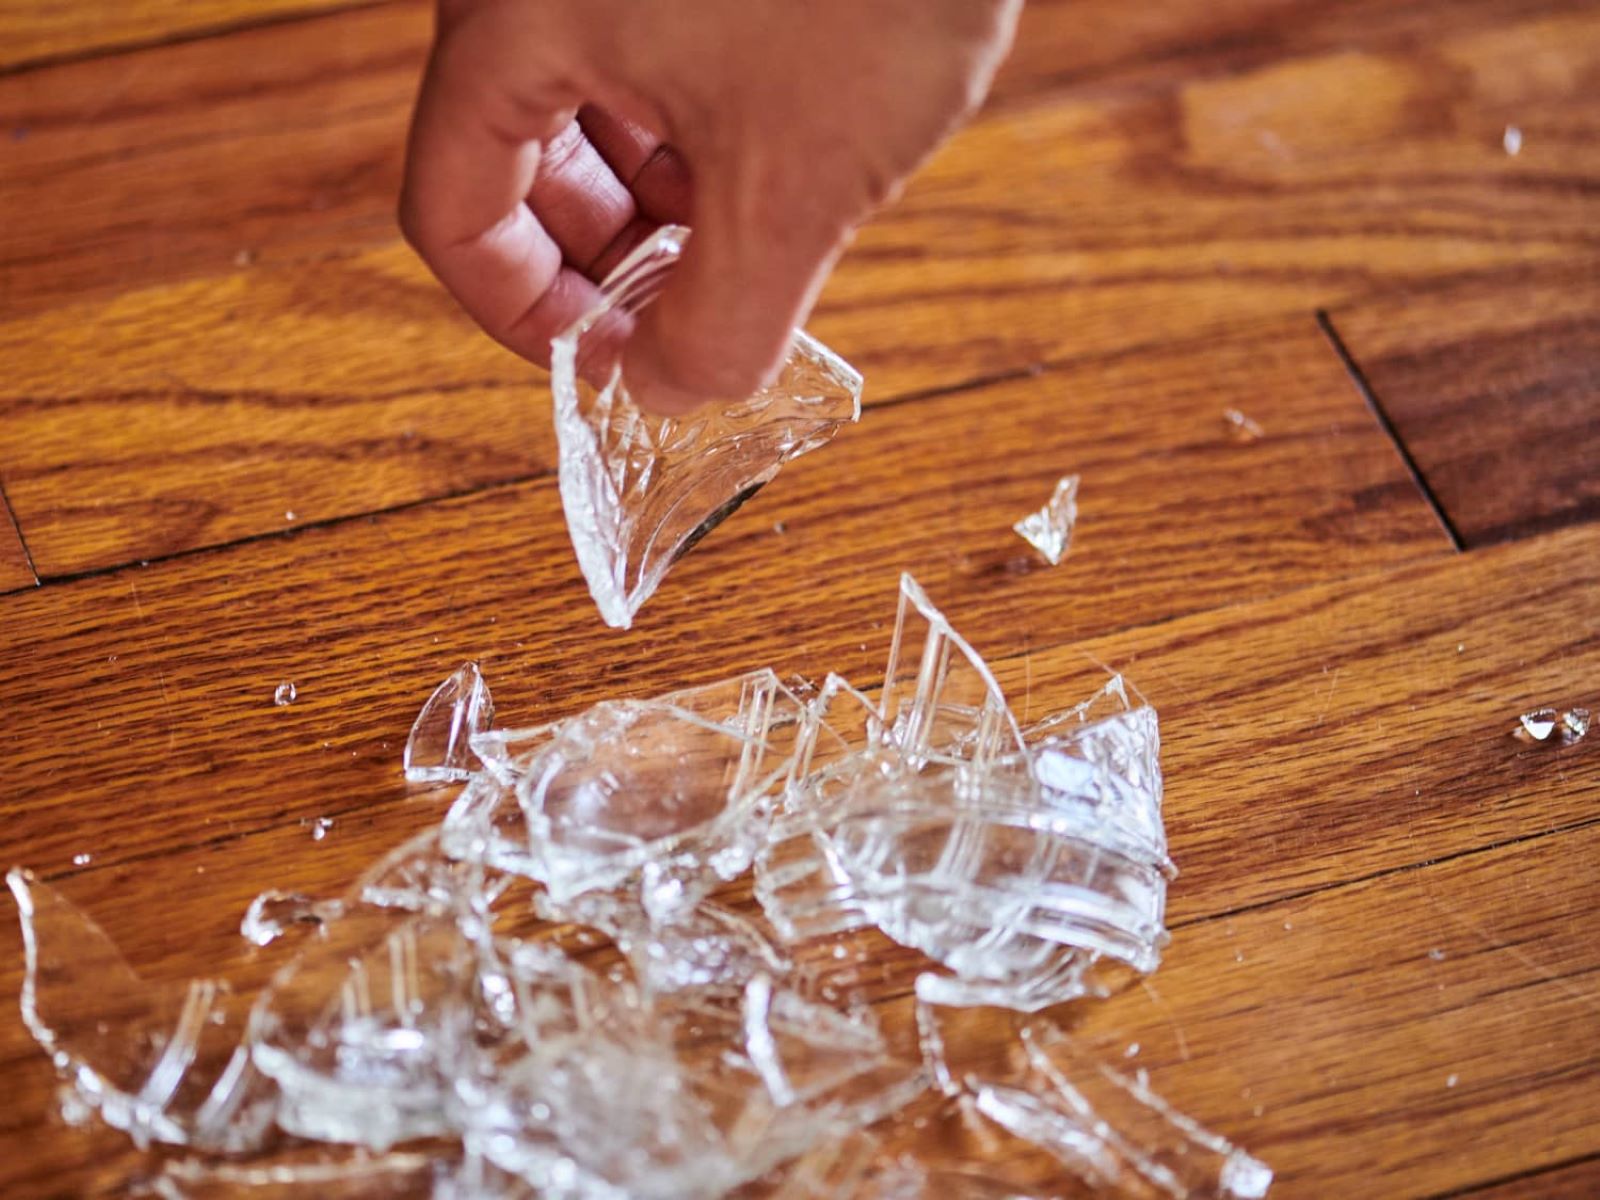
Removing the damaged brick
Removing the damaged brick is a critical phase in the repair process, requiring precision and care to ensure the seamless extraction of the compromised brick and the preparation of the area for the installation of the new brick. Follow these detailed steps to effectively remove the damaged brick:
-
Safety Precautions: Prioritize safety by wearing protective gear, including safety goggles, work gloves, and a dust mask. These items safeguard against potential hazards such as dust, debris, and sharp edges during the removal process.
-
Assessing the Surrounding Mortar: Carefully inspect the mortar surrounding the damaged brick. Use a hammer and chisel to gently chip away at the mortar joints, ensuring that the surrounding mortar is sufficiently loosened to facilitate the removal of the damaged brick.
-
Gradual Extraction: Begin the extraction process by tapping the damaged brick gently with a hammer and chisel. Work around the edges of the brick, gradually loosening it from the surrounding mortar. Exercise caution to avoid damaging adjacent bricks during this process.
-
Leverage and Support: Once the damaged brick is loosened, carefully leverage it out of its position using the chisel and a supportive tool, such as a block of wood. Apply gentle pressure to ease the brick out of the wall or pathway, taking care to prevent any unnecessary strain on the surrounding bricks.
-
Cleaning the Cavity: After removing the damaged brick, use a wire brush to clean the cavity and remove any residual mortar or debris. Ensure that the cavity is free from any obstructions and is prepared to receive the new brick and mortar.
-
Inspecting the Substrate: Take a moment to inspect the substrate beneath the removed brick. Address any irregularities or damage to the substrate, ensuring that it provides a stable and level foundation for the installation of the new brick.
By meticulously following these steps, you can effectively remove the damaged brick without causing undue harm to the surrounding brickwork. This careful extraction process sets the stage for the subsequent phase of preparing the area for the installation of the new brick, ensuring that the repair is executed with precision and attention to detail.
Preparing the area for the new brick
Preparing the area for the new brick is a crucial step that sets the foundation for a successful and long-lasting repair. This phase involves meticulous attention to detail and the implementation of precise techniques to ensure that the new brick integrates seamlessly with the existing brickwork. Follow these comprehensive steps to prepare the area for the installation of the new brick:
-
Cleaning the Surrounding Surface: Begin by thoroughly cleaning the surrounding brickwork and the cavity from which the damaged brick was removed. Use a wire brush to eliminate any residual mortar, dust, or debris, ensuring that the surface is clean and free from obstructions. This step promotes optimal adhesion and a uniform appearance for the new brick.
-
Applying Bonding Agent (If Necessary): Depending on the type of mortar and the condition of the surrounding brickwork, applying a bonding agent may be beneficial to enhance the adhesion between the new brick and the existing mortar. Follow the manufacturer's instructions to apply the bonding agent evenly, allowing it to set to the appropriate tackiness before proceeding with the installation of the new brick.
-
Preparing the Mortar: If using pre-mixed mortar, follow the manufacturer's guidelines for proper preparation. Ensure that the mortar is mixed to the desired consistency, exhibiting a workable texture that facilitates easy application and optimal adhesion. Consistency in mortar preparation is essential for achieving a uniform and durable bond between the new brick and the surrounding mortar.
-
Positioning the Replacement Brick: Carefully place the replacement brick into the prepared cavity, ensuring a snug fit and alignment with the surrounding brickwork. Use a level to verify that the new brick is positioned evenly and flush with the adjacent bricks, maintaining a uniform and aesthetically pleasing appearance.
-
Applying Mortar to the Joints: Using a masonry trowel, apply mortar to the joints surrounding the new brick, filling the gaps with precision and care. Ensure that the mortar is evenly distributed and compacted to create a robust bond between the new brick and the existing brickwork. Pay close attention to achieving a consistent joint profile that complements the surrounding mortar joints.
-
Finishing Touches: Once the new brick is securely in place and the mortar joints are filled, use a joint raker to shape and finish the mortar joints, creating a seamless transition between the new brick and the surrounding brickwork. Remove any excess mortar and smooth the joints to achieve a professional and polished appearance.
By meticulously preparing the area for the new brick, you establish the groundwork for a durable and visually appealing repair. This phase sets the stage for the final installation of the new brick, ensuring that the repair seamlessly integrates with the existing brickwork and upholds the structural integrity of the overall structure.
Use a chisel and hammer to remove the broken brick. Clean the area and apply mortar to the base. Place the new brick and fill the gaps with mortar. Smooth the surface and let it dry for 24 hours.
Installing the new brick
With the area meticulously prepared, it's time to proceed with the installation of the new brick. This phase demands precision and attention to detail to ensure that the replacement brick seamlessly integrates with the existing brickwork, both structurally and aesthetically. Follow these comprehensive steps to effectively install the new brick:
-
Placing the Replacement Brick: Carefully position the replacement brick into the prepared cavity, ensuring a snug fit and alignment with the surrounding brickwork. Gently press the brick into place, allowing the mortar to establish a secure bond between the brick and the substrate. Verify that the new brick is level and flush with the adjacent bricks, maintaining a uniform and visually pleasing appearance.
-
Aligning with Surrounding Bricks: Pay close attention to aligning the replacement brick with the surrounding bricks, ensuring that the pattern and orientation are consistent with the existing brickwork. This meticulous alignment contributes to a cohesive and harmonious visual presentation, seamlessly integrating the new brick into the overall structure.
-
Securing the Brick in Place: Once the replacement brick is positioned correctly, gently tap the surface with a rubber mallet to ensure that it is firmly seated and bonded with the mortar. This step promotes optimal adhesion and stability, anchoring the new brick securely within the brickwork.
-
Checking for Uniformity: Use a level to verify that the new brick is installed evenly and maintains a consistent elevation with the surrounding bricks. This meticulous attention to uniformity ensures that the repaired area presents a seamless and professional finish, free from any noticeable discrepancies in brick alignment.
-
Applying Final Adjustments: Make any necessary adjustments to the positioning of the replacement brick, ensuring that it aligns seamlessly with the surrounding brickwork. Take the time to refine the placement and orientation of the brick, striving for a flawless integration that upholds the aesthetic and structural integrity of the overall brickwork.
By meticulously following these steps, you can effectively install the new brick with precision and care, ensuring that the repair seamlessly integrates with the existing brickwork. This meticulous installation process sets the stage for the final phase of applying finishing touches and maintenance, culminating in a professional-quality repair that enhances the visual appeal and longevity of the brickwork.
Finishing touches and maintenance
Upon completing the installation of the new brick, attention to finishing touches and ongoing maintenance is essential to ensure the longevity and visual appeal of the repaired area. The following steps encompass the final touches and maintenance practices to uphold the quality of the repair:
-
Cleaning and Polishing: After the new brick and mortar have set, use a soft-bristled brush to remove any residual mortar or debris from the surface of the brick. Gently brush the area to achieve a clean and polished appearance, enhancing the overall aesthetic of the repair.
-
Sealing (If Applicable): Depending on the location and exposure of the repaired brickwork, consider applying a protective sealant to shield the surface from moisture, UV exposure, and environmental elements. A high-quality sealant can prolong the lifespan of the repair and safeguard the brickwork against deterioration.
-
Inspecting and Addressing Imperfections: Thoroughly inspect the repaired area for any imperfections or irregularities in the mortar joints or brick alignment. Address any minor discrepancies by carefully adjusting the mortar or brick positioning to achieve a seamless and uniform finish.
-
Monitoring for Settling: Keep a watchful eye on the repaired area in the weeks following the repair to monitor for any signs of settling or shifting. Address any noticeable changes promptly to maintain the structural integrity and appearance of the repaired brickwork.
-
Regular Maintenance: Incorporate the repaired brickwork into your regular maintenance routine, which may include periodic cleaning, inspection for damage, and prompt repair of any emerging issues. By integrating the repaired area into your maintenance regimen, you can ensure its long-term durability and visual appeal.
By attending to these finishing touches and implementing ongoing maintenance practices, you can uphold the quality and integrity of the repaired brickwork. This proactive approach not only enhances the visual appeal of the repaired area but also contributes to the longevity and structural soundness of the overall brickwork. With the completion of these final steps, the repair process culminates in a comprehensive and professional restoration of the broken brick, ensuring its seamless integration into the existing structure.
Frequently Asked Questions about How To Repair Broken Brick
Was this page helpful?
At Storables.com, we guarantee accurate and reliable information. Our content, validated by Expert Board Contributors, is crafted following stringent Editorial Policies. We're committed to providing you with well-researched, expert-backed insights for all your informational needs.


0 thoughts on “How To Repair Broken Brick”