Articles
How To Use Cuisinart Ice Cream Maker
Modified: February 24, 2024
Discover tips and tricks on how to use the Cuisinart Ice Cream Maker in our informative articles. Perfect your homemade ice cream creations with step-by-step guidance and expert advice.
(Many of the links in this article redirect to a specific reviewed product. Your purchase of these products through affiliate links helps to generate commission for Storables.com, at no extra cost. Learn more)
Introduction
Welcome to the world of homemade ice cream! There’s nothing quite like the creamy, decadent taste of a perfectly crafted scoop of ice cream. With the Cuisinart Ice Cream Maker, you can bring that deliciousness right into your own kitchen. Whether you’re a seasoned ice cream enthusiast or a novice in the world of frozen treats, this handy kitchen appliance will revolutionize your dessert game.
In this article, we’ll walk you through the step-by-step process of using the Cuisinart Ice Cream Maker, from preparation to clean-up. We’ll also provide some troubleshooting tips along the way to ensure a smoother ice cream-making experience.
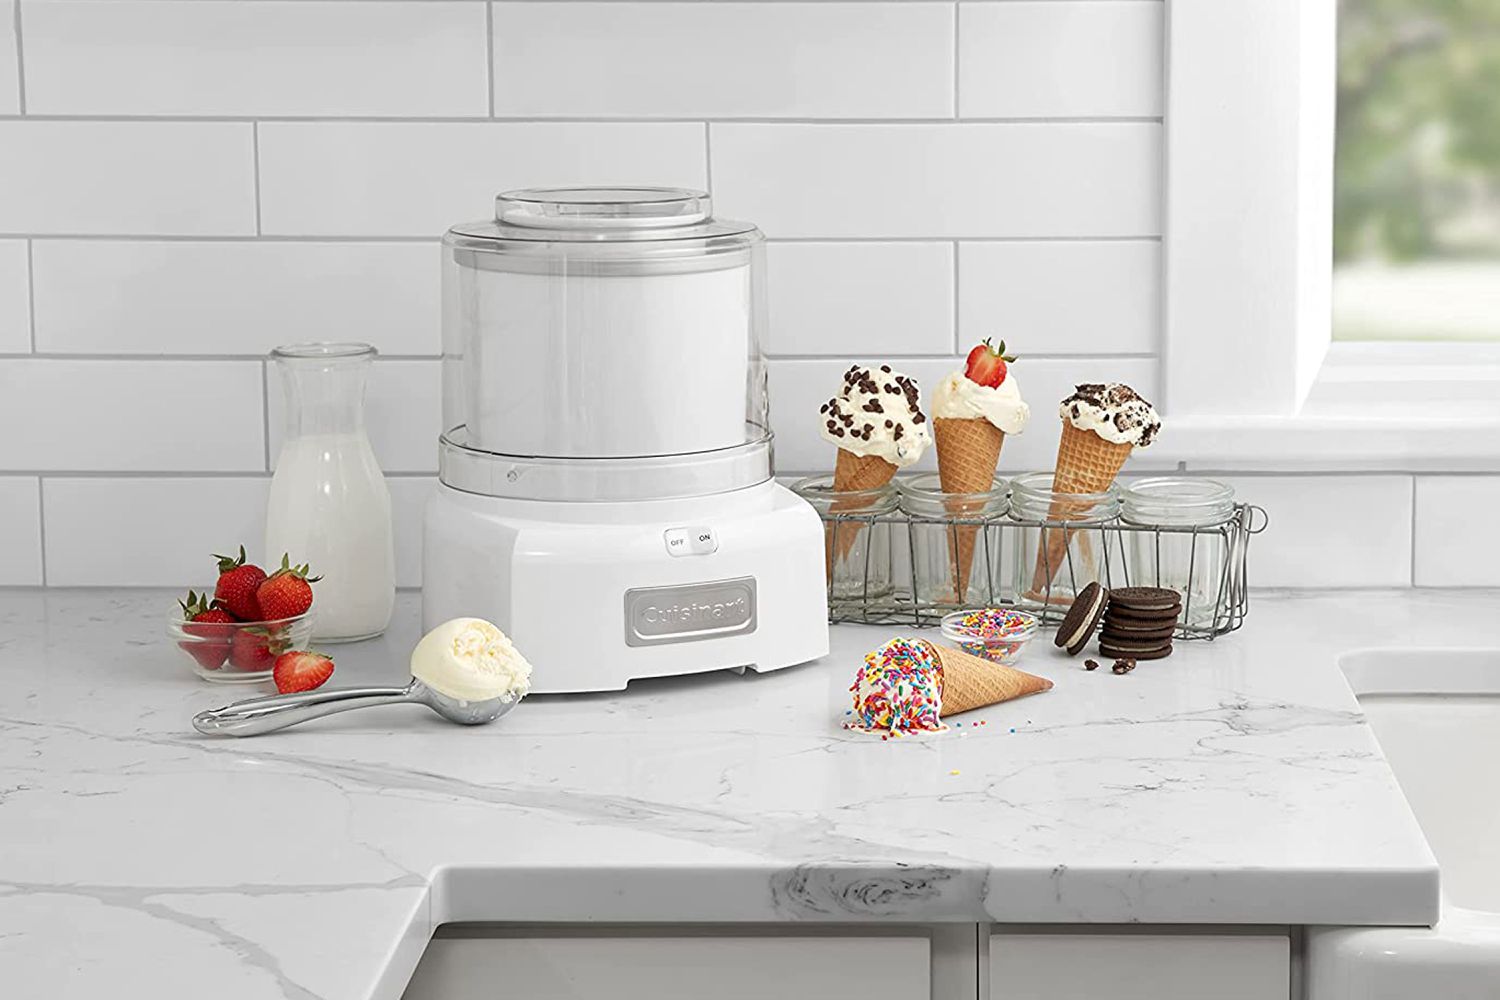
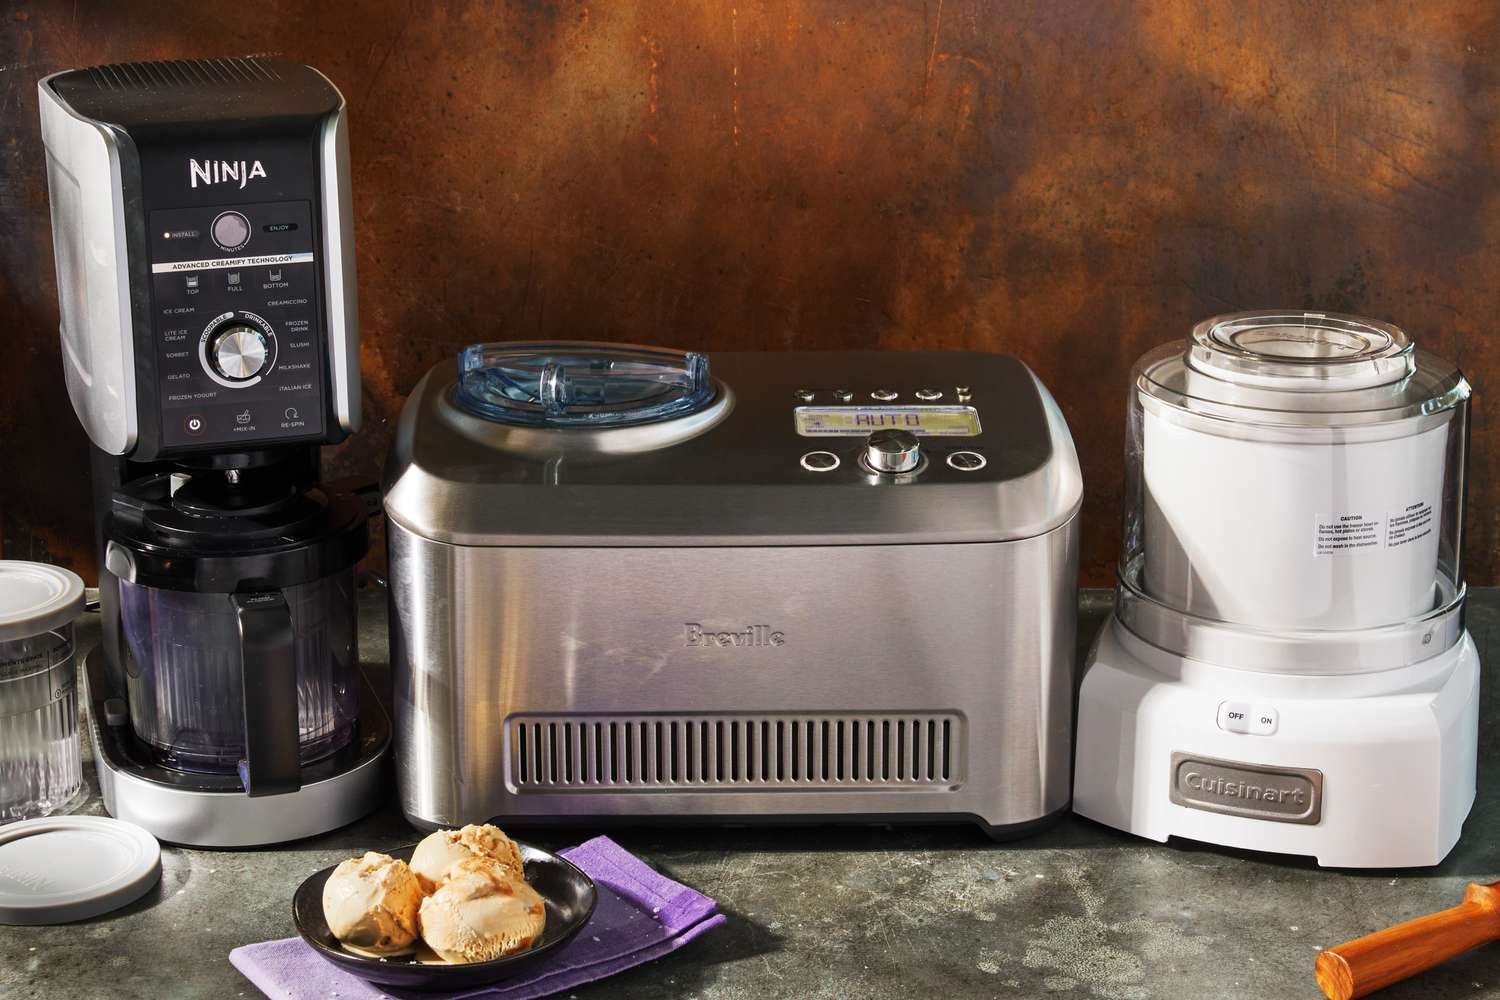
Before we dive in, let’s take a brief overview of the Cuisinart Ice Cream Maker and its key features. This versatile appliance allows you to create a variety of frozen treats, from classic vanilla and chocolate ice cream to indulgent flavors like mint chocolate chip or cookies and cream. With its powerful motor and innovative design, it can churn out consistently smooth and creamy desserts in no time.
The Cuisinart Ice Cream Maker features a double-insulated freezer bowl that needs to be frozen before use. This eliminates the need for ice and salt, making it a convenient and hassle-free option for home ice cream-making. Additionally, it has a large spout for adding mix-ins, allowing you to customize your ice cream with your favorite ingredients like nuts, chocolate chips, or fruit.
Now that you have a basic understanding of the Cuisinart Ice Cream Maker, let’s jump into the step-by-step process of creating your own delicious homemade ice cream. Get ready to embark on a sweet adventure of flavors and textures that will have your taste buds dancing with delight!
Key Takeaways:
- Indulge in the world of homemade ice cream with the Cuisinart Ice Cream Maker, creating creamy, flavorful treats from classic vanilla to indulgent mix-ins, hassle-free and customizable.
- Master the art of creating delectable homemade ice cream with the Cuisinart Ice Cream Maker, from preparation to churning, adding mix-ins, and proper storage, ensuring a delightful frozen treat every time.
Overview of the Cuisinart Ice Cream Maker
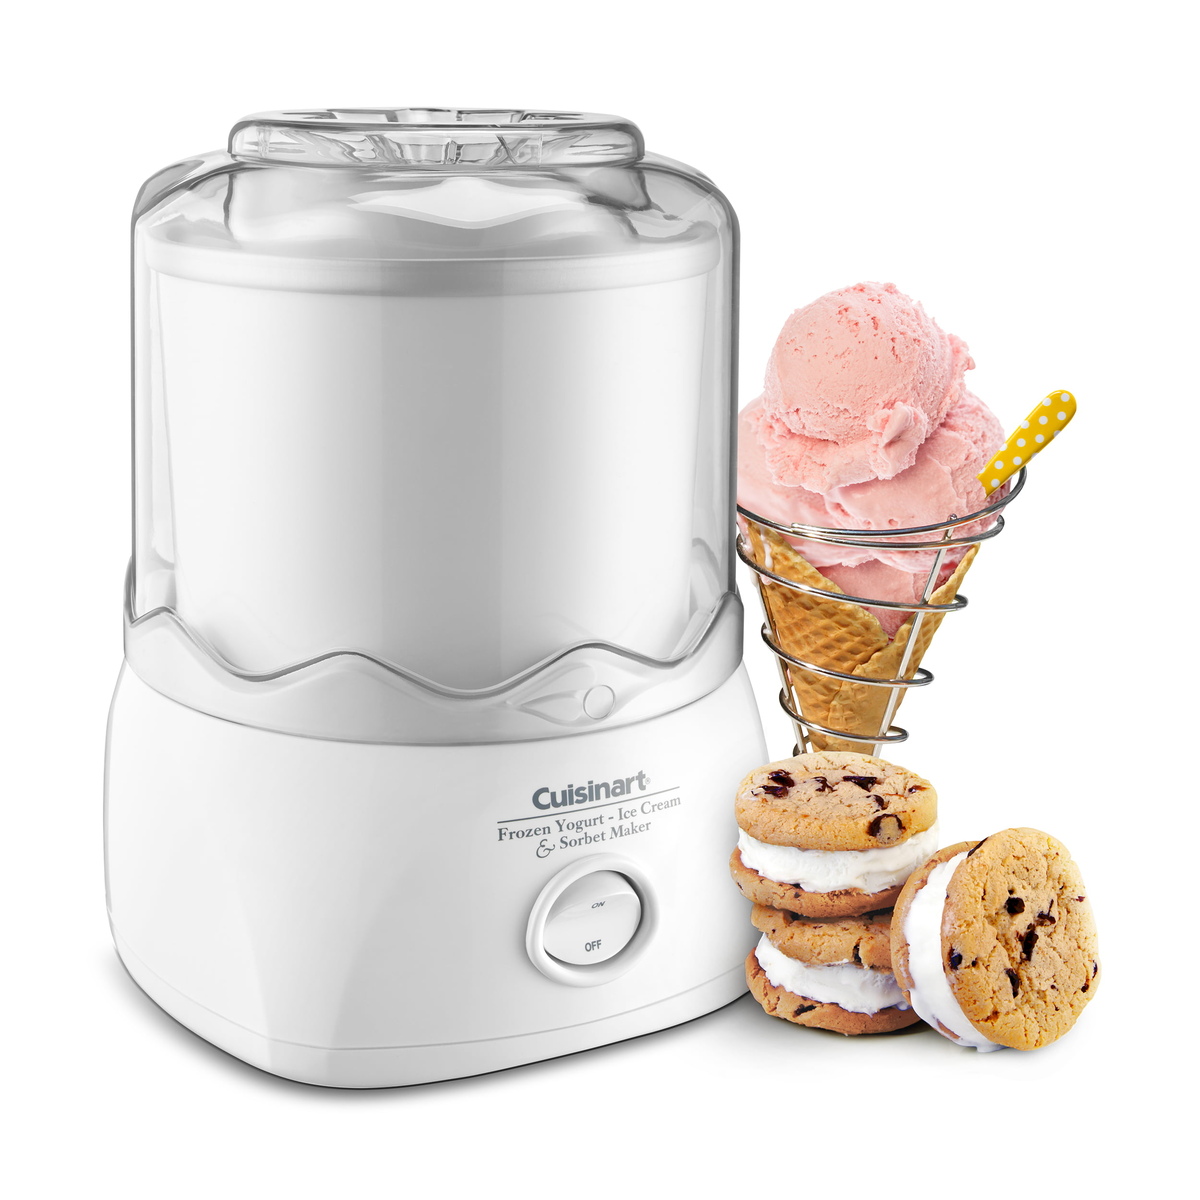
The Cuisinart Ice Cream Maker is a versatile and easy-to-use appliance that allows you to create delicious homemade ice cream, sorbet, and frozen yogurt. It offers a convenient and time-saving solution for satisfying your sweet tooth cravings in the comfort of your own home.
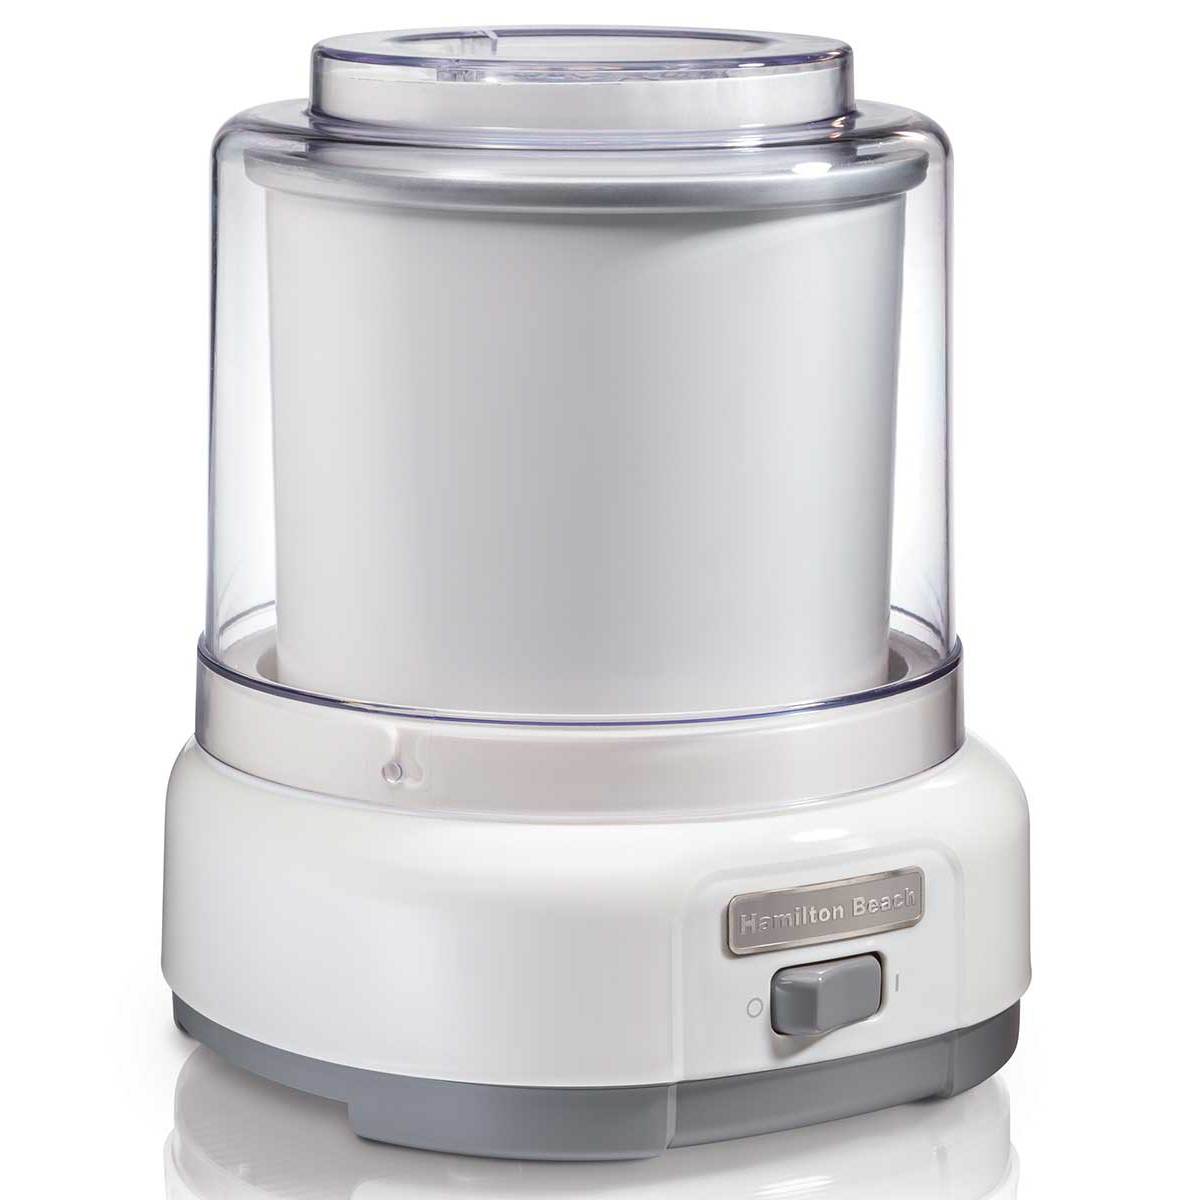
The key feature of the Cuisinart Ice Cream Maker is its double-insulated freezer bowl. This bowl needs to be pre-frozen before use, typically for about 12 to 24 hours, depending on the model. The bowl is placed in the freezer until the liquid-filled walls freeze solid, allowing it to maintain a low temperature and freeze the ice cream base evenly.
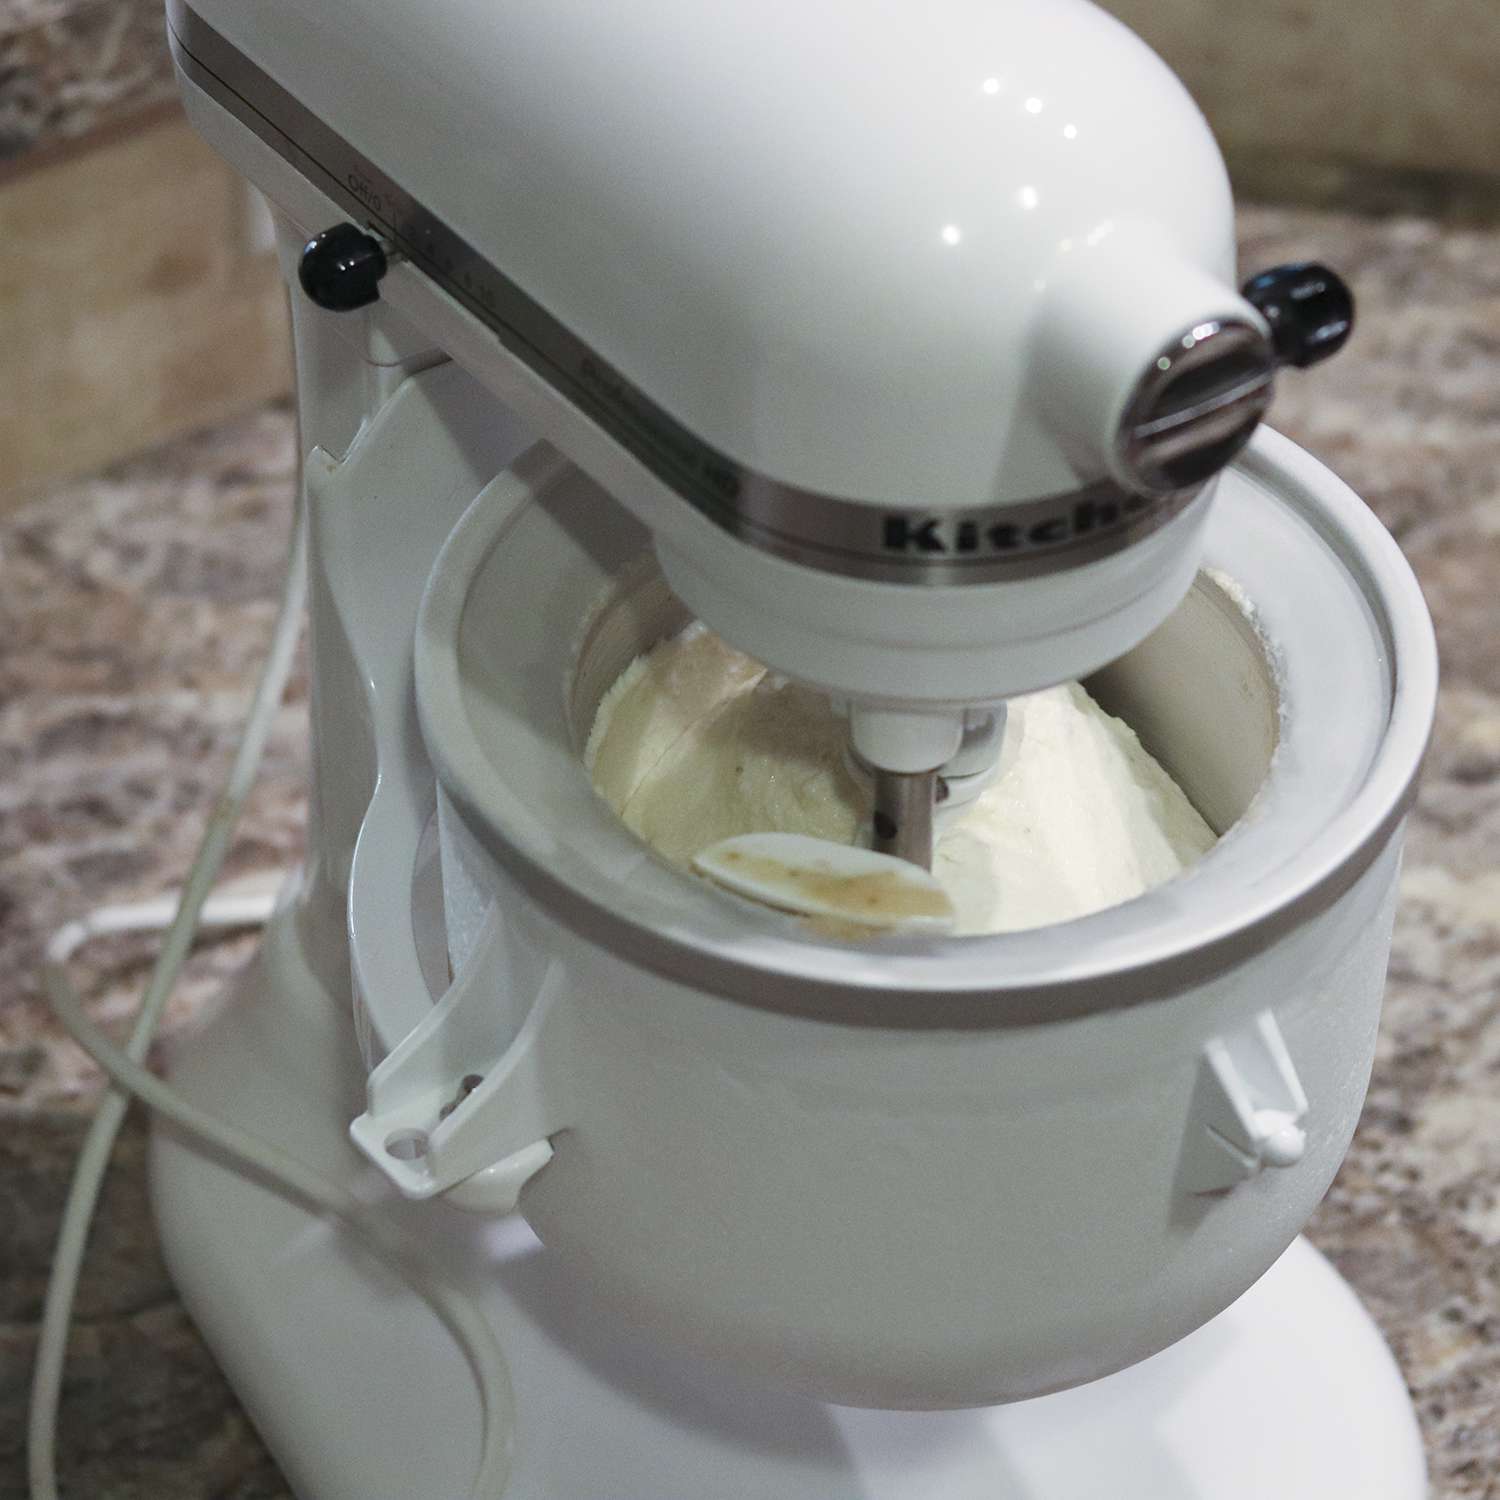
Once the freezer bowl is frozen, it is assembled with the base of the ice cream maker. The frozen bowl attaches to the motor base, which houses a powerful motor that churns the ice cream mixture. The motor turns the paddle inside the bowl, continuously scraping the frozen mixture from the sides and incorporating air into the mixture, resulting in a smooth and creamy texture.
The Cuisinart Ice Cream Maker is designed to be user-friendly, with a simple on-off switch and a large ingredient spout for adding mix-ins during the churning process. This allows you to customize your ice cream by adding your favorite ingredients like chocolate chips, nuts, or fruit.
Another advantage of the Cuisinart Ice Cream Maker is its size. It is compact and doesn’t take up much counter space, making it a great addition to any kitchen. Its lightweight design also makes it easy to store when not in use.
Cleaning the Cuisinart Ice Cream Maker is quick and easy. The freezer bowl, lid, and mixing paddle can be washed by hand or in the dishwasher. Ensure they are completely dry before storing them for future use.
Overall, the Cuisinart Ice Cream Maker is a fantastic appliance for anyone who wants to enjoy homemade frozen desserts without the hassle of traditional ice and salt methods. It provides a convenient and efficient way to create a variety of frozen treats, making it a must-have for ice cream lovers of all levels of expertise.
Step 1: Preparing the Ice Cream Maker
Before you start making your delicious homemade ice cream, it’s important to properly prepare the Cuisinart Ice Cream Maker. Follow these steps to ensure you have the perfect setup for a successful ice cream-making experience:
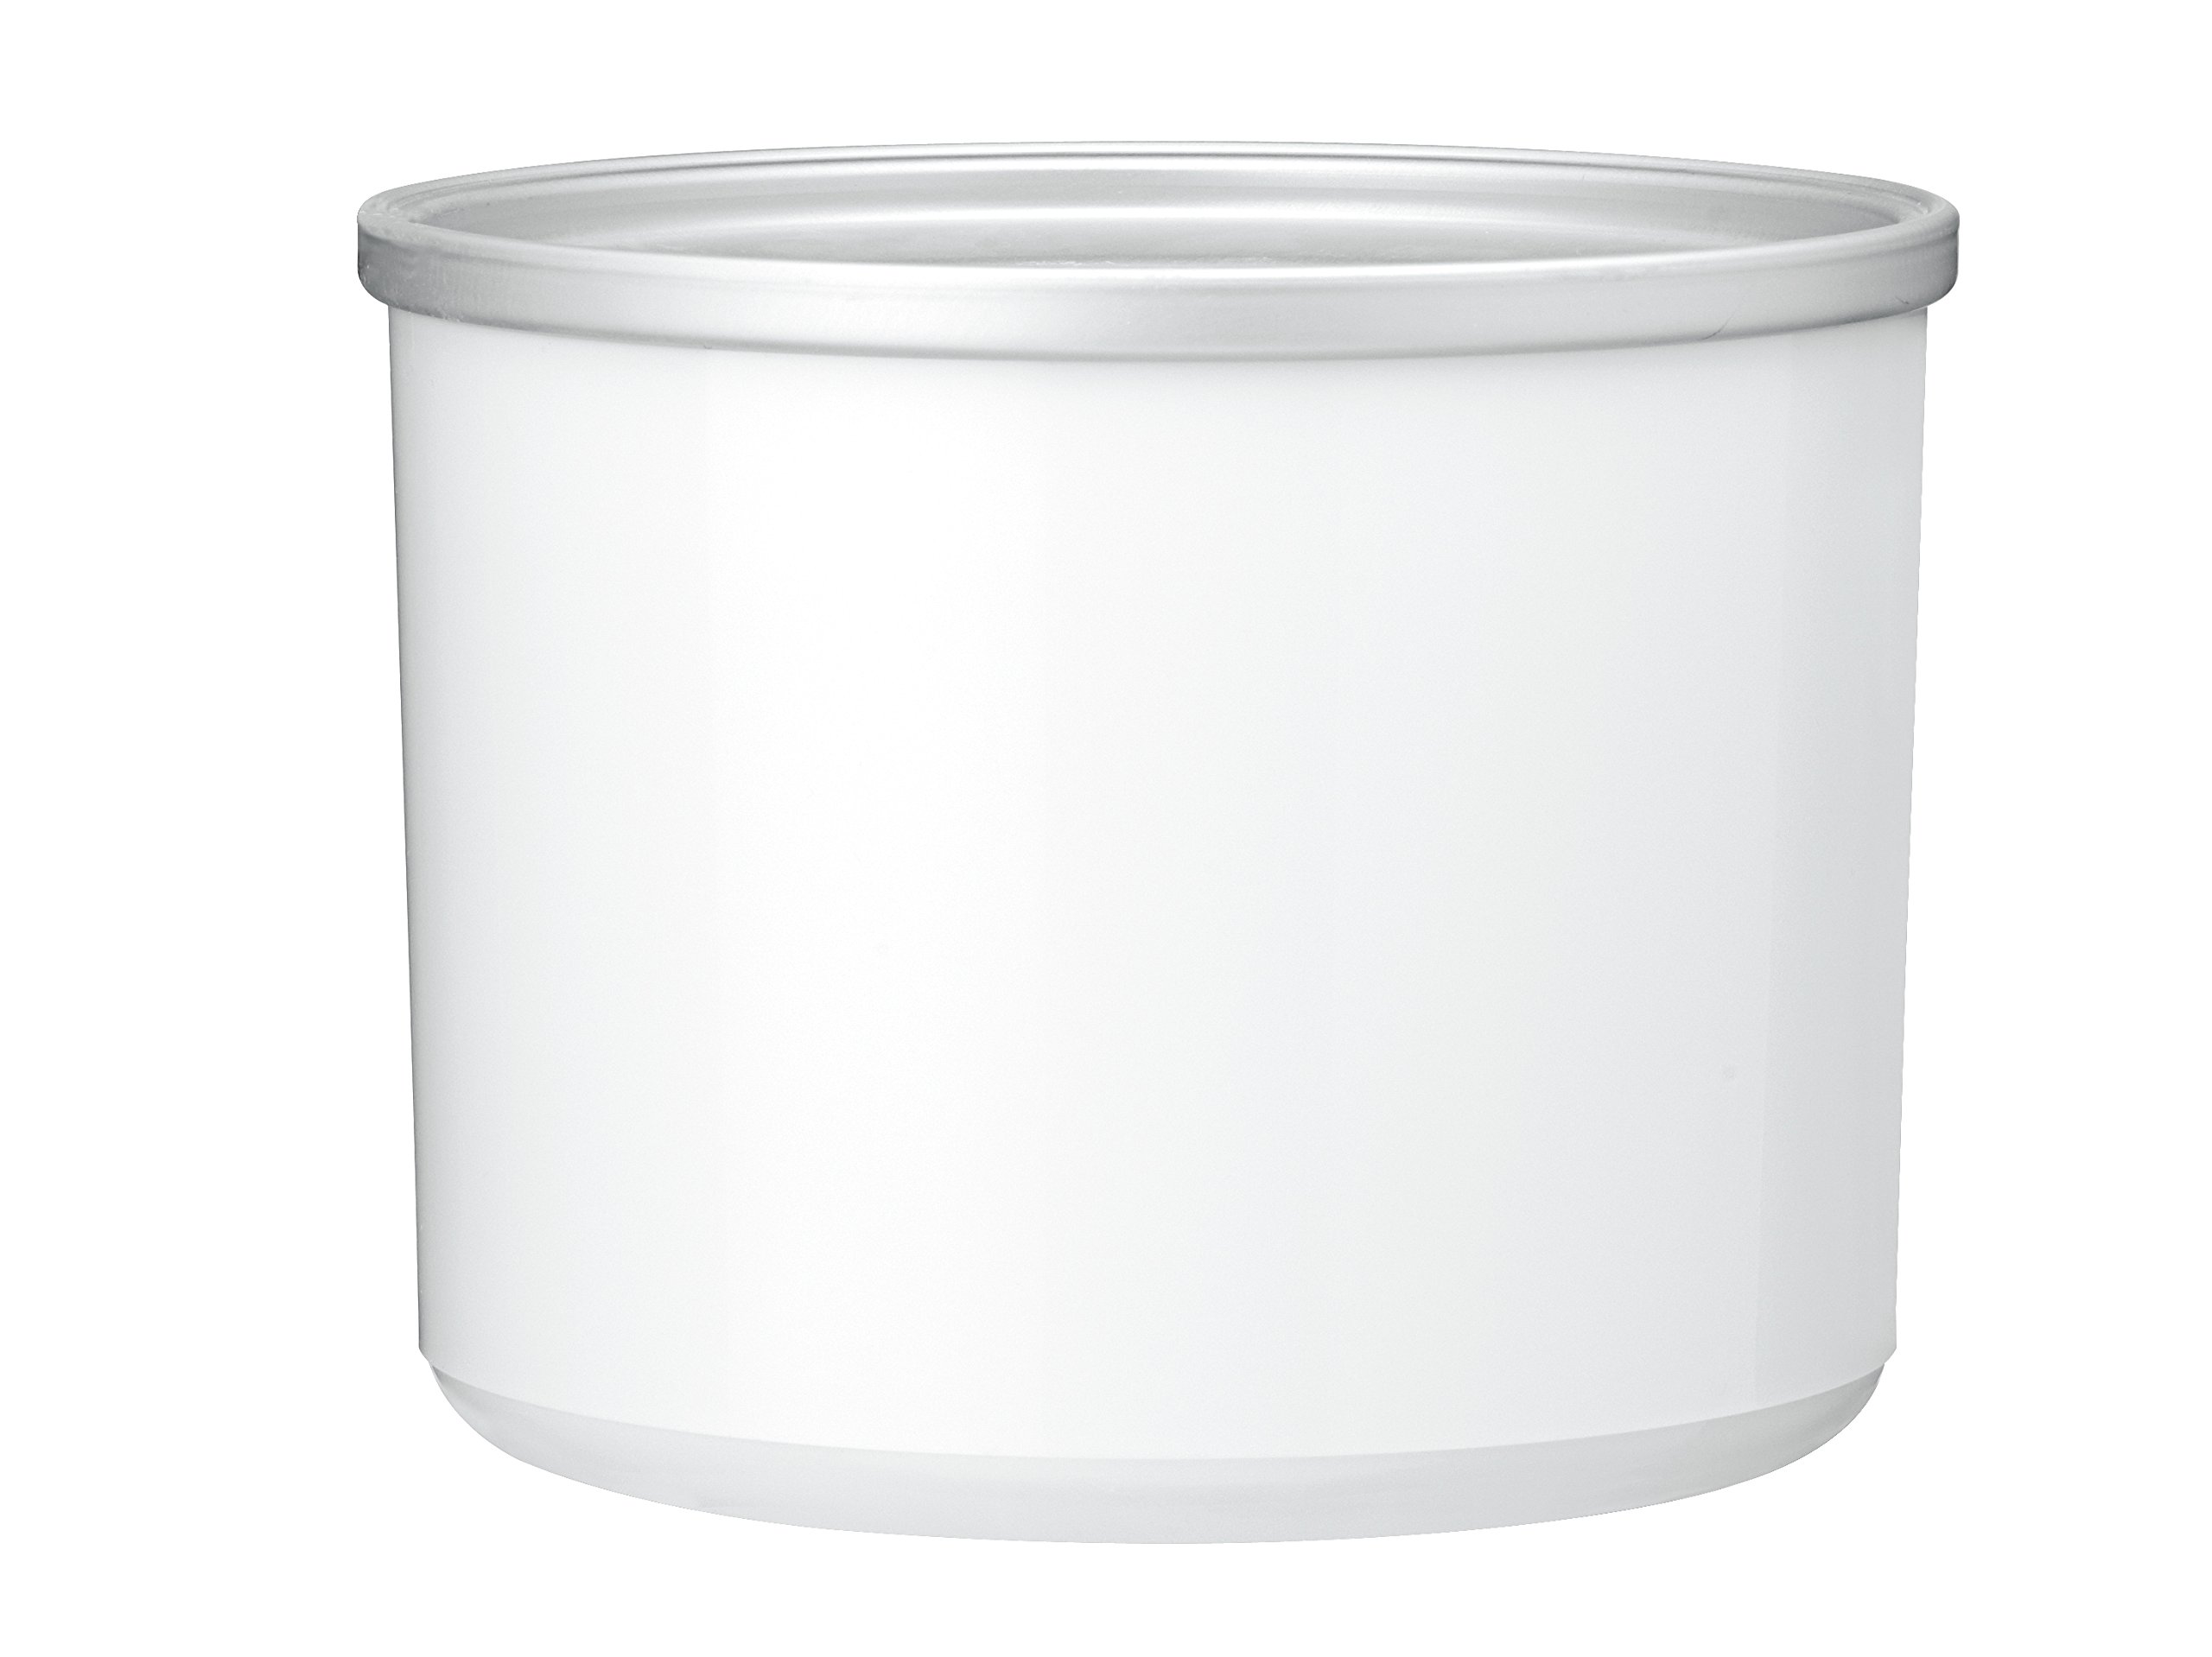
- Freeze the Freezer Bowl: The first step is to freeze the double-insulated freezer bowl. Make sure it is completely dry before placing it in the freezer. Depending on the model, it will typically need to freeze for 12 to 24 hours, so plan ahead to allow enough time for proper freezing. It’s always a good idea to keep the freezer bowl stored in the freezer, so it’s ready for whenever the craving for ice cream strikes.
- Assemble the Ice Cream Maker: Once the freezer bowl is frozen solid, you are ready to assemble the ice cream maker. Place the base of the ice cream maker on a clean, dry surface. Take the frozen freezer bowl out of the freezer and secure it onto the base. Ensure that it is properly aligned and securely attached.
- Insert the Mixing Paddle: The next step is to insert the mixing paddle into the freezer bowl. The paddle should fit snugly into the center of the bowl and rest properly on the bottom. Double-check to make sure it is securely in place and ready for action.
- Connect the Lid: After inserting the mixing paddle, carefully place the lid on top of the ice cream maker. Ensure that it is aligned correctly and securely attached to the base. The lid will keep the mixture contained and help maintain the optimal temperature during the churning process.
- Pre-Chill Ingredients (optional): If your ice cream recipe calls for chilled ingredients, it’s a good idea to pre-chill them beforehand. This will help maintain the optimal temperature during the churning process and ensure a smooth consistency. Make sure to refrigerate any ingredients that need to be chilled prior to mixing your ice cream base.
Now that your Cuisinart Ice Cream Maker is properly prepared, you’re ready to move on to the next step: gathering the ingredients for your homemade ice cream. Get ready to indulge in the creamy goodness that awaits!
Step 2: Gathering Ingredients
Now that your Cuisinart Ice Cream Maker is properly assembled and ready to go, it’s time to gather the ingredients you’ll need to create your delicious homemade ice cream. Here’s what you’ll need:
- Base Ingredients: The base ingredients for ice cream typically include milk or cream, sugar, and eggs (in some recipes). The specific quantities and ratios will depend on the type of ice cream you want to make, such as traditional vanilla, chocolate, or a fruit-flavored variation. Ensure that you have enough of each base ingredient before you begin.
- Flavorings and Extracts: To add flavor to your ice cream, you can use a variety of extracts, such as vanilla, almond, or peppermint. These extracts come in small bottles and can be found in the baking aisle of most grocery stores. Choose the one that complements the flavor you want to achieve in your ice cream.
- Mix-ins (optional): If you like your ice cream with a little something extra, consider adding mix-ins like chocolate chips, crushed cookies, nuts, or fruit. These mix-ins can be added during the churning process to create a delightful texture and enhance the flavor.
- Extra Toppings (optional): Once your ice cream is ready, you might want to top it with some extra indulgence. Gather any additional toppings you desire, such as hot fudge, caramel sauce, sprinkles, or whipped cream.
- Recipe and Measurements: Make sure you have a recipe on hand for the specific flavor of ice cream you want to make. Follow the measurements and instructions carefully to ensure the perfect balance of flavors and textures. If you’re feeling adventurous, you can also experiment with your own recipe by adjusting the amounts of ingredients and mix-ins.
Take the time to gather all of your ingredients and tools in one place before you start creating your ice cream base. This will make the process smoother and ensure you don’t forget anything essential.
Now that everything is gathered, and your ingredients are ready, it’s time to move on to the next step: making the ice cream base for your Cuisinart Ice Cream Maker. Get ready to unleash your creativity and savor the anticipation of a delicious frozen treat!
Step 3: Making the Ice Cream Base
With all your ingredients gathered and your Cuisinart Ice Cream Maker prepared, it’s time to dive into making the ice cream base. This is where the magic happens and the flavors come together. Follow these steps to create a smooth and creamy base for your homemade ice cream:
- Follow the Recipe: Start by referring to your chosen ice cream recipe. It will guide you on the specific measurements and instructions for creating the base. Measure out the required amounts of milk or cream, sugar, eggs (if applicable), and any flavorings or extracts specified in the recipe.
- Combine the Ingredients: In a mixing bowl, combine the milk or cream, sugar, and any flavorings or extracts. Use a whisk or a handheld mixer to blend the ingredients together until the sugar is completely dissolved. If your recipe calls for eggs, whisk them separately in a separate bowl before adding them to the mixture.
- Optional: Cook the Base (if applicable): Some ice cream recipes may require you to cook the base on the stovetop before proceeding. This step helps to thicken the mixture and create a smoother texture. Follow the recipe’s instructions on cooking times and temperatures, stirring continuously to prevent any lumps or burning.
- Chill the Base: Once your ice cream base is mixed or cooked, let it cool completely. Transfer the mixture to airtight containers or cover the mixing bowl with plastic wrap, and place it in the refrigerator for a few hours or overnight. Chilling the base not only helps develop the flavors, but it also ensures the mixture is cold enough for the churning process.
While the ice cream base is chilling, it’s a good time to clean up any mess and prepare your work area for the next steps. Now that your base is ready, it’s time to move on to the exciting part: churning the ice cream in your Cuisinart Ice Cream Maker. Get ready to unleash your creativity and enjoy the process of transforming simple ingredients into a delectable frozen dessert!
Step 4: Churning the Ice Cream
Now comes the moment you’ve been waiting for: churning the ice cream in your Cuisinart Ice Cream Maker. This step will transform your chilled base into a creamy and flavorful frozen treat. Follow these steps to achieve the perfect texture and consistency:
- Assemble the Ice Cream Maker: Before you begin churning, double-check that the freezer bowl, mixing paddle, and lid are all properly assembled on the base of the Cuisinart Ice Cream Maker. This ensures everything is securely in place for the churning process.
- Turn on the Ice Cream Maker: Plug in the ice cream maker and turn it on. The switch or button may vary depending on the model, so refer to the instruction manual if needed. The motor will start rotating the mixing paddle, which will churn the ice cream mixture.
- Pour in the Ice Cream Base: Slowly pour your chilled ice cream base into the freezer bowl through the large ingredient spout on the lid. Be careful not to overfill the bowl, as the mixture will expand as it churns. Leave about 1/2 inch of space at the top to allow for expansion.
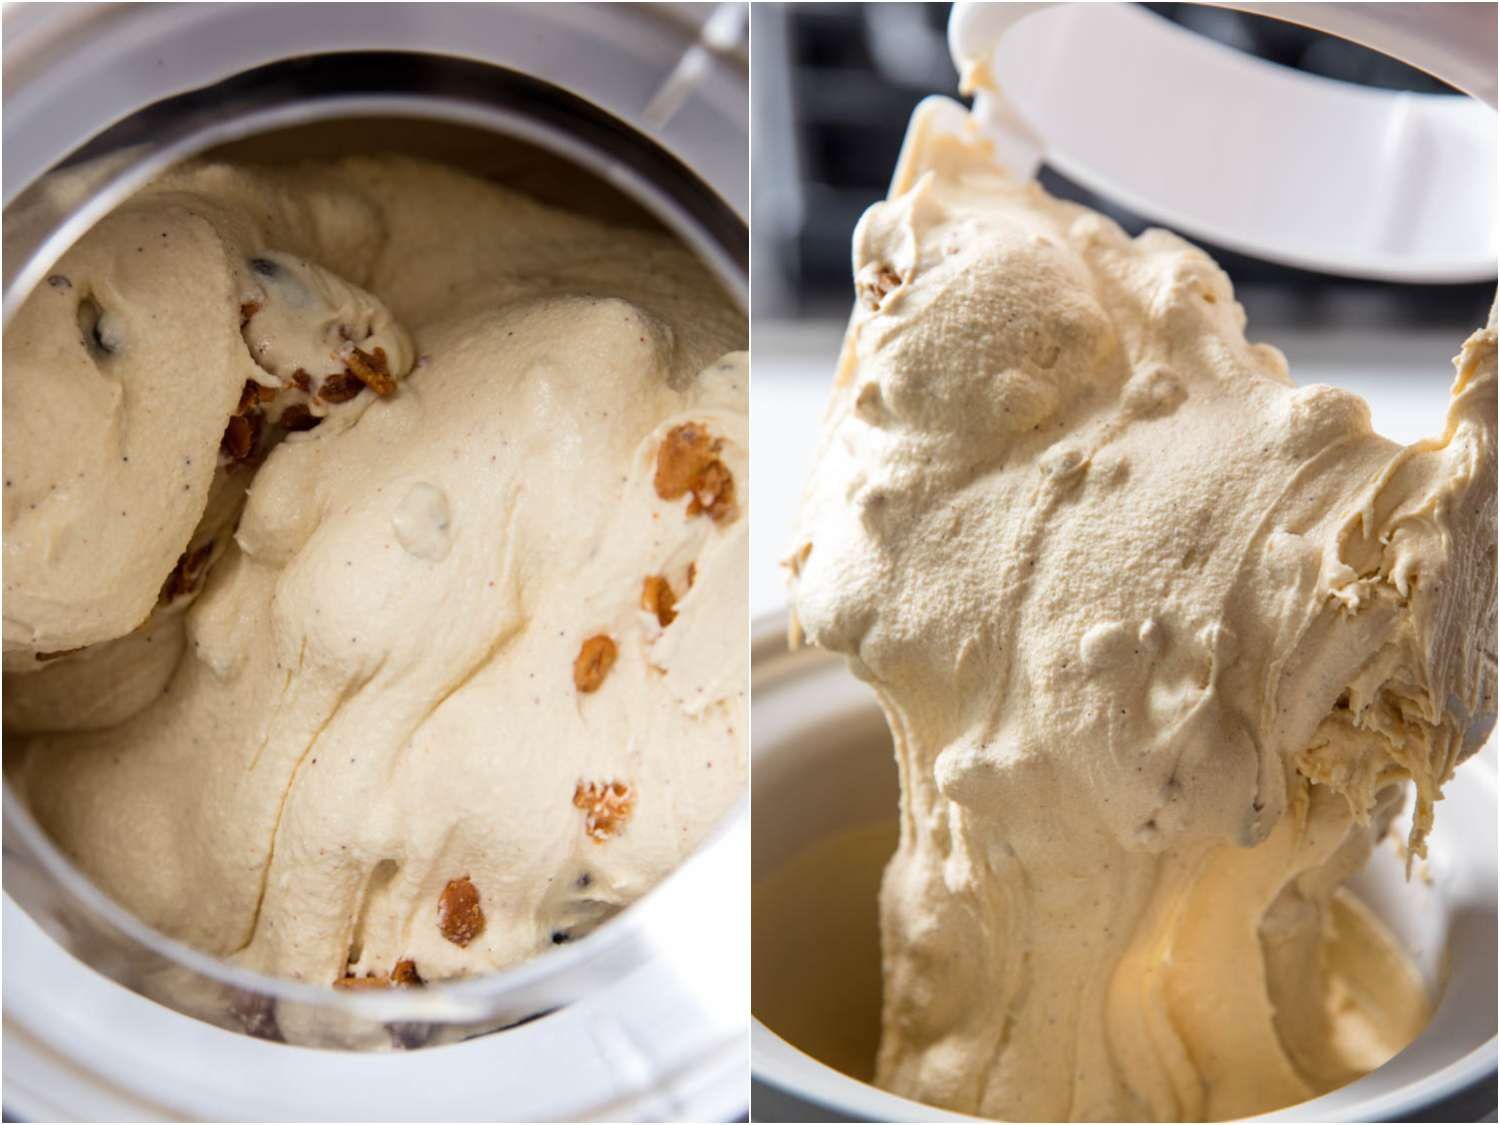
- Churn for the Recommended Time: The churning time will depend on the specific recipe or the instructions provided by the manufacturer. As a general guideline, most ice cream bases churn for approximately 20 to 25 minutes. During this time, the mixture will gradually freeze and thicken, transforming into a creamy ice cream consistency.
- Add Mix-ins (if desired): If you want to include mix-ins like chocolate chips or nuts, this is the time to add them. About 5 minutes before the churning process is complete, carefully pour the mix-ins into the ice cream maker through the ingredient spout. The paddle will evenly distribute them into the ice cream.
While the ice cream is churning, you may notice the motor sound change or become slightly louder. This is normal and indicates that the mixture is thickening and freezing. Avoid lifting the lid during the churning process, as this can interrupt the freezing process and result in a less creamy texture.
Once the recommended churning time is complete, the ice cream base should have thickened and reached a soft-serve consistency. At this point, it’s time to move on to the next step: adding optional mix-ins to customize your ice cream. Get ready to elevate your frozen creation with extra bursts of flavor and texture!
Before using your Cuisinart Ice Cream Maker, make sure to freeze the bowl for at least 16-24 hours. This will ensure that the ice cream mixture freezes properly during the churning process.
Step 5: Adding Mix-ins (optional)
One of the joys of homemade ice cream is the ability to customize it with your favorite mix-ins. Whether you prefer chunks of chocolate, swirls of caramel, or bits of fruit, adding mix-ins to your ice cream can elevate the flavor and create a delightful texture. Follow these steps to incorporate mix-ins into your freshly churned ice cream:
- Prepare the Mix-ins: Gather your desired mix-ins and prepare them according to your recipe or personal preference. For example, if you’re adding chocolate chips, chop them into small chunks. If you’re using fruit, wash and chop it into bite-sized pieces. Having the mix-ins ready will ensure a smooth and efficient process.
- Stop the Churning Process: Once the ice cream base has reached a soft-serve consistency, it’s time to stop the churning process. Switch off the ice cream maker and disconnect it from the power source. This will allow you to work with the ice cream without the paddle continuously churning.
- Add the Mix-ins: Carefully remove the lid of the ice cream maker, exposing the partially churned ice cream. Sprinkle or pour the prepared mix-ins into the ice cream, distributing them evenly. Use a spatula or spoon to gently fold the mix-ins into the ice cream. Be cautious not to overmix, as this can result in a muddled appearance.
- Resume Freezing: After incorporating the mix-ins, place the lid back on the ice cream maker and securely fasten it. You can continue freezing the ice cream for an additional 5-10 minutes to allow the mix-ins to set. This will help them adhere to the ice cream and ensure a more enjoyable eating experience.
Remember, the amount and type of mix-ins can vary according to your personal taste and the recipe you are following. Feel free to get creative and experiment with different combinations to create your own signature ice cream flavors. Now that your mix-ins are folded in, it’s time to move on to the final steps: freezing and storing your homemade ice cream.
Step 6: Freezing and Storing the Ice Cream
After the ice cream has been churned and the mix-ins have been incorporated, it’s time to properly freeze and store your homemade creation. Follow these steps to ensure your ice cream maintains its texture and flavor:
- Transfer the Ice Cream to a Storage Container: Using a spatula or ice cream scoop, transfer the freshly churned ice cream from the freezer bowl to a suitable storage container. Choose an airtight container that fits the amount of ice cream you’ve made, leaving some space at the top for expansion during freezing. Avoid using containers that are too large, as this can cause the ice cream to form ice crystals.
- Smooth the Surface and Cover: Use the spatula to smooth the surface of the ice cream in the container, ensuring it is evenly distributed. This will help prevent the formation of ice crystals and maintain a creamy texture. After smoothing the surface, place a sheet of plastic wrap or wax paper directly on top of the ice cream to create a barrier against freezer burn.
- Seal the Container: Close the storage container with an airtight lid, ensuring it is securely sealed. This will prevent any air or moisture from entering the container, which can degrade the quality of the ice cream. Make sure the lid fits tightly to maintain optimal freshness and prevent any unwanted odors or flavors from permeating the ice cream.
- Freeze the Ice Cream: Place the sealed container of ice cream in the freezer and allow it to freeze for a minimum of 4 to 6 hours, or preferably overnight. Freezing time may vary depending on the quantity and composition of the ice cream. Longer freezing times will result in a firmer consistency.
- Enjoy or Store for Later: Once the ice cream is completely frozen, it’s ready to be enjoyed! Scoop it into bowls or cones, and add any desired toppings. If you have extra ice cream that you’re not planning to consume immediately, keep it stored in the freezer for up to 2 to 3 weeks. However, for the best texture and flavor, consume it within the first week of freezing.
Remember, homemade ice cream tends to harden more than store-bought varieties due to the absence of certain stabilizers and preservatives. Allow the ice cream to thaw for a few minutes at room temperature before serving to soften it slightly and enhance its creaminess. Now that your ice cream is properly frozen and ready to be enjoyed, it’s time to indulge in a delightful homemade treat!
Step 7: Cleaning and Maintenance
After creating your scrumptious homemade ice cream, it’s important to clean and maintain your Cuisinart Ice Cream Maker to ensure its longevity and optimal performance. Follow these steps for easy cleaning and proper maintenance of your appliance:
- Unplug and Disassemble: Before cleaning the ice cream maker, ensure it is unplugged from the power source. Carefully remove the freezer bowl, mixing paddle, and lid from the base. The freezer bowl should not be submerged in water.
- Clean the Freezer Bowl: Rinse the freezer bowl with warm water to remove any ice cream residue. If necessary, you can use a mild dishwashing soap and a non-abrasive sponge to gently clean the bowl. Thoroughly rinse off any soap residue and dry the bowl completely before reassembling or storing.
- Wash the Mixing Paddle and Lid: The mixing paddle and lid can be washed by hand or in the dishwasher, depending on the model. Check the instruction manual for specific cleaning instructions. If handwashing, use warm soapy water and a sponge to clean these parts. Rinse them well and let them air-dry before storing.
- Wipe the Base: Use a damp cloth or sponge to wipe down the base of the ice cream maker. Make sure to remove any residue or spills to keep it clean and hygienic. Avoid submerging the base in water or using abrasive cleaners, as this may damage the motor or electrical components.
- Dry Thoroughly: Before reassembling or storing the ice cream maker, ensure that all parts are completely dry. Moisture left on the parts can promote the growth of mold or affect the overall performance of the appliance.
- Store Properly: Once all the parts are clean and dry, reassemble the Cuisinart Ice Cream Maker. Store it in a dry, cool place where it won’t be subject to extreme temperatures or moisture. Keep the freezer bowl stored in the freezer if possible, so it’s always ready for future use.
- Regular Maintenance: To maintain the performance of your ice cream maker, periodically inspect the components for any signs of wear or damage. This includes the freezer bowl, mixing paddle, and lid. If you notice any issues, contact the manufacturer or refer to the instruction manual for further guidance.
By following these cleaning and maintenance steps, you’ll keep your Cuisinart Ice Cream Maker in excellent condition, ensuring many more batches of delicious homemade ice cream in the future. Now that your ice cream maker is clean and ready for storage, it’s time to sit back, enjoy the fruits of your labor, and relish in the satisfaction of creating your own delectable frozen treats.
Troubleshooting Tips
While using the Cuisinart Ice Cream Maker, you may encounter a few common issues. Don’t worry! Here are some troubleshooting tips to help you overcome these challenges and ensure a smooth ice cream-making process:
- Ice Cream Isn’t Freezing: If your ice cream isn’t freezing properly, make sure that the freezer bowl is fully frozen before starting the churning process. It should be frozen for the recommended amount of time specified in the instruction manual. Additionally, ensure that the ice cream mixture is chilled before pouring it into the freezer bowl. If the ice cream base is too warm, it might hinder the freezing process.
- Ice Cream has an Icy Texture: If your ice cream has a grainy or icy texture, it may be due to a couple of factors. First, make sure that you’re using the proper ratio of ingredients, especially the right amount of sugar. Too little sugar can result in a less creamy texture. Secondly, avoid over-churning the ice cream. Over-churning can incorporate excess air into the mixture and cause it to become icy. Follow the recommended churning time for your recipe.
- Mix-ins are Not Incorporated: If your mix-ins are not evenly distributed throughout the ice cream, remember to add them during the last few minutes of churning. This will give the paddle enough time to evenly distribute the mix-ins. Make sure your mix-ins are chopped or prepared to the appropriate size for easy incorporation.
- Liquid Leaking from the Freezer Bowl: If you notice liquid leaking from the freezer bowl, it may be due to improper assembly or a crack in the bowl. Make sure that the freezer bowl is properly attached to the base, and the lid is securely fastened. If the issue persists, inspect the bowl for any cracks or damage. In such cases, contact the manufacturer for further assistance.
- Motor Stops or Overheats: If the motor of your Cuisinart Ice Cream Maker stops working or overheats, there may be a safety feature in place. This feature is designed to protect the motor from damage caused by excessive use or overheating. Allow the motor to cool down for a few minutes before resuming the churning process. If the issue persists, refer to the instruction manual or contact the manufacturer for support.
Remember, troubleshooting may vary depending on the specific model of your Cuisinart Ice Cream Maker. Always consult the instruction manual for model-specific troubleshooting tips and contact the manufacturer’s customer support if you require further assistance. With these troubleshooting tips in mind, you’ll be better equipped to overcome any challenges that may arise, ensuring that your homemade ice cream turns out perfect every time.
Conclusion
Congratulations! You’ve learned how to use the Cuisinart Ice Cream Maker to create your own delectable homemade ice cream. By following the step-by-step process, you can now indulge in creamy and flavorful frozen creations right in the comfort of your own kitchen.
From preparing the ice cream maker and gathering ingredients to making the ice cream base, churning the mixture to perfection, adding mix-ins, and properly freezing and storing your ice cream, you have acquired the skills to create a wide variety of delicious flavors and textures.
Remember to experiment with different flavors and mix-ins to truly make your ice cream a unique and personalized creation. Whether you prefer classic flavors like vanilla and chocolate or want to get adventurous with fruit, nuts, and other mix-ins, the possibilities are endless.
Additionally, keep in mind the importance of proper cleaning and maintenance to ensure your Cuisinart Ice Cream Maker remains in excellent condition. By following the cleaning and maintenance steps, you can enjoy the appliance for years to come, creating countless batches of delightful frozen treats.
Lastly, if you encounter any challenges along the way, refer to the troubleshooting tips to overcome common issues and achieve the perfect ice cream consistency and texture.
So, what are you waiting for? Gather your ingredients, freeze that freezer bowl, and let your creativity flow as you embark on the journey of creating your own mouthwatering ice cream flavors. With the Cuisinart Ice Cream Maker, the possibilities are limitless, and the satisfaction of indulging in your homemade creations is unparalleled. Enjoy!
Frequently Asked Questions about How To Use Cuisinart Ice Cream Maker
Was this page helpful?
At Storables.com, we guarantee accurate and reliable information. Our content, validated by Expert Board Contributors, is crafted following stringent Editorial Policies. We're committed to providing you with well-researched, expert-backed insights for all your informational needs.


0 thoughts on “How To Use Cuisinart Ice Cream Maker”