Home>Construction & Tools>Building Materials>How To Attach House Numbers To Brick

Building Materials
How To Attach House Numbers To Brick
Modified: August 28, 2024
Learn the best methods for attaching house numbers to brick using various building materials. Get expert tips for a secure and stylish installation.
(Many of the links in this article redirect to a specific reviewed product. Your purchase of these products through affiliate links helps to generate commission for Storables.com, at no extra cost. Learn more)
Introduction
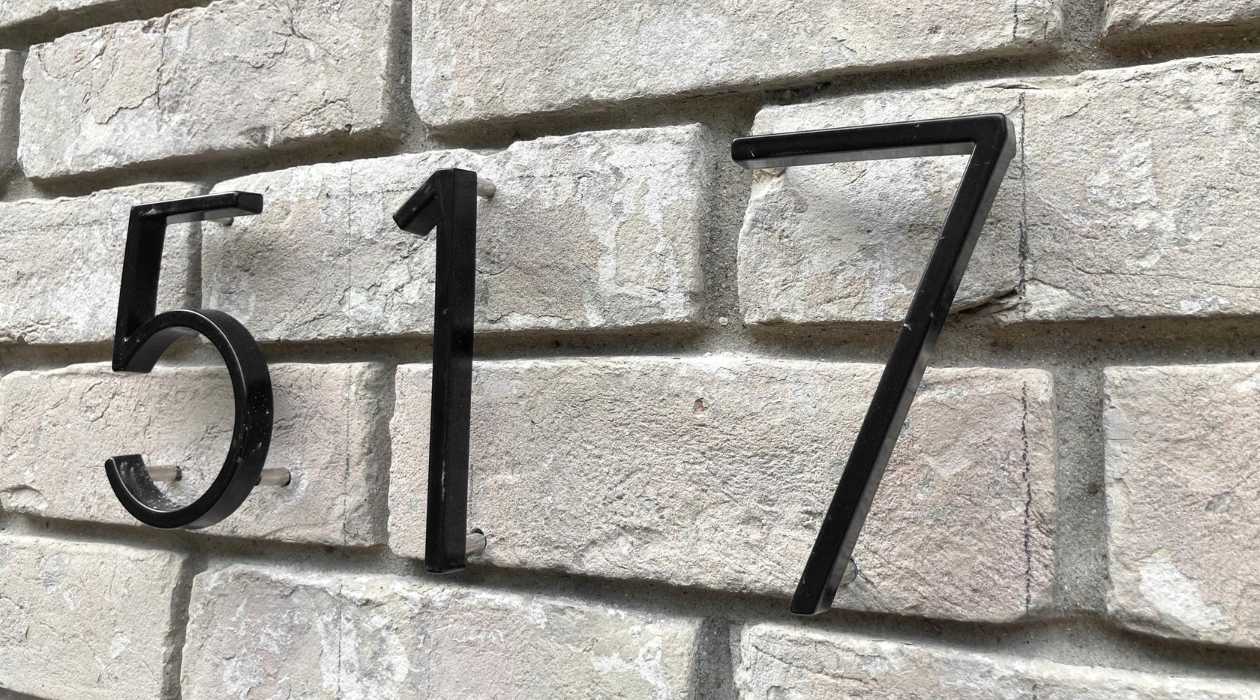
When it comes to adding a touch of personalization and style to your home, few things make as big an impact as the house numbers. These small details not only serve a practical purpose by helping visitors and emergency services locate your home, but they also contribute to the overall curb appeal of your property. If you live in a house with a brick exterior, you may wonder how to go about attaching house numbers without causing damage to the surface. In this comprehensive guide, we will explore the various methods for securely attaching house numbers to brick, ensuring a professional and long-lasting result. Whether you prefer a sleek modern look or a more traditional aesthetic, we will cover all the essential steps and techniques to help you achieve the perfect finish. So, let's dive in and discover the best practices for displaying your house numbers with pride and elegance.
Key Takeaways:
- Choose house numbers that match your home’s style, size, and visibility for a personalized touch that enhances curb appeal and functionality.
- Whether using adhesive or screws, prepare the brick surface thoroughly for a secure and visually appealing installation that reflects your attention to detail.
Read more: How To Attach A Pergola To A Brick House
Choosing the Right House Numbers
Before delving into the methods of attaching house numbers to brick, it’s crucial to select the right style and size of house numbers that complement the overall design of your home. Consider the architectural style, color scheme, and the distance from the street when making your choice. Here are some key factors to keep in mind:
- Size: The size of the house numbers should be proportional to the facade of your home. Large, easy-to-read numbers are ideal for increasing visibility from the street, especially if your home is set back from the road.
- Material: House numbers come in a variety of materials, including stainless steel, brass, aluminum, and even ceramic. Choose a material that complements the exterior of your home and can withstand the elements in your local climate.
- Style: Consider the architectural style of your home when selecting the style of the house numbers. Modern, sleek numbers may suit a contemporary home, while more ornate or traditional numbers could be a better fit for a historic property.
- Visibility: Opt for numbers with a high contrast color that stands out against the background. This is especially important if your house is set back from the street or if the lighting in your area is limited.
By carefully considering these factors, you can choose house numbers that not only reflect your personal style but also enhance the overall aesthetic of your home.
Tools and Materials Needed
Before embarking on the process of attaching house numbers to brick, it’s essential to gather the necessary tools and materials. Here’s a comprehensive list to ensure you have everything on hand for a successful installation:
Tools:
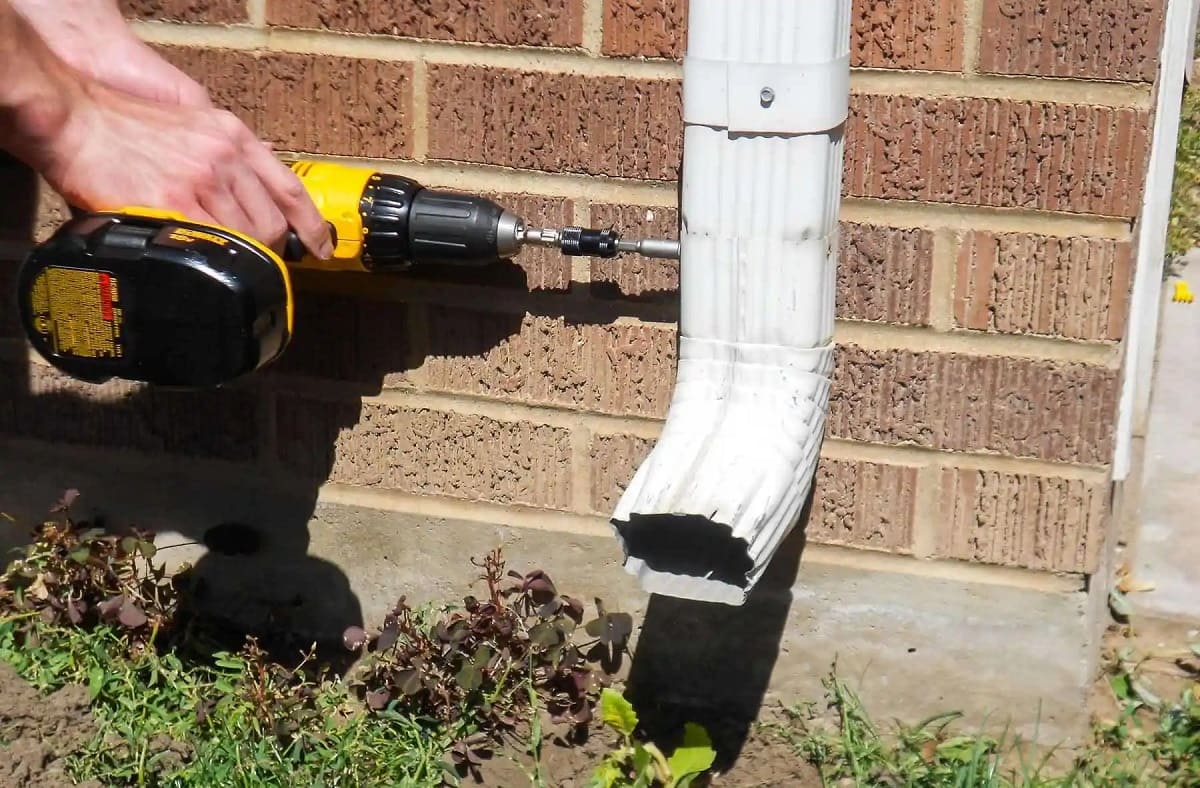
- Power drill with masonry bit
- Screwdriver (if using screws to attach the numbers)
- Level
- Tape measure
- Pencil
- Masking tape
- Putty knife or similar flat tool
- Caulking gun (if using adhesive)
- Bucket and sponge for cleaning
Materials:
- House numbers
- Adhesive suitable for outdoor use (if not using screws)
- Masonry screws (if not using adhesive)
- Plastic anchors (if using screws)
- Rubbing alcohol or adhesive remover
- Caulk (optional, for sealing around the numbers)
Having these tools and materials readily available will streamline the installation process and ensure that you can tackle any unforeseen challenges that may arise.
Read more: How To Attach House Numbers To Vinyl Siding
Preparing the Brick Surface
Before attaching house numbers to brick, it’s crucial to prepare the surface to ensure a secure and long-lasting installation. Here’s a step-by-step guide to preparing the brick surface:
Step 1: Clean the Surface
Begin by thoroughly cleaning the area of the brick where the house numbers will be attached. Use a solution of warm water and mild detergent to remove any dirt, dust, or debris. A stiff-bristled brush can be used to scrub the surface gently. Rinse the area with clean water and allow it to dry completely before proceeding.
Step 2: Determine Placement
Using a tape measure and pencil, mark the desired placement of the house numbers on the brick. Ensure that the numbers are level and evenly spaced. You may want to use masking tape to create a guide for the placement of the numbers.
Step 3: Surface Preparation
If you are using adhesive to attach the house numbers, it’s important to roughen the surface of the brick slightly to ensure a strong bond. Use a putty knife or similar tool to scuff the area where the numbers will be placed. This will create a better surface for the adhesive to grip onto.
Step 4: Clean Again
After scuffing the surface, clean the area once more with rubbing alcohol to remove any remaining dust or debris. This step is crucial for ensuring optimal adhesion between the brick and the adhesive.
By following these preparation steps, you will create an ideal surface for attaching the house numbers, whether you opt for adhesive or screws. Proper preparation is key to a successful and durable installation that enhances the appearance of your home.
Attaching House Numbers with Adhesive
Attaching house numbers to brick using adhesive offers a secure and drill-free method that can produce a sleek and seamless result. Here’s a detailed guide on how to attach house numbers to brick using adhesive:
Step 1: Apply the Adhesive
Using a caulking gun, apply a generous amount of adhesive to the back of each house number. Ensure that the adhesive is evenly distributed to create a strong bond with the brick surface.
Step 2: Position the Numbers
Carefully position the house numbers on the marked area of the brick, ensuring that they are level and evenly spaced. Press firmly to secure the numbers in place, allowing the adhesive to make full contact with the brick.
Step 3: Allow for Cure Time
Follow the manufacturer’s instructions regarding the curing time for the adhesive. It’s crucial to allow the adhesive to fully bond with the brick before subjecting the numbers to any external forces or elements.
Step 4: Seal the Edges (Optional)
For added protection and a polished finish, consider using a small amount of caulk to seal the edges of the house numbers. This will help prevent moisture from seeping behind the numbers and ensure a professional, finished look.
Attaching house numbers with adhesive offers a simple and effective solution, especially if you prefer to avoid drilling into the brick surface. When done correctly, this method can result in a clean and modern appearance that enhances the overall aesthetic of your home.
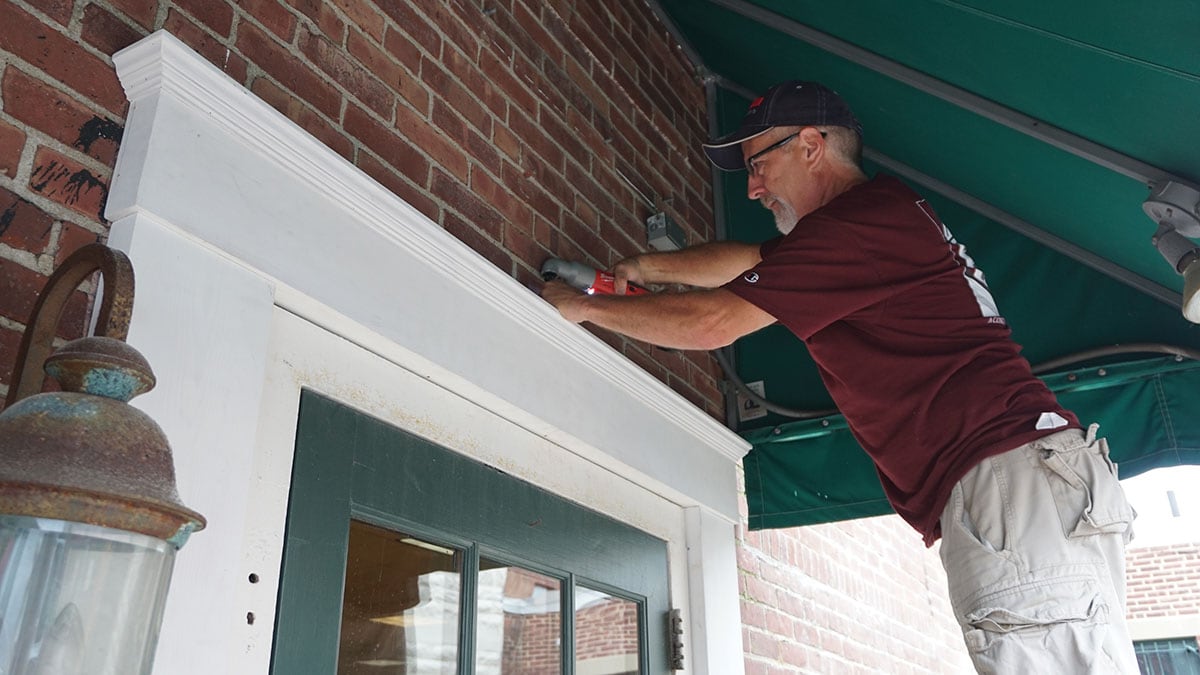
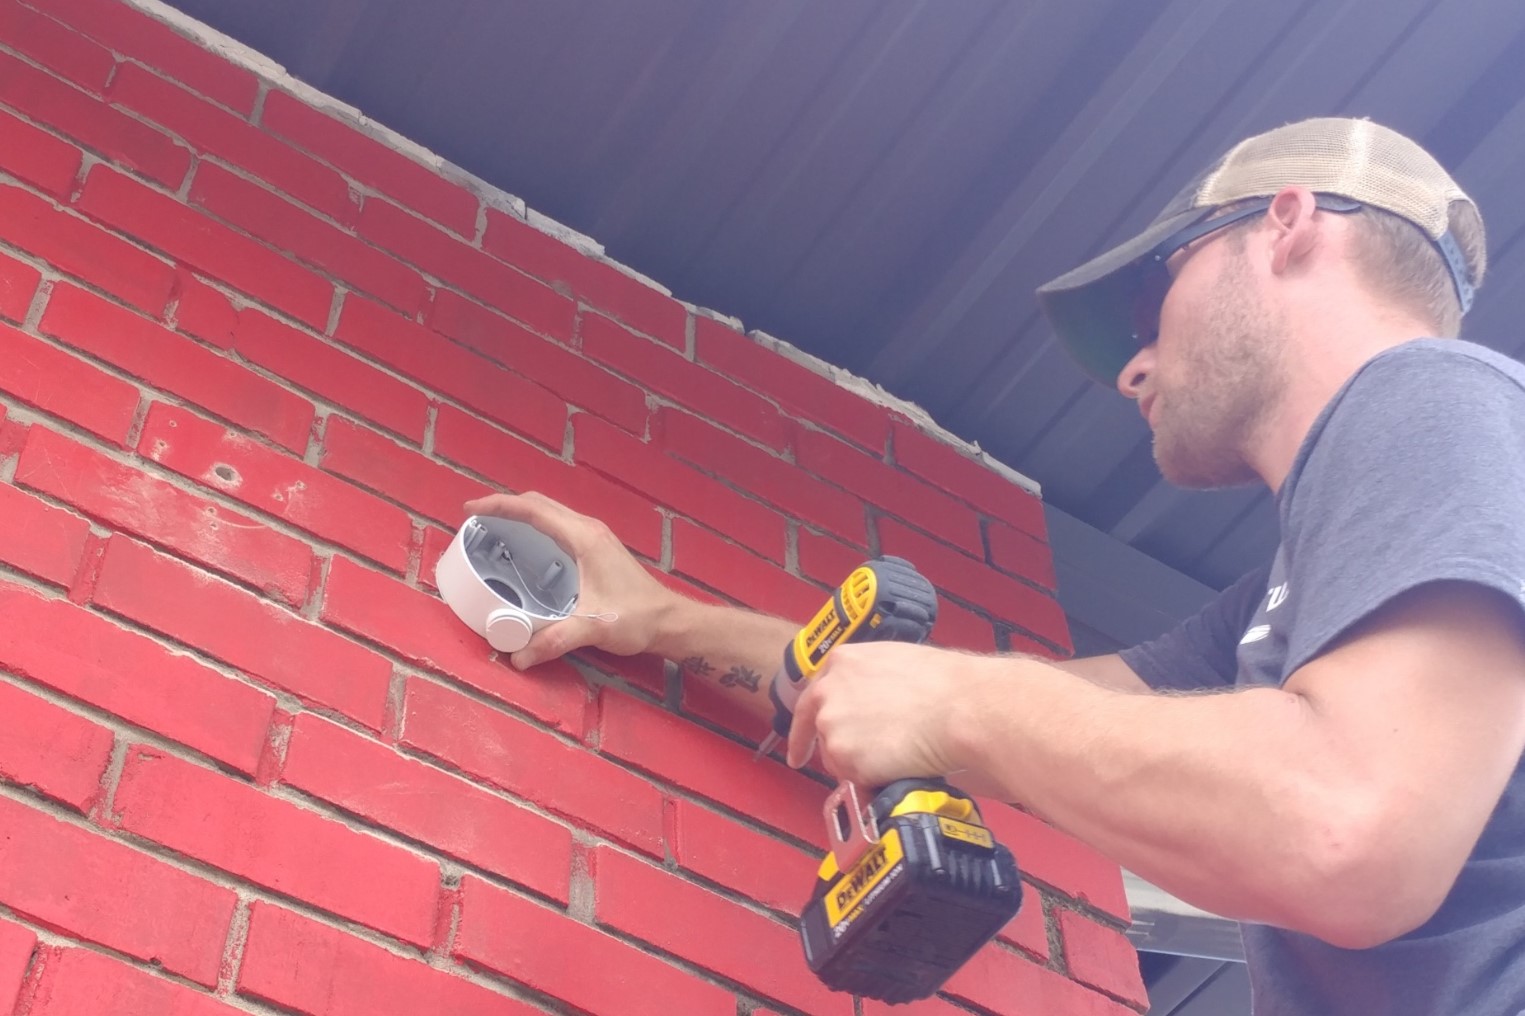
Use a masonry drill bit to create pilot holes in the brick. Then, use plastic anchors and screws to attach the house numbers to the brick. Make sure to use a level to ensure the numbers are straight.
Attaching House Numbers with Screws
For a more traditional and secure method of attaching house numbers to brick, using screws provides a durable and reliable option. Here’s a comprehensive guide on how to attach house numbers to brick using screws:
Step 1: Mark Drill Holes
Using a pencil, mark the locations on the brick where the screws will be inserted to secure the house numbers. Ensure that the marks are level and evenly spaced according to the layout you’ve planned.
Step 2: Drill Pilot Holes
Select a masonry bit that corresponds to the size of the screws you are using. Carefully drill pilot holes at the marked locations on the brick. Be sure to use a steady hand and apply gentle pressure to avoid damaging the brick surface.
Step 3: Insert Plastic Anchors
If the screws require anchors, insert them into the pilot holes. The anchors will provide additional support and stability for the screws, ensuring a secure attachment of the house numbers to the brick.
Step 4: Attach the House Numbers
Using a screwdriver, secure the house numbers to the brick by driving the screws through the pre-drilled holes. Ensure that the numbers are level and firmly attached, but be careful not to overtighten the screws, as this could cause damage to the brick.
Step 5: Seal the Screw Holes (Optional)
If desired, you can use a small amount of caulk to seal the screw holes around the house numbers. This will help prevent moisture from penetrating the brick and provide a polished, finished appearance.
Attaching house numbers with screws offers a sturdy and permanent solution, ideal for areas with high wind or other environmental factors that may affect adhesive bonds. When executed with precision, this method ensures that your house numbers are securely and attractively displayed on your brick exterior.
Conclusion
Attaching house numbers to a brick exterior is a simple yet impactful way to enhance the curb appeal and functionality of your home. Whether you opt for a modern adhesive approach or a traditional screw-mounted method, the key is to ensure a secure and visually appealing installation that complements your home’s architectural style. By carefully selecting the right house numbers, preparing the brick surface, and following the appropriate attachment method, you can achieve a professional and polished look that reflects your personal taste and attention to detail.
Remember to consider the visibility, size, and style of the house numbers to ensure they harmonize with the overall aesthetic of your home. Additionally, proper preparation of the brick surface is essential for a durable and long-lasting attachment, whether using adhesive or screws. Taking the time to clean, mark, and prepare the surface will contribute to a successful installation.
Whether you choose adhesive for its simplicity and clean finish or screws for their durability and reliability, attaching house numbers to brick is a manageable and rewarding DIY project. By following the outlined steps and considering the tips provided, you can confidently display your house numbers with pride, knowing that they are securely and stylishly affixed to your home’s exterior.
With the right tools, materials, and techniques, you can achieve a professional and eye-catching result, adding a personalized touch that welcomes visitors and enhances the overall charm of your home.
Frequently Asked Questions about How To Attach House Numbers To Brick
Was this page helpful?
At Storables.com, we guarantee accurate and reliable information. Our content, validated by Expert Board Contributors, is crafted following stringent Editorial Policies. We're committed to providing you with well-researched, expert-backed insights for all your informational needs.

0 thoughts on “How To Attach House Numbers To Brick”