Home>Construction & Tools>Building Materials>How To Fix A Crumbling Brick Wall
Building Materials
How To Fix A Crumbling Brick Wall
Modified: January 23, 2024
Learn how to repair a crumbling brick wall using the right building materials and techniques. Our expert guide will help you restore your wall with ease.
(Many of the links in this article redirect to a specific reviewed product. Your purchase of these products through affiliate links helps to generate commission for Storables.com, at no extra cost. Learn more)
Introduction
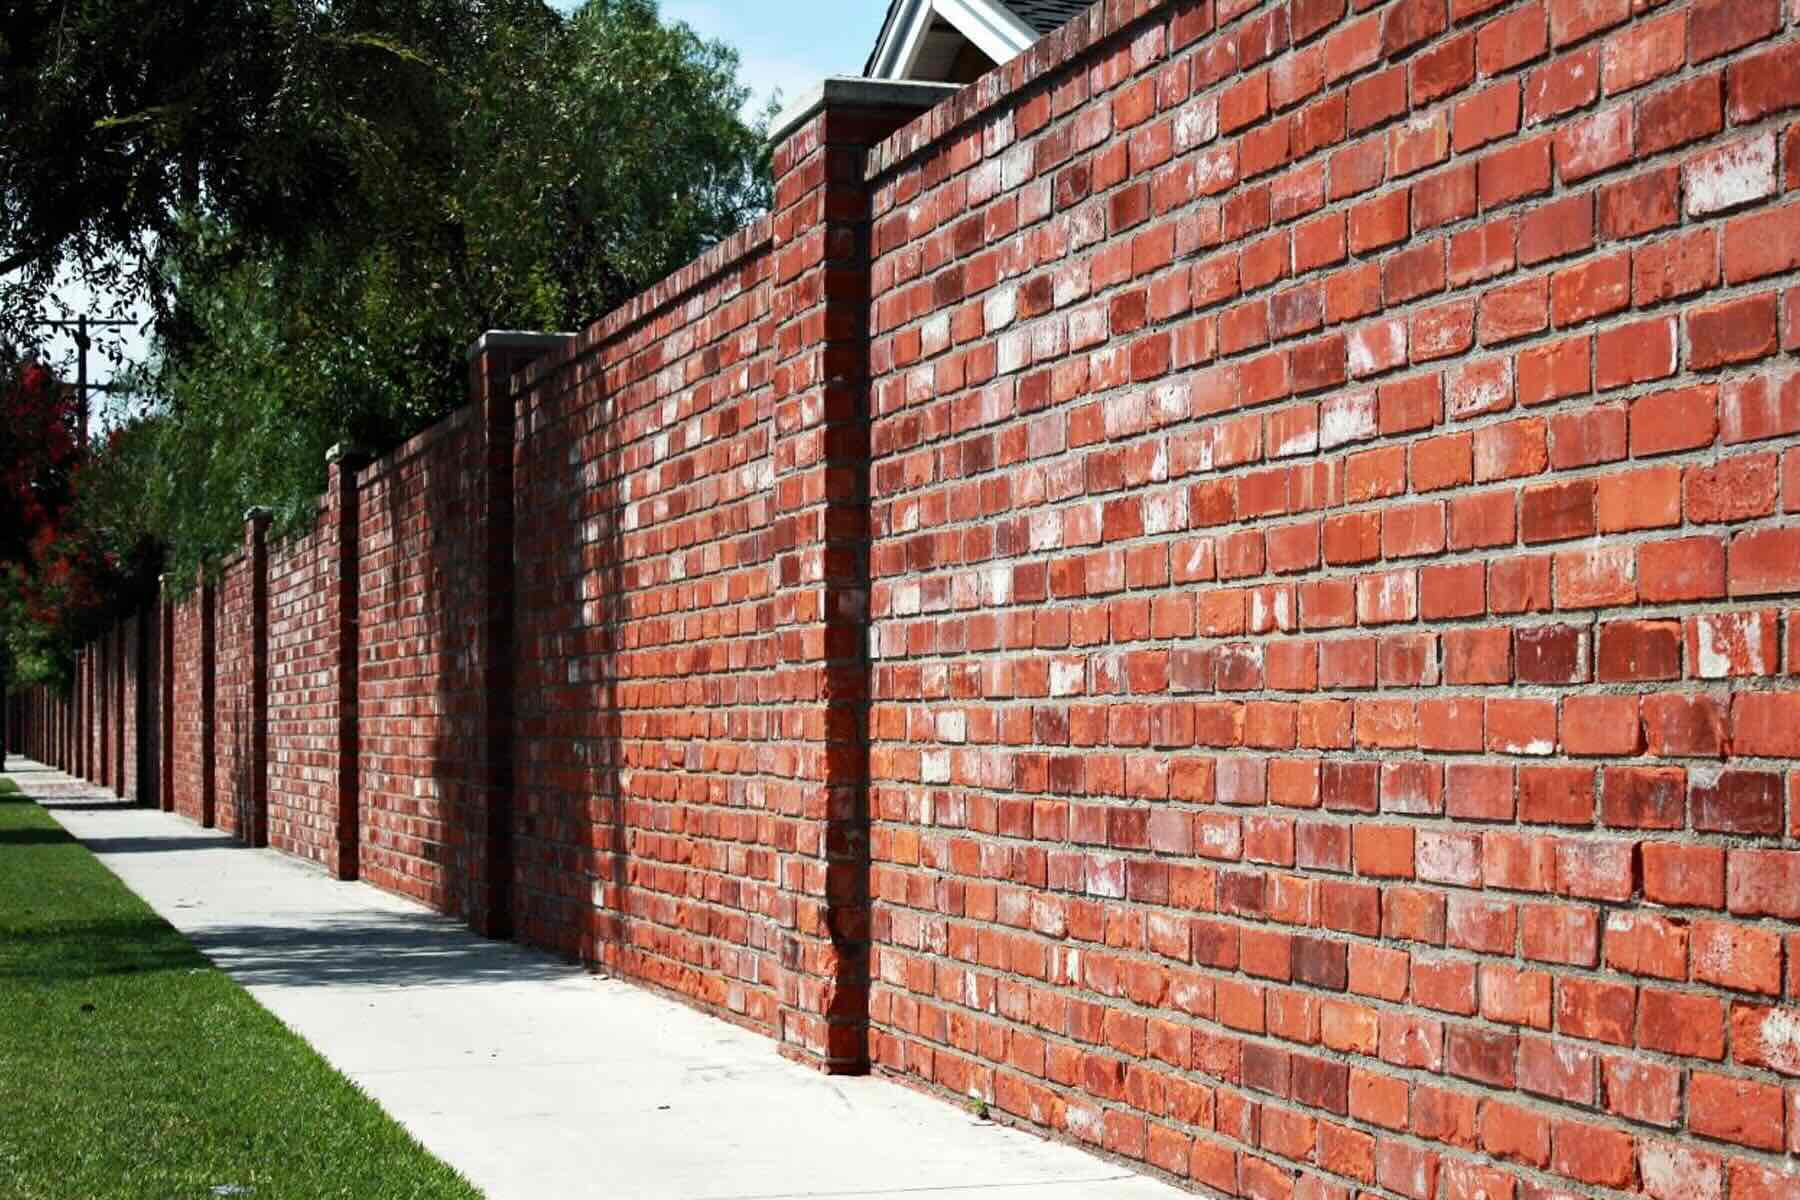
Maintaining the structural integrity and aesthetic appeal of a brick wall is essential for preserving the beauty and functionality of a property. Over time, various factors such as weathering, moisture, and age can lead to the deterioration of a brick wall, resulting in crumbling mortar and damaged bricks. However, with the right knowledge and tools, it is possible to restore the wall to its former glory.
In this comprehensive guide, we will explore the step-by-step process of fixing a crumbling brick wall. From assessing the extent of the damage to executing the necessary repairs, this article will provide valuable insights for homeowners, contractors, and anyone seeking to address this common issue.
Whether you are a seasoned DIY enthusiast or a novice looking to embark on your first brick repair project, this guide will equip you with the essential know-how to tackle the task with confidence. By the end of this journey, you will not only have a structurally sound and visually appealing brick wall but also a newfound sense of accomplishment in mastering this fundamental aspect of property maintenance.
Key Takeaways:
- Assess the damage thoroughly before repairing a crumbling brick wall. Look for crumbling mortar, cracked or displaced bricks, and signs of moisture. Understanding the extent of the damage is crucial for a successful restoration.
- Gather the right materials and tools, and prepare the work area before repairing the brick wall. This ensures a smooth repair process and contributes to the safety and quality of the restoration.
Read more: How To Fix A Brick Wall
Assessing the Damage
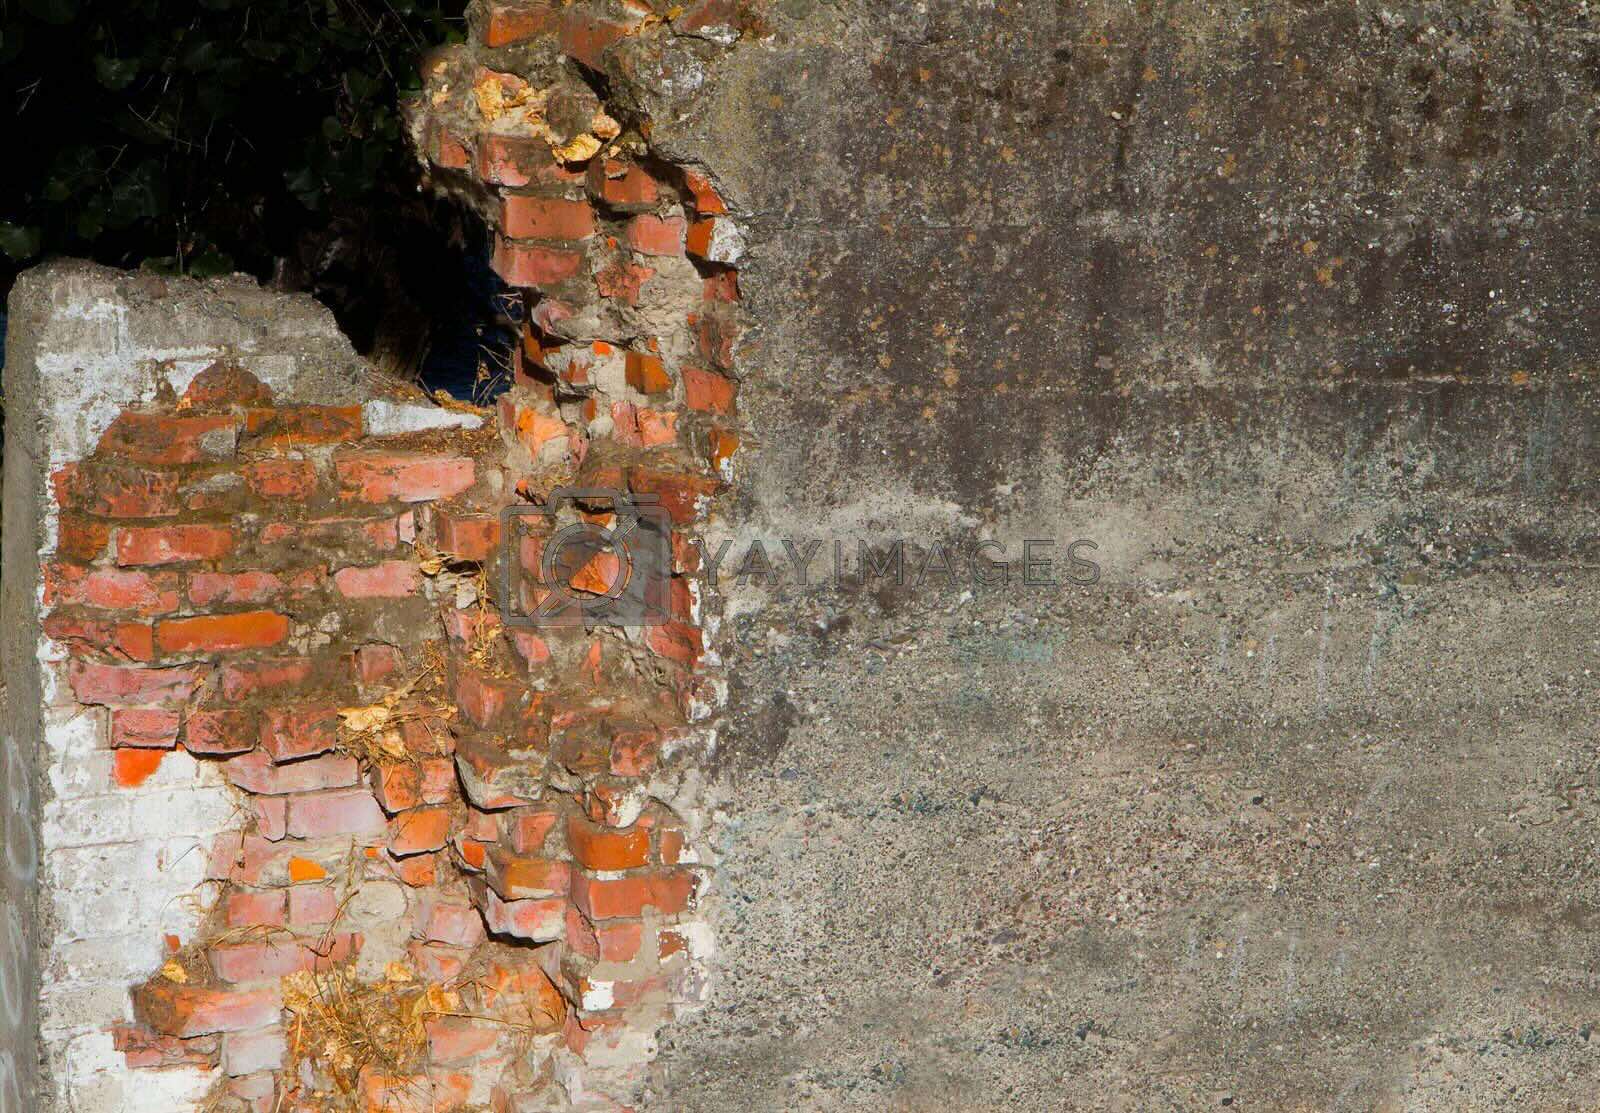
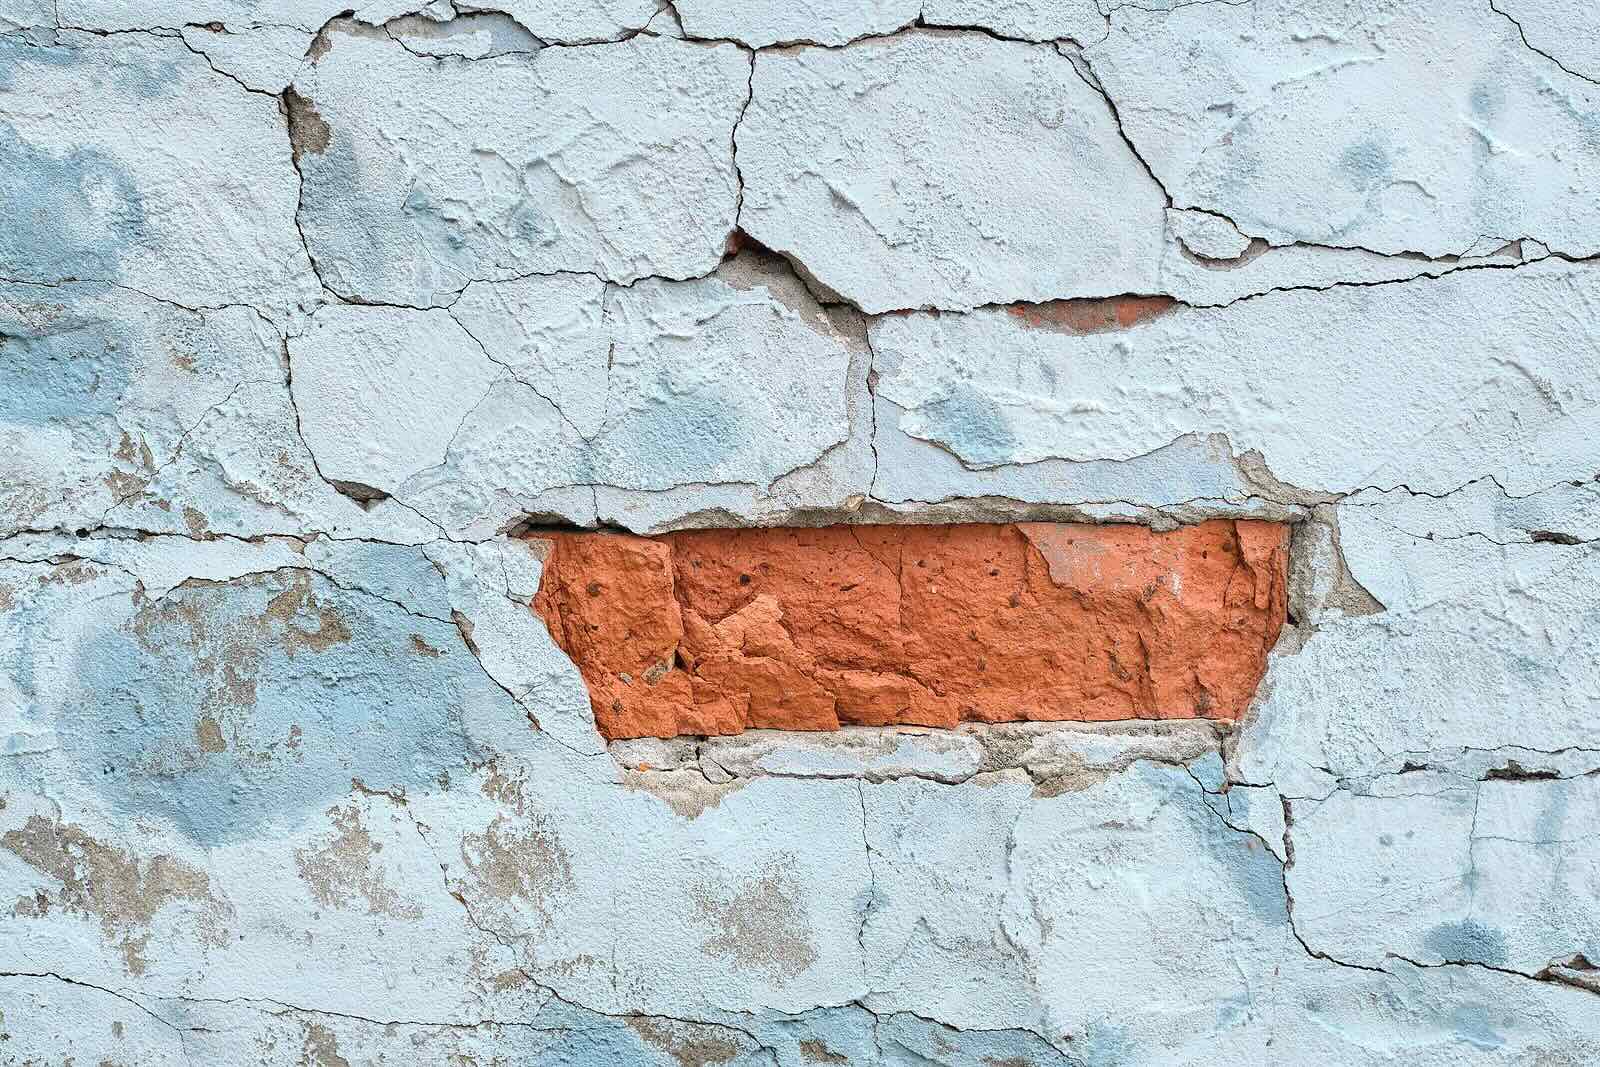
Before diving into the repair process, it is crucial to thoroughly assess the extent of the damage to the brick wall. Start by visually inspecting the entire surface, paying close attention to areas where the mortar appears to be deteriorating and where bricks show signs of cracking or displacement. Additionally, check for any discoloration or efflorescence, a white, powdery residue that indicates moisture penetration.
Using a small tool such as a screwdriver or a pointed object, gently probe the mortar joints to determine their condition. If the mortar crumbles easily or appears loose, it is a clear indication of degradation. Likewise, tap each brick lightly with a mallet or a similar tool to identify any hollow-sounding areas, which could signify loose bricks or compromised mortar behind them.
Documenting the areas of concern with photographs can be immensely helpful, especially if the damage is extensive. This visual record will not only aid in planning the repair process but also serve as a reference point as the restoration progresses.
Furthermore, consider the underlying causes of the damage. Is the wall exposed to frequent moisture due to its location or poor drainage? Are there nearby trees whose roots may be impacting the stability of the structure? Understanding these factors will not only guide the repair approach but also help prevent future issues.
By taking the time to assess the damage comprehensively, you will be better equipped to plan and execute the necessary repairs with precision and effectiveness. This initial step sets the stage for a successful restoration, ensuring that no underlying issues are overlooked and that the repaired wall will stand the test of time.
Gathering Materials and Tools
Once the assessment of the damaged brick wall is complete, the next crucial step is to gather the necessary materials and tools for the repair process. Having the right supplies at hand will streamline the restoration and ensure a seamless workflow. Here’s a comprehensive list of items you’ll need:
Materials:
- Bricks: Purchase an adequate quantity of replacement bricks that match the size, color, and texture of the existing ones. It's essential to maintain uniformity for a cohesive appearance.
- Mortar Mix: Select a high-quality mortar mix that complements the original mortar in terms of composition and color. Opt for a type that is suitable for your specific climate and wall conditions.
- Masonry Cleaner: Invest in a reputable masonry cleaner to remove dirt, grime, and efflorescence from the brick surface before commencing the repair work.
- Waterproofing Sealer: Consider applying a waterproofing sealer to protect the restored wall from moisture infiltration, especially if it was a contributing factor to the initial damage.
- Protective Gear: Prioritize safety by obtaining protective gear such as gloves, safety goggles, and a dust mask to shield yourself from debris and dust during the repair process.
Tools:
- Trowel: A pointed or square-notch trowel is essential for applying mortar to the joints and setting replacement bricks.
- Chisel and Hammer: These tools are necessary for carefully removing damaged mortar and bricks without causing undue harm to the surrounding structure.
- Masonry Brush: Use a stiff-bristled masonry brush to clean the brick surface and remove loose particles before applying new mortar.
- Bucket and Hose: Prepare a bucket of clean water and a hose for mixing the mortar and cleaning the brick wall before and after repairs.
- Level: A spirit level will help ensure that the repaired bricks are aligned correctly and that the wall maintains its structural integrity.
By gathering these materials and tools in advance, you will be well-equipped to embark on the repair process with confidence and efficiency. With everything at your disposal, you can focus on executing the restoration with precision, ultimately achieving a seamless and durable outcome.
Read more: How To Stop Brick From Crumbling
Preparing the Work Area
Before initiating the repair of a crumbling brick wall, it is imperative to prepare the work area meticulously. A well-prepared environment not only facilitates a smoother repair process but also contributes to the overall safety and quality of the restoration. Here are the essential steps to prepare the work area effectively:
Clearing and Securing the Site:
Begin by clearing the immediate vicinity of the brick wall. Remove any obstructions, debris, or vegetation that could impede the repair work. Additionally, cordon off the work area to prevent unauthorized access and ensure the safety of individuals during the restoration process.
Protecting Surrounding Surfaces:
Cover adjacent surfaces, such as walkways, landscaping features, and adjacent walls, with protective materials to prevent them from being inadvertently splattered with mortar or damaged during the repairs. This precautionary measure will help maintain the overall aesthetics of the property and minimize cleanup efforts afterward.
Cleaning the Brick Surface:
Thoroughly clean the brick surface using a masonry cleaner and a stiff-bristled brush. This step is essential for removing dirt, grime, and efflorescence that may impede the adhesion of new mortar and compromise the integrity of the repair. Rinse the cleaned area with water and allow it to dry completely before commencing the repair work.
Read more: How To Seal Crumbling Exterior Brick
Organizing Materials and Tools:
Arrange the gathered materials and tools within easy reach of the work area. Having everything organized and readily accessible will streamline the repair process and minimize disruptions, allowing for a more efficient and focused restoration effort.
Ensuring Adequate Ventilation:
If the repair work involves the use of masonry cleaner, mortar mix, or waterproofing sealer, ensure that the work area is well-ventilated. Proper ventilation not only expedites the drying of applied substances but also promotes a healthier and more comfortable working environment for the duration of the restoration.
By meticulously preparing the work area, you set the stage for a successful and efficient repair of the crumbling brick wall. This proactive approach not only enhances the safety and quality of the restoration process but also reflects a commitment to achieving a durable and visually appealing outcome.
Repairing the Mortar
Addressing deteriorating mortar is a fundamental aspect of restoring a crumbling brick wall. The mortar, which holds the bricks together and provides structural stability, can degrade over time due to exposure to the elements and general wear. Repairing the mortar involves carefully removing the damaged portions and applying new mortar to ensure the wall’s integrity. Here’s a step-by-step guide to effectively repair the mortar:
Removing Damaged Mortar:
Using a chisel and hammer, gently chip away the deteriorated mortar from the joints between the bricks. Exercise caution to avoid damaging the surrounding bricks, and strive to achieve a uniform depth for the new mortar application. A wire brush can be used to remove any residual debris and prepare the joints for the fresh mortar.
Read more: How To Fix A Brick Wall That Is Separating
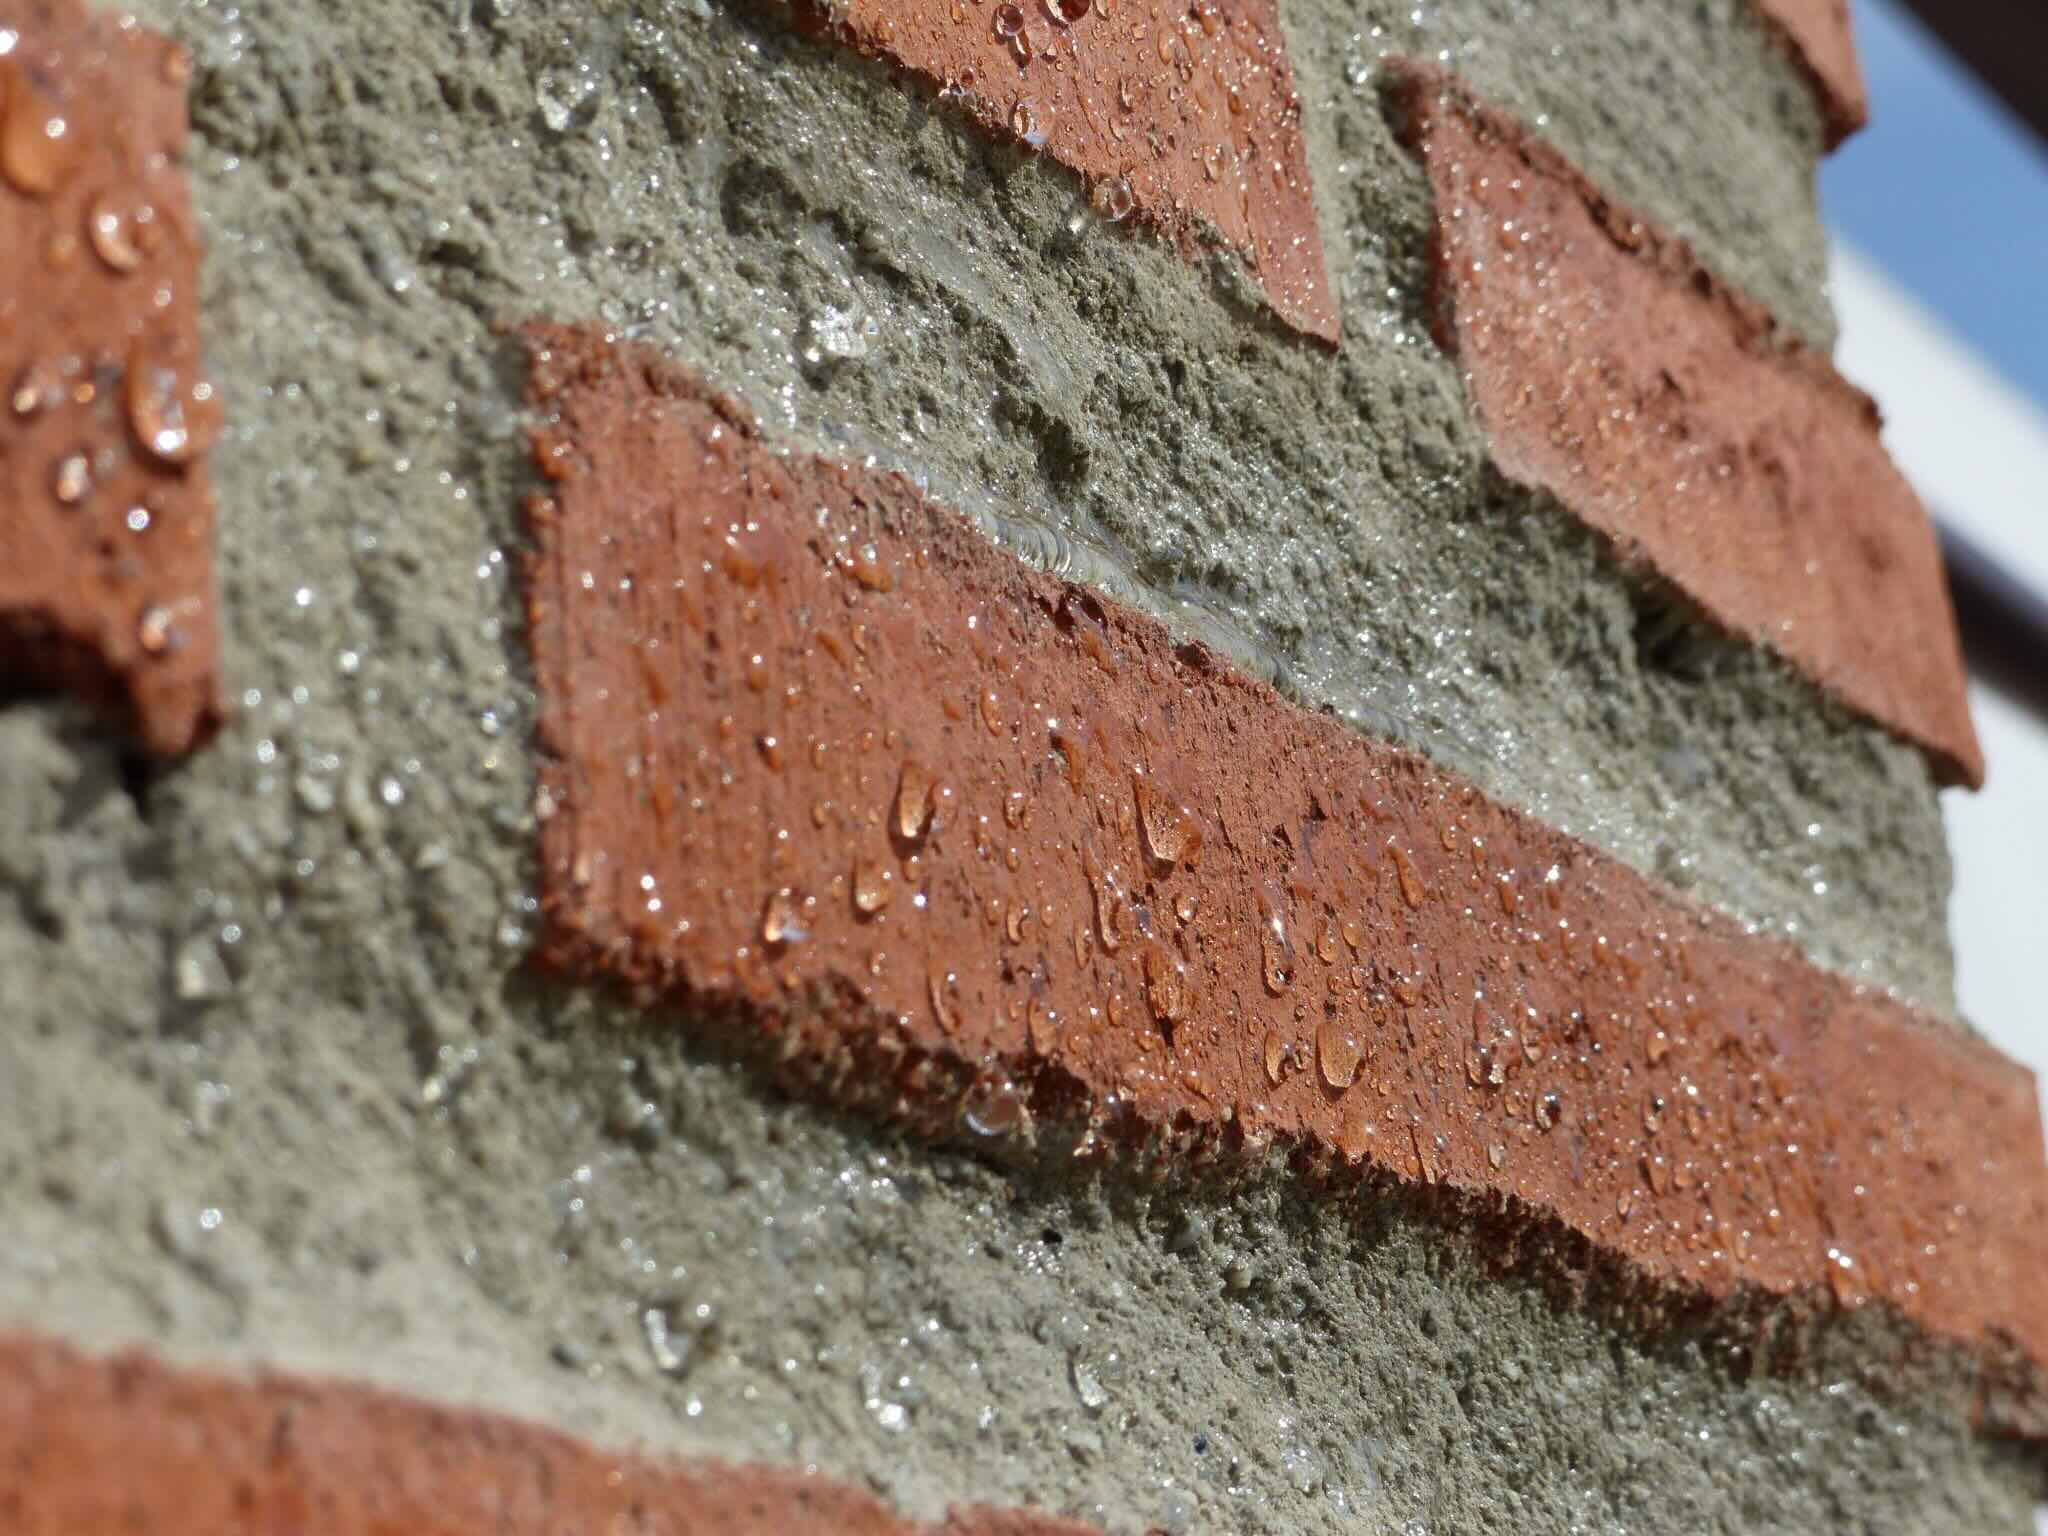
Mixing and Applying New Mortar:
Prepare the mortar mix according to the manufacturer’s instructions, ensuring the correct ratio of water to mortar powder for optimal consistency. Using a trowel, carefully pack the mortar into the cleaned joints, ensuring that it is firmly pressed and flush with the brick surface. Smooth the mortar with the trowel, matching the surrounding joints in texture and profile.
Finishing and Curing:
Once the new mortar is applied, use a jointing tool or the edge of the trowel to create a uniform finish that seamlessly blends with the existing mortar joints. To promote proper curing, lightly mist the repaired mortar with water for several days, especially in dry conditions, to prevent premature drying and ensure optimal strength and adhesion.
Applying Waterproofing Sealer:
Consider applying a waterproofing sealer to the repaired mortar joints once they have fully cured. This additional layer of protection helps safeguard the mortar against moisture infiltration, prolonging its longevity and enhancing the overall resilience of the brick wall.
Inspecting and Touching Up:
After the mortar has cured, inspect the repaired joints for any irregularities or areas that may require additional touch-ups. Address any imperfections promptly to achieve a seamless and structurally sound result.
By diligently repairing the mortar, you not only restore the structural integrity of the brick wall but also contribute to its longevity and resilience. This meticulous process ensures that the wall remains steadfast against environmental elements, preserving its functionality and aesthetic appeal for years to come.
Read more: How To Repair Crumbling Basement Walls
Replacing Damaged Bricks
When a brick wall exhibits damaged or deteriorated bricks, replacing them is essential to maintain its structural integrity and visual appeal. Whether due to cracking, chipping, or displacement, damaged bricks can compromise the overall stability of the wall and detract from its aesthetic charm. Here’s a comprehensive guide to effectively replacing damaged bricks:
Selecting Replacement Bricks:
Procure replacement bricks that closely match the size, color, texture, and composition of the existing bricks. This attention to detail ensures a seamless integration of the new bricks with the original structure, preserving the wall’s uniform appearance.
Removing Damaged Bricks:
Carefully chisel out the mortar surrounding the damaged bricks, taking care not to disturb adjacent bricks. Gently tap the damaged bricks with a mallet to loosen them, then carefully remove them from the wall. Clear any residual mortar from the cavity to prepare it for the new bricks.
Preparing the Replacement Area:
Thoroughly clean the cavity left by the removed bricks, ensuring that it is free of debris and old mortar. Dampen the area slightly to promote better adhesion for the new mortar and bricks.
Read more: How To Remove A Brick Wall
Applying New Mortar:
Using a trowel, apply a layer of mortar to the cavity, ensuring even coverage along the bottom and sides. The mortar should be of a consistency that allows for secure placement of the new bricks while providing adequate support.
Setting the Replacement Bricks:
Gently press the replacement bricks into the mortar, ensuring a snug fit and aligning them with the surrounding bricks for a uniform surface. Use a spirit level to verify that the new bricks are flush and level with the existing ones, making any necessary adjustments before the mortar sets.
Finishing the Joints:
Apply additional mortar to fill in the joints around the replacement bricks, ensuring a smooth and consistent appearance. Use a jointing tool or the edge of a trowel to match the texture and profile of the surrounding mortar joints, seamlessly blending the new bricks with the original ones.
By meticulously replacing damaged bricks, you not only restore the structural integrity of the brick wall but also uphold its visual cohesiveness. This meticulous process ensures that the wall maintains its strength and allure, standing as a testament to enduring craftsmanship and attention to detail.
Finishing Touches
As the repair work on the crumbling brick wall nears completion, attention to detail and the application of finishing touches are crucial to achieving a polished and enduring outcome. These final steps not only contribute to the visual appeal of the restored wall but also enhance its resilience and longevity. Here are the essential finishing touches to consider:
Read more: How To Stucco A Brick Wall
Cleaning and Inspecting:
Thoroughly clean the entire repaired area, removing any residual mortar, dust, or debris. A gentle rinse with clean water and a soft-bristled brush can help ensure that the brick wall is free from any remnants of the repair process. Subsequently, inspect the entire surface to identify any imperfections or areas that may require additional attention.
Applying Waterproofing Sealer:
Consider applying a waterproofing sealer to the entire brick wall, especially if moisture infiltration was a contributing factor to the initial damage. A high-quality sealer helps protect the bricks and mortar from the adverse effects of water, safeguarding the structural integrity and appearance of the wall over time.
Enhancing Aesthetic Appeal:
If desired, apply a masonry enhancer or color enhancer to the brick surface to accentuate its natural tones and textures. This optional step can elevate the visual allure of the wall, adding depth and richness to the overall aesthetic while providing an additional layer of protection.
Landscaping and Restoration:
Restore any landscaping features or elements that were temporarily removed or protected during the repair process. Reintegrate them seamlessly with the repaired brick wall, ensuring a harmonious and integrated appearance that enhances the overall appeal of the property.
Read more: How To Waterproof A Brick Wall
Regular Maintenance and Inspection:
Emphasize the importance of regular maintenance and periodic inspection of the restored brick wall. By monitoring its condition and addressing any emerging issues promptly, you can prolong the wall’s longevity and preserve its structural integrity for years to come.
By attending to these finishing touches, you elevate the repair process from functional restoration to a comprehensive enhancement of the brick wall’s durability and visual allure. This meticulous approach ensures that the wall stands as a testament to enduring craftsmanship and enduring beauty, enriching the property for generations to come.
Conclusion
Repairing a crumbling brick wall is not merely a restoration of structure; it is a preservation of history, craftsmanship, and enduring beauty. The process of assessing, repairing, and enhancing a brick wall embodies a profound commitment to maintaining the integrity and aesthetics of a property, ensuring that it stands as a timeless testament to enduring craftsmanship and resilience.
By meticulously assessing the damage, gathering the necessary materials and tools, preparing the work area, repairing the mortar, replacing damaged bricks, and attending to finishing touches, you embark on a transformative journey. This journey is one of dedication, precision, and a deep appreciation for the artistry and resilience of brick masonry.
As the final mortar joint is smoothed and the last brick is set in place, the restored wall stands not only as a testament to your skill and dedication but as a guardian of the property’s legacy. It embodies the enduring spirit of craftsmanship and the timeless allure of brick masonry, serving as a living monument to the artistry and resilience of human endeavor.
With each meticulous repair, you have not only revitalized a brick wall but also breathed new life into a piece of history. The restored wall now stands as a guardian of enduring beauty, a testament to the resilience of craftsmanship, and a timeless symbol of the dedication to preserving the past for future generations.
As you step back and behold the revitalized brick wall, know that your efforts have not only restored a structure but have perpetuated a legacy. The repaired wall now stands as a testament to the enduring spirit of craftsmanship and the timeless allure of brick masonry, enriching the property and the lives it touches for generations to come.
Frequently Asked Questions about How To Fix A Crumbling Brick Wall
Was this page helpful?
At Storables.com, we guarantee accurate and reliable information. Our content, validated by Expert Board Contributors, is crafted following stringent Editorial Policies. We're committed to providing you with well-researched, expert-backed insights for all your informational needs.


0 thoughts on “How To Fix A Crumbling Brick Wall”