Home>Construction & Tools>Building Materials>How To Fix Stucco Ceiling
Building Materials
How To Fix Stucco Ceiling
Modified: January 18, 2024
Learn how to fix stucco ceiling with the right building materials and techniques. Our expert guide will help you achieve a smooth and flawless finish.
(Many of the links in this article redirect to a specific reviewed product. Your purchase of these products through affiliate links helps to generate commission for Storables.com, at no extra cost. Learn more)
Introduction
Welcome to the comprehensive guide on fixing a stucco ceiling! Whether you're a seasoned DIY enthusiast or someone looking to tackle home improvement projects for the first time, this article will equip you with the knowledge and confidence to restore your stucco ceiling to its former glory.
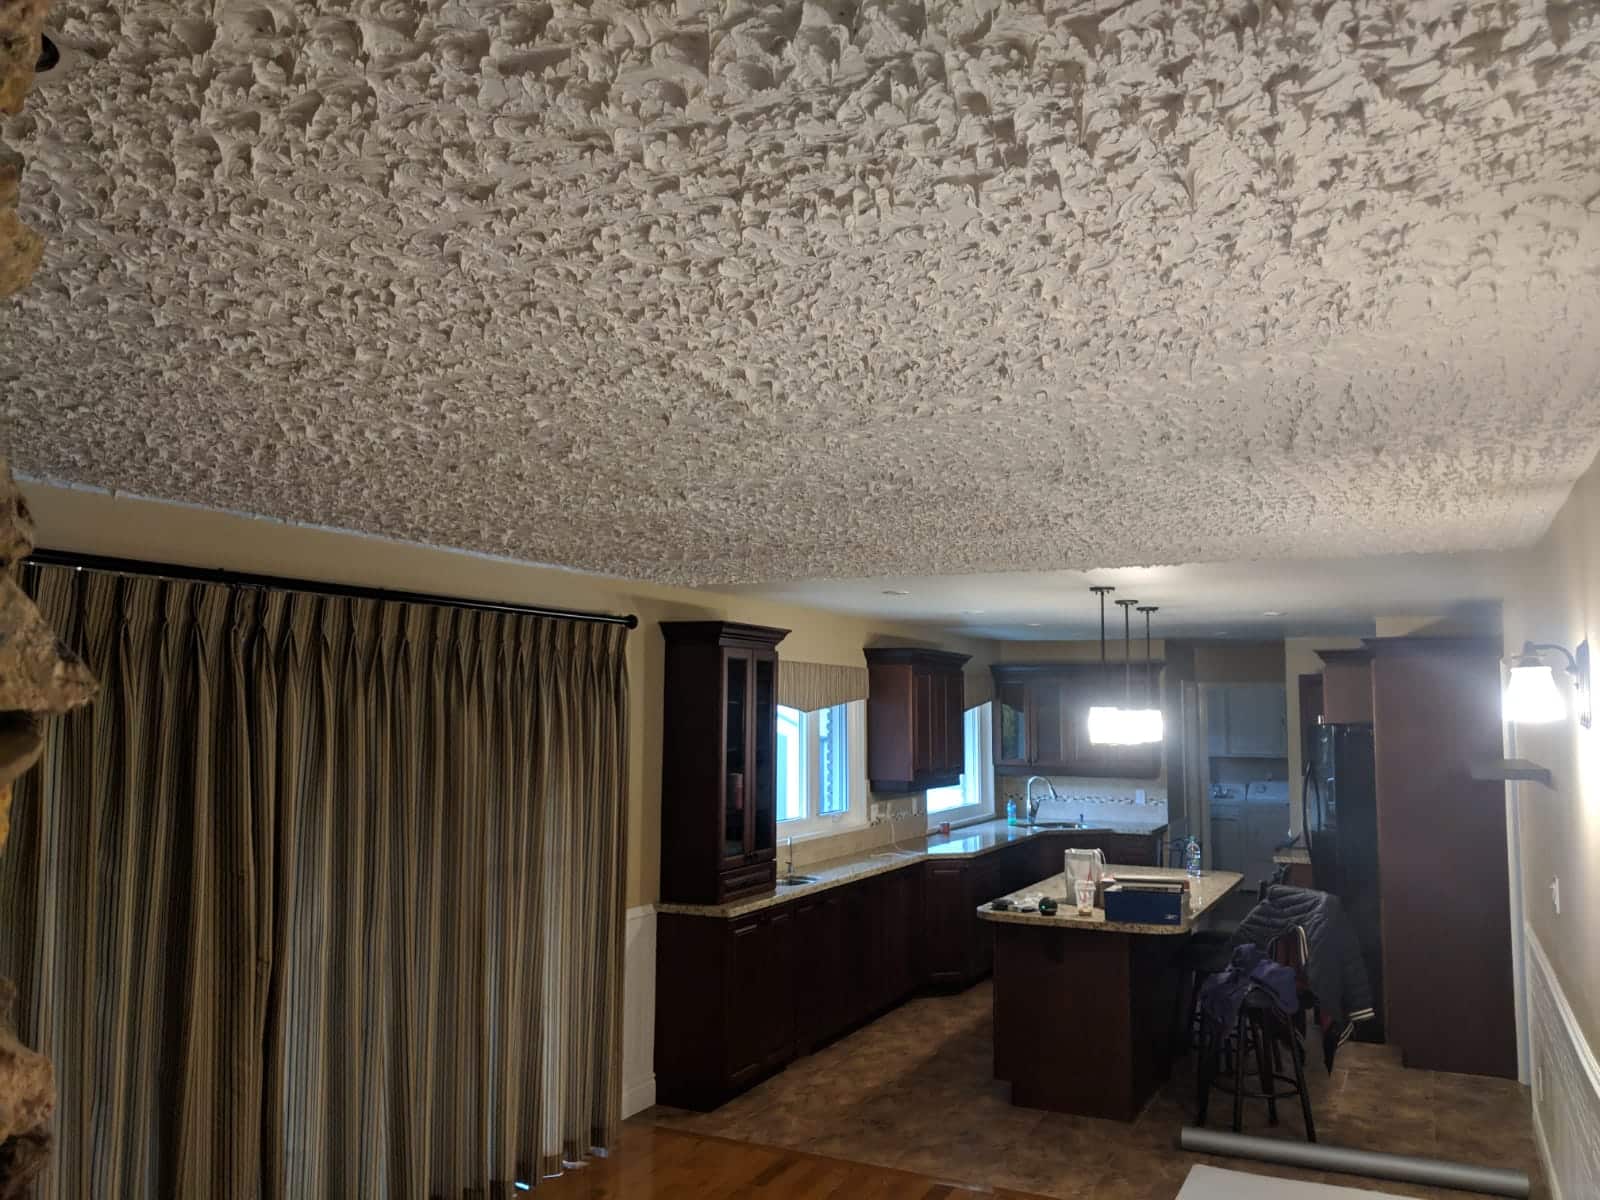
Stucco ceilings, also known as popcorn ceilings, were a popular design choice in the mid-20th century due to their ability to hide imperfections and dampen sound. However, over time, these textured ceilings can become damaged, leading to cracks, holes, or a general worn appearance.
While it may seem like a daunting task, repairing a stucco ceiling is a manageable project that can yield impressive results. By following the step-by-step instructions and tips provided in this guide, you'll be able to revitalize your ceiling and create a polished look for your living space.
Before we dive into the practical aspects of repairing a stucco ceiling, it's essential to understand the underlying causes of damage and the key materials needed for the job. So, let's roll up our sleeves and embark on this rewarding home improvement journey!
Key Takeaways:
- Assessing the Damage
Thoroughly inspect your stucco ceiling for cracks and stability. Identify the cause of damage to plan for effective repairs and prevent future issues. This sets the stage for a successful restoration. - Applying a New Stucco Texture
Prepare and apply a new stucco texture to seamlessly blend with the existing surface. Attention to detail and methodical application will achieve a visually cohesive and professional-quality result.
Read more: How To Stucco A Ceiling
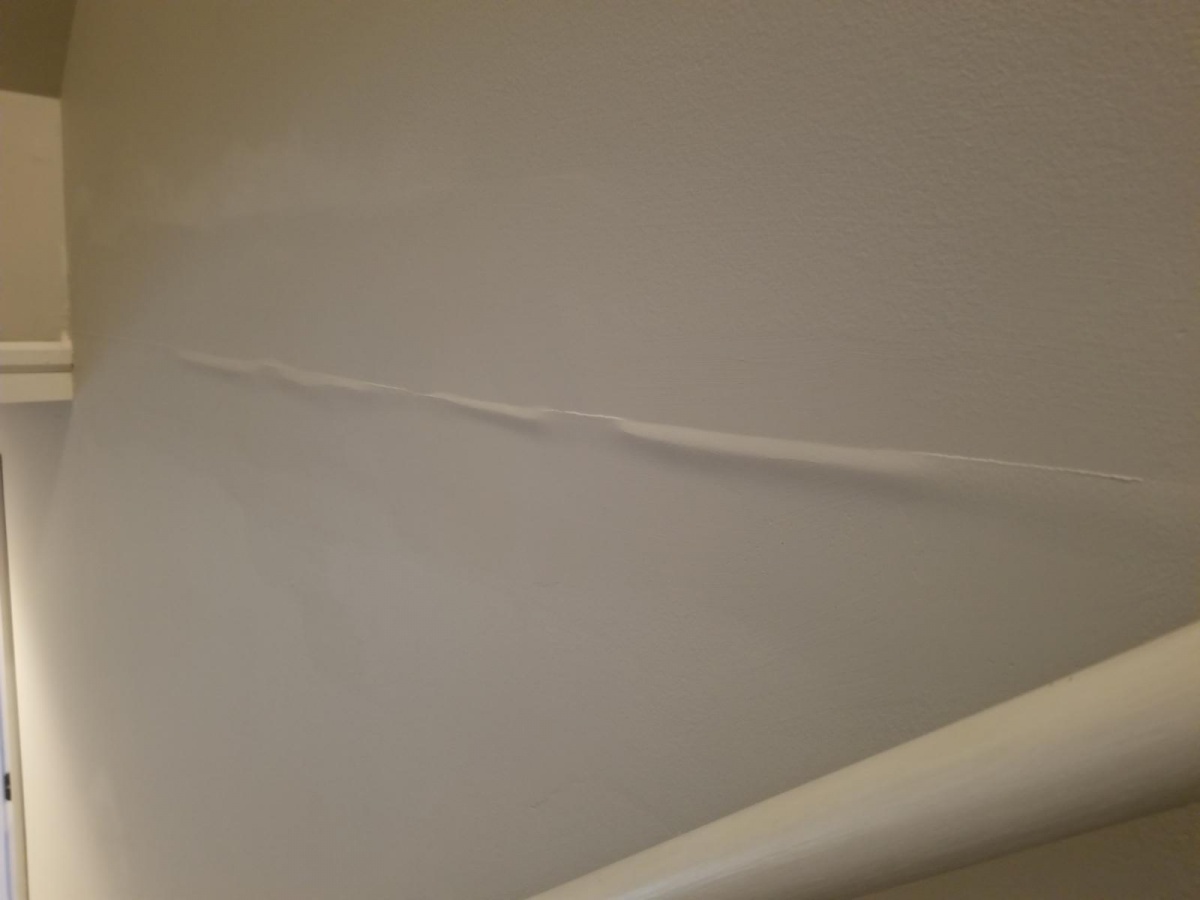
Assessing the Damage
Before diving into the repair process, it’s crucial to assess the extent of the damage to your stucco ceiling. This initial step will help you determine the appropriate approach and materials needed to effectively restore the ceiling’s appearance. Here’s how to go about assessing the damage:
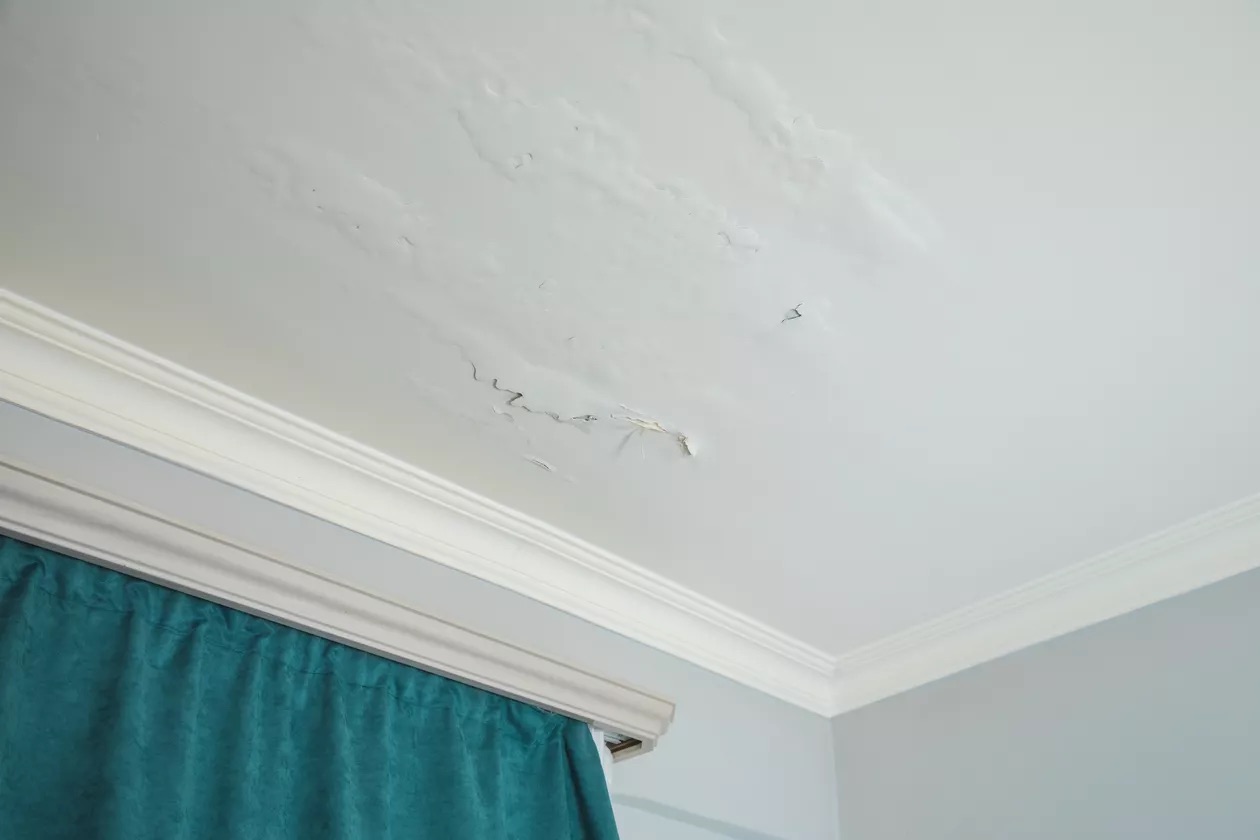
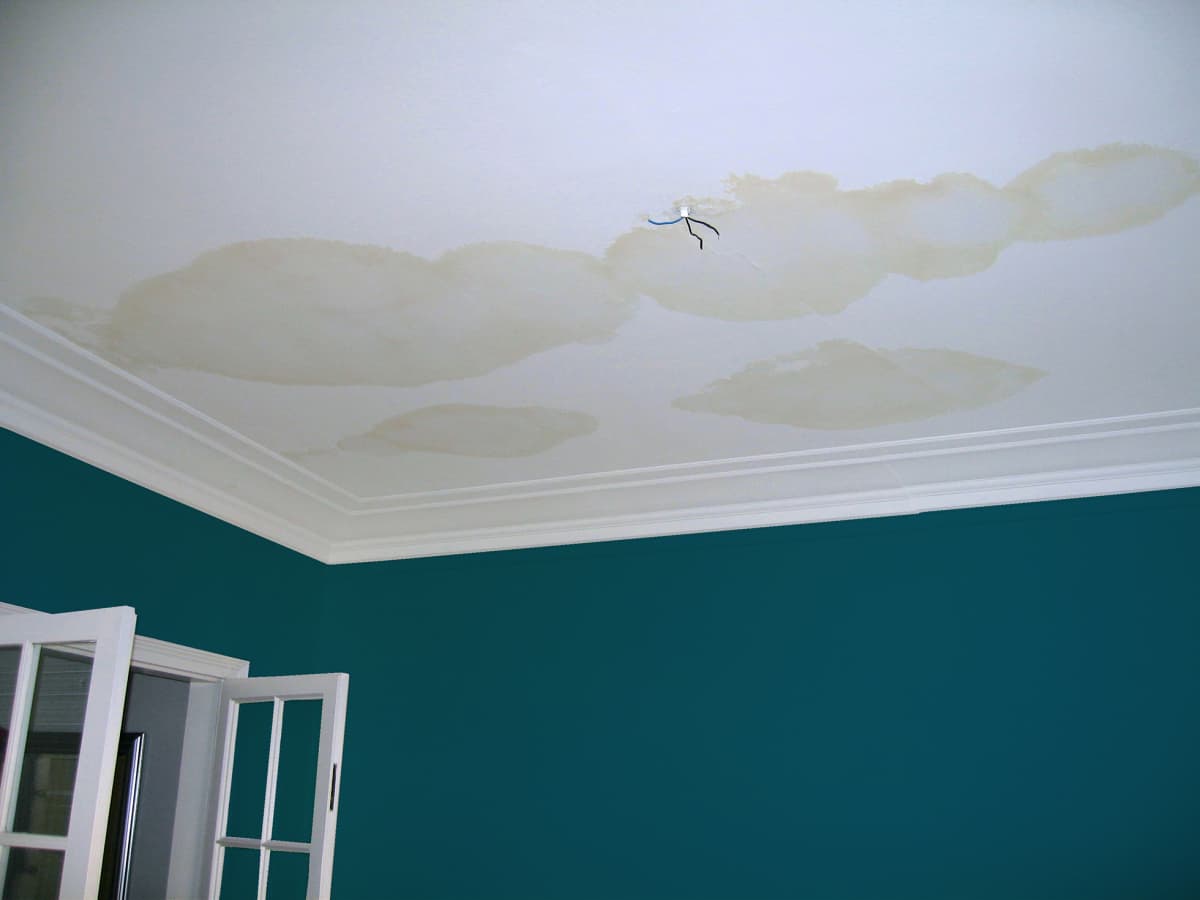
- Visual Inspection: Begin by visually examining the entire stucco ceiling. Look for signs of cracks, holes, water damage, or areas where the texture has worn away. Note the location and size of each imperfection to prioritize the repair process.
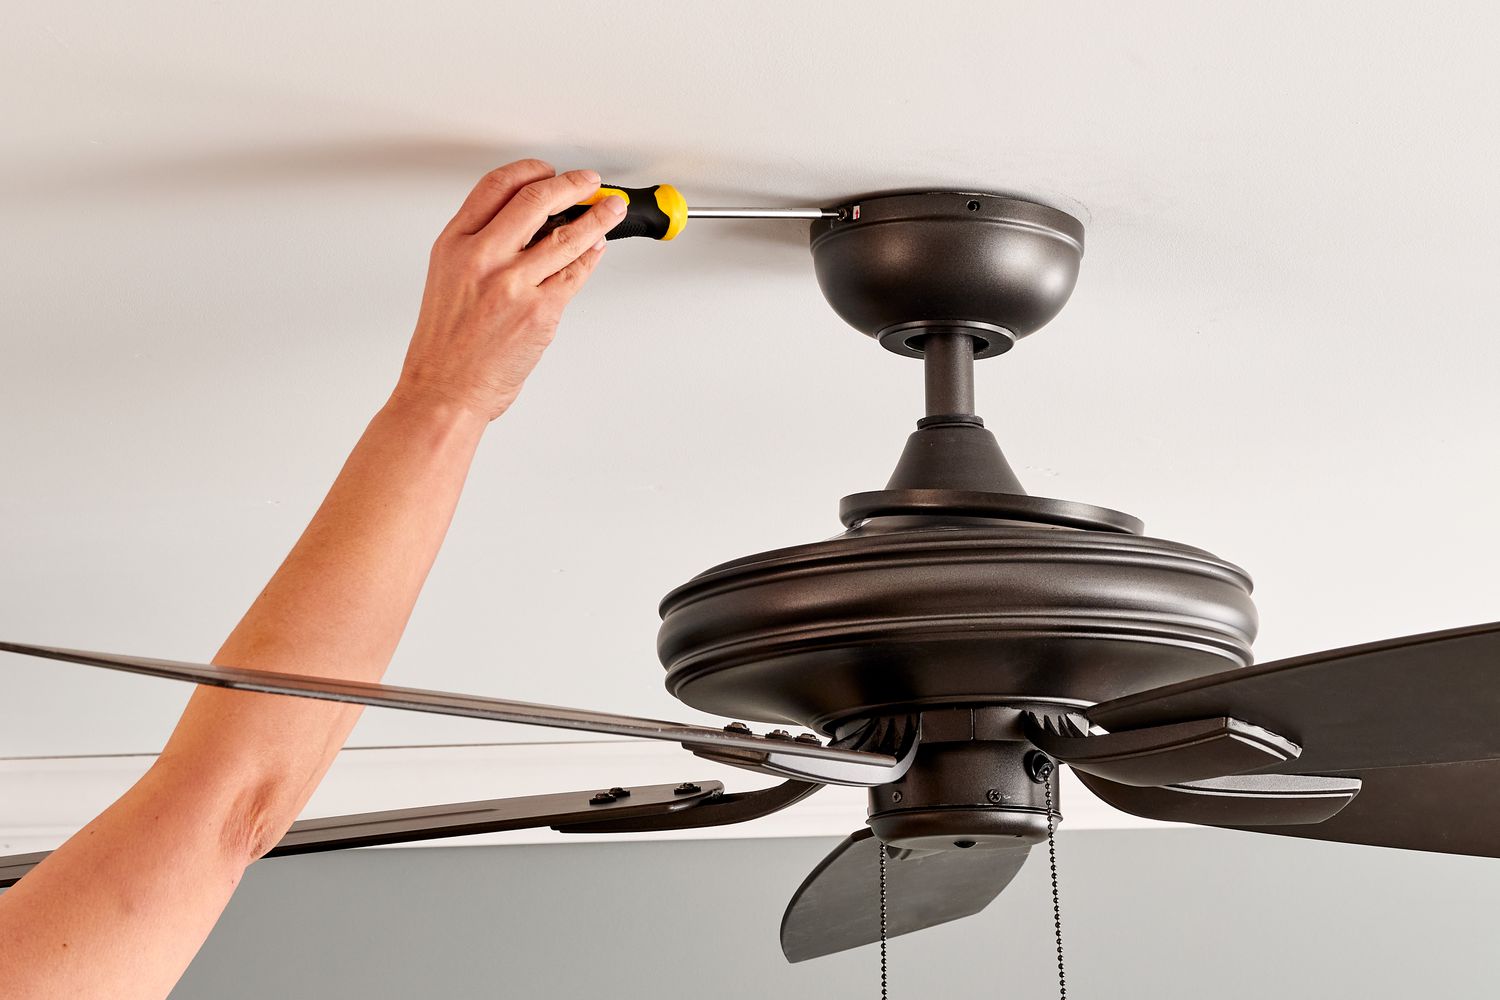
- Probe for Stability: Use a small tool, such as a screwdriver or putty knife, to gently probe the damaged areas. This will help determine if the surrounding stucco texture is stable or if it crumbles easily. Understanding the stability of the existing texture is crucial for planning the repair approach.
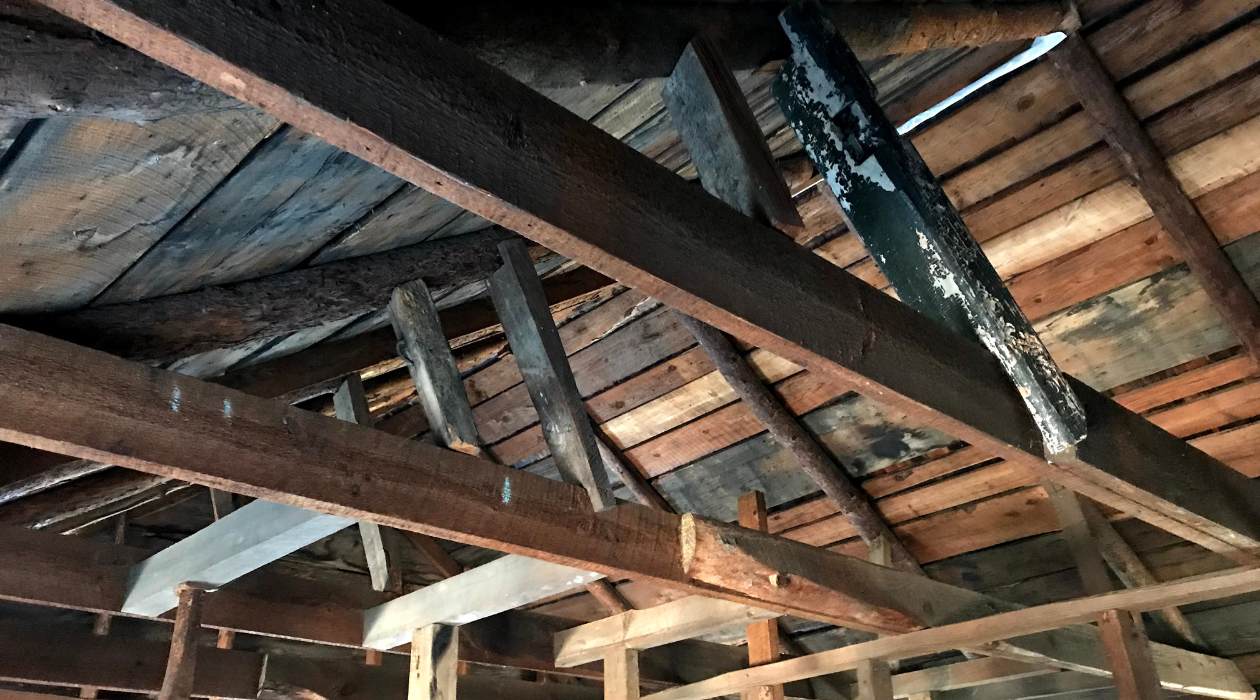
- Identify the Cause: Try to identify the underlying cause of the damage. For instance, if there are water stains, it’s essential to address the source of the water intrusion before repairing the stucco. Understanding the cause will prevent future damage and ensure the longevity of your repairs.
By thoroughly assessing the damage, you’ll gain a clear understanding of the scope of the project and be better prepared to gather the necessary materials for the repair process. Remember, a comprehensive assessment sets the stage for a successful stucco ceiling restoration.
Gathering the Necessary Materials
Once you’ve assessed the damage to your stucco ceiling, it’s time to gather the essential materials and tools for the repair process. Having the right supplies at your disposal will streamline the project and ensure a professional-quality outcome. Here’s a detailed list of the materials you’ll need:
- Protective Gear: Prioritize safety by wearing protective gear, including safety goggles, a dust mask, and disposable gloves. This will shield you from dust and potential irritants during the repair process.
- Drop Cloths or Plastic Sheeting: Cover the floor and furniture in the work area with drop cloths or plastic sheeting to protect them from debris and splatters.
- Stucco Patching Compound: Select a high-quality stucco patching compound that matches the texture of your existing stucco ceiling. This compound is essential for filling in cracks and small holes.
- Joint Compound: For larger holes or extensive repairs, you’ll need joint compound to create a smooth and seamless surface. Opt for a lightweight, easy-to-sand joint compound for optimal results.
- Putty Knife and Trowel: A putty knife is ideal for applying patching compound to small cracks, while a trowel is essential for working with joint compound and achieving a uniform finish.
- Sanding Block or Sandpaper: Prepare the damaged areas for repair by using a sanding block or sandpaper to smooth rough edges and create a suitable surface for the patching and joint compounds.
- Primer: Invest in a high-quality primer designed for use on stucco surfaces. The primer will promote adhesion and ensure that the repair materials bond effectively with the existing stucco texture.
- Paint and Texture: If your stucco ceiling is painted, make sure to have matching paint on hand. Additionally, if the texture needs to be recreated, consider purchasing a texture spray can or a texture hopper for a seamless blend.
- Paintbrushes and Rollers: Depending on the size of the repair area, gather paintbrushes and rollers for applying primer and paint to the patched sections.
By assembling these materials in advance, you’ll be well-equipped to tackle the stucco ceiling repair with confidence and efficiency. With the necessary supplies at your fingertips, you’re ready to embark on the next phase of the restoration process.
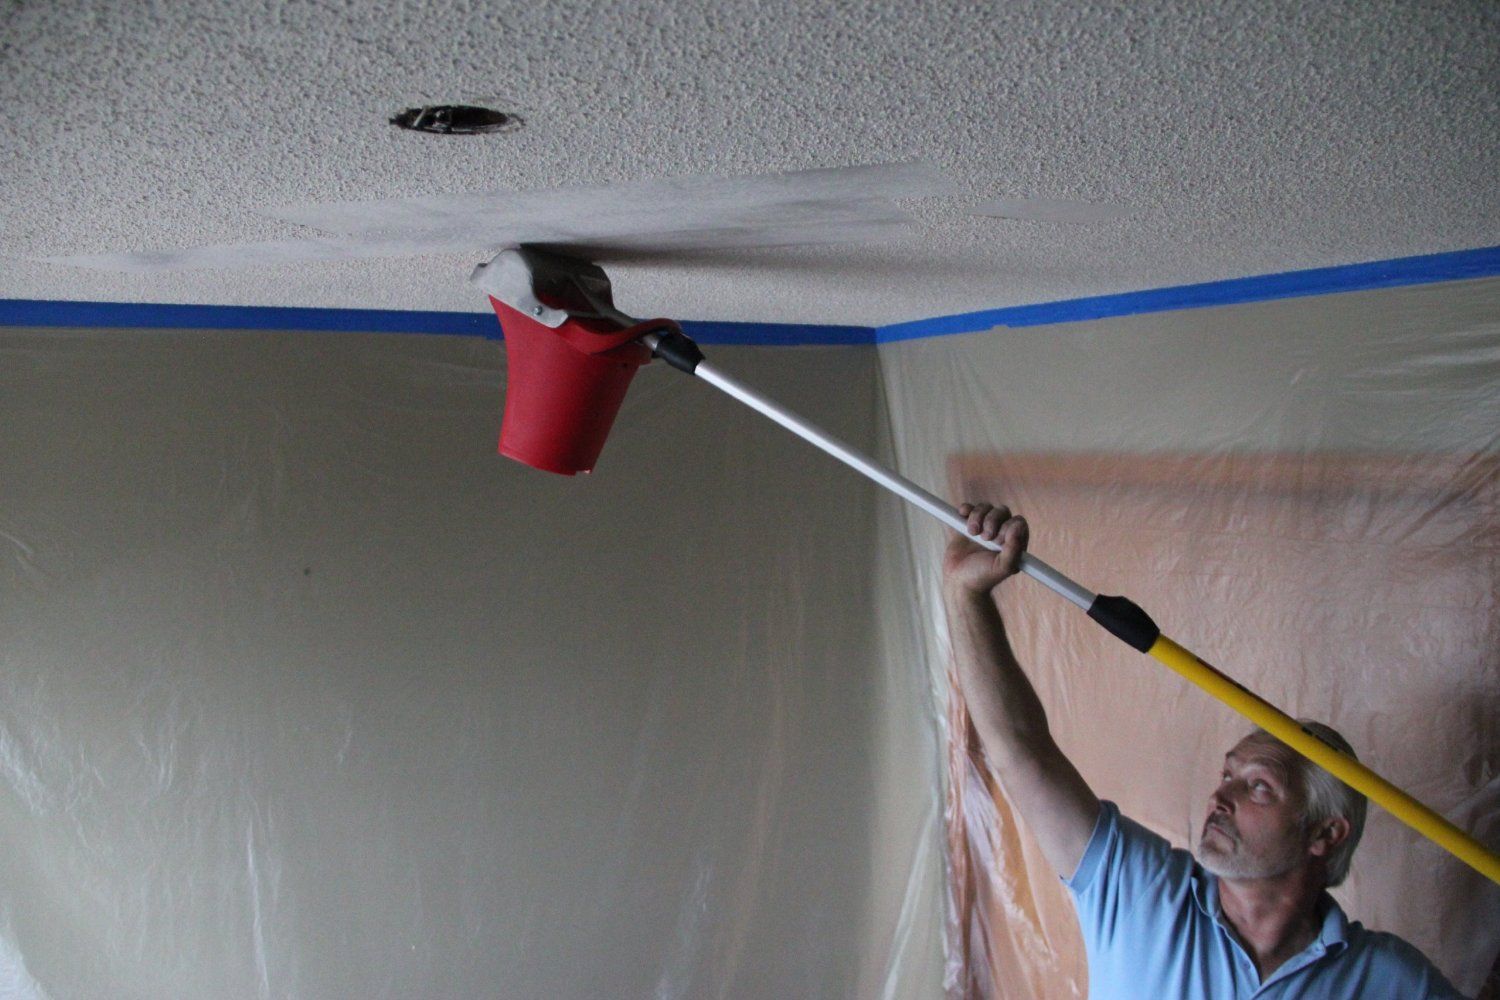
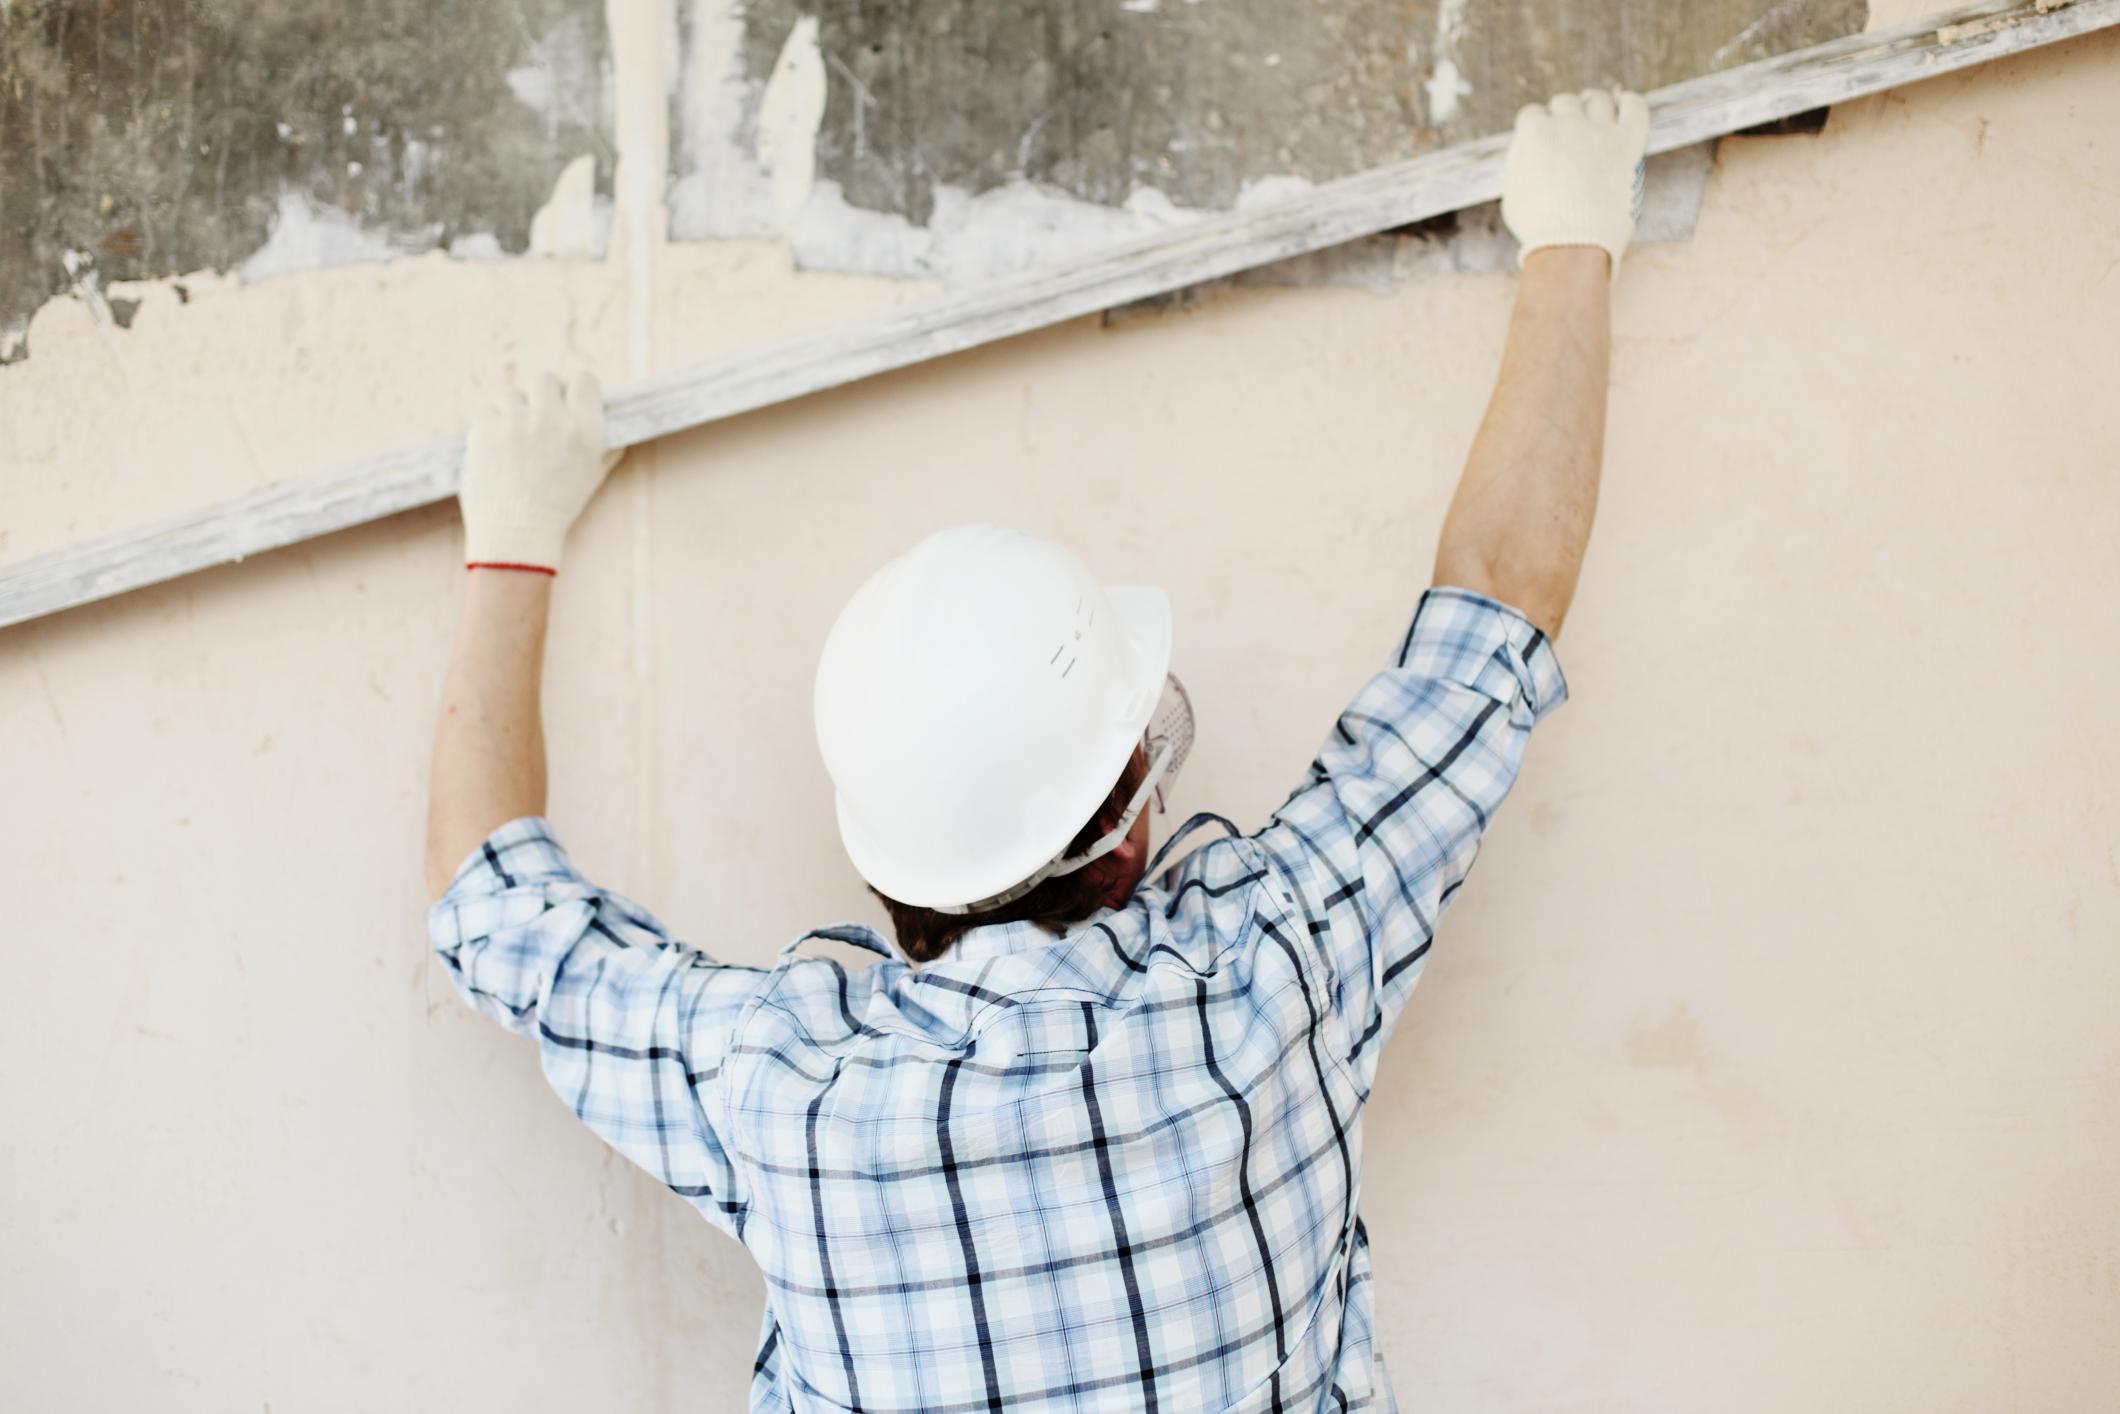
Preparing the Work Area
Before delving into the repair process, it’s essential to prepare the work area to facilitate a smooth and organized restoration of your stucco ceiling. Taking the time to set the stage for the repairs will minimize potential complications and ensure a more seamless experience. Here’s how to prepare the work area effectively:
- Clear the Space: Remove furniture, decorations, and any obstructions from the room to create an unobstructed work area. If moving furniture out of the room is not feasible, gather and cover them with plastic sheeting to protect them from dust and debris.
- Cover Floors and Walls: Use drop cloths or plastic sheeting to cover the floors and walls adjacent to the repair area. This protective measure will prevent dust and splatters from affecting other surfaces in the room.
- Turn Off HVAC Systems: To prevent dust from circulating throughout the house, turn off the heating, ventilation, and air conditioning (HVAC) systems before beginning the repair process. This will help maintain a cleaner and healthier indoor environment.
- Ensure Adequate Ventilation: Open windows and doors to promote ventilation during the repair process. Improved airflow will help dissipate dust and fumes, creating a more comfortable environment for the repairs.
- Secure Lighting: Ensure that the work area is well-lit to facilitate precision during the repair process. Position additional lighting sources, such as work lights or adjustable lamps, to illuminate the ceiling effectively.
- Set Up a Workstation: Arrange your tools and materials in a designated workstation within easy reach of the repair area. This organization will streamline the repair process and minimize disruptions as you work.
By diligently preparing the work area, you’ll create an environment conducive to efficient and focused stucco ceiling repairs. With the space cleared, protected, and properly illuminated, you’re now ready to address the damaged areas and restore the beauty of your stucco ceiling.
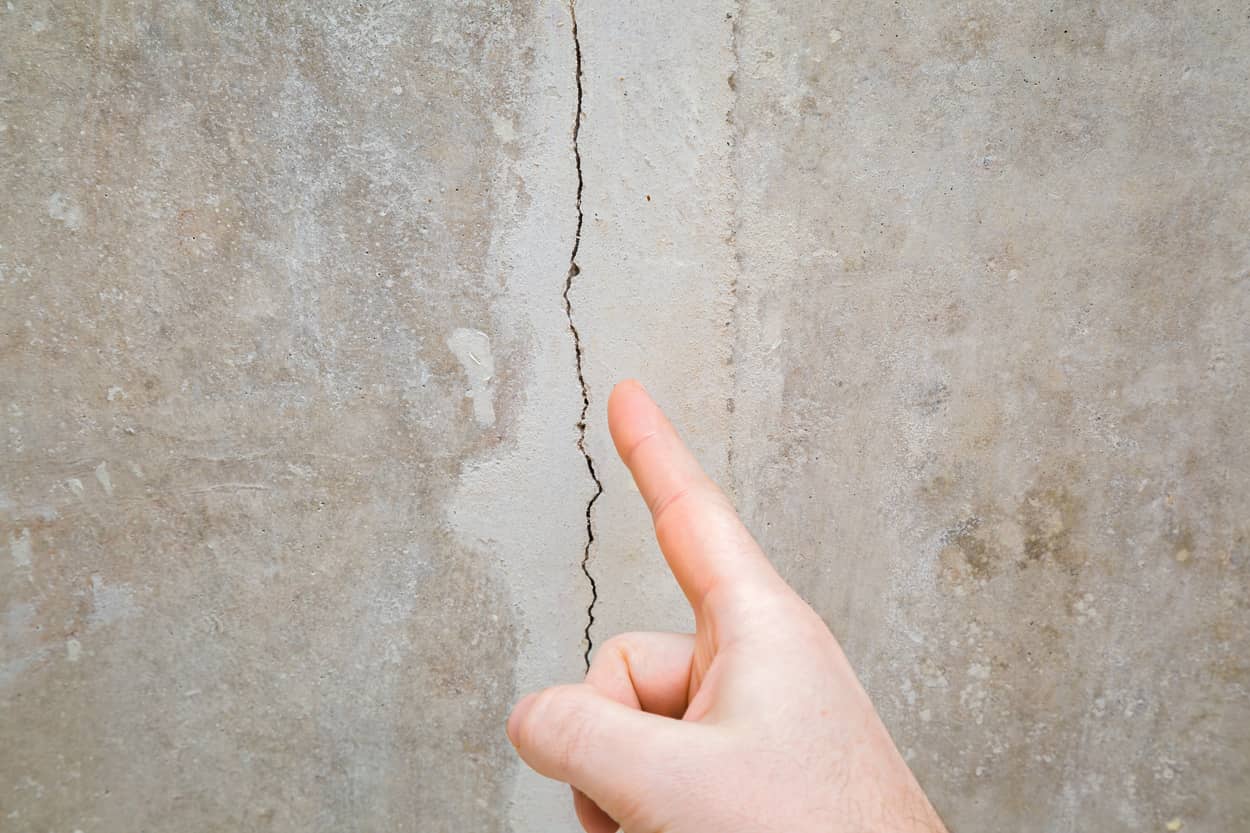
Repairing Small Cracks and Holes
Small cracks and holes in a stucco ceiling can detract from its overall appearance, but with the right approach, these imperfections can be effectively remedied. Tackling small cracks and holes requires precision and attention to detail to achieve a seamless finish. Here’s a step-by-step guide to repairing small cracks and holes in your stucco ceiling:
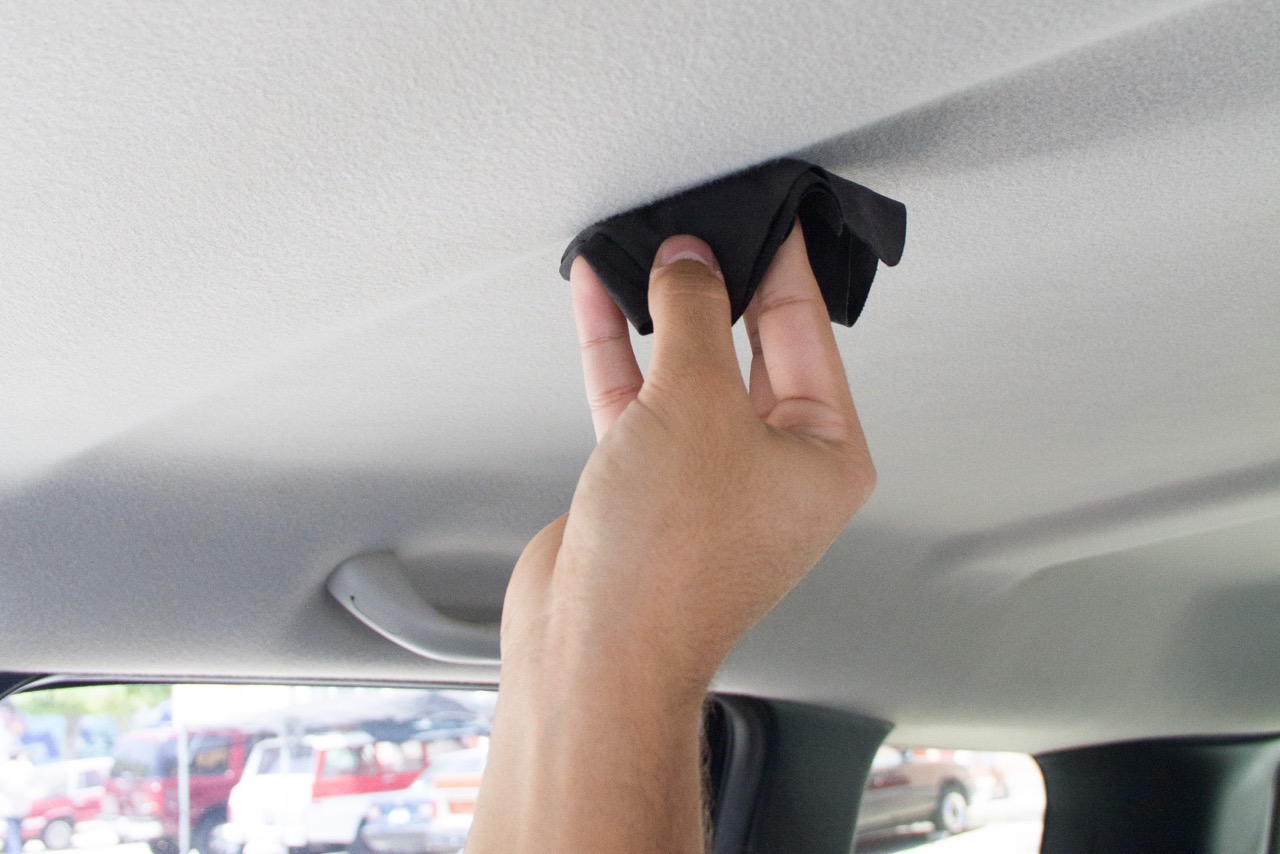
- Clean the Area: Begin by cleaning the damaged area to remove dust, debris, and loose stucco particles. Use a soft brush or a vacuum with a brush attachment to gently clear the surface.
- Apply Patching Compound: Using a putty knife, carefully fill the cracks and small holes with stucco patching compound. Apply the compound in thin layers, gradually building it up to create a smooth and level surface. Feather the edges of the compound to blend it with the surrounding texture.
- Allow for Drying Time: Follow the manufacturer’s instructions for the patching compound’s drying time. Ensure that the repaired areas are fully dry and hardened before proceeding to the next steps.
- Sand the Patched Areas: Once the patching compound has dried, lightly sand the repaired areas using a fine-grit sandpaper or sanding block. This step will refine the surface and prepare it for the application of primer and paint.
- Prime the Repaired Sections: Apply a coat of primer to the patched areas using a paintbrush or roller. The primer will promote adhesion and create a uniform base for the subsequent layers of paint.
- Paint the Repaired Areas: Using a paintbrush or roller, carefully paint the primed sections to match the color of the existing stucco ceiling. Apply the paint in thin, even coats to seamlessly blend the repaired areas with the surrounding texture.
- Inspect and Touch Up: Once the paint has dried, inspect the repaired sections for consistency and texture matching. If necessary, touch up any areas to ensure a cohesive and uniform appearance.
By following these steps, you can effectively address small cracks and holes in your stucco ceiling, restoring its visual appeal and structural integrity. With patience and attention to detail, you’ll achieve a professional-quality repair that seamlessly blends with the existing texture.
To fix a stucco ceiling, start by scraping off any loose or damaged stucco. Then, apply a new layer of stucco using a trowel, and blend it in with the existing texture. Sand it smooth once dry.
Read more: How To Paint A Stucco Ceiling
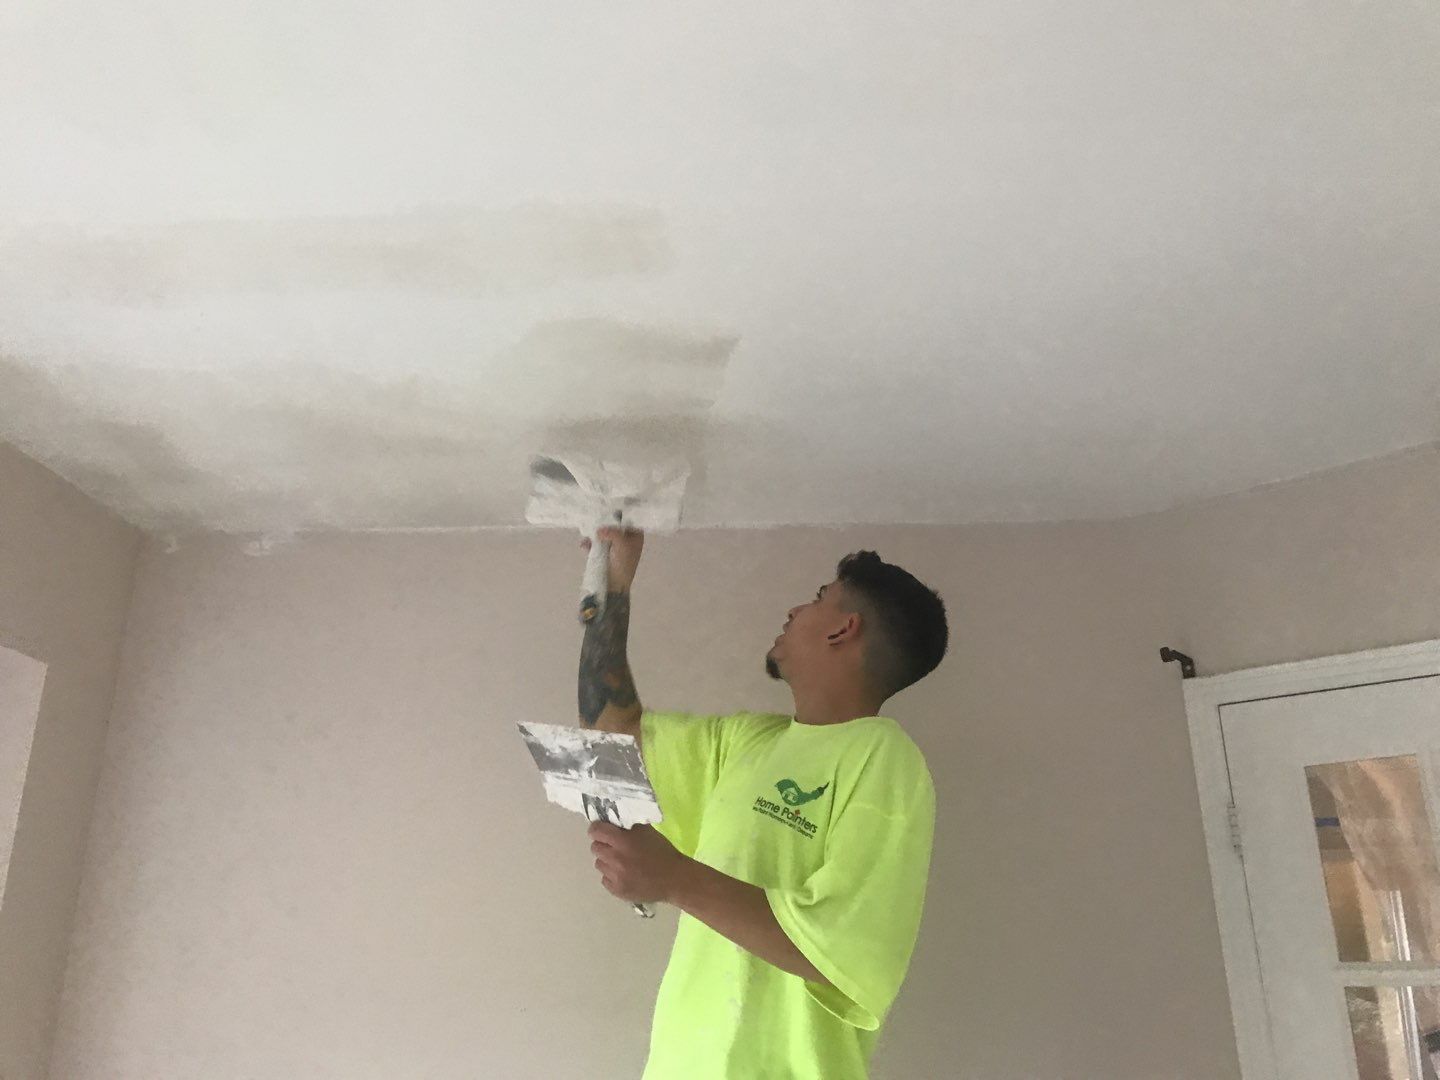
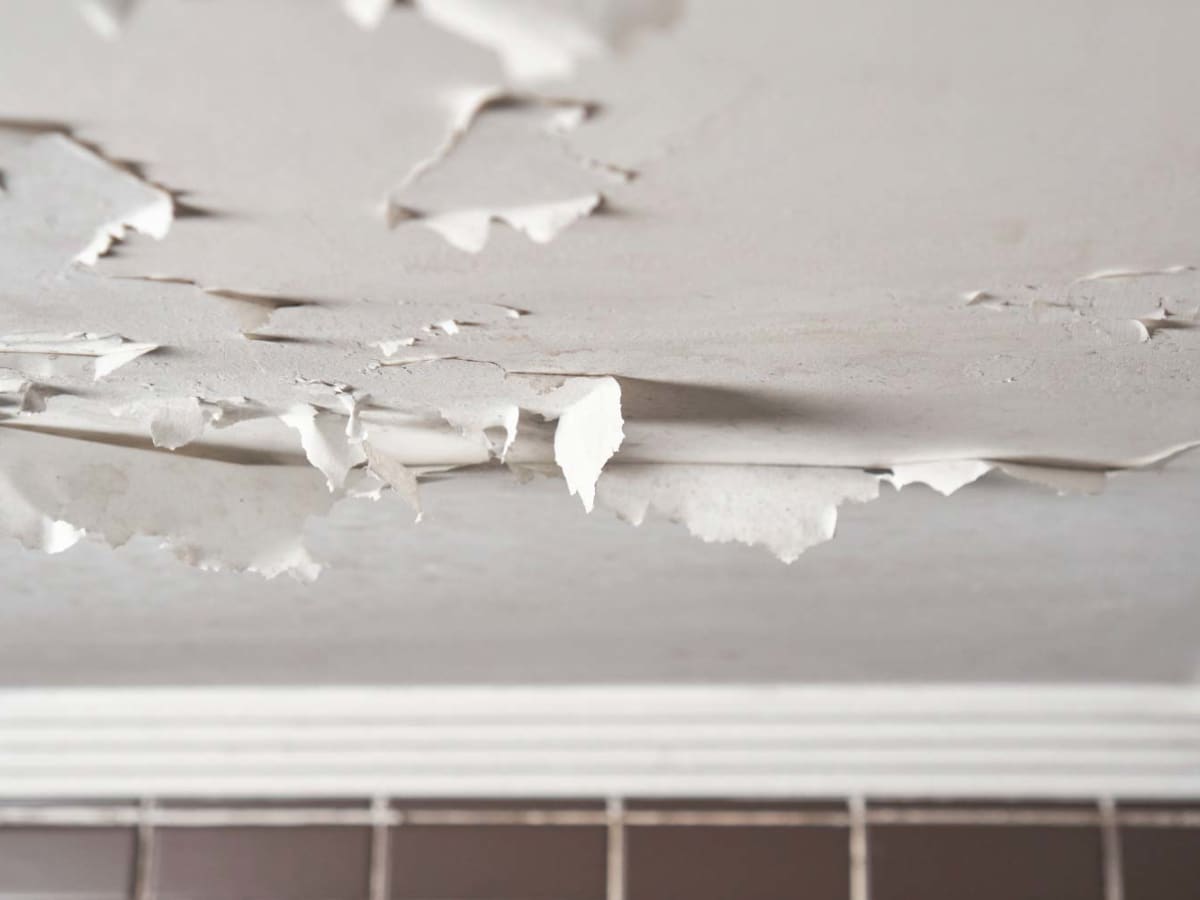
Patching Large Holes
Repairing large holes in a stucco ceiling requires a strategic approach to ensure a seamless and durable outcome. By following a systematic process and utilizing the right materials, you can effectively address significant damage and restore the integrity of your ceiling. Here’s a detailed guide to patching large holes in your stucco ceiling:
- Clean and Prepare the Area: Begin by clearing the damaged area of any loose debris, dust, and flaking stucco. Use a soft brush or vacuum with a brush attachment to thoroughly clean the surface surrounding the hole.
- Create a Backing Support: For large holes, it’s essential to create a backing support to reinforce the patching compound. Cut a piece of wire mesh or hardware cloth to fit behind the hole, providing a stable foundation for the repair.
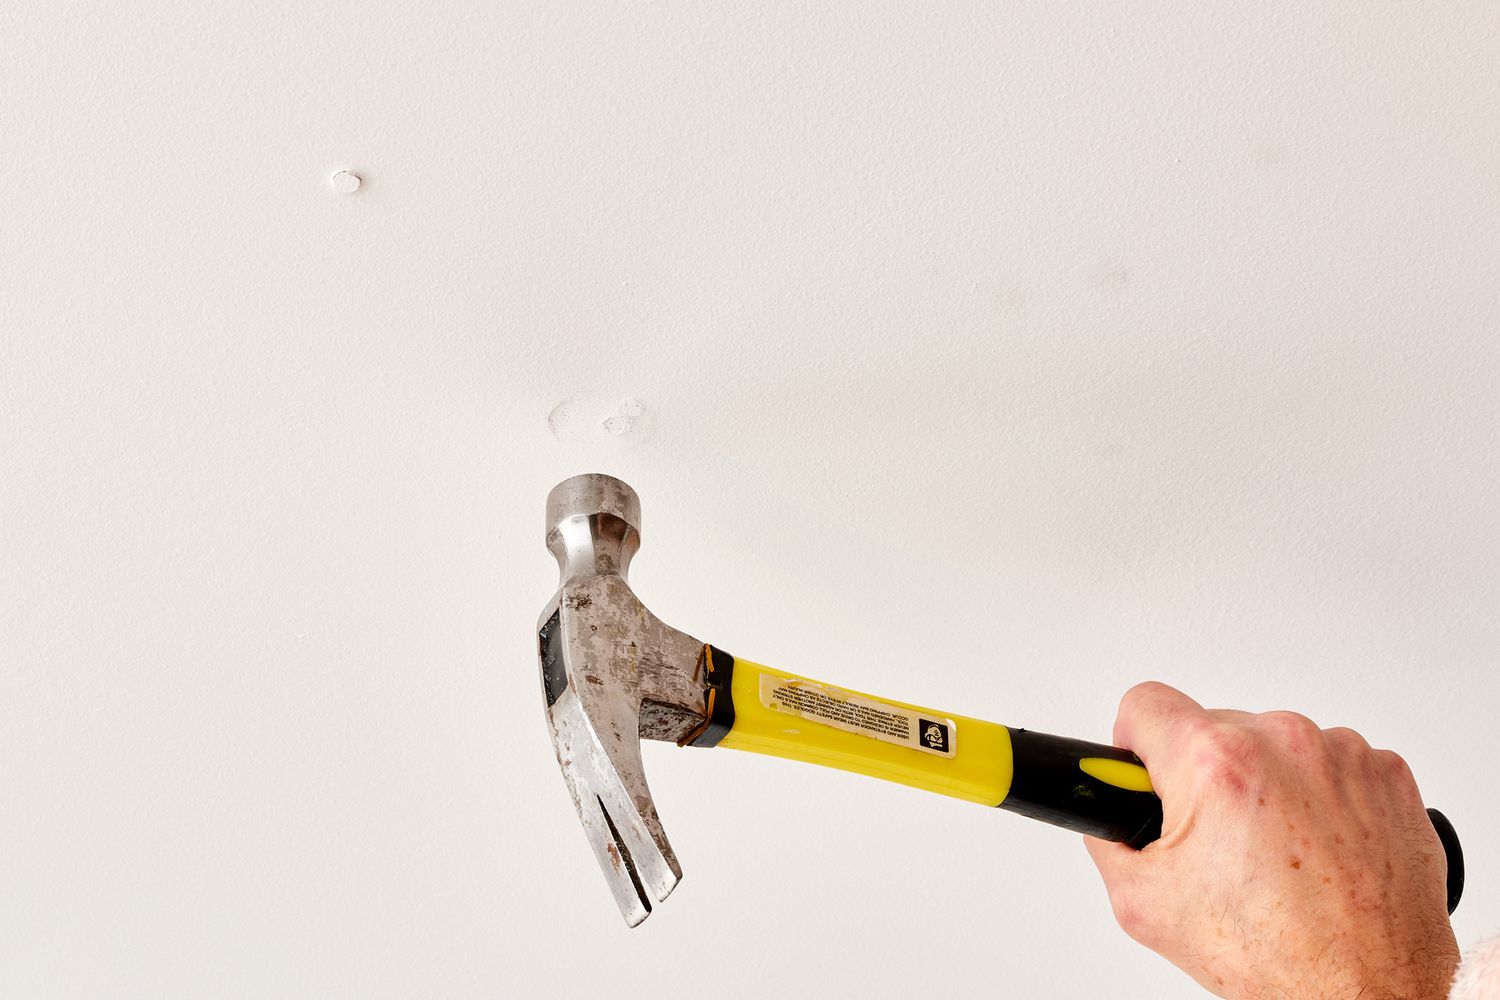
- Secure the Backing Support: Position the wire mesh or hardware cloth behind the hole and secure it in place using screws or nails. Ensure that the backing support is firmly anchored and flush with the surrounding ceiling surface.
- Apply Joint Compound: Using a trowel, apply a layer of joint compound over the backing support and the edges of the hole. Gradually build up the joint compound to create a smooth and level surface, extending it beyond the hole’s perimeter for blending with the existing stucco texture.
- Allow for Drying and Sanding: Follow the manufacturer’s recommended drying time for the joint compound. Once dry, use a sanding block or sandpaper to smooth the patched area, ensuring a seamless transition between the repaired section and the surrounding texture.
- Prime the Patched Area: Apply a coat of primer to the patched section using a paintbrush or roller. The primer will promote adhesion and prepare the surface for the application of paint and texture.
- Match Texture and Paint: Recreate the stucco texture using a texture spray can or texture hopper, blending it with the surrounding ceiling texture. Once the texture is applied and dried, carefully paint the patched area to match the color of the existing stucco ceiling.
- Inspect and Refine: After the paint has dried, inspect the patched area for texture and color consistency. Make any necessary touch-ups to ensure a seamless integration with the surrounding ceiling.
By following these steps, you can effectively patch large holes in your stucco ceiling, revitalizing its appearance and structural integrity. With precision and attention to detail, you’ll achieve a professional-quality repair that seamlessly integrates with the existing texture.
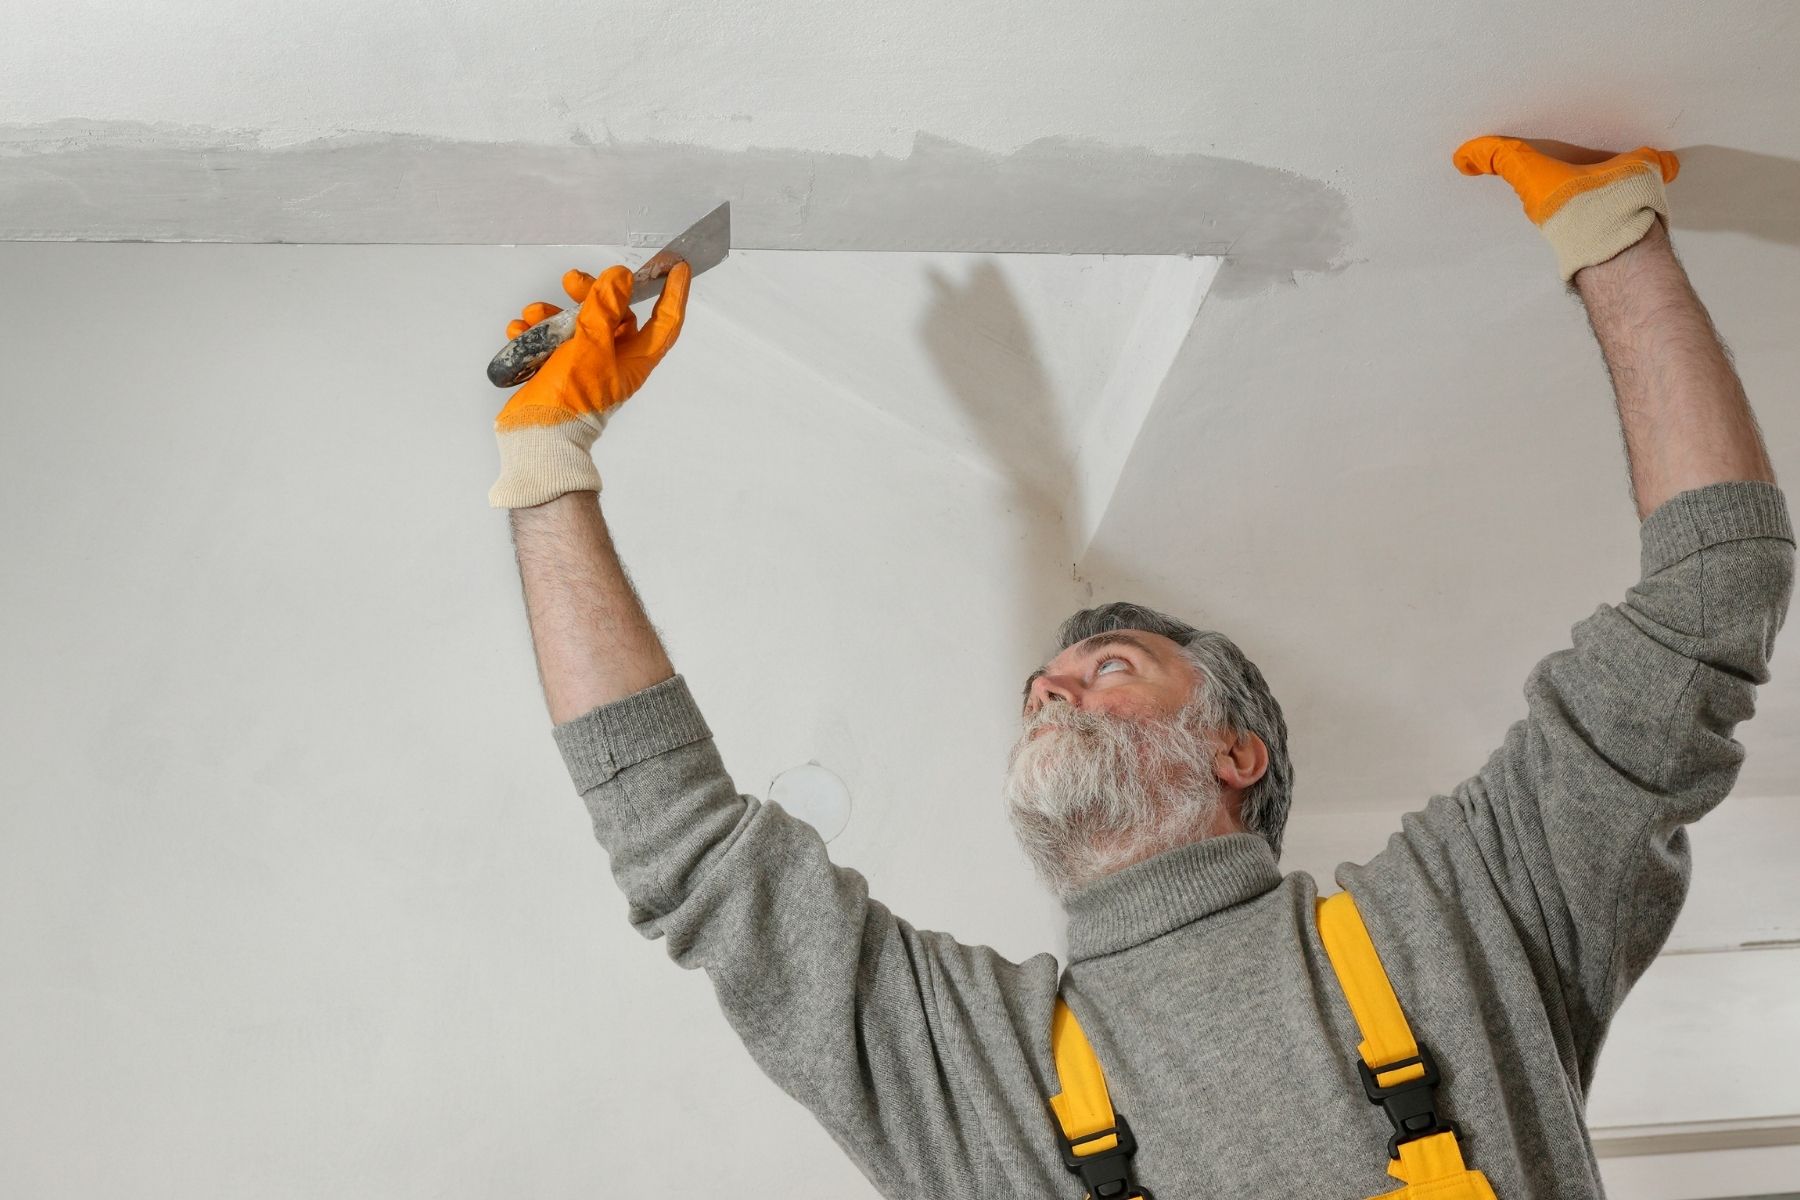
Applying a New Stucco Texture
Creating a new stucco texture is a crucial step in the repair process, especially when addressing patched areas or restoring the overall aesthetic of your ceiling. By carefully applying a new texture, you can achieve a cohesive and visually appealing result that seamlessly blends with the existing stucco surface. Here’s a comprehensive guide to applying a new stucco texture to your ceiling:
- Prepare the Texture Mixture: Begin by preparing the stucco texture mixture according to the manufacturer’s instructions. This may involve mixing a pre-made texture compound with water to achieve the desired consistency.
- Test the Texture: Before applying the texture to the ceiling, perform a test application on a small, inconspicuous area to ensure that the texture closely matches the existing stucco texture in both appearance and consistency.
- Apply the Texture: Using a texture spray can or a texture hopper, apply the stucco texture to the repaired and patched areas of the ceiling. Work in a methodical and consistent manner to achieve an even distribution of the texture across the surface.
- Blend with Surrounding Texture: As you apply the new stucco texture, feather the edges to seamlessly blend it with the surrounding ceiling texture. This technique will help create a cohesive and uniform appearance throughout the repaired sections.
- Allow for Drying Time: Follow the recommended drying time for the stucco texture to ensure that it sets and adheres properly to the ceiling surface. Adequate drying time is essential for achieving a durable and long-lasting result.
- Inspect and Refine: Once the texture has dried, inspect the repaired areas for consistency and texture matching. Make any necessary adjustments or touch-ups to ensure a seamless integration with the existing stucco ceiling.
By following these steps, you can effectively apply a new stucco texture to your ceiling, seamlessly blending the repaired areas with the surrounding surface. With attention to detail and a methodical approach, you’ll achieve a visually cohesive and professional-quality result that enhances the overall appearance of your stucco ceiling.
Finishing Touches and Cleanup
As you near the completion of the stucco ceiling repair process, it’s essential to focus on the finishing touches and thorough cleanup to ensure a polished and professional outcome. By attending to these final details, you can elevate the overall result of the repair and restore the beauty of your ceiling. Here’s a comprehensive guide to the finishing touches and cleanup:
- Inspect the Repaired Areas: Carefully examine the entire stucco ceiling, paying close attention to the repaired sections. Ensure that the texture, color, and overall finish of the repairs seamlessly blend with the existing ceiling surface.
- Touch Up as Needed: If any inconsistencies or imperfections are identified, perform any necessary touch-ups to refine the repaired areas and achieve a uniform appearance across the entire ceiling.
- Remove Protective Coverings: Safely remove the drop cloths, plastic sheeting, and protective coverings from the floor, furniture, and walls, taking care to contain any accumulated debris for easy disposal.
- Clean the Work Area: Thoroughly clean the work area, including the floors and any surrounding surfaces, to remove dust, debris, and remnants of the repair process. Use a vacuum, broom, or damp cloth to achieve a clean and tidy space.
- Restore Furniture and Decor: Return furniture, decorations, and belongings to their original positions in the room, ensuring that the space is restored to its pre-repair condition.
- Dispose of Waste Responsibly: Properly dispose of any used materials, empty containers, and waste generated during the repair process in accordance with local regulations and environmental guidelines.
- Enjoy Your Revitalized Ceiling: Step back and admire the transformation of your stucco ceiling. Take pride in the effort you’ve invested in restoring its beauty and functionality, and revel in the refreshed ambiance of your living space.
By following these steps, you can complete the stucco ceiling repair process with finesse and attention to detail. The finishing touches and thorough cleanup will ensure that the repaired areas seamlessly integrate with the existing ceiling, creating a cohesive and visually appealing result. With the project concluded, you can now enjoy the renewed charm and allure of your revitalized stucco ceiling.
Conclusion
Congratulations on successfully navigating the process of repairing your stucco ceiling! By following the step-by-step guidance provided in this comprehensive guide, you’ve not only revitalized the appearance of your ceiling but also honed your skills in home improvement and maintenance. As you reflect on the journey from assessing the damage to applying the finishing touches, it’s evident that your dedication and attention to detail have yielded a remarkable transformation.
Throughout the repair process, you’ve embraced the opportunity to learn and apply valuable techniques, from patching small cracks to addressing large holes and seamlessly blending new stucco texture with the existing surface. Your commitment to thorough preparation, precise application, and diligent cleanup has resulted in a stucco ceiling that exudes a renewed sense of beauty and structural integrity.
As you stand back and admire the seamless integration of the repaired areas with the rest of the ceiling, take pride in the accomplishment of breathing new life into your living space. The revitalized stucco ceiling serves as a testament to your resourcefulness, perseverance, and ability to tackle home improvement projects with confidence.
Moving forward, the knowledge and skills you’ve gained from this experience will continue to empower you in maintaining and enhancing your home environment. Whether it’s addressing other areas in need of repair or embarking on new projects, you can approach them with a heightened sense of capability and a keen eye for detail.
As you revel in the revitalized ambiance of your living space, remember that the journey of home improvement is a continuous and rewarding endeavor. Your dedication to preserving and enhancing the beauty of your home is a reflection of your commitment to creating a comfortable and inviting sanctuary for yourself and your loved ones.
With the stucco ceiling repair project now behind you, take a moment to appreciate the transformation you’ve achieved and the skills you’ve cultivated. Your ability to breathe new life into your surroundings is a testament to your resourcefulness and creativity as a homeowner and do-it-yourself enthusiast.
Frequently Asked Questions about How To Fix Stucco Ceiling
Was this page helpful?
At Storables.com, we guarantee accurate and reliable information. Our content, validated by Expert Board Contributors, is crafted following stringent Editorial Policies. We're committed to providing you with well-researched, expert-backed insights for all your informational needs.
0 thoughts on “How To Fix Stucco Ceiling”