Home>Construction & Tools>Building Materials>How To Fix A Crack In Stucco
Building Materials
How To Fix A Crack In Stucco
Published: January 17, 2024
Learn how to effectively repair a crack in stucco using common building materials. Our step-by-step guide will help you tackle this project with confidence.
(Many of the links in this article redirect to a specific reviewed product. Your purchase of these products through affiliate links helps to generate commission for Storables.com, at no extra cost. Learn more)
Introduction
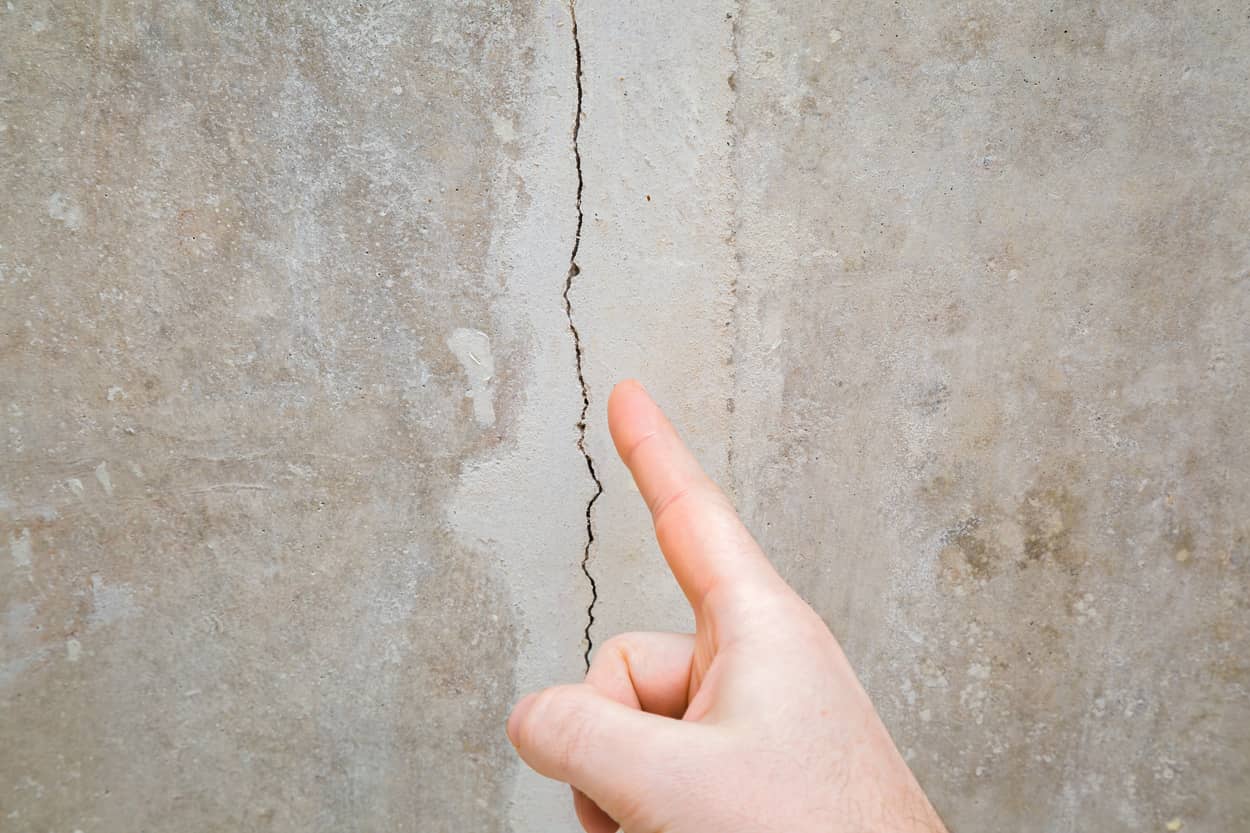
Stucco is a popular choice for exterior finishes due to its durability, versatility, and timeless appeal. However, over time, cracks may develop in the stucco, detracting from its aesthetic and structural integrity. Fortunately, repairing a crack in stucco is a manageable task that can be accomplished with the right tools, materials, and know-how.
In this comprehensive guide, we will delve into the art of fixing stucco cracks, equipping you with the knowledge and skills needed to tackle this common issue effectively. Whether you are a seasoned DIY enthusiast or a homeowner looking to address a crack in your stucco, this step-by-step tutorial will empower you to restore the beauty and strength of your exterior surfaces.
Understanding the nature of stucco cracks, gathering the essential tools and materials, and executing the repair process with precision are crucial elements that we will explore in detail. By the end of this guide, you will have the confidence and expertise to seamlessly mend cracks in stucco, ensuring a seamless and visually appealing finish.
Let's embark on this stucco repair journey, where we will unravel the intricacies of addressing cracks in this beloved building material. With a blend of practical insights and expert guidance, you will be well-equipped to revitalize your stucco surfaces and preserve their charm for years to come.
Key Takeaways:
- Understanding the causes and types of stucco cracks is crucial for effective repair. Factors like settling, temperature changes, and impact damage can lead to different types of cracks, each requiring a tailored repair strategy.
- Proper preparation, meticulous filling, and seamless blending are essential for repairing stucco cracks. By using the right tools, materials, and techniques, you can achieve a durable and visually appealing restoration that enhances the integrity of your exterior walls.
Read more: What Caulking To Use For Stucco Cracks
Understanding Stucco Cracks
Before delving into the process of repairing stucco cracks, it is essential to comprehend the underlying causes and types of these fissures. Stucco, a mixture of cement, sand, and water, is renowned for its resilience and weather resistance. However, various factors can contribute to the development of cracks over time.
Causes of Stucco Cracks:
- Structural Settling: As a building settles over time, stress can be exerted on the stucco, leading to cracks.
- Temperature Fluctuations: Extreme temperature changes can cause stucco to expand and contract, resulting in cracks.
- Moisture Infiltration: When water seeps into the stucco and freezes, it can create pressure that causes cracks.
- Impact Damage: External forces, such as impact from objects or severe weather, can lead to cracks in the stucco.
Types of Stucco Cracks:
- Hairline Cracks: These thin, shallow cracks are typically superficial and may result from minor structural movement or drying shrinkage.
- Spiderweb Cracks: Resembling a spider’s web, these interconnected cracks often indicate more significant structural issues and should be inspected by a professional.
- Horizontal Cracks: These cracks, running parallel to the ground, can be a sign of severe structural stress and should be addressed promptly.
- Vertical Cracks: Often caused by settling or foundation issues, vertical cracks may require a thorough assessment to identify and rectify the underlying problem.
By understanding the potential causes and types of stucco cracks, you can better assess the severity of the damage and determine the appropriate repair approach. Whether you are dealing with minor hairline cracks or more substantial fissures, a tailored repair strategy will ensure the longevity and visual appeal of your stucco surfaces.
Armed with this knowledge, you are now prepared to embark on the journey of repairing stucco cracks with confidence and precision, addressing both the aesthetic and structural aspects of this common issue.
Tools and Materials Needed
Before embarking on the repair of a crack in stucco, it is crucial to gather the essential tools and materials that will facilitate a seamless and effective restoration process. Equipping yourself with the right resources ensures that you can approach the repair with confidence and precision, achieving professional-quality results.
Tools:
- Wire Brush: A stiff wire brush is essential for cleaning the crack and removing any loose debris or particles that may impede the adhesion of the repair material.
- Chisel: A chisel helps in widening the crack slightly, allowing for better application and adhesion of the repair compound.
- Putty Knife: A putty knife is indispensable for applying and smoothing the stucco patching compound, ensuring a uniform and seamless finish.
- Bucket and Mixing Tools: You will need a bucket for mixing the stucco patching compound and appropriate mixing tools, such as a margin trowel, to achieve the desired consistency.
- Protective Gear: Safety goggles, gloves, and a dust mask are essential for protecting yourself during the repair process, especially when using abrasive tools and handling repair materials.
Materials:
- Stucco Patching Compound: This specialized compound is designed for repairing stucco cracks and imperfections, providing durable adhesion and weather resistance.
- Bonding Agent: A bonding agent enhances the adhesion of the patching compound to the existing stucco surface, ensuring a long-lasting and secure repair.
- Primer: A high-quality primer helps prepare the repaired area for painting, promoting adhesion and uniformity of the final finish.
- Paint: Matching paint that complements the existing stucco color is essential for seamlessly blending the repaired area with the surrounding surface.
By assembling these tools and materials, you are poised to embark on the stucco crack repair journey with confidence and efficiency. With a meticulous approach and the right resources at your disposal, you can restore the integrity and visual appeal of your stucco surfaces, ensuring lasting beauty and protection against the elements.
Step 1: Prepare the Crack
Proper preparation of the crack is crucial to ensure the successful repair and long-term stability of the stucco surface. By meticulously cleaning and prepping the crack, you create an optimal foundation for the application of the patching compound, promoting strong adhesion and a seamless finish.
1. Clean the Crack: Begin by using a stiff wire brush to thoroughly clean the crack and its immediate surroundings. Remove any loose debris, dirt, or old stucco particles that may hinder the adhesion of the patching compound. Ensure that the crack is free of any contaminants that could compromise the repair.
2. Widening the Crack: In some cases, it may be beneficial to use a chisel to gently widen the crack, creating a V-shaped groove. This provides a greater surface area for the patching compound to adhere to, enhancing the strength and durability of the repair. Be cautious not to widen the crack excessively, as this can weaken the surrounding stucco.
3. Application of Bonding Agent: Once the crack is cleaned and prepared, apply a bonding agent to the exposed surfaces within the crack. The bonding agent promotes adhesion between the existing stucco and the patching compound, ensuring a secure and long-lasting repair. Follow the manufacturer’s instructions for the proper application and drying time of the bonding agent.
By diligently preparing the crack, you establish a solid foundation for the subsequent steps in the repair process. This meticulous approach sets the stage for a professional-quality repair, allowing you to address the crack with precision and confidence, ultimately restoring the integrity and visual appeal of your stucco surfaces.
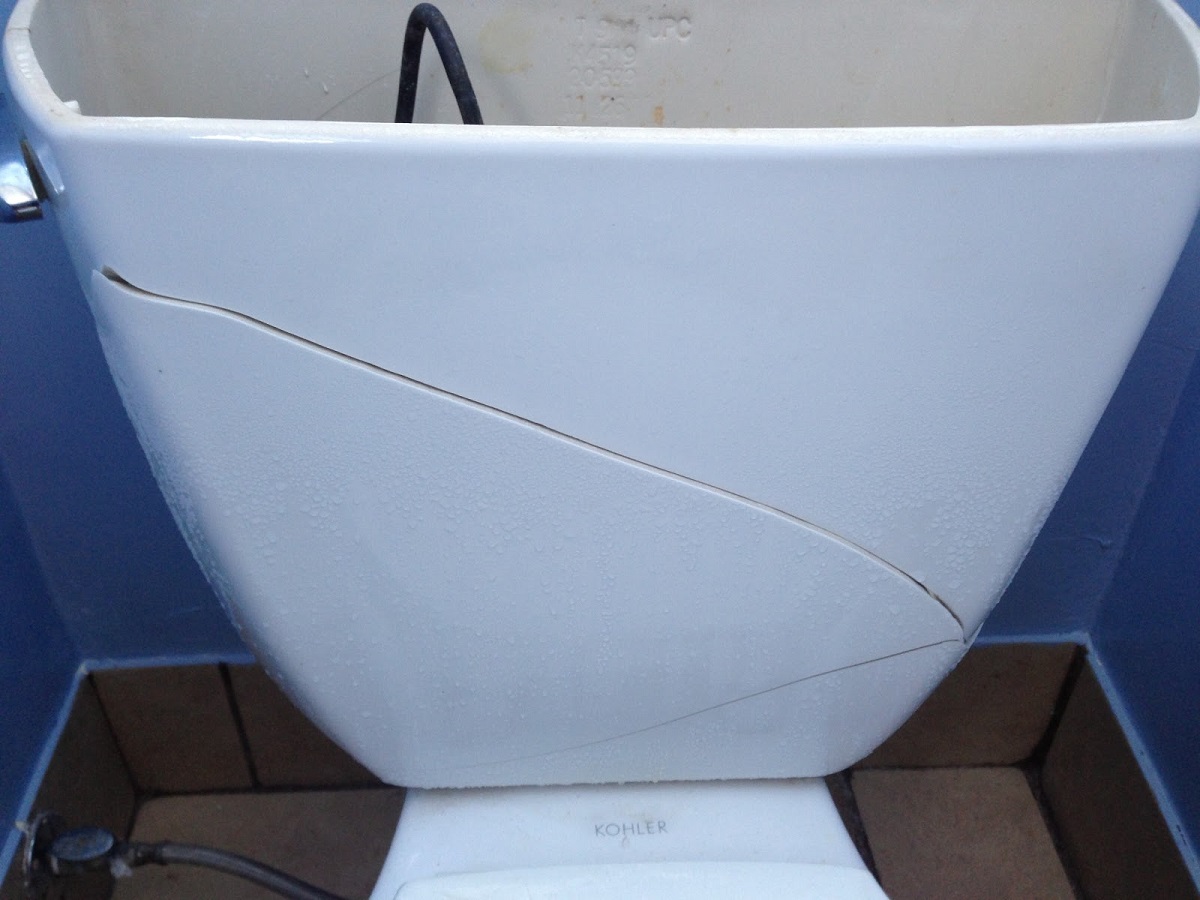
Use a wire brush to clean the crack, then apply a stucco patching compound with a trowel. Smooth it out and let it dry before painting.
Step 2: Fill the Crack
Once the crack is thoroughly prepared, the next step involves filling it with a high-quality stucco patching compound. This critical phase of the repair process aims to seamlessly integrate the patching material with the existing stucco, ensuring a robust and visually cohesive result.
1. Mixing the Patching Compound: Follow the manufacturer’s instructions to prepare the stucco patching compound. Use a clean bucket and appropriate mixing tools to achieve the desired consistency, ensuring that the compound is well-blended and free of lumps or air pockets.
2. Application of the Patching Compound: Using a putty knife, carefully apply the mixed patching compound into the prepared crack, ensuring that it fills the entire void and adheres securely to the bonding agent-treated surfaces. Work methodically to achieve a smooth and uniform application, minimizing excess material on the surrounding stucco.
3. Smoothing and Leveling: After filling the crack, use the putty knife to smooth and level the patching compound, ensuring that it aligns seamlessly with the surrounding stucco surface. This meticulous approach results in a cohesive and visually appealing repair that blends harmoniously with the existing stucco finish.
4. Drying Time: Allow the patched crack to dry according to the manufacturer’s recommendations. Ensure that the area is protected from moisture and external disturbances during the drying process, facilitating the optimal curing and hardening of the patching compound.
By methodically filling the crack with a high-quality patching compound, you lay the groundwork for a durable and visually seamless repair. This meticulous approach ensures that the patched area integrates seamlessly with the surrounding stucco, creating a unified and resilient surface that enhances the overall integrity and aesthetic appeal of your exterior walls.
Read more: How To Fix Cracked Sink
Step 3: Finish and Blend
After filling the crack with the patching compound, the final step involves refining the repaired area to achieve a seamless blend with the existing stucco surface. This meticulous process focuses on achieving visual uniformity and ensuring that the repaired section harmonizes with the surrounding texture and color.
1. Sanding the Patched Area: Once the patching compound has dried, lightly sand the repaired area to achieve a smooth and uniform surface. Use fine-grit sandpaper to gently blend the edges of the patch with the surrounding stucco, creating a seamless transition that minimizes visual discrepancies.
2. Application of Primer: Apply a high-quality primer to the sanded area, preparing it for the application of paint. The primer promotes adhesion and uniformity, ensuring that the repaired section seamlessly integrates with the existing stucco surface and provides an optimal base for the final finish.
3. Painting the Repaired Area: Select a paint that closely matches the color and texture of the surrounding stucco. Carefully apply the paint to the primed area, using a brush or roller to achieve a consistent and uniform finish. This step is crucial in ensuring that the repaired section blends seamlessly with the rest of the exterior surface, creating a cohesive and visually appealing result.
4. Final Inspection: Once the paint has dried, conduct a thorough inspection of the repaired area, ensuring that it seamlessly blends with the surrounding stucco. Assess the texture, color, and overall appearance to confirm that the repair has achieved a harmonious integration with the existing surface.
By meticulously refining and blending the repaired area, you elevate the visual appeal and structural integrity of the stucco surface, ensuring a seamless and professional-quality restoration. This comprehensive approach results in a cohesive and visually unified exterior finish, effectively concealing the initial crack and preserving the timeless allure of your stucco-clad walls.
Conclusion
Repairing a crack in stucco is a rewarding endeavor that allows you to preserve the beauty and resilience of your exterior surfaces. By understanding the nature of stucco cracks, gathering the essential tools and materials, and following a meticulous repair process, you can achieve a seamless and professional-quality restoration that enhances both the aesthetic and structural integrity of your stucco-clad walls.
Throughout this comprehensive guide, we have explored the intricate art of addressing stucco cracks, equipping you with the knowledge and expertise needed to embark on this repair journey with confidence and precision. From preparing the crack and filling it with a high-quality patching compound to refining and blending the repaired area, each step plays a pivotal role in achieving a visually cohesive and durable repair.
By embracing this repair process as an opportunity to elevate the beauty and longevity of your stucco surfaces, you can transform a seemingly daunting task into a gratifying and empowering experience. The seamless integration of the repaired section with the existing stucco surface not only conceals the initial crack but also contributes to the overall charm and resilience of your exterior walls.
As you embark on your stucco crack repair journey, remember that attention to detail and a methodical approach are key to achieving professional-quality results. With the right tools, materials, and a touch of craftsmanship, you can revitalize your stucco surfaces, ensuring that they stand the test of time and continue to exude timeless elegance and durability.
Armed with the insights and skills gleaned from this guide, you are well-prepared to embark on the artful endeavor of repairing stucco cracks, preserving the allure and strength of this beloved building material for years to come.
Frequently Asked Questions about How To Fix A Crack In Stucco
Was this page helpful?
At Storables.com, we guarantee accurate and reliable information. Our content, validated by Expert Board Contributors, is crafted following stringent Editorial Policies. We're committed to providing you with well-researched, expert-backed insights for all your informational needs.


0 thoughts on “How To Fix A Crack In Stucco”