Home>Construction & Tools>Building Materials>How To Install A Window Frame In A Brick Wall

Building Materials
How To Install A Window Frame In A Brick Wall
Modified: August 28, 2024
Learn how to install a window frame in a brick wall with the right building materials. Follow our step-by-step guide for a successful installation.
(Many of the links in this article redirect to a specific reviewed product. Your purchase of these products through affiliate links helps to generate commission for Storables.com, at no extra cost. Learn more)
Introduction
Installing a window frame in a brick wall can significantly enhance the aesthetics and functionality of a space. Whether you’re renovating an existing structure or embarking on a new construction project, this process requires careful planning, precise measurements, and the right tools. By following the correct steps and utilizing the appropriate materials, you can seamlessly integrate a window into a brick wall, adding natural light and ventilation to the interior while enhancing the overall architectural appeal.
In this comprehensive guide, we will walk you through the step-by-step process of installing a window frame in a brick wall. From preparing the wall and measuring the opening to securing the frame and adding finishing touches, you will gain valuable insights into each stage of this rewarding endeavor. By the end of this article, you will have the knowledge and confidence to undertake this project with precision and skill.
Before delving into the specifics of this installation, it’s essential to gather the necessary tools and materials to ensure a smooth and efficient process. Let’s explore the essential items you’ll need to have on hand before commencing the installation.
Key Takeaways:
- Installing a window frame in a brick wall requires careful preparation, precise measurements, and the right tools. From clearing the area and marking the opening to securing the frame and adding finishing touches, each step is crucial for a successful installation.
- The integration of a window frame into a brick wall enhances natural light, ventilation, and architectural interest. By following safety precautions, utilizing quality materials, and embracing creativity, this rewarding endeavor can elevate the functionality and aesthetic appeal of any space.
Tools and Materials Needed
Before embarking on the installation of a window frame in a brick wall, it’s crucial to gather the essential tools and materials required for the task. Here’s a comprehensive list to ensure you are well-prepared:
Tools:
- Measuring tape
- Pencil or marker
- Masonry drill
- Angle grinder with diamond blade
- Hammer
- Chisel
- Safety goggles
- Level
- Screwdriver
- Caulking gun
- Utility knife
- Power drill
- Work gloves
- Protective mask
Materials:
- Window frame kit
- Brick anchors or expansion bolts
- Shims
- Silicone caulk
- Insulation foam
- Exterior-grade trim
- Exterior sealant
- Masonry screws
- Weatherproof flashing
- Exterior paint (if desired)
Ensuring that you have these tools and materials readily available will streamline the installation process and contribute to the overall success of the project. With these items at your disposal, you’ll be equipped to tackle each phase of the window frame installation with confidence and precision.
Preparing the Wall
Before cutting into the brick wall to accommodate the window frame, it’s essential to thoroughly prepare the area to ensure a smooth and structurally sound installation. The following steps will guide you through the preparation process:
1. Clear the Area: Begin by clearing the surrounding area both inside and outside the wall. Remove any obstacles, furniture, or decor to create a clear and unobstructed workspace. This will facilitate easy access to the wall and minimize the risk of damage to nearby items during the installation process.
2. Assess the Wall: Inspect the brick wall to identify any potential obstructions, such as electrical wiring, plumbing, or structural elements. It’s crucial to be aware of the wall’s composition and any hidden components that may impact the installation. If necessary, consult a professional to assess the wall’s integrity and identify any potential challenges.
3. Protective Measures: Prioritize safety by wearing appropriate personal protective equipment, including safety goggles, work gloves, and a protective mask. Additionally, consider using drop cloths or protective coverings to safeguard the surrounding area from debris and dust generated during the installation process.
4. Structural Considerations: Assess the structural integrity of the wall to ensure it can support the installation of a window frame. If there are any concerns about the load-bearing capacity of the wall, consult a structural engineer or a qualified professional to evaluate and reinforce the area as needed.
5. Obtain Necessary Permits: Depending on local building codes and regulations, obtaining the requisite permits for the installation of a window in a brick wall may be necessary. Check with local authorities or building departments to ensure compliance with relevant regulations and obtain the necessary permits before proceeding with the installation.
By meticulously preparing the wall and addressing any potential challenges or safety considerations, you will set the stage for a successful and secure installation of the window frame. With the wall adequately prepared, you can proceed to the next crucial step: measuring and marking the precise location for the window opening.
Read more: How To Install Windows On A Brick House
Measuring and Marking
Accurate measurements and precise markings are fundamental to the successful installation of a window frame in a brick wall. This phase requires meticulous attention to detail and careful planning to ensure that the window opening is aligned and proportionate. Here are the essential steps for measuring and marking the precise location for the window:
1. Determine Window Dimensions: Begin by determining the dimensions of the window frame kit you intend to install. Measure the width and height of the frame, accounting for any additional space required for insulation and shimming.
2. Mark the Centerline: Use a measuring tape to identify the centerline of the proposed window opening on both the interior and exterior surfaces of the wall. This will serve as a crucial reference point for aligning the window frame and ensuring symmetrical placement.
3. Outline the Opening: Using a pencil or marker, carefully outline the dimensions of the window opening on the exterior surface of the brick wall. Double-check the measurements to ensure accuracy and consistency, as any discrepancies at this stage can impact the entire installation process.
4. Verify Squareness: Utilize a level to confirm that the marked outlines for the window opening are square and level. This step is critical for ensuring that the window frame sits correctly within the wall and facilitates smooth operation once installed.
5. Identify Cut Lines: Within the outlined window opening, mark the cut lines that indicate the precise area of the brick wall to be removed. This will guide the cutting process and help maintain precision during the next phase of cutting the opening.
6. Consider Expansion Allowance: Depending on the type of window frame and the specific requirements of the installation kit, factor in any necessary expansion allowance or clearance around the frame. This may involve adjusting the marked outlines to accommodate the manufacturer’s recommendations for installation.
By meticulously measuring and marking the designated area for the window opening, you will establish a clear and accurate guide for the subsequent phase of cutting the opening in the brick wall. With the dimensions and outlines in place, you are ready to proceed to the next critical step: cutting the opening to accommodate the window frame.
Cutting the Opening
Once the precise measurements and markings for the window opening have been established, the next crucial step in the installation process is cutting the opening in the brick wall. This phase demands patience, precision, and the appropriate tools to ensure a clean and accurate cut. Here’s a detailed guide to cutting the opening:
1. Safety Precautions: Prior to commencing the cutting process, prioritize safety by wearing protective gear, including safety goggles, work gloves, and a protective mask. Additionally, ensure that the work area is clear of any potential hazards and that bystanders are at a safe distance from the cutting site.
2. Use a Masonry Drill: Begin by drilling holes at the corners of the marked window opening using a masonry drill. These holes will serve as starting points for the subsequent cutting process and help define the boundaries of the opening.
3. Employ an Angle Grinder: Utilize an angle grinder equipped with a diamond blade to carefully cut along the marked lines, connecting the holes drilled at the corners. Exercise caution and maintain a steady hand to achieve clean and precise cuts through the brick wall. Take your time and ensure that the cuts are straight and aligned with the marked outlines.
4. Remove Excess Material: Once the perimeter of the window opening has been cut, carefully remove the excess brick and mortar to create a clean and uniform opening. Use a hammer and chisel to carefully chip away any remaining material and refine the edges of the opening as needed.
5. Verify Fit and Alignment: After cutting the opening, verify that the window frame fits accurately within the newly created space. Check for any irregularities or obstructions that may impede the installation process and make any necessary adjustments to ensure proper alignment.
6. Clean the Opening: Thoroughly clean the interior of the newly cut opening, removing any debris, dust, or loose particles that may affect the subsequent installation steps. A clean and clear opening is essential for ensuring a secure and stable fit for the window frame.
By meticulously executing the cutting process and ensuring that the window opening is precise and well-prepared, you have set the stage for the next pivotal phase: installing the window frame within the brick wall. With the opening cut and the area cleared, you are ready to proceed to the installation of the frame.
Installing the Frame
With the window opening meticulously cut and prepared, the installation of the window frame marks a significant milestone in the process of integrating a window into a brick wall. This phase demands careful attention to detail and precise alignment to ensure a secure and seamless fit. Here’s a step-by-step guide to installing the frame:
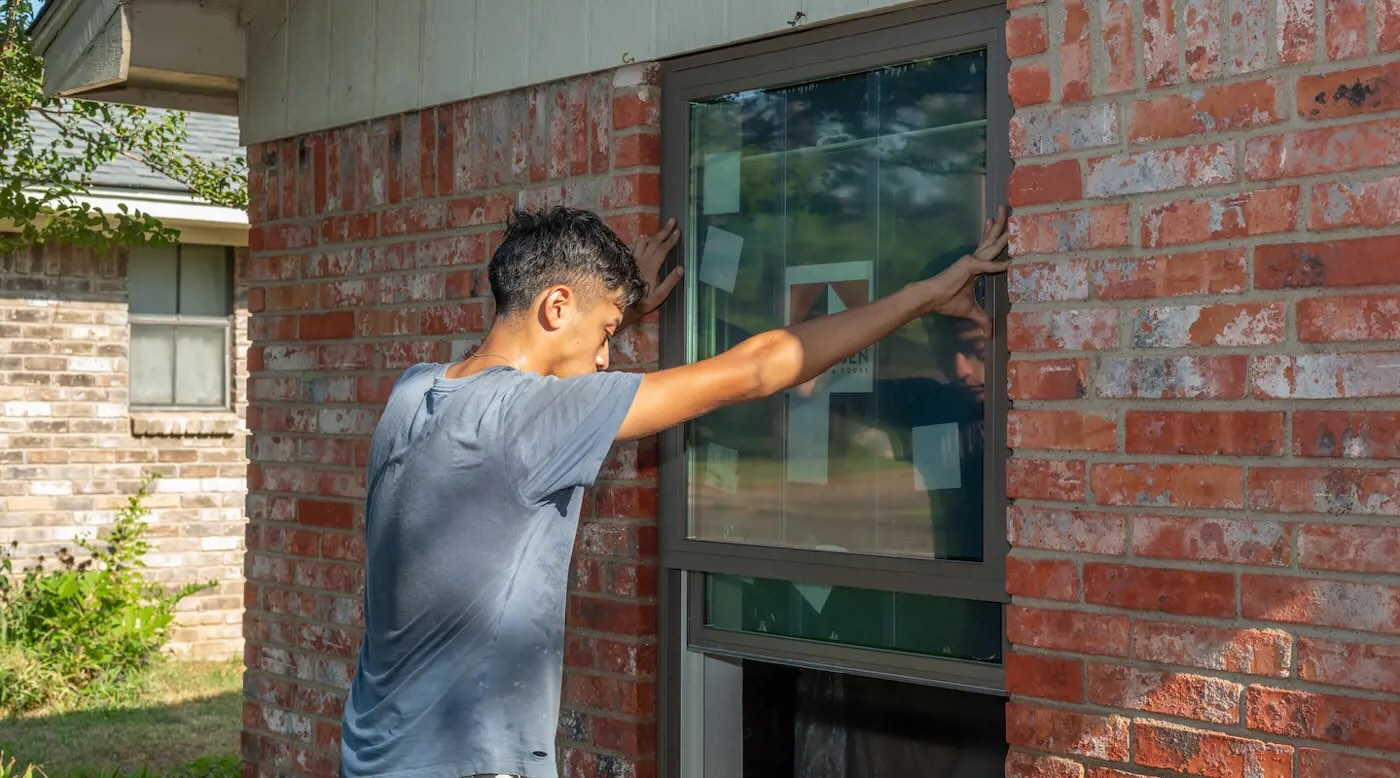
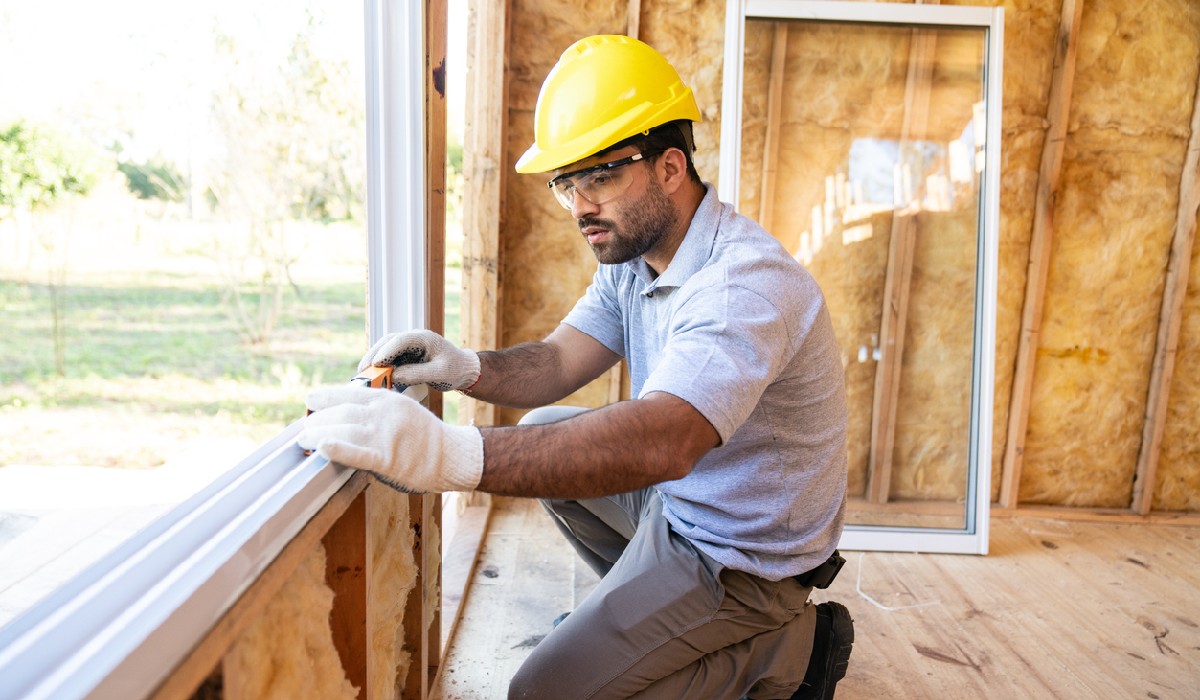
1. Position the Frame: Carefully place the window frame within the prepared opening, ensuring that it sits flush against the interior and exterior surfaces of the brick wall. Take time to align the frame accurately, confirming that it is level and square within the opening.
2. Shim as Needed: Use shims to adjust and level the window frame as necessary. Placing shims behind the frame at strategic points will help maintain its position and ensure that it is uniformly aligned within the opening. Check for even spacing and consistent support around the frame.
3. Secure the Frame: Once the frame is properly positioned and leveled, secure it in place using masonry screws or appropriate fasteners. Drive the screws through the frame and into the surrounding brick wall, ensuring a firm and stable attachment. Be mindful of the recommended spacing and quantity of fasteners to secure the frame effectively.
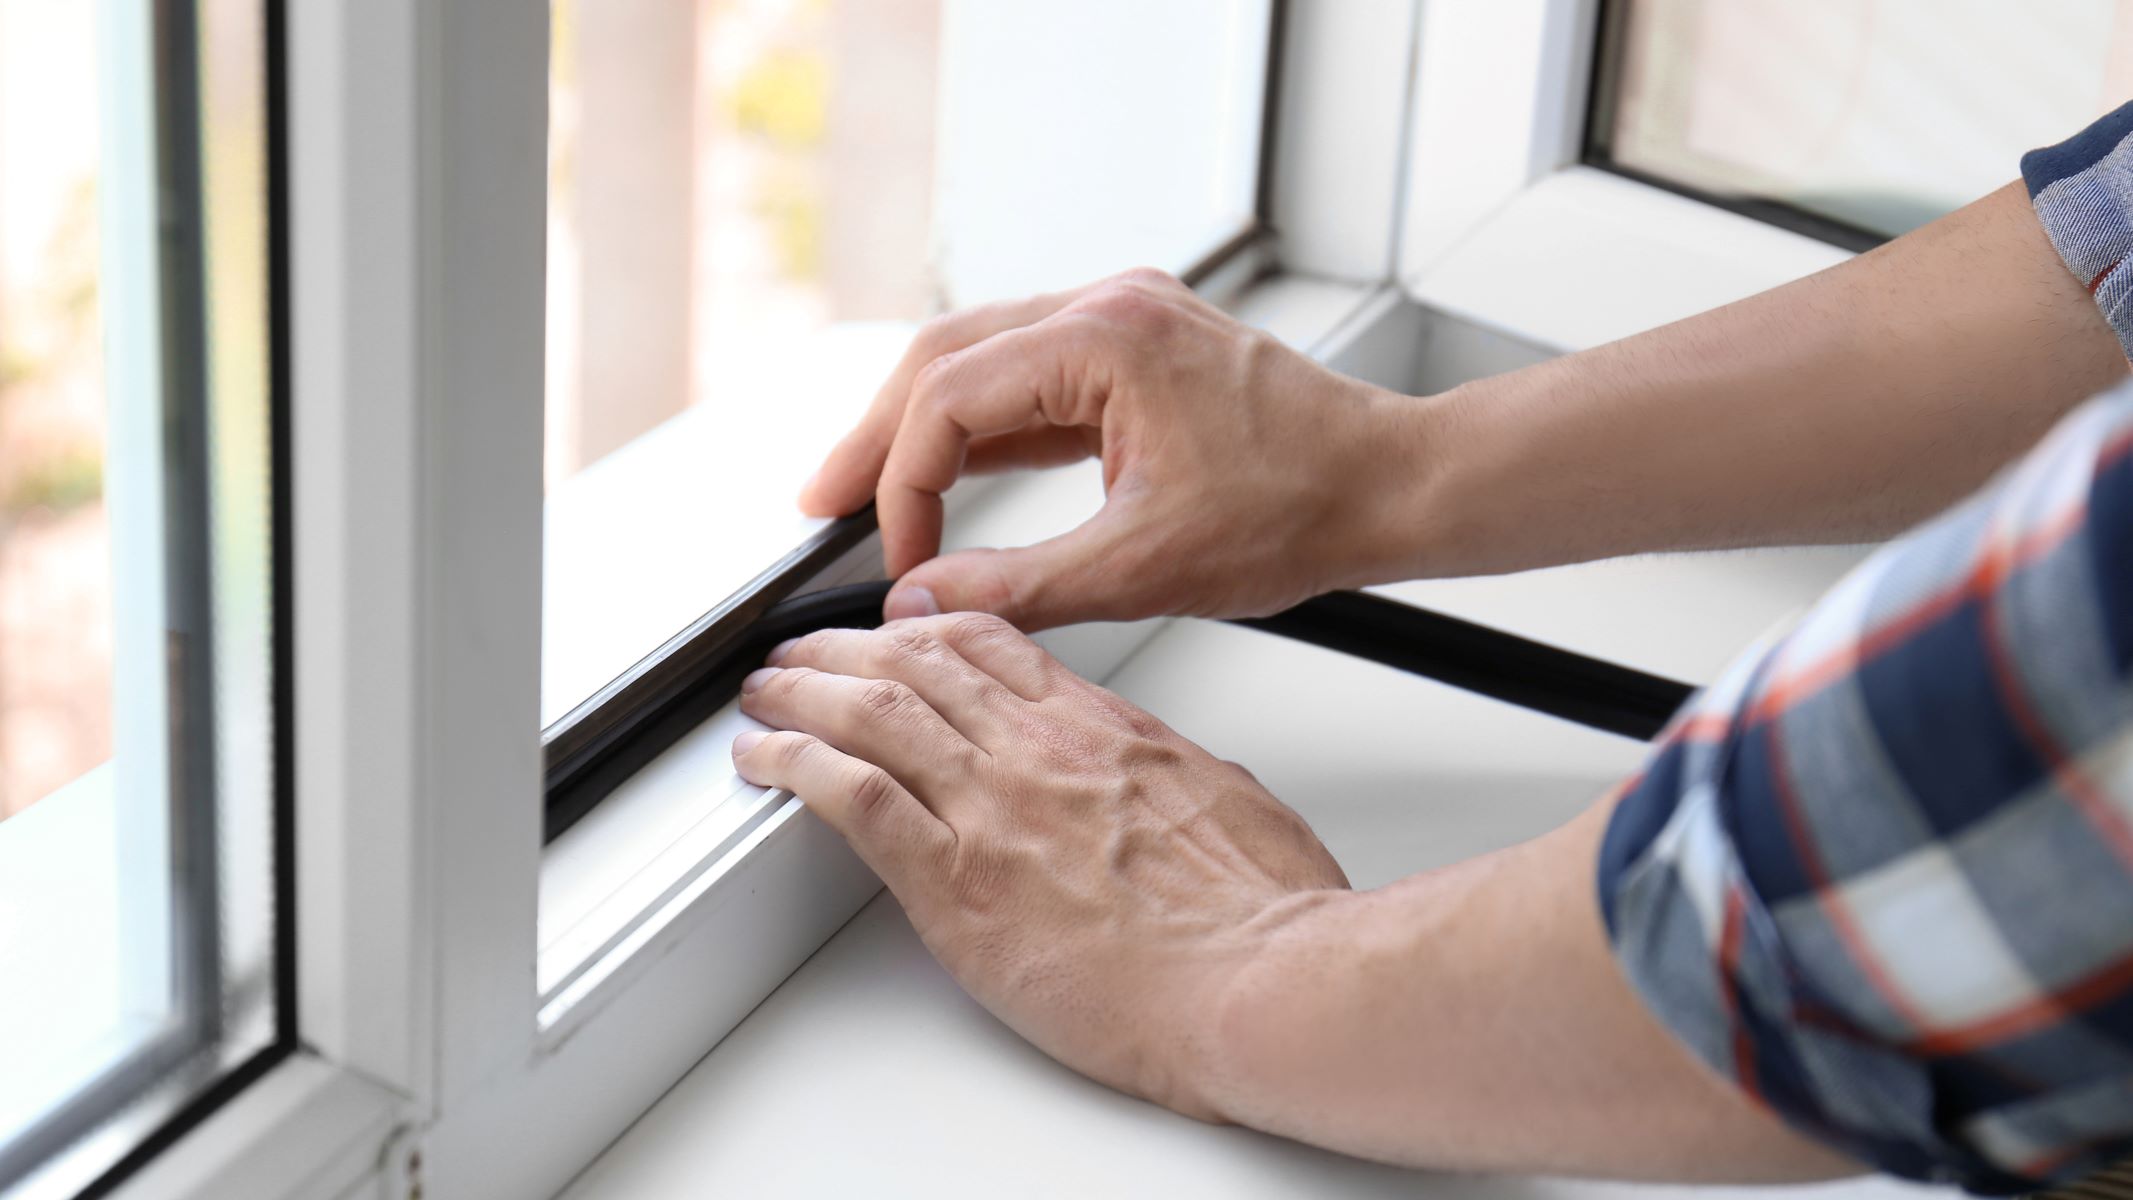
4. Insulate Around the Frame: Apply insulation foam around the perimeter of the window frame to seal any gaps and provide thermal and moisture insulation. This step is crucial for enhancing the energy efficiency and weatherproofing of the installation, contributing to a comfortable and well-insulated interior space.
5. Verify Alignment and Operation: Once the frame is securely installed and insulated, verify that it opens, closes, and operates smoothly. Check for any obstructions or irregularities that may affect the functionality of the window, addressing any issues promptly to ensure optimal performance.
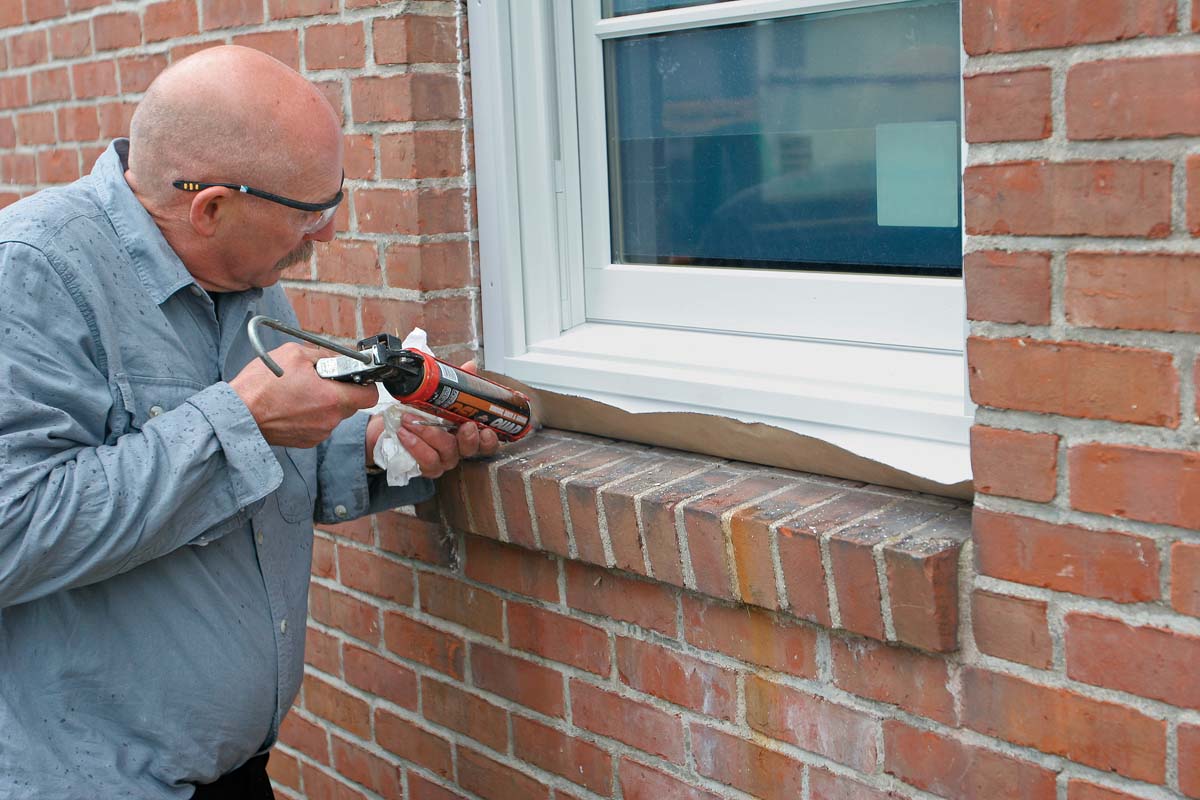
6. Apply Exterior Sealant: To further fortify the installation and protect against moisture infiltration, apply exterior-grade sealant around the perimeter of the window frame where it meets the brick wall. This additional layer of protection helps safeguard the installation against the elements and reinforces the integrity of the seal.
By meticulously installing the window frame within the brick wall, you have taken a significant step toward completing the integration of the window into the architectural structure. With the frame securely in place, the next crucial phase involves reinforcing and weatherproofing the installation to ensure its durability and longevity.
Before installing a window frame in a brick wall, make sure to measure and mark the opening accurately. Use a masonry drill to create holes for the frame anchors, then secure the frame in place with screws. Check for level and plumb before finishing.
Securing the Frame
Securing the window frame within the brick wall is a critical step that ensures the stability, longevity, and structural integrity of the installation. Proper securing not only fortifies the frame but also contributes to the overall safety and performance of the window. Here’s a detailed guide to effectively securing the frame within the wall:
1. Utilize Brick Anchors or Expansion Bolts: Depending on the specific requirements of the window frame and the composition of the brick wall, select appropriate brick anchors or expansion bolts to secure the frame. These fasteners provide robust anchoring and ensure a strong connection between the frame and the masonry.
2. Position and Install Fasteners: Carefully position the brick anchors or expansion bolts at designated points along the frame, ensuring even distribution and secure attachment. Use a power drill equipped with the necessary masonry bit to drill pilot holes for the fasteners, then install and tighten them to create a firm and reliable connection.
3. Confirm Stability and Alignment: After securing the frame with the chosen fasteners, verify that it remains stable, level, and properly aligned within the opening. Check for any signs of movement or instability, making adjustments as needed to ensure a secure and uniform fit.
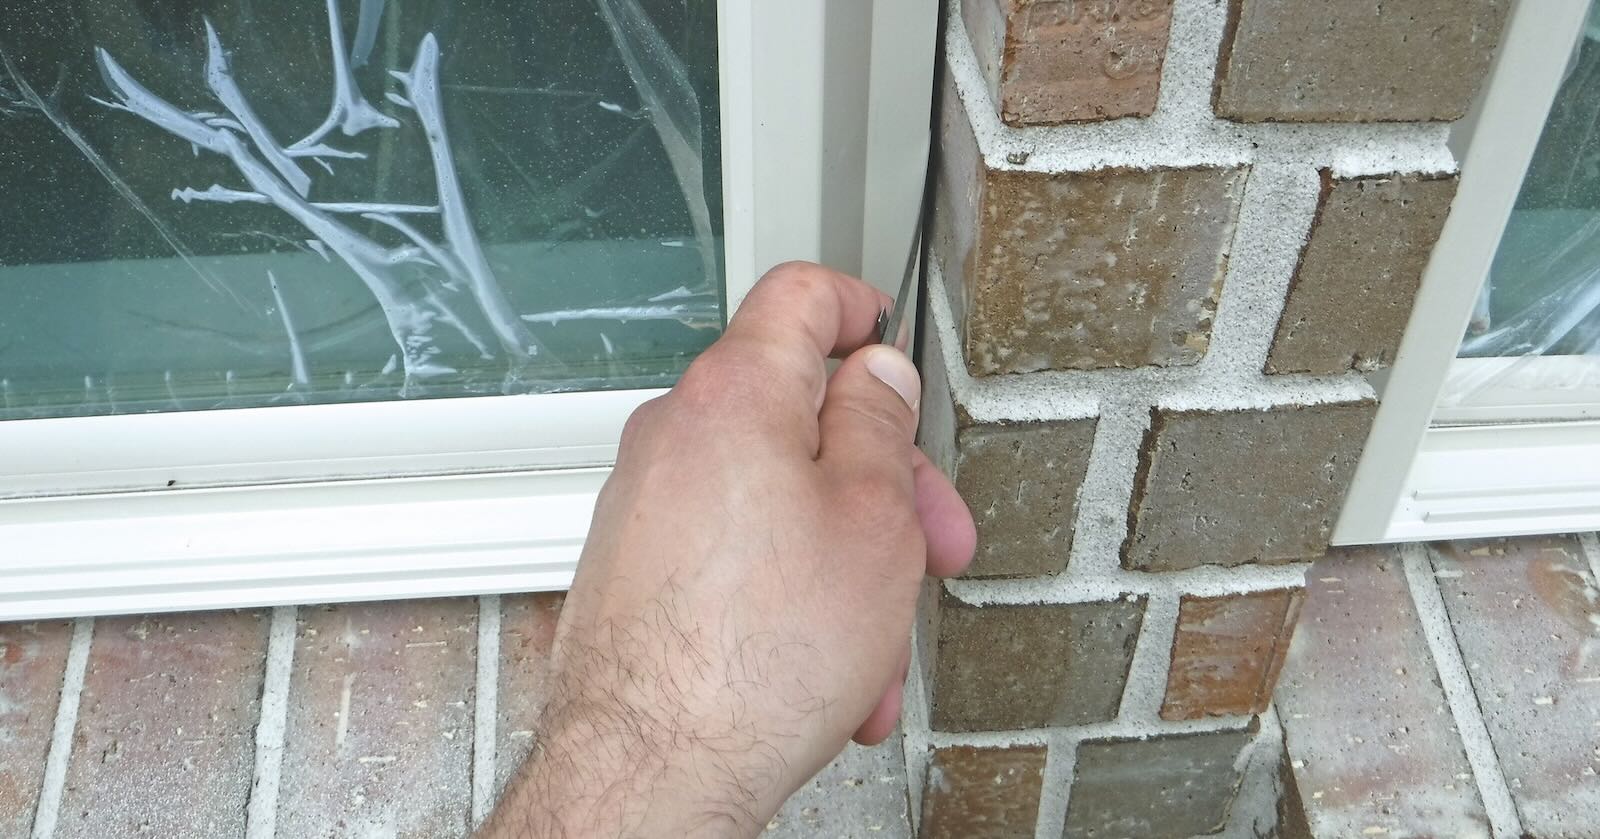
4. Address Potential Gaps: Inspect the perimeter of the frame for any gaps between the frame and the surrounding brick wall. If gaps are present, utilize silicone caulk to seal and weatherproof the interface, preventing moisture infiltration and enhancing the overall integrity of the installation.
5. Evaluate Load-Bearing Capacity: If the window frame is substantial or if additional structural considerations are warranted, consult a professional to assess the load-bearing capacity of the secured frame within the brick wall. Ensuring that the installation can support the weight and operational demands of the window is essential for long-term stability.
6. Test for Stability and Security: Once the frame is secured and any potential gaps are addressed, conduct a comprehensive test to verify the stability and security of the installation. Open and close the window to assess its smooth operation and confirm that the frame remains firmly anchored within the wall.
By meticulously securing the window frame within the brick wall, you have reinforced the foundation of the installation and established a secure and stable platform for the window. With the frame firmly in place, the next phase involves addressing insulation and adding finishing touches to complete the integration of the window into the architectural structure.
Read more: How To Install Wall Frame Molding
Insulation and Finishing Touches
Completing the installation of a window frame in a brick wall involves addressing insulation and adding finishing touches to ensure optimal energy efficiency, weatherproofing, and aesthetic appeal. This phase encompasses essential steps to enhance the functionality and visual impact of the installed window. Here’s a comprehensive guide to insulation and finishing touches:
1. Apply Insulation Foam: Utilize insulation foam to fill any gaps and voids around the perimeter of the window frame. This step contributes to thermal insulation, sound dampening, and the prevention of air infiltration, creating a more comfortable and energy-efficient interior environment.
2. Install Weatherproof Flashing: Apply weatherproof flashing around the exterior of the window frame to safeguard against moisture intrusion and protect the installation from the elements. Properly installed flashing enhances the longevity and durability of the window integration, mitigating potential water damage and ensuring long-term resilience.
3. Exterior Trim Installation: Enhance the visual appeal of the installed window by adding exterior-grade trim around the frame. This not only provides a polished and finished look but also serves to protect the edges of the frame and contribute to the overall weatherproofing of the installation.
4. Seal Joints and Edges: Seal any joints, edges, or seams with exterior-grade sealant to further fortify the installation against moisture and air infiltration. This additional layer of protection helps maintain the integrity of the window integration and enhances its resistance to external elements.
5. Evaluate Exterior Aesthetics: Assess the exterior appearance of the installed window, ensuring that the trim, sealant, and overall presentation align with the architectural style and design intent. Make any necessary adjustments to achieve a cohesive and visually appealing integration within the brick wall.
6. Apply Exterior Finish (if desired): If the exterior of the brick wall and the installed window frame require painting or finishing, select an exterior-grade paint or finish to complement the overall aesthetic of the structure. This step adds a final layer of protection and visual enhancement, contributing to the cohesive appearance of the integrated window.
By meticulously addressing insulation and adding finishing touches, you have completed the comprehensive installation of the window frame in the brick wall. The combination of insulation, weatherproofing, and aesthetic enhancements ensures that the integrated window not only functions optimally but also enhances the overall architectural appeal of the space.
Conclusion
Integrating a window frame into a brick wall is a rewarding endeavor that adds natural light, ventilation, and architectural interest to a space. Throughout the installation process, meticulous attention to detail, precise measurements, and the use of appropriate tools and materials are essential for achieving a successful outcome. By following the step-by-step guide outlined in this article, you have gained valuable insights into the comprehensive process of installing a window frame in a brick wall.
From the initial preparation of the wall and the meticulous measurement and marking of the window opening to the careful cutting of the brick and the precise installation of the frame, each phase plays a crucial role in creating a secure, weatherproof, and visually appealing integration. The emphasis on insulation, weatherproofing, and finishing touches further enhances the functionality and aesthetic impact of the installed window.
As you embark on or consider a project involving the installation of a window frame in a brick wall, remember the importance of safety, precision, and adherence to local building codes and regulations. Prioritize the use of quality materials and the execution of best practices to ensure a durable and visually striking integration that enhances the overall architectural character of the space.
By embracing the knowledge and guidance provided in this article, you are well-equipped to undertake the installation of a window frame in a brick wall with confidence and skill. Whether you are renovating an existing structure or embarking on a new construction project, the successful integration of a window into a brick wall can significantly elevate the functionality and aesthetic appeal of the space, creating a welcoming and light-filled environment for years to come.
With a blend of precision, creativity, and attention to detail, the installation of a window frame in a brick wall becomes a seamless and transformative addition to any architectural setting.
Frequently Asked Questions about How To Install A Window Frame In A Brick Wall
Was this page helpful?
At Storables.com, we guarantee accurate and reliable information. Our content, validated by Expert Board Contributors, is crafted following stringent Editorial Policies. We're committed to providing you with well-researched, expert-backed insights for all your informational needs.


0 thoughts on “How To Install A Window Frame In A Brick Wall”