Home>Construction & Tools>Building Materials>How To Install Faux Brick Wall Panels

Building Materials
How To Install Faux Brick Wall Panels
Modified: October 31, 2024
Learn how to install faux brick wall panels with our step-by-step guide. Find the best building materials and tips for a successful DIY project.
(Many of the links in this article redirect to a specific reviewed product. Your purchase of these products through affiliate links helps to generate commission for Storables.com, at no extra cost. Learn more)
Introduction
Installing faux brick wall panels is a fantastic way to add character and charm to any space. Whether you want to create an industrial-inspired accent wall in your living room or revamp the exterior of your home, faux brick panels offer a cost-effective and versatile solution. These panels mimic the appearance of traditional brick, providing a rustic and textured look without the need for extensive masonry work.
Faux brick wall panels are lightweight and easy to install, making them an ideal choice for both DIY enthusiasts and professional contractors. With a wide range of styles and colors available, you can achieve the desired aesthetic, whether it's a weathered red brick for a vintage feel or a sleek white brick for a modern touch.
In this comprehensive guide, we will walk you through the step-by-step process of installing faux brick wall panels. From gathering the necessary tools and materials to adding the finishing touches, you'll gain valuable insights into transforming your space with this innovative and visually appealing solution. Whether you're a seasoned DIYer or a novice looking to embark on your first home improvement project, this guide will equip you with the knowledge and confidence to achieve professional-looking results.
By following these instructions and tips, you'll be able to elevate the visual appeal of your interior or exterior walls while expressing your unique style. Additionally, we'll provide maintenance tips to ensure that your faux brick wall panels retain their beauty and durability for years to come. So, roll up your sleeves, gather your tools, and let's embark on this exciting journey of enhancing your living space with faux brick wall panels!
Key Takeaways:
- Installing faux brick wall panels is a versatile and DIY-friendly way to add rustic charm to any space. With the right tools and careful preparation, you can achieve a professional-looking result that enhances your interior or exterior walls.
- After installing faux brick wall panels, consider applying a sealant for added protection and exploring different finishing options to enhance the panels’ appearance. Regular maintenance and proactive care will ensure the longevity and visual appeal of your faux brick wall.
Read more: How To Paint A Faux Brick Wall
Step 1: Gather the necessary tools and materials
Before diving into the installation process, it's essential to gather all the tools and materials required for a seamless and efficient installation of faux brick wall panels. By ensuring that you have everything at your disposal, you can streamline the process and minimize interruptions, allowing for a more focused and enjoyable experience.
Tools:
- Measuring Tape: Accurate measurements are crucial for a precise installation, so a reliable measuring tape is indispensable.
- Level: To ensure that the panels are installed perfectly straight and aligned, a level is essential for achieving a professional finish.
- Pencil: Marking the wall and panels for cutting and placement requires a good quality pencil.
- Saw: Depending on the type of panels being used, a saw suitable for cutting the material will be necessary.
- Adhesive Spreader: A trowel or adhesive spreader is vital for applying the adhesive evenly onto the panels and wall surface.
- Utility Knife: This will be used for trimming and cutting the panels to fit around obstacles and edges.
- Safety Gear: Gloves, safety goggles, and a dust mask are essential for personal protection during the installation process.
Materials:
- Faux Brick Wall Panels: Ensure that you have enough panels to cover the desired area, accounting for any cuts or adjustments that may be necessary.
- Adhesive: Select a high-quality adhesive specifically designed for faux brick panels to ensure a strong and durable bond.
- Screws and Anchors (optional): If additional support is needed, especially for exterior installations, screws and anchors may be required.
- Sandpaper: This will be useful for smoothing any rough edges after cutting the panels.
- Primer and Paint (optional): Depending on the desired finish, primer and paint may be needed to enhance the appearance of the panels.
By assembling these tools and materials, you'll be well-prepared to embark on the installation process with confidence and efficiency. With everything within reach, you can focus on the task at hand, ensuring that the installation of faux brick wall panels progresses smoothly and yields stunning results.
Step 2: Prepare the wall surface
Properly preparing the wall surface is a crucial step in ensuring the successful installation of faux brick wall panels. By taking the time to adequately prepare the wall, you can create a stable and suitable foundation for the panels, ultimately contributing to a professional and long-lasting finish.
Read more: How To Create A Faux Brick Interior Wall
Assess the Wall Condition
Before beginning the preparation process, carefully assess the condition of the wall. Ensure that the surface is clean, dry, and free from any debris, dust, or loose particles. If the wall has existing paint or wallpaper, it's essential to remove these coverings to expose the bare surface. Additionally, inspect the wall for any signs of moisture or water damage, addressing any issues before proceeding with the installation.
Repair Any Imperfections
Address any imperfections on the wall surface, such as cracks, holes, or uneven areas. Use a suitable filler or spackling compound to repair these imperfections, smoothing out the surface to create a uniform and level base for the panels. Allow the filler to dry completely before proceeding to the next step.
Clean the Wall Thoroughly
Thoroughly clean the wall surface using a mild detergent solution and a sponge or cloth. Remove any dirt, grease, or residues that may affect the adhesion of the panels. Pay close attention to areas near baseboards, corners, and ceilings, ensuring that the entire surface is clean and ready for the installation.
Apply a Primer (If Necessary)
Depending on the type of wall surface and the specific adhesive being used, applying a primer may be recommended. A primer can enhance the adhesion of the adhesive to the wall, especially on porous or uneven surfaces. Follow the manufacturer's instructions for the primer application, allowing sufficient drying time before proceeding to the next stage.
Mark Guidelines for Panel Placement
Using a level and a pencil, mark guidelines on the wall to indicate the placement of the faux brick panels. This step is crucial for ensuring that the panels are installed evenly and aligned correctly. Take accurate measurements and use the level to create straight and precise guidelines, providing a visual reference for the installation process.
By meticulously preparing the wall surface, you set the stage for a smooth and successful installation of faux brick wall panels. This preparatory phase lays the groundwork for achieving a professional and visually striking result, ensuring that the panels adhere securely and contribute to the overall aesthetic appeal of the space.
Step 3: Measure and cut the faux brick wall panels
Accurate measurement and precise cutting are essential for achieving a seamless and visually appealing installation of faux brick wall panels. This step requires careful attention to detail and the use of the right tools to ensure that the panels fit perfectly and align seamlessly with the wall surface.
Measure the Wall Area
Begin by measuring the area of the wall where the faux brick panels will be installed. Use a measuring tape to determine the height and width of the space, taking into account any obstacles such as doors, windows, or electrical outlets. It's crucial to record precise measurements to avoid unnecessary adjustments during the installation process.
Transfer Measurements to the Panels
Transfer the measurements onto the faux brick panels, marking the areas that need to be cut to fit the wall dimensions. Use a pencil or marker to make clear and accurate markings on the panels, ensuring that the cutting lines are visible and aligned with the measured dimensions.
Cut the Panels to Size
Carefully cut the panels along the marked lines using a suitable saw or cutting tool. Depending on the material of the panels, a jigsaw, circular saw, or utility knife may be used to achieve clean and precise cuts. Take your time to ensure that the cuts are straight and accurate, as this will directly impact the seamless integration of the panels on the wall.
Trim for Obstacles and Edges
If the wall features obstacles such as outlets, switches, or corners, make additional markings on the panels to indicate where trimming is required. Use a utility knife or appropriate cutting tool to trim the panels to accommodate these obstacles, ensuring a snug and tailored fit against the wall surface.
Sand and Smooth Edges
After cutting and trimming the panels, use sandpaper to smooth any rough edges or uneven surfaces. This step is crucial for achieving a polished and professional finish, ensuring that the edges of the panels seamlessly blend with the surrounding wall and maintain a consistent appearance.
By meticulously measuring and cutting the faux brick wall panels, you set the stage for a precise and visually stunning installation. This attention to detail ensures that the panels fit seamlessly onto the wall, creating a cohesive and authentic brick-like appearance that enhances the overall aesthetic of the space.
Step 4: Apply adhesive to the back of the panels
Applying adhesive to the back of the faux brick panels is a critical step in ensuring a secure and long-lasting installation. The adhesive serves as the bonding agent that attaches the panels to the prepared wall surface, providing stability and durability. Proper application of the adhesive is essential for achieving a professional finish and ensuring that the panels remain securely in place for years to come.
Selecting the Right Adhesive
Before applying the adhesive, it's crucial to select the appropriate type of adhesive specifically designed for faux brick wall panels. Opt for a high-quality construction adhesive that is suitable for both the material of the panels and the wall surface. Consider factors such as the panel's weight, the wall's texture, and the environmental conditions to ensure that the chosen adhesive offers strong adhesion and long-term reliability.
Preparing the Adhesive
Prepare the adhesive according to the manufacturer's instructions, ensuring that it is thoroughly mixed and at the appropriate consistency for application. Some adhesives may require stirring or priming before use, so carefully follow the provided guidelines to achieve optimal bonding strength.
Applying the Adhesive
Using an adhesive spreader or trowel, apply a generous and even layer of adhesive to the entire back surface of the faux brick panel. Ensure that the adhesive is spread uniformly, covering the entire back area of the panel to guarantee consistent adhesion once it is placed on the wall. Pay particular attention to the edges and corners, as these areas require sufficient adhesive coverage to prevent any lifting or detachment over time.
Creating a Strong Bond
Press the adhesive-coated panel firmly against the prepared wall surface, aligning it with the previously marked guidelines. Apply steady pressure to the panel, ensuring that it makes full contact with the wall and that the adhesive forms a strong bond. Use a level to confirm that the panel is installed perfectly straight and aligned with adjacent panels, making any necessary adjustments before the adhesive sets.
Allowing for Drying Time
After installing each panel, allow the adhesive to dry and cure according to the manufacturer's recommendations. This drying period is crucial for the adhesive to establish a secure bond between the panel and the wall surface. Avoid any disturbances or excessive movement during this time to ensure that the panels adhere firmly and remain in place.
By meticulously applying the adhesive to the back of the faux brick panels, you lay the foundation for a robust and visually striking installation. This step is essential for creating a secure and enduring bond between the panels and the wall, ensuring that the overall result is a seamless and professional-looking faux brick wall that enhances the aesthetic appeal of the space.
Step 5: Install the panels onto the wall
With the adhesive applied and dried, it's time to embark on the exciting phase of installing the faux brick panels onto the prepared wall surface. This step is where the transformation truly takes shape, as the panels come together to create a captivating and textured brick-like appearance. The installation process requires precision, attention to detail, and a methodical approach to ensure that the panels align seamlessly and contribute to the overall visual impact of the space.
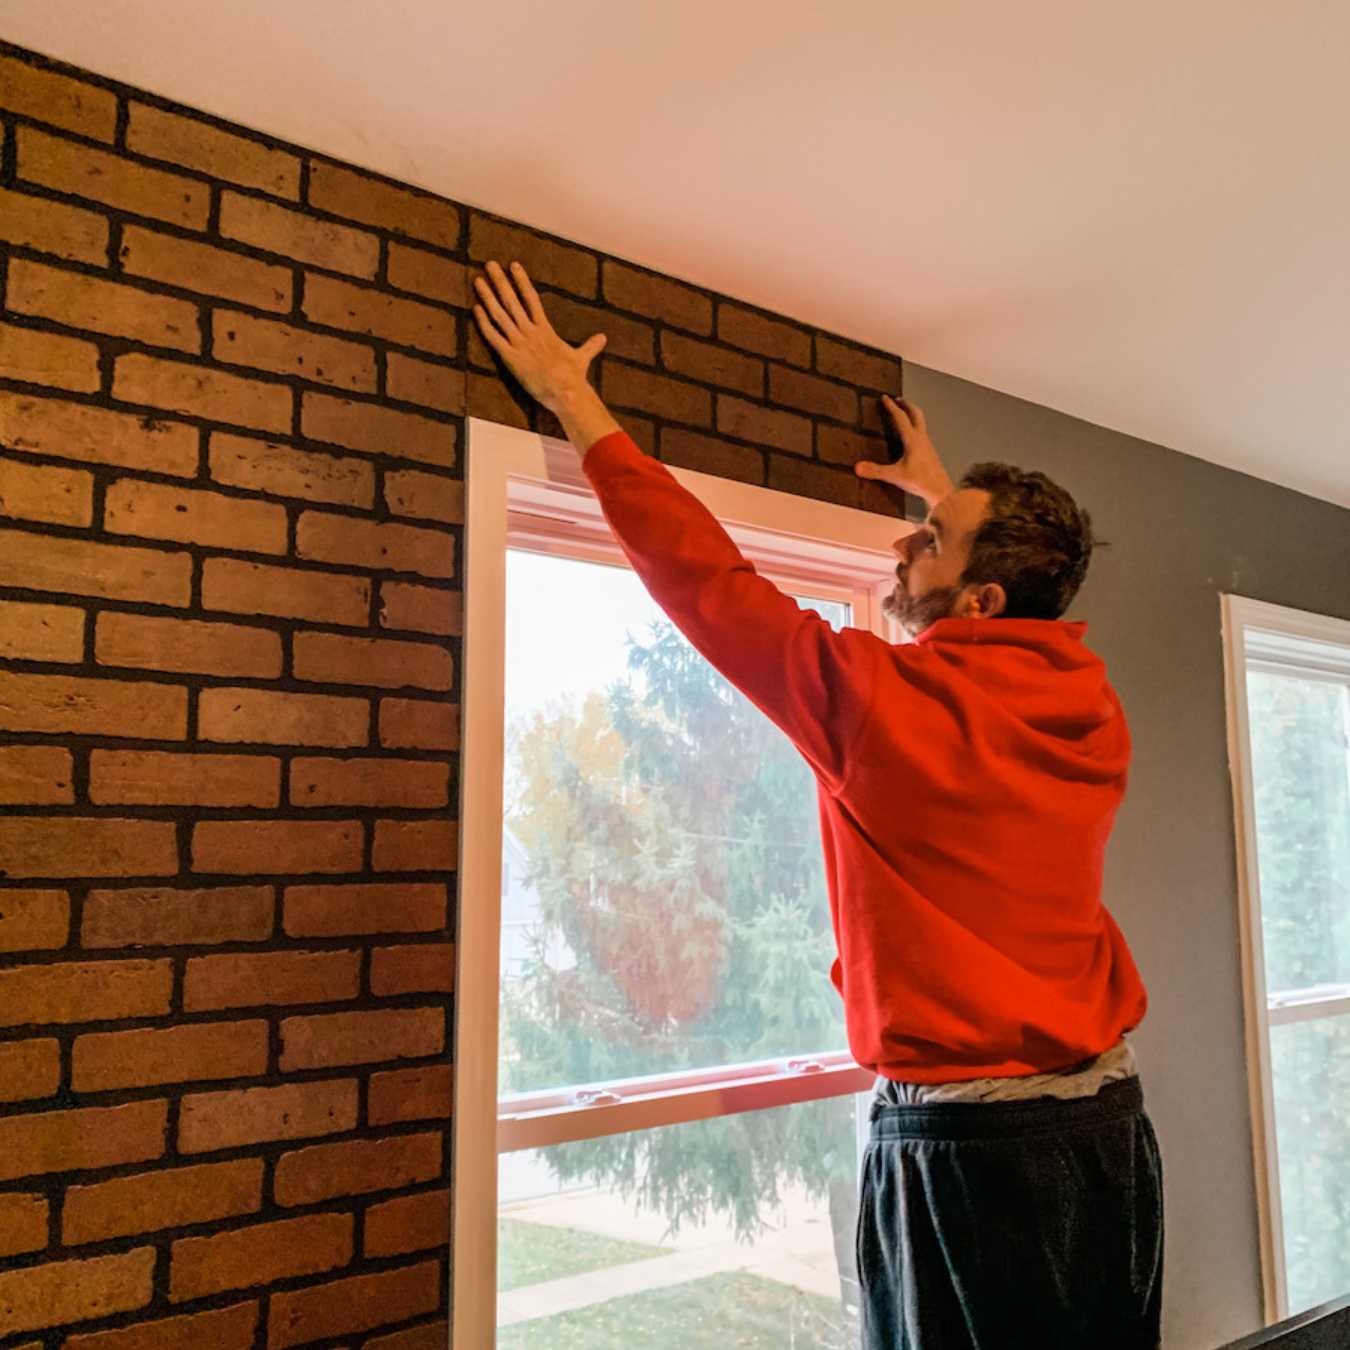
Begin by positioning the first panel at the designated starting point, aligning it carefully with the marked guidelines on the wall. Ensure that the panel is level and straight, using a level to make any necessary adjustments before pressing it firmly onto the wall. Once the first panel is securely in place, continue the installation process by aligning subsequent panels with precision, ensuring that each one seamlessly connects with the previous panel.
As the installation progresses, pay close attention to the alignment and spacing between the panels, aiming for a uniform and visually appealing arrangement. Use the level periodically to confirm that the panels are installed straight and level, making any adjustments as needed to maintain a consistent and professional finish.
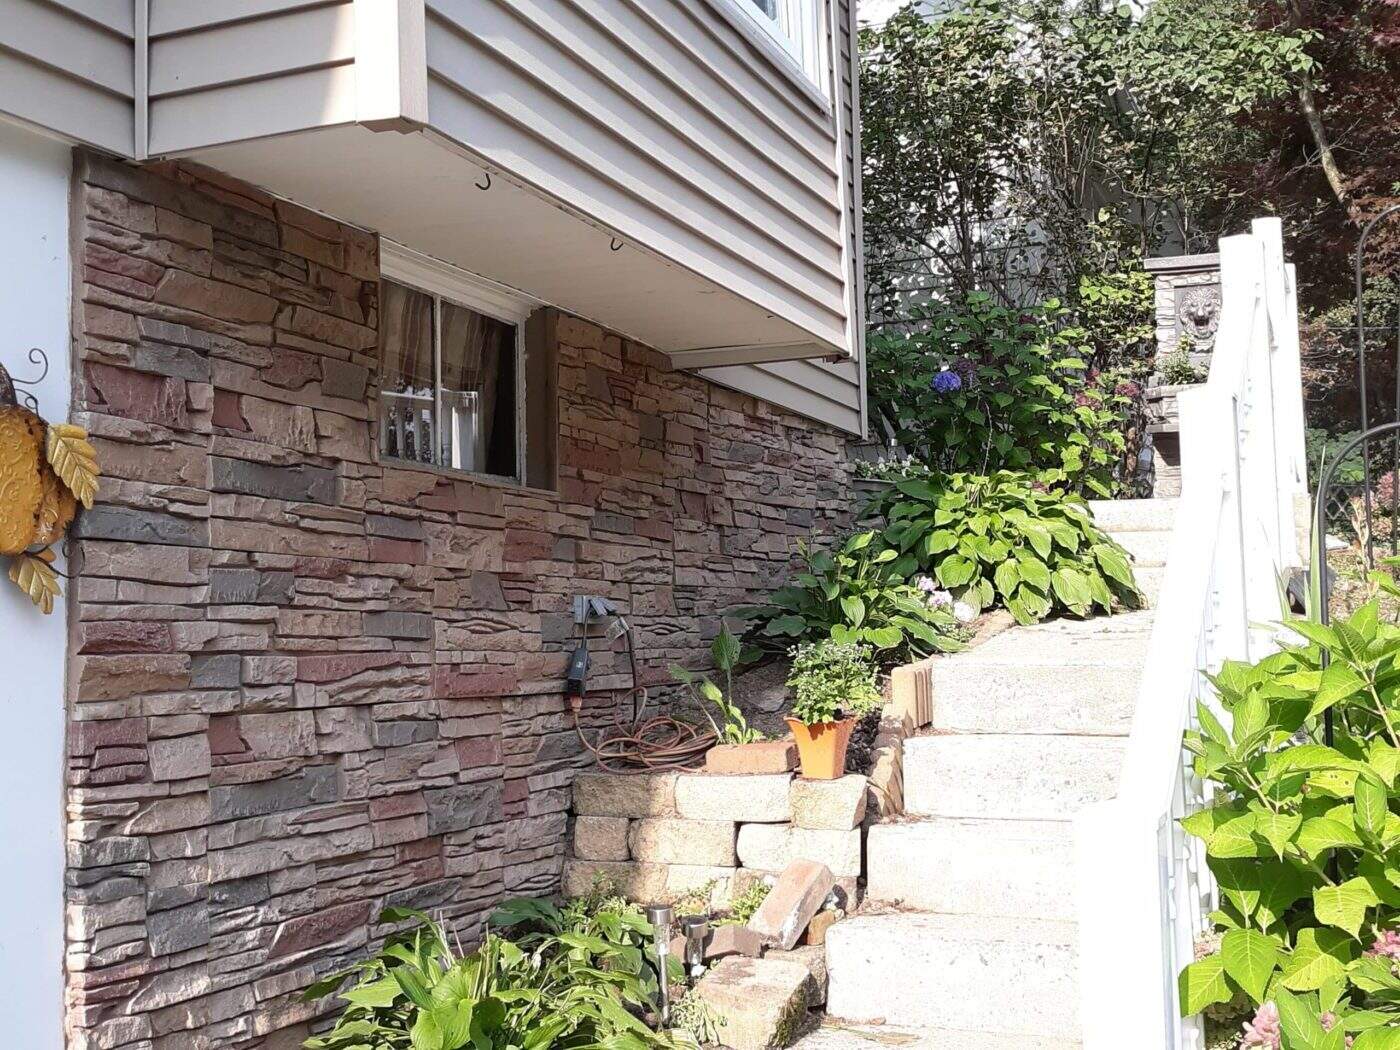
For exterior installations or areas prone to temperature variations, consider using screws and anchors in addition to adhesive to provide extra support and stability. Secure the panels according to the manufacturer's recommendations, ensuring that they are firmly anchored to the wall surface to withstand environmental factors and maintain their integrity over time.
As the final panels are installed, step back and admire the remarkable transformation taking place. The once plain wall now exudes the timeless charm and character of authentic brick, adding depth and visual interest to the space. Take a moment to appreciate the meticulous effort put into aligning and securing each panel, knowing that the result is a testament to your dedication to achieving a professional and visually stunning installation.
With the panels securely in place, take a step back and admire the remarkable transformation that has taken place. The once plain wall now exudes the timeless charm and character of authentic brick, adding depth and visual interest to the space. Take a moment to appreciate the meticulous effort put into aligning and securing each panel, knowing that the result is a testament to your dedication to achieving a professional and visually stunning installation.
By following these detailed steps and exercising patience and precision, you have successfully installed faux brick wall panels, elevating the aesthetic appeal of the space and infusing it with the timeless allure of exposed brick. The installation process is a testament to your commitment to quality and craftsmanship, resulting in a visually striking and enduring enhancement to your interior or exterior environment.
Step 6: Fill in any gaps or seams
After the faux brick wall panels are securely installed, it's essential to address any remaining gaps or seams to achieve a polished and seamless appearance. Filling in these areas not only enhances the overall aesthetic but also contributes to the structural integrity of the installation. By meticulously attending to the gaps and seams, you can ensure that the faux brick wall exudes a cohesive and authentic look, resembling traditional brickwork.
Begin by inspecting the installed panels for any visible gaps or seams between the individual pieces. While the installation process aims for a precise and snug fit, minor discrepancies may arise, especially around corners, edges, or areas with irregularities. Use a keen eye to identify these areas, as addressing them promptly will contribute to a flawless and professional finish.
To fill in the gaps and seams, select a high-quality caulking compound that matches the color and texture of the faux brick panels. This ensures that the filled areas seamlessly blend with the surrounding surface, creating a cohesive and natural appearance. Carefully apply the caulking compound to the identified gaps and seams, using a caulking gun or a small putty knife for precision.
As you fill in the gaps and seams, ensure that the caulking compound is applied evenly and smoothly, seamlessly integrating with the texture of the faux brick panels. Pay close attention to achieving a consistent and natural look, as this meticulous approach contributes to the overall authenticity of the faux brick wall. Smooth out the applied caulking compound to create a seamless transition between the panels, ensuring that the filled areas are indistinguishable from the rest of the installation.
Once the caulking compound is applied, allow it to dry completely according to the manufacturer's recommendations. This drying period is crucial for the compound to set and achieve a durable and long-lasting finish. Avoid any contact or disturbances during this time to ensure that the filled gaps and seams retain their integrity and contribute to the overall visual appeal of the faux brick wall.
By meticulously filling in any gaps or seams, you elevate the installation to a professional standard, ensuring that the faux brick wall exudes a cohesive and authentic appearance. This attention to detail and commitment to achieving a flawless finish result in a visually striking and enduring enhancement to your interior or exterior environment.
Step 7: Finishing touches and maintenance tips
After completing the installation of faux brick wall panels, attention to finishing touches and maintenance is essential to ensure the longevity and visual appeal of the newly transformed space. These final steps not only contribute to the overall aesthetic but also provide valuable insights into preserving the beauty and integrity of the faux brick wall panels over time.
Read more: How To Install Ring Camera On Brick Wall
Sealing the Panels (Optional)
Consider applying a sealant to the installed faux brick panels, especially for exterior installations or areas prone to moisture exposure. A high-quality sealant can enhance the panels' resistance to water, dirt, and stains, providing an added layer of protection and simplifying maintenance. Follow the manufacturer's guidelines for the application of the sealant, ensuring that it is evenly distributed and thoroughly covers the surface of the panels.
Enhancing the Appearance
For those seeking to further enhance the visual impact of the faux brick wall, consider applying a coat of paint or a wash to achieve a desired aesthetic. Whether it's a subtle whitewash to soften the brick texture or a bold color to make a statement, the application of paint or a wash can add depth and character to the panels. Take the time to explore different finishing options and test them on a small area before committing to the entire installation.
Cleaning and Maintenance
Regular maintenance is key to preserving the beauty and durability of faux brick wall panels. Use a soft brush or cloth to remove dust and debris from the panels, preventing the accumulation of dirt and maintaining their appearance. For stubborn stains, use a mild detergent solution and a soft brush to gently clean the affected areas, taking care not to damage the surface of the panels. Avoid harsh chemicals or abrasive cleaning tools that may compromise the integrity of the panels.
Inspecting for Damage
Periodically inspect the faux brick wall panels for any signs of damage, such as cracks, chips, or loose sections. Address any issues promptly to prevent further deterioration and maintain the structural integrity of the installation. For exterior installations, pay attention to the effects of weather and temperature fluctuations, taking proactive measures to preserve the panels in challenging environmental conditions.
Preserving the Beauty
By incorporating these finishing touches and adhering to maintenance best practices, you can ensure that the faux brick wall panels retain their beauty and charm for years to come. The careful application of sealant, exploration of finishing options, diligent cleaning, and proactive maintenance efforts contribute to a visually stunning and enduring enhancement to your interior or exterior environment.
Incorporating these finishing touches and maintenance tips into your faux brick wall panel installation ensures that the space exudes timeless charm and character while remaining resilient and captivating for the long term.
Frequently Asked Questions about How To Install Faux Brick Wall Panels
Was this page helpful?
At Storables.com, we guarantee accurate and reliable information. Our content, validated by Expert Board Contributors, is crafted following stringent Editorial Policies. We're committed to providing you with well-researched, expert-backed insights for all your informational needs.



0 thoughts on “How To Install Faux Brick Wall Panels”