Home>Construction & Tools>Building Materials>How To Make A Miniature Brick Wall
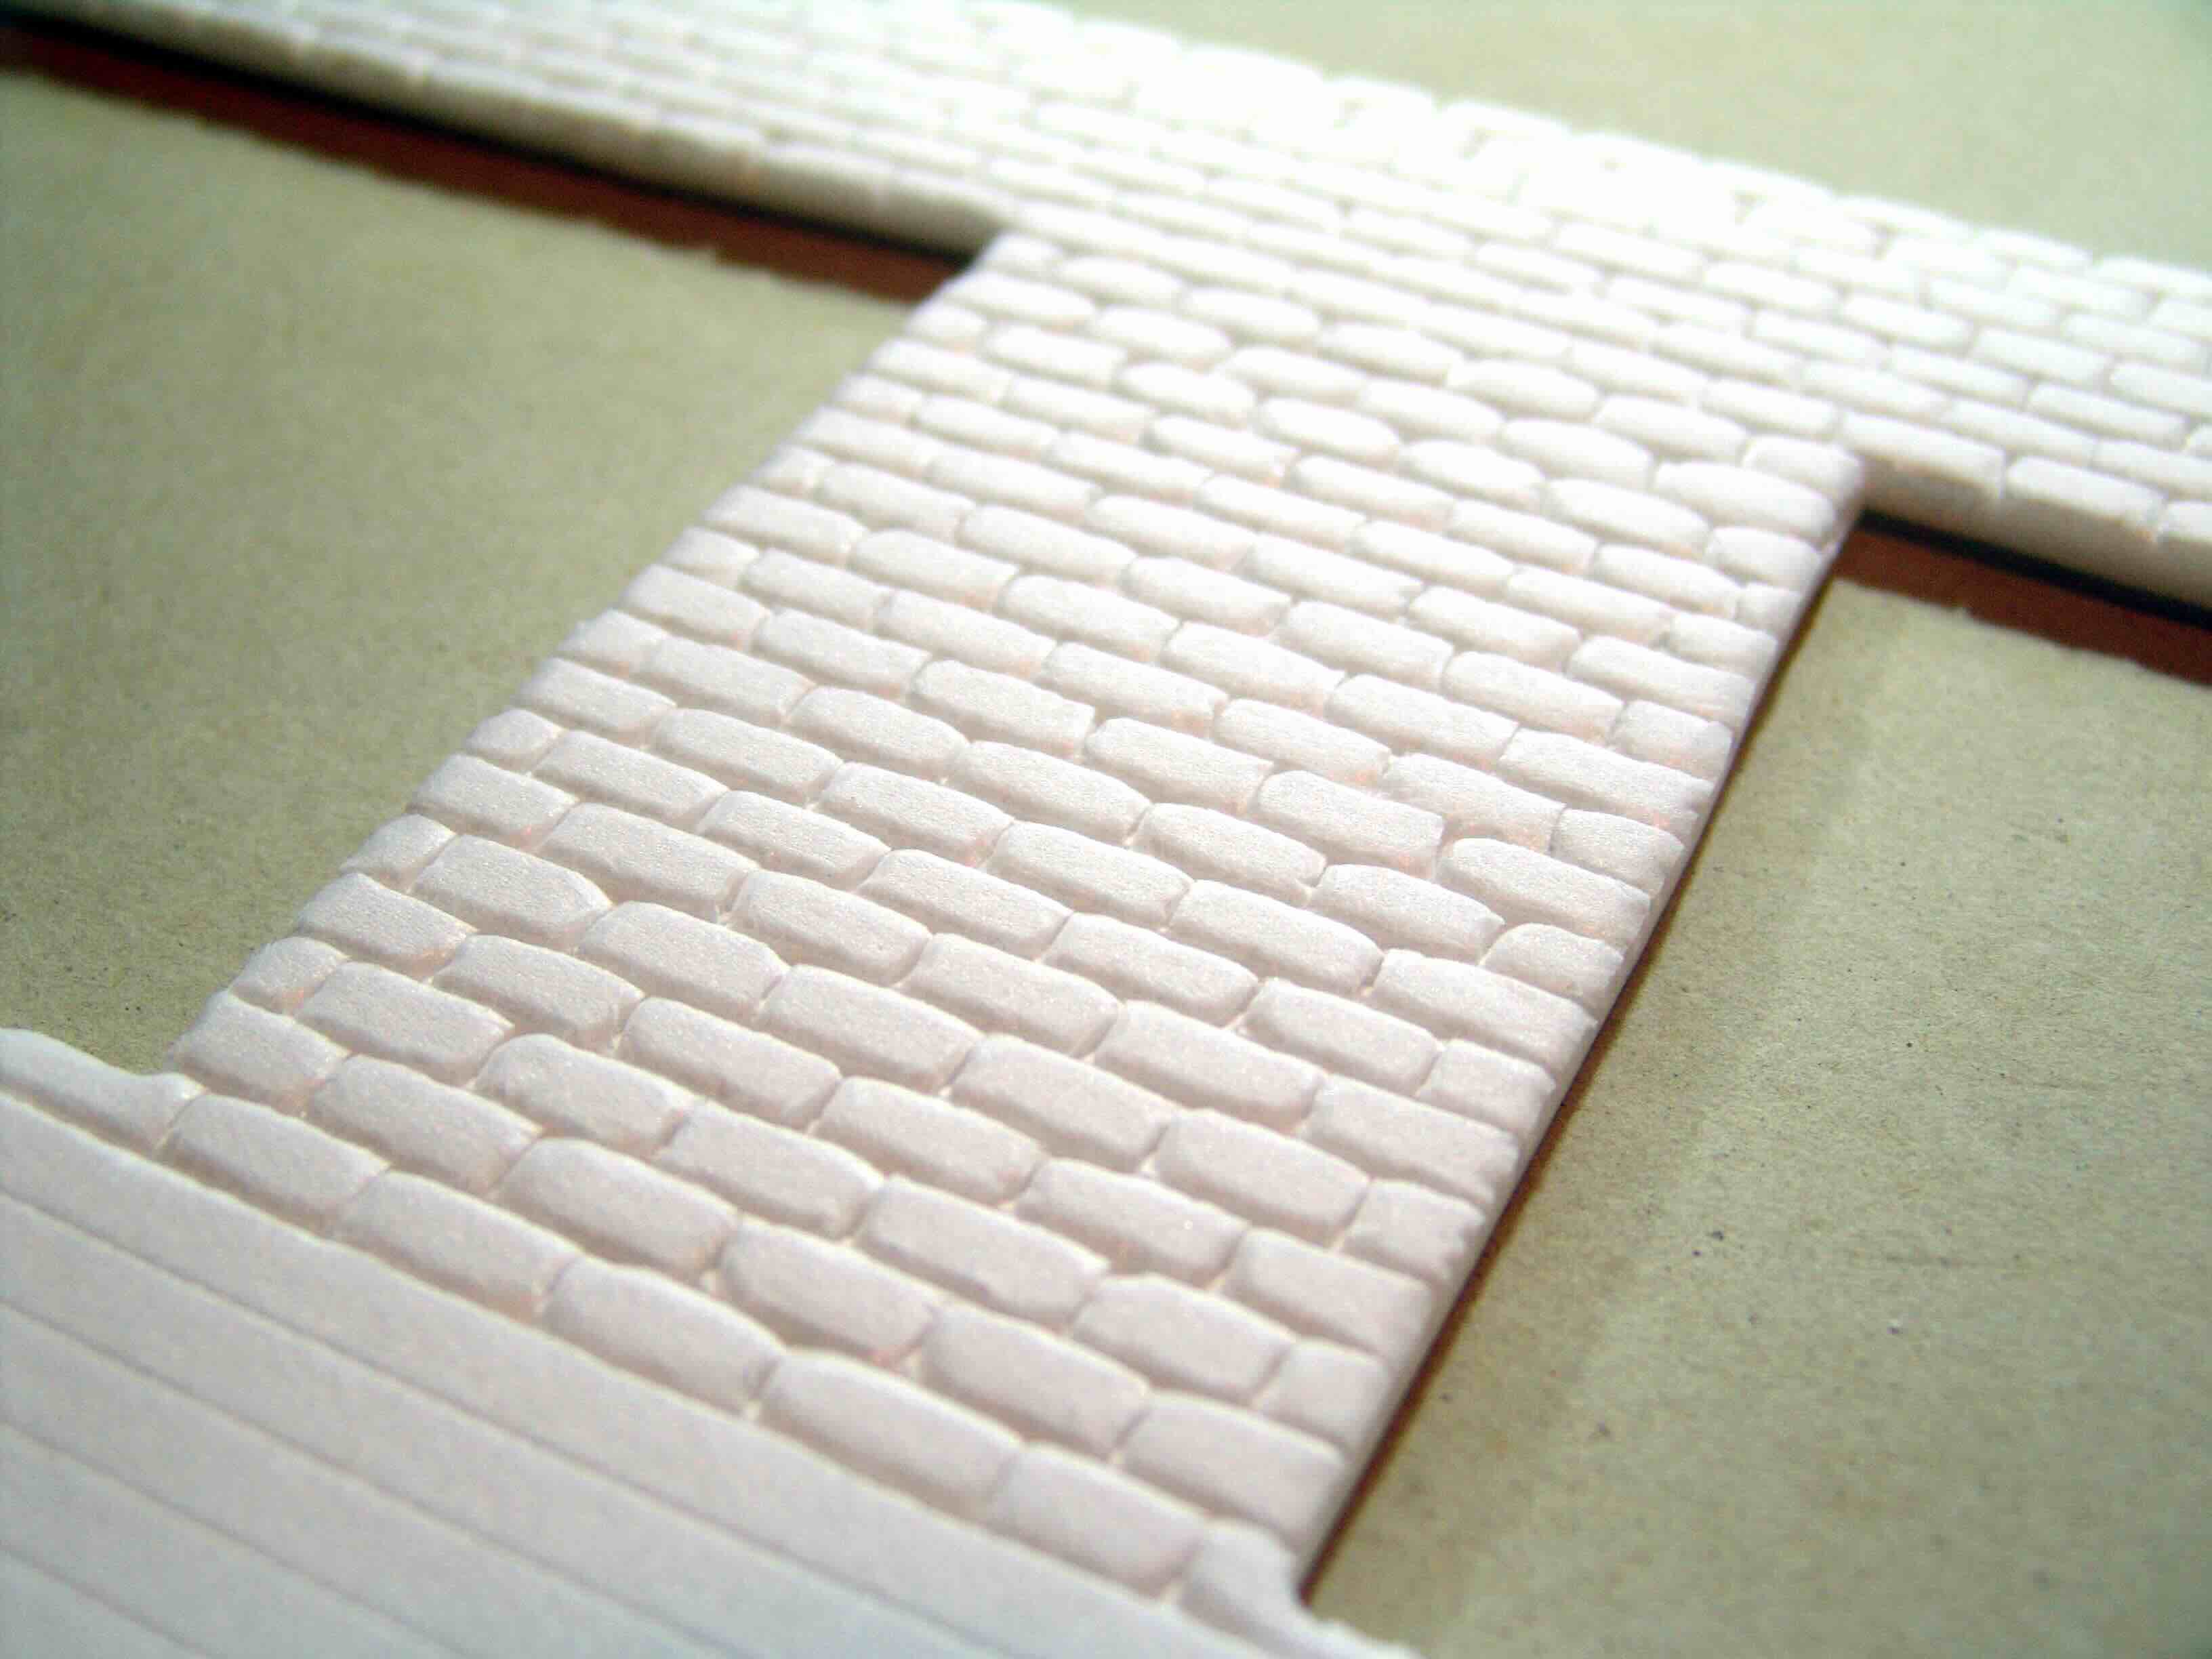

Building Materials
How To Make A Miniature Brick Wall
Modified: February 18, 2024
Learn how to make a realistic miniature brick wall using common building materials. Follow our step-by-step guide for impressive results. Ideal for model builders and diorama enthusiasts.
(Many of the links in this article redirect to a specific reviewed product. Your purchase of these products through affiliate links helps to generate commission for Storables.com, at no extra cost. Learn more)
Introduction
Welcome to the world of miniature construction! Building a miniature brick wall can be a fascinating and rewarding endeavor, whether you’re a hobbyist, a model enthusiast, or simply someone who enjoys hands-on crafts. In this guide, we’ll explore the step-by-step process of creating a realistic and visually captivating miniature brick wall. From selecting the right materials to mastering the art of bricklaying, you’ll gain valuable insights into this intricate craft.
Whether you’re creating a miniature diorama, a dollhouse, or a display for your model train set, a carefully crafted brick wall can add a touch of authenticity and charm to your project. While the task may seem daunting at first, with the right guidance and a bit of patience, you’ll soon find yourself immersed in the art of miniature masonry.
So, roll up your sleeves, gather your materials, and let’s embark on this miniature construction adventure together. By the end of this guide, you’ll have the knowledge and confidence to bring your miniature brick wall to life, leaving you with a sense of accomplishment and a stunning addition to your miniature world.
Key Takeaways:
- Building a miniature brick wall requires careful planning, precise bricklaying, and attention to detail. By following the step-by-step process and adding finishing touches, you can create a captivating and authentic piece of miniature masonry.
- The art of miniature construction offers valuable skills and insights, fostering creativity and dedication. Completing a miniature brick wall project opens the door to further exploration and innovation in the realm of miniature construction.
Read more: How To Make Footing For A Brick Wall
Materials Needed
Before diving into the construction process, it’s essential to gather the necessary materials. Here’s a comprehensive list of items you’ll need to create your miniature brick wall:
Bricks
- Miniature bricks (available in various sizes and colors)
Base
- Sturdy base material (such as plywood or foam board)
- Paint or adhesive for finishing the base
Mortar
- Miniature mortar mix (can be purchased or made from scratch)
- Small mixing container and tools
Read more: How To Make A Faux Brick Wall
Tools
- Miniature trowel or spatula
- Small brush for cleaning excess mortar
- Water spray bottle for dampening the bricks and mortar
Protective Gear
- Disposable gloves to keep your hands clean during the construction process
Optional Accessories
- Miniature scaffolding or support structures for intricate designs
- Miniature wheelbarrow or tools for added realism
By ensuring you have all the necessary materials at your disposal, you’ll be well-prepared to embark on your miniature bricklaying journey. With these items in hand, you can proceed to the next steps with confidence, knowing that you have everything you need to bring your vision to life.
Preparing the Base
Creating a stable and visually appealing base is crucial for the success of your miniature brick wall project. The base serves as the foundation on which your bricks will be laid, providing support and structure for the entire construction. Follow these steps to prepare the base for your miniature brick wall:
Read more: How To Make Miniature Pillows
Choose a Sturdy Base Material
Select a suitable base material, such as plywood or foam board, that can withstand the weight of the bricks and mortar. Ensure that the base is flat and even to facilitate the bricklaying process.
Prepare the Surface
If using plywood, sand the surface to create a smooth and uniform texture. For foam board, ensure that the edges are clean and free from any imperfections. This step is essential for achieving a professional-looking finish.
Apply a Base Finish
Consider painting or applying an adhesive finish to the base to enhance its appearance. Choose a color that complements the overall aesthetic of your project, whether it’s a natural brick wall or a creatively themed miniature scene.
By meticulously preparing the base, you’ll set the stage for the intricate bricklaying process that follows. A well-crafted base not only provides stability but also contributes to the overall visual impact of your miniature brick wall, elevating it from a simple construction project to a captivating work of art.
Mixing the Mortar
Once your base is prepared, the next crucial step in constructing a miniature brick wall is preparing the mortar. Mortar acts as the adhesive that holds the bricks together, creating a sturdy and cohesive structure. Follow these steps to mix the mortar for your miniature brick wall:
Read more: How To Make A Miniature Quilt
Choose the Right Mortar Mix
Select a miniature mortar mix that suits the scale of your project. Alternatively, you can create your own mortar using a mixture of fine sand, cement, and water. Ensure that the consistency is suitable for precise bricklaying.
Measure the Ingredients
Follow the recommended proportions for mixing the mortar. Use a small mixing container to combine the sand, cement, and water, ensuring that the mixture is smooth and free from lumps.
Test the Consistency
The ideal mortar consistency is similar to thick paste. It should be pliable enough to hold its shape but not overly wet or runny. Adjust the mixture as needed to achieve the perfect balance.
Prepare the Mortar for Use
Transfer the mixed mortar to a suitable container for easy access during the bricklaying process. Keep a small brush and a water spray bottle handy to dampen the bricks and mortar as needed for optimal adhesion.
Mastering the art of mixing mortar is a pivotal aspect of creating a realistic and durable miniature brick wall. By paying attention to the consistency and quality of the mortar, you’ll lay the groundwork for a visually striking and structurally sound construction. With the mortar ready, you’re now poised to embark on the intricate process of laying the bricks with precision and finesse.
Read more: How To Make A Miniature Hammock
Laying the Bricks
With the base prepared and the mortar mixed, it’s time to embark on the intricate and rewarding process of laying the miniature bricks. This step requires precision, patience, and a keen eye for detail to ensure a visually stunning and structurally sound brick wall. Follow these steps to master the art of laying the bricks:
Plan the Layout
Before applying mortar, plan the layout of the bricks on the base. Consider the pattern, spacing, and overall design to achieve the desired aesthetic. You may choose traditional running bond, herringbone, or other intricate patterns for added visual appeal.
Apply Mortar to the Base
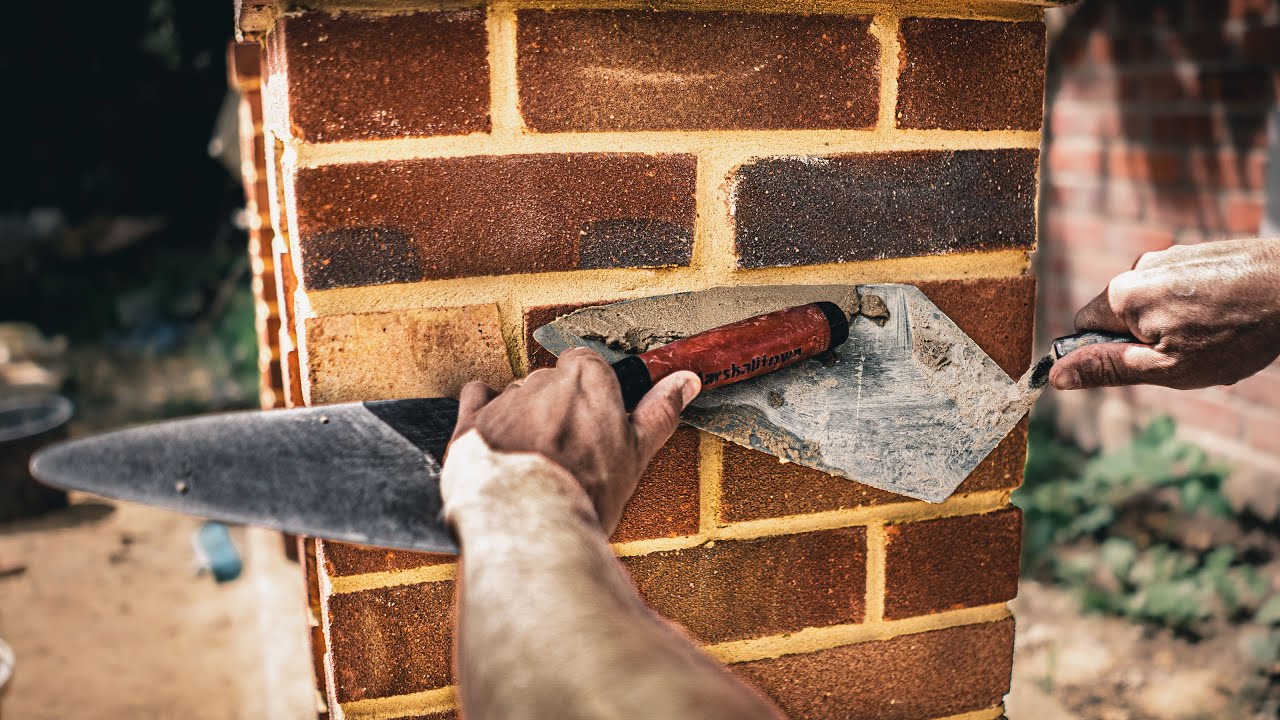
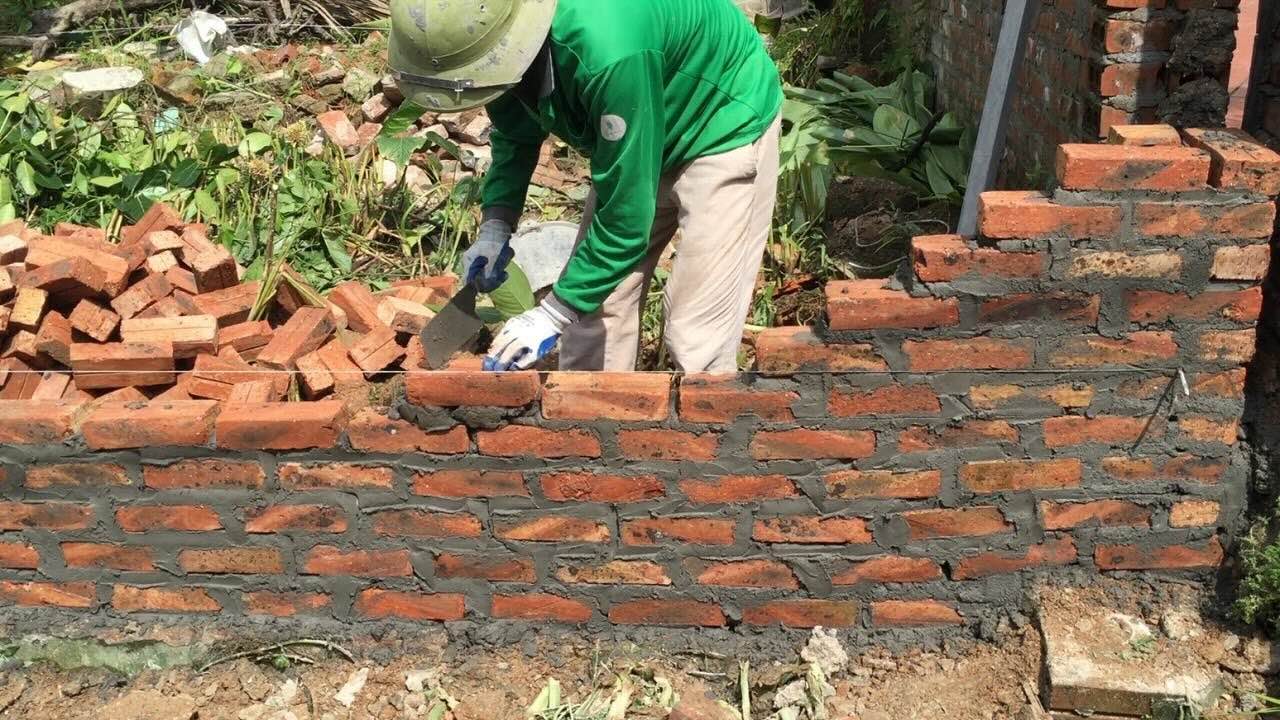
Using a miniature trowel or spatula, apply a thin layer of mortar to the base where the first row of bricks will be placed. Ensure that the mortar is evenly distributed and covers the designated area for the bricks.
Position the Bricks
Carefully place the miniature bricks onto the mortar, following the planned layout. Press each brick gently into the mortar to ensure proper adhesion while maintaining consistent spacing between the bricks.
Read more: How To Make A Miniature Dollhouse Chandelier
Check for Alignment
Regularly assess the alignment and levelness of the bricks as you progress. Use a small level or straight edge to ensure that the bricks are positioned uniformly and accurately, making any necessary adjustments along the way.
Clean Excess Mortar
As you lay the bricks, use a small brush to remove any excess mortar that seeps out from the joints. This step contributes to a neat and professional finish, enhancing the overall appearance of the miniature brick wall.
By meticulously laying the bricks with precision and attention to detail, you’ll witness your miniature brick wall taking shape, layer by layer. Each brick contributes to the authenticity and charm of the final structure, creating a captivating focal point for your miniature scene or display.
Finishing Touches
As you near the completion of your miniature brick wall, it’s time to add the finishing touches that will elevate the visual appeal and realism of the structure. These final steps will enhance the overall aesthetic and ensure that your miniature brick wall stands out as a striking and authentic work of art. Consider the following finishing touches to perfect your creation:
Weathering and Aging
To add a touch of authenticity, consider weathering the bricks and mortar. Lightly sand the edges and surfaces of the bricks to simulate the effects of age and weather exposure. Apply a diluted wash of acrylic paint to create subtle discolorations and variations in the mortar, lending a weathered appearance to the brick wall.
Read more: How To Store Miniatures
Detailing and Realism
Incorporate additional details to enhance the realism of the brick wall. Consider adding small imperfections, such as chipped bricks or subtle irregularities in the mortar joints. These details contribute to the character and authenticity of the miniature construction.
Sealing and Protection
Once the brick wall is complete, consider applying a clear sealant to protect the surface and preserve the integrity of the structure. This step is particularly important if the miniature brick wall will be exposed to handling or environmental factors.
Integration into the Scene
Integrate the finished brick wall into its intended scene or display. Whether it’s a miniature diorama, a dollhouse interior, or a model train layout, ensure that the brick wall seamlessly complements its surroundings, adding depth and visual interest to the overall composition.
By incorporating these finishing touches, you’ll transform your miniature brick wall into a captivating and lifelike feature that captures the essence of real brick masonry on a smaller scale. The attention to detail and craftsmanship displayed in these final steps will undoubtedly leave a lasting impression on anyone who beholds your miniature masterpiece.
Conclusion
Congratulations on completing your miniature brick wall! Through meticulous planning, precise bricklaying, and thoughtful finishing touches, you’ve brought to life a captivating and authentic piece of miniature masonry. Whether it’s adorning a dollhouse, enhancing a model train layout, or serving as a focal point in a diorama, your miniature brick wall stands as a testament to your craftsmanship and creativity.
As you reflect on this rewarding endeavor, consider the valuable skills and insights you’ve gained throughout the process. The art of miniature construction encompasses not only technical proficiency but also a keen eye for detail and a deep appreciation for the art of masonry. Your miniature brick wall serves as a testament to your dedication and passion for bringing miniature worlds to life.
Furthermore, the completion of this project opens the door to further exploration and innovation in the realm of miniature construction. Whether you choose to expand your repertoire to include additional miniature structures, experiment with diverse bricklaying techniques, or embark on entirely new projects, the knowledge and experience gained from creating a miniature brick wall will undoubtedly enrich your future endeavors.
Ultimately, the allure of miniature construction lies in the ability to create immersive and captivating worlds on a small scale. Your miniature brick wall stands as a testament to the artistry and ingenuity inherent in this craft, inviting admiration and sparking the imagination of all who behold it.
As you admire your completed miniature brick wall, take pride in the craftsmanship and creativity you’ve poured into this project. Whether it’s the satisfaction of a completed endeavor or the inspiration to embark on new creative pursuits, your miniature brick wall represents a remarkable achievement in the realm of miniature construction.
Frequently Asked Questions about How To Make A Miniature Brick Wall
Was this page helpful?
At Storables.com, we guarantee accurate and reliable information. Our content, validated by Expert Board Contributors, is crafted following stringent Editorial Policies. We're committed to providing you with well-researched, expert-backed insights for all your informational needs.

0 thoughts on “How To Make A Miniature Brick Wall”