
Furniture
How To Make A Miniature Dollhouse Chandelier
Modified: December 7, 2023
Learn how to create a stunning miniature dollhouse chandelier with this step-by-step guide. Explore different furniture options for your dollhouse and add a touch of elegance.
(Many of the links in this article redirect to a specific reviewed product. Your purchase of these products through affiliate links helps to generate commission for Storables.com, at no extra cost. Learn more)
Introduction
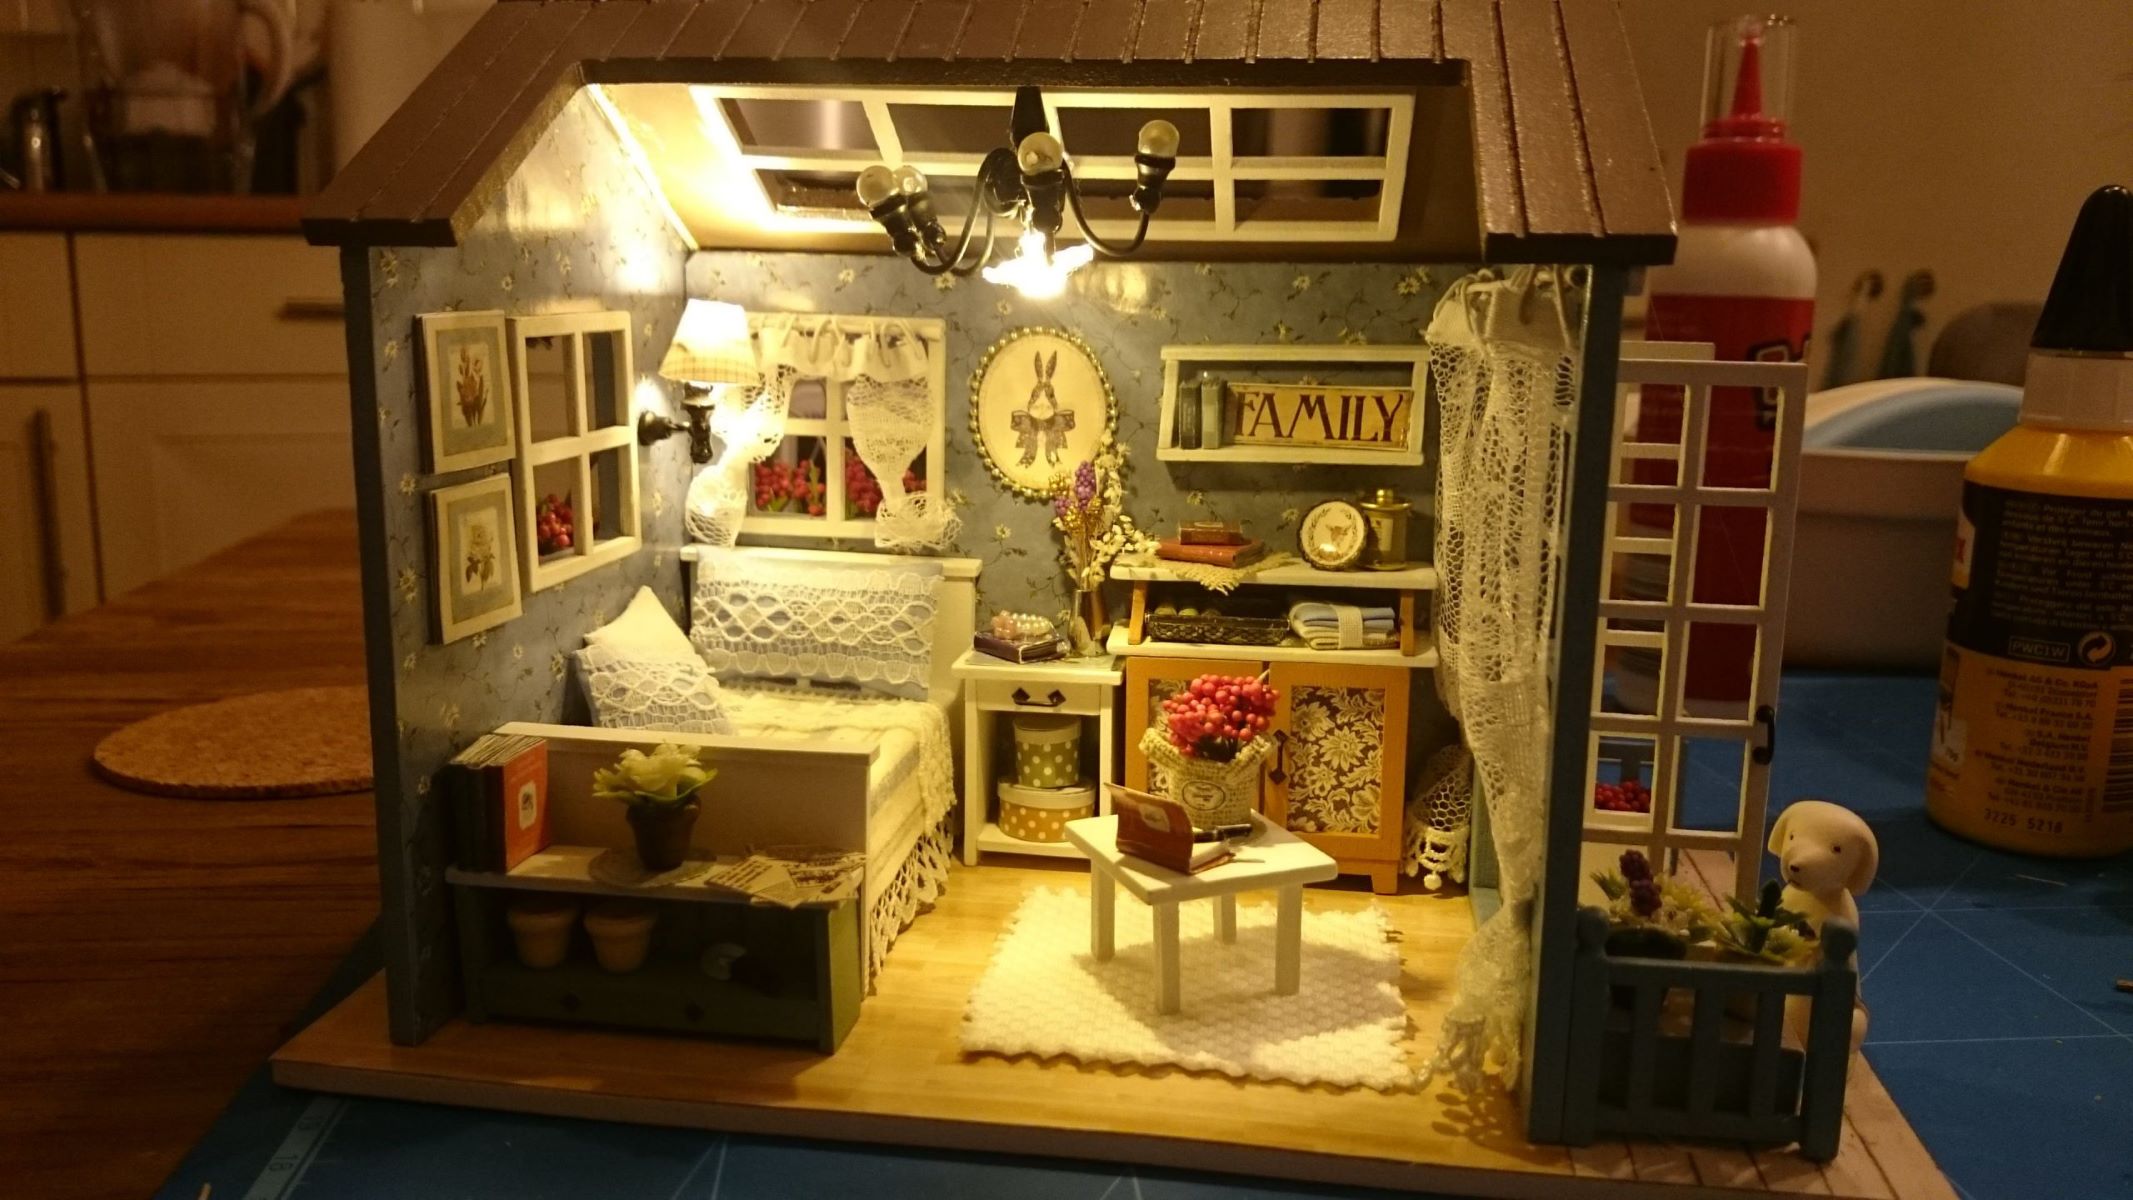
Welcome to this step-by-step guide on how to make a miniature dollhouse chandelier. A dollhouse chandelier can add a touch of elegance and charm to any dollhouse interior. Whether you are a collector, hobbyist, or just someone who enjoys DIY projects, creating your own miniature chandelier can be a fun and rewarding experience.
In this article, we will walk you through the materials needed, as well as the step-by-step process of assembling and decorating a dollhouse chandelier. So get your crafting supplies ready, roll up your sleeves, and let’s dive into the world of miniatures!
Key Takeaways:
- Create a stunning dollhouse chandelier by assembling a wire frame, attaching beads, adding lighting, and decorating with ribbons and embellishments. Showcase your creativity and craftsmanship in your miniature world.
- Transform your dollhouse with a handcrafted chandelier, adding elegance and charm to any room. Personalize your creation with unique beads, decorative elements, and a mesmerizing glow.
Read more: How To Make Dollhouse Furniture
Materials Needed
Before we get started, let’s gather all the materials you will need to make a miniature dollhouse chandelier:
- Small metal hoop or wire circle
- Assorted beads in different shapes and sizes
- Craft wire or jewelry wire
- Miniature light bulb or LED light
- Wire cutters
- Needle-nose pliers
- Hot glue gun or strong adhesive
- Decorative ribbon or string
Make sure to gather these materials before you start to ensure a smooth crafting process.
Step 1: Gather Supplies
The first step in making a miniature dollhouse chandelier is to gather all the necessary supplies. This will ensure that you have everything you need at hand and can work seamlessly through the crafting process.
Start by collecting a small metal hoop or wire circle. You can find these at craft stores or repurpose an old jewelry hoop. The size of the hoop will depend on the scale of your dollhouse, so choose accordingly.
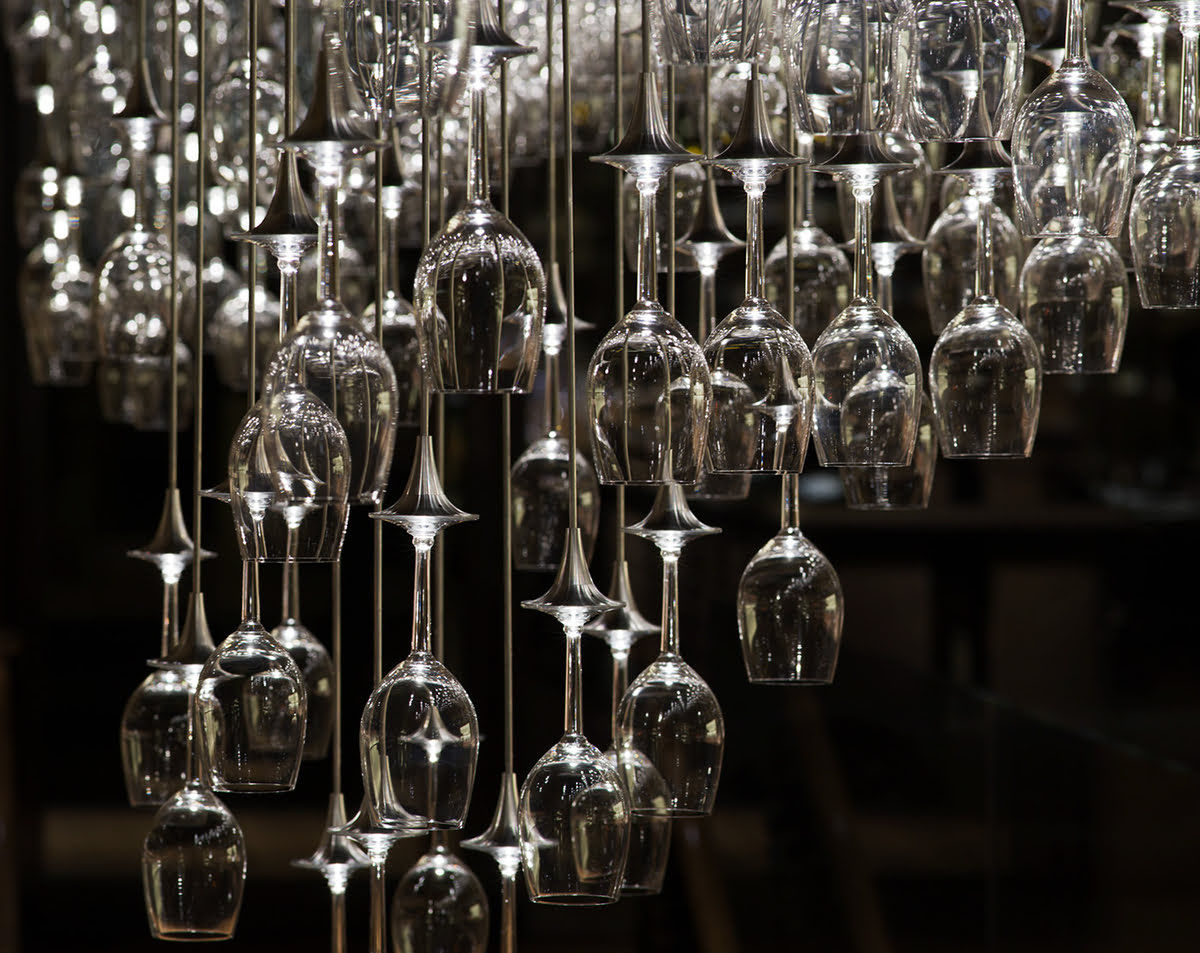
Next, gather an assortment of beads in different shapes and sizes. This will add variety and visual interest to your chandelier. Look for beads that resemble crystals or gemstones to give your chandelier an elegant touch.
You will also need craft wire or jewelry wire to attach the beads to the hoop. Choose a wire that is flexible yet sturdy enough to hold the weight of the beads.
Obtain a miniature light bulb or LED light to serve as the chandelier’s light source. You can find miniature light bulbs specifically designed for dollhouse lighting at specialty stores or online. Make sure to select a light bulb that fits the scale of your dollhouse.
Lastly, gather wire cutters and needle-nose pliers. These tools will be used to cut and shape the wire, as well as attach the beads to the hoop. Having these tools on hand will make the crafting process much easier.
Once you have gathered all the necessary supplies, you are ready to move on to the next step: assembling the chandelier base.
Step 2: Assemble the Chandelier Base
Now that you have all your supplies ready, it’s time to start assembling the base of your dollhouse chandelier. This step will create the foundation upon which you will attach the beads and the light.
Begin by taking your small metal hoop or wire circle and laying it flat on a workspace. This hoop will serve as the frame of your chandelier. Ensure that the size of the hoop is proportionate to the scale of your dollhouse.
Using your craft wire or jewelry wire, secure one end of the wire to the hoop by wrapping it tightly. Make sure the wire is securely fastened, as this will provide support for the beads later on.
Once the wire is attached to the hoop, start spiraling it around the hoop, gradually moving towards the center. This will create a spiral pattern that mimics the look of a real chandelier.
Continue wrapping the wire until you reach the center of the hoop. Cut the wire and use the needle-nose pliers to tuck the end neatly into the spiral, ensuring that it is secure.
With the base of your chandelier complete, you now have a structure on which to attach the beads. The spiral design adds a touch of elegance and will make your miniature chandelier truly stand out.
Now, it’s time to move on to the next step: attaching the beads to the chandelier.
Step 3: Attach the Beads
With the chandelier base assembled, it’s time to add the beads that will create the sparkling and decorative elements of your dollhouse chandelier.
Start by selecting the beads you want to use. Consider playing with different shapes, sizes, and colors to create a visually appealing design. You can opt for clear beads to resemble crystals or experiment with colorful beads to match the theme of your dollhouse.
Begin attaching the beads to the wire framework of the chandelier. Thread a bead onto the wire and slide it down to the base of the chandelier. Use a small dot of hot glue or a strong adhesive near the base to secure the bead in place.
Continue this process, alternating between different beads, until you have covered the entire length of the wire framework. Be sure to space the beads evenly and vary the sizes and colors for an interesting and balanced look.
As you attach each bead, gently push it upwards towards the center, creating a tiered effect. This will give your chandelier a fuller appearance, resembling the layers of a real chandelier.
Take your time and make any adjustments as needed to ensure that the beads are secure and aligned properly.
Once you have attached all the beads, step back and admire your handiwork. The sparkling beads will add a touch of elegance and glamour to your dollhouse chandelier.
Now that the beads are in place, it’s time to move on to the next step: adding the wiring and light to bring your dollhouse chandelier to life.
When making a miniature dollhouse chandelier, use small beads or crystals to create a realistic and elegant look. Thread them onto thin wire and carefully shape the wire into a chandelier shape.
Read more: How To Make A Miniature Hammock
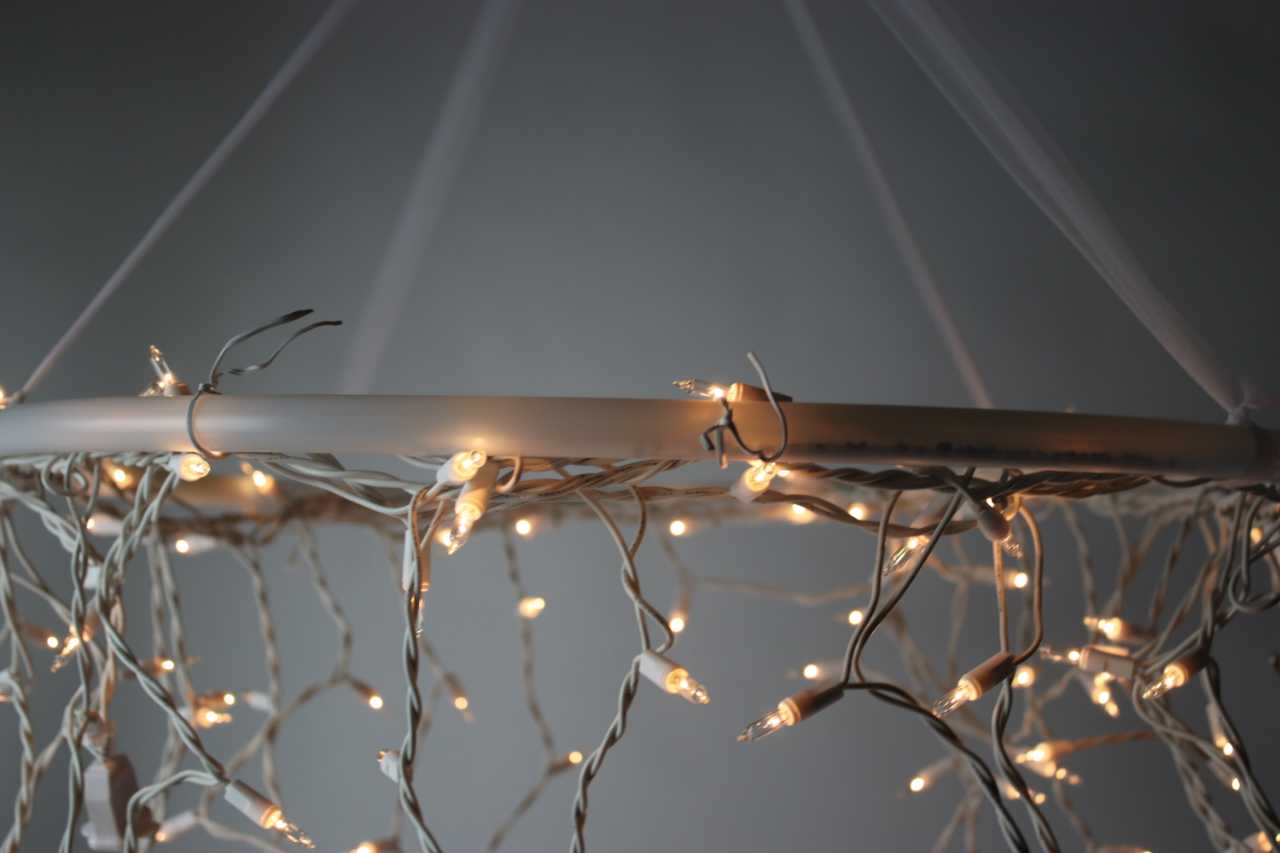
Step 4: Add the Wiring and Light
Adding the wiring and light to your dollhouse chandelier will transform it from a beautiful decorative piece to a functional lighting fixture.
Start by determining the desired location for the light bulb or LED light. Choose a spot near the center of the chandelier where the light will shine through the beads and create a mesmerizing glow.
Using your wire cutters, carefully cut a small section of craft wire or jewelry wire. Wrap one end of the wire around the base of the light bulb or LED light, making sure it is securely attached.
Next, thread the other end of the wire through the gaps in the beads, carefully weaving it through the wire framework of the chandelier. This will hide the wire and create a neat and seamless appearance.
Continue threading the wire through the beads until you reach the base of the chandelier. Secure the wire in place by wrapping it tightly around the wire framework or using a dab of hot glue or adhesive.
Take a moment to test the light bulb or LED light to ensure it is working properly. If using an LED light, make sure to connect it to a power source suitable for dollhouse lighting.
Once you are satisfied with the placement and functionality of the light, trim any excess wire, leaving a small length to connect to the power source.
At this stage, your dollhouse chandelier should be beautifully adorned with beads and equipped with a sparkling light. The wiring and light bring the chandelier to life, creating a captivating ambiance for your dollhouse interior.
Now that the wiring and light are installed, it’s time to move on to the next step: decorating the chandelier to add those finishing touches.
Step 5: Decorate the Chandelier
Now that your dollhouse chandelier is assembled and illuminated, it’s time to add some decorative elements to enhance its overall look and make it even more visually appealing.
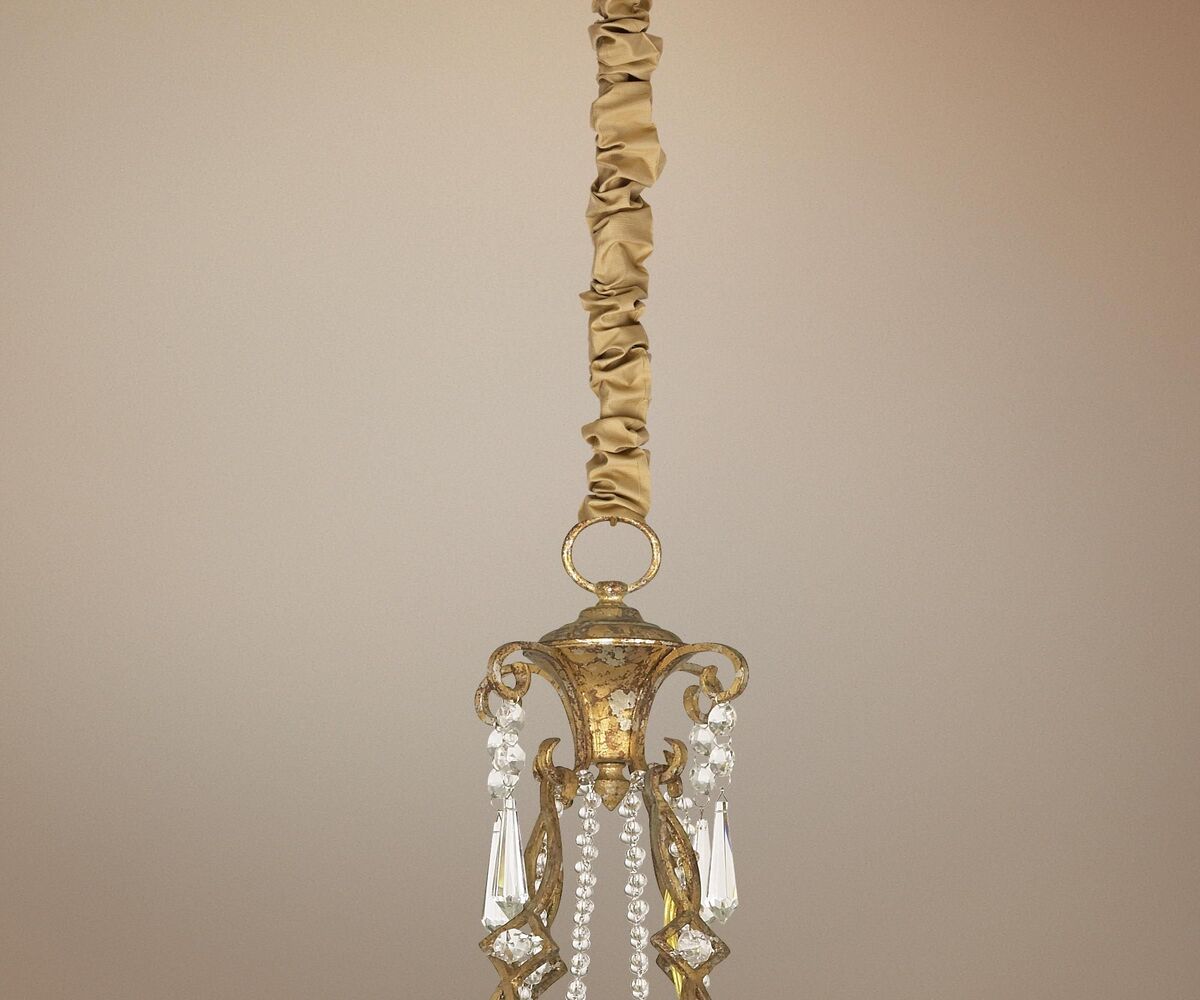
Start by adding decorative ribbon or string to the base of the chandelier. This will give it a more refined and polished appearance. Choose a ribbon or string that complements the color scheme or theme of your dollhouse interior.
Carefully attach the ribbon or string to the base of the chandelier using a small dot of hot glue or adhesive. Make sure it is evenly spaced and securely attached.
Consider adding additional embellishments to further enhance the aesthetics of your miniature chandelier. You can add small bows, miniature flowers, or even tiny hanging crystals. These extra touches will add dimension and charm to the chandelier.
Use your creativity and personal style to customize your dollhouse chandelier. Experiment with different colors, textures, and arrangements until you achieve the desired look.
Remember to step back and assess your work as you go. This will allow you to make adjustments or add any finishing touches to perfect the overall appearance of the chandelier.
Once you are satisfied with the decoration of your dollhouse chandelier, it’s time for the final step: hanging the chandelier in your dollhouse.
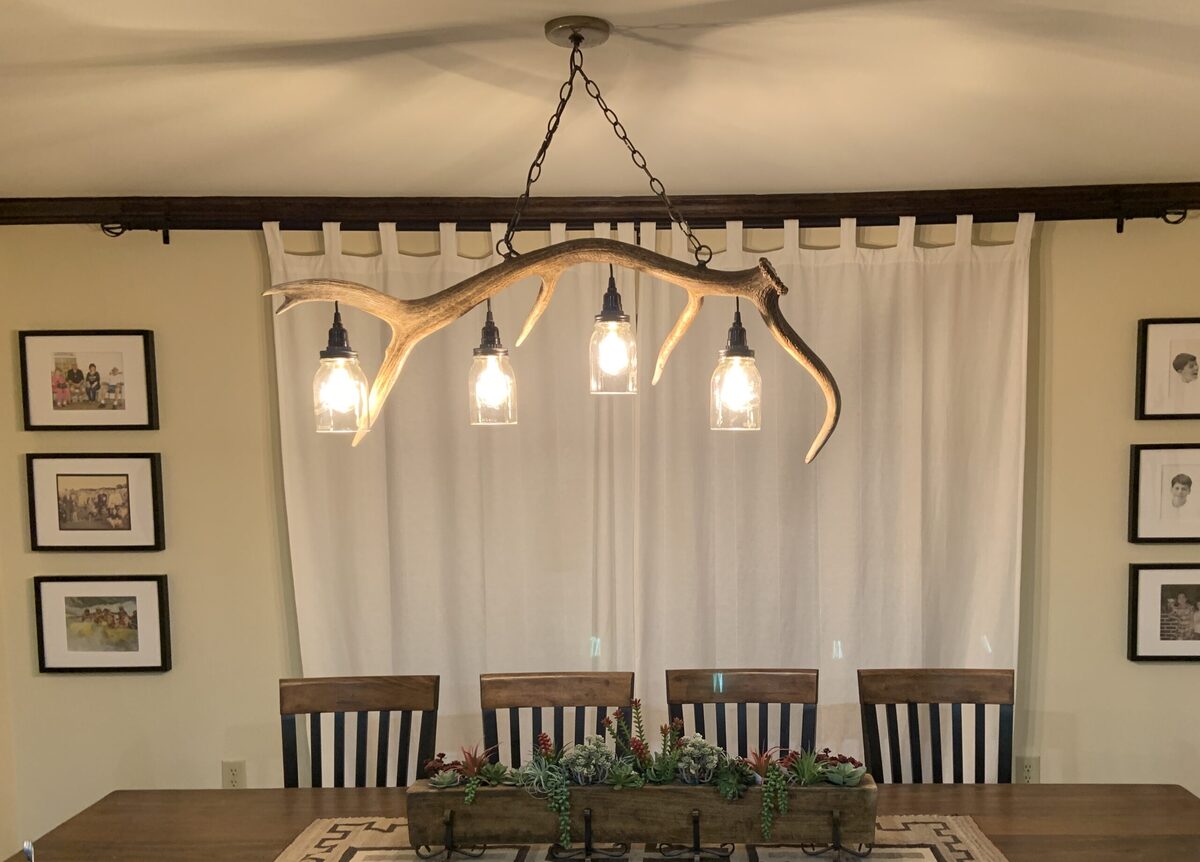
Step 6: Hang the Chandelier
The final step in creating your miniature dollhouse chandelier is to hang it in your dollhouse. This will showcase your creation and add a touch of elegance to any room in your miniature world.
Start by determining the perfect location for your chandelier. Choose a spot that will allow the chandelier to be seen and appreciated, such as the center of a room or above a dining table.
If your dollhouse has a pre-installed hook or fixture for chandeliers, simply attach it to the hook using a small jump ring or another suitable connector. Ensure that the chandelier hangs level and securely.
If your dollhouse does not have a hook or fixture, you can create one by using a small eye screw. Carefully drill a hole in the ceiling or desired location, making sure it is the appropriate size for the eye screw. Insert the eye screw and tighten it using pliers or a screwdriver. Now you have a secure point to hang your chandelier.
Gently hang the chandelier from the hook or eye screw, ensuring that it is centered and level. Take a step back and admire the beautiful lighting and craftsmanship of your miniature dollhouse chandelier.
Once the chandelier is in place, you can adjust the ribbon or string if needed and make any final adjustments to ensure it looks perfect in your dollhouse.
Congratulations! You have successfully made and hung a miniature dollhouse chandelier. It adds a stunning focal point and creates a cozy and sophisticated ambiance in your dollhouse interior.
Remember to take care of your chandelier by cleaning it regularly and ensuring that the light bulb or LED light is functioning properly. With proper care, your miniature chandelier will continue to shine brightly for years to come.
Now, sit back and enjoy the beauty of your handcrafted dollhouse chandelier. It’s a testament to your creativity and craftsmanship, and a standout piece in your dollhouse decor.
Thank you for joining us on this artistic journey of creating a miniature dollhouse chandelier. We hope you had a great time crafting and designing your own unique piece. Happy dollhouse decorating!
Conclusion
Congratulations on completing your miniature dollhouse chandelier! Through this step-by-step guide, you have learned how to gather the necessary materials, assemble the chandelier base, attach the beads, add the wiring and light, decorate the chandelier, and hang it in your dollhouse.
The process of creating your own miniature chandelier can be an enjoyable and fulfilling experience. Not only does it allow you to showcase your creativity, but it also adds a touch of elegance and sophistication to your dollhouse interior.
By carefully selecting beads, adding decorative elements, and bringing your chandelier to life with lighting, you have created a stunning centerpiece that will make a statement in any room of your dollhouse. The light shining through the beads adds a magical ambiance, creating a cozy and inviting atmosphere.
Remember to personalize your chandelier based on your own style and the theme of your dollhouse. Play around with different colors, shapes, and sizes of beads to create a unique look. Don’t be afraid to experiment with additional embellishments to make it even more special.
Now that your miniature dollhouse chandelier is complete, take the time to appreciate and admire your craftsmanship. It’s a testament to your skills and attention to detail, and it will surely captivate anyone who sees it.
Make sure to care for your chandelier by cleaning it regularly and ensuring that the light bulb or LED light is in good working condition. This will help maintain its beauty and functionality over time.
We hope you have enjoyed this journey of creating a miniature dollhouse chandelier. It’s a wonderful way to showcase your love for miniatures and add a touch of elegance to your dollhouse decor.
So sit back, bask in the glow of your handcrafted masterpiece, and enjoy the warmth and charm it brings to your miniature world. Happy decorating!
Frequently Asked Questions about How To Make A Miniature Dollhouse Chandelier
Was this page helpful?
At Storables.com, we guarantee accurate and reliable information. Our content, validated by Expert Board Contributors, is crafted following stringent Editorial Policies. We're committed to providing you with well-researched, expert-backed insights for all your informational needs.


0 thoughts on “How To Make A Miniature Dollhouse Chandelier”