Home>Construction & Tools>Building Materials>How To Mount A Trellis On A Brick Wall
Building Materials
How To Mount A Trellis On A Brick Wall
Modified: August 28, 2024
Learn how to securely mount a trellis on a brick wall using the right building materials. Our step-by-step guide will help you achieve a sturdy and stylish installation. Discover the best practices for a successful project.
(Many of the links in this article redirect to a specific reviewed product. Your purchase of these products through affiliate links helps to generate commission for Storables.com, at no extra cost. Learn more)
Introduction
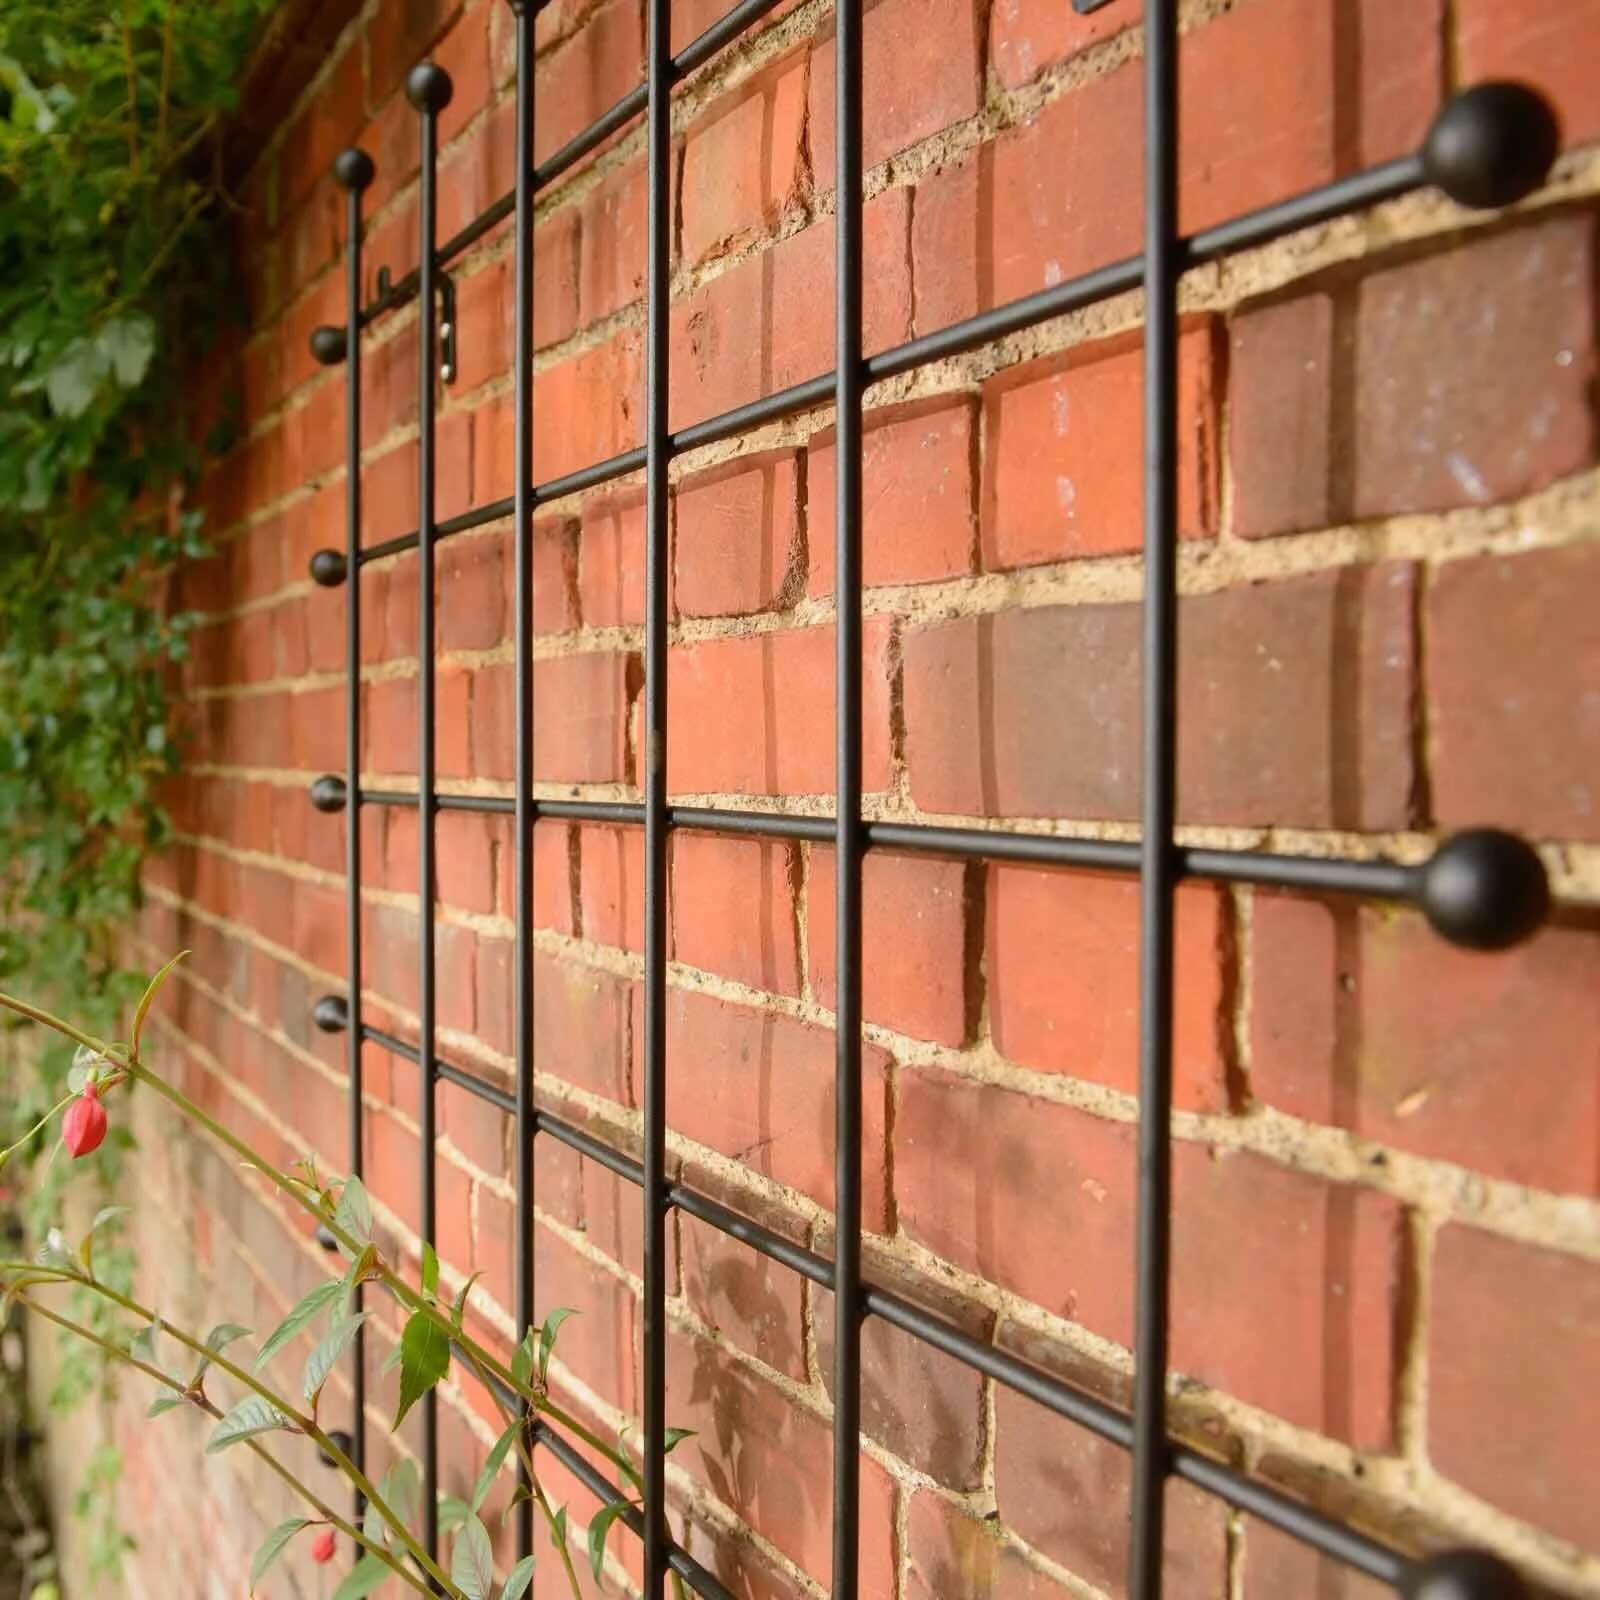
Adding a trellis to a brick wall can transform the appearance of your outdoor space, providing a beautiful framework for climbing plants and a touch of elegance to your home. Whether you envision a flourishing vine-covered wall or a decorative element for your garden, mounting a trellis on a brick wall is a rewarding project that can enhance the aesthetics of your property. In this guide, we will explore the step-by-step process of securely and aesthetically mounting a trellis on a brick wall, from selecting the right location to the final attachment.
By following these instructions, you can achieve a professional and durable installation, ensuring that your trellis remains steadfast and visually appealing for years to come. Let’s dive into the tools, materials, and techniques required to bring this vision to life.
Key Takeaways:
- Transform your outdoor space by mounting a trellis on a brick wall, creating a beautiful framework for climbing plants and adding elegance to your home.
- Securely attach a trellis to a brick wall using the right tools, precise measurements, and careful drilling, ensuring a visually appealing and long-lasting installation.
Read more: How To Mount Wood To Brick
Tools and Materials Needed
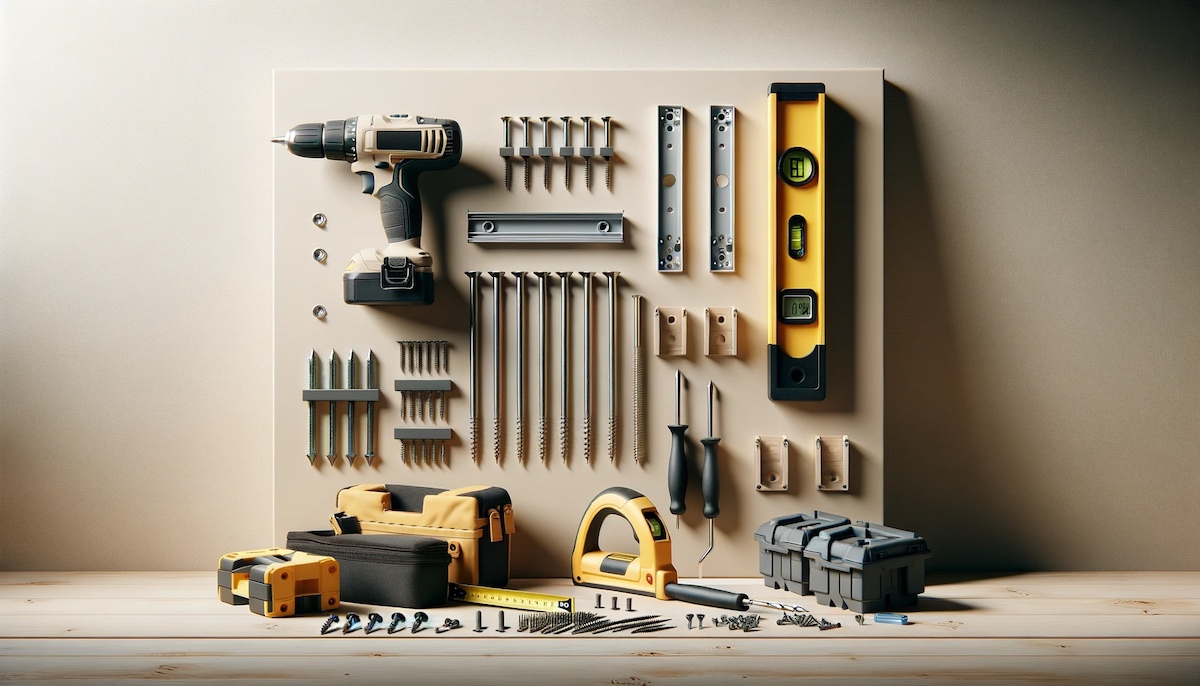
Before embarking on the project of mounting a trellis on a brick wall, it’s essential to gather the necessary tools and materials to ensure a smooth and efficient installation process. Here’s a comprehensive list of items you will need:
- Electric drill: A powerful drill equipped with masonry drill bits is essential for effectively boring into the tough surface of a brick wall.
- Masonry drill bits: These specialized drill bits are designed to penetrate brick and concrete, providing the necessary precision for creating anchor points.
- Level: A reliable level is crucial for ensuring that the trellis is mounted perfectly straight and level on the wall.
- Tape measure: Accurate measurements are key to positioning the trellis correctly, making a tape measure an indispensable tool for this project.
- Pencil or chalk: Marking the positions for mounting and drilling requires a tool for clear and temporary markings on the brick surface.
- Safety goggles and gloves: When working with masonry and power tools, it’s important to prioritize safety. Goggles and gloves will protect your hands and eyes from debris and potential hazards.
- Trellis and mounting hardware: Select a trellis that complements your aesthetic preferences and the dimensions of the wall. Additionally, ensure you have suitable hardware for attaching the trellis securely to the brick wall.
- Screwdriver or impact driver: Depending on the type of fasteners used, a screwdriver or impact driver will be necessary for affixing the trellis to the wall.
- Anchors and screws: High-quality masonry anchors and screws are essential for creating strong attachment points on the brick surface.
- Wire cutters (if applicable): If your trellis design incorporates wire elements, wire cutters will be needed to customize the size and configuration of the wires.
By ensuring that you have these tools and materials at your disposal, you can proceed with confidence, knowing that you are well-equipped to tackle the task of mounting a trellis on a brick wall.
Choosing the Right Location on the Brick Wall
Identifying the ideal location for mounting your trellis is a crucial first step in the process. Consider the following factors to determine the most suitable placement:
- Sunlight: Assess the sunlight exposure in different areas of the wall to determine the best location for promoting the growth of climbing plants. Most vines and climbing plants thrive in areas that receive ample sunlight, so choose a spot that aligns with the light requirements of your chosen plant species.
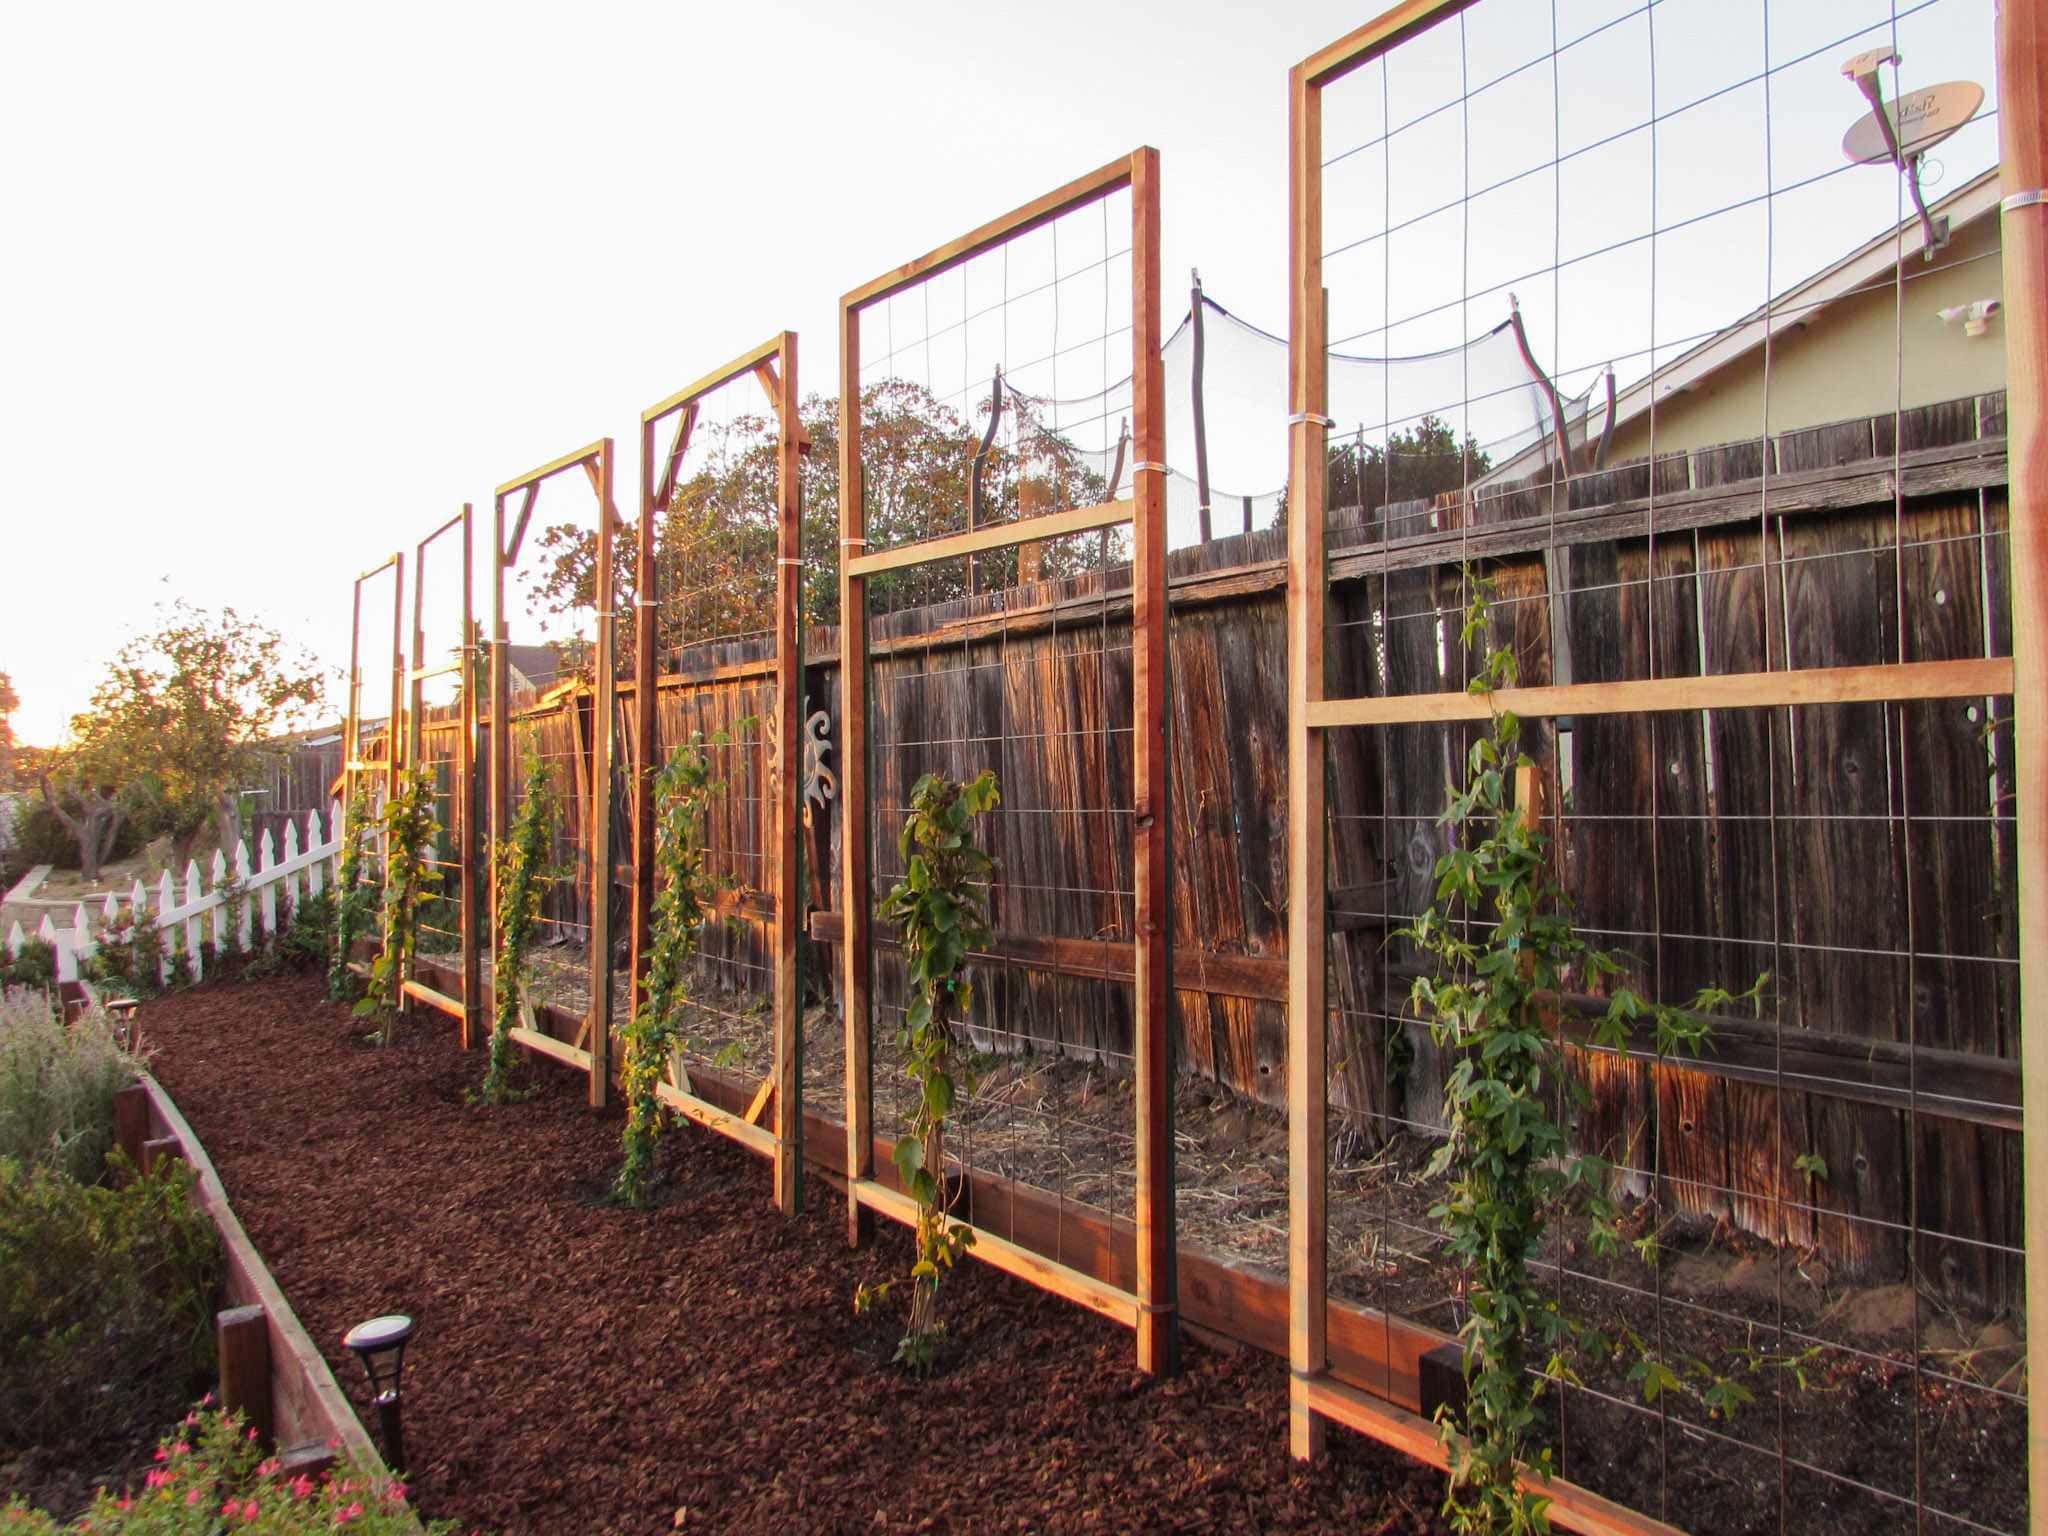
- Aesthetic appeal: Visualize the overall appearance of your outdoor space and the impact of the trellis on the wall. Consider how the trellis will complement the surrounding elements and contribute to the overall aesthetic of your garden or outdoor area.
- Structural integrity: Inspect the brick wall to ensure that it can support the weight of the trellis and the plants it will eventually accommodate. Look for areas with solid, stable brickwork that can withstand the pressure and weight of the trellis and climbing vegetation.
- Accessibility: Choose a location that allows for easy access to the trellis for maintenance and plant care. Ensuring that you can reach the trellis comfortably will facilitate ongoing upkeep and ensure the health and vitality of the climbing plants.
Once you’ve considered these aspects and identified a suitable location, visualize the placement of the trellis on the wall to confirm that it aligns with your vision for the space. Take into account the dimensions of the trellis and how it will interact with the surrounding environment, ensuring that it enhances the overall appeal of your outdoor area.
By carefully selecting the right location for your trellis, you can set the stage for a visually striking and functional addition to your outdoor space, creating an inviting and enchanting atmosphere for both residents and visitors alike.
Marking the Positions for Mounting
Once you have determined the optimal location for your trellis, the next step involves marking the precise positions for mounting on the brick wall. This process requires accuracy and attention to detail to ensure that the trellis is positioned correctly and securely. Follow these steps to mark the mounting positions:
- Measurements: Use a tape measure to determine the exact spacing for the mounting points on the trellis. Transfer these measurements to the corresponding locations on the brick wall, ensuring that the marks align with the desired positioning of the trellis.
- Leveling: Place the level horizontally and vertically against the wall to confirm that the mounting positions are perfectly aligned and level. This step is crucial for achieving a visually appealing and structurally sound installation.
- Marking: Using a pencil or chalk, carefully mark the positions for drilling on the brick wall. Ensure that the markings are clear and easily visible, as they will serve as the guides for drilling the anchor points.
- Spacing and symmetry: Pay attention to the spacing and symmetry of the mounting positions to create a balanced and aesthetically pleasing arrangement. Symmetrical placement of the mounting points will contribute to the overall visual harmony of the trellis on the wall.
By meticulously marking the positions for mounting, you can lay the groundwork for a precise and professional installation. Taking the time to ensure accurate measurements and clear markings will facilitate the subsequent steps of drilling and attaching the trellis, leading to a successful and visually appealing outcome.
Use a masonry drill bit to create pilot holes in the brick wall. Then, use wall plugs and screws to securely attach the trellis to the wall. Make sure to use a level to ensure the trellis is straight.
Drilling into the Brick Wall
Drilling into a brick wall requires careful precision and the use of specialized tools to create secure anchor points for mounting the trellis. Follow these steps to effectively drill into the brick wall:
- Choose the right drill bit: Select a masonry drill bit that matches the diameter of the masonry anchors or screws you will be using. The drill bit should be designed specifically for drilling into brick and concrete, ensuring efficient and precise penetration.
- Marking alignment: Refer to the markings on the wall to guide the placement of the drill for each mounting point. Ensure that the drill is positioned accurately to align with the intended locations for the anchor points.
- Steady pressure: Apply steady and firm pressure to the drill as you bore into the brick wall. Avoid excessive force, as the drill bit’s cutting edges are designed to gradually penetrate the tough surface of the brick with consistent pressure.
- Depth and angle: Drill to the appropriate depth required for the anchors or screws, ensuring that the holes are deep enough to accommodate the mounting hardware. Maintain a perpendicular angle to the wall to create straight and precise holes.
- Clean out debris: After drilling each hole, remove any debris or dust to ensure a clear pathway for inserting the anchors or screws. A clean hole will facilitate a secure and snug fit for the mounting hardware.
- Confirm alignment: Periodically check the alignment and levelness of the drilled holes to verify that they correspond with the intended positions for mounting the trellis. This step is essential for ensuring that the trellis will be mounted straight and level on the wall.
By following these steps and exercising patience and precision, you can successfully create the necessary anchor points in the brick wall to securely affix the trellis. The drilling process sets the stage for the final step of attaching the trellis to the wall, bringing your vision of a flourishing and visually captivating vertical garden to fruition.
Read more: How To Mount Things To Brick
Attaching the Trellis to the Wall
With the anchor points securely established in the brick wall, the final step involves attaching the trellis to the wall, ensuring a stable and visually appealing installation. Follow these guidelines to affix the trellis securely to the wall:
- Positioning the trellis: Carefully lift the trellis and align it with the drilled anchor points on the wall. Enlist the assistance of a partner if the trellis is large or heavy to ensure safe and accurate positioning.
- Inserting the anchors or screws: Place the appropriate anchors or screws into the drilled holes, ensuring a snug fit. Use a screwdriver or impact driver to drive the screws into the anchors, creating a secure attachment between the trellis and the brick wall.
- Leveling and alignment: Confirm that the trellis is level and aligned with the surrounding environment, making any necessary adjustments to ensure a straight and visually pleasing installation.
- Securing the trellis: Tighten the screws or fasteners to firmly secure the trellis to the wall, ensuring that it is stable and resistant to movement or shifting. Verify the stability of the trellis by gently applying pressure to different sections to confirm its steadfast attachment.
- Customizing wire elements (if applicable): If your trellis design incorporates wire elements for supporting climbing plants, use wire cutters to customize the length and configuration of the wires, ensuring they are tailored to the specific needs of your plants.
- Final inspection: Step back and visually inspect the mounted trellis to ensure that it meets your expectations in terms of positioning, stability, and overall aesthetic impact. Confirm that the trellis is securely attached and enhances the visual appeal of the brick wall.
By following these steps, you can complete the process of attaching the trellis to the brick wall, culminating in a visually striking and functional addition to your outdoor space. With the trellis securely mounted, you are now ready to introduce climbing plants and vines, ushering in a new dimension of natural beauty and charm to your home’s exterior.
Conclusion
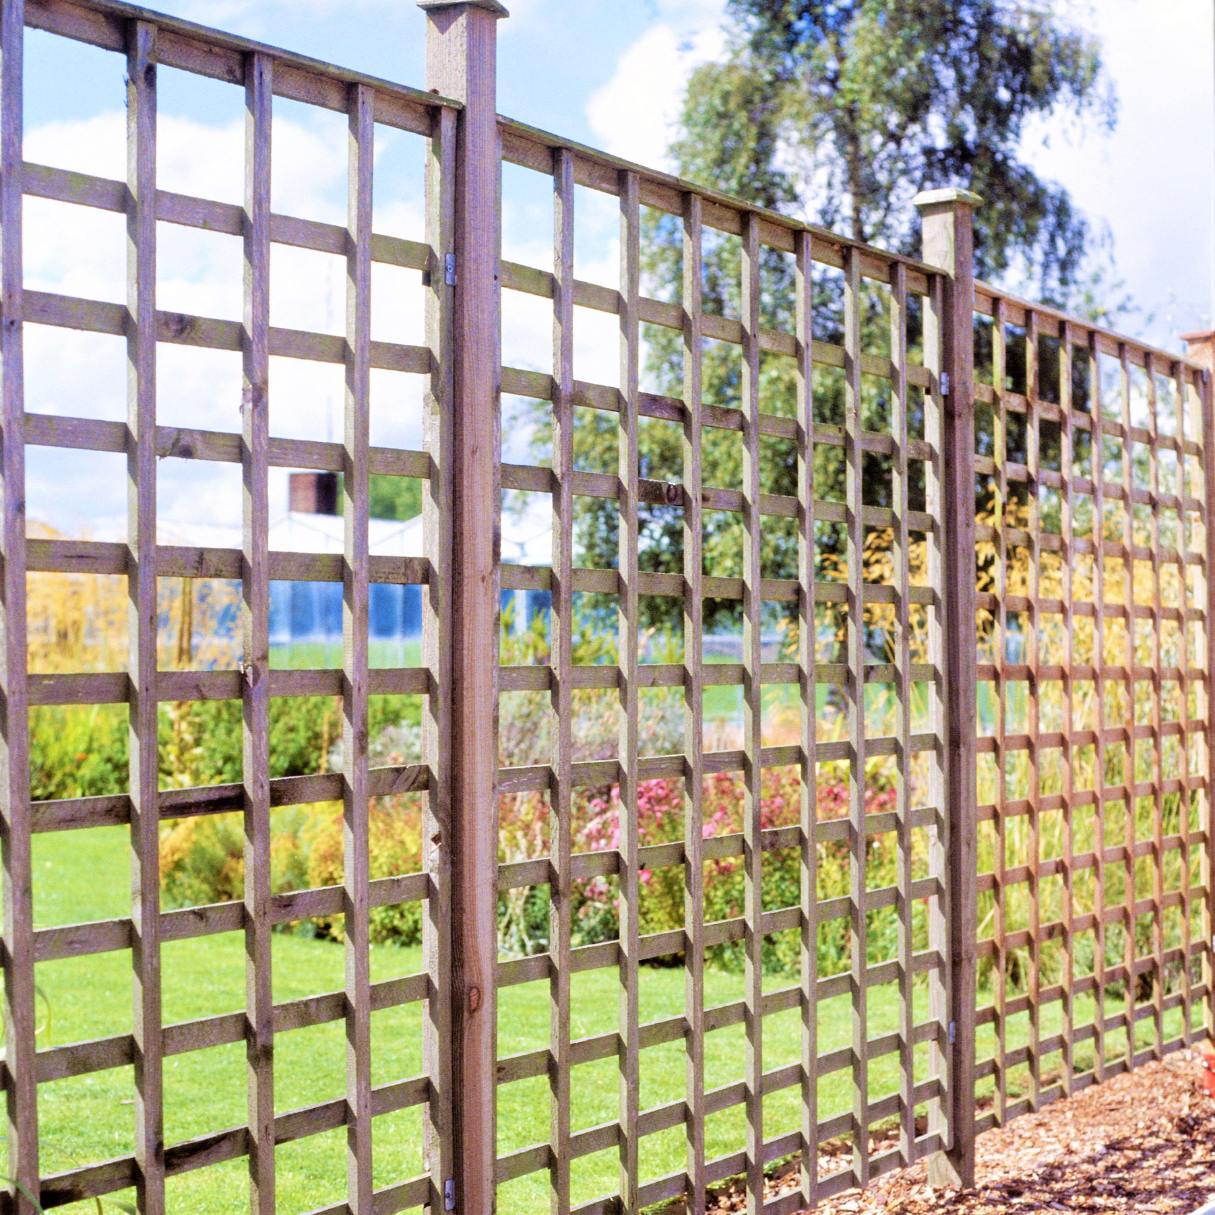
Mounting a trellis on a brick wall is a gratifying endeavor that elevates the visual appeal of your outdoor space while providing a supportive structure for climbing plants. By carefully selecting the right location, marking the positions for mounting, drilling into the brick wall, and securely attaching the trellis, you have set the stage for a stunning transformation of your home’s exterior.
As the trellis takes its place on the brick wall, envision the potential for lush greenery and vibrant blooms to adorn this elegant framework, creating a captivating display of natural beauty. The interplay of the trellis, climbing plants, and the sturdy backdrop of the brick wall adds depth, texture, and visual interest to your outdoor environment, infusing it with a sense of enchantment and tranquility.
As you step back and admire the trellis securely mounted on the brick wall, take pride in the craftsmanship and attention to detail that have culminated in this captivating addition to your home. The fusion of natural elements and architectural charm creates a harmonious balance, inviting you to savor the beauty of the outdoors from a new perspective.
With the trellis in place, you have unlocked the potential for a flourishing vertical garden, a testament to the seamless integration of nature and design. As the climbing plants begin their ascent, weaving a tapestry of greenery against the brick backdrop, you can revel in the transformative power of this simple yet impactful project.
Embrace the allure of the trellis-clad brick wall, knowing that you have not only enhanced the aesthetics of your home but also fostered a welcoming and serene atmosphere. The trellis stands as a testament to your creativity and vision, offering a glimpse of the natural splendor that will grace your outdoor space for years to come.
As the seasons unfold, the trellis will evolve, adorned with the ever-changing tapestry of nature’s bounty. Each bloom and tendril will weave a story of growth and vitality, infusing your outdoor sanctuary with a sense of wonder and tranquility. The trellis on the brick wall is more than a mere structure; it is a living canvas, an expression of the beauty and harmony that can be cultivated in your own backyard.
With the trellis mounted on the brick wall, you have not only created a visually captivating feature but also established a nurturing environment for the flourishing of climbing plants and the cultivation of natural splendor. Embrace the transformative power of this project, and revel in the enchanting allure of your newly adorned brick wall, a testament to the seamless integration of nature and design.
Frequently Asked Questions about How To Mount A Trellis On A Brick Wall
Was this page helpful?
At Storables.com, we guarantee accurate and reliable information. Our content, validated by Expert Board Contributors, is crafted following stringent Editorial Policies. We're committed to providing you with well-researched, expert-backed insights for all your informational needs.


0 thoughts on “How To Mount A Trellis On A Brick Wall”