Home>Construction & Tools>Building Materials>How To Repair A Leaning Brick Wall
Building Materials
How To Repair A Leaning Brick Wall
Modified: August 28, 2024
Learn how to repair a leaning brick wall with the right building materials. Our expert guide will help you fix the issue effectively and prevent further damage.
(Many of the links in this article redirect to a specific reviewed product. Your purchase of these products through affiliate links helps to generate commission for Storables.com, at no extra cost. Learn more)
Introduction
Welcome to our comprehensive guide on repairing a leaning brick wall. Brick walls are known for their durability and timeless appeal, but over time, they can experience wear and tear, leading to structural issues such as leaning or bulging. If you've noticed your brick wall starting to lean, it's crucial to address the problem promptly to prevent further damage and ensure the safety and stability of the structure.
In this guide, we'll walk you through the process of assessing the damage, gathering the necessary materials and tools, removing damaged bricks, repairing the foundation, replacing bricks, and adding the finishing touches to restore your brick wall to its former glory. Whether you're a seasoned DIY enthusiast or tackling this project for the first time, our step-by-step instructions and expert tips will empower you to take on the challenge with confidence.
Before we dive into the specifics of repairing a leaning brick wall, it's important to emphasize the significance of safety throughout the repair process. Working with heavy materials and tools poses inherent risks, so always prioritize safety by wearing appropriate protective gear, such as gloves, safety goggles, and sturdy footwear. Additionally, if the damage to your brick wall appears extensive or beyond your comfort level to repair, don't hesitate to seek professional assistance to ensure the job is done right.
Now, let's embark on this rewarding journey of restoring your brick wall to its former strength and beauty. Whether you're revitalizing the exterior of your home, enhancing your landscape, or preserving a piece of architectural history, this guide will equip you with the knowledge and skills needed to tackle the task effectively. Get ready to roll up your sleeves and breathe new life into your leaning brick wall!
Key Takeaways:
- Assess the damage to your leaning brick wall by checking for crumbling mortar, water damage, and foundation issues. Seek professional help for extensive damage.
- Gather replacement bricks, mortar mix, waterproofing sealant, and essential tools to repair the wall. Safety gear, precision, and patience are crucial throughout the restoration process.
Read more: How To Push Back A Leaning Brick Wall
Assessing the Damage
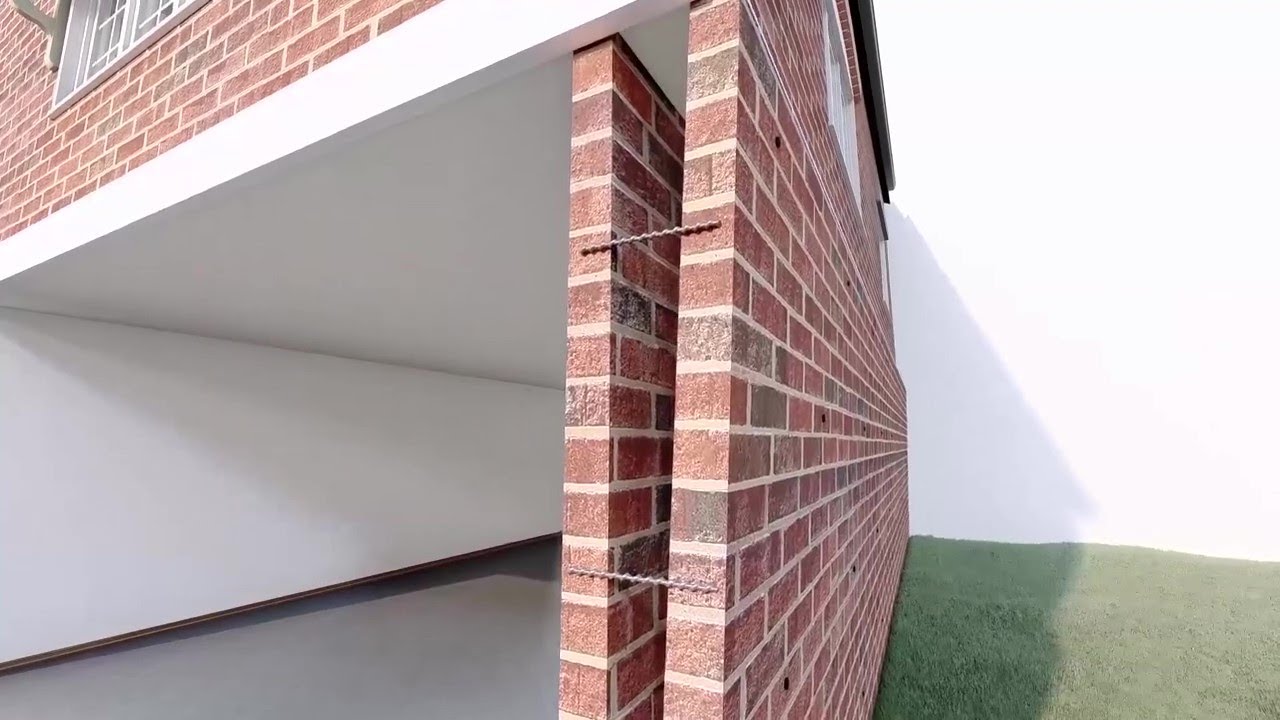
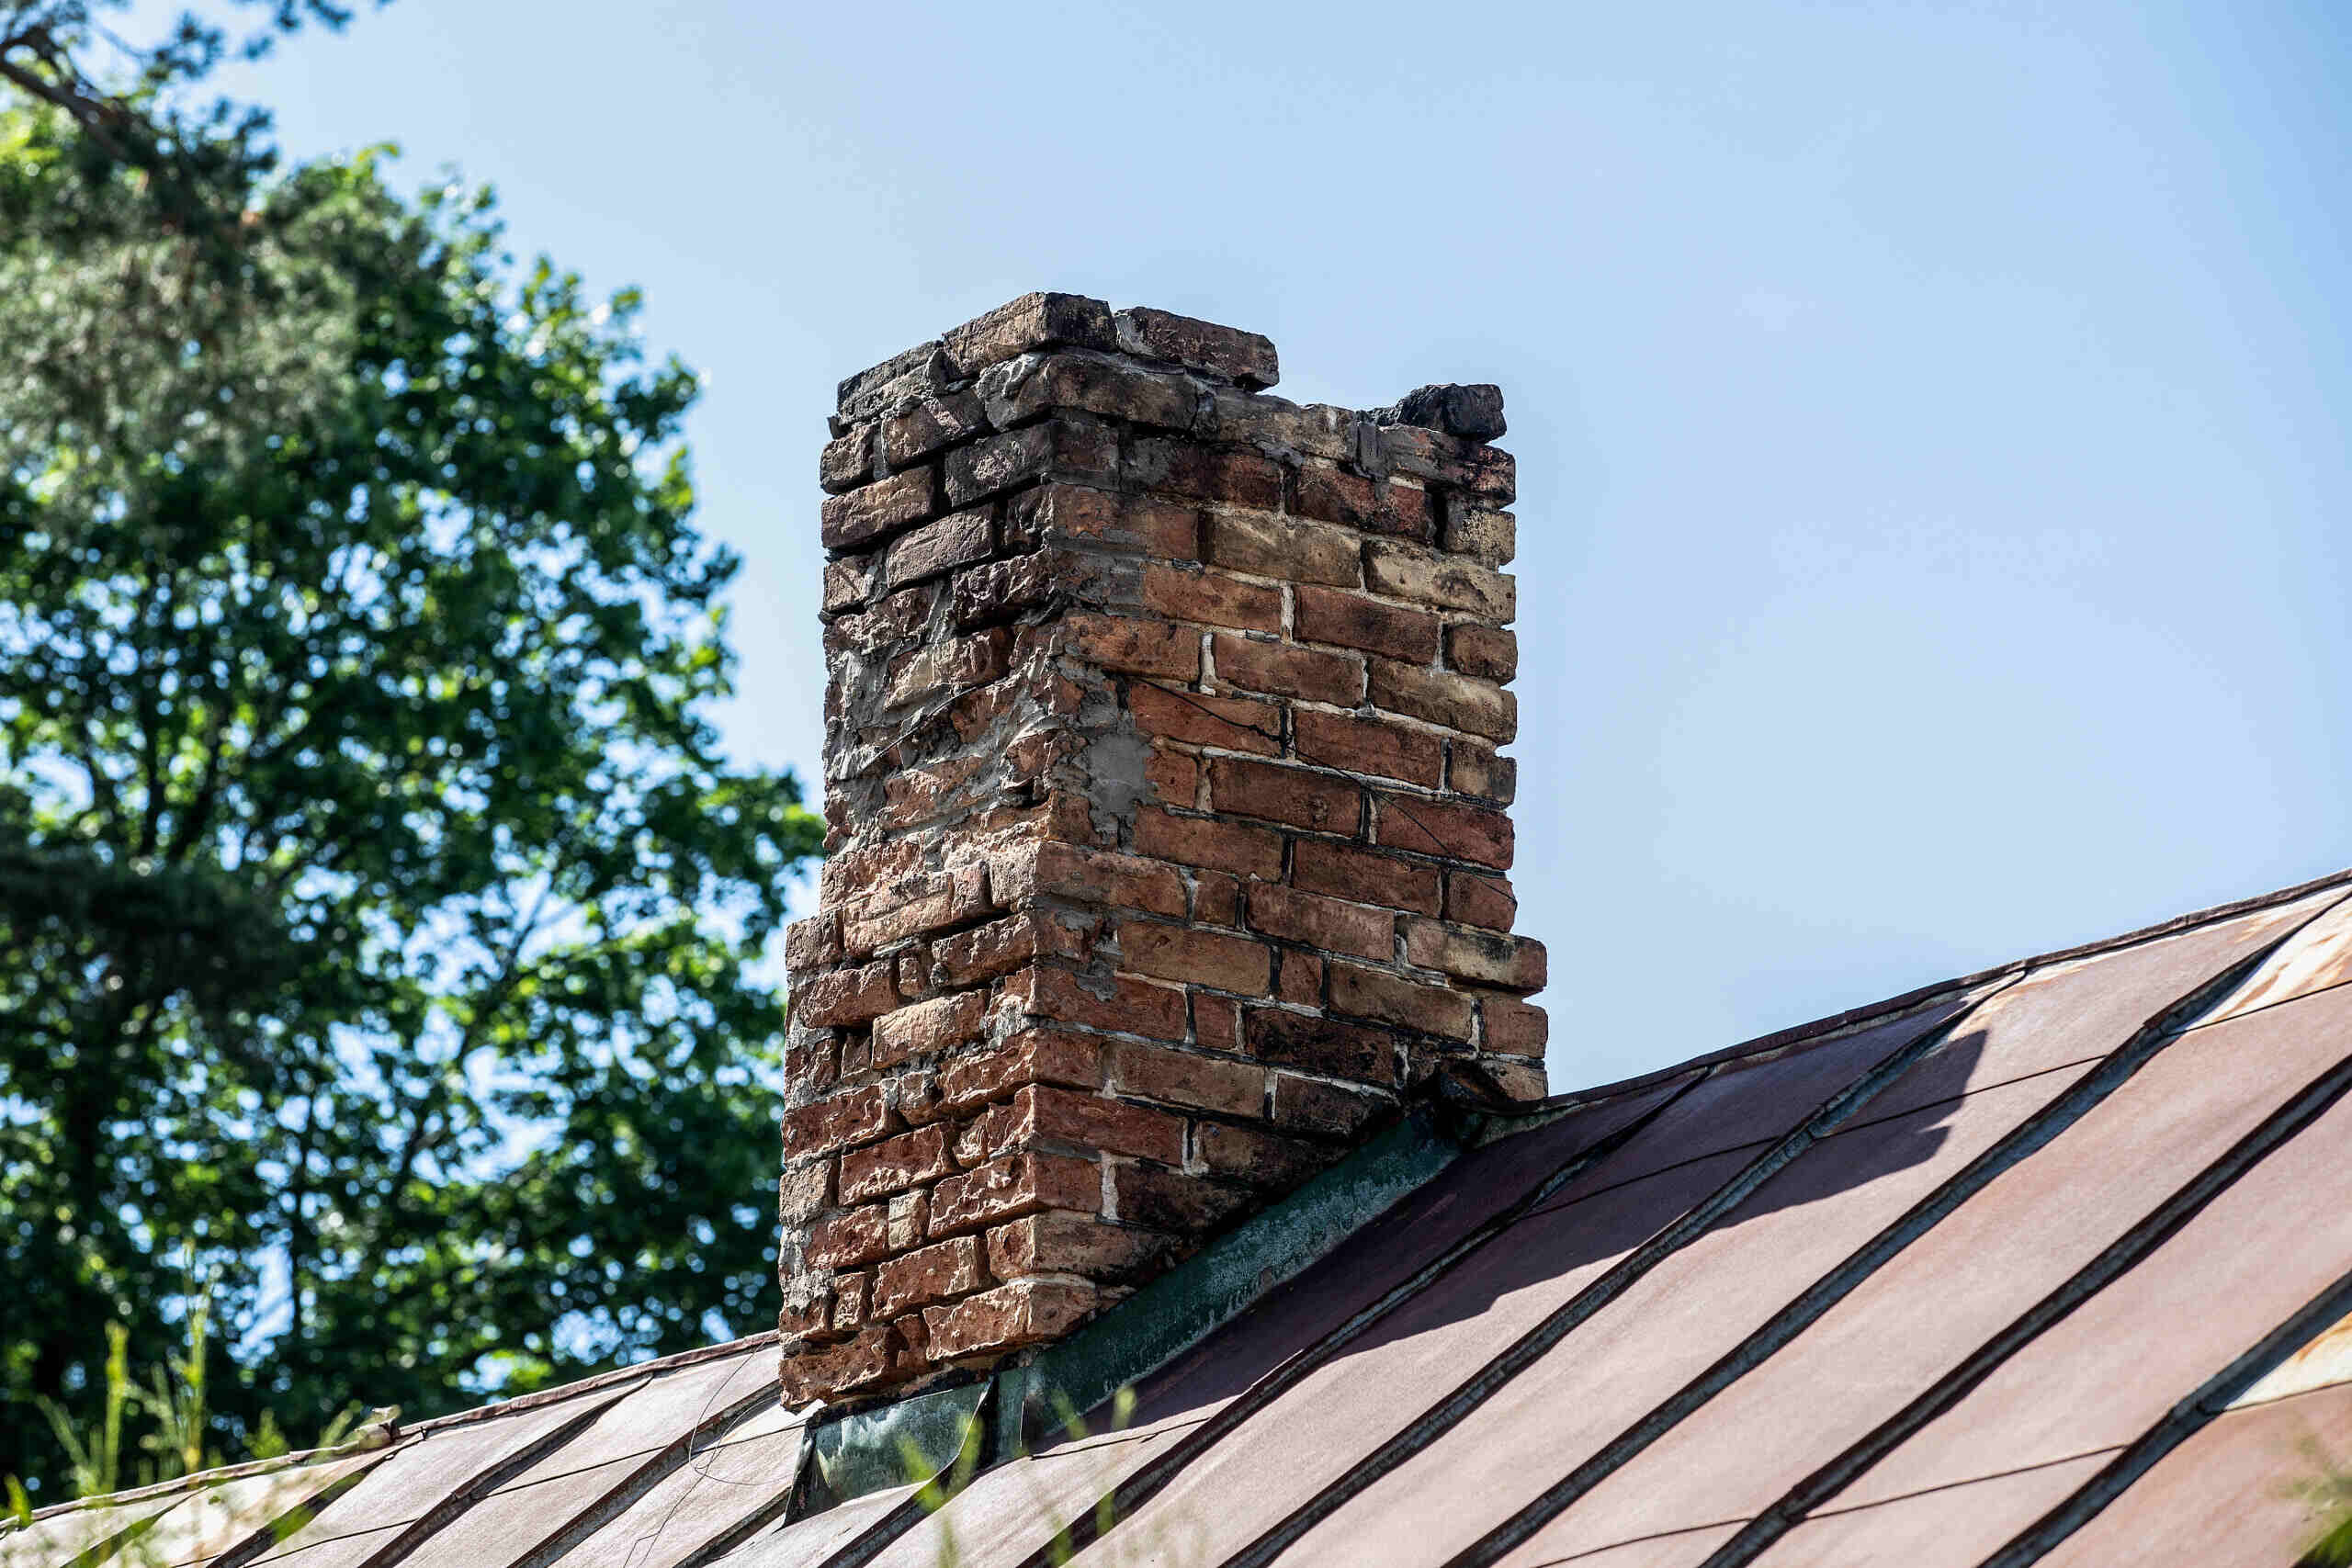
Before diving into the repair process, it’s essential to thoroughly assess the extent of the damage to your leaning brick wall. Start by visually inspecting the entire length of the wall, paying close attention to any areas where the bricks appear to be leaning, bulging, or showing signs of cracking. Take note of any areas where the mortar joints have deteriorated or become loose, as these can contribute to the instability of the wall.
Next, it’s important to identify the underlying causes of the leaning or bulging. Common factors that can lead to structural issues in brick walls include inadequate foundation support, water damage, soil erosion, or subpar construction practices. By pinpointing the root cause of the damage, you’ll be better equipped to implement effective repairs and prevent future issues.
When assessing the damage, consider the following key points:
- Inspect the mortar joints: Look for signs of crumbling or deteriorating mortar, as this can compromise the stability of the wall.
- Check for water damage: Examine the wall for areas where water may be seeping in, as prolonged exposure to moisture can weaken the structural integrity of the bricks and mortar.
- Evaluate the foundation: Assess the condition of the foundation beneath the leaning wall, paying attention to any signs of settlement, shifting, or inadequate support.
- Assess the extent of leaning or bulging: Use a level to determine the degree of deviation from vertical alignment, which will help you gauge the severity of the issue.
Additionally, consider seeking the expertise of a professional contractor or structural engineer to conduct a thorough assessment of the damage, especially if you’re dealing with extensive structural issues or are uncertain about the underlying causes of the damage. Their insights and recommendations can provide valuable guidance as you proceed with the repair process.
By carefully evaluating the condition of your leaning brick wall and understanding the factors contributing to the damage, you’ll be well-prepared to move on to the next steps of gathering the necessary materials and tools for the repair project.
Gathering Materials and Tools
Once you’ve assessed the damage to your leaning brick wall, it’s time to gather the essential materials and tools needed to undertake the repair process effectively. Having the right supplies at your disposal will streamline the project and ensure that you can address the structural issues with precision and thoroughness.
Here’s a comprehensive list of materials and tools you’ll need for repairing a leaning brick wall:
Materials:
- Replacement Bricks: Acquire new bricks that closely match the size, style, and color of the existing bricks in your wall to maintain a cohesive appearance.
- Mortar Mix: Choose a high-quality mortar mix that is suitable for brick masonry repairs and matches the composition of the original mortar.
- Waterproofing Sealant: Invest in a reputable waterproofing sealant to protect the repaired wall from moisture infiltration and enhance its longevity.
- Gravel or Stone Dust: Use gravel or stone dust for backfilling and stabilizing the foundation of the wall.
- Wire Brush: A sturdy wire brush will be essential for removing debris, loose mortar, and contaminants from the damaged areas.
- Expansion Joint Material: If applicable, procure expansion joint material to accommodate any potential movement in the wall and prevent future cracking.
Tools:
- Masonry Trowel: A high-quality masonry trowel is indispensable for applying mortar and maneuvering replacement bricks into position.
- Hammer and Chisel: These tools are essential for carefully removing damaged bricks and chipping away deteriorated mortar.
- Level: Use a reliable level to ensure that the repaired wall maintains proper alignment and verticality throughout the process.
- Wheelbarrow: A wheelbarrow will come in handy for mixing mortar and transporting heavy materials to the work site.
- Protective Gear: Equip yourself with safety goggles, work gloves, and a dust mask to safeguard against potential hazards during the repair work.
- Masonry Saw: If precise brick cutting is necessary, a masonry saw will facilitate accurate adjustments to replacement bricks.
By assembling these materials and tools, you’ll be well-prepared to address the structural issues of your leaning brick wall with confidence and efficiency. With the necessary supplies in hand, you’re ready to embark on the next phase of the repair process: removing damaged bricks.
Read more: How To Render A Brick Wall
Removing Damaged Bricks
As you begin the repair process for your leaning brick wall, the meticulous removal of damaged bricks is a crucial step that sets the stage for the subsequent repair and replacement tasks. By carefully extracting compromised bricks and preparing the underlying surface, you’ll pave the way for a seamless and durable restoration of the wall’s structural integrity.
Here’s a step-by-step guide to effectively removing damaged bricks from your leaning wall:
1. Safety Precautions:
Prioritize safety by wearing protective gear, including safety goggles, work gloves, and sturdy footwear, to shield yourself from potential hazards such as flying debris and dust during the removal process.
2. Assessment:
Identify the bricks that exhibit visible signs of damage, such as cracks, deterioration, or misalignment. Carefully inspect the surrounding mortar joints to assess their condition and determine if any additional mortar removal is necessary.
3. Loosening the Mortar:
Using a hammer and chisel, gently chip away the mortar surrounding the damaged bricks, taking care not to disturb adjacent bricks that are in good condition. Work methodically to loosen the mortar and create space for the removal of the targeted bricks.
Read more: How To Point A Brick Wall
4. Brick Removal:
Once the mortar has been sufficiently loosened, carefully extract the damaged bricks from the wall. Employ a combination of hand pressure and gentle tapping with a hammer to dislodge the bricks without causing unnecessary strain on the surrounding masonry.
5. Surface Preparation:
Thoroughly clean the exposed area, removing any residual mortar and debris to create a clean and level surface for the subsequent repair and replacement work. Utilize a wire brush to eliminate stubborn remnants and ensure optimal adhesion for the new mortar.
6. Mortar Inspection:
Assess the condition of the mortar joints surrounding the removed bricks. If the mortar shows signs of deterioration or inadequacy, consider removing and replacing it to fortify the structural integrity of the wall.
By following these steps with precision and care, you’ll successfully remove the damaged bricks from your leaning wall, setting the stage for the foundational repairs and brick replacement that will restore the wall’s stability and aesthetic appeal. With the damaged bricks removed and the underlying surface prepared, you’re ready to proceed to the next phase of repairing the foundation to address the root causes of the wall’s leaning.
Repairing the Foundation
Addressing the foundation of your leaning brick wall is a critical aspect of the repair process, as it directly influences the structural stability and longevity of the entire structure. By fortifying the foundation and rectifying any underlying issues contributing to the wall’s leaning or bulging, you’ll lay a solid groundwork for the subsequent reassembly of the wall and ensure its resilience against future structural challenges.
Here’s a comprehensive guide to effectively repairing the foundation of your leaning brick wall:
Read more: How To Waterproof A Brick Wall
1. Clearing the Surrounding Area:
Begin by clearing the area surrounding the foundation to create a safe and accessible workspace. Remove any vegetation, debris, or obstructions that may impede your ability to assess and address the foundation’s condition.
2. Soil Inspection:
Examine the soil around the foundation to identify any signs of erosion, settlement, or inadequate compaction. Uneven or compromised soil can exert pressure on the foundation, contributing to the wall’s instability.
3. Backfilling and Compaction:
If soil erosion or settlement is evident, backfill the affected areas with gravel or stone dust to bolster the foundation’s support and promote even weight distribution. Compact the backfilled material to ensure a stable and uniform foundation.
4. Waterproofing Measures:
Implement waterproofing solutions to shield the foundation from moisture infiltration, which can compromise its structural integrity over time. Apply a high-quality waterproofing sealant to safeguard the foundation against water damage and enhance its resilience.
Read more: How To Stucco A Brick Wall
5. Structural Reinforcement:
If the foundation exhibits signs of inadequate support or shifting, consider reinforcing it with additional support structures, such as concrete piers or steel braces, to mitigate the forces exerted on the wall and promote long-term stability.
6. Professional Consultation:
If you encounter complex foundation issues or are uncertain about the most effective repair strategies, seek the expertise of a professional contractor or structural engineer. Their insights and recommendations can provide invaluable guidance in addressing the foundation’s challenges effectively.
By meticulously addressing the foundation of your leaning brick wall, you’ll lay a robust groundwork for the subsequent phases of the repair process, including the replacement of bricks and the final touches that will restore the wall’s strength and visual appeal. With the foundation fortified and the underlying causes of the wall’s leaning remedied, you’re poised to proceed to the pivotal phase of replacing the bricks and rejuvenating the wall’s structural integrity.
Replacing Bricks
As you progress through the repair process for your leaning brick wall, the meticulous replacement of damaged bricks is a pivotal step that will restore the wall’s structural integrity and aesthetic appeal. By seamlessly integrating new bricks that align with the existing masonry, you’ll rejuvenate the wall’s appearance while ensuring its stability for years to come.
Here’s a step-by-step guide to effectively replacing bricks in your leaning wall:
1. Selecting Replacement Bricks:
Choose replacement bricks that closely match the size, style, and color of the existing bricks in your wall. Consistency in appearance will ensure a cohesive and visually appealing result.
Read more: How To Restore Brick Wall
2. Mortar Preparation:
Prepare a high-quality mortar mix according to the manufacturer’s instructions, ensuring that the composition and consistency align with the original mortar used in the wall. Opt for a mortar color that complements the existing masonry for a seamless blend.
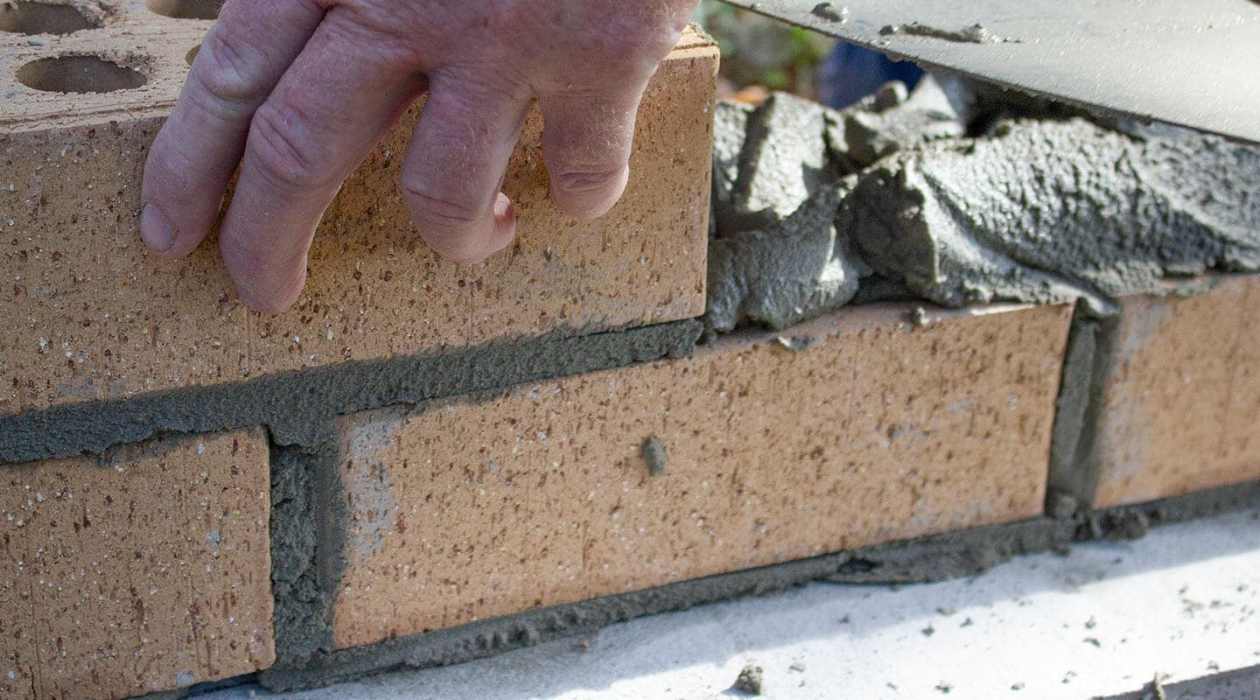
3. Mortar Application:
Apply a generous layer of mortar to the cavity left by the removed brick, using a masonry trowel to create an even and sturdy base for the replacement brick. Ensure that the mortar is adequately spread to promote strong adhesion.
4. Brick Placement:
Carefully position the replacement brick within the mortar, gently pressing it into place to achieve a flush and uniform alignment with the surrounding masonry. Use a level to verify that the new brick maintains proper vertical and horizontal alignment.
5. Mortar Finishing:
Smooth and shape the mortar joints around the replacement brick using the edge of the trowel, ensuring that the joints blend seamlessly with the existing masonry. Remove any excess mortar to achieve a clean and polished finish.
Read more: How Thick Is A Brick Wall
6. Curing and Protection:
Allow the newly replaced brick and mortar to cure according to the manufacturer’s recommendations, protecting the work area from potential disturbances and adverse weather conditions during the curing process to ensure optimal strength and durability.
By meticulously replacing damaged bricks with precision and attention to detail, you’ll seamlessly integrate new masonry into your leaning wall, revitalizing its structural integrity and visual appeal. With the replacement bricks seamlessly in place, you’re ready to add the finishing touches that will complete the restoration process and elevate the wall’s appearance to its former glory.
Finishing Touches
As you near the completion of the repair process for your leaning brick wall, the finishing touches play a crucial role in enhancing the wall’s resilience, visual appeal, and long-term durability. By attending to the finer details and implementing protective measures, you’ll ensure that the restored wall stands strong against the elements and exudes a timeless charm.
Here’s a comprehensive guide to adding the essential finishing touches to your repaired brick wall:
1. Surface Cleaning:
Thoroughly clean the entire surface of the repaired wall, removing any residual mortar smudges, dust, or debris to reveal the natural beauty of the masonry and create a polished appearance.
2. Waterproofing Treatment:
Apply a high-quality waterproofing sealant to the entire surface of the repaired wall, ensuring comprehensive protection against moisture infiltration and safeguarding the masonry from water damage and deterioration.
Read more: How To Whitewash A Brick Wall
3. Expansion Joint Installation:
If applicable, install expansion joint material in strategic locations along the wall to accommodate potential movement and prevent future cracking, enhancing the wall’s resilience against structural stress.
4. Aesthetic Restoration:
Touch up the mortar joints as needed to ensure a uniform and visually appealing finish, addressing any gaps or inconsistencies to achieve a seamless integration of the replacement bricks with the existing masonry.
5. Structural Inspection:
Conduct a final inspection of the repaired wall, verifying the alignment, stability, and overall integrity of the masonry to confirm that the restoration work has been executed with precision and thoroughness.
6. Preservation Measures:
Implement preservation measures to protect the restored wall from potential damage, such as installing protective barriers, addressing drainage issues, and maintaining the surrounding landscape to minimize environmental impact.
By meticulously attending to these finishing touches, you’ll elevate the quality and resilience of your repaired brick wall, ensuring that it stands as a testament to enduring craftsmanship and meticulous care. With the finishing touches in place, your leaning brick wall has been revitalized and fortified, ready to grace its surroundings with timeless elegance and unwavering strength.
Read more: How To Build A Brick Chimney
Conclusion
Congratulations on successfully completing the restoration of your leaning brick wall! Through meticulous assessment, strategic planning, and skillful execution, you’ve revitalized the structural integrity and visual allure of this enduring architectural feature. As you stand back and admire the transformed wall, it’s a testament to your dedication, craftsmanship, and commitment to preserving a piece of history.
Throughout this repair journey, you’ve not only revived a vital element of your property but also gained valuable insights and hands-on experience in masonry restoration. Your willingness to tackle this project head-on demonstrates a spirit of resilience and a dedication to maintaining the beauty and functionality of your surroundings.
As you reflect on the journey from assessing the damage to applying the finishing touches, remember the importance of safety, precision, and patience in every phase of the repair process. Your attention to detail and commitment to quality craftsmanship have resulted in a restored brick wall that will stand the test of time, enriching the aesthetic appeal and structural soundness of your property.
It’s essential to recognize that the restoration of a leaning brick wall is not merely a repair task but a preservation of heritage and a celebration of enduring craftsmanship. By breathing new life into this architectural gem, you’ve contributed to the legacy of craftsmanship and the timeless allure of brick masonry.
As you enjoy the fruits of your labor, take pride in the knowledge that the restored brick wall will continue to grace your surroundings with its timeless charm and unwavering strength. Whether it embellishes the facade of your home, frames a tranquil garden, or stands as a testament to architectural heritage, the revitalized wall serves as a symbol of resilience and the enduring beauty of masonry craftsmanship.
As you embark on future endeavors, may the skills and insights gained from this restoration project empower you to embrace new challenges with confidence and fortitude. Your dedication to preserving the integrity of your surroundings and the timeless allure of brick masonry exemplifies the spirit of craftsmanship and the enduring legacy of architectural heritage.
With the leaning brick wall restored to its former glory, you’ve not only revitalized a physical structure but also enriched the fabric of your living environment with a touch of enduring elegance and steadfast strength. Your commitment to preserving the beauty and functionality of this architectural feature is a testament to the enduring legacy of craftsmanship and the timeless allure of brick masonry.
Frequently Asked Questions about How To Repair A Leaning Brick Wall
Was this page helpful?
At Storables.com, we guarantee accurate and reliable information. Our content, validated by Expert Board Contributors, is crafted following stringent Editorial Policies. We're committed to providing you with well-researched, expert-backed insights for all your informational needs.


0 thoughts on “How To Repair A Leaning Brick Wall”