Home>diy>Architecture & Design>How To Import CAD Into Revit
Architecture & Design
How To Import CAD Into Revit
Modified: February 25, 2024
Learn how to easily import CAD files into Revit for seamless integration in your architecture design projects. Enhance your workflow with our step-by-step guide.
(Many of the links in this article redirect to a specific reviewed product. Your purchase of these products through affiliate links helps to generate commission for Storables.com, at no extra cost. Learn more)
Introduction
Welcome to the world of CAD and Revit! If you are an architect, engineer, or designer, chances are you have encountered the need to import CAD files into the Revit software for various projects. Whether you are working with 2D drawings or 3D models, the ability to seamlessly import CAD files into Revit can greatly enhance your workflow and streamline the design process.
In this article, we will explore the process of importing CAD files into Revit, along with all the necessary steps and considerations. By the end of this article, you will have a clear understanding of how to import CAD files into Revit and successfully integrate them into your design projects.
Before we dive into the specifics, it’s important to have a basic understanding of CAD and Revit, as well as their respective functionalities and purposes.
Key Takeaways:
- Streamline your design process by preparing CAD files for import into Revit. Clean up, verify compatibility, define origin, scale accurately, organize layers, and audit for errors to ensure a smooth integration.
- Enhance collaboration and coordination within your BIM model by adjusting imported CAD geometry in Revit. Align with existing elements, match project constraints, remove unnecessary elements, validate accuracy, and convert to Revit objects for seamless integration.
Read more: How To Export Revit To CAD
Understanding CAD and Revit
CAD (Computer-Aided Design) is a software technology that enables designers to create, modify, and analyze 2D and 3D models of physical objects or systems. CAD tools provide a digital representation of the design, allowing for precise measurements, accurate drafting, and efficient collaboration. Common CAD software includes AutoCAD, SolidWorks, and SketchUp.
Revit, on the other hand, is a powerful Building Information Modeling (BIM) software developed by Autodesk. It is specifically designed for architects, engineers, and construction professionals to create and manage detailed 3D models of buildings and infrastructure. Revit integrates various disciplines, such as architecture, structure, and MEP (Mechanical, Electrical, and Plumbing) systems, into a centralized model, enabling real-time collaboration and data coordination.
Now that we have a basic understanding of CAD and Revit, let’s proceed to the next step, which is preparing CAD files for import into Revit.
Key Takeaways:
- Streamline your design process by preparing CAD files for import into Revit. Clean up, verify compatibility, define origin, scale accurately, organize layers, and audit for errors to ensure a smooth integration.
- Enhance collaboration and coordination within your BIM model by adjusting imported CAD geometry in Revit. Align with existing elements, match project constraints, remove unnecessary elements, validate accuracy, and convert to Revit objects for seamless integration.
Read more: How To Export Revit To CAD
Understanding CAD and Revit
Before diving into the process of importing CAD files into Revit, it’s essential to have a solid understanding of both CAD and Revit and how they differ in functionality and purpose.
CAD, or Computer-Aided Design, is a technology that allows designers to create, modify, and analyze 2D and 3D models of physical objects or systems. CAD software provides users with a digital environment in which they can design, draft, and document their projects.
There are various CAD software options available today, each with its own unique features and capabilities. Some of the most commonly used CAD programs include AutoCAD, SolidWorks, and SketchUp. These programs offer a wide range of tools and functions to facilitate the design process, including precise measurement capabilities, accurate drafting capabilities, and the ability to create complex 3D models.
Revit, on the other hand, is a powerful Building Information Modeling (BIM) software developed by Autodesk. Unlike traditional CAD software, which focuses primarily on geometry creation, Revit places a strong emphasis on data-driven design and collaboration.
In Revit, the entire design process revolves around a central 3D model that contains information about the building or infrastructure being designed. This model serves as a single source of truth and creates a collaborative environment where multiple disciplines, such as architecture, structure, and MEP (Mechanical, Electrical, and Plumbing), can come together and work on a project simultaneously.
Revit’s unique BIM functionality allows for the integration of data from various sources and facilitates efficient collaboration and coordination between different design teams. It enables designers to not only create geometry but also attach relevant information to elements, such as materials, dimensions, and performance characteristics.
Another key aspect of Revit is its parametric modeling capabilities. This means that changes made to one part of a design automatically update all related parts, ensuring that the entire model remains consistent and accurate throughout the design process.
Understanding the differences between CAD and Revit is crucial for successful CAD file import into Revit. While CAD software focuses on precise geometry creation, Revit incorporates comprehensive building data and facilitates collaboration between different disciplines.
By recognizing the unique advantages of each software, you can effectively leverage the strengths of both systems and streamline your design process.
Preparing CAD files for import
Before you can import CAD files into Revit, it’s important to take the necessary steps to prepare the files and ensure a smooth import process. Here are some key considerations to keep in mind when preparing CAD files for Revit:
1. Clean up the CAD file:
Start by cleaning up the CAD file to remove any unnecessary elements, layers, or linework. This step will help reduce the file size and improve the overall performance in Revit. Delete any extraneous objects, unused layers, and unnecessary linework that does not contribute to the overall design.
2. Check for file compatibility:
Ensure that the CAD file format is compatible with Revit. Revit supports various CAD file formats, including DWG, DXF, SAT, and DGN. If your CAD file is in a different format, you may need to convert it to a compatible format before importing it into Revit.
3. Define the project origin:
Establishing the project origin is crucial for accurately positioning the imported CAD file in the Revit model. Set the project origin in the CAD file to match the desired origin in Revit. This will help align the imported file with other elements in the model and ensure accurate placement.
4. Scale the CAD file:
Verify that the CAD file is scaled correctly. Ensure that the units in the CAD file match the units in the Revit project. If the scale is incorrect, the imported CAD elements may appear too small or too large in the Revit model, leading to inaccuracies in the design.
5. Organize CAD layers:
Review and organize the layers in the CAD file. Identify the layers that contain the linework you wish to import into Revit. This step is particularly important if the CAD file contains multiple layers with different lineweight or linetype properties. You can simplify the import process by assigning specific layers to different Revit categories.
Read more: What Is BIM In Revit?
6. Audit and repair CAD file:
Perform an audit and repair any errors or issues in the CAD file using the appropriate CAD software. This will help ensure the integrity of the file and reduce the chances of encountering import errors in Revit.
By following these steps, you can effectively prepare your CAD files for import into Revit. Taking the time to clean up the file, verify compatibility, define the project origin, scale the file accurately, organize layers, and audit and repair the CAD file will help streamline the import process and lay the foundation for a successful integration into your Revit project.
Importing CAD files into Revit
Now that you have prepared your CAD files, it’s time to import them into Revit. The import process allows you to bring the CAD geometry into the Revit environment and utilize it in your BIM model. Here’s a step-by-step guide on how to import CAD files into Revit:
1. Open the Revit software:
Launch Revit and open the project in which you want to import the CAD files.
2. Navigate to the Insert tab:
Click on the “Insert” tab in the Revit ribbon. This tab contains the necessary tools for importing external files into your Revit project.
Read more: How To Design A House In Revit
3. Click on the “Import CAD” button:
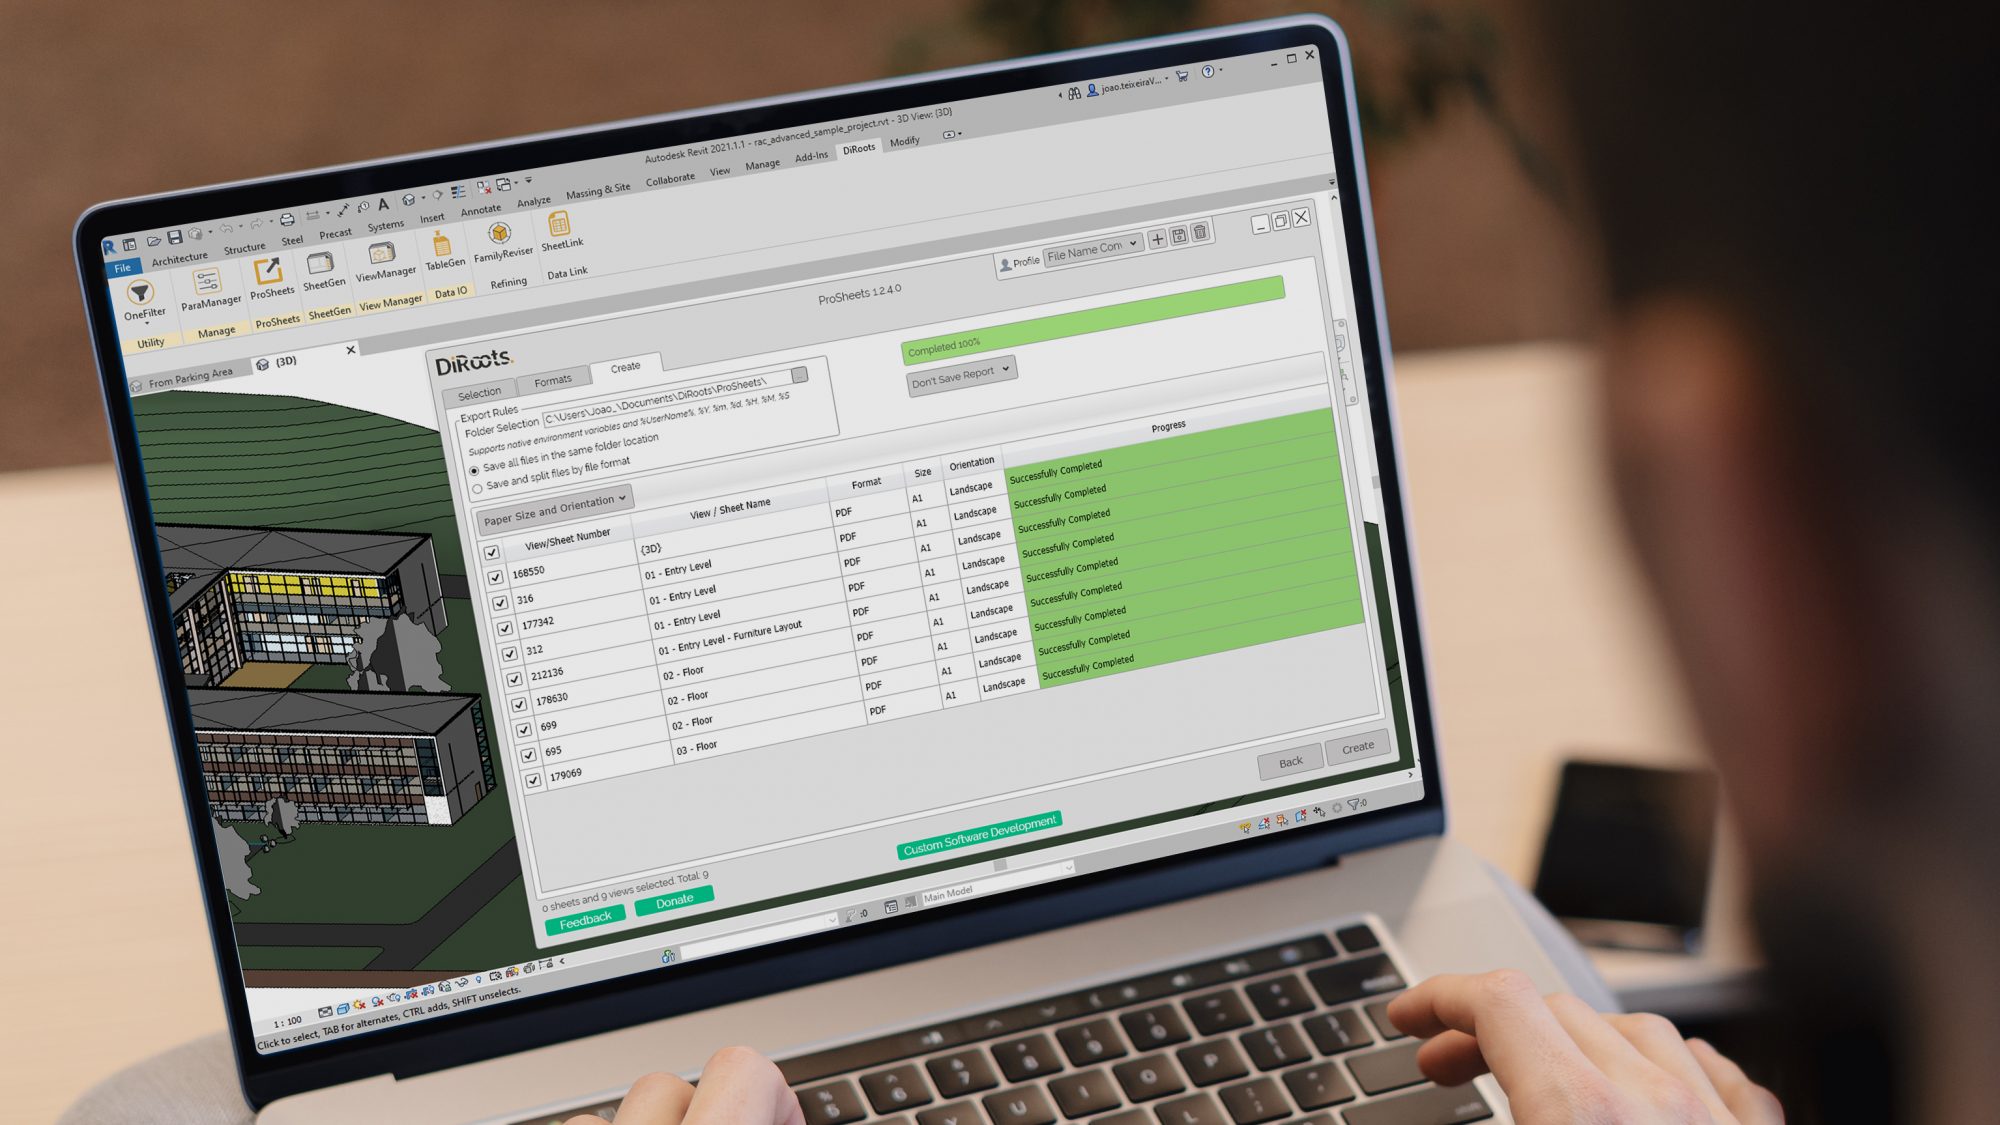
In the “Insert” tab, locate and click on the “Import CAD” button. This will open a file browser window, allowing you to select the CAD file you want to import.
4. Select the CAD file:
Browse to the location where your CAD file is stored and select it. Click “Open” or “OK” to proceed.
5. Adjust import settings:
Revit will display the “Import CAD Formats” dialog box, where you can specify various settings for the import. Take the time to review and adjust the settings according to your project requirements. You can choose the import units, specify the position of the origin, define the scale, and more.
6. Import CAD file into Revit:
Once you have adjusted the import settings, click “OK” or “Import” to proceed with the import process. Revit will start importing the CAD file into your project.
Read more: Coral Color: How To Revitalize Your House
7. Monitor the import progress:
Revit will display a progress bar indicating the status of the import. Depending on the size and complexity of the CAD file, the import process may take a few moments or longer. Be patient and allow Revit to complete the import.
8. Review the imported CAD elements:
Once the import is complete, you can now see the CAD elements in your Revit model. Review and verify that the imported elements are accurate and aligned with the rest of your design. If needed, you can make adjustments later to the imported CAD elements.
That’s it! You have successfully imported CAD files into your Revit project. The imported CAD geometry is now available for you to utilize in your BIM model and further develop your design.
Keep in mind that while the import process brings in the CAD geometry, it does not convert the CAD elements into Revit objects. In the next section, we will discuss how to adjust and convert the imported CAD geometry into Revit objects for better integration and collaboration.
Adjusting the imported CAD geometry
After importing CAD files into your Revit project, you may need to make adjustments to the imported geometry to ensure it aligns correctly with the rest of your design and functions seamlessly within the Revit environment. Here are some key steps to consider when adjusting the imported CAD geometry:
1. Align and snap to existing elements:
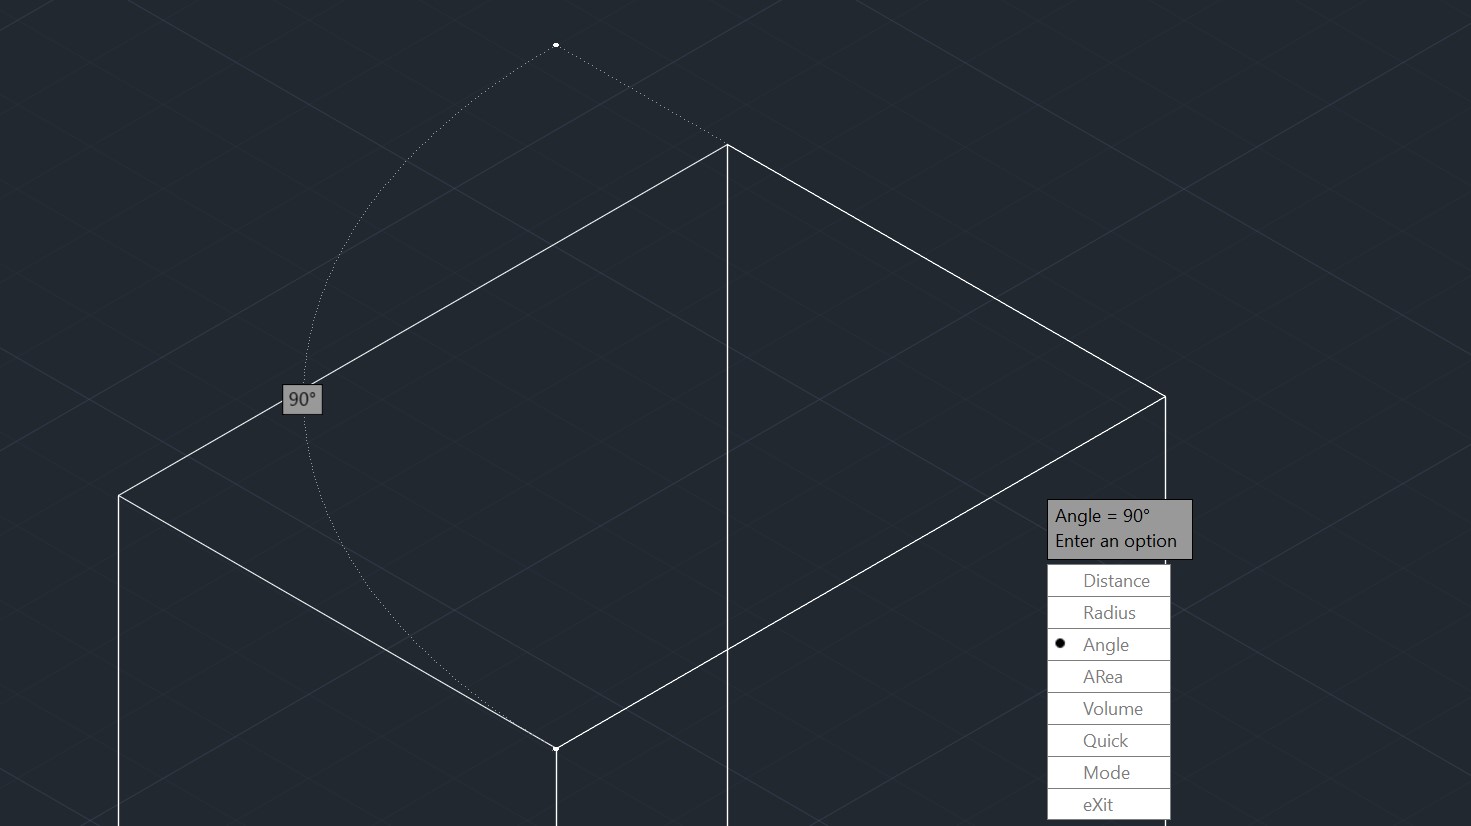
Use Revit’s snapping and alignment tools to ensure that the imported CAD elements align precisely with the existing elements in your project. Snap the endpoints, midpoints, or other relevant points of the CAD geometry to the corresponding points in your Revit model. This will ensure accurate alignment and enhance the overall coordination of your design.
Read more: How To Scale In CAD
2. Adjust CAD geometry to match project constraints:
Modify the CAD elements as needed to reflect the specific project constraints and requirements. This may include resizing or reshaping certain elements to fit within the desired space or adjusting the rotation or alignment to match the desired orientation. Revit’s powerful editing tools allow you to make these adjustments easily while maintaining the integrity of your model.
3. Remove unnecessary CAD elements:
Eliminate any redundant or unnecessary CAD elements that do not contribute to the overall design. This can help improve the performance of your Revit project and reduce clutter. Use Revit’s editing tools to delete or hide the unwanted CAD elements, ensuring a clean and streamlined model.
4. Validate accuracy and integrity:
Thoroughly review the adjusted CAD geometry to ensure its accuracy and integrity. Check for any gaps, overlaps, or inconsistencies that may have occurred during the import process or adjustment. Revit provides various tools, such as the “Interference Check” tool, which can help identify and resolve any conflicts between the CAD elements and other elements in your project.
5. Convert CAD geometry to Revit objects:
While imported CAD elements serve as a reference, it is often beneficial to convert them into Revit objects for better integration and collaboration. Use Revit’s tools, such as “Model Lines,” “Detail Lines,” or “Model Groups,” to recreate the CAD geometry as Revit objects. This will allow you to take advantage of Revit’s parametric capabilities and further refine your design.
By carefully adjusting the imported CAD geometry, you can ensure that it aligns accurately with your Revit model and successfully contributes to the overall design. Taking the time to align and snap to existing elements, adjusting the CAD geometry to match project constraints, removing unnecessary elements, validating accuracy, and converting to Revit objects will help streamline your design process and enhance collaboration within your project.
Read more: How To Archive A Revit Model In BIM 360
Managing layers and linework in Revit
When importing CAD files into Revit, it’s essential to manage the layers and linework to maintain consistency and organization within your project. Revit offers various tools and features that allow you to control and customize layers and linework to meet your design requirements. Here are some key steps to effectively manage layers and linework in Revit:
1. Understand CAD layers and linework:
Before diving into managing layers and linework in Revit, it’s important to have a clear understanding of how they are structured in the CAD file. Layers in CAD are used to organize different elements within the drawing, while linework represents the visible lines that define the geometry. Familiarize yourself with the layer structure and linework properties to make informed decisions during the import process.
2. Review the imported CAD layers:
After importing the CAD file, review the imported layers in Revit. Use the “Visibility/Graphics Overrides” option to toggle the display of different layers and verify that the imported layers align with the original CAD file. You can modify the visibility settings for each layer to control their appearance and visibility within your Revit project.
3. Assign Revit categories to CAD layers:
In Revit, assign the relevant Revit categories to the imported CAD layers. This step will help categorize the imported elements and ensure they are modeled and documented accurately. For example, assign walls, doors, or windows categories to the corresponding CAD layers to facilitate proper conversion and integration into the BIM model.
Read more: What Does CAD Mean In TinkerCAD
4. Manage linework appearance:
Adjust the linework appearance of the imported CAD elements to match the desired visual representation in Revit. Use the “Linework” tool to modify the lineweight, linestyle, and color of the CAD elements. This will ensure consistency and clarity in the project documentation, making it easier to interpret and communicate the design intent.
5. Convert CAD linework to Revit elements:
In some cases, you may want to convert the CAD linework into Revit elements to fully leverage Revit’s parametric modeling capabilities. Use Revit’s drawing and modeling tools to recreate the CAD linework as Revit objects, such as walls, floors, or roofs. This conversion will enhance the integration and coordination of the imported elements within the BIM model.
6. Manage linework visibility and overrides:
To further refine the appearance and visibility of linework in Revit, utilize the “Visibility/Graphics Overrides” option. This feature allows you to control the visibility of different linework properties, such as hidden lines, sketch lines, or reference lines. You can also override the linestyle and lineweight settings for individual elements or entire categories, providing more flexibility and customization options.
By effectively managing layers and linework in Revit, you can maintain consistency, organization, and clarity within your project. Reviewing the imported CAD layers, assigning Revit categories, managing linework appearance, converting linework to Revit elements when necessary, and utilizing visibility and graphics overrides will ensure that your imported CAD elements seamlessly integrate into your BIM model and facilitate efficient collaboration and documentation.
Converting CAD elements into Revit objects
One of the key advantages of using Revit is the ability to convert imported CAD elements into native Revit objects. By converting CAD elements, you can take full advantage of Revit’s parametric modeling capabilities and further enhance the integration and coordination within your BIM model. Here are the steps to convert CAD elements into Revit objects:
Read more: What Is CAD?
1. Identify CAD elements for conversion:
Review the imported CAD elements in your Revit project and identify the ones that you want to convert into Revit objects. This may include walls, doors, windows, furniture, or any other elements that are part of your design.
2. Create new Revit elements:
In Revit, use the appropriate tools to create new objects based on the CAD elements you identified. For example, use the “Wall” tool to draw walls, the “Door” tool to place doors, or the “Component” tool to add furniture. Ensure that you accurately replicate the dimensions and features of the CAD elements in your new Revit objects.
3. Apply parameters and properties:
Once you have created the new Revit objects, assign the relevant parameters and properties to them. This includes information such as material, dimensions, level, and any other relevant data that will provide comprehensive information about the objects in your BIM model.
4. Copy and monitor CAD data:
In some cases, you may want to maintain a connection to the original CAD data while working with the converted Revit objects. Revit allows you to copy and monitor CAD data, which means any changes made to the CAD elements will be propagated to the corresponding Revit objects. This functionality ensures that your design remains coordinated and up to date.
Read more: How To Open CAD Files
5. Verify and adjust the converted objects:
After converting the CAD elements into Revit objects, carefully review and verify their accuracy within your design. Use Revit’s editing tools to make any necessary adjustments or modifications to ensure that the converted objects align properly with the overall project requirements.
6. Delete or hide the CAD elements:
Once you have successfully converted the CAD elements into Revit objects, it’s a good practice to delete or hide the original CAD elements to reduce clutter and improve the performance of your Revit project. Removing the CAD elements will also simplify the management and coordination of your BIM model.
By converting CAD elements into Revit objects, you can fully utilize Revit’s parametric modeling capabilities, improve coordination, and enhance the accuracy and integrity of your BIM model. Identifying CAD elements for conversion, creating new Revit objects, applying parameters and properties, monitoring CAD data changes, verifying and adjusting the converted objects, and removing the original CAD elements will streamline your design process and ensure efficient collaboration within your project.
Troubleshooting common issues during import
Importing CAD files into Revit doesn’t always go smoothly, and you may encounter some common issues along the way. Understanding these issues and knowing how to troubleshoot them will help you overcome any obstacles during the import process. Here are some common issues and troubleshooting steps:
1. Layer misalignment:
Problem: After importing the CAD file, you notice that the layers are not aligned correctly in Revit.
Solution: Double-check the origin point and coordinate systems in both the CAD file and Revit. Ensure that they match and verify the units used. Adjust the import settings to align the layers properly and position them correctly within the Revit project.
Read more: How To Become A CAD Technician
2. Missing geometry:
Problem: Some elements or geometry from the CAD file are missing after importing into Revit.
Solution: Verify that the CAD file is complete and does not have any missing or deleted elements. Check if there are any incompatible or unsupported CAD features or objects that are causing issues during import. If necessary, convert or recreate the missing geometry within Revit using the appropriate modeling tools.
3. Incorrect scale:
Problem: The imported CAD elements appear either too small or too large in the Revit project.
Solution: Confirm that the units in the CAD file match the units used in the Revit project. Adjust the import settings to ensure that the scale is accurate during the import process. If the imported elements are still not to scale, manually scale them within Revit using the appropriate tools, making sure to maintain the aspect ratio or any specific design requirements.
4. Linework display issues:
Problem: The linework in the imported CAD file does not display properly or appears differently in Revit.
Solution: Review the linework settings in the CAD file and adjust the import settings in Revit to match the lineweight, linestyle, and color properties. If the linework is still not displaying correctly, use Revit’s override options to adjust the linework appearance within the Revit environment.
5. File size and performance:
Problem: The imported CAD file is large, causing slow performance or system crashes in Revit.
Solution: Analyze the CAD file to identify any unnecessary elements, redundant layers, or excessive linework that can be removed or simplified. Clean up the CAD file by deleting any unused elements or layers. If the file size is still too large, consider dividing the CAD file into smaller portions and importing them separately into Revit.
Read more: How To Calculate Area In CAD
6. Compatibility issues:
Problem: The CAD file format is not compatible with Revit, preventing a successful import.
Solution: Convert the incompatible CAD file format to a format that Revit can recognize, such as DWG, DXF, SAT, or DGN. Use appropriate file conversion software or tools to ensure compatibility before proceeding with the import process.
By familiarizing yourself with these common issues and troubleshooting steps, you can overcome any challenges that may arise during the import of CAD files into Revit. Remember to double-check settings, adjust scale and alignment if needed, address linework display issues, optimize file size and performance, and ensure compatibility for a smooth and successful import process.
Conclusion
Importing CAD files into Revit is a crucial step in leveraging the power of BIM and optimizing your design workflow. By understanding the intricacies of CAD and Revit, preparing your CAD files for import, and effectively managing the import process, you can seamlessly integrate CAD geometry into your Revit projects.
Throughout this article, we explored the importance of preparing CAD files by cleaning them up, ensuring compatibility, defining the project origin, scaling the files properly, organizing layers, and auditing for errors. These steps lay the foundation for a successful import process.
We then delved into the intricacies of importing CAD files into Revit, highlighting the necessary steps to navigate the Insert tab, select the appropriate CAD file, adjust import settings, and monitor the progress of the import. By following these steps, you can successfully bring CAD geometry into your Revit environment.
Additionally, we discussed the importance of adjusting the imported CAD geometry to align accurately with your design and explored techniques for managing layers, linework, and converting CAD elements into Revit objects. Taking these steps will ensure consistency, accuracy, and seamless integration within your BIM model.
Lastly, we identified common issues that may arise during the import process and provided troubleshooting steps to overcome them. By understanding and addressing these common challenges such as layer misalignment, missing geometry, incorrect scale, linework display issues, file size, and compatibility challenges, you can overcome obstacles and successfully import your CAD files into Revit.
In conclusion, by following the best practices and guidelines outlined in this article, you can streamline your design process, improve coordination, and enhance collaboration within your Revit projects. Importing CAD files into Revit opens up a world of possibilities and allows you to harness the full potential of BIM, making it an invaluable skill for architects, engineers, and designers.
So, dive in, explore the possibilities, and harness the power of CAD to Revit import for your next design project.
Frequently Asked Questions about How To Import CAD Into Revit
Was this page helpful?
At Storables.com, we guarantee accurate and reliable information. Our content, validated by Expert Board Contributors, is crafted following stringent Editorial Policies. We're committed to providing you with well-researched, expert-backed insights for all your informational needs.


0 thoughts on “How To Import CAD Into Revit”