Home>diy>Architecture & Design>How To Export Revit To CAD

Architecture & Design
How To Export Revit To CAD
Modified: October 28, 2024
Learn how to export Revit files to CAD with our step-by-step guide. Transform your architecture design projects effortlessly.
(Many of the links in this article redirect to a specific reviewed product. Your purchase of these products through affiliate links helps to generate commission for Storables.com, at no extra cost. Learn more)
“
Introduction
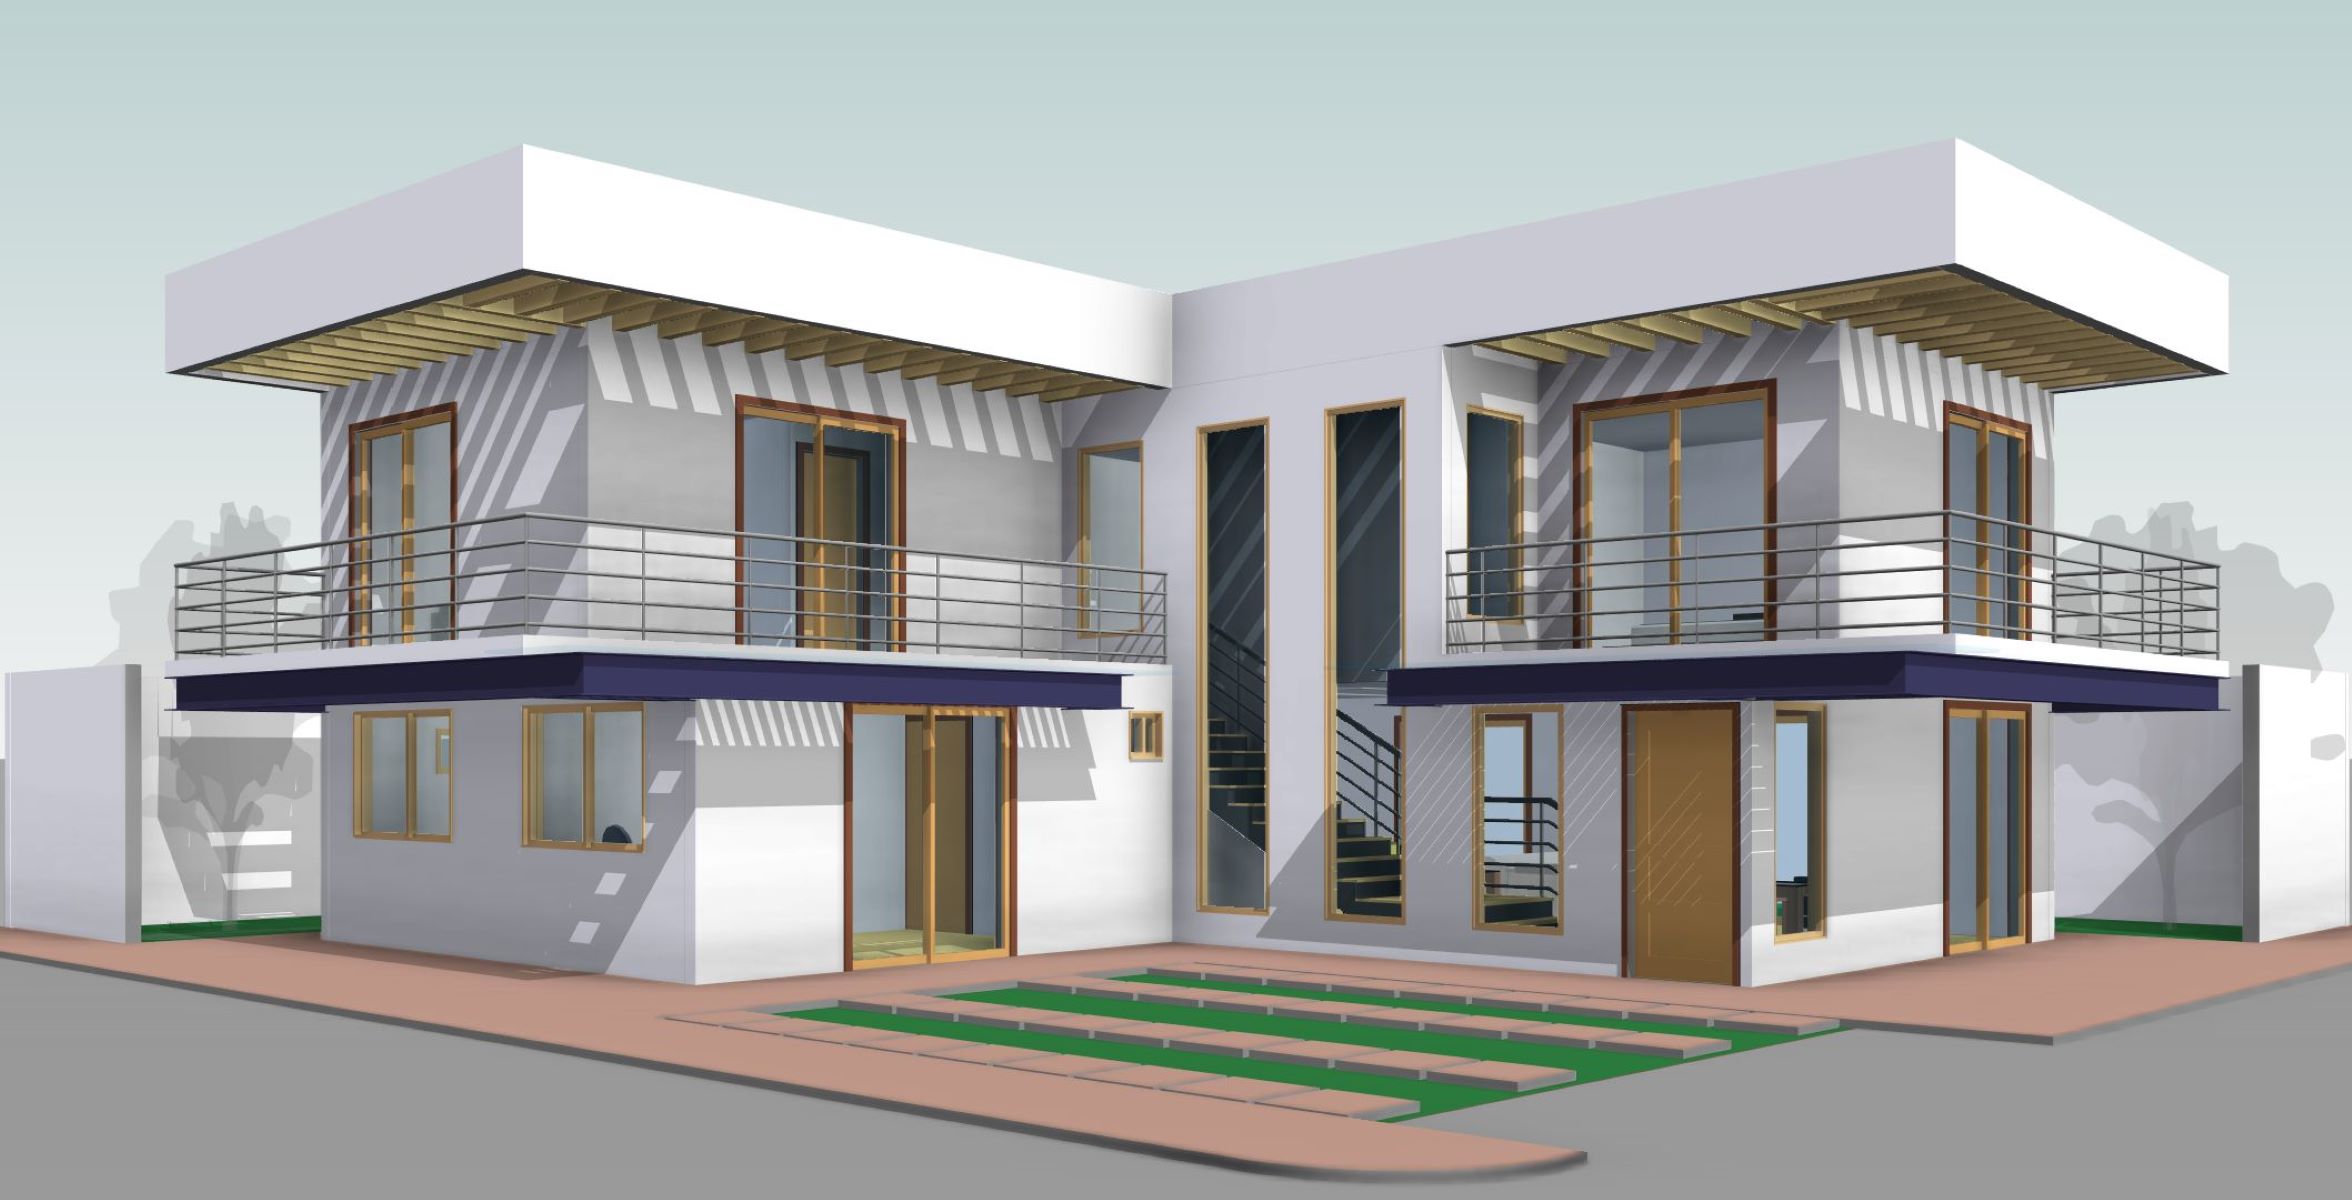
When it comes to architectural design, Revit has become one of the leading software platforms used by professionals to create detailed and accurate 3D models of buildings. However, there may be instances where you need to export a Revit model to a CAD format for collaboration with others or further modifications. In this article, we will guide you through the process of exporting a Revit model to CAD, specifically in the DWG or DXF format.
Exporting a Revit model to CAD involves converting the complex BIM (Building Information Model) data into a format that can be easily understood and edited by CAD software like AutoCAD. This process allows architects, engineers, and other professionals to exchange design files across different platforms and work seamlessly together.
By following the steps outlined in this article, you will learn how to efficiently export a Revit model to CAD and ensure the accuracy and integrity of your architectural designs throughout the process.
”
“
Key Takeaways:
- Prepare your Revit model by cleaning up, creating appropriate views, checking object visibility, verifying object properties, and managing model units to ensure a smooth export to CAD.
- Export your Revit model to DWG or DXF format, adjust export settings, import the CAD file into AutoCAD, review and modify the drawing, and save it for further use to maximize collaboration and efficiency in your design workflow.
Read more: How To Import CAD Into Revit
Step 1: Prepare Revit Model for Export
Before exporting your Revit model to a CAD format, it’s important to ensure that the model is properly prepared. This involves reviewing and optimizing the Revit model to minimize any potential issues during the export process.
Here are some key steps to follow when preparing your Revit model:
- Clean up the Model: Start by eliminating any unnecessary elements from your Revit model, such as temporary objects, construction lines, and other non-essential components. This will help streamline the export process and reduce the file size.
- Create Appropriate Views: Evaluate the different views in your Revit model and determine which ones need to be included in the CAD export. Create separate views for different parts or disciplines of your design to ensure clarity and organization in the CAD file.
- Check Object Visibility: Review the visibility settings of the objects in your Revit model, ensuring that important elements, such as walls, floors, and structural components, are set to be visible in the exported CAD file. Hide or adjust the visibility of less critical elements as needed.
- Verify Object Properties: Double-check the properties of objects in your Revit model and ensure that they are correctly assigned and classified. This will help maintain consistency and accuracy when the model is exported to CAD.
- Manage Model Units: Pay attention to the units used in your Revit model and ensure they align with the standards required for the CAD software. Make any necessary adjustments, such as scaling or unit conversions, to avoid issues with measurements in the exported CAD file.
By following these steps, you will optimize your Revit model for export and minimize any potential errors or complications during the conversion process. Taking the time to properly prepare your model will ultimately result in a smoother and more accurate export to CAD.
“”
Step 2: Export Revit Model as DWG or DXF
Once you have properly prepared your Revit model, it’s time to export it as a DWG or DXF file. These formats are widely supported by CAD software and are commonly used for seamless collaboration and further modifications.
Follow these steps to export your Revit model as a DWG or DXF file:
- Select the Appropriate View: Open your Revit model and navigate to the desired view that you want to export. Ensure that this view contains all the necessary elements and components for your CAD file.
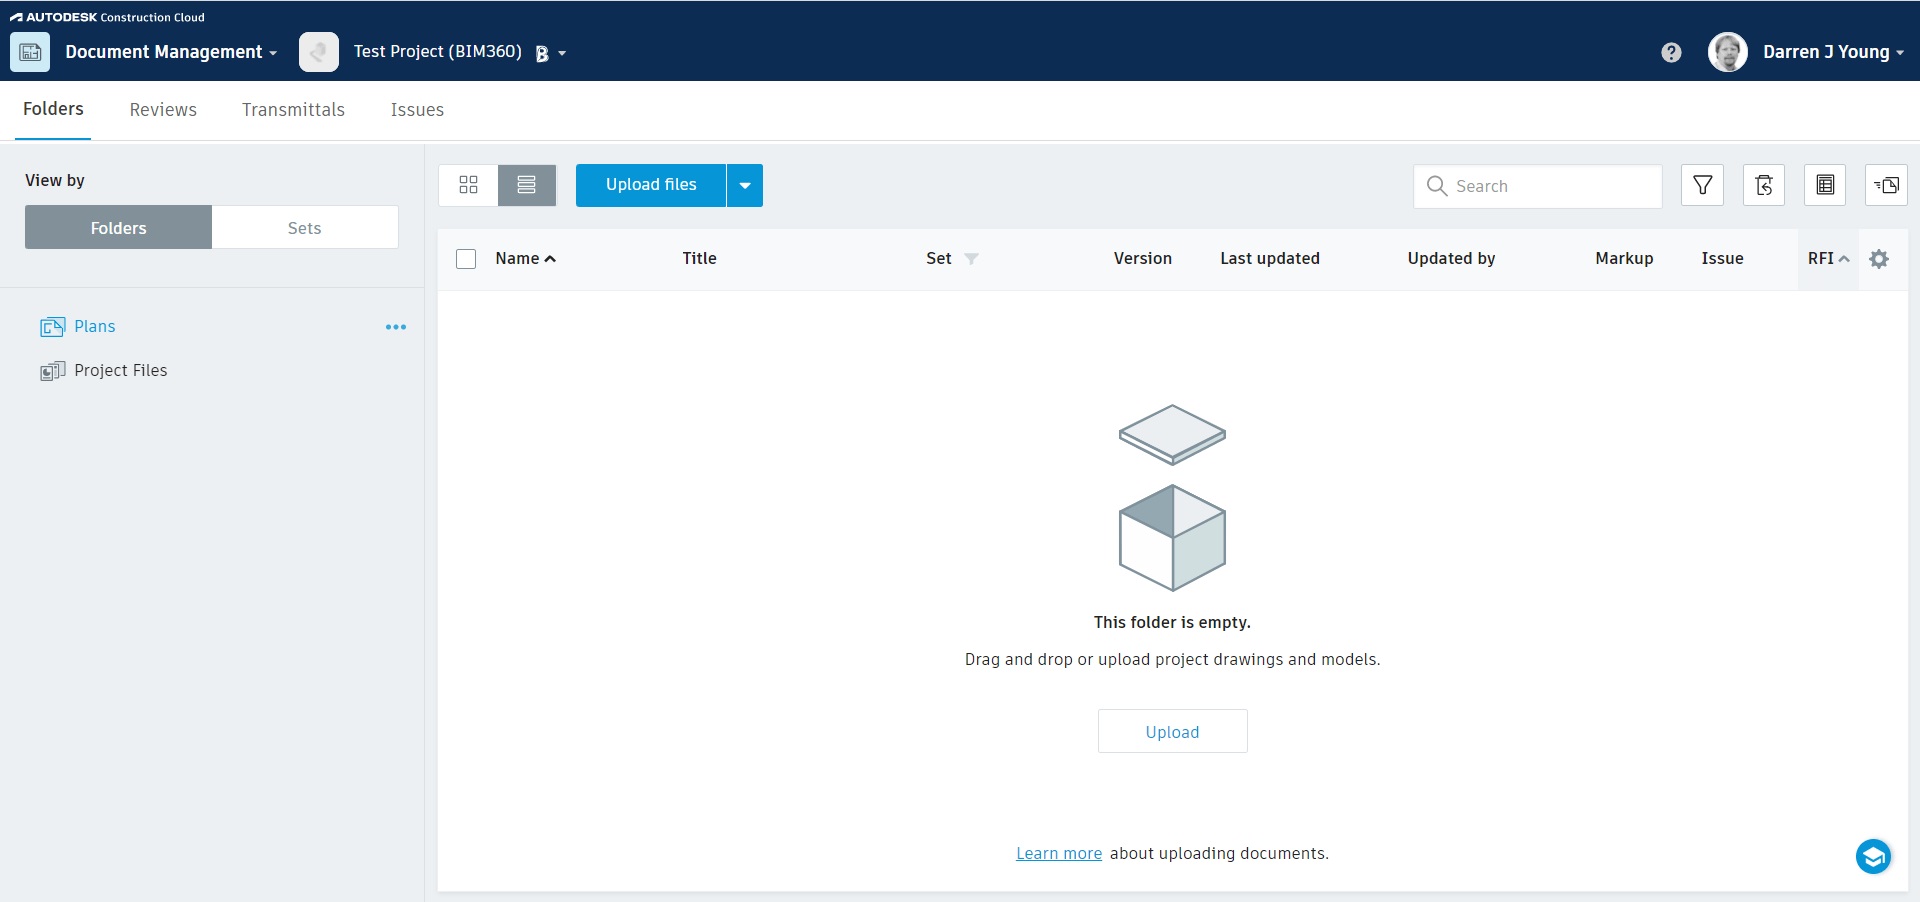
- Go to the ‘File’ Menu: Click on the ‘File’ menu in the Revit interface and select the ‘Export’ option. A dialog box will appear with various export options.
- Choose DWG or DXF Format: In the export dialog box, select the ‘DWG’ or ‘DXF’ format as the export format, depending on your preferred CAD software and requirements.
- Specify Export Settings: In the export dialog box, you can configure additional settings such as the export scale, layer names, line styles, and other options. Make sure to review and adjust these settings according to your needs.
- Specify the Output Path and Name: Choose the location on your computer where you want to save the exported CAD file and provide a suitable name for it.
- Click ‘Export’: Once you have configured all the necessary settings, click on the ‘Export’ button to start the export process. Revit will convert the model into the selected CAD format and save it to the specified location on your computer.
By following these steps, you can quickly and accurately export your Revit model as a DWG or DXF file. This will allow you to seamlessly collaborate with colleagues and other professionals who utilize CAD software, ensuring continuity and efficiency in your design workflow.
“”
Step 3: Adjust Export Settings
After selecting the DWG or DXF format for exporting your Revit model, it is important to adjust the export settings to ensure compatibility with the CAD software and to meet specific project requirements. These settings will determine how the Revit elements are translated into the CAD file.
Here are some key export settings that you should consider:
- Export Setup: Choose the appropriate export setup based on the scale and level of detail required for the CAD file. This will determine the resolution and accuracy of the exported elements.
- Export Views: Specify which views from your Revit model should be included in the CAD file. Select the necessary plan views, elevations, sections, or 3D views, depending on the requirements of your project.
- Layers and Line Styles: Review and configure the layer names and line styles that will be applied to the exported elements in the CAD file. This will help maintain consistent formatting and organization in the CAD software.
- Object Visibility: Choose whether to export hidden, overridden, or temporary Revit elements. This can be useful if you need to include specific objects that are not typically visible in the chosen views.
- Units and Scale: Verify that the units and scale in the export settings align with the desired units and scale of the CAD software. Ensure that measurements and dimensions will be accurately represented in the exported file.
- Additional Options: Depending on the specific requirements of your project, you may have other export options to consider. This could include exporting 2D or 3D elements, preserving object metadata, attaching external references, or including linked files.
Adjusting these export settings will ensure that your Revit model is correctly translated into the CAD file, maintaining the integrity and accuracy of the original design. It is recommended to review and test the exported CAD file to verify that the settings meet your expectations and project needs.
By carefully adjusting the export settings, you can optimize the compatibility and usability of your Revit model when using it in the CAD software. This will enable a smoother and more efficient collaboration with colleagues and stakeholders who work with CAD tools.
“”
When exporting from Revit to CAD, make sure to clean up the Revit model by removing unnecessary elements and organizing the layers and line styles to ensure a smooth and efficient export process.
Step 4: Import CAD File into AutoCAD
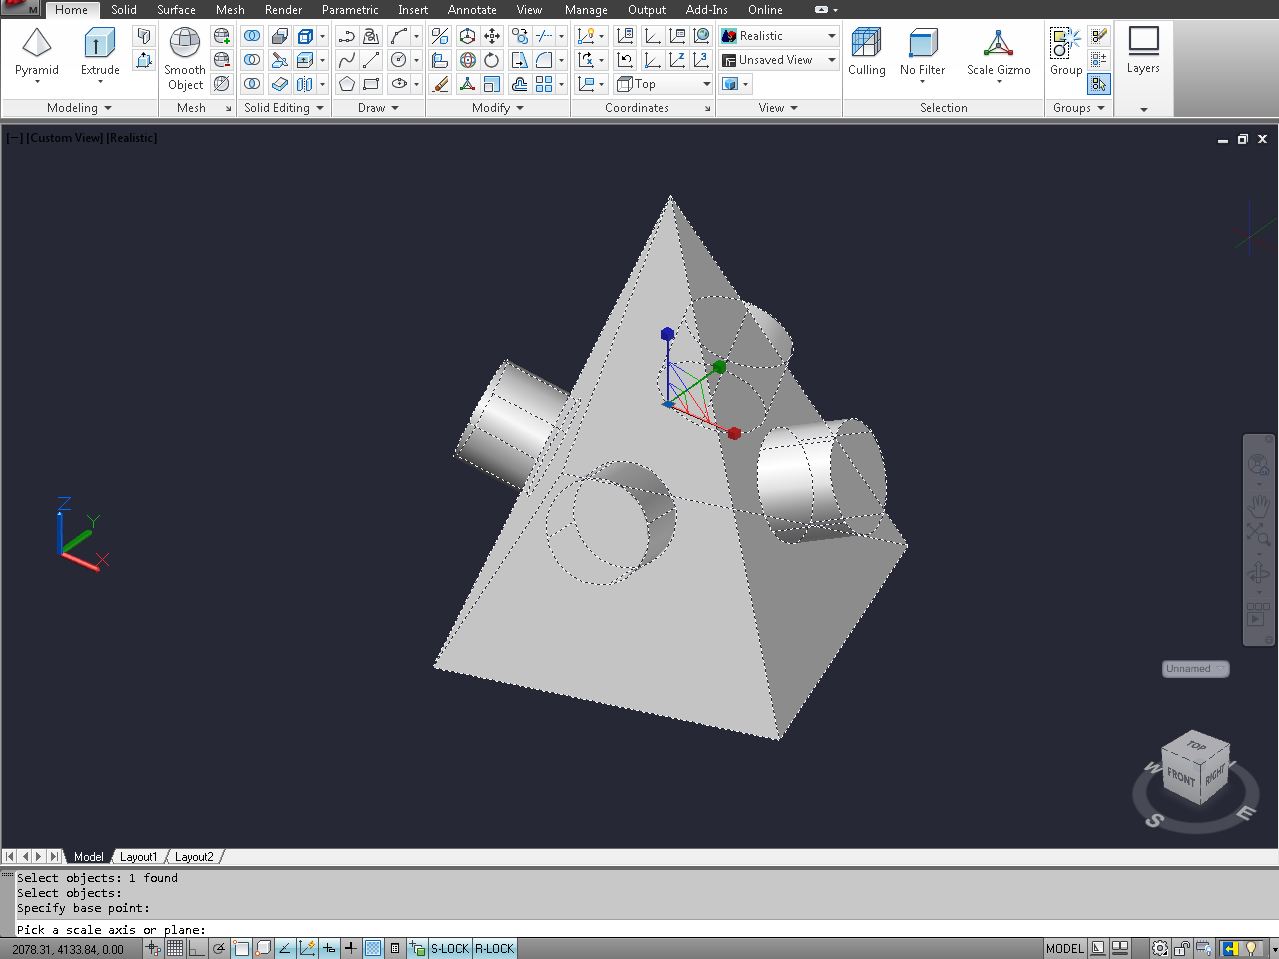
Once you have successfully exported your Revit model as a DWG or DXF file, the next step is to import the CAD file into AutoCAD for further review or modifications. AutoCAD is a powerful CAD software widely utilized by professionals in the design and engineering fields.
Follow these steps to import the CAD file into AutoCAD:
- Launch AutoCAD: Open AutoCAD on your computer, either by clicking on its desktop icon or accessing it from the Programs menu.
- Create a New Project: It is recommended to create a new project or folder in AutoCAD to keep your imported CAD files organized. This will make it easier to locate and work with the specific files you need.
- Import the CAD File: In AutoCAD, go to the ‘File’ menu and select ‘Open’ or use the shortcut Ctrl+O. Navigate to the location where you saved the exported CAD file from Revit, select the file, and click ‘Open’.
- Review the Imported CAD Drawing: Once the CAD file is imported, it will be displayed in the AutoCAD workspace. Take some time to review the drawing and check if all the elements and layers appear as expected. You can use AutoCAD’s extensive tools and features to further analyze and modify the drawing if needed.
- Make Necessary Adjustments: Depending on the project requirements and the level of detail needed, you may need to make adjustments to the imported CAD drawing. This could include modifying elements, adding layers, adjusting line styles, or applying other changes as necessary.
- Save the Modified CAD Drawing: After you have made the necessary adjustments, save the modified CAD drawing in AutoCAD using the ‘Save’ or ‘Save As’ option. Be sure to choose an appropriate file name and location for easy retrieval and future reference.
By following these steps, you can seamlessly import the CAD file into AutoCAD and leverage its powerful tools to further analyze, modify, or annotate the drawing. AutoCAD provides a robust environment for precise drafting, design, and collaboration.
Remember to save your work regularly and utilize AutoCAD’s features to ensure accuracy and efficiency in your CAD workflow. This will enable you to make the most of your imported Revit model and effectively work with the CAD software.
“”
Read more: What Is BIM In Revit?
Step 5: Review and Modify CAD Drawing in AutoCAD
After importing your CAD drawing from Revit into AutoCAD, it’s time to review and make any necessary modifications to ensure its accuracy and alignment with your design intent. AutoCAD offers a range of powerful tools and features that enable you to analyze, edit, and enhance the CAD drawing.
Follow these steps to review and modify the CAD drawing in AutoCAD:
- Analyze the Drawing: Take a comprehensive look at the entire CAD drawing, examining the various elements, dimensions, and annotations. Ensure that everything is accurately represented and aligned with your design specifications.
- Correct Scale and Measurements: Verify that the scale of the drawing matches the original design intent. Use AutoCAD’s measurement tools, such as the Distance or Measure commands, to check specific dimensions and distances within the drawing.
- Modify Elements: If there are any elements in the CAD drawing that require editing or adjusting, utilize AutoCAD’s editing tools, such as the Modify or Trim commands. You can move, resize, rotate, or delete elements as needed to align with your design requirements.
- Add Annotations and Text: Use AutoCAD’s text and annotation tools to add labels, notes, or dimensions to the drawing. This will provide clear and concise information to others who will be reviewing or working with the CAD file.
- Organize Layers: Make sure that the elements in the CAD drawing are properly organized into layers. Utilize AutoCAD’s Layer Manager to adjust layer visibility, color, linetype, and other properties. This will enhance the readability and manageability of the drawing.
- Review Line Styles and Properties: Check the line styles and properties of the different elements in the CAD drawing. Adjust the linetype, lineweight, and other properties to ensure consistency and clarity in the representation of the design.
- Perform Quality Control Checks: Conduct a thorough quality control check of the CAD drawing to identify any errors, overlaps, or inconsistencies. Utilize AutoCAD’s auditing tools, such as the Audit or Purge commands, to clean up and optimize the drawing file.
By following these steps, you can effectively review and modify the CAD drawing in AutoCAD, ensuring that it accurately reflects your design intent. Take advantage of AutoCAD’s extensive toolset to enhance the drawing’s precision, clarity, and overall quality.
Remember to save your work regularly and maintain good file management practices. This will help you keep track of the modifications made and provide a solid foundation for future collaboration, documentation, and revision of the CAD drawing.
“”
Step 6: Save CAD Drawing for Further Use
After reviewing and modifying the CAD drawing in AutoCAD, it is essential to save the file to ensure that your changes are preserved and that it can be easily accessed and utilized for future use. Saving the CAD drawing effectively completes the export process and ensures its availability for further collaboration or documentation.
Follow these steps to save the CAD drawing in AutoCAD:
- Choose the Save Location: Determine the appropriate location on your computer or network where you want to save the CAD drawing file. Create a dedicated folder for your project if one doesn’t already exist.
- Provide a Descriptive File Name: Give the CAD drawing file a meaningful and descriptive name that reflects its contents and purpose. This will make it easier to identify and locate the file in the future.
- Decide on the File Format: AutoCAD offers various file formats for saving CAD drawings, including DWG, DXF, and others. Choose the format that best suits your requirements for compatibility and functionality with other software or stakeholders.
- Set Options for Compatibility: In the save dialog box, you may have options to set the version or compatibility of the saved file. Select the appropriate version based on the AutoCAD version you are using or the requirements of others who will be accessing the file.
- Verify Saving Options: Check the saving options and preferences to ensure that the appropriate settings are enabled. This may include options such as saving annotation scales, plot styles, or named views.
- Click ‘Save’: Once you have selected the save location, provided a file name, and reviewed the saving options, click on the ‘Save’ button to save the CAD drawing file. AutoCAD will create the file and store it in the chosen location.
By following these steps, you can save the CAD drawing file in AutoCAD, ensuring that your modifications and enhancements are securely preserved. This allows for further use, sharing, or collaboration with team members, clients, or other stakeholders.
Remember to regularly backup your CAD drawing files to prevent data loss and maintain version control. It is also good practice to keep a record of the different versions or iterations of the drawing for reference and historical purposes.
By effectively saving your CAD drawing, you can confidently leverage the file for future design iterations, construction documentation, or any other required applications.
“”
Conclusion
Exporting a Revit model to CAD can be a crucial step in the architectural design process, enabling collaboration with professionals using CAD software and facilitating further modifications or documentation. By following the steps outlined in this article, you can efficiently export your Revit model to a CAD format, specifically DWG or DXF, and leverage the capabilities of software like AutoCAD.
Throughout the process, it is important to properly prepare your Revit model, adjust export settings, and review and modify the CAD drawing in AutoCAD to ensure its accuracy and alignment with your design intent. Paying attention to details such as layers, line styles, dimensions, and object properties will improve the quality and usability of the exported CAD file.
Remember to save your CAD drawing effectively and follow good file management practices to maintain version control and facilitate future use. Regularly back up your files and keep records of different iterations of the drawing for reference.
Exporting a Revit model to CAD opens up opportunities for collaboration, coordination, and flexibility, allowing architects, engineers, and other professionals to work seamlessly together. Whether it’s for design refinement, construction documentation, or communication with project stakeholders, mastering the export process will enhance your design workflow and improve efficiency.
By incorporating these steps into your architectural design process, you can successfully export your Revit models to CAD formats and leverage the strengths of both software platforms. Embrace the power of technology and the interoperability between Revit and CAD to elevate your architectural designs to new heights of precision and collaboration.
“
Frequently Asked Questions about How To Export Revit To CAD
Was this page helpful?
At Storables.com, we guarantee accurate and reliable information. Our content, validated by Expert Board Contributors, is crafted following stringent Editorial Policies. We're committed to providing you with well-researched, expert-backed insights for all your informational needs.


0 thoughts on “How To Export Revit To CAD”