Furniture
How To Line Dresser Drawers
Modified: December 7, 2023
Learn how to properly line dresser drawers with our step-by-step guide. Enhance the durability and protect your furniture from scratches and damage.
(Many of the links in this article redirect to a specific reviewed product. Your purchase of these products through affiliate links helps to generate commission for Storables.com, at no extra cost. Learn more)
Introduction
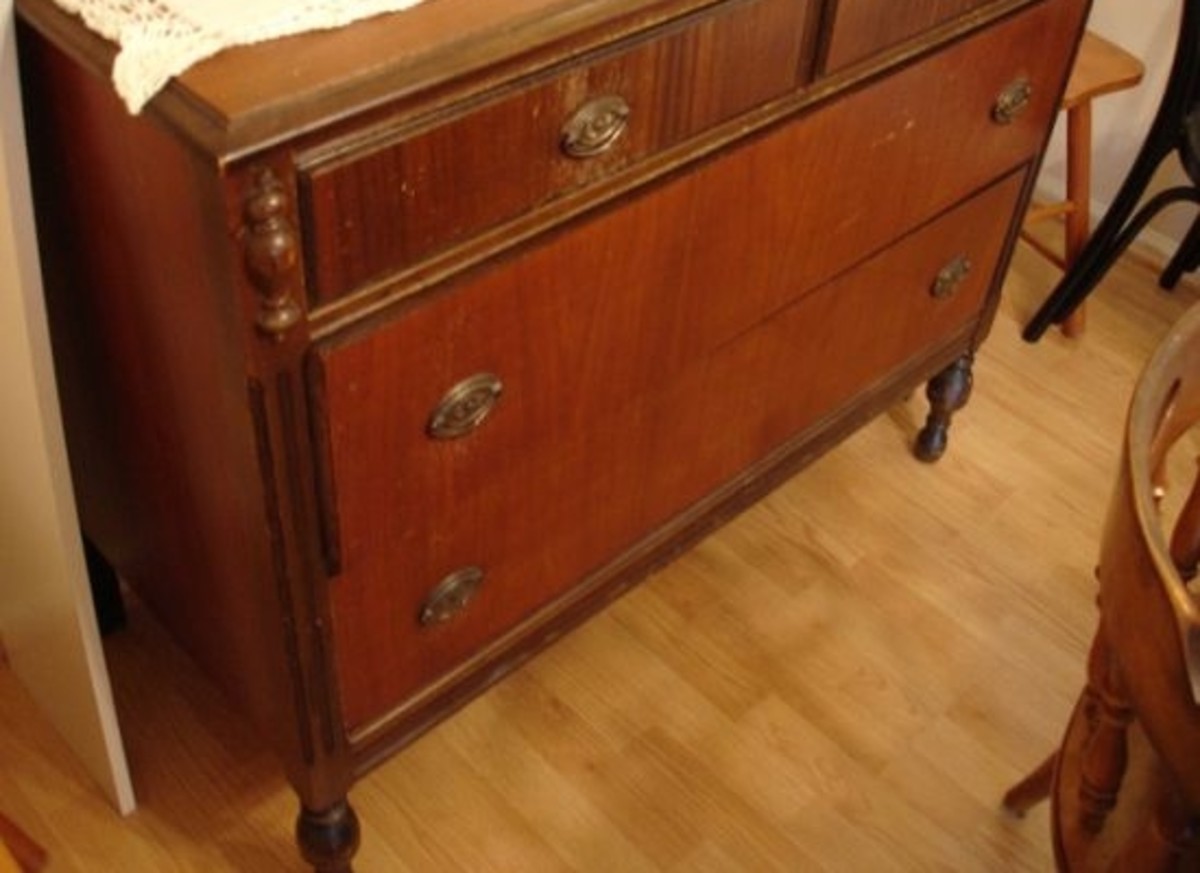
When it comes to organizing and protecting your clothing, linens, and other belongings, lining the drawers of your dresser can make a world of difference. Not only does it add a touch of elegance, but it also helps prevent items from sliding around and getting damaged. Lining dresser drawers is a simple DIY project that can be done in just a few steps with the right supplies and a bit of patience.
In this article, we will guide you through the process of lining your dresser drawers, providing you with useful tips and techniques along the way. Whether you are a seasoned DIY enthusiast or a beginner looking to spruce up your furniture, this guide will help you achieve professional-looking results.
Before we dive into the step-by-step instructions, let’s take a moment to gather all the necessary supplies. Here’s what you’ll need:
- Drawer liners or adhesive contact paper
- Scissors or utility knife
- Measuring tape or ruler
- Marker or pen
- Optional: adhesive spray or double-sided tape
Once you have these supplies ready, we can move on to the first step: emptying and cleaning the drawers.
Key Takeaways:
- Lining dresser drawers not only adds elegance but also protects belongings from damage. Follow our step-by-step guide for professional results and well-organized storage spaces.
- Organize and return items to the lined drawers to create a functional and efficient space. Enjoy easy-to-find items and enhanced durability for years to come.
Read more: How To Repair A Dresser Drawer
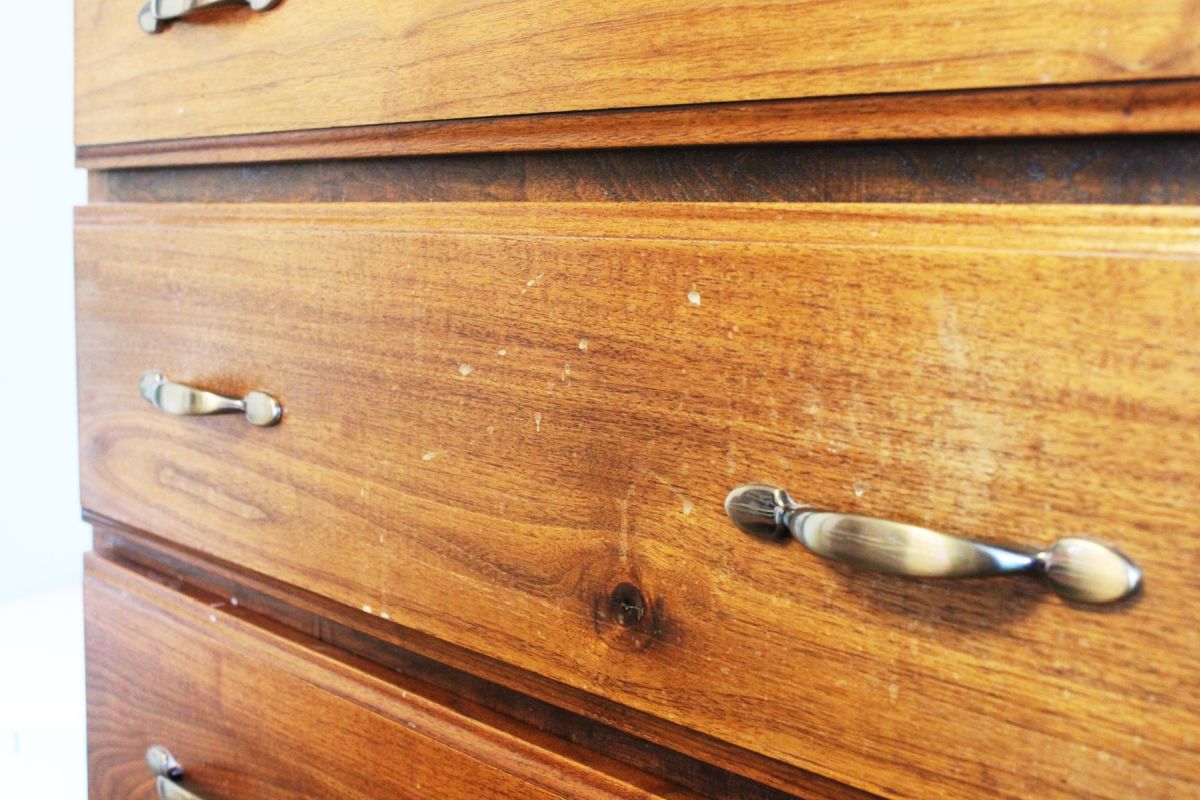
Step 1: Measure and Gather Supplies
Before you can start lining your dresser drawers, you’ll need to ensure that you have the right measurements and gather all the necessary supplies. Here’s what you need to do:
- Measure the drawers: Use a measuring tape or ruler to measure the length, width, and depth of each drawer. It’s important to be as accurate as possible to ensure a snug fit for the drawer liners.
- Gather supplies: Once you have the measurements, gather all the supplies you’ll need for the project. This includes drawer liners or adhesive contact paper, scissors or a utility knife for cutting the liners, a measuring tape or ruler to ensure precise cuts, and a marker or pen to mark the measurements on the liners.
- Consider additional supplies: Depending on your preference and the type of liner you choose, you may also need adhesive spray or double-sided tape to secure the liners in place. These are optional but can provide added stability and prevent the liners from shifting over time.
By taking the time to measure your drawers and gather all the necessary supplies, you’ll set yourself up for a smooth and efficient lining process. Once you have everything ready, it’s time to move on to the next step: emptying and cleaning the drawers.
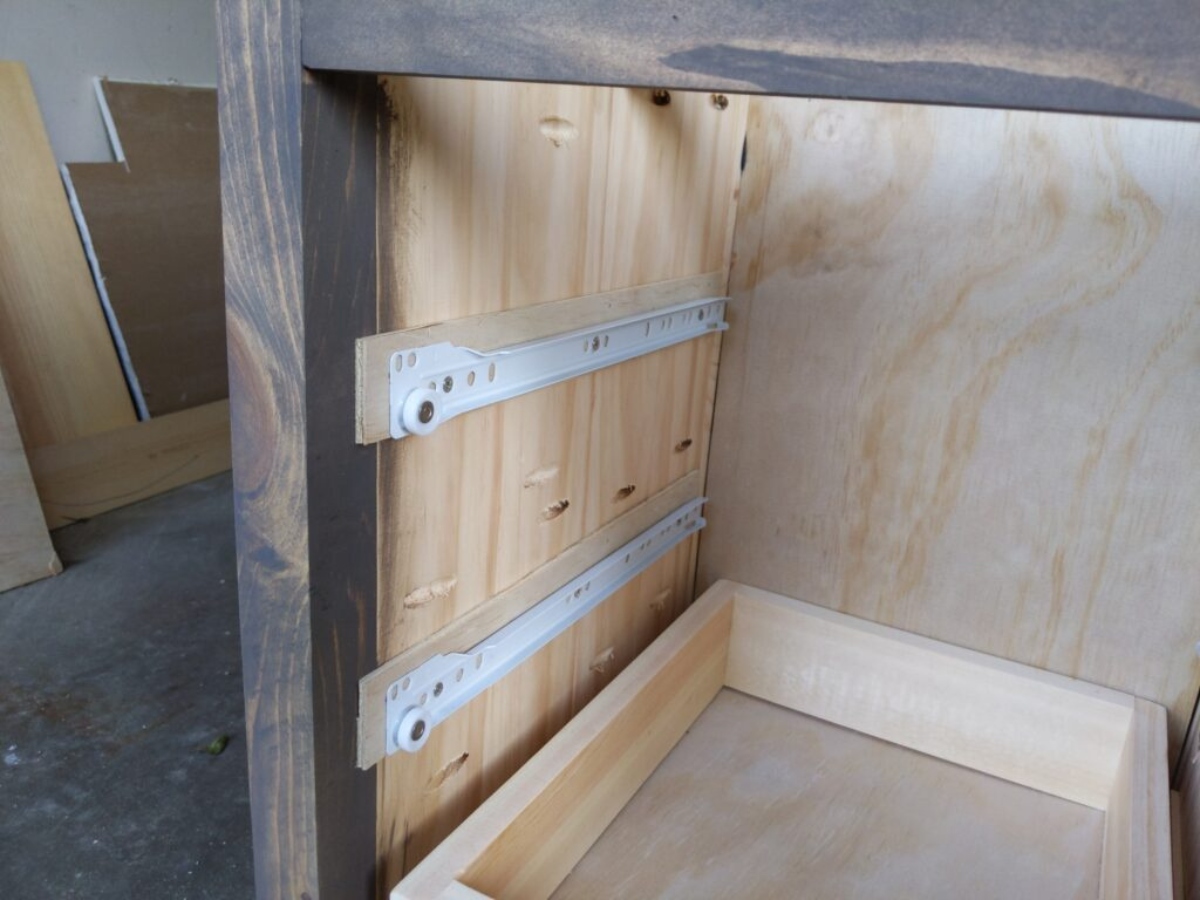
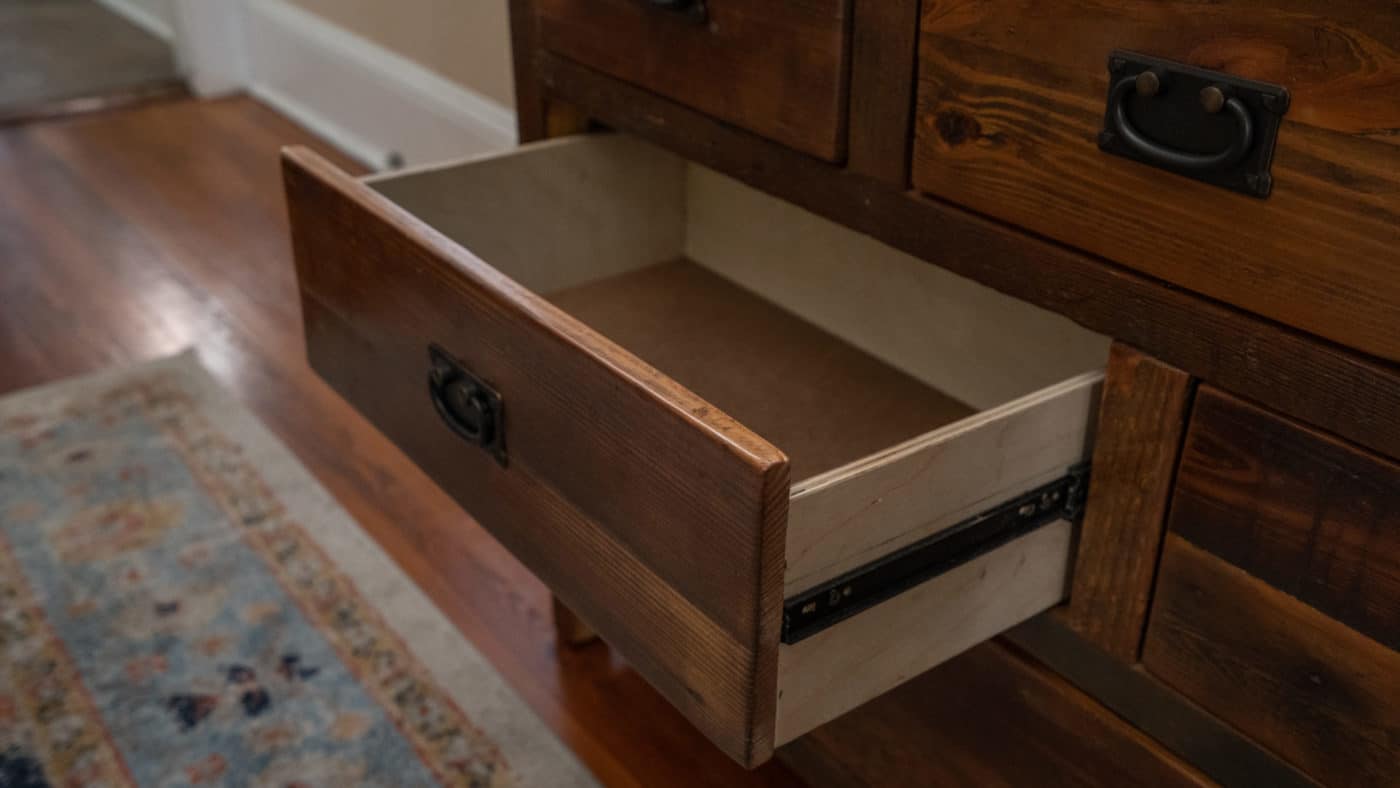
Step 2: Empty and Clean the Drawers
Before you start lining your dresser drawers, it’s crucial to empty them out and give them a thorough cleaning. Follow these steps to ensure a clean and fresh foundation for your drawer liners:
- Remove all the items: Take out all the items from your dresser drawers and place them in a safe and organized manner. This will allow you to clean the drawers effectively without any obstructions.
- Clean the interior: Use a damp cloth or sponge with a mild cleaning solution to wipe down the interior of each drawer. Pay attention to any stains, debris, or sticky residue and make sure to clean thoroughly. Also, wipe down the sides and bottom of the drawers to ensure they are completely clean.
- Dry the drawers: After cleaning, allow the drawers to air dry completely. This step is important to prevent any moisture from getting trapped between the drawer liner and the surface, which can lead to the growth of mold or mildew.
By emptying and cleaning your dresser drawers before lining them, you’ll create a clean and fresh surface for the liners to adhere to. This will ensure a smooth and long-lasting result. Once the drawers are clean and dry, you can proceed to the next step: measuring and cutting the drawer liners.
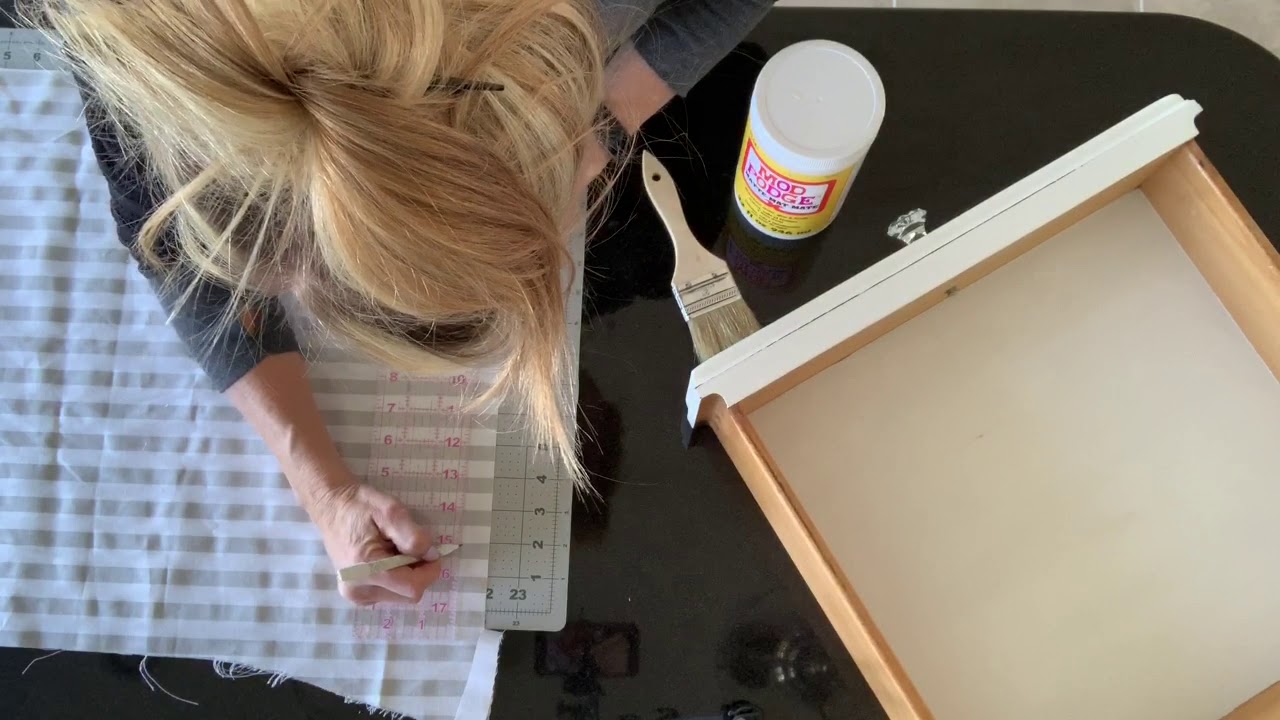
Step 3: Measure and Cut the Drawer Liners
Now that your dresser drawers are clean and empty, it’s time to measure and cut the drawer liners. Follow these steps to ensure a precise and custom fit:
- Measure the drawers: Use a measuring tape or ruler to measure the length and width of each drawer. Take into account any curves or corners in the drawer design.
- Transfer measurements to the liner: Place the drawer liner on a flat surface with the non-adhesive side facing up. Use a marker or pen to mark the measurements onto the liner, ensuring that it matches the dimensions of each drawer.
- Cut the liner: Carefully cut the drawer liner along the marked lines using scissors or a utility knife. Take your time and make smooth, straight cuts for the best results. If you’re using adhesive contact paper, be sure to cut off any excess backing as well.
It’s important to measure and cut each drawer liner individually, as drawers can vary in size even within the same dresser. Double-check your measurements before making any cuts to ensure a proper fit.
If you’re using patterned or textured drawer liners, consider aligning the pattern or texture to your liking before cutting. This attention to detail can enhance the overall look and aesthetics of your lined drawers.
Once you have measured and cut the drawer liners, you’re ready to move on to the next step: applying adhesive or liner to the drawers.
Step 4: Apply Adhesive or Liner to the Drawers
With the drawer liners measured and cut to size, it’s time to apply adhesive or the liner to the drawers. Follow these steps to ensure a secure and neat application:
- Choose your method: Depending on the type of drawer liner you are using, you have a couple of options. If you have adhesive contact paper, simply peel off the backing to reveal the adhesive side. If you have non-adhesive liners, you can use adhesive spray or double-sided tape to secure them to the drawers.
- Start from one side: Begin by aligning one side of the liner with the corresponding side of the drawer. Slowly press the liner onto the drawer, smoothing out any bubbles or wrinkles as you go.
- Work your way across: Continue to press the liner onto the drawer, working your way across and smoothing out any bubbles or wrinkles. If you’re using adhesive contact paper, you can use a credit card or a plastic squeegee to help smooth out the surface.
- Pay attention to corners and edges: When you reach corners and edges, make small cuts or folds to ensure a neat and snug fit. Smooth out any excess material or overlap to maintain a clean and uniform appearance.
- Repeat for each drawer: Repeat the above steps for each drawer, ensuring a consistent and professional finish throughout.
Whether you’re using adhesive contact paper, adhesive spray, or double-sided tape, make sure to follow the instructions provided by the manufacturer for the best results.
Once you have successfully applied the adhesive or liner to all the drawers, it’s time to address any bubbles or wrinkles that may have formed during the application process. This is the focus of the next step: smoothing out any bubbles or wrinkles.
When lining dresser drawers, use adhesive shelf liner or wallpaper to protect the wood and keep items from sliding around. Measure and cut the liner to fit each drawer for a clean and organized look.
Read more: How To Lock A Dresser Drawer
Step 5: Smooth Out Any Bubbles or Wrinkles
After applying the drawer liners, it’s common to encounter some bubbles or wrinkles on the surface. Don’t worry, they can be easily smoothed out with a little bit of effort. Follow these steps to achieve a flawless and seamless finish:
- Identify the bubbles or wrinkles: Take a close look at the lined drawers and identify any areas where bubbles or wrinkles have formed. They may be more visible in certain lighting conditions or on certain types of liners.
- Release the bubbles: Use a pin or a needle to gently puncture the bubbles formed underneath the liner. Simply insert the pin into the bubble and press down gently to release the trapped air. Be careful not to scratch or damage the liner or the surface of the drawer.
- Smooth out the wrinkles: To remove wrinkles, gently lift the liner and reposition it, smoothing it out as you go. Start from one end and work your way towards the other, making sure to apply even pressure with your hand or a flat object, such as a credit card or a plastic squeegee, to eliminate any creases or folds.
- Work in small sections: If you encounter multiple bubbles or wrinkles, work on one section at a time. By focusing on smaller areas, you can ensure better control and achieve a more uniform result.
- Take your time: Be patient and take your time to smooth out any bubbles or wrinkles. It may require a bit of trial and error, but with some persistence and gentle manipulation, you can achieve a smooth and flawless finish.
Remember, it’s normal to encounter a few imperfections during the process, but with careful attention and smoothing, you can achieve a professional-looking outcome. Once you’ve successfully smoothed out any bubbles or wrinkles, it’s time to move on to the next step: trimming excess liner.
Step 6: Trim Excess Liner
With the drawer liners securely applied and any bubbles or wrinkles smoothed out, it’s time to trim any excess liner to ensure a tidy and polished appearance. Follow these steps to achieve clean and well-finished drawers:
- Close the drawer: Before you begin trimming, make sure to fully close the drawer. This will allow you to see the exact shape and size of the drawer opening.
- Inspect the edges: Take a close look at the edges of the liner where it meets the inner frame of the drawer. Check for any areas where the liner extends beyond the edges.
- Mark the excess liner: Using a pen or marker, mark the areas where you need to trim the excess liner. Be precise and make small marks to ensure accurate cutting.
- Cut along the marked lines: Using a sharp pair of scissors or a utility knife, carefully trim along the marked lines. Take your time and make clean, straight cuts for a professional and seamless finish. If you’re using adhesive contact paper, be careful not to damage the surface of the drawer while cutting.
- Remove trimmed pieces: As you trim the excess liner, remove the cut pieces and discard them appropriately. Keeping your work area clean will help ensure an efficient and tidy process.
By trimming the excess liner, you are not only enhancing the appearance of the lined drawers but also ensuring that the drawers can open and close smoothly without any interference. Once you’ve neatly trimmed the excess liner, it’s time for the final step: organizing and returning items to the drawers.
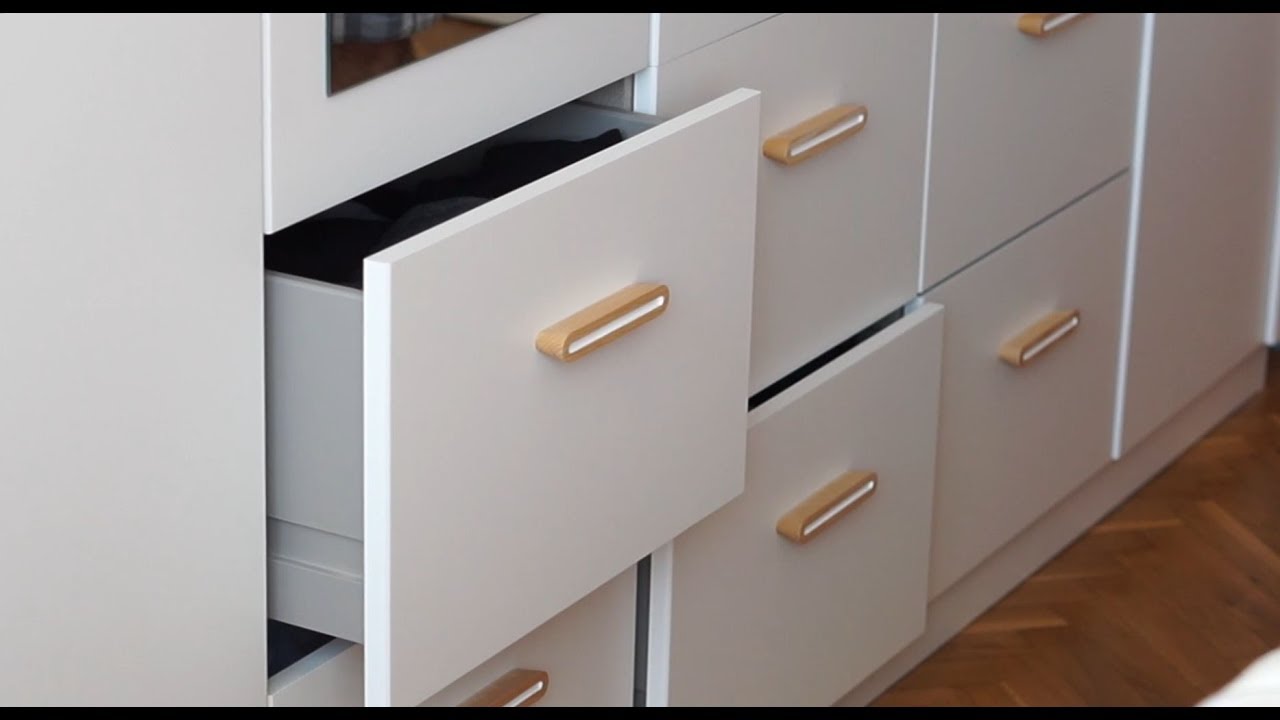
Step 7: Organize and Return Items to the Drawers
Now that you have lined and trimmed your dresser drawers, it’s time to organize your items and return them to their newly refreshed home. Follow these steps to ensure a well-organized and clutter-free drawer:
- Sort and declutter: Begin by sorting through your items and decluttering them. Discard any items that are no longer needed, donate items that are in good condition but no longer useful to you, and organize the remaining items into categories.
- Arrange items: Consider the most efficient and functional way to arrange your items in the drawers. Consider using drawer dividers or small containers to keep items separated and organized. Keep frequently used items within easy reach.
- Maximize drawer space: Make the most out of your drawer space by utilizing organizers, such as drawer inserts or storage bins. These can help maximize storage capacity and keep items neatly in place.
- Label if desired: If you want to take your organization to the next level, consider labeling the drawers or using clear or labeled containers. This can make it even easier to find and access specific items quickly.
- Return items to the drawers: Place your neatly organized items back into the lined drawers, ensuring that each item has its designated spot. Take your time to arrange everything as per your preference and convenience.
By organizing and returning your items to the lined drawers, you not only create a functional and efficient space but also maintain the cleanliness and longevity of the drawer liners.
Congratulations! You have successfully lined your dresser drawers and transformed them into well-organized and protected storage spaces. Enjoy the benefits of easy-to-find items and enhanced durability of your dressers for years to come.
Remember, periodically check the condition of the drawer liners and replace them as needed to ensure continued protection and aesthetic appeal.
Thank you for following this step-by-step guide. We hope it has been helpful in your DIY project. Happy organizing!
Conclusion
Lining dresser drawers is a simple yet effective way to protect your belongings and add a touch of elegance to your furniture. By following the step-by-step guide outlined in this article, you can achieve professional-looking results and create well-organized storage spaces.
We started by measuring and gathering the necessary supplies, followed by emptying and cleaning the drawers to provide a clean foundation. We then measured and cut the drawer liners to ensure a precise fit, and applied the adhesive or liner to secure them in place.
Next, we tackled any bubbles or wrinkles that may have formed during the application process, smoothing them out for a flawless finish. Excess liner was trimmed to ensure a tidy appearance, and finally, we organized and returned our items to the freshly lined drawers.
Through this process, you have not only enhanced the functionality and longevity of your dresser drawers but also created a visually appealing and organized storage solution. The added protection provided by the liners helps prevent items from shifting or getting damaged, ensuring their durability over time.
Remember, lining your dresser drawers is a versatile project that allows you to showcase your personal style and creativity. Consider experimenting with different liners, patterns, or textures to add a unique touch to your furniture.
We hope this comprehensive guide has been informative and helpful, guiding you through each step of the lining process. Enjoy your beautifully lined dresser drawers and revel in the joy of an organized and clutter-free living space!
Frequently Asked Questions about How To Line Dresser Drawers
Was this page helpful?
At Storables.com, we guarantee accurate and reliable information. Our content, validated by Expert Board Contributors, is crafted following stringent Editorial Policies. We're committed to providing you with well-researched, expert-backed insights for all your informational needs.


0 thoughts on “How To Line Dresser Drawers”