Home>Home Appliances>Lighting Appliances>How To Remove Fluorescent Ceiling Light Cover With Clips
Lighting Appliances
How To Remove Fluorescent Ceiling Light Cover With Clips
Modified: August 25, 2024
Learn how to easily remove a fluorescent ceiling light cover with clips and safely replace it. Get expert tips on lighting appliances maintenance.
(Many of the links in this article redirect to a specific reviewed product. Your purchase of these products through affiliate links helps to generate commission for Storables.com, at no extra cost. Learn more)
Introduction
Removing the fluorescent ceiling light cover with clips may seem like a daunting task, but with the right guidance and a bit of know-how, it can be a straightforward process. Whether you're looking to replace a flickering bulb, clean the cover, or upgrade to a more energy-efficient LED panel, understanding how to safely remove the cover is essential. By following the steps outlined in this guide, you'll gain the confidence to tackle this task with ease.
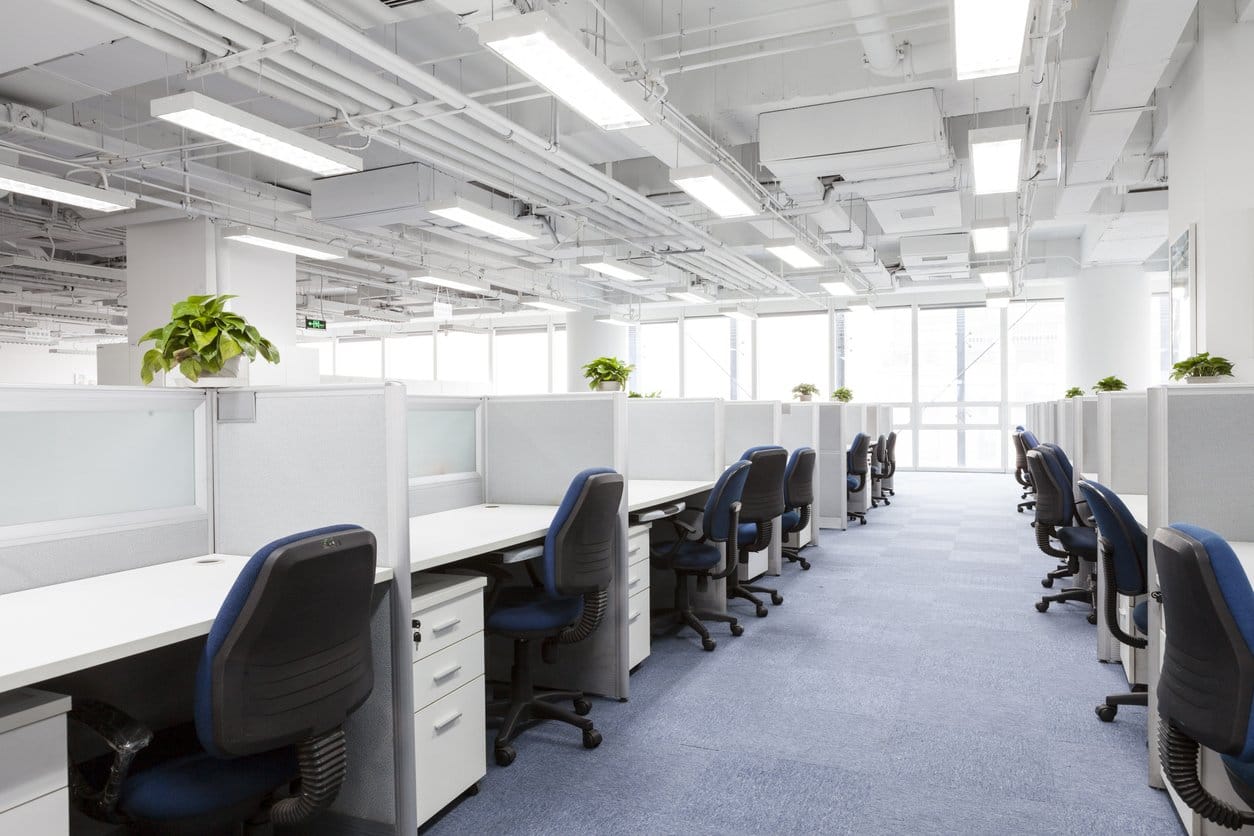
Fluorescent ceiling lights are a common feature in many homes and commercial spaces due to their energy efficiency and bright illumination. However, over time, the cover of these fixtures can accumulate dust, dirt, and grime, diminishing the quality of light and the overall aesthetic appeal. Additionally, when a bulb needs to be replaced, accessing the interior of the fixture becomes necessary. This is where knowing how to remove the cover with clips becomes invaluable.
In the following steps, you'll learn how to safely remove the cover without damaging the fixture or risking injury. Before diving into the process, it's important to gather the necessary tools and take the precaution of turning off the power to the light fixture. Once these initial steps are completed, you can proceed to locate and release the clips holding the cover in place. With the cover removed, you'll have the opportunity to clean it thoroughly, ensuring that the light shines through unobstructed. Finally, you'll be guided through the process of reinstalling the cover, leaving your fluorescent ceiling light looking fresh and functioning optimally.
By mastering the art of removing the fluorescent ceiling light cover with clips, you'll be equipped to maintain and enhance the lighting in your living or workspaces. So, let's embark on this illuminating journey and discover the simple yet essential steps to achieve a well-lit and inviting environment.
Key Takeaways:
- Safety First!
Before removing the fluorescent ceiling light cover, always turn off the power at the circuit breaker to prevent electrical accidents. Gather the right tools and follow the steps with caution for a well-lit and safe environment. - Clean for Brightness
After removing the cover, clean it with a gentle detergent solution and reinstall it securely. This ensures unobstructed light, creating a welcoming and visually appealing space for everyone to enjoy.
Step 1: Gather necessary tools
Before embarking on the task of removing the fluorescent ceiling light cover with clips, it's essential to gather the necessary tools to ensure a smooth and safe process. Having the right tools at your disposal will not only make the task more manageable but also minimize the risk of damage to the fixture or potential injury. Here's a comprehensive list of tools you'll need:
-
Ladder or Step Stool: Since fluorescent ceiling lights are typically mounted on the ceiling, having a stable and appropriately sized ladder or step stool is crucial for reaching the fixture safely. Ensure that the ladder is in good condition and placed on a level surface before use.
-
Screwdriver: Depending on the type of clips securing the cover, a flathead or Phillips screwdriver may be required to release them. It's advisable to have both types of screwdrivers on hand to accommodate different clip designs.
-
Safety Gloves: Protecting your hands with a pair of safety gloves is important, especially if the cover is dirty or has sharp edges. Gloves provide a barrier against dirt and potential cuts, enhancing safety during the removal process.
-
Cleaning Supplies (Optional): If your intention is to clean the cover once it's removed, consider having cleaning supplies such as a microfiber cloth, mild detergent, and a gentle cleaning solution ready. This will allow you to thoroughly clean the cover before reinstalling it.
-
Flashlight: In some cases, the area around the light fixture may be dimly lit, making it challenging to locate the clips. A flashlight can be a handy tool for illuminating the area and aiding in the clip release process.
-
Safety Glasses (Optional): While removing the cover, there's a possibility of dust or debris falling from the fixture. Wearing safety glasses can protect your eyes from any unexpected particles, ensuring a safe and comfortable experience.
By ensuring that you have these tools readily available, you'll be well-prepared to tackle the task of removing the fluorescent ceiling light cover with clips. With safety and efficiency in mind, gathering these tools is the first step towards achieving a well-lit and inviting environment in your living or workspaces.
Step 2: Turn off the power
Before proceeding with the removal of the fluorescent ceiling light cover, it is crucial to prioritize safety by turning off the power to the fixture. This step is paramount to prevent the risk of electrical shock and ensure a secure working environment. By following these guidelines, you can confidently carry out the task without any electrical hazards.
-
Locate the Circuit Breaker: Begin by identifying the circuit breaker that controls the power supply to the fluorescent ceiling light. Circuit breakers are typically located in the electrical panel of your home or building. It's essential to know which breaker corresponds to the specific light fixture you'll be working on.
-
Switch Off the Circuit: Once you've located the correct circuit breaker, switch it to the "off" position. This action will cut off the electricity supply to the light fixture, ensuring that there is no power running to the wires and components.
-
Verify the Power: After turning off the circuit breaker, it's advisable to double-check that the power to the light fixture has been successfully disconnected. You can do this by attempting to turn on the light switch associated with the fixture. If the light remains off, you can proceed with confidence, knowing that the power has been effectively turned off.
-
Use a Voltage Tester (Optional): For an added layer of safety, consider using a voltage tester to confirm that there is no electrical current flowing to the fixture. This handheld device can detect the presence of electrical voltage, providing assurance that it is safe to proceed with the cover removal.
By diligently following these steps to turn off the power, you prioritize safety and minimize the risk of electrical accidents. Remember, working on electrical fixtures should always be approached with caution, and ensuring that the power is switched off is a fundamental safety measure. With the power safely turned off, you are now ready to proceed to the next steps of removing the fluorescent ceiling light cover with confidence and peace of mind.
Step 3: Locate the clips
Once the power to the fluorescent ceiling light fixture has been safely turned off, the next step is to locate the clips that secure the cover in place. The clips are essential components that hold the cover firmly to the fixture, and identifying their position is crucial for the successful removal of the cover. Here's a detailed guide on how to locate the clips with precision and ease.
-
Inspect the Perimeter: Begin by visually examining the perimeter of the fluorescent ceiling light cover. The clips are typically positioned around the edges of the cover, securing it to the fixture. Look for small indentations or protrusions along the sides of the cover, as these are indicative of the clip locations.
-
Check for Screw Fastenings: In some cases, the clips may be secured with screws, especially in commercial or industrial settings. If your fixture has screw-fastened clips, they will be visible on the surface of the cover. Use a screwdriver to carefully remove the screws, allowing access to the clips beneath.
-
Refer to the Manual: If you have the original manual or installation instructions for the fluorescent ceiling light fixture, it can provide valuable insights into the clip locations. The manual may include detailed diagrams or descriptions that pinpoint the exact positions of the clips, facilitating a smoother removal process.
-
Use a Flashlight: If the area around the fixture is dimly lit, use a flashlight to illuminate the space and aid in locating the clips. The additional light can help you identify the clip positions more accurately, especially if the fixture is installed in a high-ceiling environment or a poorly lit area.
-
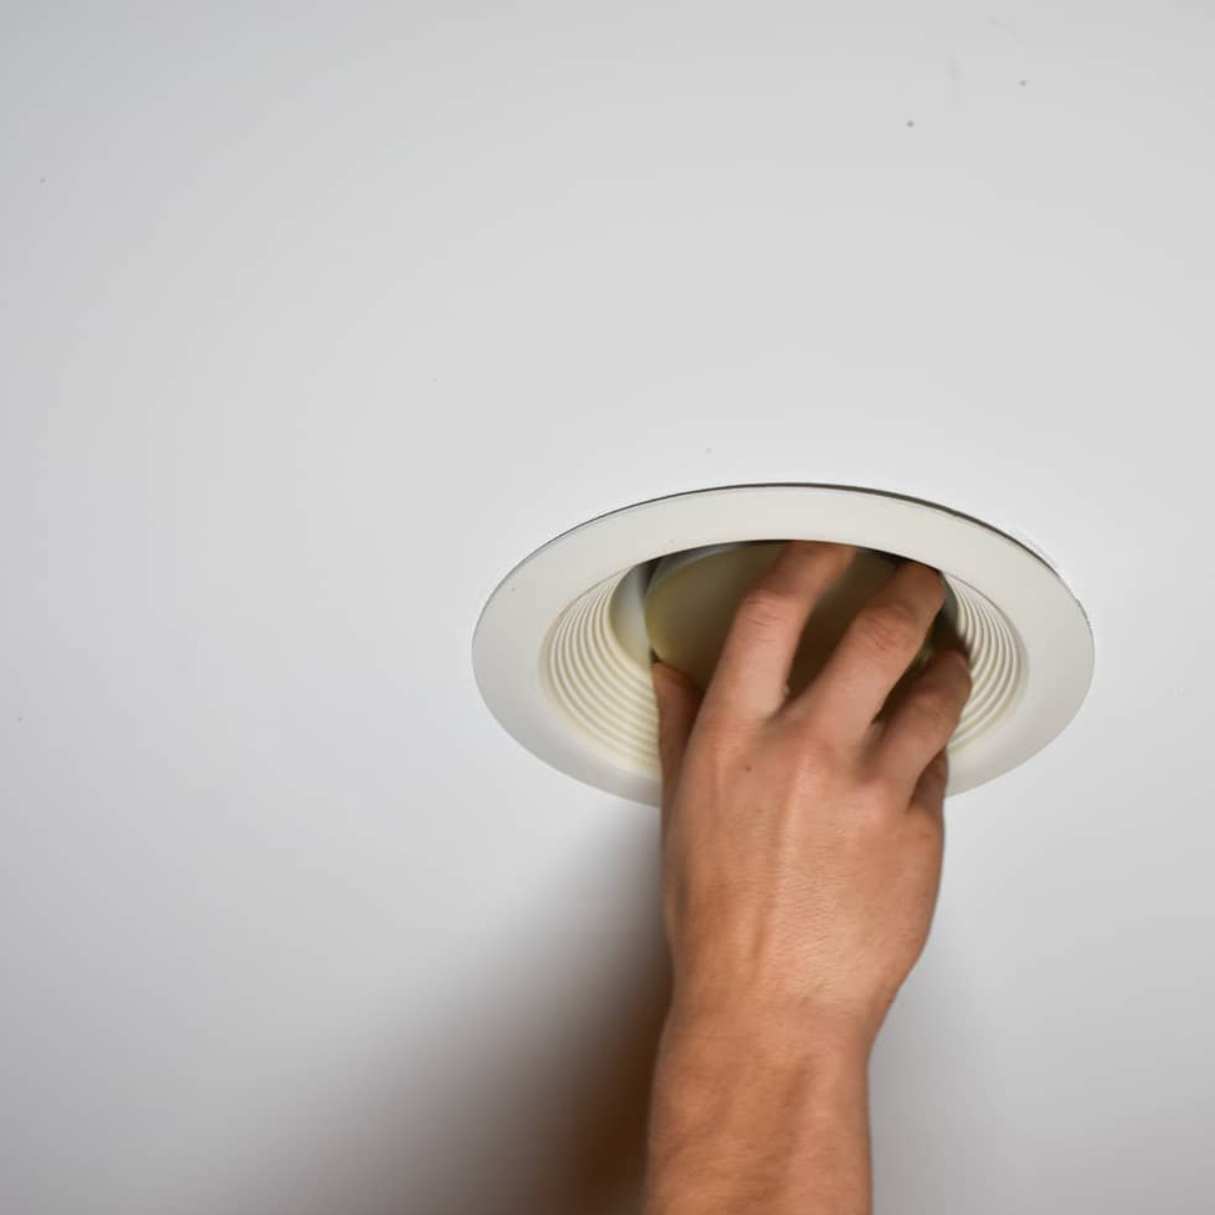
Feel for the Clips: Gently run your fingers along the edges of the cover to feel for the clips. In some instances, the clips may be recessed or partially concealed, making them less visible to the naked eye. By running your fingers along the edges, you can detect the presence and position of the clips through touch.
By diligently following these steps, you can effectively locate the clips that secure the fluorescent ceiling light cover. Identifying the clip positions is a crucial precursor to the subsequent steps of releasing the clips and removing the cover. With the clips located, you are now prepared to proceed to the next phase of the cover removal process, bringing you one step closer to maintaining and enhancing the lighting in your living or workspaces.
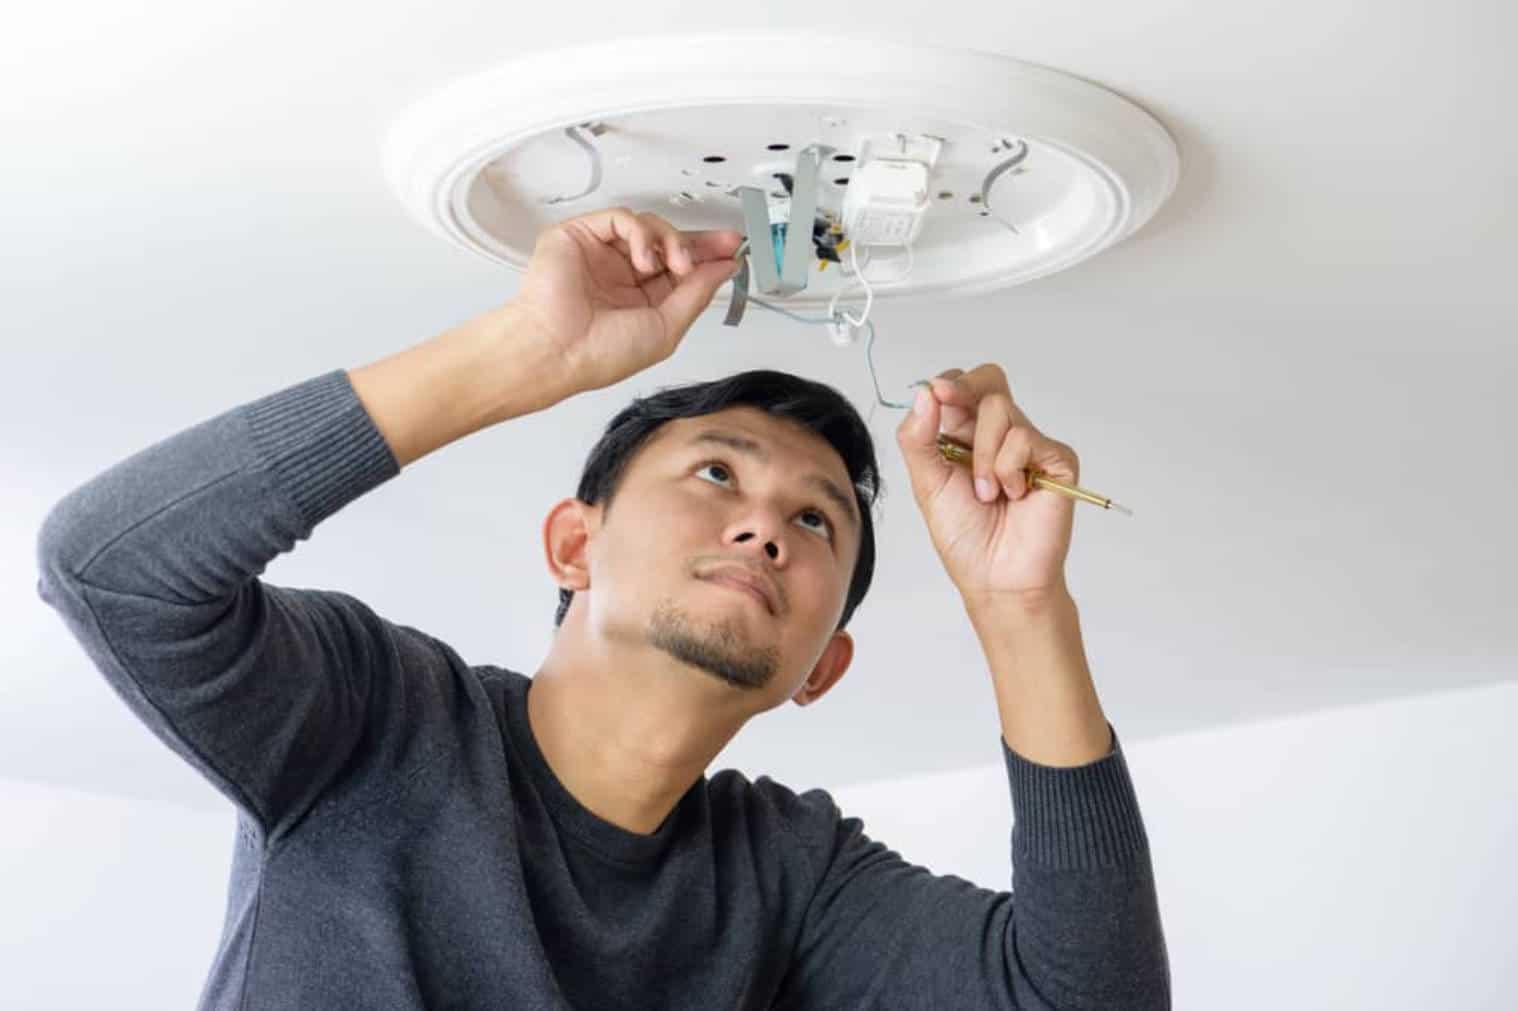
Step 4: Release the clips
With the clips located, the next crucial step in removing the fluorescent ceiling light cover is to release them from their secured positions. Releasing the clips requires precision and care to avoid damaging the cover or the fixture itself. Here's a detailed guide on how to effectively release the clips and free the cover from the fixture.
-
Identify the Clip Mechanism: Before attempting to release the clips, take a moment to understand the mechanism by which they secure the cover. Clips may employ various mechanisms, such as spring-loaded designs or simple latch systems. Understanding how the clips operate will guide you in releasing them effectively.
-
Use the Screwdriver: If the clips are fastened with screws, use a screwdriver to carefully remove them. Once the screws are removed, the clips should be accessible for release. Take caution not to misplace the screws, as they will be needed for reinstallation.
-
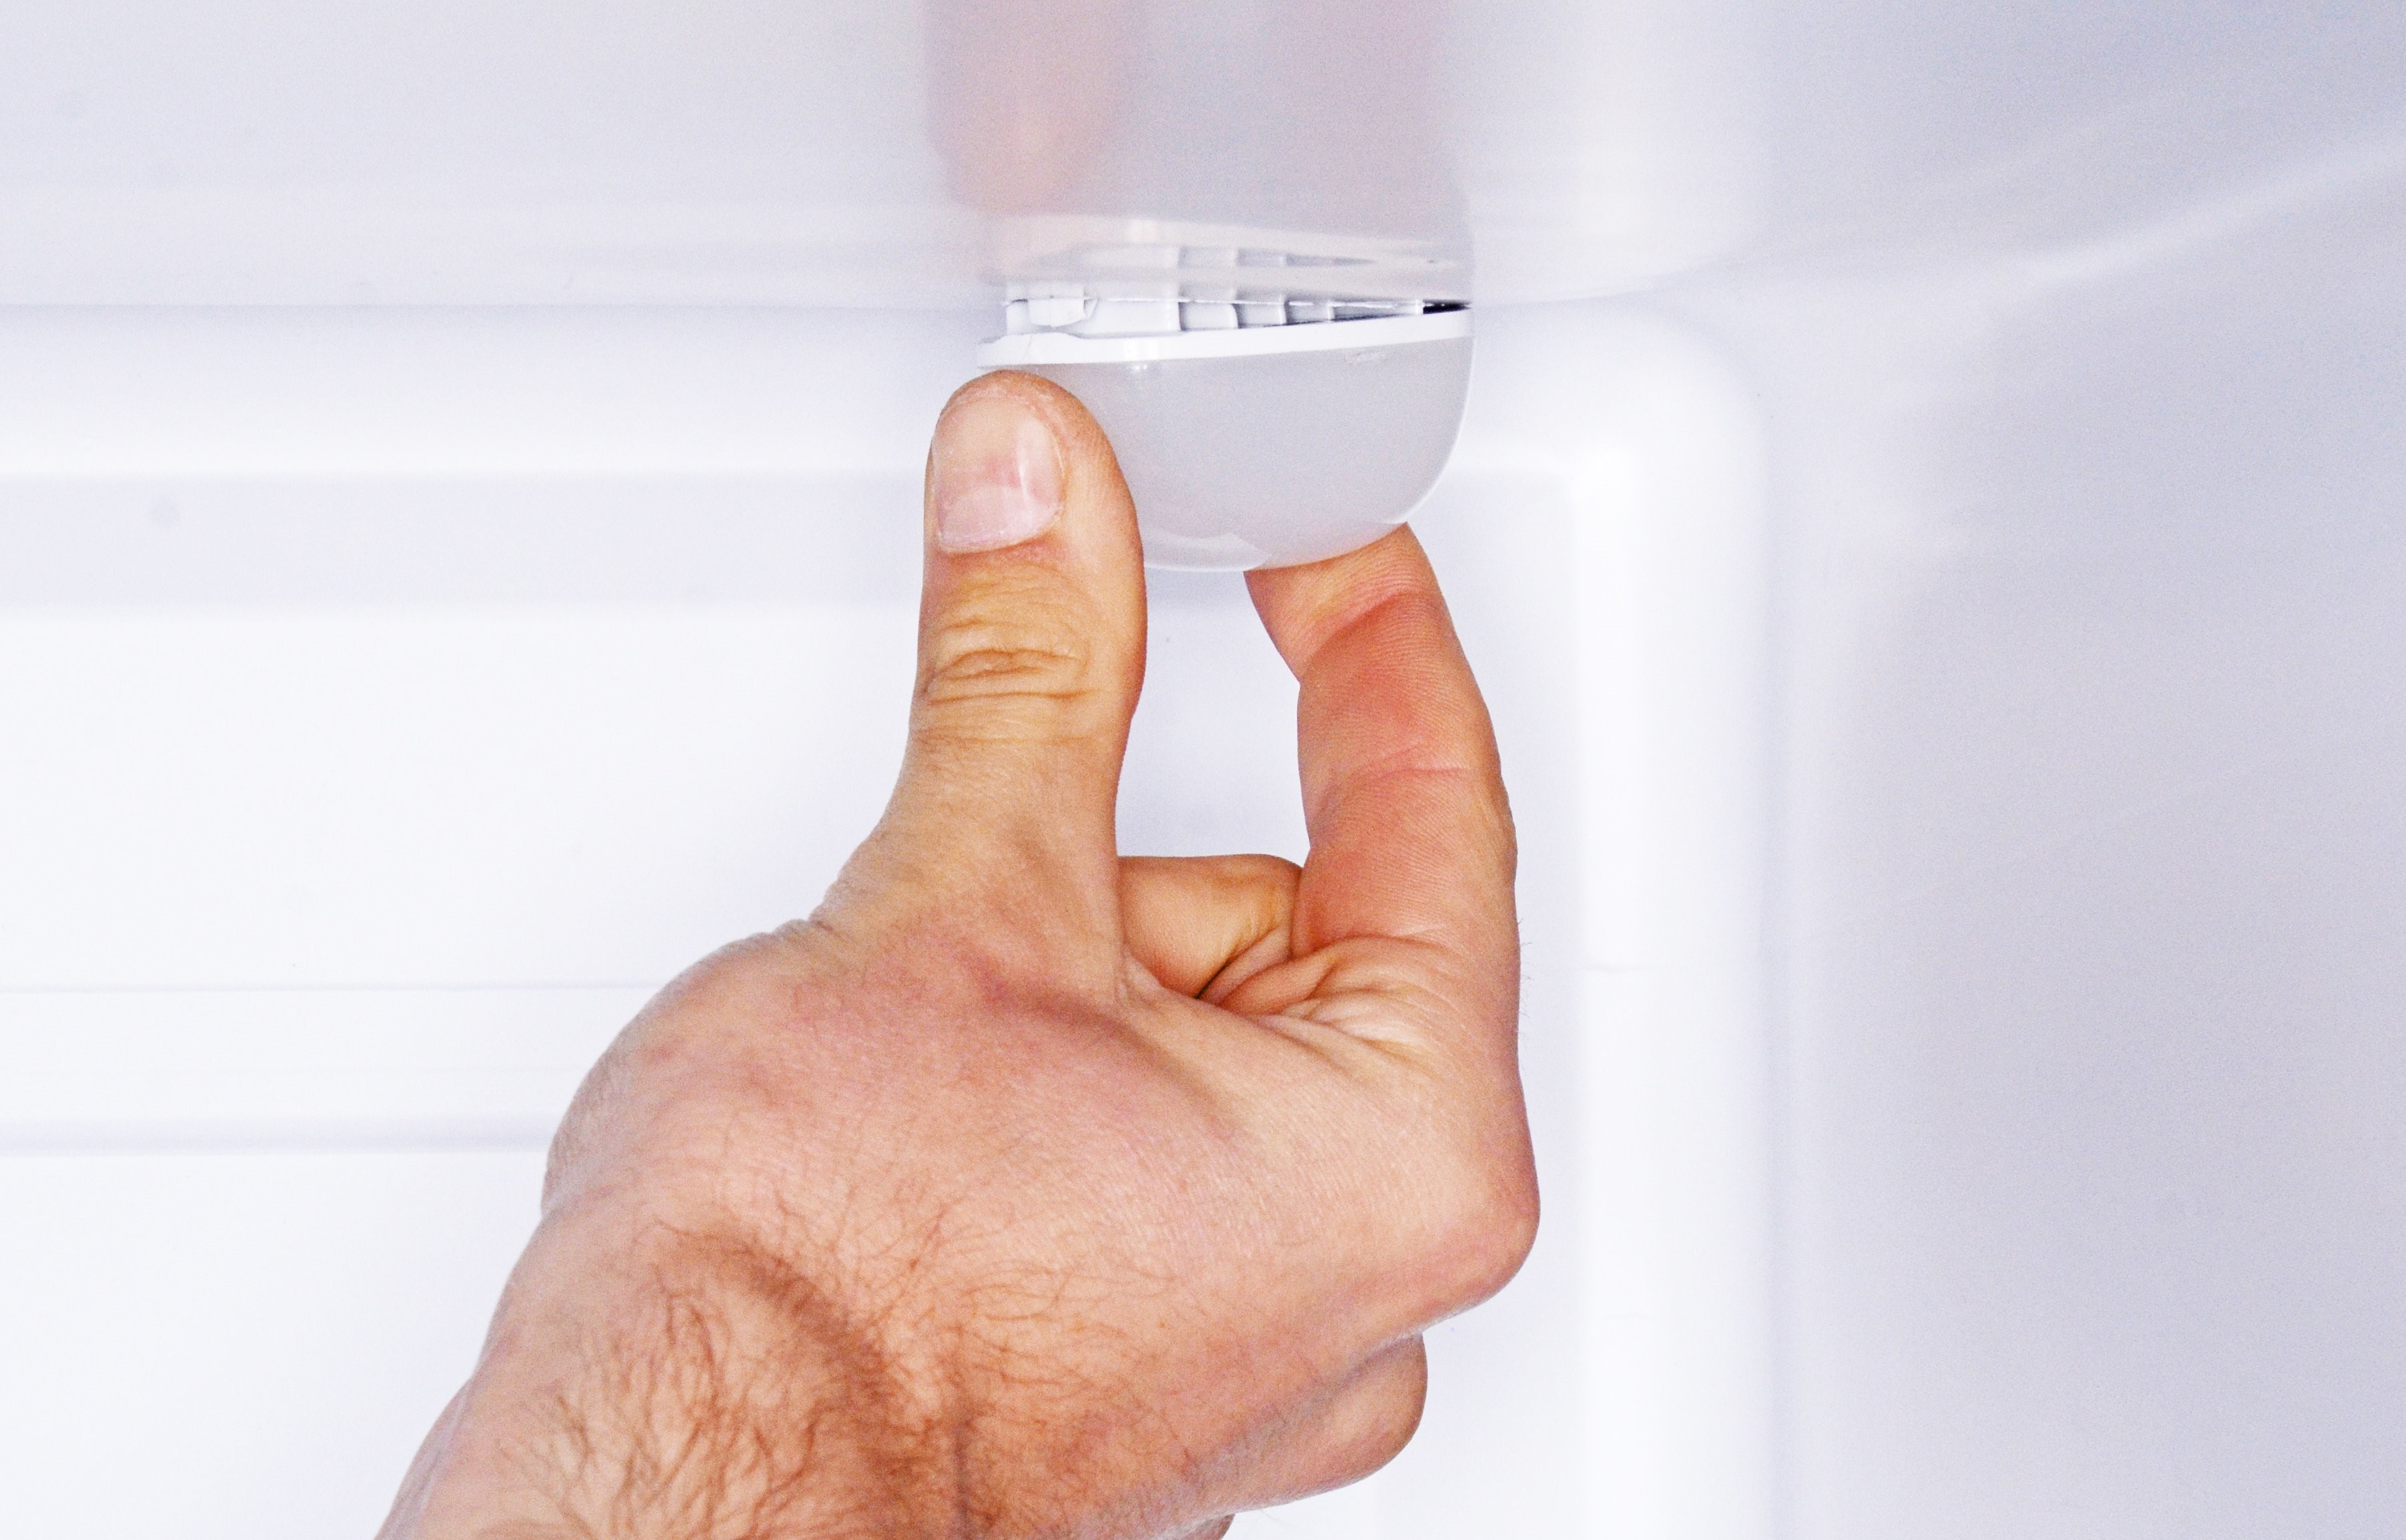
Apply Gentle Pressure: Gently press or squeeze the clips to disengage them from their locked position. Depending on the design, the clips may require inward pressure or a slight twisting motion to release. Exercise patience and avoid using excessive force to prevent damage.
-
Simultaneous Release: In some cases, the clips need to be released simultaneously to free the cover evenly. If there are multiple clips securing the cover, coordinate the release action to ensure that the cover is released uniformly without tilting or getting stuck.
-
Assess for Resistance: As you release each clip, pay attention to any resistance or sticking points. If a clip seems stubborn or does not release smoothly, reassess its position and the method of release. It's essential to release all clips evenly to prevent uneven stress on the cover.
-
Support the Cover: As the clips are being released, be prepared to support the cover to prevent it from falling. Depending on the size and weight of the cover, having a steady grip will ensure that the cover is safely removed without causing any damage or injury.
By following these detailed steps, you can effectively release the clips and detach the fluorescent ceiling light cover from the fixture. With the cover successfully removed, you are now ready to proceed to the subsequent steps of cleaning the cover and, if necessary, replacing bulbs or performing maintenance on the interior components.
Read more: How To Remove Ceiling Light
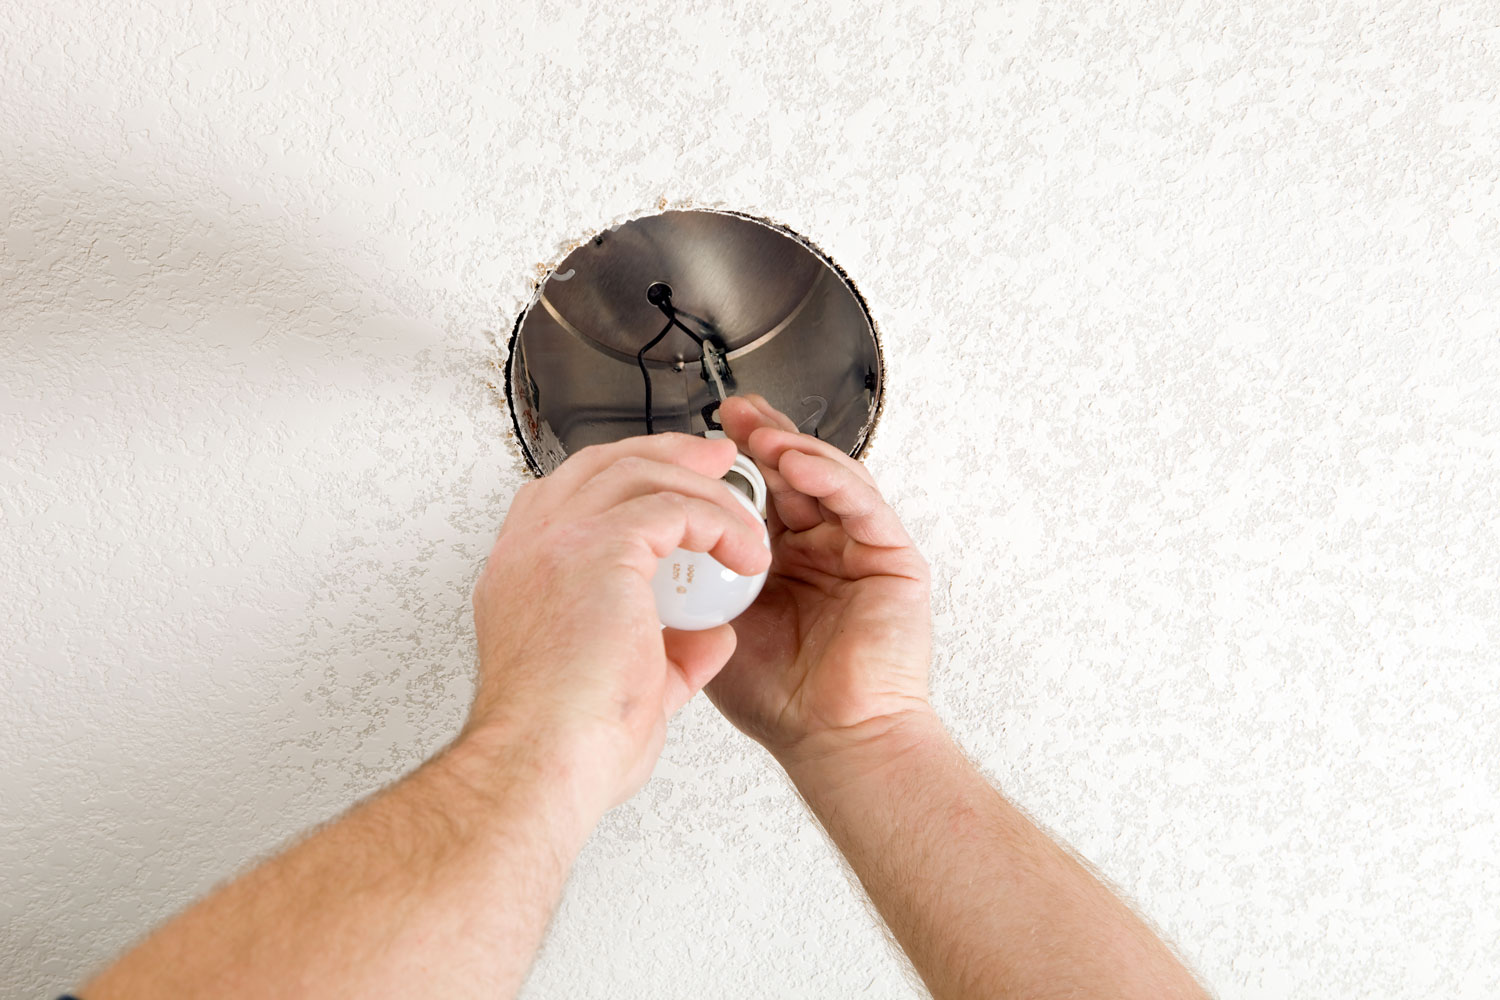
Step 5: Remove the cover
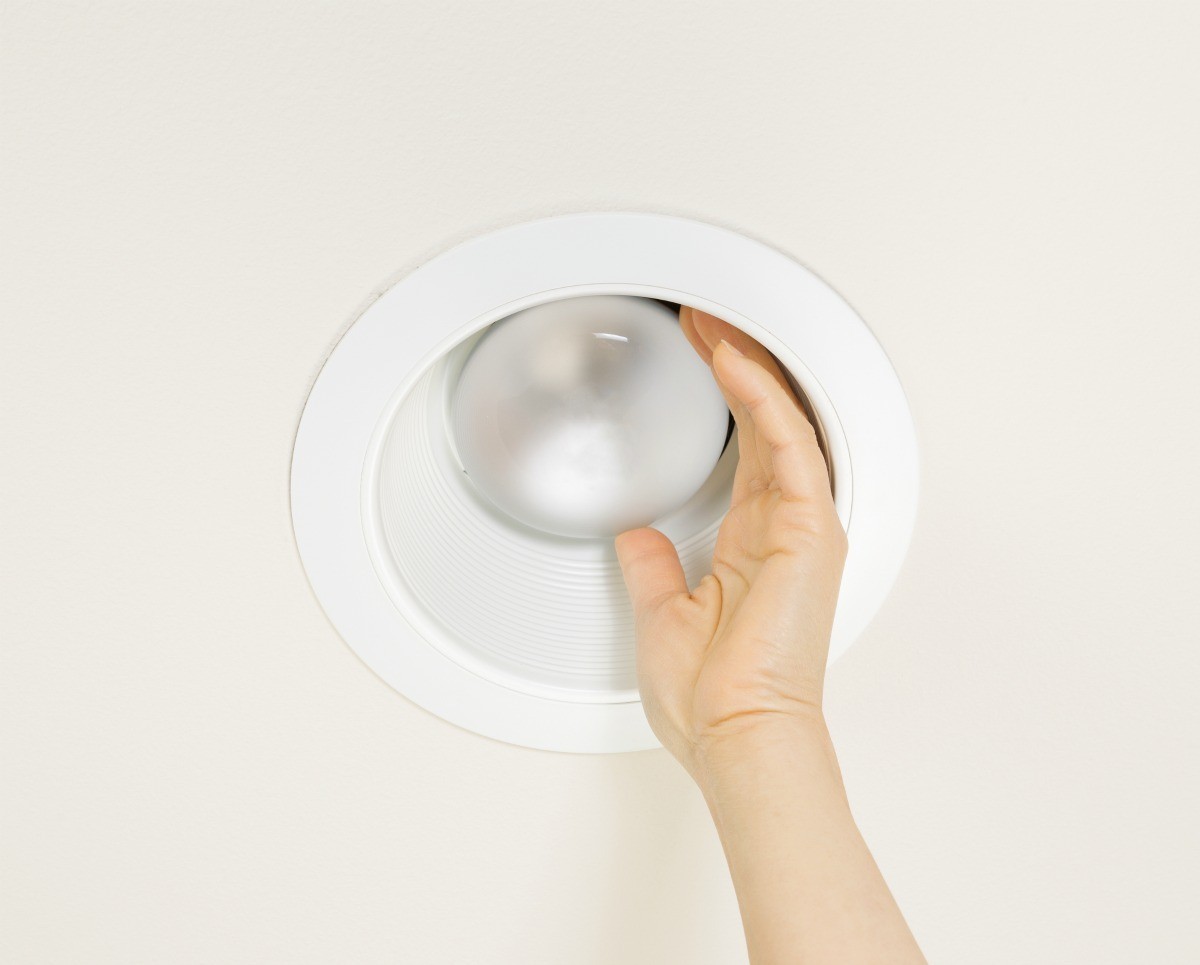
With the clips successfully released, the next step is to carefully remove the fluorescent ceiling light cover from the fixture. This process requires attention to detail and a gentle touch to ensure that the cover is detached smoothly and without any damage. Here's a comprehensive guide on how to effectively remove the cover, allowing access to the interior of the fixture for maintenance, cleaning, or bulb replacement.
-
Lift the Cover: Begin by lifting the cover gently from the fixture. Depending on the design of the fixture and the cover, it may require a slight upward or outward movement to disengage it from any remaining retention points. Exercise caution to avoid tilting or angling the cover excessively as you lift it.
-
Check for Interference: As you lift the cover, be mindful of any potential interference from wiring or other components within the fixture. Take note of the positioning of the wires and ensure that they do not impede the smooth removal of the cover. If necessary, gently maneuver the cover to clear any obstructions.
-
Inspect for Additional Fastenings: In some instances, there may be additional fastenings or hooks securing the cover to the fixture. Carefully inspect the edges and interior of the cover for any hidden retention mechanisms. If such fastenings are present, release them according to the manufacturer's instructions.
-
Support the Cover: As the cover is being removed, provide adequate support to prevent it from falling or sustaining any damage. Depending on the size and weight of the cover, maintaining a steady grip and controlled movement is essential to ensure a safe and successful removal process.
-
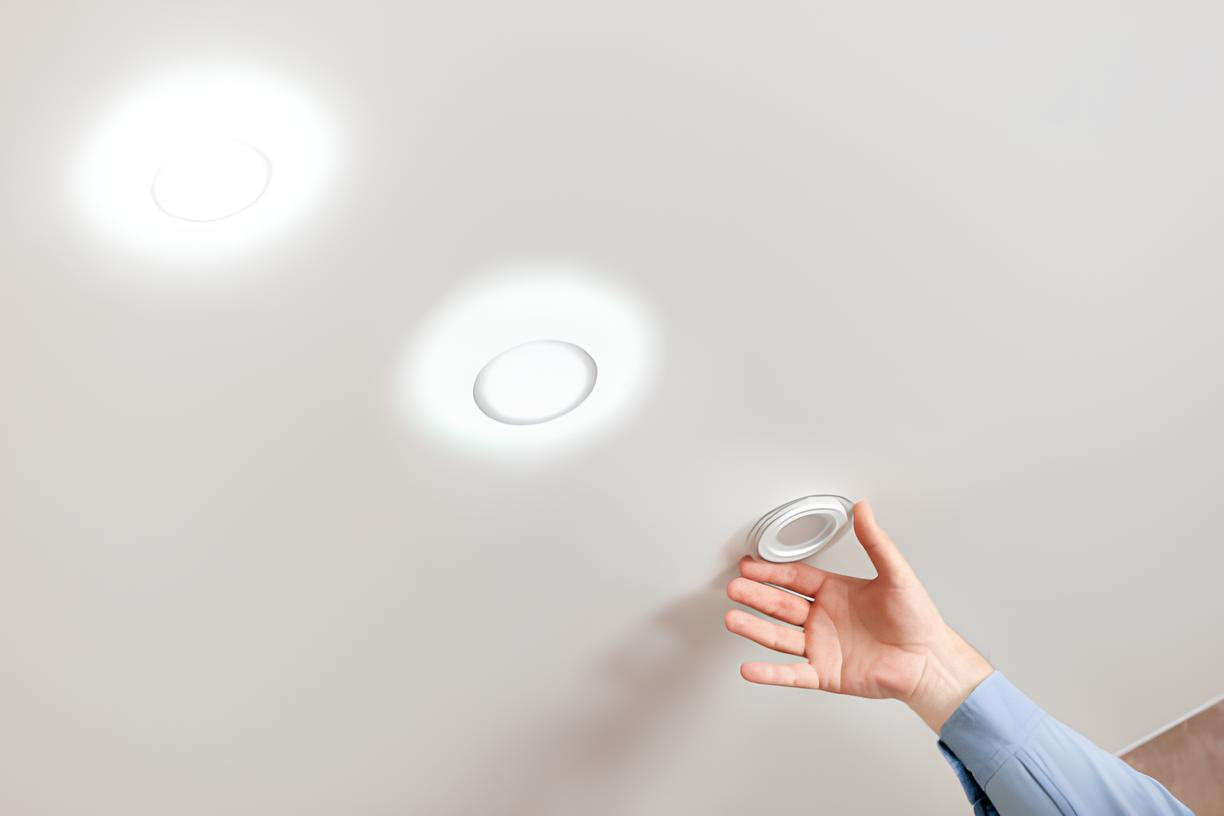
Place the Cover in a Safe Location: Once the cover is completely detached from the fixture, place it in a secure and stable location. Avoid placing the cover in areas where it may be at risk of being knocked over or damaged. This will ensure that the cover remains in good condition during the subsequent steps of cleaning or maintenance.
By following these detailed steps, you can effectively remove the fluorescent ceiling light cover from the fixture, providing access to the interior for necessary maintenance or cleaning. With the cover successfully removed, you are now ready to proceed to the subsequent steps of cleaning the cover and, if necessary, replacing bulbs or performing maintenance on the interior components.
Step 6: Clean the cover
Once the fluorescent ceiling light cover has been successfully removed, it presents an opportune moment to give it a thorough cleaning. Over time, dust, dirt, and grime can accumulate on the cover, affecting the quality of light and the overall aesthetic appeal of the fixture. By following these steps, you can ensure that the cover is cleaned effectively, restoring its clarity and allowing the light to shine through unobstructed.
Cleaning Supplies
Before commencing the cleaning process, gather the necessary cleaning supplies, including a microfiber cloth, mild detergent, and a gentle cleaning solution. These supplies will aid in removing dirt and grime from the cover without causing any damage.
Gentle Cleaning
Begin by using a dry microfiber cloth to gently remove any loose dust or debris from the surface of the cover. This initial step helps prevent scratching the cover during the cleaning process.
Read more: How To Cover A Ceiling Light Hole
Diluted Cleaning Solution
Prepare a diluted cleaning solution by mixing a small amount of mild detergent with water. Dip the microfiber cloth into the solution and wring out any excess liquid to ensure that the cloth is damp but not dripping.
Wipe the Cover
Gently wipe the entire surface of the cover with the dampened microfiber cloth, paying attention to areas with visible dirt or grime. Use light, circular motions to lift and remove the accumulated residue from the cover.
Rinse and Dry
After cleaning the cover with the detergent solution, use a separate clean microfiber cloth dampened with water to rinse off any remaining detergent. Once rinsed, use a dry microfiber cloth to carefully dry the cover, ensuring that no streaks or watermarks are left behind.
Final Inspection
Once the cover is dry, inspect it for any remaining spots or streaks. If necessary, repeat the cleaning process in targeted areas to achieve a uniformly clean and clear surface.
By following these steps, you can effectively clean the fluorescent ceiling light cover, restoring its transparency and ensuring that the light shines through unimpeded. With the cover now clean and rejuvenated, you are ready to proceed to the final step of reinstalling it onto the fixture, bringing renewed brightness and clarity to your living or workspaces.
Read more: How To Remove A Ceiling Lamp Cover
Step 7: Reinstall the cover
With the fluorescent ceiling light cover now clean and rejuvenated, the final step is to reinstall it onto the fixture. Proper reinstallation ensures that the cover is securely positioned, allowing the light to shine through unobstructed while maintaining a polished and professional appearance. Here's a detailed guide on how to effectively reinstall the cover, bringing renewed brightness and clarity to your living or workspaces.
-
Positioning the Cover: Begin by aligning the cover with the fixture, ensuring that it is oriented correctly. Take note of any specific markings or indicators that denote the proper positioning of the cover. Proper alignment is essential for a secure and uniform fit.
-
Engage the Fastenings: If the cover utilizes clips or fastenings, carefully engage them with the corresponding attachment points on the fixture. Ensure that the clips are securely fastened, holding the cover in place without any wobbling or instability. If screws were removed during the initial removal process, use them to secure the cover back into position.
-
Apply Even Pressure: Once the cover is aligned and the fastenings are engaged, apply even pressure around the perimeter of the cover to ensure a uniform and secure fit. This step helps to guarantee that the cover is seated correctly and that there are no gaps or unevenness in its placement.
-
Test for Stability: After reinstalling the cover, gently test its stability by applying light pressure to various points. The cover should remain firmly in place without any shifting or rattling. If the cover feels secure and stable, it indicates a successful reinstallation.
-
Switch on the Power: With the cover securely reinstalled, it's time to switch the power back on to the fluorescent ceiling light fixture. Return to the circuit breaker and restore the power supply to the fixture. Once the power is restored, test the light to ensure that it functions as expected and that the cover remains in place without any issues.
By following these detailed steps, you can effectively reinstall the fluorescent ceiling light cover, ensuring that it is securely positioned and allowing the light to shine through unimpeded. With the cover successfully reinstalled, your living or workspaces will be illuminated with renewed brightness and clarity, creating a welcoming and well-lit environment for all to enjoy.
Use a flathead screwdriver to gently pry the clips on the side of the light cover. Once the clips are released, carefully lower the cover and remove it from the fixture.
Conclusion
In conclusion, mastering the art of removing the fluorescent ceiling light cover with clips is a valuable skill that empowers individuals to maintain and enhance the lighting in their living or workspaces. By following the comprehensive steps outlined in this guide, individuals can confidently tackle the task of removing the cover, whether for cleaning, bulb replacement, or maintenance purposes.
The process begins with gathering the necessary tools, including a ladder or step stool, screwdriver, safety gloves, and cleaning supplies. Turning off the power to the fixture is emphasized as a fundamental safety measure, ensuring that the task is carried out without the risk of electrical accidents. Locating and releasing the clips that secure the cover is a meticulous yet essential step, requiring attention to detail and a gentle touch to prevent damage.
Once the cover is successfully removed, the opportunity to clean it thoroughly arises. The cleaning process involves gentle techniques and the use of mild detergent to restore the cover's transparency and allow the light to shine through unobstructed. Reinstalling the cover onto the fixture completes the process, ensuring that it is securely positioned and that the light fixture functions optimally.
By mastering these steps, individuals can maintain a well-lit and inviting environment, free from the hindrance of accumulated dirt or obstructed light. The renewed brightness and clarity brought about by a clean and properly installed cover contribute to a comfortable and visually appealing space for both residential and commercial settings.
Ultimately, the ability to remove the fluorescent ceiling light cover with confidence and precision empowers individuals to take charge of their lighting maintenance, ensuring that their living or workspaces are illuminated with optimal brightness and clarity. With the knowledge and skills gained from this guide, individuals can approach the task of cover removal with ease, knowing that they can effectively maintain and enhance the lighting in their environment.
Frequently Asked Questions about How To Remove Fluorescent Ceiling Light Cover With Clips
Was this page helpful?
At Storables.com, we guarantee accurate and reliable information. Our content, validated by Expert Board Contributors, is crafted following stringent Editorial Policies. We're committed to providing you with well-researched, expert-backed insights for all your informational needs.


0 thoughts on “How To Remove Fluorescent Ceiling Light Cover With Clips”