Home>Furniture>Outdoor Furniture>How To Make Patio Light Posts
Outdoor Furniture
How To Make Patio Light Posts
Modified: March 7, 2024
Learn how to make beautiful and functional patio light posts for your outdoor furniture. Step-by-step guide for creating the perfect ambiance in your backyard.
(Many of the links in this article redirect to a specific reviewed product. Your purchase of these products through affiliate links helps to generate commission for Storables.com, at no extra cost. Learn more)
Introduction
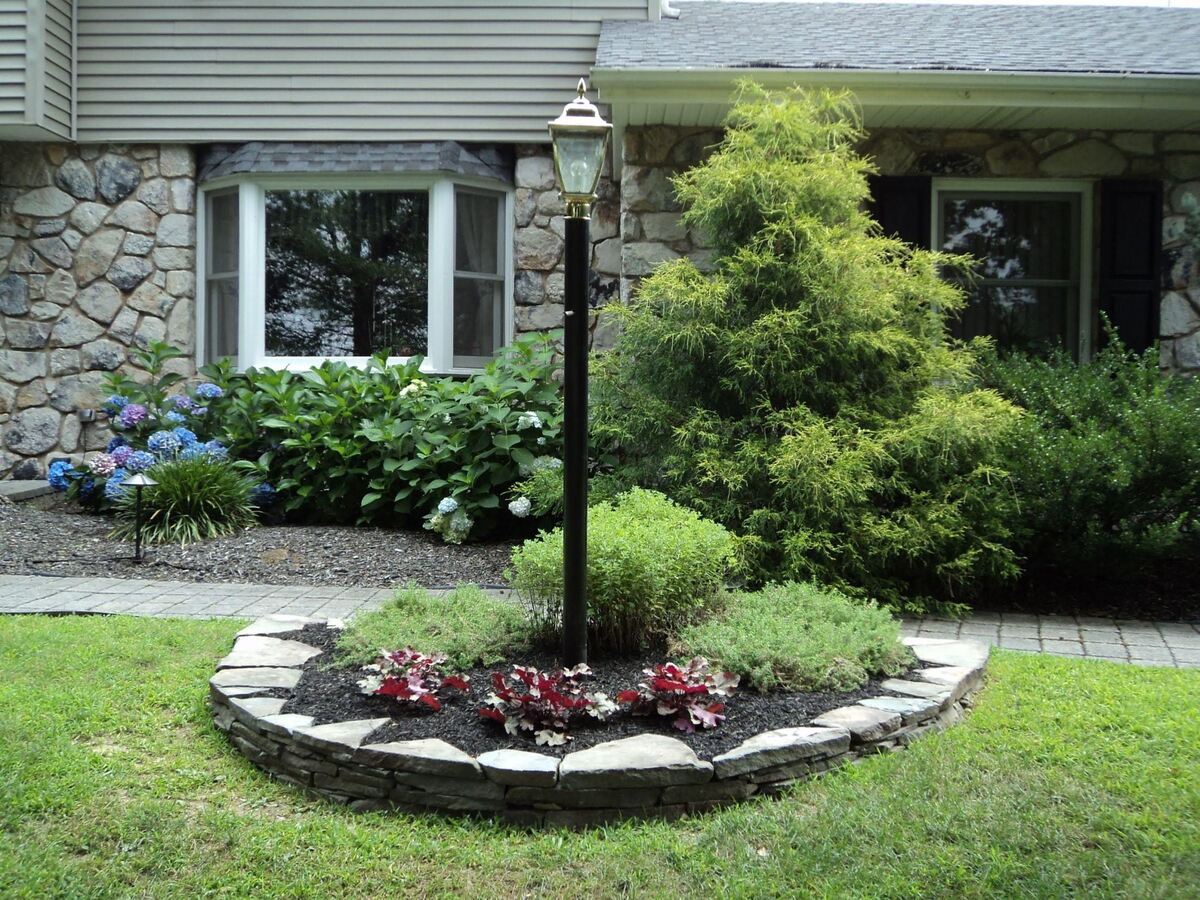
Welcome to our guide on how to make patio light posts! Adding light fixtures to your outdoor space not only illuminates the area but also adds a touch of style and ambiance. Whether you’re planning to host evening gatherings or simply want to enjoy your patio at night, light posts can transform your outdoor experience.
In this article, we will walk you through the step-by-step process of creating your own patio light posts. With just a few materials and some basic tools, you can easily design and build custom light posts that will beautifully enhance your outdoor space.
Before we get started, here’s an overview of the materials you will need:
- Wooden posts
- Outdoor light fixtures
- Base plates and screws
- Electrical wiring
- Drill and drill bits
- Saw
- Screwdriver
- Wire connectors
- Electrical tape
- Waterproof sealant
Now that you have an idea of what you’ll need, let’s dive into the step-by-step process of making your very own patio light posts!
Key Takeaways:
- Create your own patio light posts to illuminate and enhance your outdoor space. Follow the step-by-step guide to customize the posts and enjoy the warm ambiance they provide for evening gatherings and relaxation.
- Prioritize safety, wear protective gear, and follow proper procedures when making patio light posts. Enjoy the beautiful illumination and ambiance they bring to your outdoor area, and regularly maintain the fixtures for long-lasting enjoyment.
Read more: How To Light A Gas Lamp Post
Materials Needed
Before you start building your patio light posts, gather the following materials:
- Wooden posts: Choose sturdy wooden posts that are tall enough to serve as effective light fixtures. Cedar or pressure-treated lumber are recommended for their durability.
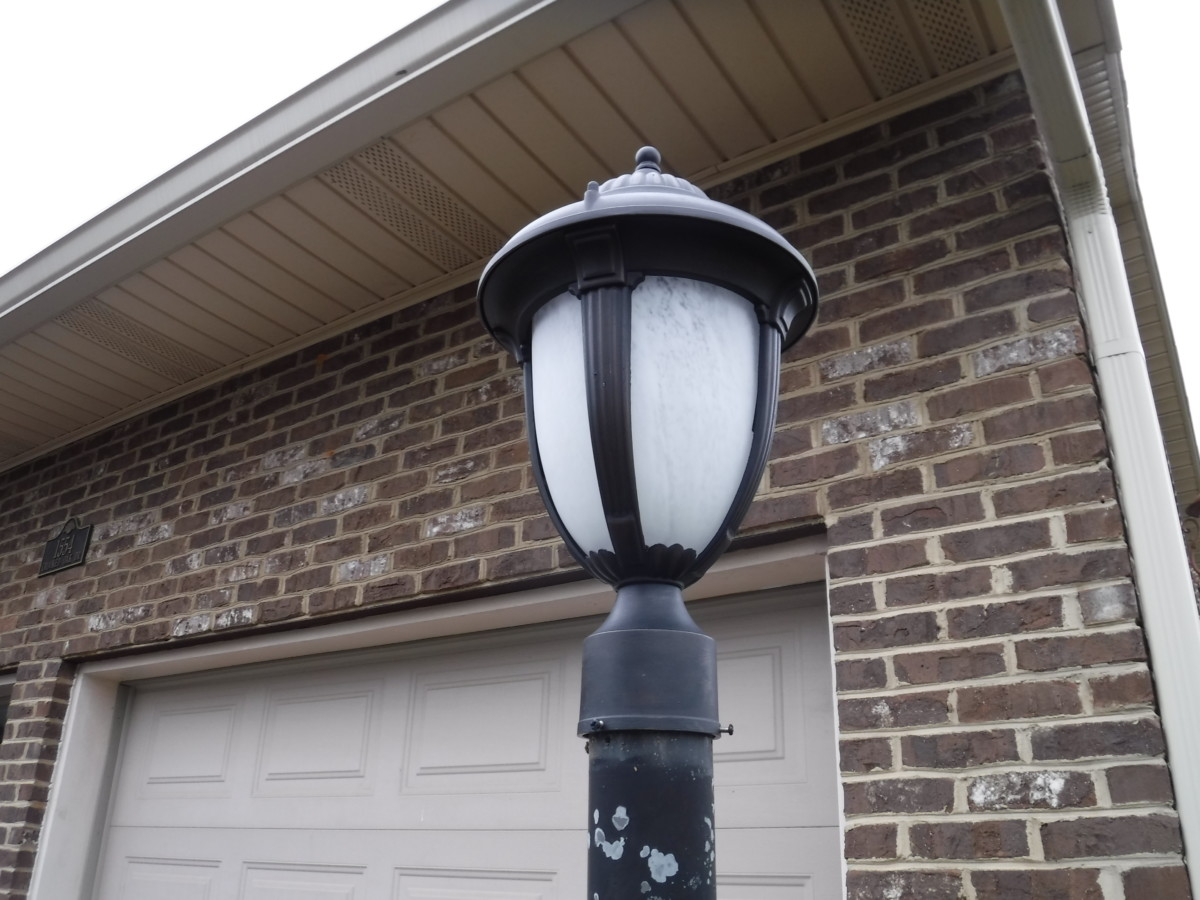
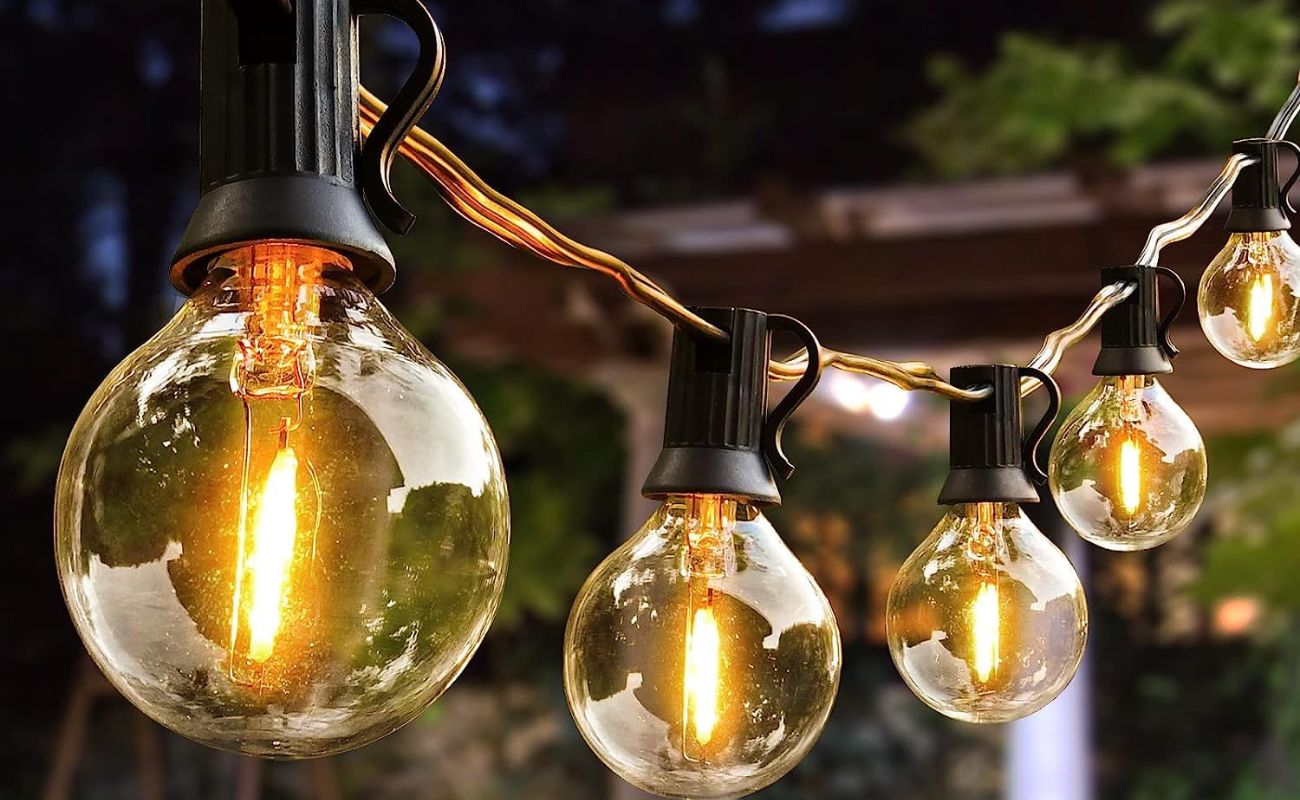
- Outdoor light fixtures: Select light fixtures that are suitable for outdoor use and match the style you want to achieve. Consider LED fixtures for their energy efficiency and long lifespan.
- Base plates and screws: You’ll need base plates to secure the light posts to the ground. Choose sturdy plates and accompanying screws that are resistant to rust and corrosion.
- Electrical wiring: Ensure you have enough electrical wiring to connect the light fixtures to a power source. Use outdoor-rated wiring that is compatible with your specific fixtures.
- Drill and drill bits: A drill will be necessary for creating holes in the wood for the wiring and attaching the base plates. Make sure you have the appropriate size drill bits for your project.
- Saw: You’ll need a saw to cut the wooden posts to the desired height. A circular saw or miter saw can make precise cuts.
- Screwdriver: A screwdriver will be used to secure the base plates and assemble the light fixtures. Have both a flathead and a Phillips head screwdriver on hand.
- Wire connectors: Wire connectors are essential for securely joining the electrical wires. Choose connectors that are suitable for outdoor use and can accommodate the wire gauge.
- Electrical tape: Electrical tape is useful for insulating and protecting wire connections. Opt for weather-resistant electrical tape to ensure durability outdoors.
- Waterproof sealant: Apply waterproof sealant to protect the wood and wiring from moisture damage. Look for a sealant specifically designed for exterior use.
Having these materials ready before you begin will help streamline the construction process and ensure you have everything you need to create beautiful and functional patio light posts.
Step 1: Measure and Cut the Post
The first step in making your patio light posts is to measure and cut the wooden posts to the desired height. Consider the functionality and aesthetics of your outdoor space when determining the appropriate height for your light posts.
Start by measuring the height you want for your light posts. Take into account the height of your light fixtures and the overall look you want to achieve. Once you have determined the desired height, mark it on each wooden post using a pencil or a small piece of tape.
Using a saw, carefully cut each post according to the marked measurements. If you are using multiple light posts, ensure that all the posts are cut to the same height for a uniform appearance.
Remember to wear protective goggles and gloves when cutting the posts to ensure your safety. Take your time and make precise cuts to achieve the best results. Once you have cut the posts to the desired height, move on to the next step.
Step 2: Drill Holes for The Wiring
After you have cut the wooden posts to the desired height, the next step is to drill holes for the wiring. This will allow you to seamlessly connect the light fixtures to a power source.
Start by determining the location on the wooden post where you want to place the light fixture. Mark the spot with a pencil or a small piece of tape. Make sure to choose a location that will provide optimal lighting for your outdoor space.
Next, use a drill with an appropriate-sized drill bit to create a hole in the marked spot. The size of the drill bit will depend on the diameter of the electrical wiring you will be using. It is recommended to use a spade or paddle drill bit for clean and precise holes.
Before drilling, ensure that you have a solid surface underneath the wooden post to prevent any accidents or damage to the drill bit. If necessary, use a clamp to secure the post to a workbench or use a scrap piece of wood underneath to provide stability.
Insert the drill bit into the marked spot on the wooden post and begin drilling slowly and steadily. Apply gentle pressure and let the drill do the work. Be cautious not to drill through the other side of the post, as this could compromise the structural integrity of the light post.
Once the hole is drilled, check its depth to ensure it is sufficient for running the electrical wiring. If needed, enlarge the hole using a larger drill bit or a file to accommodate the wiring.
Repeat this process for each wooden post you are using for your patio light posts. Once all the necessary holes are drilled, proceed to the next step to attach the base plate to the posts.
Step 3: Attach the Base Plate
With the holes drilled for the wiring, you’re now ready to attach the base plate to the bottom of each wooden post. The base plate will provide stability and support for your patio light posts.
Start by aligning the base plate with the bottom of the wooden post, making sure it is centered. Use a pencil or a marker to trace the outline of the base plate onto the post.
Once you have marked the location of the base plate, use a drill with a screwdriver bit to insert screws through the pre-drilled holes on the base plate and into the wooden post. Repeat this process for each corner of the base plate to ensure a secure attachment.
Ensure that the screws are driven in tight to create a stable connection between the base plate and the wooden post. If necessary, use a screwdriver for additional tightening.
Once the base plate is securely attached, check for any wobbling or instability. If there is any movement, adjust the screws until the base plate is firmly in place.
Repeat this process for each wooden post you are using for your patio light posts. Once the base plates are attached to all the posts, you’re ready to move on to the next step of inserting the light fixtures.
When making patio light posts, be sure to use weather-resistant materials such as treated wood or metal to ensure durability and longevity.
Read more: How To Wire A Lamp Post Light Sensor
Step 4: Insert the Light Fixture
With the base plates securely attached to the wooden posts, it’s time to insert the light fixtures into the posts. This step will bring your patio light posts to life and provide the necessary illumination for your outdoor space.
Start by removing any protective coverings or packaging from the light fixtures. Carefully inspect each fixture to ensure it is in good condition and ready for installation.
Next, position the light fixture on top of the wooden post, aligning the mounting holes on the fixture with the holes on the base plate. Insert screws through the mounting holes and into the base plate, but only loosely tighten them for now.
Once all the screws are in place, make sure the light fixture is level and in your desired position. Adjust the position of the fixture as needed.
Once you’re satisfied with the placement, use a screwdriver to tighten the screws, securing the light fixture to the wooden post. Be careful not to overtighten, as this could damage the fixture or the post.
If your light fixture requires additional assembly, follow the manufacturer’s instructions to complete the installation. This may involve connecting wires, attaching lenses, or adjusting settings.
Repeat this process for each wooden post and light fixture you are using. Once all the light fixtures are securely inserted into the posts, you’re ready to move on to the next step of connecting the wiring.
Step 5: Connect the Wiring
With the light fixtures securely inserted into the wooden posts, it’s time to connect the wiring. This step will bring power to the fixtures and allow them to illuminate your outdoor space.
Start by preparing the electrical wiring. Strip the insulation from the ends of the wires to expose the bare copper conductors. If necessary, trim the wires to ensure they are the appropriate length for your specific installation.
Next, locate the drilled hole on the wooden post where the wiring will enter. Feed the wiring through the hole, ensuring it is long enough to reach the light fixture. Leave some slack in the wiring to make the connection process easier.
Inside the post, find the access point where the wiring will connect to the light fixture. This may involve opening a panel or removing a cover. Refer to the specific instructions provided with your light fixtures to locate the access point.
Once you have access to the wiring connection point, use wire connectors to join the corresponding wires. Match the black (hot) wire to the black wire and the white (neutral) wire to the white wire. Follow any additional color-coding or instructions provided by the manufacturer.
Twist the bare ends of the wires together in a clockwise direction, and then secure them with the wire connectors. Ensure the connection is tight and secure. Once the connections are made, wrap electrical tape around each individual connection to provide extra insulation and protection.
Repeat this process for each light fixture, connecting the wiring to each one. Take your time to ensure each connection is made correctly and securely.
After all the wiring is connected, carefully tuck the wiring inside the post, ensuring it is out of sight and away from any moving parts or potential damage. Use zip ties or clips to secure the wiring to the inside of the post if needed.
Now that the wiring is connected, move on to the next step of securing the light posts in place.
Step 6: Secure the Light Post
With the wiring connected and the light fixtures in place, it’s important to secure the light posts firmly in position. This will ensure stability and prevent any accidental tipping or movement.
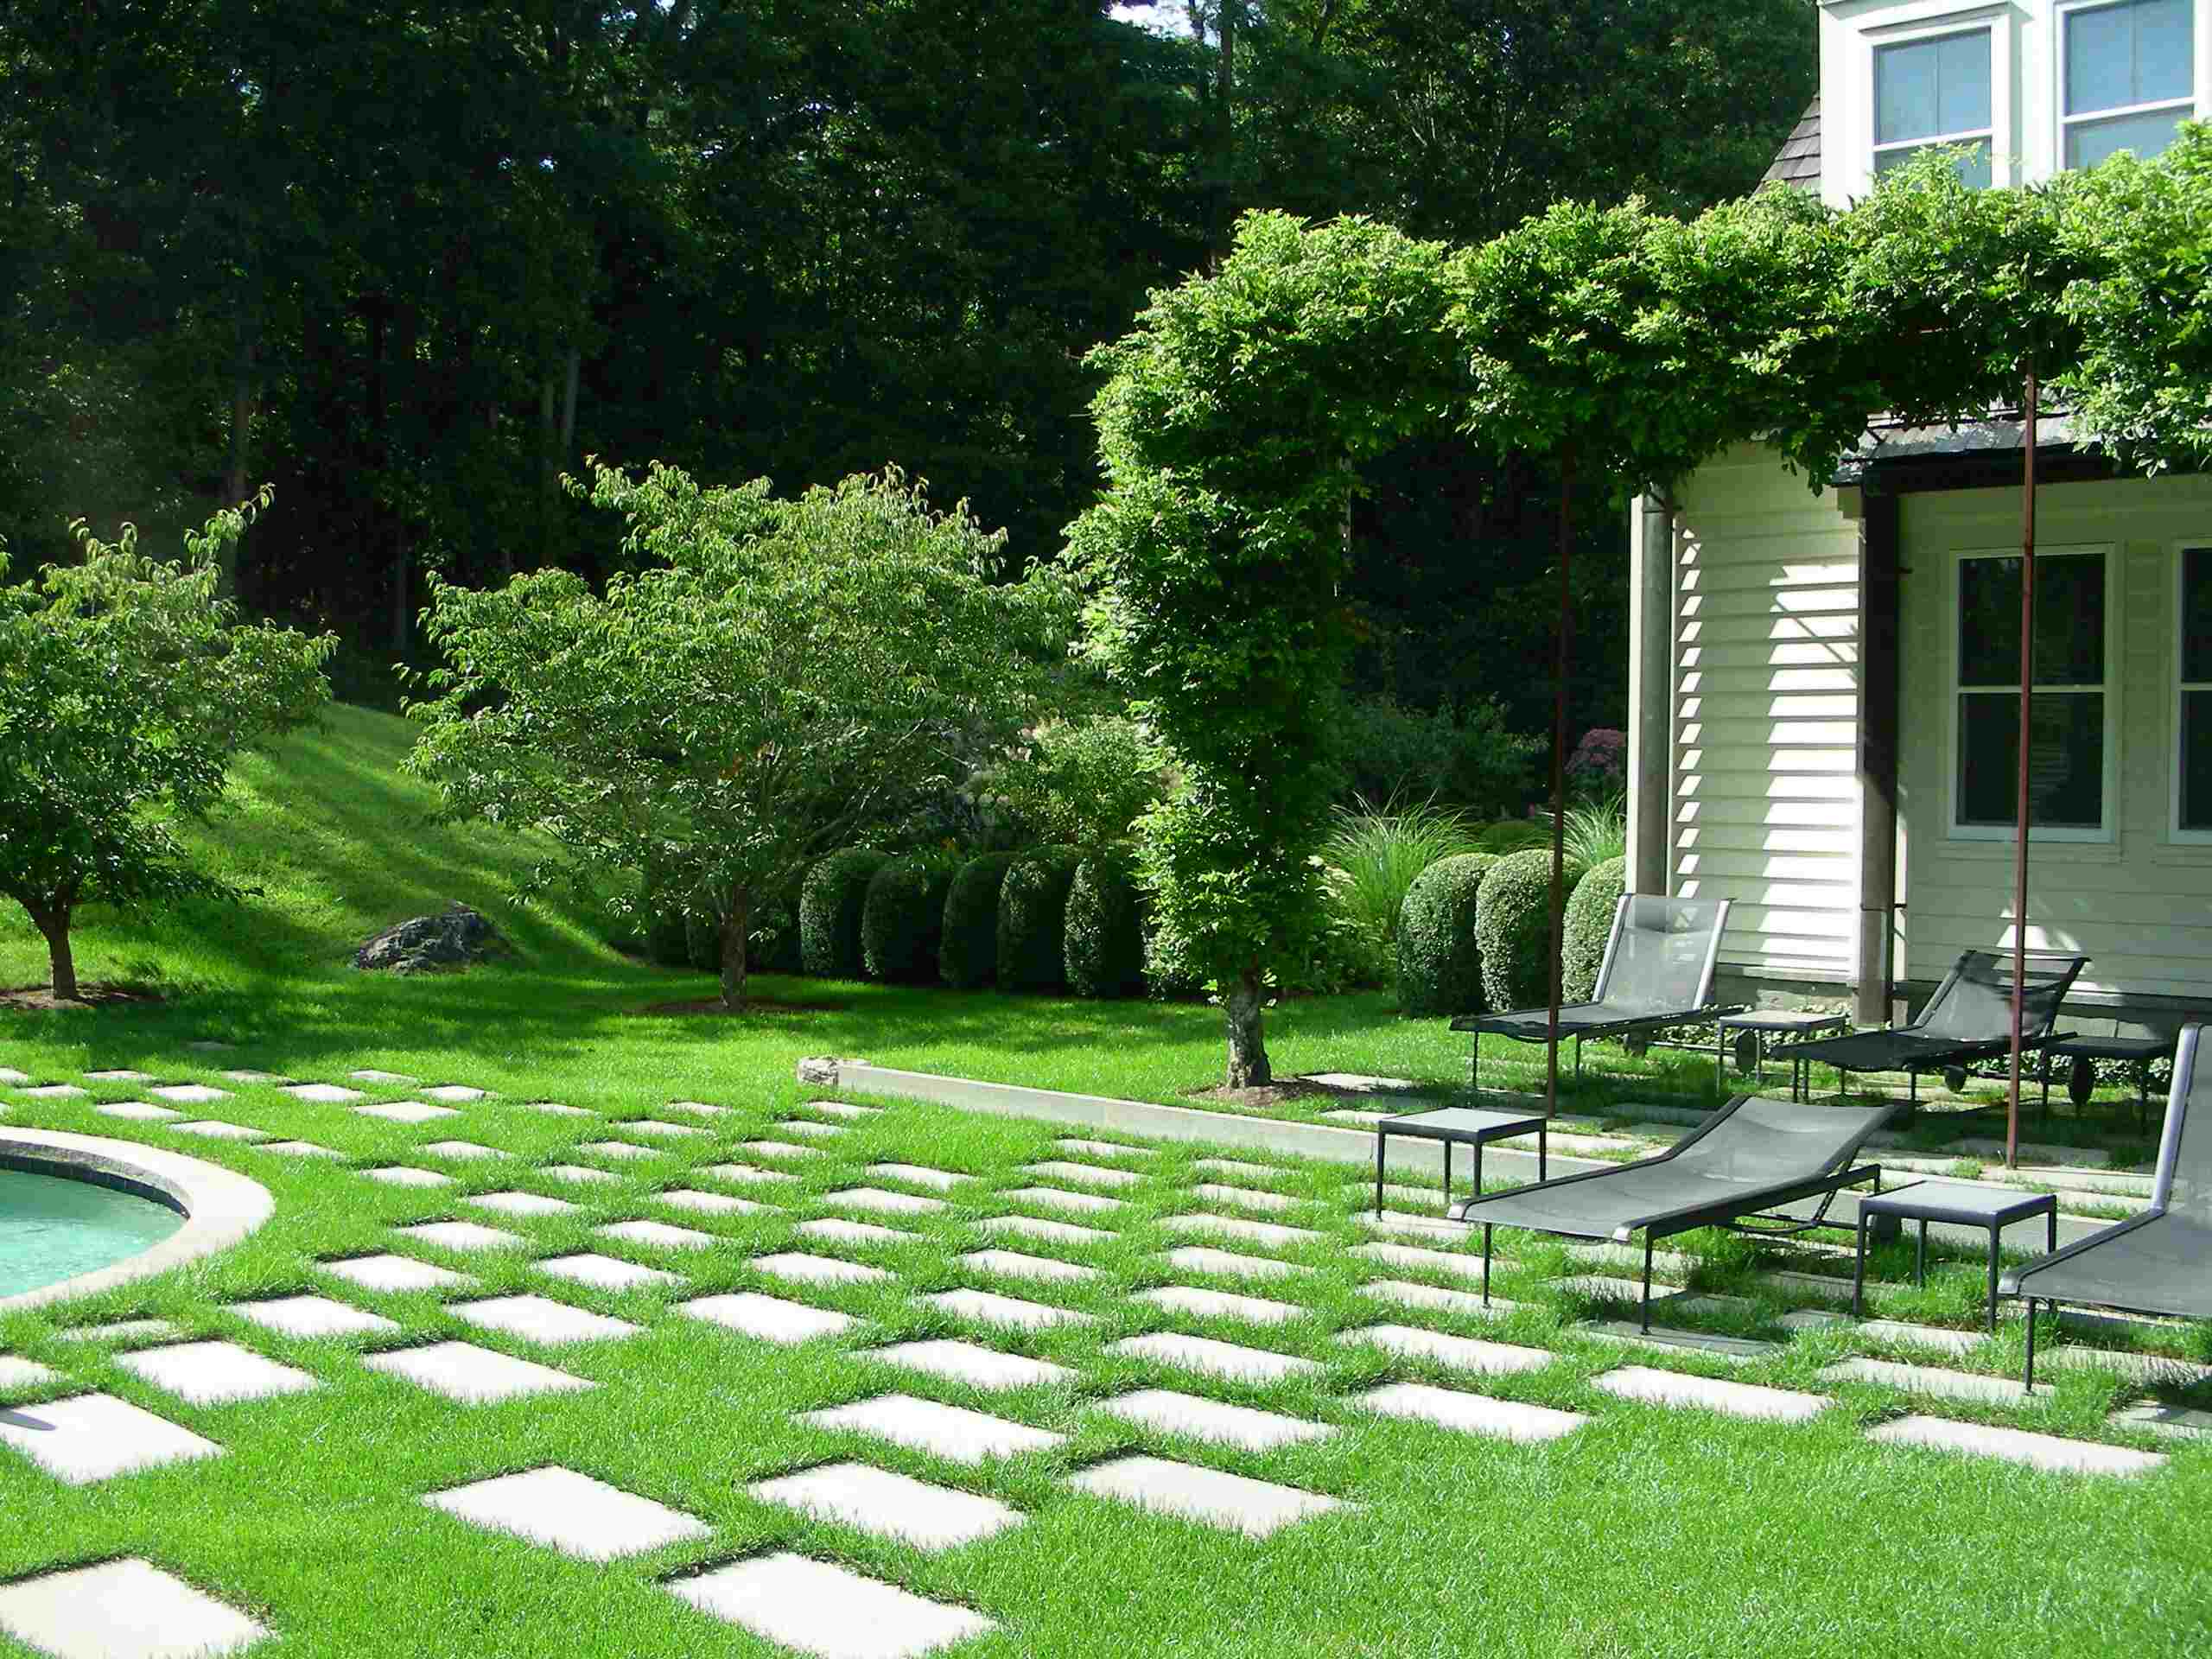
Start by determining the ideal location for your patio light posts. Consider the layout of your outdoor space, the desired lighting coverage, and any potential obstructions. Mark the placement of each post on the ground using a pencil or a small stake.
Next, dig holes in the marked locations that are deep enough to accommodate the base plates and provide stability. The depth of the holes will depend on the size and weight of your posts, but as a general guideline, aim for a depth of around 18-24 inches.
Place each light post carefully into its corresponding hole, ensuring it is level and upright. Use a level tool to ensure accuracy. If necessary, make adjustments to achieve proper alignment.
Once the light posts are in the right position, fill the holes with concrete mix, following the manufacturer’s instructions. Make sure to pack the concrete tightly around the base of each post to provide maximum stability. Smooth out the surface of the concrete to create a neat finish.
Allow the concrete to cure for the recommended amount of time, typically 24-48 hours, before applying any additional stress or load to the light posts.
After the concrete has cured, check the stability of each light post by gently pushing or shaking it. It should feel solid and not wobble or move excessively. If needed, add additional concrete or make adjustments to ensure the posts are securely anchored.
Lastly, inspect the area around the light posts for any loose debris or potential tripping hazards. Clear away any obstacles and ensure the surrounding area is safe and free from obstructions.
With the light posts securely set in place, you’re ready for the final step of testing and adjusting the lights.
Step 7: Test and Adjust the Lights
Now that the light posts are securely installed, it’s time to test and adjust the lights to ensure they are shining brightly and illuminating your outdoor space exactly as desired.
Start by turning on the power to the light fixtures. If you have connected the wiring to a switch or a power source, make sure it is in the “on” position. Alternatively, if your light fixtures have built-in sensors or timers, ensure they are properly set.
Observe each light fixture to ensure that it turns on and emits light. Check for any flickering, dimness, or issues with the illumination. If you encounter any problems, double-check the wiring connections and make sure they are secure and properly connected.
During the testing phase, take note of any areas that may be over or under-lit. You may need to adjust the position of the light fixtures to achieve the optimal lighting coverage. Take into account any potential shadows or dark spots that need to be addressed.
If necessary, loosen the screws attaching the light fixtures to the wooden posts and make small adjustments in their position. This will help fine-tune the direction and angle of the light beams. Once you’re satisfied with the adjustments, tighten the screws to secure the fixtures in their new positions.
Take your time to walk around your outdoor space and assess the overall lighting effect. Pay attention to the ambiance created by the light fixtures and how well they illuminate the specific areas you want to highlight.
Make any additional adjustments as needed until you achieve the desired lighting arrangement. This may involve repositioning the light posts or tweaking the angles of the light fixtures.
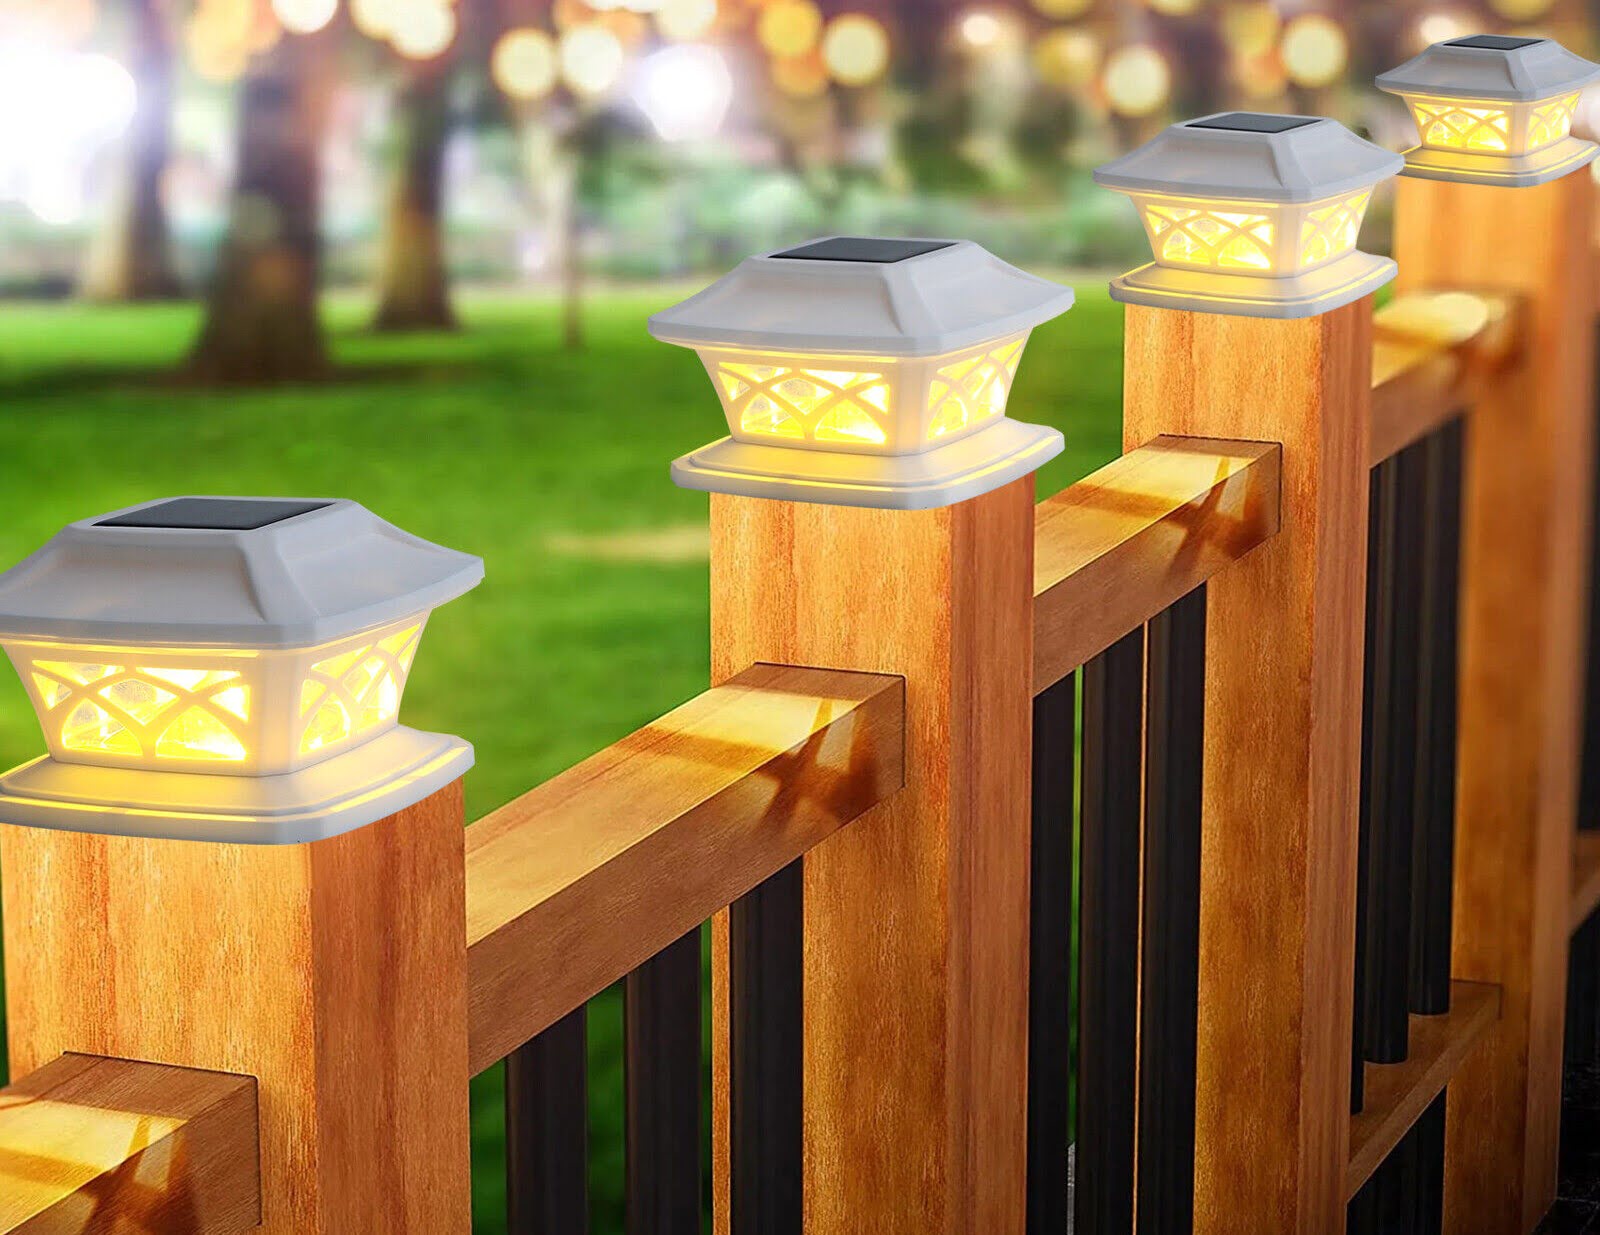
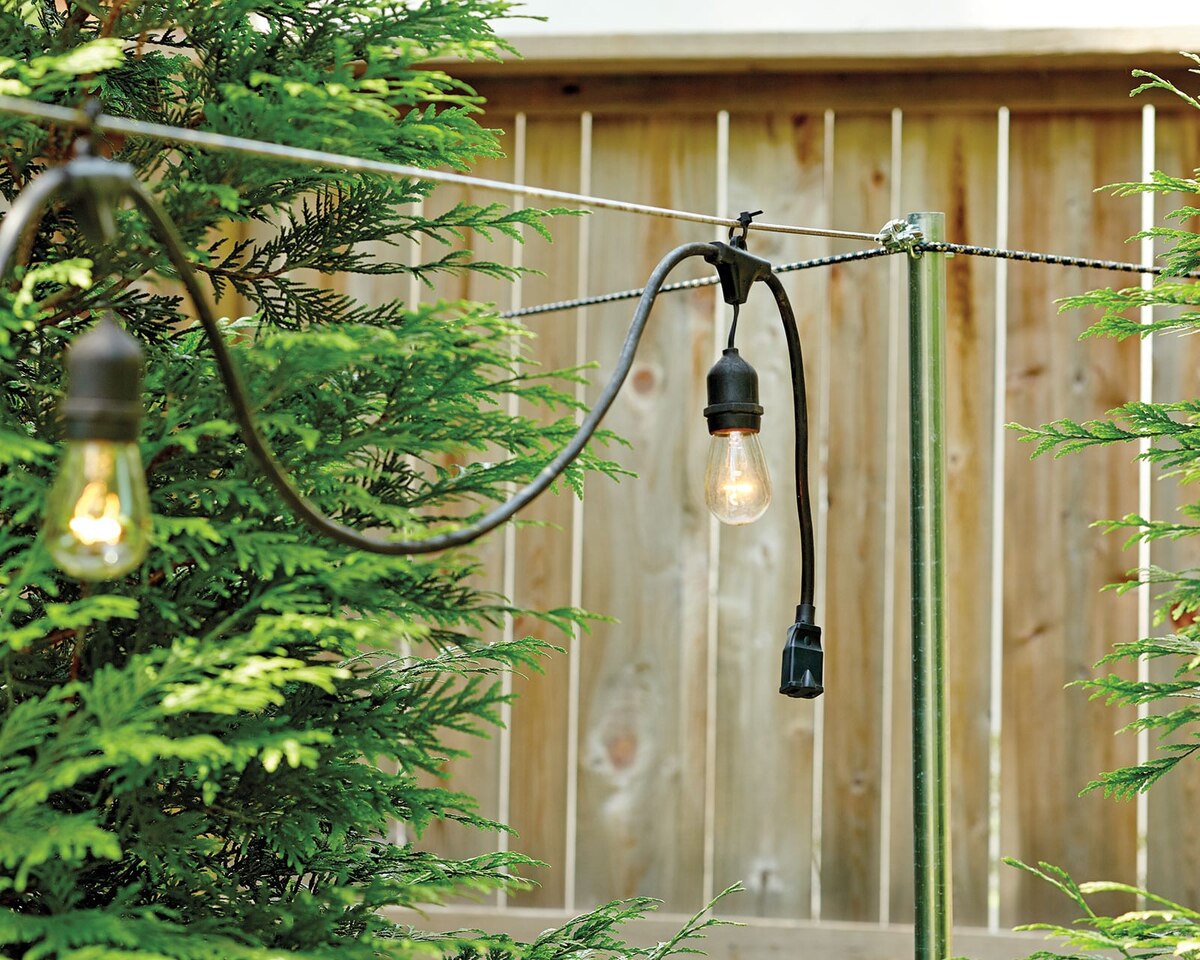
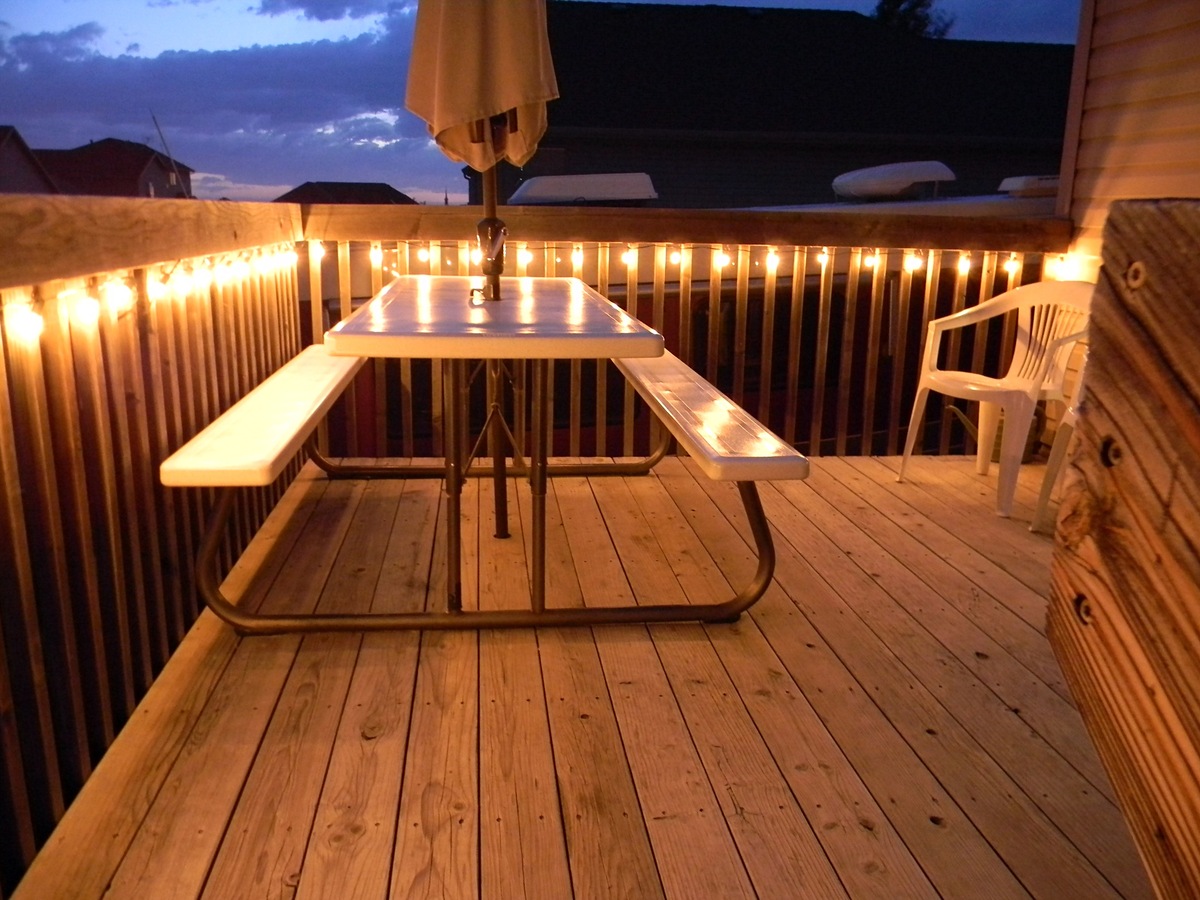
Once you are happy with the results, consider adding any final touches to enhance the overall look and feel of your patio light posts. This could include adding decorative elements, such as solar lanterns or string lights, or incorporating landscaping features around the posts.
Congratulations! You have successfully completed the installation of your patio light posts. Now you can enjoy the beautiful illumination they provide in your outdoor space.
Remember to regularly check and maintain your light fixtures to ensure they continue to work optimally. Clean the fixtures, inspect the wiring, and replace any burnt-out bulbs as needed.
Enjoy the warmth and ambiance created by your new patio light posts, and make lasting memories with friends and family in your beautifully lit outdoor area.
Read more: How To Light A Patio
Conclusion
Creating your own patio light posts is a rewarding DIY project that can transform your outdoor space. By following the step-by-step guide outlined in this article, you have learned how to measure and cut the posts, drill holes for the wiring, attach the base plates, insert the light fixtures, connect the wiring, secure the light posts, and test and adjust the lights.
With just a few materials and some basic tools, you can customize your patio light posts to fit your personal style and lighting needs. Whether you’re hosting evening gatherings, enjoying a quiet night on the patio, or simply adding a touch of ambiance to your outdoor environment, the light posts will provide the illumination you desire.
Remember to prioritize safety throughout the installation process. Wear protective gear when necessary, handle tools with care, and follow proper wiring and electrical procedures. If you are unsure about any aspect of the process, consult a professional electrician for assistance.
Once your patio light posts are in place and functioning, take the time to appreciate the impact they have on your outdoor space. The gentle glow of the lights will create a warm and inviting atmosphere, allowing you to extend your enjoyment of your patio well into the evening.
Regularly maintain and inspect your light fixtures to ensure they continue to work effectively and safely. Replace any worn-out bulbs, clean the fixtures, and check the wiring connections periodically. This will help prolong the lifespan of your patio light posts and keep them looking their best.
Now, go ahead and enjoy the beauty and functionality of your newly installed patio light posts. Whether you’re relaxing with a book, entertaining guests, or simply savoring a quiet evening outdoors, your customized light posts will enhance the ambiance of your outdoor space and make it a favorite gathering spot for years to come.
Frequently Asked Questions about How To Make Patio Light Posts
Was this page helpful?
At Storables.com, we guarantee accurate and reliable information. Our content, validated by Expert Board Contributors, is crafted following stringent Editorial Policies. We're committed to providing you with well-researched, expert-backed insights for all your informational needs.


0 thoughts on “How To Make Patio Light Posts”