Home>Furniture>Outdoor Furniture>How To Install A Paver Patio On Uneven Ground

Outdoor Furniture
How To Install A Paver Patio On Uneven Ground
Modified: March 7, 2024
Learn how to install a beautiful paver patio on uneven ground and transform your outdoor space with our step-by-step guide. Find the perfect outdoor furniture to complete the look.
(Many of the links in this article redirect to a specific reviewed product. Your purchase of these products through affiliate links helps to generate commission for Storables.com, at no extra cost. Learn more)
Introduction
Are you looking to enhance your outdoor space with a paver patio? Installing a paver patio can provide a beautiful and functional addition to your backyard or garden. However, if you have uneven ground, you may be wondering how to tackle this challenge. Don’t worry, we’ve got you covered!
In this article, we will guide you through the process of installing a paver patio on uneven ground. We will walk you through each step, from site preparation to finishing touches, ensuring that you achieve a level and sturdy patio that you can enjoy for years to come.
Before we dive into the steps, it’s important to understand the significance of proper site preparation. Clearing the area, marking boundaries, and removing any existing obstacles are crucial to ensure a smooth installation process. Taking the time to level the ground will ensure that your patio is stable and prevents water from pooling in certain areas.
Once the ground is prepared, we will guide you through the process of installing the base. This involves spreading gravel, compacting the ground, and checking for levelness. The base serves as a stable foundation for the pavers and helps distribute the weight evenly.
Next, we will introduce you to the process of laying the pavers. You will learn about different pattern options and how to start from one corner and work your way across. We will also provide some tips on ensuring even spacing between the pavers for a professional-looking finish.
Occasionally, you may need to cut pavers to fit the space, especially if you have irregular edges or obstacles to work around. We will explain how to measure and mark the pavers, as well as the tools you can use for cutting, such as a wet saw or chisel.
Securing the pavers is another essential step in the installation process. We will show you how to add edge restraints, which not only hold the pavers in place but also help prevent them from shifting or spreading over time. Additionally, we will cover the option of applying sand or polymeric sand to fill in the gaps between the pavers, ensuring a stable and weed-free surface.
Finally, we will discuss the finishing touches. Sweeping off excess sand, compacting the pavers, and applying joint sealant, if desired, will give your patio a polished and professional appearance.
Now that we have set the stage, let’s jump into the first step: site preparation. By following our step-by-step guide, you will be well on your way to installing a beautiful and functional paver patio on uneven ground.
Key Takeaways:
- Installing a paver patio on uneven ground involves site preparation, leveling the ground, laying the pavers, cutting them if needed, securing them with edge restraints, and adding sand or polymeric sand for stability.
- The finishing touches, such as sweeping off excess sand, compacting the pavers, and adding joint sealant, provide a polished appearance and enhance the durability of the paver patio.
Read more: How To Install Pavers Over A Concrete Patio
Step 1: Site Preparation
Before you can begin installing a paver patio on uneven ground, it’s crucial to properly prepare the site. This step involves clearing the area, marking the boundaries, and removing any existing obstacles that may hinder the installation process.
The first task is to clear the area of any vegetation, debris, or objects that may be in the way. Use a rake or shovel to remove grass, rocks, and other materials. Ensure that the ground is free from any obstructions that could affect the stability of the patio.
Once the area is clear, it’s time to mark the boundaries of your patio. Consider the desired size and shape of your patio and use spray paint or stakes with string to indicate the perimeter. This will help you visualize the space and ensure accuracy when installing the pavers.
During the site preparation process, it’s essential to identify and remove any existing obstacles that may be present in the area. This could include tree roots, large rocks, or uneven ground. Use a shovel or pickaxe to carefully remove any obstructions and create a level surface for the patio.
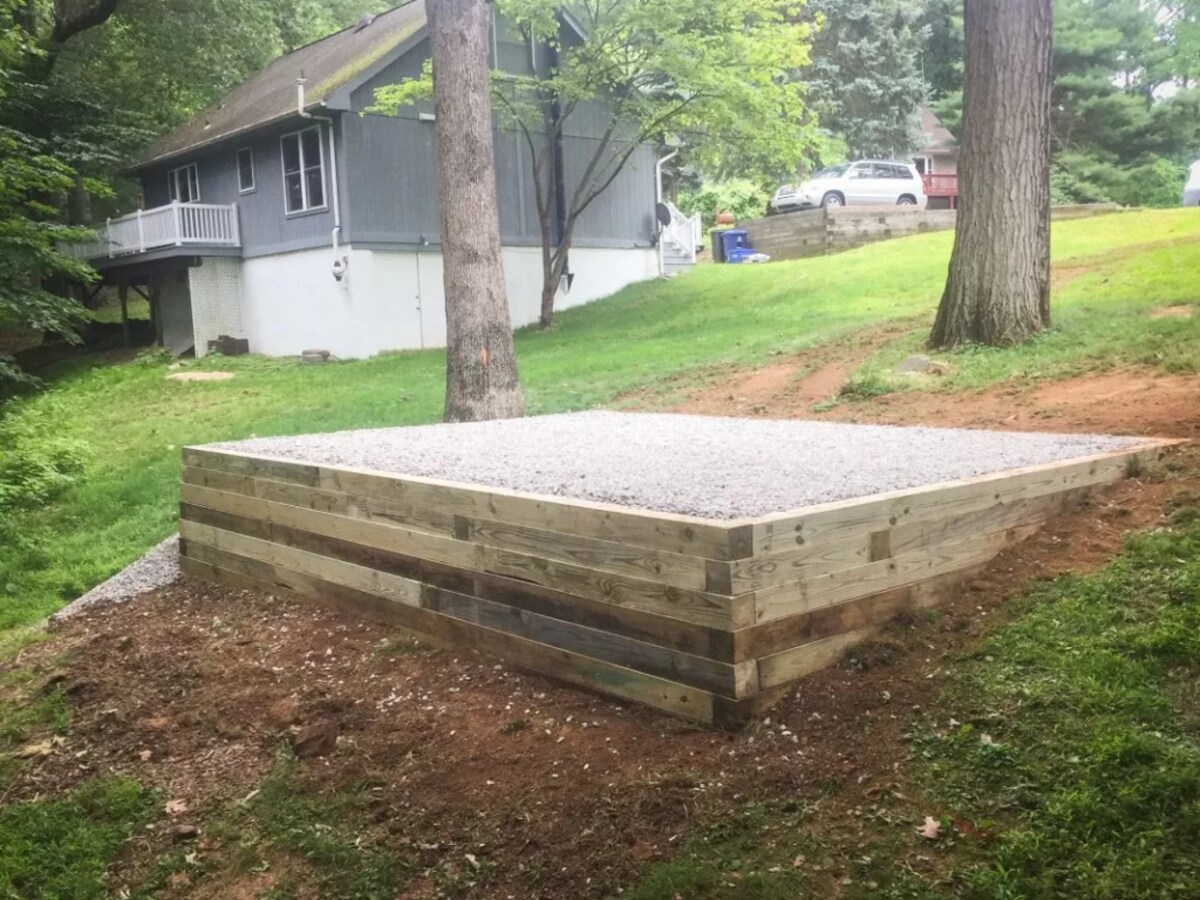
Uneven ground can pose a challenge when installing a paver patio. If you notice significant differences in elevation, you may need to consider certain techniques to level the ground. This could involve adding fill material or excavating certain areas to match the overall level.
Remember, the goal of site preparation is to create a smooth and stable foundation for your paver patio. Taking the time to clear the area, mark the boundaries, and remove existing obstacles will ensure a successful installation process and a long-lasting patio.
Now that you have completed step 1, it’s time to move on to step 2: leveling the ground. In this next phase, we will address how to assess the slope, add fill material, and compact the ground to achieve a level surface.
Step 2: Leveling the Ground
With the site preparation complete, it’s time to move on to leveling the ground for your paver patio on uneven terrain. This step is crucial to ensure the stability and longevity of your patio. In this step, we will guide you through assessing the slope, adding fill material, and compacting the ground.
The first task is to assess the slope of the ground. Use a level or a string level to determine the degree of slope. Ideally, you want the patio to have a slight slope away from any structures to ensure proper drainage. Measure the highest point and the lowest point of the ground to determine the level of variance.
If you have a significant slope, you will need to add fill material to level the ground. Fill material can include sand, gravel, or topsoil. Begin by layering the fill material in the lower areas and gradually taper it towards the higher areas. Use a rake or shovel to spread the fill material evenly, ensuring that no areas are left too thick or too thin.
Once the fill material is in place, it’s crucial to compact the ground to create a stable base for your paver patio. Use a plate compactor or a hand tamper to firmly pack down the fill material. Start from the edges and work your way towards the center, making sure to apply even pressure. This will help eliminate any air pockets and create a solid foundation.
Regularly check the levelness of the ground during the compaction process to ensure that the patio will be even and free from any potential tripping hazards. Adjust the fill material as needed and continue to compact until you achieve a level and stable surface.
Remember, proper leveling of the ground is essential to prevent issues such as uneven settling or water pooling on the patio. Taking the time to assess the slope, add fill material, and compact the ground will ensure a solid and long-lasting foundation for your paver patio.
Now that you have completed step 2, it’s time to move on to step 3: installing the base. In the next phase, we will guide you through the process of spreading gravel, tamping down the base, and checking for levelness.
Step 3: Installing the Base
With the ground leveled, it’s time to create a stable base for your paver patio. The base provides support and helps distribute the weight of the pavers evenly. In this step, we will guide you through the process of spreading gravel, tamping down the base, and checking for levelness.
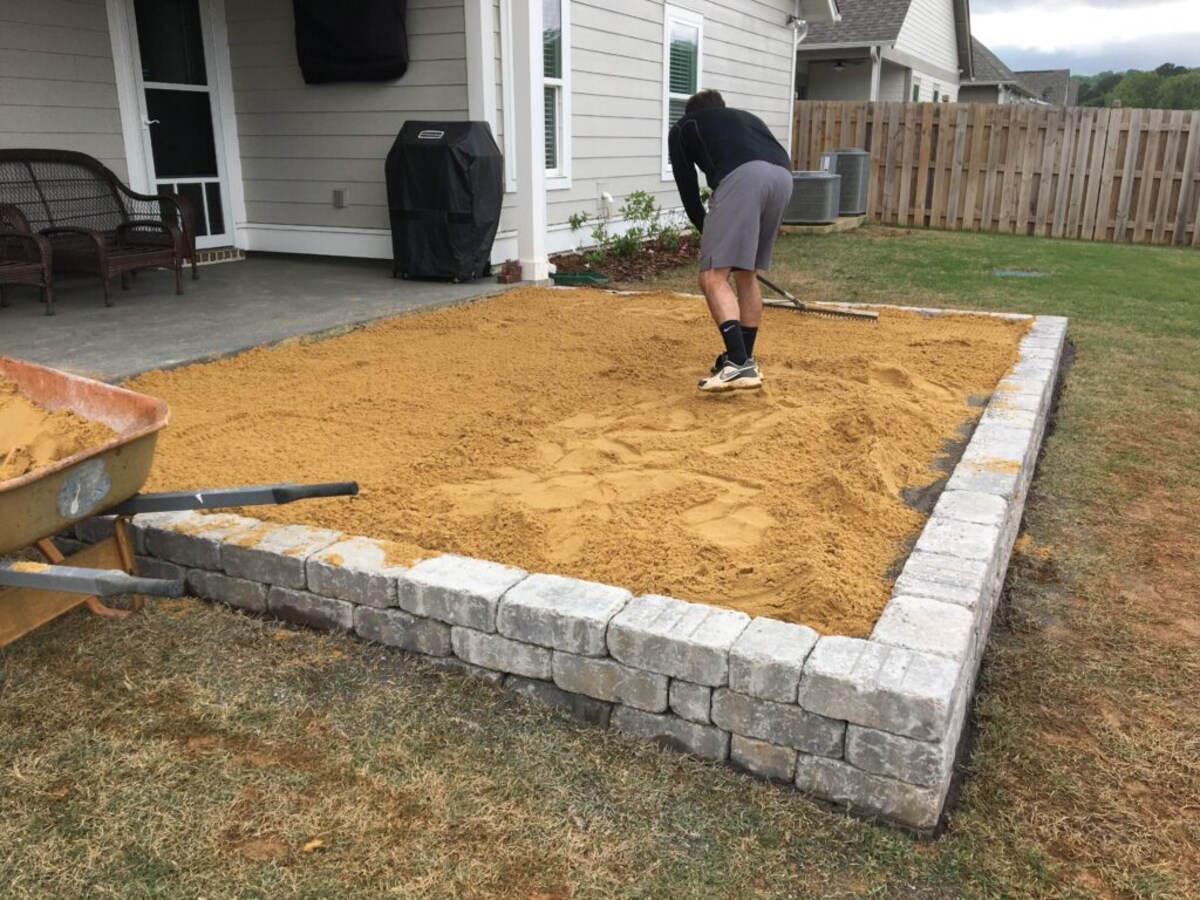
Start by spreading a layer of gravel over the compacted ground. The gravel acts as a base material that aids in drainage and prevents the pavers from shifting over time. Use a rake or shovel to spread the gravel evenly, ensuring a uniform thickness of about 2 to 3 inches.
Once the gravel is spread, use a tamper or plate compactor to firmly compact the base. This step is crucial to create a solid and stable foundation for your patio. Begin at the edges and work your way towards the center, applying even pressure to ensure that the gravel is tightly packed.
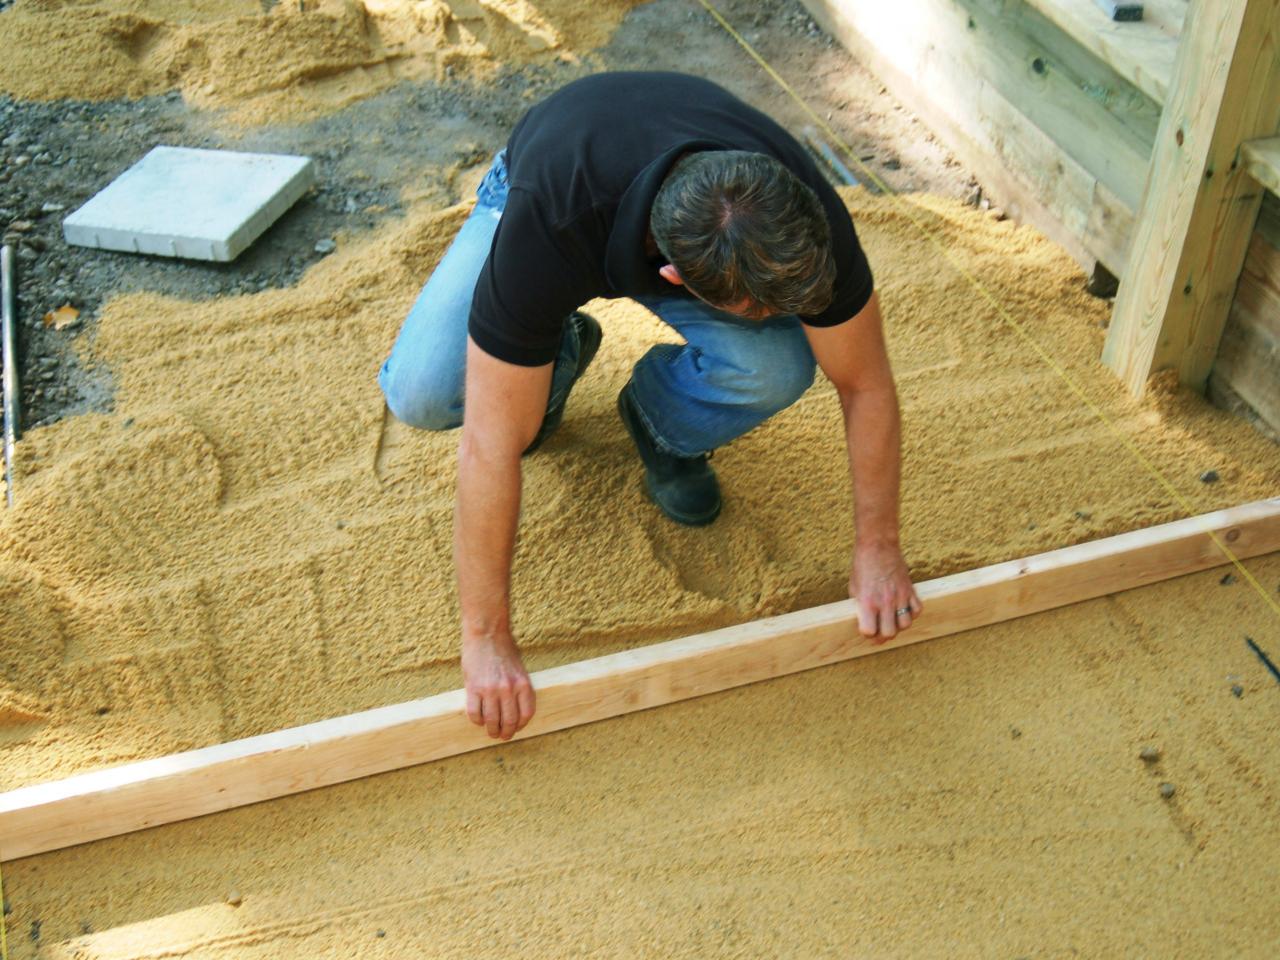
During the compaction process, regularly check for levelness using a long, straight board or a level. This will help you identify any high or low spots in the base. Adjust as needed by adding or removing gravel to achieve a smooth and level surface.
Checking for levelness is an essential step in the installation process. A level base ensures that your pavers will be set correctly and prevents issues such as shifting or uneven surfaces. Take your time during this step to ensure accuracy and precision.
It’s important to note that the base thickness may vary depending on the specific requirements of your project. If you anticipate heavy traffic or have exceptionally soft or unstable soil, you may need to increase the thickness of the gravel base for added stability.
With the base installed and leveled, you are now ready to move on to the next step: laying the pavers. In the following section, we will discuss choosing a pattern, starting from one corner, and setting each paver in place.
Step 4: Laying the Pavers
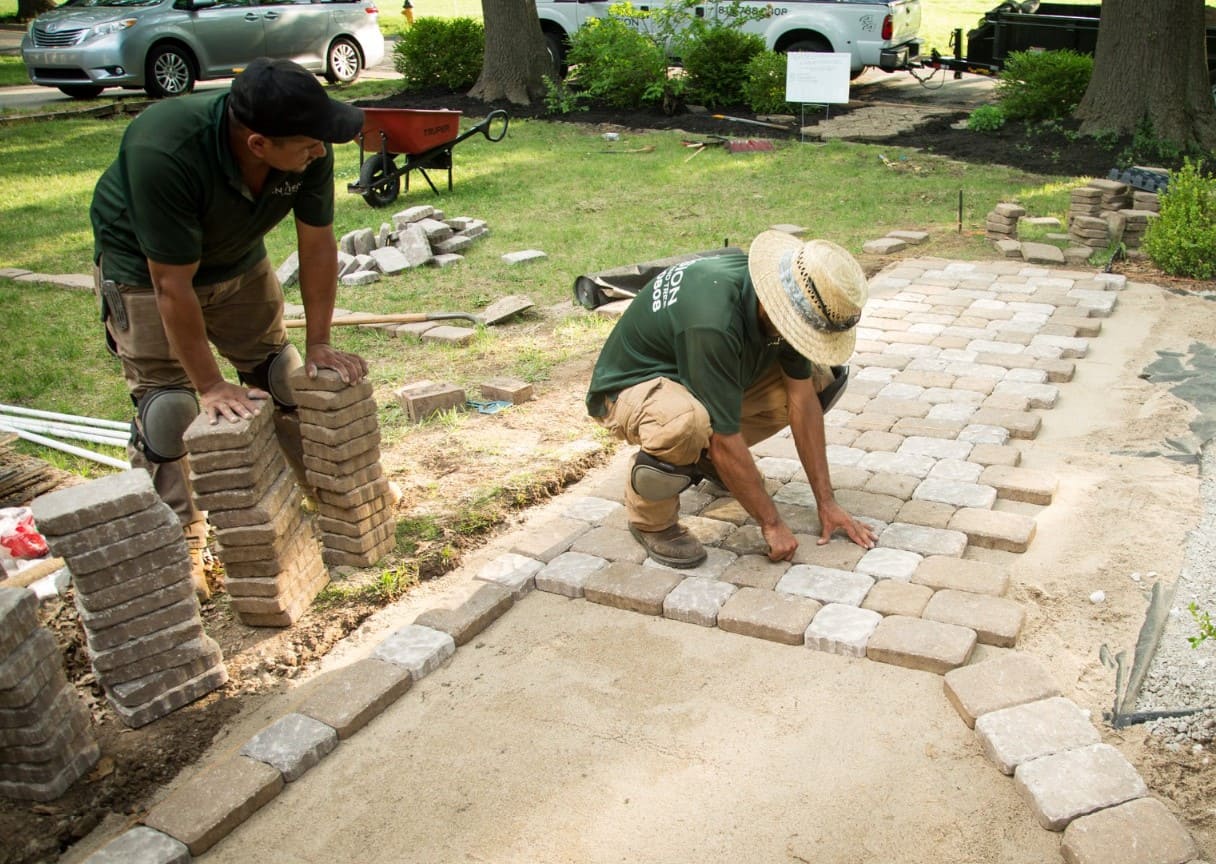
Now that the base is installed, it’s time to start laying the pavers for your patio. This step requires careful planning, attention to detail, and a creative eye. In this step, we will guide you through choosing a pattern, starting from one corner, and setting each paver in place.
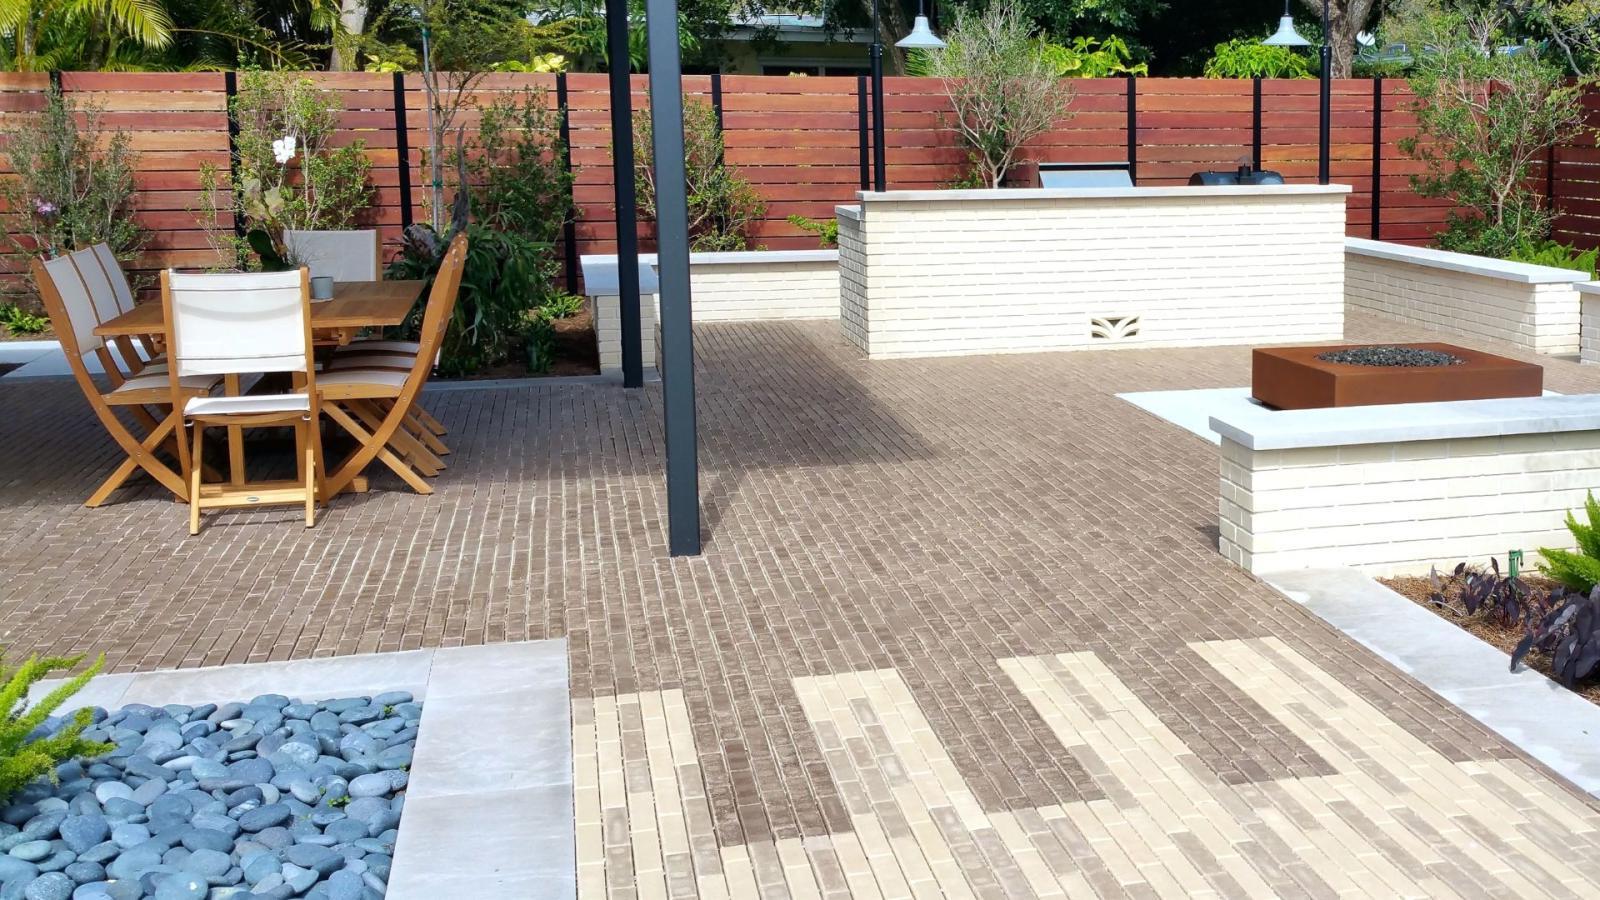
The first consideration when laying the pavers is selecting a pattern. There are various patterns to choose from, such as running bond, herringbone, basket weave, or a custom design. Consider the style and shape of your pavers, as well as the overall aesthetic you desire for your patio. Take your time to explore different pattern options and choose one that complements your outdoor space.
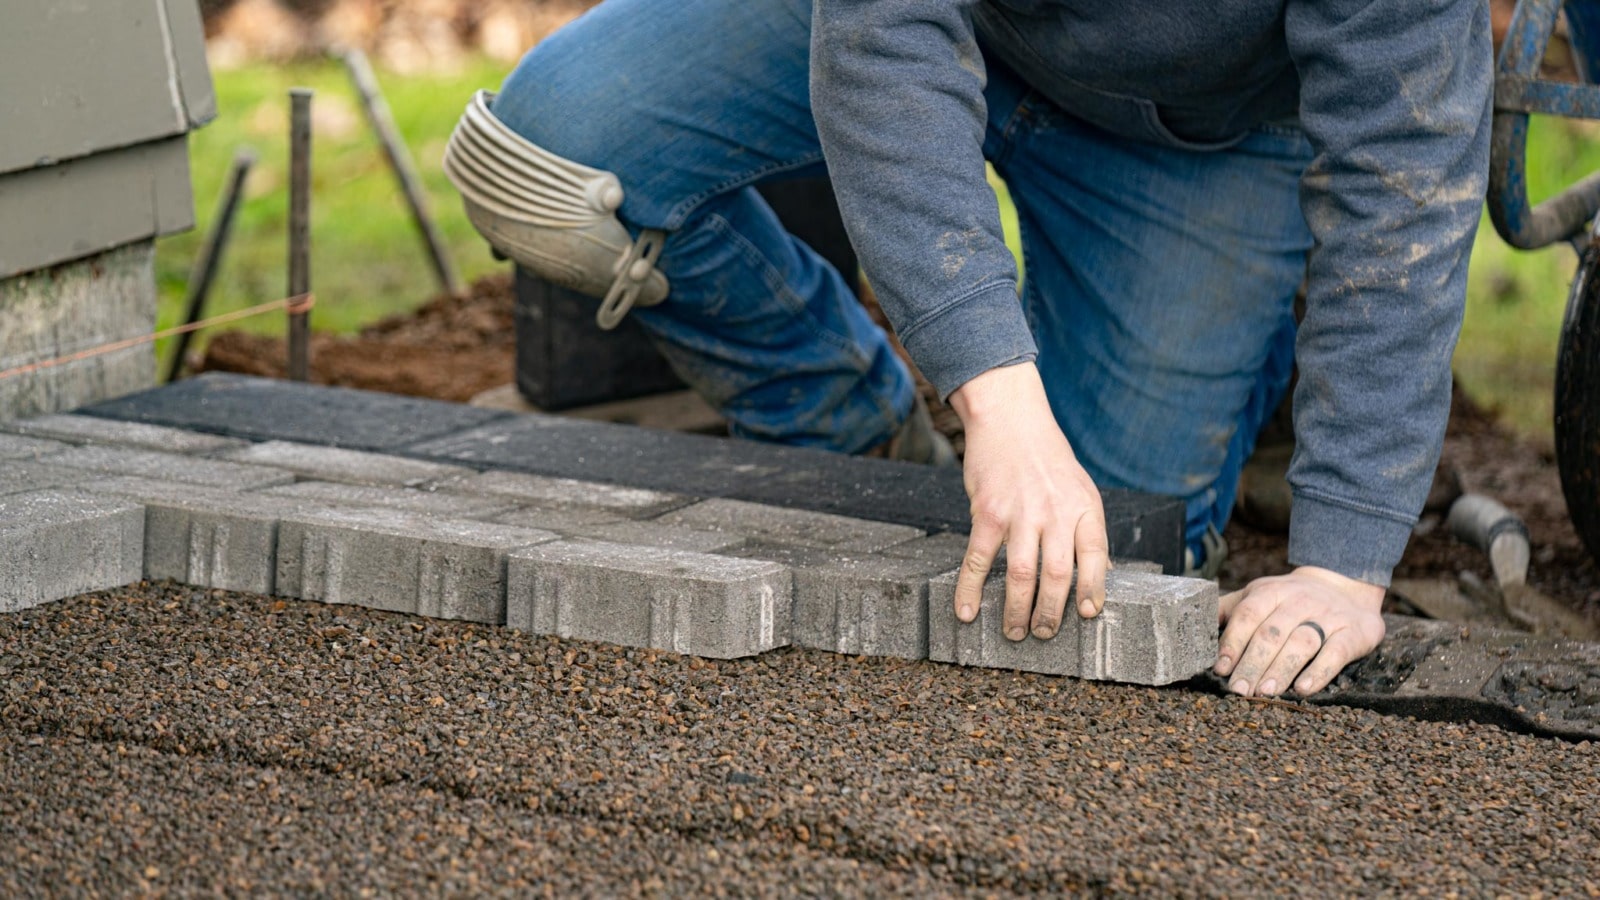
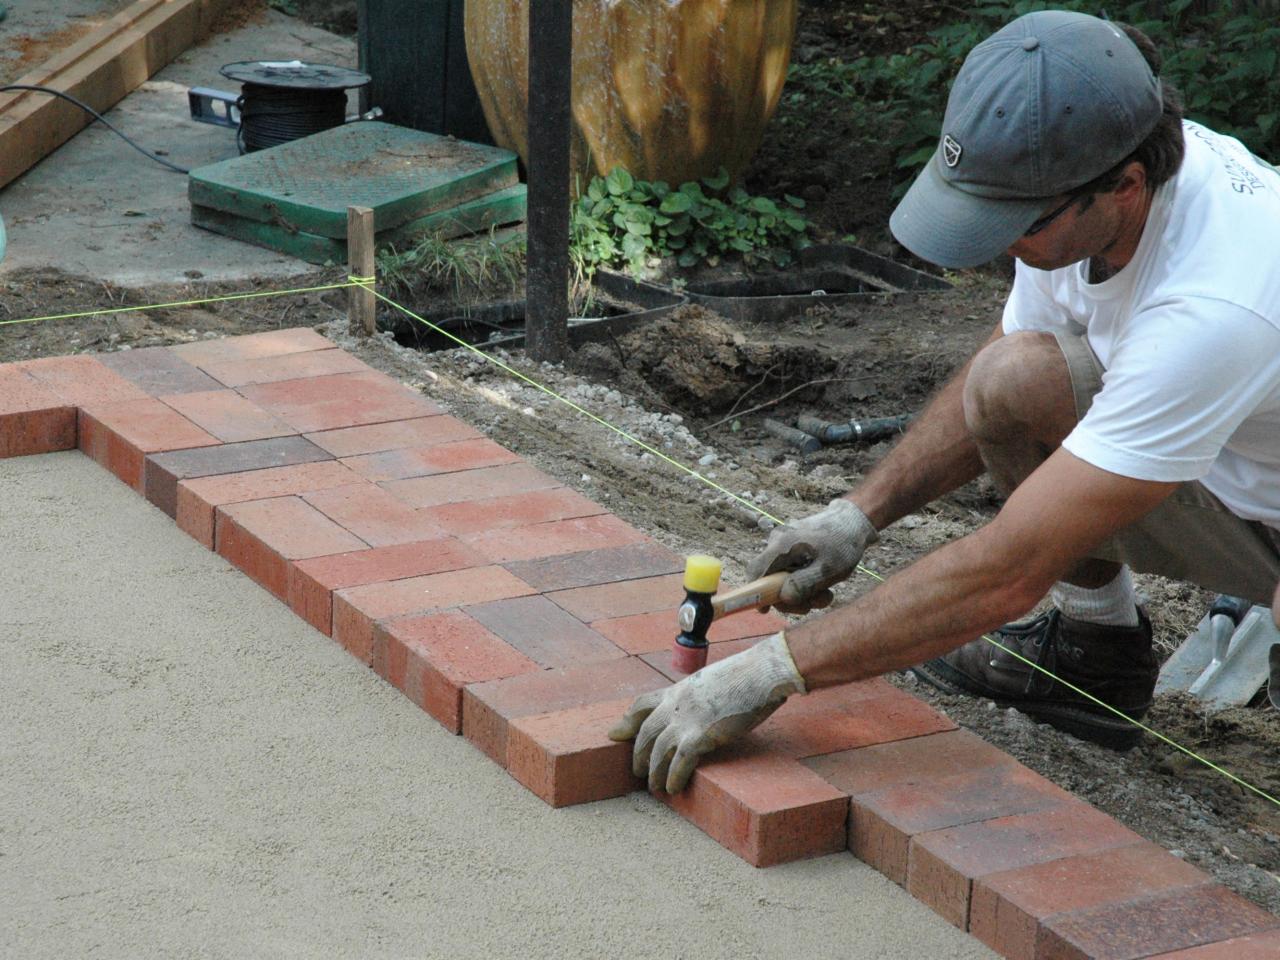
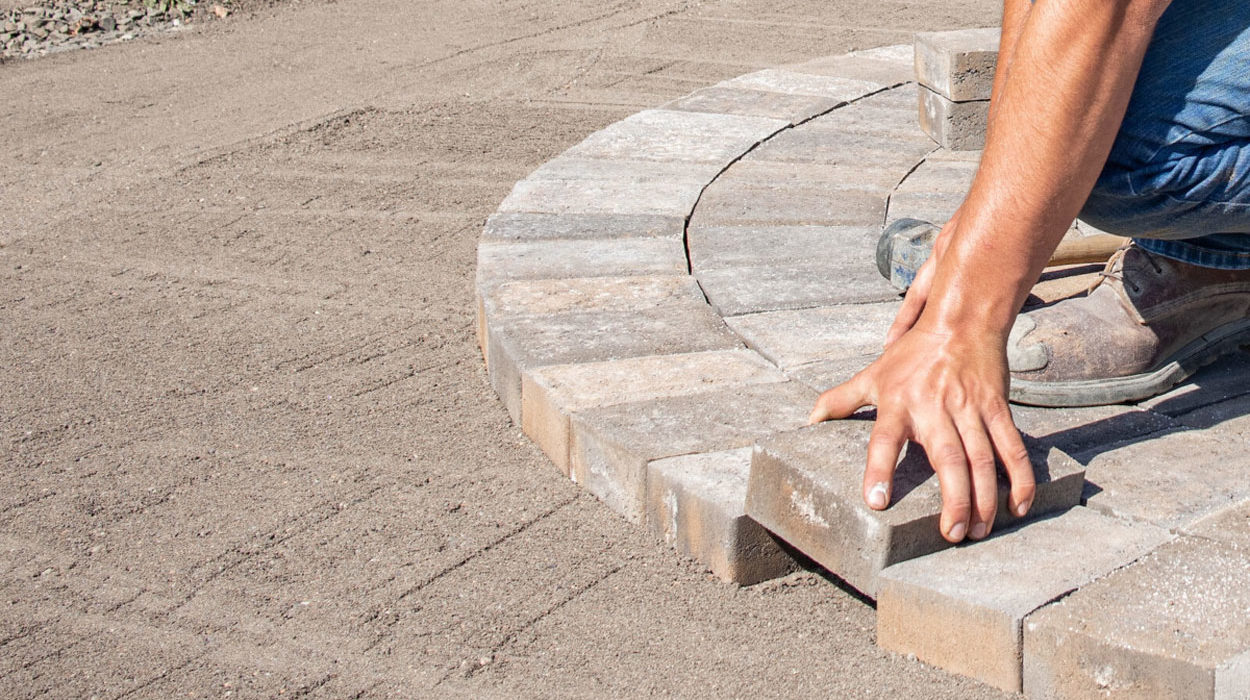
Once you have chosen a pattern, it’s time to start laying the pavers. Begin at one corner of the patio and work your way across in rows. This allows for a systematic and organized installation process. Use a straight board or string lines to guide the placement of the pavers, ensuring straight and even rows.
As you set each paver in place, ensure that it sits firmly on the base and aligns with the adjacent ones. Gently tap the paver with a rubber mallet or a wooden block to ensure a snug fit. Take your time to ensure accurate spacing between the pavers, using spacers or your chosen pattern as a guide.
While laying the pavers, periodically step back and inspect the overall appearance of the patio. Ensure that the pattern is consistent, the lines are straight, and the pavers are level. Make any necessary adjustments to maintain a visually pleasing and well-aligned surface.
Remember to consider any design elements, such as borders or accent pavers, if desired. These can add visual interest and create a cohesive look for your patio. Incorporating these design elements requires careful planning and may involve cutting pavers to fit the desired shape or size.
Take your time when laying the pavers, as this step sets the foundation for the final look of your patio. By following a chosen pattern, starting from one corner, and setting each paver in place with precision, you will achieve a visually stunning and professionally installed paver patio.
With the pavers laid, it’s time to move on to the next step: cutting pavers. In the following section, we will discuss measuring and marking, using a wet saw or chisel, and cleaning the cut edges.
Before starting the installation, make sure to properly level the ground using a tamper and add a layer of sand to create a smooth and even surface for the pavers.
Read more: DIY Guide To Installing A Paver Patio
Step 5: Cutting Pavers
When installing a paver patio, you may encounter situations where you need to cut the pavers to fit around edges, curves, or obstacles. This step requires precision and the right tools to achieve a professional finish. In this step, we will guide you through measuring and marking, using a wet saw or chisel, and cleaning the cut edges.
The first step in cutting pavers is to accurately measure and mark the areas that require cutting. Use a measuring tape or a straight edge to determine the precise dimensions needed to fit the paver into the designated space. Mark the measurements on the paver using a pencil or chalk.
When it comes to cutting pavers, you have two primary options: using a wet saw or using a chisel and hammer. A wet saw is a power tool specifically designed for cutting through dense materials like pavers. It provides precise and clean cuts, especially for large projects or complex cuts. Alternatively, a chisel and hammer can be used for smaller cuts or irregular shapes. This method requires more skill and patience but can be effective for smaller sections.
If using a wet saw, follow the manufacturer’s instructions and ensure the appropriate safety measures, including wearing safety goggles and hearing protection. Position the paver on the saw bed and guide it along the marked line, applying gentle pressure to create a smooth and accurate cut. Repeat the process for each paver that requires cutting.
If using a chisel and hammer, place the paver on a stable surface and carefully align the chisel with the marked line. Tap the chisel gently with a hammer, gradually increasing the force until the paver splits along the line. Take your time and make multiple small cuts rather than trying to force a single large cut.
Once the paver is cut, it’s important to clean the cut edges to achieve a professional finish. Use a brush or a damp cloth to remove any debris or dust from the cut line. This will help ensure a seamless fit when the paver is placed in its designated spot.
Remember to measure twice and cut once to avoid any mistakes or waste of materials. Take your time when cutting the pavers, and if you are uncertain or have complex cuts, it may be wise to consult a professional for assistance.
With the pavers cut and cleaned, you are now ready to secure them in place. In the following step, we will discuss adding edge restraints and applying sand or polymeric sand to fill the gaps between the pavers.
Step 6: Securing the Pavers
Securing the pavers is an essential step in the installation process to ensure that they remain in place and maintain their proper position over time. In this step, we will guide you through adding edge restraints and applying sand or polymeric sand to fill the gaps between the pavers.
The first step in securing the pavers is to add edge restraints. Edge restraints act as a barrier to keep the pavers from spreading or shifting. They can be made of plastic, metal, or concrete. Install the edge restraints around the perimeter of the patio, securing them firmly into the ground.
Place the edge restraints against the outer edge of the pavers, ensuring that they sit flush with the top surface. Use a rubber mallet or a hammer to gently tap the restraints into place. Ensure that they are level and straight by periodically checking with a level or a straight edge. Secure the edge restraints to the ground using spikes or screws, following the manufacturer’s instructions.
Once the edge restraints are in place, it’s time to fill the gaps between the pavers. This is where you can choose to use either regular sand or polymeric sand. Regular sand is a more affordable option and can be swept into the gaps using a broom. However, it may require periodic replenishment as it can wash away over time.
Polymeric sand, on the other hand, is a special type of sand that contains additives to create a stronger bond between the pavers. It is applied and activated with water, creating a firm and weed-resistant joint. Follow the manufacturer’s instructions for mixing and applying polymeric sand, ensuring that it fills the gaps completely.
Once the sand is in place, use a broom or a brush to sweep it into the gaps between the pavers, ensuring that they are completely filled. This will help stabilize the pavers, prevent weed growth, and improve their overall durability.
After sweeping off any excess sand from the surface, lightly mist the patio with water to activate the polymeric sand, if applicable. This will help it harden and create a strong bond between the pavers.
Remember, securing the pavers with edge restraints and filling the gaps with sand or polymeric sand are crucial steps to maintain the integrity and stability of your patio. Take your time and ensure that the materials are applied correctly for optimal results.
With the pavers secured and the gaps filled, it’s time to move on to the final step: adding the finishing touches to your paver patio.
Step 7: Finishing Touches
Congratulations! You’re in the final step of installing your paver patio. Now it’s time to add the finishing touches that will enhance the overall look and durability of your patio. In this step, we will guide you through sweeping off excess sand, compacting the pavers, and adding joint sealant, if desired.
Start by sweeping off any excess sand from the surface of your patio. Use a broom to sweep the sand diagonally across the pavers, ensuring that all excess sand is removed. This will help create a cleaner and more polished appearance.
Next, it’s important to compact the pavers to ensure a sturdy and stable surface. Use a plate compactor or a rubber mallet to gently tap the pavers, starting from one corner and working your way across the patio. This step helps to ensure that the pavers are securely in place and eliminates any potential shifting.
If you desire extra protection and longevity for your patio, you may consider adding joint sealant. Joint sealant creates a protective barrier that helps prevent weed growth, keeps water from seeping between the pavers, and reduces the risk of mildew or staining. Consult the manufacturer’s instructions for the proper application of the sealant.
Keep in mind that not all paver patios require joint sealant. If you prefer a more natural and porous look, you may choose to skip this step. However, if you live in an area with harsh weather conditions or want to minimize maintenance, applying a joint sealant can be a wise choice.
Take your time during this final step to ensure that all excess sand is removed, the pavers are compacted evenly, and the joint sealant is applied accurately. These finishing touches will give your patio a professional and polished appearance, enhancing its overall durability and longevity.
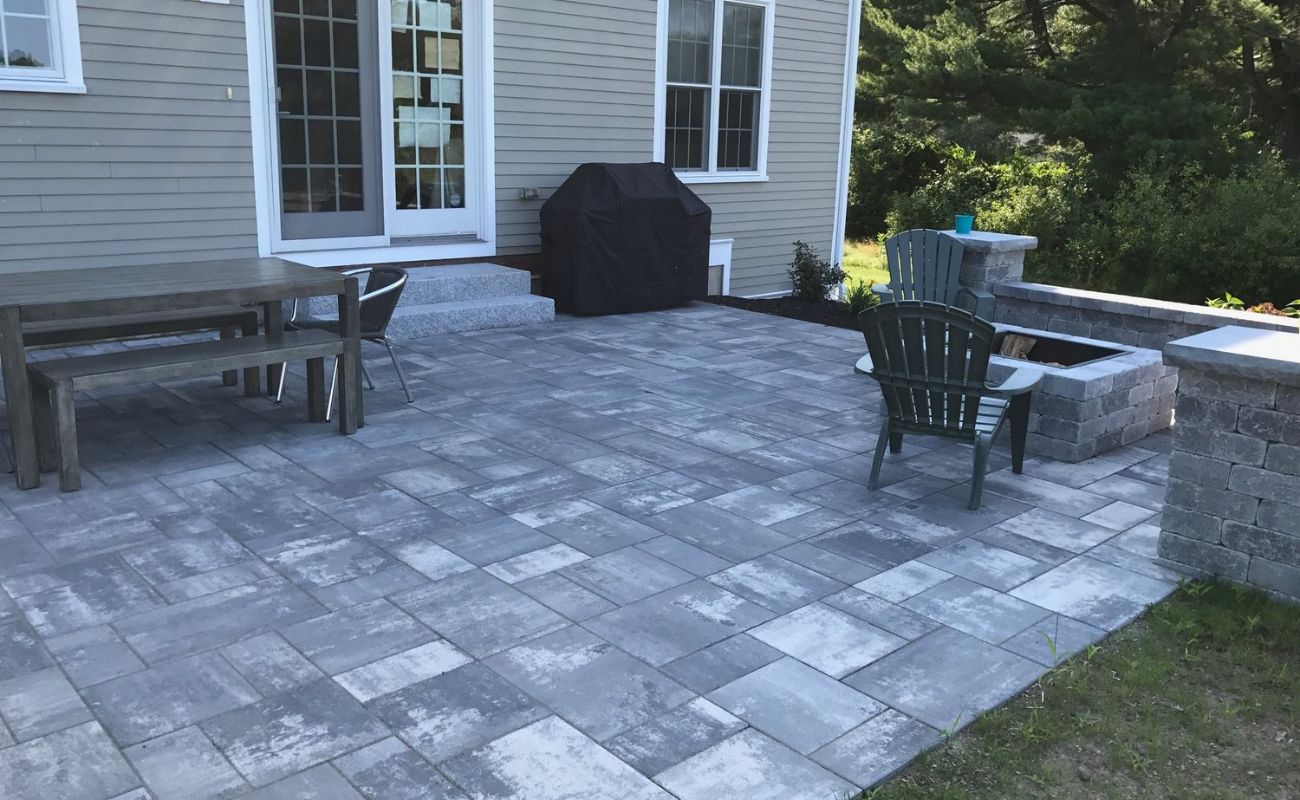
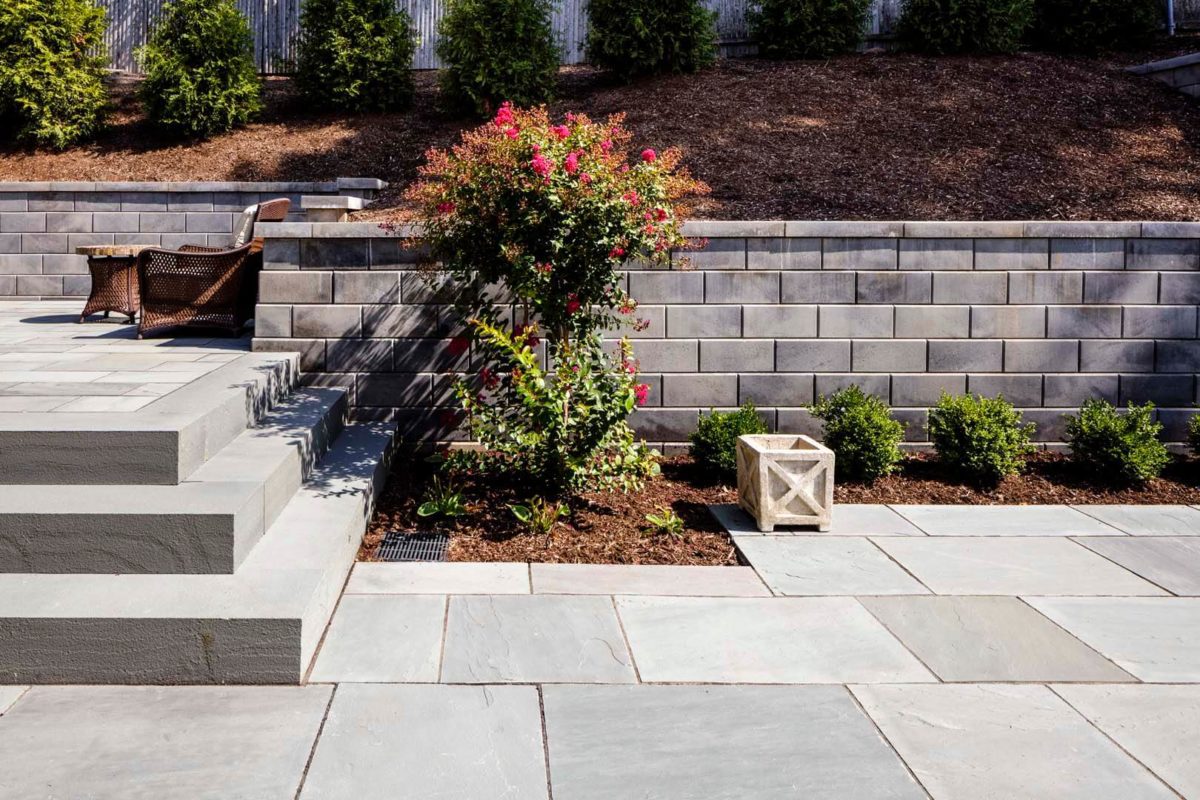
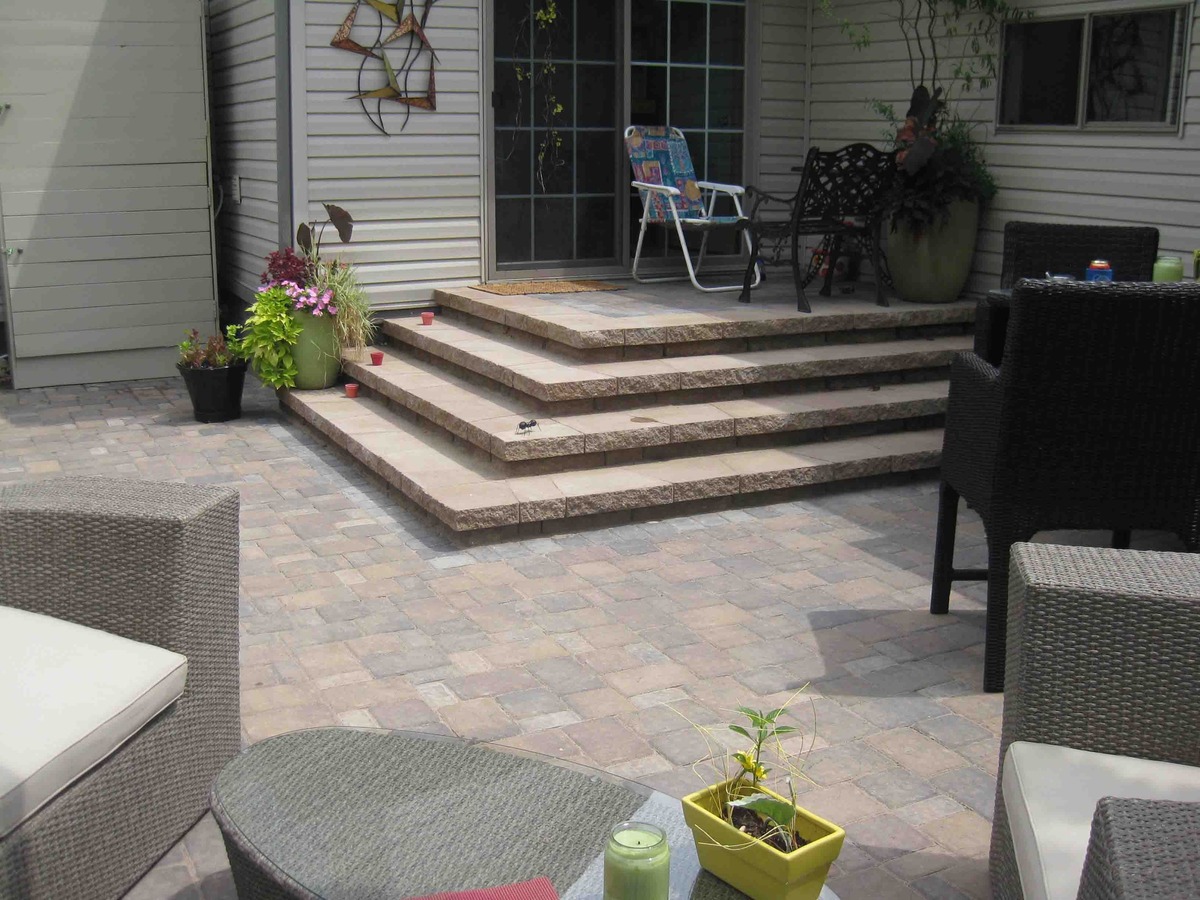
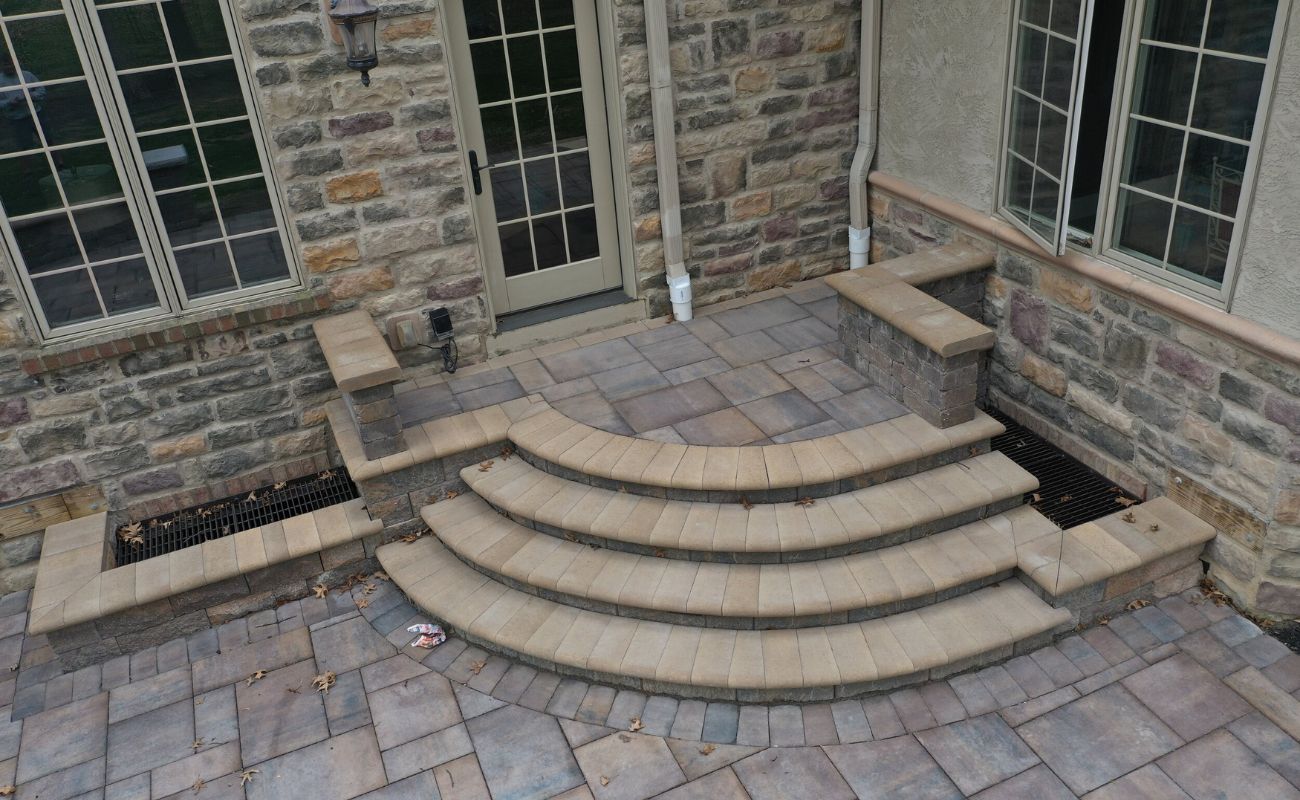
With the finishing touches complete, step back and admire your newly installed paver patio on uneven ground. You can now enjoy your outdoor space, knowing that you have created a beautiful and functional area that will provide enjoyment for years to come.
Thank you for following along with our step-by-step guide. We hope you found it helpful and that your paver patio installation was a success. Enjoy your new outdoor oasis!
Conclusion
Congratulations! You have successfully installed a paver patio on uneven ground. By following our step-by-step guide, you have transformed your outdoor space into a beautiful and functional area that you can enjoy with family and friends.
Throughout the installation process, you learned the importance of proper site preparation, leveling the ground, and installing a solid base. By taking the time to clear the area, mark the boundaries, and remove any existing obstacles, you created a stable foundation for your patio.
Choosing a pattern, starting from one corner, and setting each paver in place allowed you to create a visually stunning patio that adds value to your outdoor space. Cutting pavers to fit around edges or obstacles showcased your attention to detail and craftsmanship.
Securing the pavers with edge restraints and filling the gaps with sand or polymeric sand ensured that your patio remains stable and free from shifting or weed growth. The finishing touches, such as sweeping off excess sand, compacting the pavers, and adding joint sealant, provided the final polish and longevity to your project.
By following these steps, you have created a patio that will withstand the test of time and provide you with years of enjoyment. Whether you’re hosting barbecues, enjoying a peaceful morning coffee, or simply relaxing after a long day, your paver patio will be a beautiful and functional addition to your outdoor living space.
Remember, as with any outdoor project, proper maintenance is key to preserving the beauty and integrity of your patio. Regularly sweep off debris, clean any stains promptly, and reapply joint sealant as necessary. This will help ensure that your paver patio remains in pristine condition for years to come.
Thank you for following along with our comprehensive guide on how to install a paver patio on uneven ground. We hope you found it valuable and that it provided you with the knowledge and confidence to tackle this exciting project. Enjoy your new outdoor oasis!
Frequently Asked Questions about How To Install A Paver Patio On Uneven Ground
Was this page helpful?
At Storables.com, we guarantee accurate and reliable information. Our content, validated by Expert Board Contributors, is crafted following stringent Editorial Policies. We're committed to providing you with well-researched, expert-backed insights for all your informational needs.


0 thoughts on “How To Install A Paver Patio On Uneven Ground”