Home>Garden Essentials>How To Plant Chilli Seeds
Garden Essentials
How To Plant Chilli Seeds
Modified: March 16, 2024
Learn how to plant chilli seeds in your garden and grow your own spicy peppers. Get expert tips and advice for a successful chilli garden.
(Many of the links in this article redirect to a specific reviewed product. Your purchase of these products through affiliate links helps to generate commission for Storables.com, at no extra cost. Learn more)
Introduction
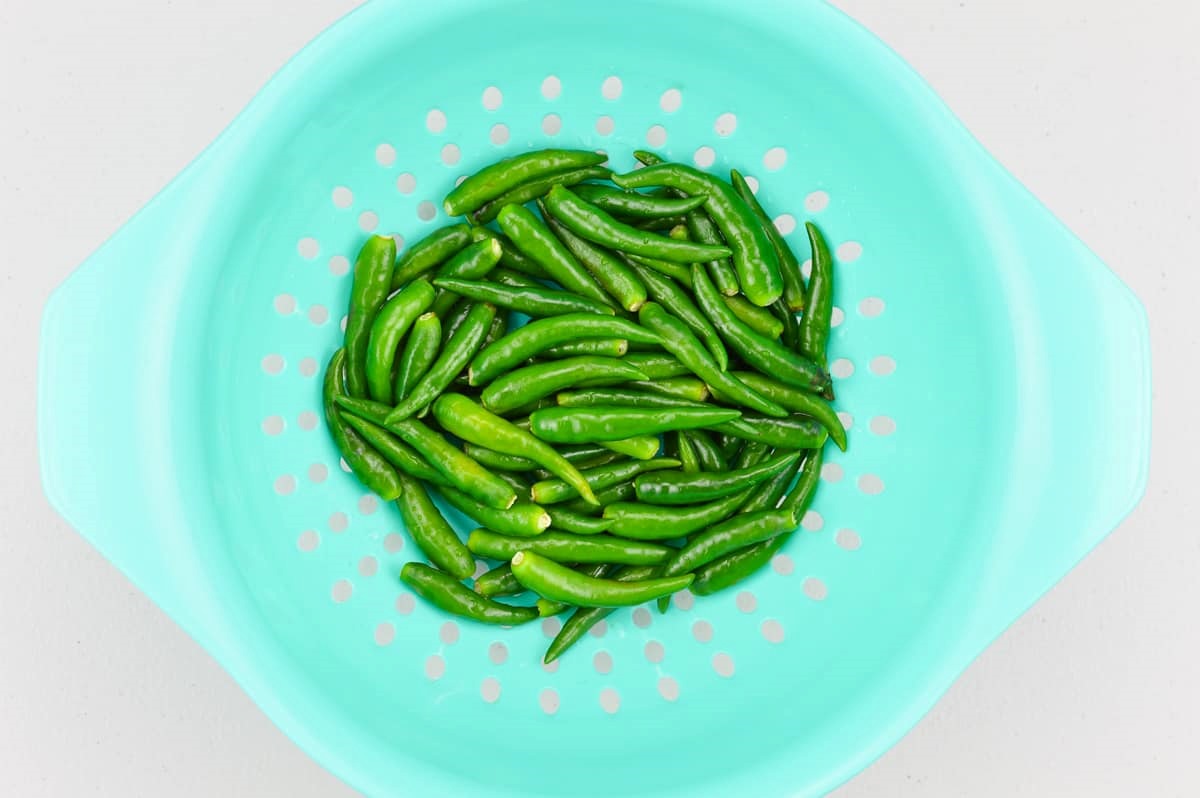
Are you an avid gardener looking to add some spice to your backyard? Or perhaps you’re a food lover who can’t resist the allure of homegrown ingredients? Whatever your motivation, planting chilli seeds is a great way to enhance your garden and your culinary adventures.
Chillies, also known as chili peppers or hot peppers, are a popular addition to many cuisines around the world. Not only do they add heat and flavor to dishes, but they also offer a host of health benefits, including boosting metabolism and providing a rich source of vitamins and antioxidants. By planting your own chilli seeds, you can ensure a constant supply of fresh peppers right at your fingertips.
While growing chillies may seem intimidating to some, it’s actually a fairly straightforward process that even novice gardeners can master. With the right materials, some patience, and a little TLC, you’ll soon be enjoying the fruits of your labor.
In this guide, we’ll take you through the step-by-step process of planting chilli seeds, from gathering the necessary materials to providing proper care and maintenance. Whether you choose to start your chilli seeds indoors or directly in the garden, we’ll provide you with all the information you need to ensure success.
So, get ready to dig in the dirt and spice up your garden with the vibrant colors and fiery flavors of chilli peppers!
Key Takeaways:
- Planting chilli seeds is an exciting way to add spice to your garden and culinary adventures. With the right materials and care, you can enjoy a constant supply of fresh peppers right at your fingertips.
- By following the step-by-step process of planting, nurturing, and harvesting chilli plants, you’ll gain the knowledge and skills needed to grow your own fiery peppers like a pro. Embrace the joy of watching your chilli plants flourish and enjoy the flavor-filled journey!
Read more: How To Germinate A Plant
Step 1: Gather the necessary materials
Before you begin planting chilli seeds, it’s important to gather all the necessary materials. Having everything on hand will make the process smoother and more efficient. Here’s a list of what you’ll need:
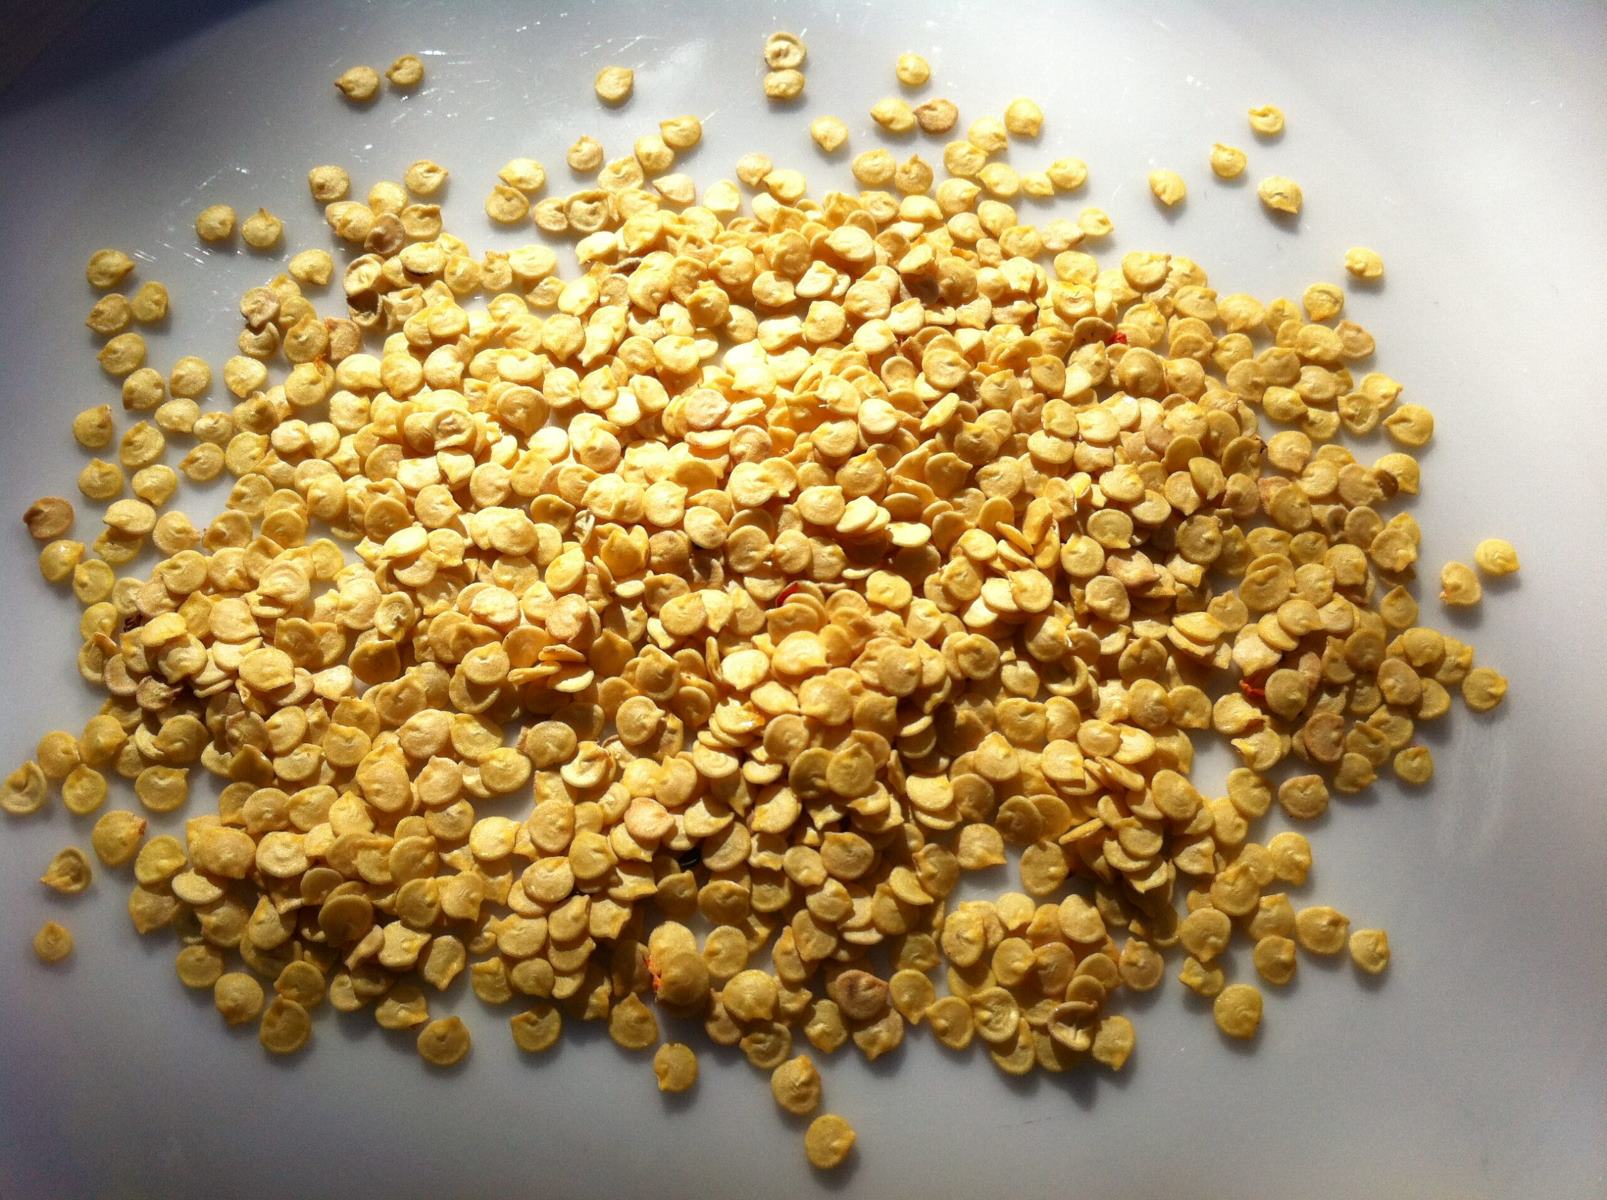
- Chilli seeds: Choose the variety of chilli peppers you want to grow. There are countless types available, ranging from mild to extremely hot, so consider your personal preference and the intended use of the peppers.
- Potting soil: Look for a high-quality potting mix that is well-draining and nutrient-rich. Avoid heavy soils that can retain too much moisture, as this can lead to root rot.
- Pots or seed trays: Use small pots or seed trays with drainage holes at the bottom. This will ensure proper drainage and prevent waterlogged soil.
- Labels: Use labels to mark the pots or trays with the variety of chilli seeds you’re planting. This will help you keep track of different types as they grow.
- Watering can or spray bottle: You’ll need a watering can or spray bottle to water the seeds gently without disturbing them.
- Plastic wrap or a propagator: Creating a warm and humid environment can aid in the germination process. Use plastic wrap or a propagator to cover the pots or trays and retain moisture.
- Grow lights or a sunny spot: Chillies need plenty of sunlight to thrive. If you’re starting your seeds indoors, consider using grow lights to provide optimal light conditions. If planting outdoors, choose a sunny spot that gets at least six hours of direct sunlight.
- Optional: Heat mat: If you live in a cooler climate, using a heat mat under the pots or trays can help maintain consistent soil temperature and speed up germination.
Once you have gathered all the necessary materials, you’re ready to move on to preparing the seedlings. This step is essential for ensuring the successful growth of your chilli seeds.
Step 2: Prepare the seedlings
To give your chilli seeds the best chance of thriving, it’s important to prepare the seedlings before planting them. This involves providing them with the right conditions to germinate and develop strong roots. Follow these steps to prepare your chilli seedlings:
- Moisten the potting soil: Before filling your pots or seed trays with potting soil, moisten it slightly. This will help the soil hold moisture and create a conducive environment for seed germination.
- Fill the pots or seed trays: Fill your pots or seed trays with the moistened potting soil, leaving a small space at the top for watering.
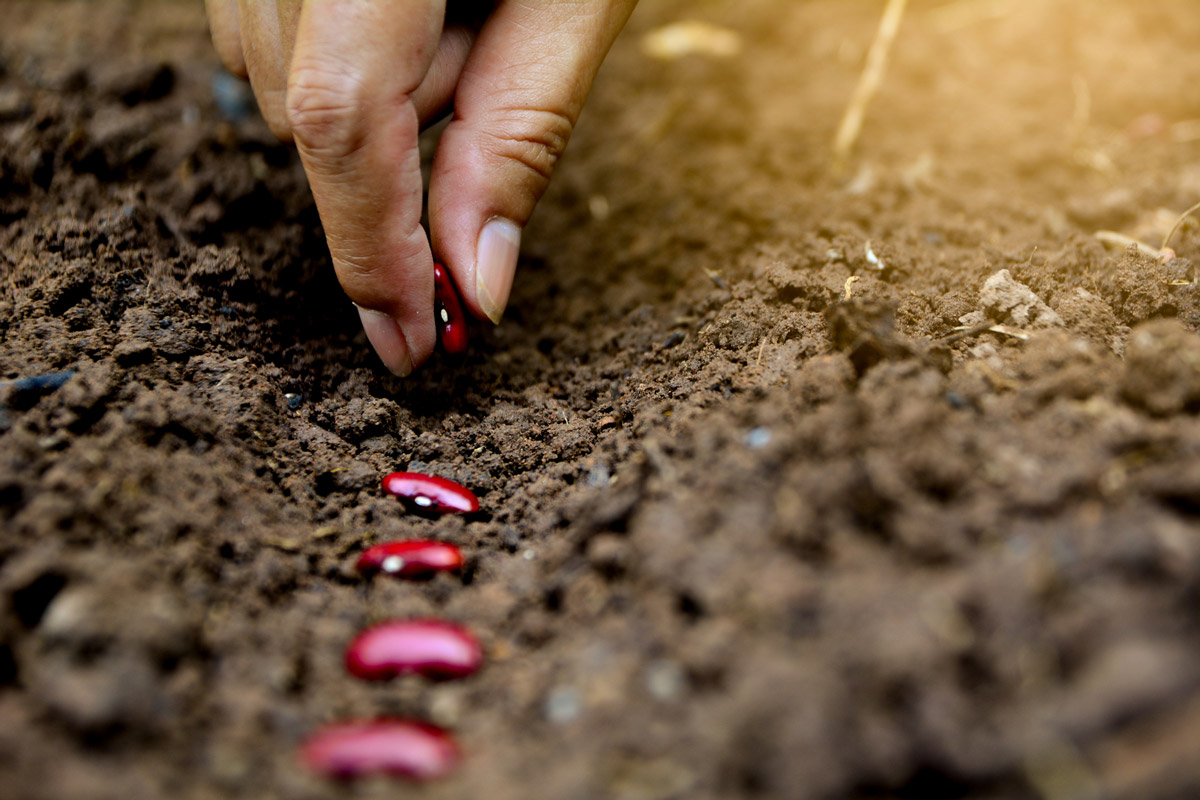
- Sow the seeds: Place the chilli seeds on the surface of the soil, spacing them evenly and not too close to each other. Gently press them into the soil, ensuring they are covered with a thin layer of soil, approximately the same depth as the size of the seed.
- Mist the soil: Use a spray bottle to mist the soil gently, ensuring it is moist but not soaked. Avoid pouring water directly onto the seeds, as this could dislodge them or cause them to rot.
- Cover with plastic wrap or a propagator: To create a warm and humid environment, cover the pots or trays with plastic wrap or place them in a propagator. This will help retain moisture and promote germination.
- Find the ideal temperature: Chillies prefer warm temperatures for germination, generally around 70-80°F (21-27°C). Place the pots or trays in a warm spot or consider using a heat mat to maintain consistent temperature.
- Wait for germination: Germination times can vary depending on the chilli variety and environmental conditions. On average, chilli seeds take about 7-14 days to germinate. Be patient and keep an eye on the pots or trays.
- Remove plastic wrap or propagator: Once the seedlings have emerged and are about an inch tall, it’s time to remove the plastic wrap or propagator. This will allow for better air circulation and prevent the seedlings from becoming too humid, which can lead to mold or disease.
By following these steps, you will ensure that your chilli seeds have the best possible start in life. Now that your seedlings are ready, it’s time to move on to the next step: planting the chilli seeds into their permanent containers or garden beds.
Step 3: Plant the chilli seeds
Now that your chilli seedlings are prepared and ready to go, it’s time to plant them into their permanent containers or garden beds. Follow these steps to ensure proper planting:
- Choose the right containers: If you’re planting your chillies in containers, select pots that are at least 10-12 inches deep and have sufficient drainage holes. This will provide enough space for the roots to grow and prevent waterlogged soil.
- Prepare the planting area: If you’re planting directly in the garden, choose a location that receives full sunlight and has well-draining soil. Prepare the soil by removing any weeds or debris and amend with compost or organic matter if needed.
- Make a hole: Dig a hole in the soil that is slightly larger than the size of the root ball of your seedling. Make sure the hole is deep enough to accommodate the seedling without crowding or bending the roots.
- Remove the seedling from the pot: Gently tap the pot to loosen the soil and carefully remove the seedling, being mindful of its delicate roots. If the roots are tightly packed, you can gently tease them apart to encourage outward growth.
- Place the seedling in the hole: Carefully place the seedling in the hole, ensuring that the top of the root ball is level with the soil surface. Avoid burying the stem too deeply, as this can lead to rotting.
- Backfill the hole: Fill the hole with soil, gently pressing it around the seedling to eliminate air pockets. Ensure that the soil is firmly but not tightly packed around the roots.
- Water thoroughly: Give the newly planted seedling a thorough watering to settle the soil and provide hydration. Aim to keep the soil evenly moist, but not overly saturated, throughout the growing season.
- Space the seedlings: If you’re planting multiple seedlings, make sure to space them at least 12-18 inches apart. This will allow for proper air circulation and prevent overcrowding.
- Protect from pests: Consider using natural pest control methods, such as companion planting or organic insecticides, to protect your chilli plants from common garden pests like aphids or snails.
By following these steps, you’ll ensure that your chilli seedlings have a smooth transition to their permanent growing space. Now, it’s time to move on to the next step: providing proper care and maintenance to promote healthy growth and abundant harvests.
Before planting chilli seeds, make sure to choose a sunny spot with well-draining soil. Plant the seeds 1/4 inch deep and keep the soil consistently moist. Once the seedlings have grown, transplant them to larger pots or the garden.
Step 4: Provide proper care and maintenance
Once your chilli seedlings are planted, it’s essential to provide them with the right care and maintenance to ensure healthy growth and maximize their potential. Here are some important tips to follow:
- Watering: Keep the soil consistently moist, but not waterlogged. Water your chilli plants deeply once or twice a week, depending on the weather and soil conditions. Avoid watering the foliage to prevent diseases.
- Fertilizing: Feed your chilli plants with a balanced fertilizer that is high in potassium and phosphorus, such as a 10-10-10 or 5-10-10 formula. Apply the fertilizer according to the package instructions, usually once every 2-3 weeks during the growing season.
- Sunlight: Ensure that your chilli plants receive at least 6-8 hours of direct sunlight each day. If necessary, use reflective mulch or position them in a sunny spot in your garden.
- Pruning: Regularly inspect your chilli plants for any damaged or diseased leaves, and promptly remove them. Pinch off the growing tips of the branches when the plants reach a desired height to encourage bushier growth.
- Support: Some chilli varieties may benefit from support as they grow. Use stakes or trellises to provide support for taller plants or those with heavy fruit loads.
- Pest control: Keep a watchful eye for common pests like aphids, spider mites, or whiteflies. Remove any infested leaves or use organic insecticides to control the pests.
- Disease prevention: To prevent diseases, water the soil rather than the leaves, provide proper airflow, and avoid overcrowding the plants. If necessary, use organic fungicides to control fungal diseases.
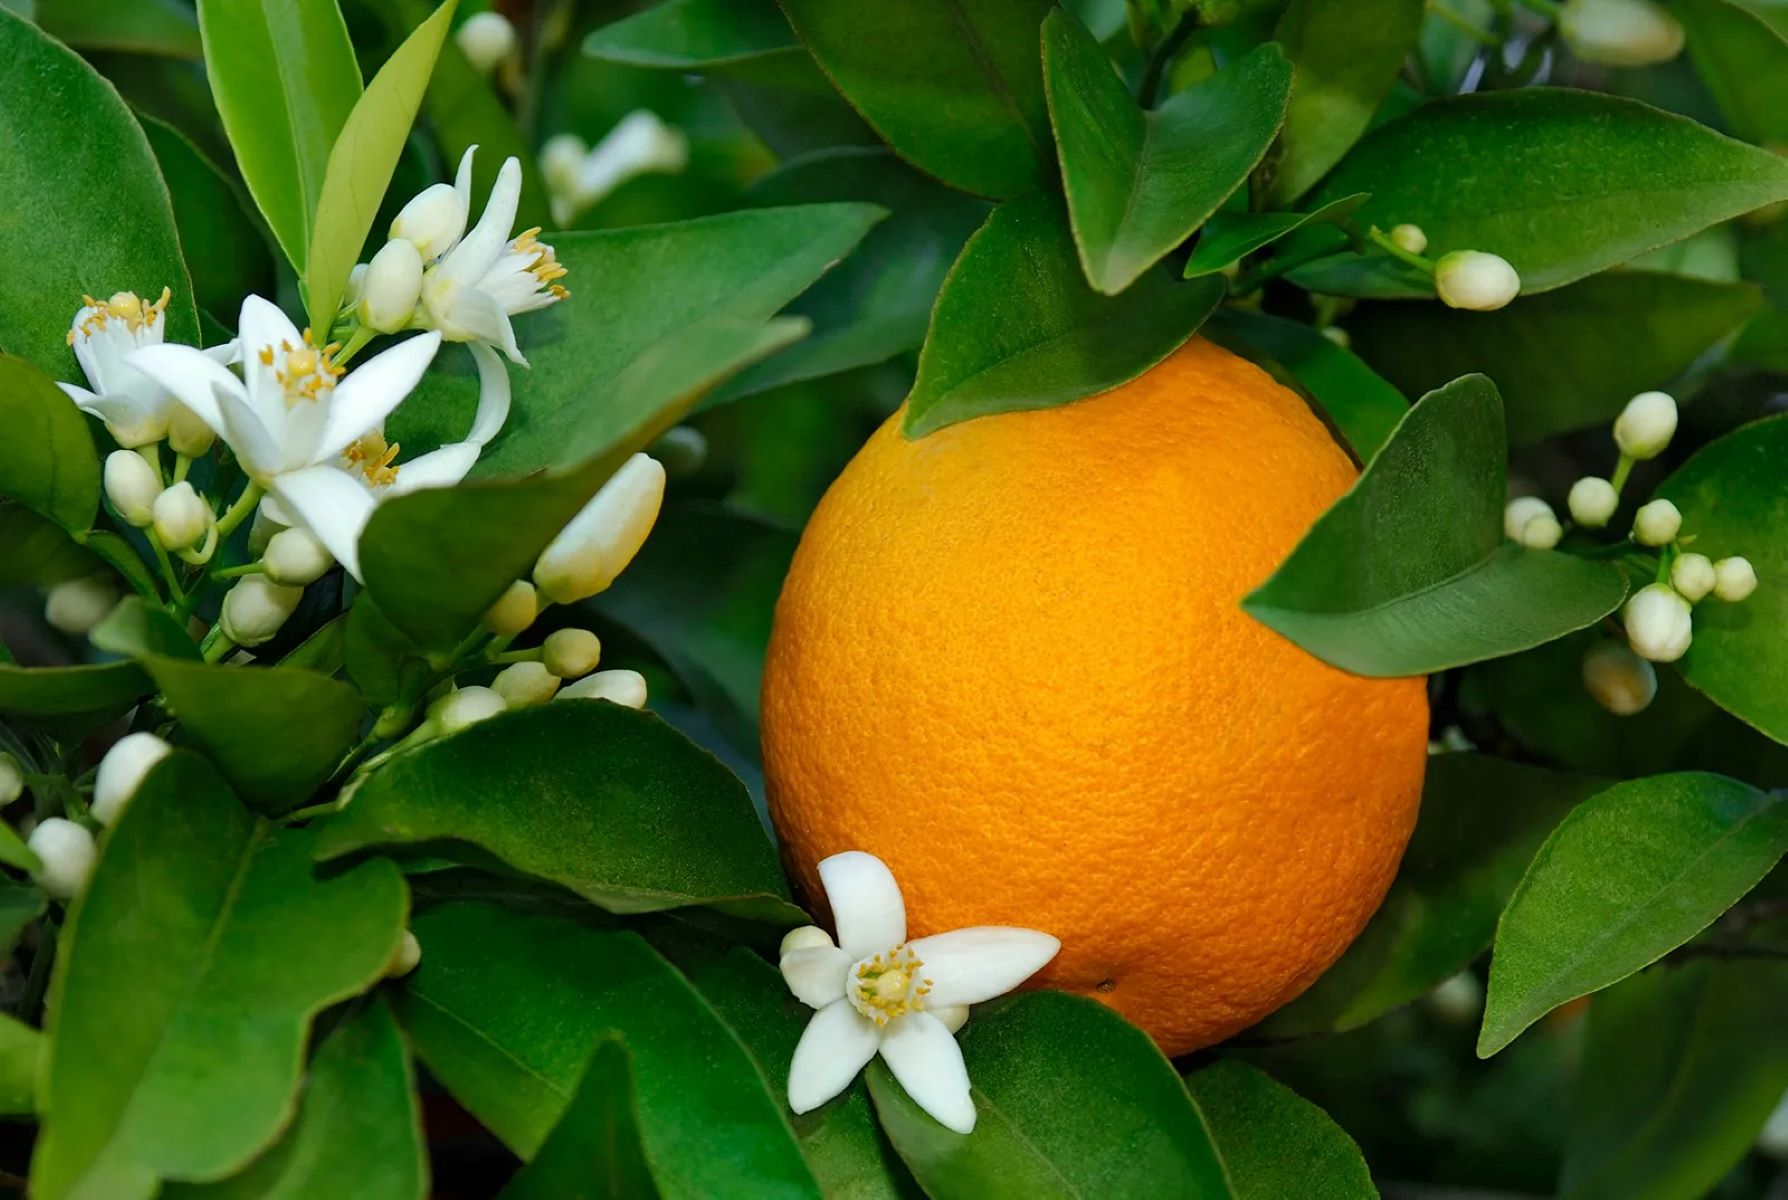
- Harvesting: Once your chilli peppers have reached the desired size and color, carefully cut them from the plant using clean scissors or pruning shears. Harvest regularly to promote continued fruit production.
- Overwintering (optional): In colder climates, you can choose to overwinter your chilli plants indoors. Before the first frost, dig up the plants, trim the foliage, and replant them in pots inside. Place them in a sunny window or provide supplementary grow lights.
By providing your chilli plants with the proper care and attention, you’ll be rewarded with healthy plants and a bountiful harvest of flavorful chilli peppers. Congratulations! You’re well on your way to becoming a successful chilli gardener.
Next, if you choose to do so, you can explore the optional step of transplanting your seedlings into larger containers or garden beds.
Read more: How To Plant Seed
Step 5: Transplant the seedlings (optional)
If you started your chilli seeds indoors and planted them in small pots or seed trays, you may find that they outgrow their initial containers. Transplanting the seedlings into larger pots or garden beds will provide them with more space to grow and thrive. Follow these steps to successfully transplant your chilli seedlings:
- Select the right containers: Choose pots or containers that are at least 12-14 inches in diameter and have good drainage holes. Alternatively, if you’re transplanting into a garden bed, make sure the soil is well-draining and prepared.
- Prepare the new containers or garden bed: Fill the new pots or prepare the garden bed by loosening the soil and adding compost or organic matter to provide nutrients and improve drainage.
- Water the seedlings: Water the seedlings thoroughly before transplanting to help loosen the soil around their roots and ease the removal from the current pots or trays.
- Gently remove the seedling: Carefully remove the seedling from its current pot by gently squeezing the sides and tipping it upside down. Support the seedling with your hand and ease it out of the pot, being mindful not to damage the delicate roots.
- Plant at the same level: Dig a hole in the new container or garden bed that is slightly larger than the root ball of the seedling. Place the seedling in the hole and ensure that the soil level remains the same as it was in the previous pot.
- Backfill and firm the soil: Fill the hole with soil, gently pressing it around the roots to eliminate air pockets. Firm the soil around the seedling, but take care not to compact it too tightly.
- Water thoroughly: After transplanting, give the seedlings a deep watering to help them settle into their new homes. Ensure the soil is evenly moist and water regularly as needed.
- Provide support (if necessary): If you have tall or heavy-fruited chilli varieties, consider using stakes or cages to provide support to prevent the plants from drooping or breaking as they grow.
- Continue care and maintenance: After transplanting, follow the same care and maintenance steps outlined in Step 4 to ensure the ongoing health and vigor of your chilli plants.
Transplanting your chilli seedlings is an optional step, but it can greatly benefit the plants by providing them with more room to grow and access to additional nutrients. It’s important to handle the delicate roots with care during the transplanting process to minimize stress and encourage successful establishment in their new homes.
Now that your chilli seedlings are transplanted, all that’s left to do is continue to nurture and care for your plants until they start producing an abundant harvest of delicious chilli peppers!
Congratulations on completing all the steps! You’re now well-equipped to have a successful chilli garden.
Conclusion
Congratulations on embarking on the journey of planting chilli seeds and growing your own fiery peppers! By following the steps outlined in this guide, you have gained the knowledge and skills needed to plant, nurture, and harvest your chilli plants like a pro.
Throughout the process, you learned the importance of gathering the necessary materials, preparing the seedlings, and planting them with care. You discovered the significance of providing proper care and maintenance, ensuring adequate water and sunlight, and protecting your plants from pests and diseases. Additionally, you explored the optional step of transplanting seedlings for optimal growth and the possibility of overwintering your chilli plants in cooler climates.
As you continue your chilli gardening journey, remember to observe your plants closely, adapting your care routine as needed. Each chilli variety has its own growth habits and preferred conditions, so pay attention to the specific requirements of the peppers you’re growing.
Experiment with different chilli varieties to explore a range of flavors and heat levels, and don’t be afraid to get creative in the kitchen with your homegrown peppers! Incorporate them into your favorite recipes, from soups and stews to salsas and hot sauces. The possibilities are endless when it comes to adding a kick to your culinary creations.
Remember, gardening is a journey of patience and learning. Embrace the joy of watching your chilli plants flourish from tiny seeds to vibrant bushes laden with peppers. Celebrate each successful harvest and learn from any setbacks you encounter.
Now, armed with your newfound knowledge of planting chilli seeds, go forth and create your own spicy garden oasis, delighting your taste buds and impressing friends and family with your homegrown produce. Happy gardening, and enjoy the flavor-filled journey!
Frequently Asked Questions about How To Plant Chilli Seeds
Was this page helpful?
At Storables.com, we guarantee accurate and reliable information. Our content, validated by Expert Board Contributors, is crafted following stringent Editorial Policies. We're committed to providing you with well-researched, expert-backed insights for all your informational needs.


0 thoughts on “How To Plant Chilli Seeds”