Home>Garden Essentials>How To Plant Four O’clock Seeds


Garden Essentials
How To Plant Four O’clock Seeds
Modified: May 6, 2024
Learn how to plant 4 o'clock seeds and create a beautiful garden with our step-by-step guide. Transform your outdoor space with these easy-to-grow flowers!
(Many of the links in this article redirect to a specific reviewed product. Your purchase of these products through affiliate links helps to generate commission for Storables.com, at no extra cost. Learn more)
Introduction
Welcome to the fascinating world of gardening! If you’re looking to add a touch of beauty and charm to your outdoor space, planting 4 O’clock seeds is a fantastic choice. These vibrant and fragrant flowers, scientifically known as Mirabilis jalapa, are sure to captivate your senses and create a stunning display in your garden.
Whether you’re a seasoned gardener or just starting out, this comprehensive guide will equip you with all the knowledge and tips you need to successfully plant and care for 4 O’clock seeds. From understanding the benefits of these flowers to learning about the ideal planting conditions, we’ll cover it all.
So, let’s dive in and discover the wonders of 4 O’clock seeds!
Key Takeaways:
- Planting 4 O’clock seeds can add vibrant colors and delightful fragrance to your garden. Remember to provide full sunlight, well-draining soil, and warm temperatures for successful growth.
- After planting, care for your 4 O’clock plants by establishing a regular watering schedule, using mulch, and practicing pruning and deadheading. Harvest and store seeds for future plantings to enjoy these beautiful flowers year after year.
Read more: When To Plant Four O’clock Seeds
Understanding 4 O’clock Seeds
Before you start planting 4 O’clock seeds, it’s important to have a good understanding of what they are and the benefits they offer. Let’s delve into the world of 4 O’clock seeds to get a better grasp of their characteristics and advantages.
What are 4 O’clock seeds?
4 O’clock seeds are the tiny, oval-shaped structures that contain the genetic material necessary for the growth and development of 4 O’clock plants. These seeds are usually dark brown in color and have a tough outer shell that protects the embryo.
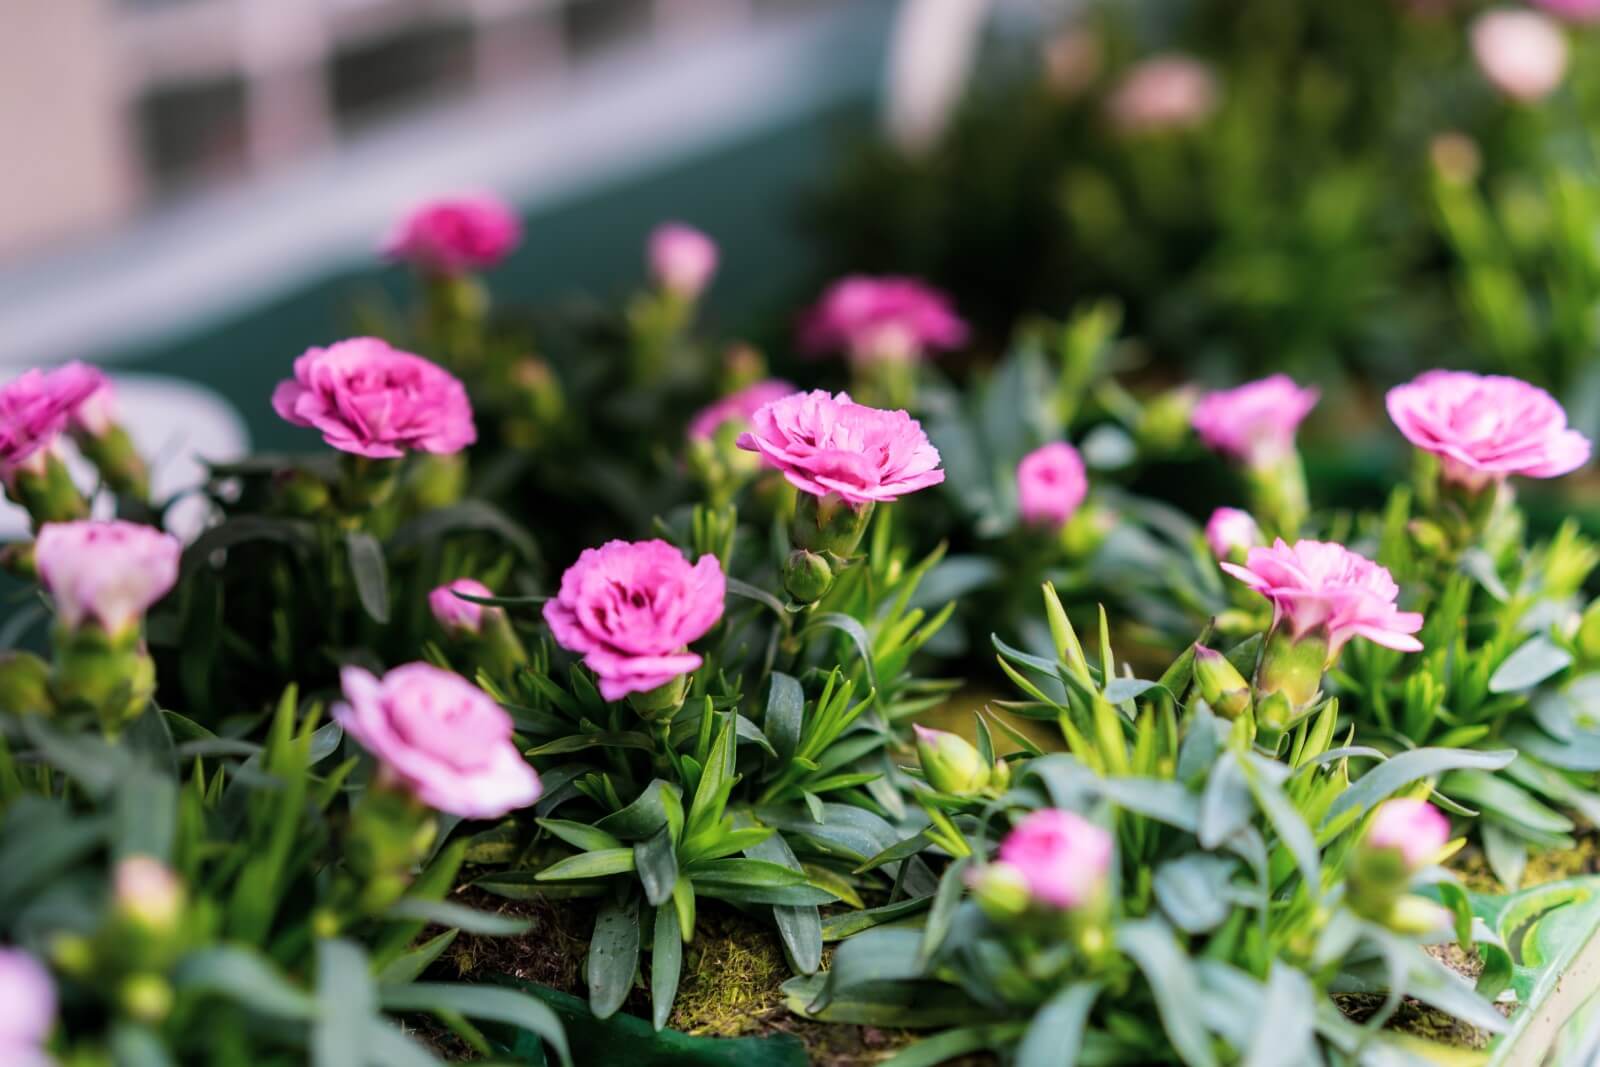
The 4 O’clock flower, scientifically known as Mirabilis jalapa, is an annual plant that showcases beautiful trumpet-shaped blossoms. These flowers come in a wide range of vibrant colors, including pink, red, yellow, white, and more. They are aptly named “4 O’clock” because they typically open their blooms in the late afternoon, around 4 o’clock.
Benefits of planting 4 O’clock seeds
There are several benefits to planting 4 O’clock seeds in your garden. Firstly, these flowers are incredibly fragrant, making them a perfect choice for areas where you’d like to enjoy their delightful scent. Their strong, sweet fragrance attracts pollinators such as butterflies, bees, and hummingbirds, enhancing the biodiversity of your garden and promoting a healthy ecosystem.
Additionally, 4 O’clock plants are highly versatile and can be grown in various settings. Whether you have a small balcony, a spacious backyard, or even a sprawling garden, these flowers can thrive and add a pop of color to any space. They are also well-suited for borders, containers, and even as part of a mixed flower bed.
Understanding the ideal conditions for planting
For successful growth and development, 4 O’clock seeds require certain ideal conditions. These include:
- Sunlight: 4 O’clock plants thrive in full sunlight, so it’s important to choose a location that receives at least 6 to 8 hours of direct sunlight each day.
- Soil: These flowers prefer well-draining soil with a pH level between 6.0 and 7.0. Prior to planting, ensure that the soil is enriched with organic matter and is free from any clumps or debris.
- Temperature: 4 O’clock seeds require warm temperatures to germinate and grow. The ideal temperature range for planting is between 70°F and 85°F (21°C and 29°C).
- Watering: While 4 O’clock plants are relatively drought-tolerant, they still require regular watering to thrive. Keep the soil moist but not waterlogged, as excessive moisture can lead to root rot.
By providing these optimal conditions, you’ll give your 4 O’clock seeds the best chance to flourish and create a stunning display in your garden.
Read more: What Is Four-Crop Rotation?
Preparing for Planting
Before you start planting your 4 O’clock seeds, it’s important to prepare the ground and gather the necessary tools and materials. By taking these steps, you’ll set the stage for successful growth and ensure that your plants have everything they need to thrive. Let’s explore the key aspects of preparing for planting.
Choosing the right location
When selecting a location for your 4 O’clock seeds, consider the amount of sunlight the area receives. These plants thrive in full sunlight, so it’s best to choose a spot that receives at least 6 to 8 hours of direct sunlight daily. Avoid areas with excessive shade, as this can hinder the growth and blooming of your 4 O’clock plants.
In addition to sunlight, consider the space available for your plants to grow. 4 O’clock plants can reach a height of 2 to 3 feet and spread up to 2 feet wide, so ensure that there is enough room for them to flourish without overcrowding other nearby plants.
Soil preparation
Proper soil preparation is crucial for the healthy growth of 4 O’clock plants. Start by clearing the area of any weeds, rocks, or debris that may hinder the growth of your seeds. Loosen the soil using a garden fork or tiller, breaking up any clumps and creating a smooth and workable texture.
Next, enrich the soil with organic matter such as compost or well-rotted manure. This will improve the soil’s fertility, drainage, and overall texture. Spread a 2 to 3-inch layer of organic matter over the planting area and mix it into the soil using a garden rake or hoe.
Gathering necessary tools and materials
Before you start planting, gather all the necessary tools and materials to ensure a smooth and efficient process. Some tools you may need include:
- Garden spade or shovel: Used for digging holes and preparing the soil.
- Garden rake or hoe: Used for leveling the soil and incorporating organic matter.
- Watering can or garden hose: Required for watering your seeds and plants.
- Measuring tape or ruler: Helpful for spacing your seeds and plants properly.
- Organic matter (compost, well-rotted manure): Used to enrich and improve soil quality.
Having these tools and materials on hand will make the planting process much easier and more efficient.
By choosing the right location, preparing the soil, and gathering the necessary tools and materials, you’ll be well-prepared to plant your 4 O’clock seeds and create a beautiful garden display. So let’s move on to the next step – planting the seeds!
Planting 4 O’clock Seeds
Now that you’ve prepared the ground and gathered the necessary tools, it’s time to plant your 4 O’clock seeds. This step is crucial in setting the foundation for beautiful and healthy plants. Let’s explore the key aspects of planting 4 O’clock seeds.
Sowing the seeds
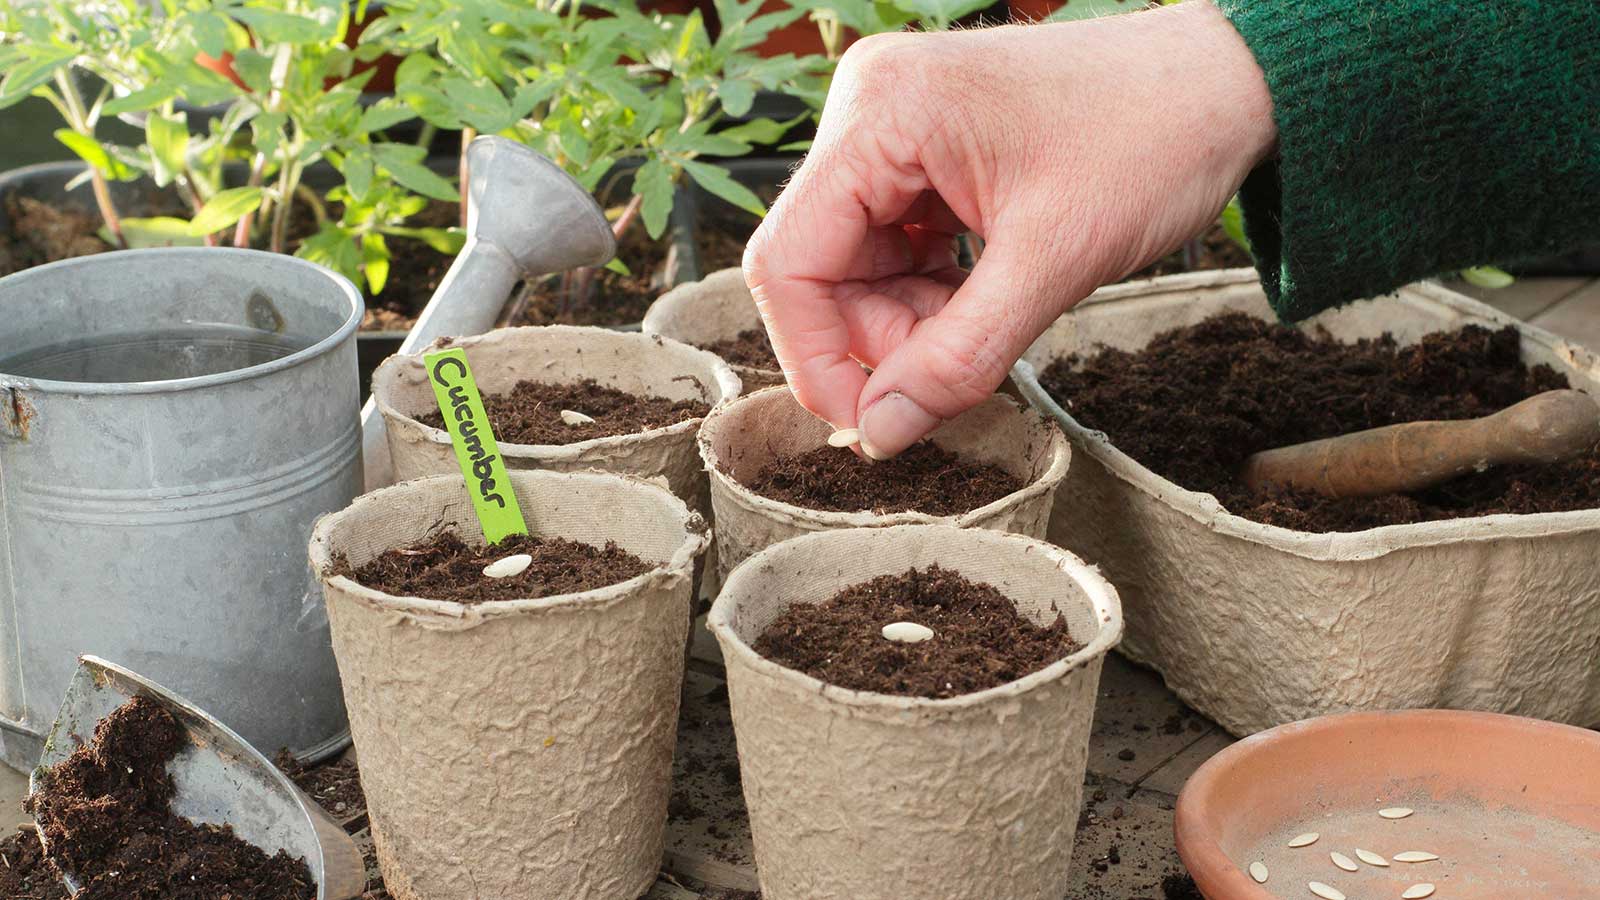
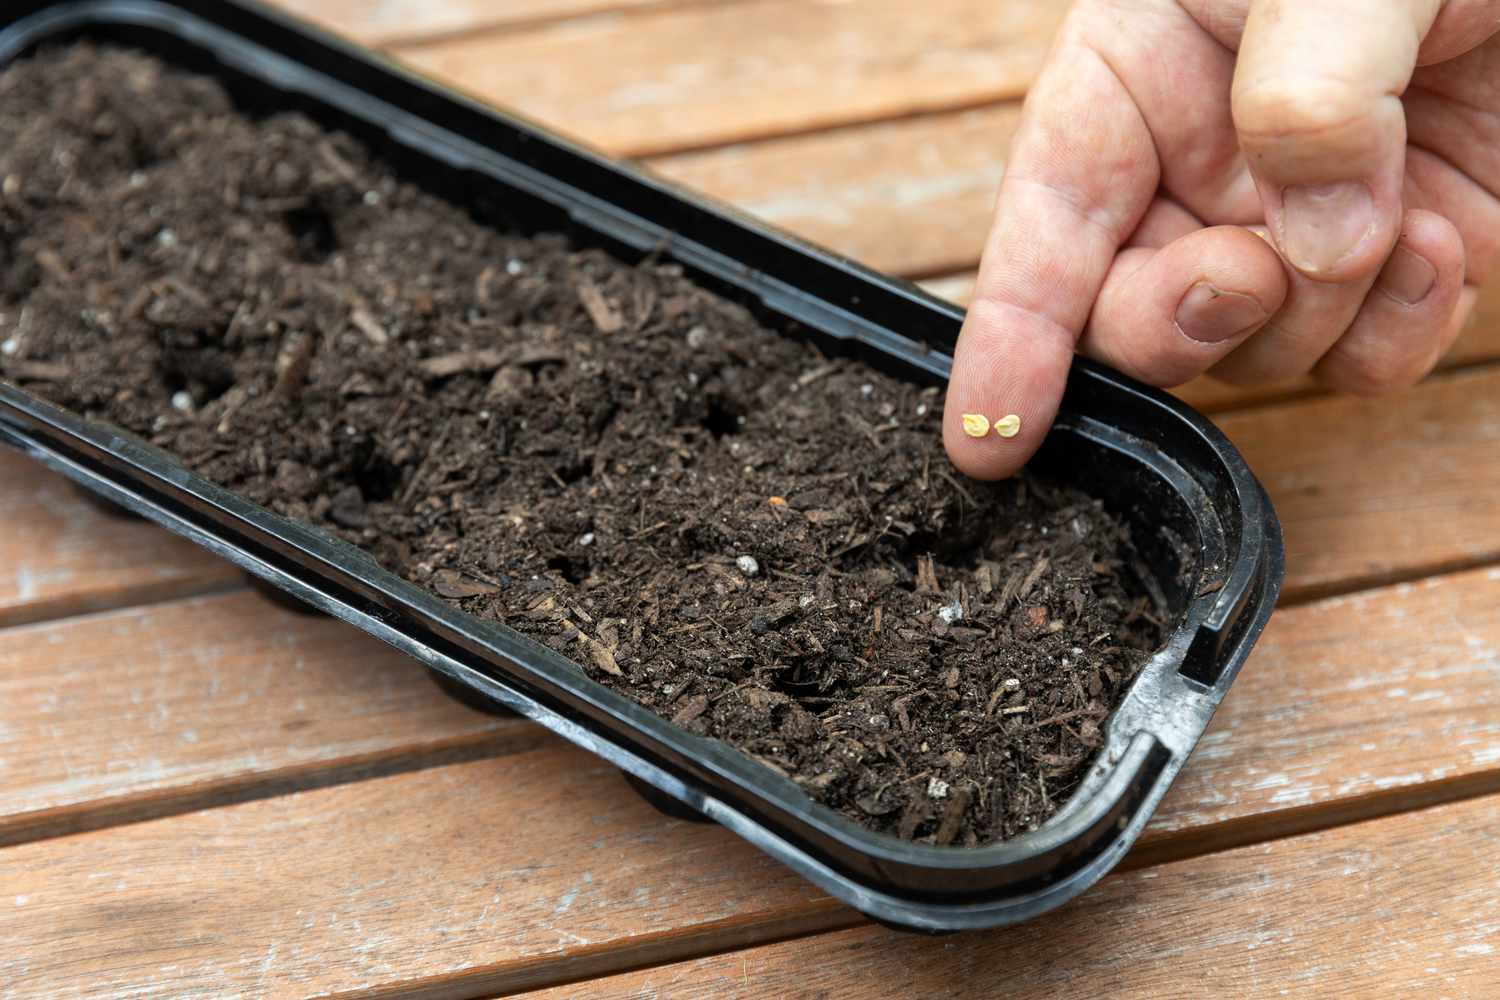
Start by digging small holes in the prepared soil. The holes should be around 1 inch deep and spaced about 12 to 18 inches apart. Place one 4 O’clock seed in each hole, and then cover the seeds with soil. Lightly firm down the soil to ensure good seed-to-soil contact.
Alternatively, you can sow your 4 O’clock seeds directly in the garden by sprinkling them over the prepared soil and then covering them with a thin layer of soil. This method allows for more natural spacing and requires less transplanting.
Proper spacing and depth
Proper spacing is crucial for the healthy growth and development of your 4 O’clock plants. Providing adequate space ensures that each plant receives enough sunlight, water, and nutrients to thrive. Space the seeds or seedlings about 12 to 18 inches apart to allow room for their spreading growth habit.
As for the depth, plant the seeds at a depth of around 1 inch. This will provide them with the necessary protection while still allowing them to sprout and emerge from the soil.
Watering
After planting your 4 O’clock seeds, it’s important to water them thoroughly. Use a gentle spray or watering can to moisten the soil, being careful not to displace the seeds or cause soil erosion. Keep the soil consistently moist but not waterlogged, as excessive moisture can lead to rotting or damping-off of the seeds.
During the germination period, which typically takes about 1 to 2 weeks, it’s important to maintain adequate moisture in the soil. However, once the seedlings have emerged, you can reduce the frequency of watering and switch to a deeper but less frequent watering schedule.
Adding fertilizer (if needed)
4 O’clock plants are generally not heavy feeders and can thrive in moderately fertile soil. However, if your soil lacks essential nutrients, you can apply a balanced fertilizer during the growing season. Use a slow-release granular fertilizer, following the instructions on the package for the correct application rate.
It’s important to note that excessive amounts of nitrogen can lead to lush foliage growth at the expense of flower production. Therefore, opt for a balanced fertilizer with equal or lower nitrogen content compared to phosphorus and potassium.
Remember to water your plants after fertilizing to ensure the nutrients are properly absorbed by the roots.
By sowing the seeds at the proper depth and spacing, watering them adequately, and providing optional fertilizer, you’ll give your 4 O’clock seeds the best chance to germinate and thrive. Now, let’s move on to the next step – caring for your 4 O’clock plants!
Caring for 4 O’clock Plants
Now that you’ve successfully planted your 4 O’clock seeds, it’s important to provide proper care to ensure the health and vitality of your plants. Let’s explore the essential aspects of caring for 4 O’clock plants.
Watering Schedule
Establishing a regular watering schedule is vital for the optimal growth and development of your 4 O’clock plants. These flowers require consistent moisture, so it’s important to keep the soil evenly moist, especially during hot and dry weather.
Water your 4 O’clock plants deeply, providing enough water to saturate the root zone. Aim to water them at least once a week, or more frequently if the weather is particularly dry. Allow the soil to dry out slightly between waterings to prevent waterlogging, which can lead to root rot.
Mulching
Applying a layer of mulch around your 4 O’clock plants offers numerous benefits. Mulch helps to retain moisture in the soil, reducing the frequency of watering and preventing excessive evaporation. It also helps to suppress weed growth, keeping your plants free from competition for nutrients and water.
Spread a layer of organic mulch, such as wood chips or straw, around the base of your 4 O’clock plants, taking care not to bury the stems. Aim for about 2 to 3 inches of mulch, ensuring it doesn’t touch the plant stems directly. Mulching also adds organic matter to the soil as it breaks down, improving soil structure and fertility over time.
Pruning and Deadheading
To keep your 4 O’clock plants looking their best and encourage continuous blooming, regular pruning and deadheading are important tasks.
Prune your plants as needed throughout the growing season to maintain their shape and prevent overgrowth. Trim back any damaged or dead foliage, and remove any weak or crowded stems to improve airflow and prevent disease. You can also pinch back the tips of the plants to encourage bushier growth and more compact flowering.
Deadheading, or removing spent flowers, is essential to promote prolonged blooming. As the flowers fade and wither, snip them off just above a set of healthy leaves or new buds. This will redirect energy into producing new blooms rather than seed production.
Dealing with Pests and Diseases
Like any garden plants, 4 O’clocks are susceptible to pests and diseases. Here are some common issues and how to deal with them:
- Aphids: These small, soft-bodied insects can cluster on the foliage and suck sap from the plants. Spray your plants with a strong stream of water to dislodge them, or use insecticidal soap if the infestation becomes severe.
- Spider mites: These tiny pests can cause yellowing or stippling on the leaves. Regularly misting your plants with water can help deter spider mites, as they prefer dry conditions. If an infestation occurs, treat with insecticidal soap or a horticultural oil spray.
- Fungal diseases: 4 O’clock plants can be susceptible to fungal diseases such as powdery mildew or leaf spot. Maintain proper spacing between plants to encourage airflow, water at the base of the plants to prevent wet foliage, and apply a fungicide if necessary.
By following these care guidelines and promptly addressing any pest or disease issues, you’ll ensure that your 4 O’clock plants remain healthy and vibrant throughout the growing season.
With proper watering, mulching, pruning, and pest management, your 4 O’clock plants will reward you with stunning blooms and a vibrant garden display. Now, let’s move on to the next step – harvesting and storing 4 O’clock seeds!
Harvesting and Storing 4 O’clock Seeds
As the growing season comes to a close, you have the opportunity to harvest and collect 4 O’clock seeds for future planting. Harvesting and properly storing seeds ensures that you can enjoy these beautiful flowers year after year. Let’s explore the process of harvesting and storing 4 O’clock seeds.
Identifying when seeds are ready for harvest
4 O’clock seeds can be harvested once the flowers have fully bloomed and started to fade. One indication that the seeds are ready is when the flower head starts to dry and turn brown. The seeds will be mature and ready for harvest inside the dried flower head.
Gently squeeze the dried flower head between your fingers. If it feels dry and brittle, it’s a good indication that the seeds are mature. You might also notice that the seeds have turned from green to brown or black, another sign of maturity.
Proper seed collection and storage techniques
To collect the 4 O’clock seeds, start by cutting off the dried flower heads using pruning shears or scissors. Place the flower heads in a paper bag to allow further drying and seed release.
Once the flower heads are completely dry, shake them gently inside the bag to release the seeds. Empty the contents of the bag onto a clean, dry surface and separate the seeds from any debris or plant material.
Store your collected seeds in a cool, dry place. Airtight containers such as glass jars or seed envelopes are ideal for seed storage. Be sure to label the container with the seed variety and harvest date for future reference.
It’s important to note that 4 O’clock seeds have a relatively short viability, usually lasting for about 1 to 2 years. To extend their shelf life, you can store the seeds in the refrigerator or freezer, which provides a cooler and more stable environment.
Before storing the seeds, ensure they are completely dry to prevent mold or rot. You can further ensure dryness by placing a desiccant packet or a few grains of rice inside the container to absorb any moisture.
When stored properly, your 4 O’clock seeds will remain viable and ready for planting in the next growing season.
By following these harvesting and storing techniques, you can create a seed bank of 4 O’clock seeds, allowing you to enjoy these beautiful flowers for years to come. Now, armed with this knowledge, you’re ready to embark on your journey of planting and growing 4 O’clocks!
Conclusion
Congratulations on completing this comprehensive guide to planting and caring for 4 O’clock seeds! By now, you have gained valuable knowledge about these beautiful flowers and how to cultivate them in your garden. Let’s recap what we’ve covered in this article.
We started by understanding what 4 O’clock seeds are and the benefits they offer. From their vibrant colors to their delightful fragrance, these flowers add charm and visual appeal to any outdoor space. We also discussed the ideal conditions for planting, including the importance of sunlight, soil quality, and temperature.
Next, we delved into the necessary steps to prepare for planting. From choosing the right location to preparing the soil and gathering the essential tools, we ensured that you were well-equipped for success. We then explored the process of sowing the seeds, proper spacing and depth, watering techniques, and the option of adding fertilizer if needed.
As your 4 O’clock plants grow, we highlighted the importance of caring for them. Establishing a regular watering schedule, using mulch to conserve moisture and suppress weeds, and practicing pruning and deadheading techniques are all crucial for maintaining healthy plants. We also discussed common pests and diseases to watch out for, offering suggestions on how to deal with them effectively.
Finally, we explored the rewarding process of harvesting and storing 4 O’clock seeds. By identifying when the seeds are ready for harvest, properly collecting and cleaning them, and storing them in optimal conditions, you can ensure a steady supply for future plantings.
As you embark on your gardening journey with 4 O’clock seeds, remember to combine your knowledge with your creativity and passion. Experiment with different colors, companion planting, and garden design to create a unique and stunning display.
Now, armed with all this information, it’s time to put your green thumb to work and create a beautiful garden filled with 4 O’clock blooms. Enjoy the process, embrace the wonders of nature, and relish in the satisfaction of watching your 4 O’clock plants grow and flourish.
Happy gardening!
Now that you've mastered planting Four O'clock seeds, why not spruce up your garden's boundaries with some creative enclosures? For ideas that blend functionality and style, check out our collection of garden fence inspirations. Once your garden's looking sharp, you might wonder about the cost of expanding your floral display. We've got a handy guide on flower seed prices that will help keep your budget in check. And if space is limited, don't worry—our tips for planting in window boxes will show you how to beautify even the smallest spots.
Frequently Asked Questions about How To Plant Four O'clock Seeds
Was this page helpful?
At Storables.com, we guarantee accurate and reliable information. Our content, validated by Expert Board Contributors, is crafted following stringent Editorial Policies. We're committed to providing you with well-researched, expert-backed insights for all your informational needs.







0 thoughts on “How To Plant Four O’clock Seeds”