Home>Home Maintenance>How To Install A Kitchen Ventilation System
Home Maintenance
How To Install A Kitchen Ventilation System
Modified: March 6, 2024
Learn how to install a kitchen ventilation system in your home with this comprehensive guide. Improve air quality and eliminate odors with proper home maintenance.
(Many of the links in this article redirect to a specific reviewed product. Your purchase of these products through affiliate links helps to generate commission for Storables.com, at no extra cost. Learn more)
Introduction
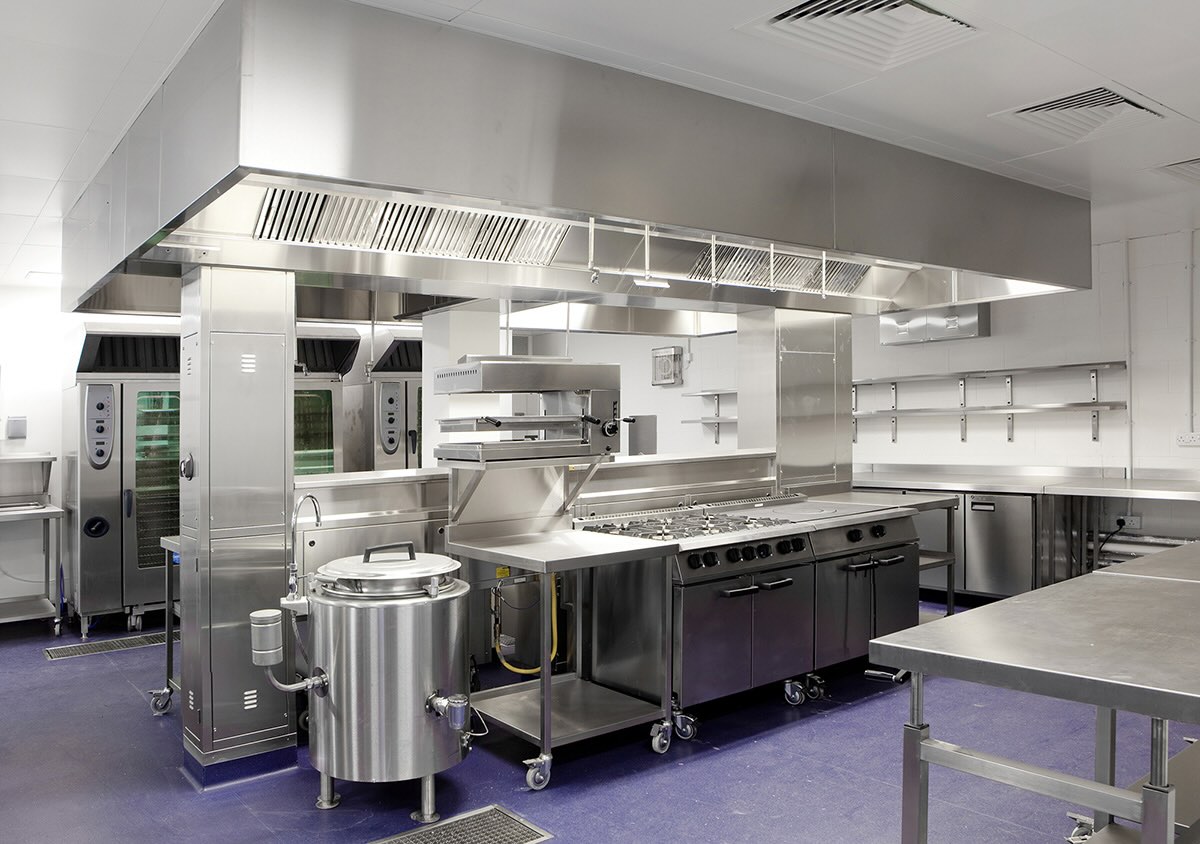
Welcome to this comprehensive guide on how to install a kitchen ventilation system. A kitchen ventilation system plays a crucial role in maintaining a clean and healthy environment in your kitchen. It helps to remove cooking odors, smoke, and airborne grease particles that can accumulate and impact the air quality in your home.
Proper ventilation is essential not only for keeping your kitchen smelling fresh, but also for preventing the buildup of harmful pollutants that can affect your health. In addition, a well-installed ventilation system can help to prevent moisture damage, reduce the risk of kitchen fires, and prolong the lifespan of your appliances.
In this guide, we will take you through the step-by-step process of installing a kitchen ventilation system. Whether you are replacing an existing system or installing a new one, this article will provide you with the necessary information to get the job done right.
Before we dive into the installation process, it is important to determine your ventilation needs. Every kitchen is unique, and the size, layout, and cooking habits should be taken into consideration when selecting the appropriate ventilation system.
Now, let’s gather the necessary materials and tools required to install your kitchen ventilation system.
Key Takeaways:
- Proper ventilation is crucial for a clean and healthy kitchen. Consider kitchen size, cooking habits, and stove location when choosing a ventilation system to effectively remove odors and smoke.
- Installing a kitchen ventilation system involves measuring, ductwork installation, fan mounting, and testing. Regular maintenance ensures efficient operation for a fresh-smelling kitchen.
Read more: How To Install ZLINE Range Hood
Step 1: Determine the Ventilation Needs
Before jumping into the installation process, it’s important to assess your kitchen’s ventilation needs. This will help you choose the right type and size of ventilation system. Here are a few factors to consider:
- Kitchen Size: The size of your kitchen will determine the airflow requirements. Larger kitchens may require more powerful ventilation systems to effectively remove cooking odors and smoke.
- Cooking Habits: If you frequently cook foods that produce a lot of steam, smoke, or strong odors, you will need a ventilation system with higher extraction power.
- Location of Stove: The position of your stove, whether it is against a wall or located on an island, will impact the design and placement of the ventilation system.
- Existing Ductwork: If you have existing ductwork in your kitchen, you may have limitations on the type of ventilation system you can install. Determine if you have a ducted or ductless setup.
Once you have assessed your ventilation needs, it’s time to gather the materials and tools required for the installation.
Step 2: Gather the Materials and Tools Required
Before you begin installing your kitchen ventilation system, it’s important to gather all the necessary materials and tools. Having everything on hand will make the installation process smoother and more efficient.
Here is a list of materials and tools you will need:
Materials:
- Ventilation system (hood or range hood)
- Ductwork (if required)
- Ducting accessories (duct tape, clamps, connectors)
- Screws or brackets
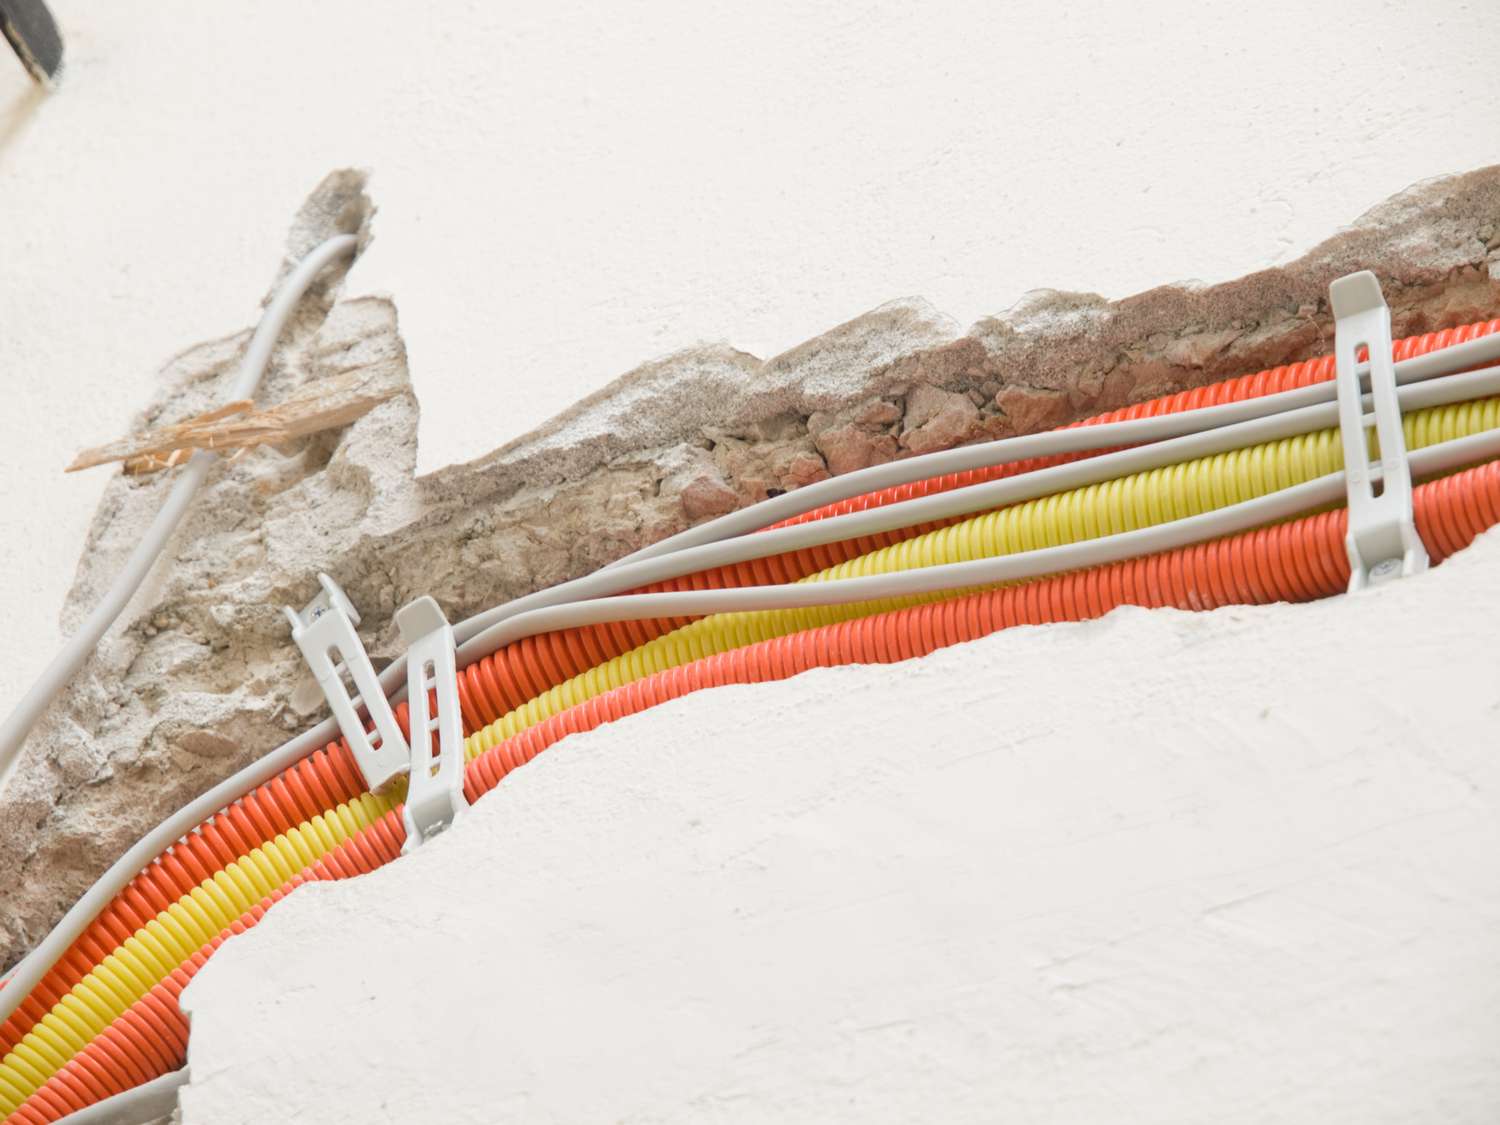
- Electrical wiring
- Drywall or plywood (if needed for support)
Tools:
- Power drill
- Measuring tape
- Pencil or marker
- Screwdriver
- Adjustable wrench
- Level
- Hacksaw or tin snips (for cutting ductwork)
- Wire cutters/strippers
- Electrical tester
It’s important to use the correct materials and tools to ensure a proper and safe installation. If you are unsure about any specific requirements, consult the manufacturer’s instructions or consider seeking professional assistance.
Once you have gathered all the necessary materials and tools, you are ready to move on to the next step: choosing the type of ventilation system.
Step 3: Choose the Type of Ventilation System
Choosing the right type of ventilation system for your kitchen is crucial for effective air purification and odor removal. There are several options available, each with its own features and capabilities. Here are the main types of ventilation systems to consider:
- Under Cabinet Range Hoods: These ventilation systems are mounted beneath the upper cabinets above your stove. They are a popular choice for smaller kitchens and provide effective ventilation by capturing and removing smoke, steam, and odors.
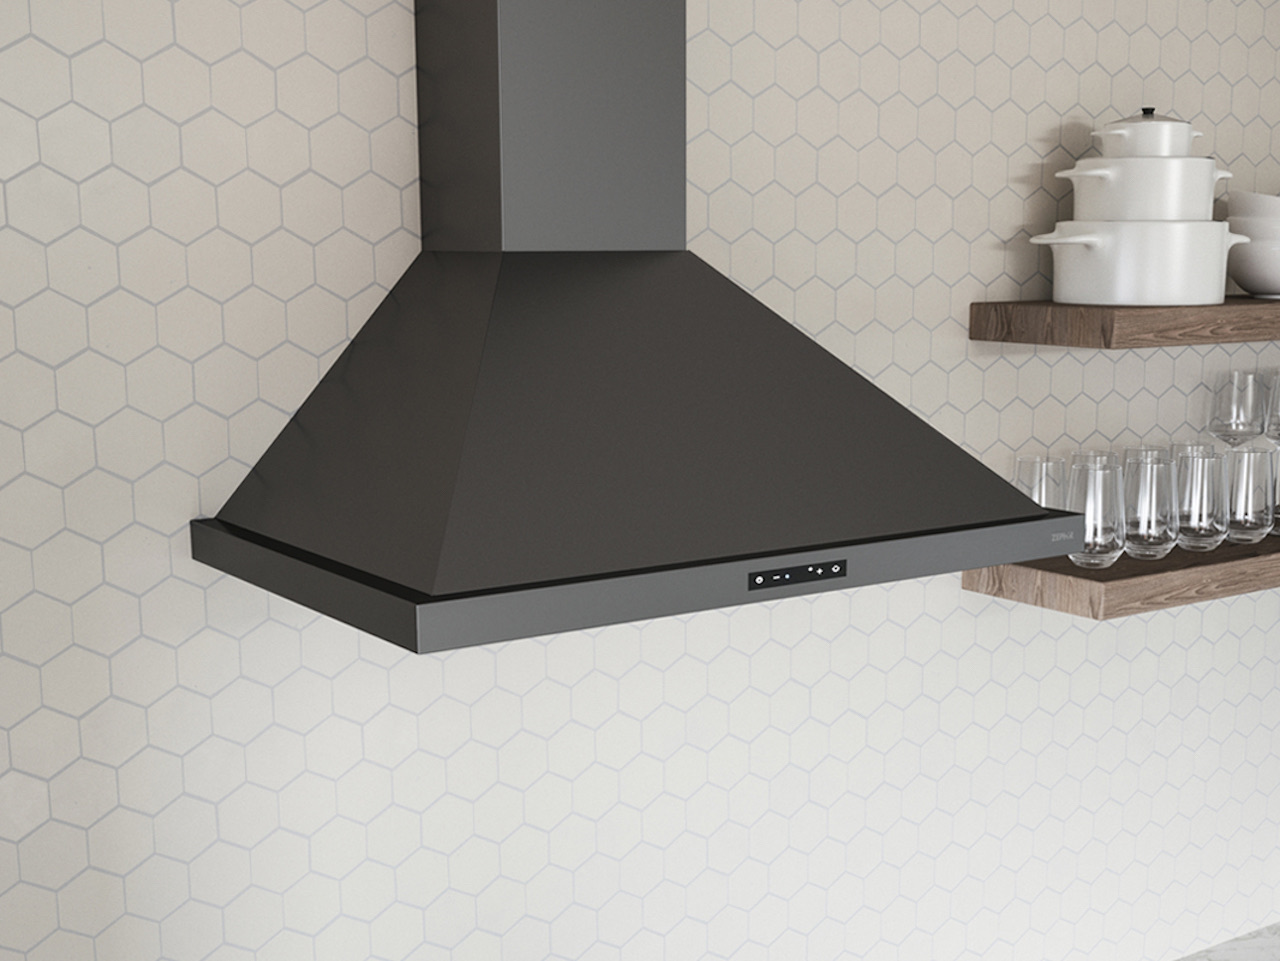
- Wall-Mounted Range Hoods: As the name suggests, these hoods are installed on the wall above your cooking area. They are often larger and more powerful, making them suitable for larger kitchens or for those who do a lot of high-heat cooking.
- Island Range Hoods: If your stove is located on an island in your kitchen, an island range hood is the perfect choice. These hoods are suspended from the ceiling and vented through the ductwork above, effectively removing smoke and odors.
- Downdraft Ventilation: A downdraft ventilation system is a good option if you don’t want a hood obstructing your kitchen’s sightlines. This system is installed behind your cooktop and draws steam and odors downward through ducts under the floor.
- Ductless Range Hoods: If your kitchen doesn’t have existing ductwork or if installing new ducts is not feasible, a ductless range hood is a convenient option. These hoods use filters to trap grease and odors before recirculating the air back into the kitchen.
Consider factors such as your kitchen layout, cooking habits, and ventilation needs when making your selection. Once you have chosen the type of ventilation system, proceed to the next step: measuring and marking the installation area.
Step 4: Measure and Mark the Installation Area
It’s important to measure and mark the installation area to ensure proper placement and alignment of your kitchen ventilation system. This step will help prevent any mistakes or miscalculations during the installation process. Here’s how to do it:
- Start by locating the center of your cooktop or stove. This will be the reference point for positioning the ventilation system.
- Measure the width of your cooktop or stove. This will determine the width of the ventilation system you need to install.
- Next, measure the height from the cooktop surface to the bottom of the overhead cabinets. This will help you determine the appropriate clearance needed for your ventilation system.
- Use a measuring tape and a pencil or marker to mark the center point and the width of the installation area on the wall or ceiling.
- Take into consideration any obstructions such as cabinets, shelves, or windows that may impact the installation. Make sure to provide enough space for the ventilation system to fit properly.
- Use a level to ensure that the installation area is straight and aligned.
Once you have measured and marked the installation area, you can proceed to the next step: installing the ductwork.
Remember, accurate measurements and markings are crucial for a successful installation. Take your time with this step to ensure proper alignment and functionality of your kitchen ventilation system.
Read more: How To Install A Vissani Range Hood
Step 5: Install the Ductwork
Installing the ductwork is an essential step in setting up your kitchen ventilation system. The ductwork is responsible for directing the air flow from the ventilation system to the outside of your home. Here’s how you can install the ductwork:
- Start by determining the path the ductwork will take from the ventilation system to the exterior of your home. This may involve cutting through walls or cabinets.
- Measure the length of the ductwork needed to connect the ventilation system to the outside. Ensure that the ductwork is the appropriate size and type for your system.
- Use a hacksaw or tin snips to cut the ductwork to the required length. Make clean, straight cuts to ensure a snug and secure fit.
- If you have existing ductwork, ensure that it is clean and free of debris. If necessary, clean or replace any damaged sections.
- Install the ductwork by connecting the sections using duct tape, clamps, or connectors. Ensure a tight seal to prevent air leakage.
- If the ductwork needs to pass through walls or cabinets, use a hole saw or reciprocating saw to create the necessary openings. Be careful to avoid any electrical wires or plumbing lines.
- Secure the ductwork in place using screws or brackets. This will prevent it from shifting or coming loose over time.
It’s important to follow the manufacturer’s instructions and any local building codes when installing the ductwork. Proper installation will ensure efficient air flow and effective removal of smoke and odors from your kitchen.
Once the ductwork is in place, you can proceed to the next step: installing the ventilation fan.
When installing a kitchen ventilation system, make sure to carefully measure and plan the placement of the vent hood to ensure it effectively removes cooking odors and smoke.
Step 6: Install the Ventilation Fan
Installing the ventilation fan is a crucial step in setting up your kitchen ventilation system. The fan is responsible for drawing in the air, filtering out impurities, and directing it through the ductwork to the exterior of your home. Here’s how you can install the ventilation fan:
- Begin by locating the installation area for the ventilation fan. This is typically the designated spot on the wall or ceiling that you marked earlier.
- Attach the necessary brackets or mounting hardware to the fan according to the manufacturer’s instructions. These will secure the fan in place.
- Carefully position the fan in the installation area, ensuring that it is centered and aligned properly.
- Use a power drill and screws to secure the fan to the wall or ceiling. Make sure it is securely fastened and stable.
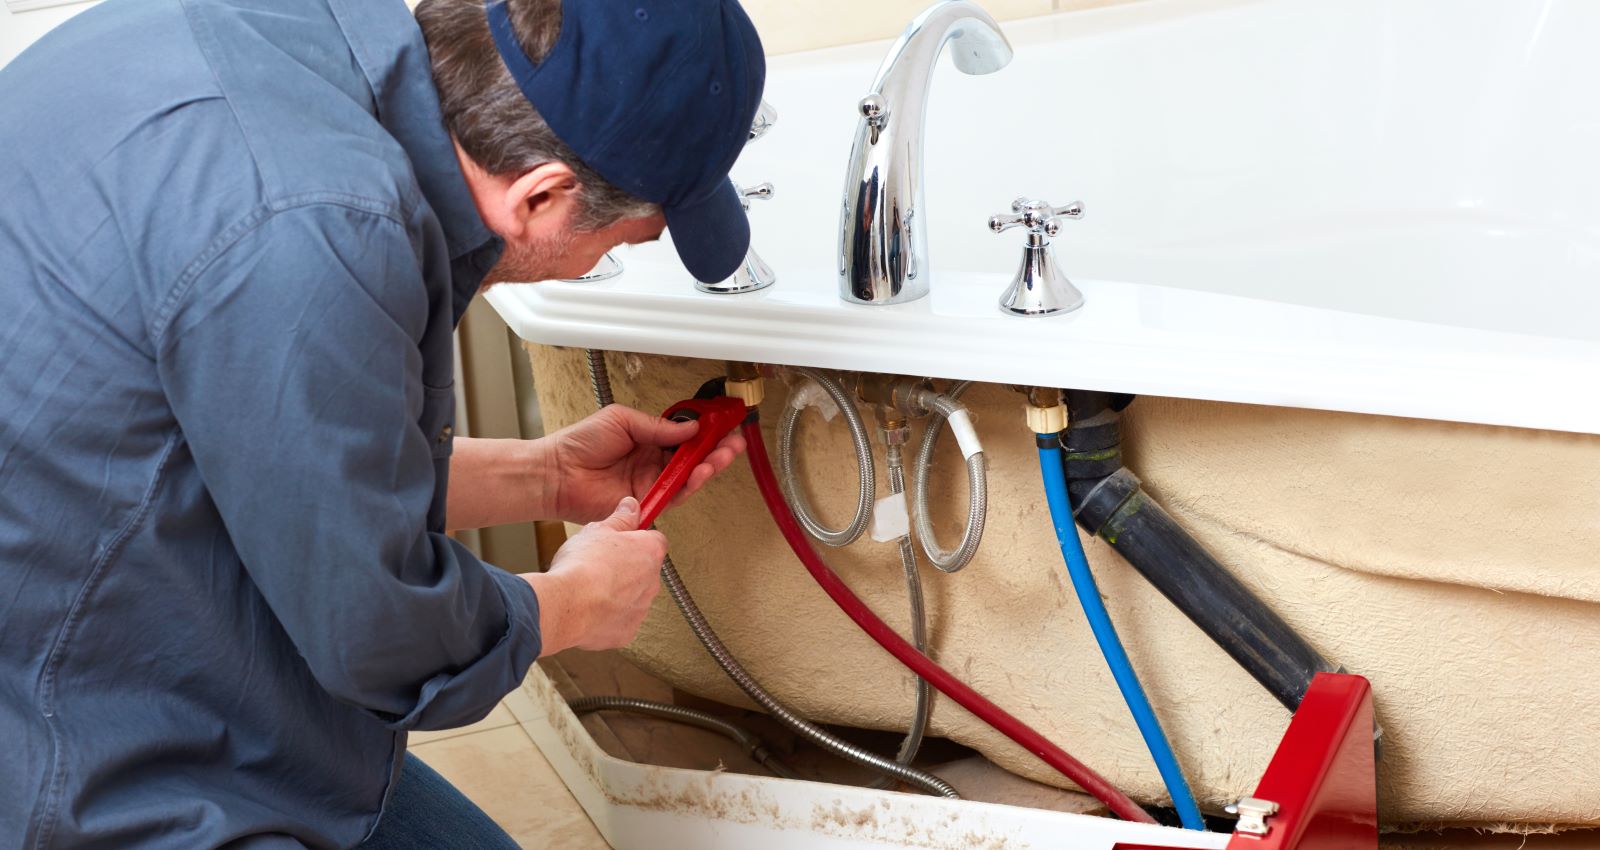
- Connect the electrical wiring to the fan according to the manufacturer’s instructions. If you are not familiar with electrical work, it is recommended to hire a professional electrician for this step.
- Ensure that all connections are tight and secure, and tuck any excess wiring neatly into the electrical box.
- Double-check that the fan is securely mounted and properly aligned. Adjust if necessary.
It’s important to follow the manufacturer’s instructions and any local electrical codes when installing the ventilation fan. Safety is paramount when working with electrical components, so if you are unsure, seek professional assistance.
Once the ventilation fan is installed, you can move on to the next step: connecting the ductwork to the fan.
Step 7: Connect the Ductwork and Ventilation Fan
Connecting the ductwork to the ventilation fan is a critical step in completing the installation of your kitchen ventilation system. This step ensures that the air from your kitchen is properly directed through the ducts and expelled outside. Here’s what you need to do:
- Before connecting the ductwork, ensure that the fan and the ducts are clean and free from any debris or obstruction.
- Verify the size of the duct opening on the ventilation fan and the corresponding size of your ductwork. This ensures a proper fit and efficient air flow.
- If necessary, use duct tape, clamps, or connectors to attach the ductwork to the fan. Ensure a tight seal to prevent air leakage.
- For ducted systems, attach the appropriate ductwork to the outlet on the ventilation fan. Connect securely using clamps or connectors.
- For ductless systems, ensure that the ductless filters are correctly installed in the ventilation fan. Follow the manufacturer’s instructions for proper installation.
- Inspect the connections to ensure they are secure and properly aligned. Double-check for any potential air leaks.
- If required, use duct tape or insulation to cover any exposed areas or gaps around the connections to improve efficiency.
During this step, it is crucial to follow the manufacturer’s instructions and any local building codes to ensure a safe and effective connection between the ventilation fan and the ductwork. Properly connecting the ductwork ensures that the air is effectively directed out of your kitchen.
After connecting the ductwork and ventilation fan, you can move on to the next step: securing the ventilation system in place.
Step 8: Secure the Ventilation System in Place
Securing the ventilation system in place is an essential step to ensure stability and proper functioning of your kitchen ventilation system. This step involves securing both the ventilation fan and any associated ductwork. Here’s how you can do it:
- Start by checking the ventilation fan to ensure it is securely mounted on the wall or ceiling. Tighten any screws or brackets if necessary.
- Inspect the ductwork connections to ensure they are tight and secure. Check for any signs of air leakage or loosening connections.
- If your ventilation system includes a range hood or hood cover, ensure that it is properly attached and aligned.
- If additional support is required for your ventilation system, such as for longer duct runs, use screws or brackets to secure the ductwork in place.
- Check that all connections are aligned and straight to promote efficient airflow. Make any necessary adjustments or corrections.
- Once you are satisfied with the placement and alignment, use a level to ensure that the ventilation system is straight and balanced.
Properly securing your kitchen ventilation system is important to prevent any movement or shifting, which can compromise the system’s effectiveness and potentially cause damage. It also ensures that the system remains in place during regular use.
After securing the ventilation system, you are ready for the final step: testing the system and making any necessary adjustments.
Read more: How To Install Broan Range Hood
Step 9: Test the System and Make Adjustments
Testing the kitchen ventilation system is the final step in the installation process. This step allows you to ensure that everything is functioning properly and make any necessary adjustments for optimal performance. Here’s how to test your system:
- Turn on the ventilation fan and check if it is operating smoothly and quietly. Listen for any unusual noises that could indicate a problem.
- Observe the airflow coming from the ventilation system. It should be strong and consistent, effectively pulling in the air from the cooking area.
- Light a candle or use a smoke test to check if the ventilation system effectively removes smoke from the cooking area. The smoke should be drawn towards the ventilation system and expelled outside.
- Monitor the ventilation system during different cooking activities, such as boiling water or frying, to ensure that it effectively removes steam and cooking odors.
- Check for any signs of air leakage around the ductwork connections or the ventilation fan. If there are leaks, use duct tape or additional sealing materials to fix them.
- Make any necessary adjustments to improve the system’s performance. This can include changing the fan speed, adjusting the position of the hood or range hood, or adding additional filters for better air purification.
It’s important to regularly maintain and clean your kitchen ventilation system to ensure its continued efficiency and effectiveness. Refer to the manufacturer’s instructions for specific maintenance requirements. Regularly clean or replace filters, remove grease buildup, and inspect the ventilation system for any signs of wear or damage.
By testing and making any needed adjustments, you will ensure that your kitchen ventilation system is fully operational and providing a clean and healthy environment for your cooking activities.
Congratulations! You have successfully completed the installation of your kitchen ventilation system. Enjoy the benefits of improved air quality and a fresh-smelling kitchen.
Remember, if you are unsure about any aspect of the installation process, it is always recommended to consult a professional for assistance.
Conclusion
Installing a kitchen ventilation system is a crucial step in maintaining a clean, healthy, and odor-free environment in your home. A properly installed ventilation system helps remove cooking odors, smoke, and airborne grease particles, improving the air quality in your kitchen and promoting a comfortable cooking experience.
In this comprehensive guide, we covered the step-by-step process of installing a kitchen ventilation system:
- Determining your ventilation needs based on kitchen size, cooking habits, and stove location.
- Gathering the necessary materials and tools, including the ventilation system, ductwork, and electrical wiring.
- Choosing the right type of ventilation system for your kitchen, such as under cabinet range hoods, wall-mounted range hoods, or island range hoods.
- Measuring and marking the installation area on the wall or ceiling.
- Installing the ductwork to direct the airflow from the ventilation system to the outside.
- Mounting and connecting the ventilation fan, ensuring a secure and aligned installation.
- Connecting the ductwork to the ventilation fan, checking for tight seals and proper alignment.
- Securing the ventilation system in place using screws, brackets, or other necessary support.
- Testing the system to ensure proper operation, adjusting as needed, and conducting regular maintenance.
By following these steps, you can install a kitchen ventilation system that effectively removes cooking odors, smoke, and airborne pollutants, creating a clean and pleasant cooking environment.
Remember, if you have any doubts or lack experience with electrical or construction work, it is always advisable to consult a professional to ensure a safe and accurate installation.
Enjoy the benefits of a well-ventilated kitchen – improved air quality, reduced odors, and a more comfortable cooking experience. Breathe easy and cook with confidence!
Frequently Asked Questions about How To Install A Kitchen Ventilation System
Was this page helpful?
At Storables.com, we guarantee accurate and reliable information. Our content, validated by Expert Board Contributors, is crafted following stringent Editorial Policies. We're committed to providing you with well-researched, expert-backed insights for all your informational needs.


0 thoughts on “How To Install A Kitchen Ventilation System”