Home>Home Security and Surveillance>How To Connect To A Home Surveillance Camera From The Internet

Home Security and Surveillance
How To Connect To A Home Surveillance Camera From The Internet
Modified: October 20, 2024
Learn how to connect to your home surveillance camera from the internet with our step-by-step guide. Ensure your home security and surveillance system is easily accessible wherever you are.
(Many of the links in this article redirect to a specific reviewed product. Your purchase of these products through affiliate links helps to generate commission for Storables.com, at no extra cost. Learn more)
Introduction
Welcome to the digital age, where technology has brought us unprecedented convenience and security. One area that has greatly benefited from technological advancements is home security and surveillance. Gone are the days of relying solely on traditional alarm systems; now, homeowners have the ability to monitor their properties in real-time through internet-connected surveillance cameras.
In this comprehensive guide, we will explore the world of home surveillance cameras and learn how to connect them to the internet for remote access. Whether you’re a homeowner looking to enhance your security measures or a tech-savvy individual wanting to expand your knowledge, we have you covered.
Understanding how to connect your home surveillance camera to the internet is essential for easy access and peace of mind. Whether you’re at work, traveling, or simply away from home, you’ll be able to check in on the safety of your property with just a few clicks on your smartphone or computer.
But before we dive into the technical aspects, let’s first understand the different types of home surveillance cameras available in the market. By understanding the characteristics and features of each type, you’ll be able to make an informed decision when choosing the right camera for your needs.
Key Takeaways:
- Connecting home surveillance cameras to the internet allows you to monitor your property remotely, ensuring safety and peace of mind whether you’re at work, traveling, or away from home.
- Choosing the right network connectivity, configuring your home network, and troubleshooting remote access issues are essential steps to ensure seamless and secure access to your home surveillance cameras from anywhere.
Understanding Home Surveillance Cameras
Home surveillance cameras, often referred to as security cameras, are devices that are designed to monitor and record activities in and around your home. They act as an extra set of eyes, providing you with real-time video footage and alerts to keep your home safe and secure.
These cameras are available in various types, each with its own set of features and capabilities. Understanding these types will help you determine which camera is best suited for your specific needs.
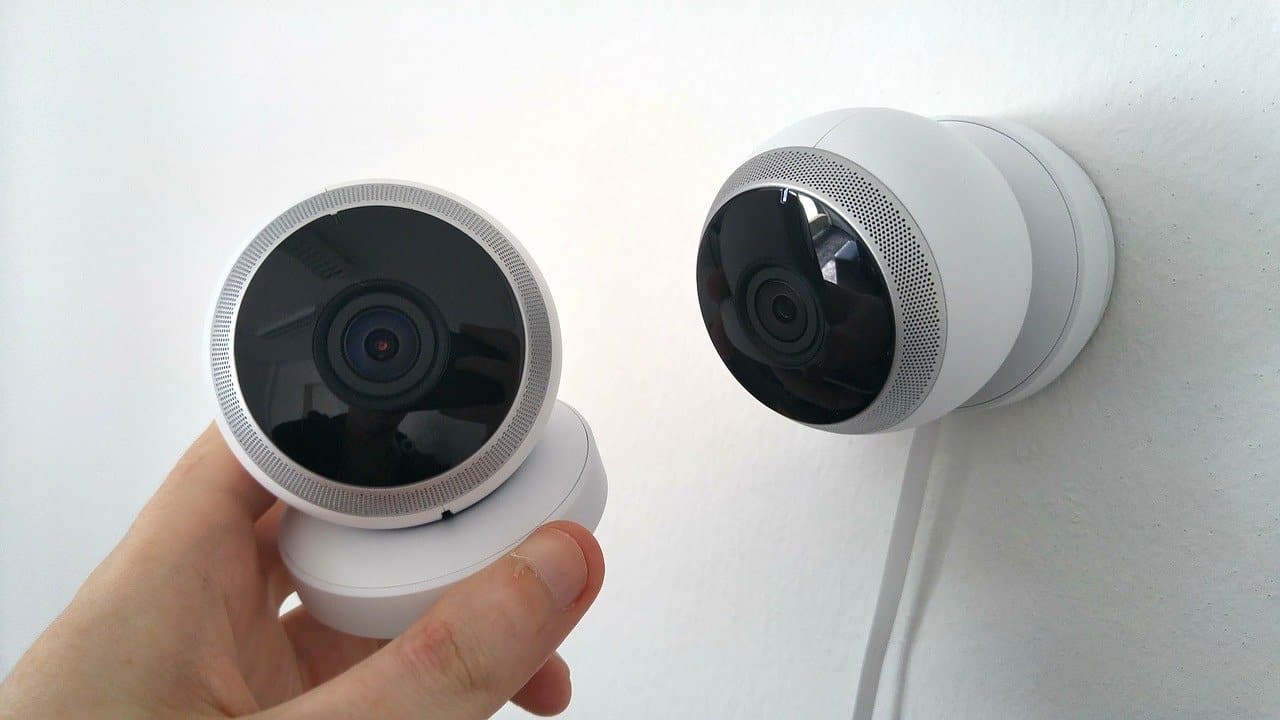
1. Indoor Cameras: As the name suggests, indoor cameras are designed to monitor the interior of your home. They are commonly used to keep an eye on common areas, such as living rooms, hallways, and bedrooms. Indoor cameras are often compact and discreet, making them suitable for placement on shelves, countertops, or mounted on walls and ceilings.
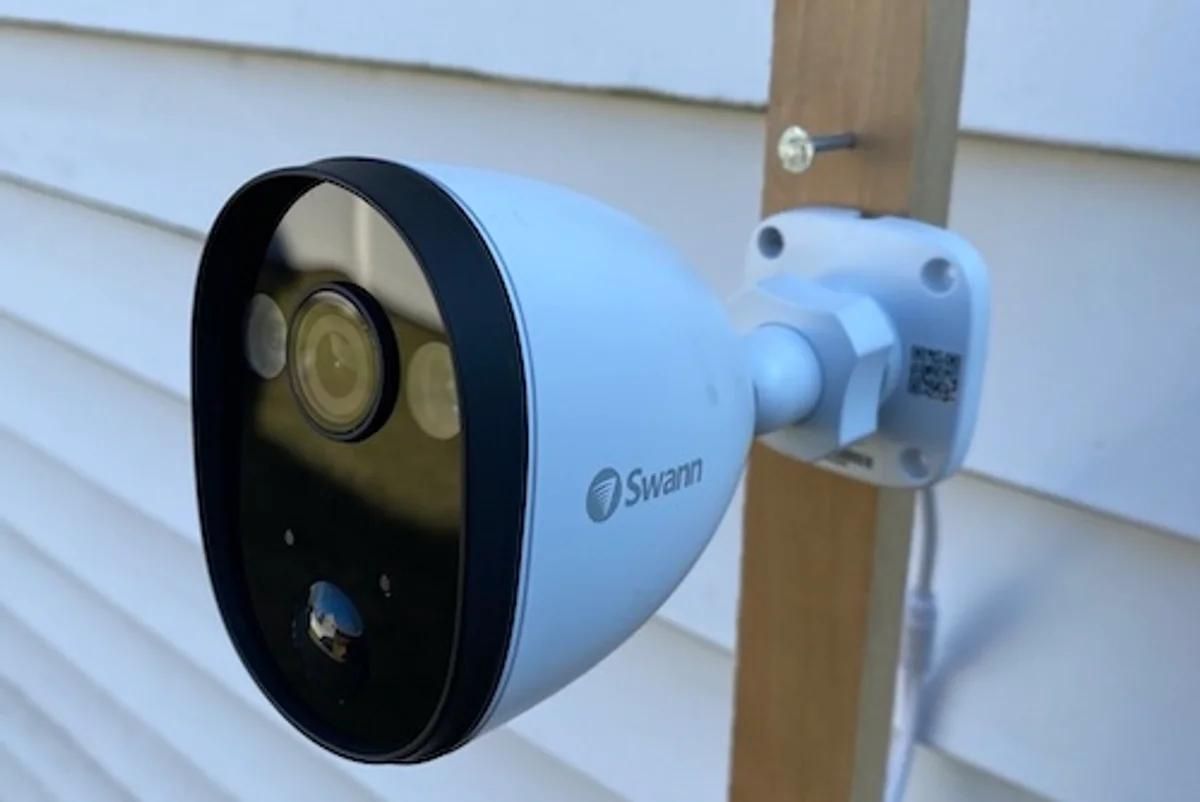
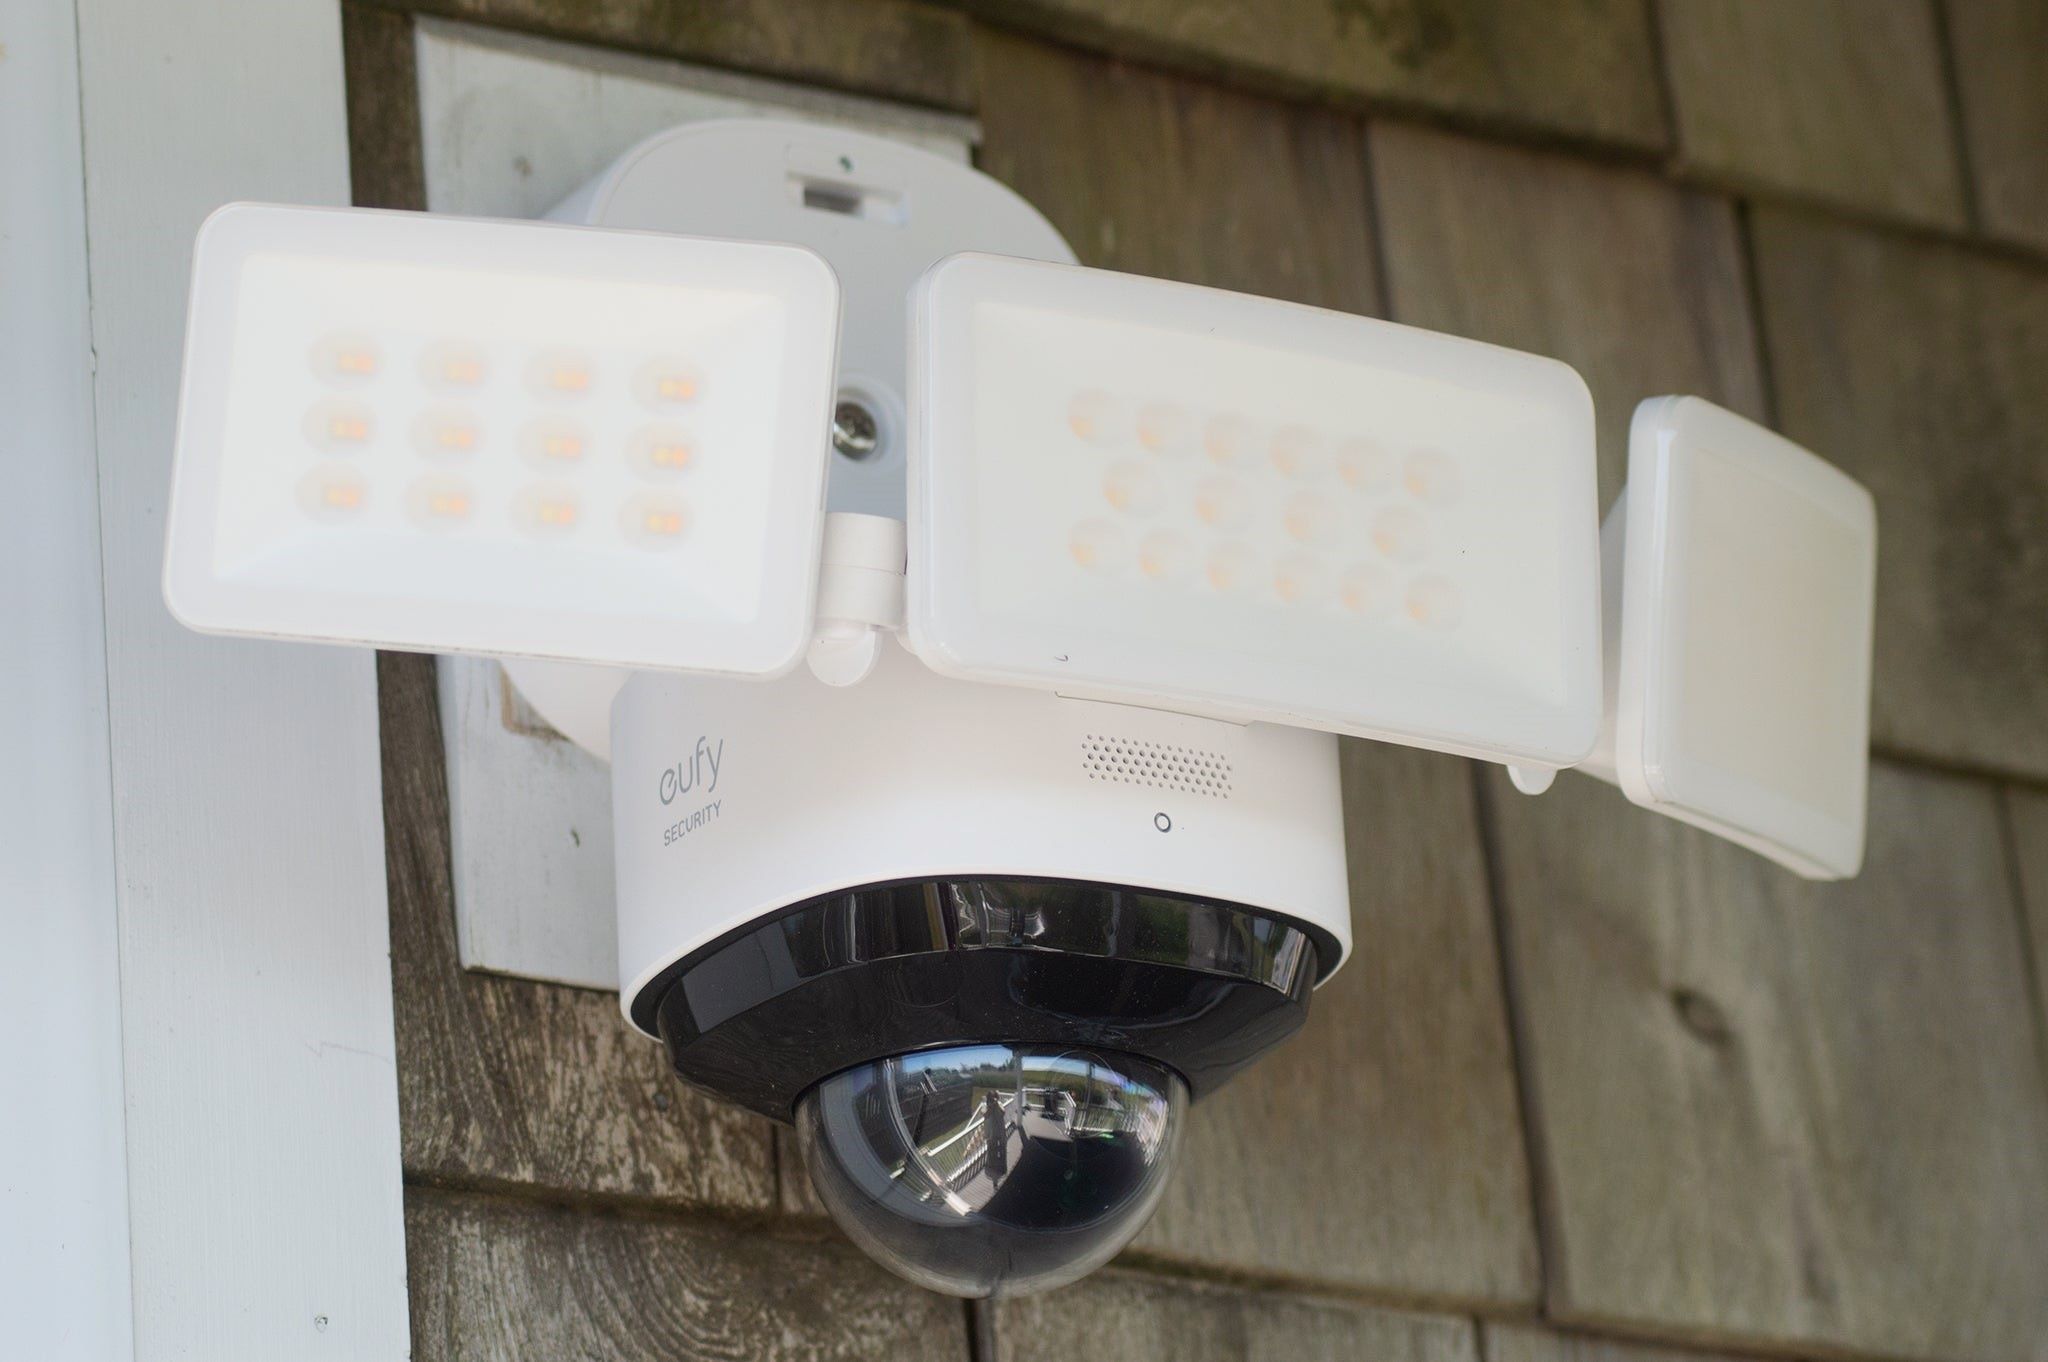
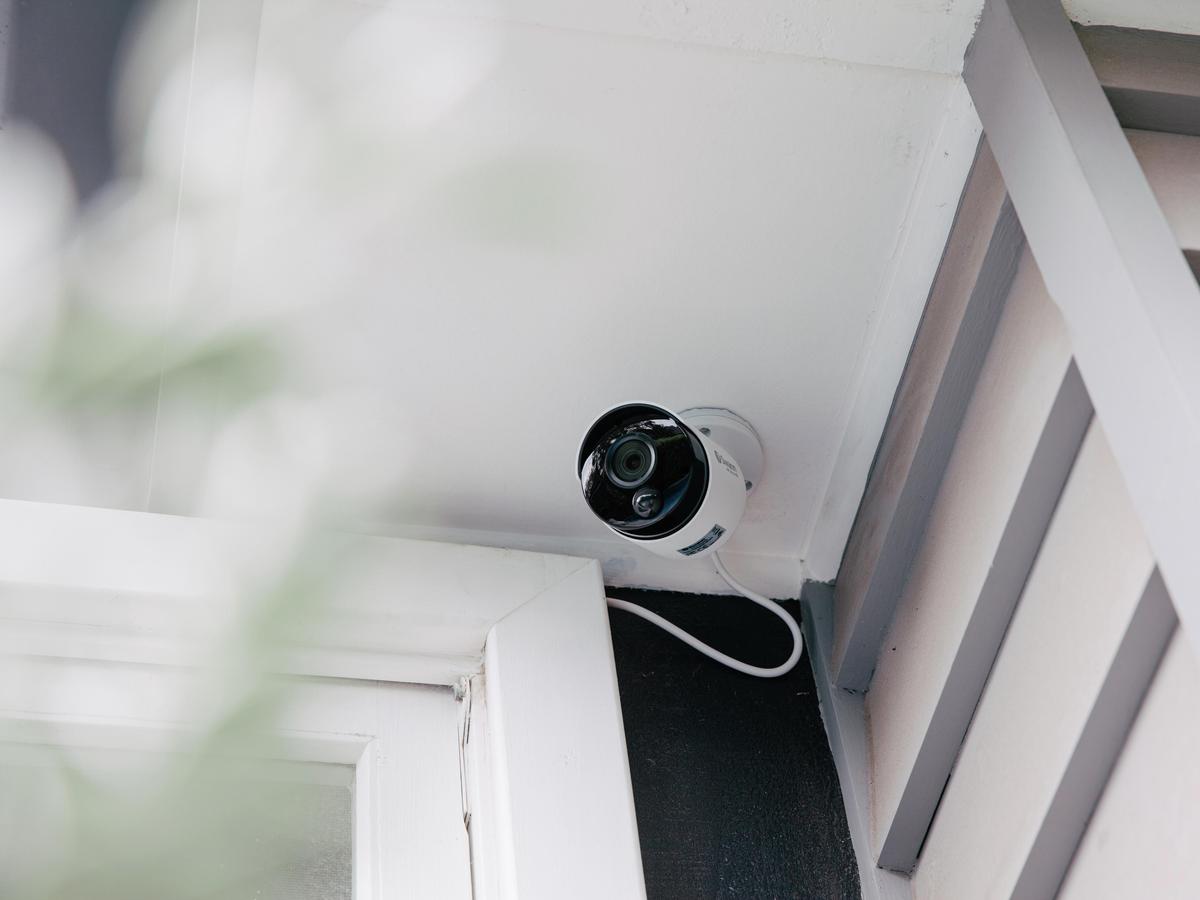
2. Outdoor Cameras: Outdoor cameras are built to withstand the elements and are specifically designed for monitoring the exterior of your home. These cameras often come with weather-resistant features, such as waterproof casing and infrared night vision, allowing them to operate in various conditions. They are an excellent choice for monitoring entry points, driveways, gardens, and other outdoor areas.
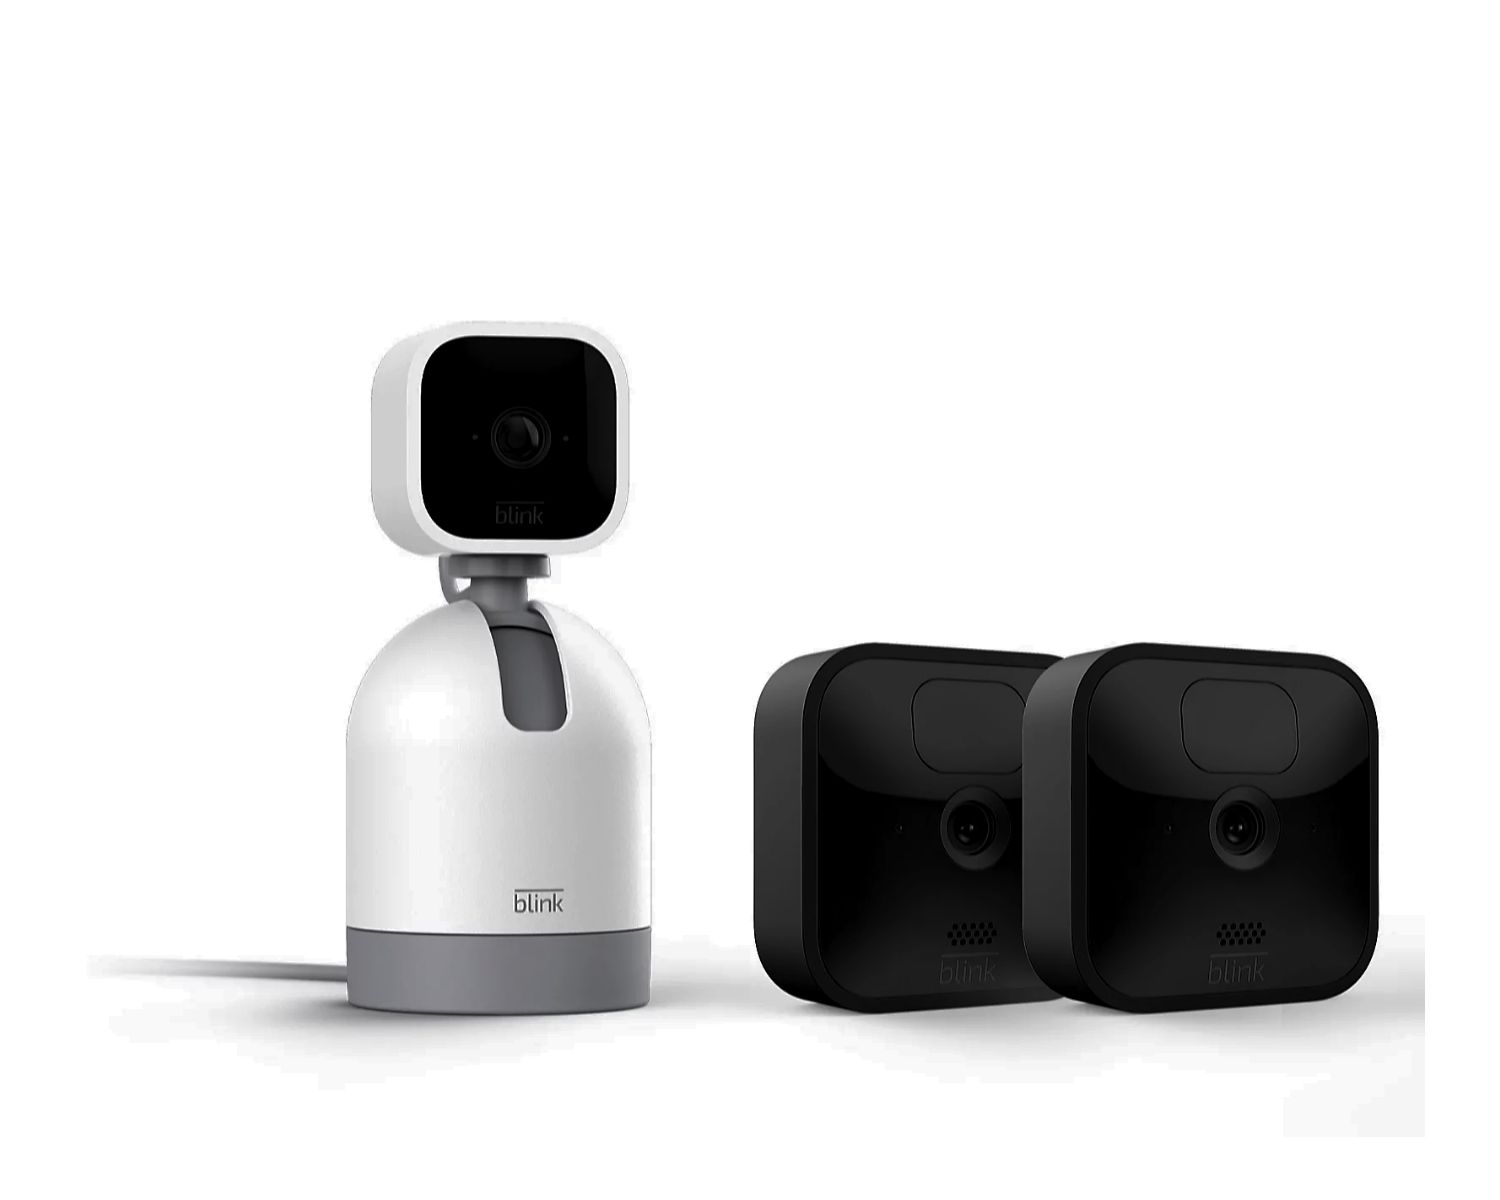
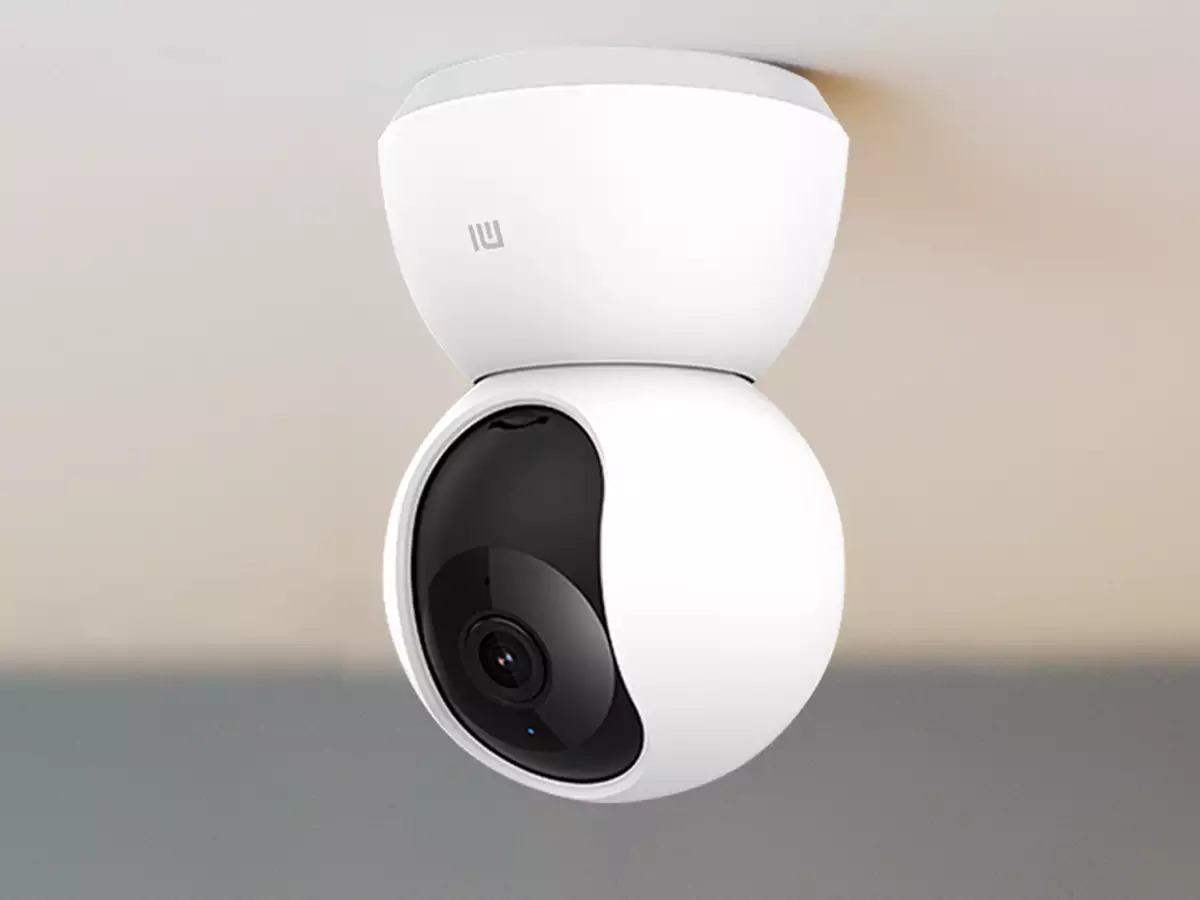
3. Wireless Cameras: Wireless cameras offer the convenience of easy installation, as they do not require any wiring. They rely on Wi-Fi connectivity to transmit video footage to your mobile device or computer. Wireless cameras are versatile and can be placed virtually anywhere within range of your home’s Wi-Fi network.
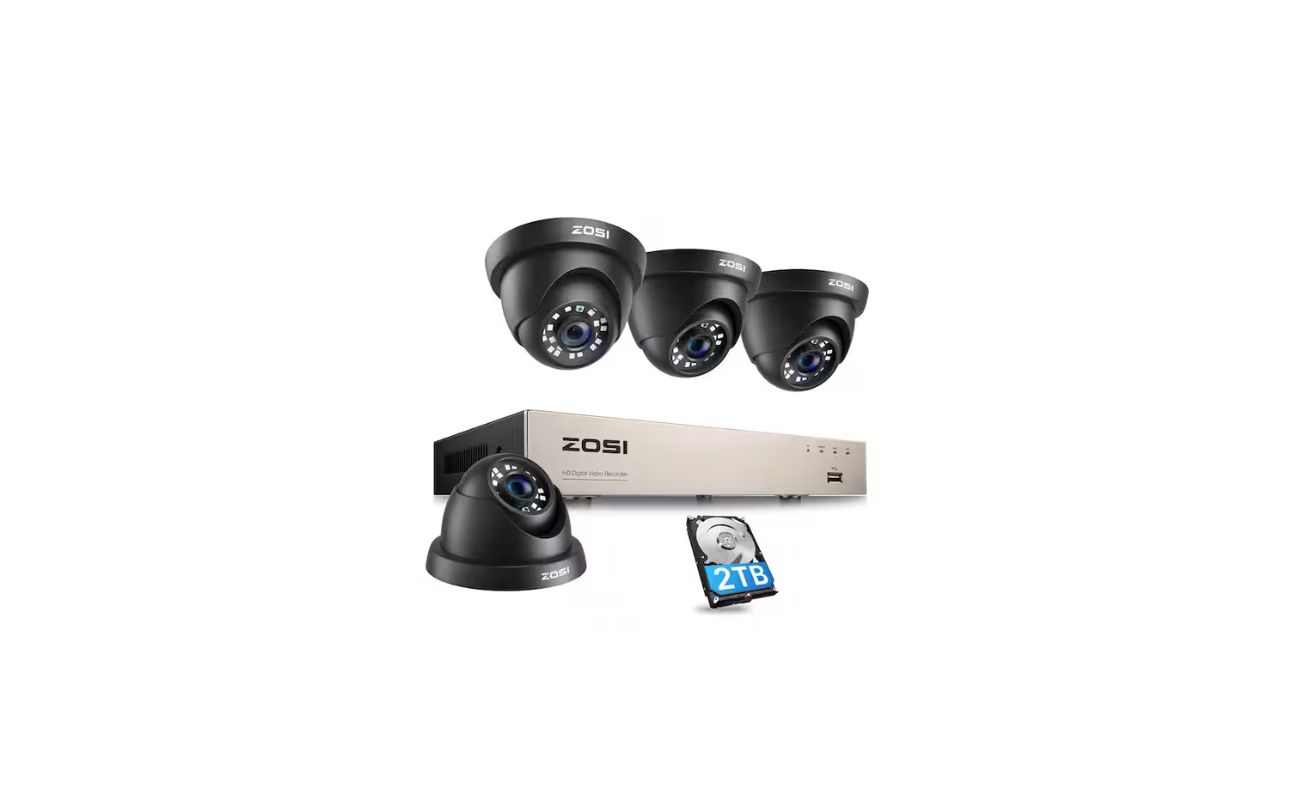
4. Wired Cameras: Unlike wireless cameras, wired cameras require a physical connection to a power source and a network video recorder (NVR) or a digital video recorder (DVR) for video storage. While the installation process may be more involved, wired cameras typically offer a more reliable and stable connection.
5. Pan-Tilt-Zoom (PTZ) Cameras: PTZ cameras are capable of remote directional and zoom control. They can pan horizontally, tilt vertically, and zoom in or out to capture a wide range of views. PTZ cameras are often used in larger properties or commercial settings where monitoring a large area is required.
By considering factors such as the areas you want to monitor, the level of surveillance needed, and your preferred installation method, you can choose the right type of home surveillance camera for your home. Once you’ve selected the appropriate camera, it’s time to set up your surveillance camera system and connect it to the internet for remote access.
Types of Home Surveillance Cameras
When it comes to home surveillance cameras, there are several different types to choose from. Each type has its own unique features and advantages, so it’s important to understand the options available before making a decision.
1. Dome Cameras: Dome cameras are named for their dome-shaped design and are commonly used in both indoor and outdoor settings. They are often preferred for their sleek and inconspicuous appearance, making them less noticeable and potentially deterring would-be intruders. Dome cameras come in both fixed and adjustable models, allowing you to manually adjust the camera’s viewing angle.
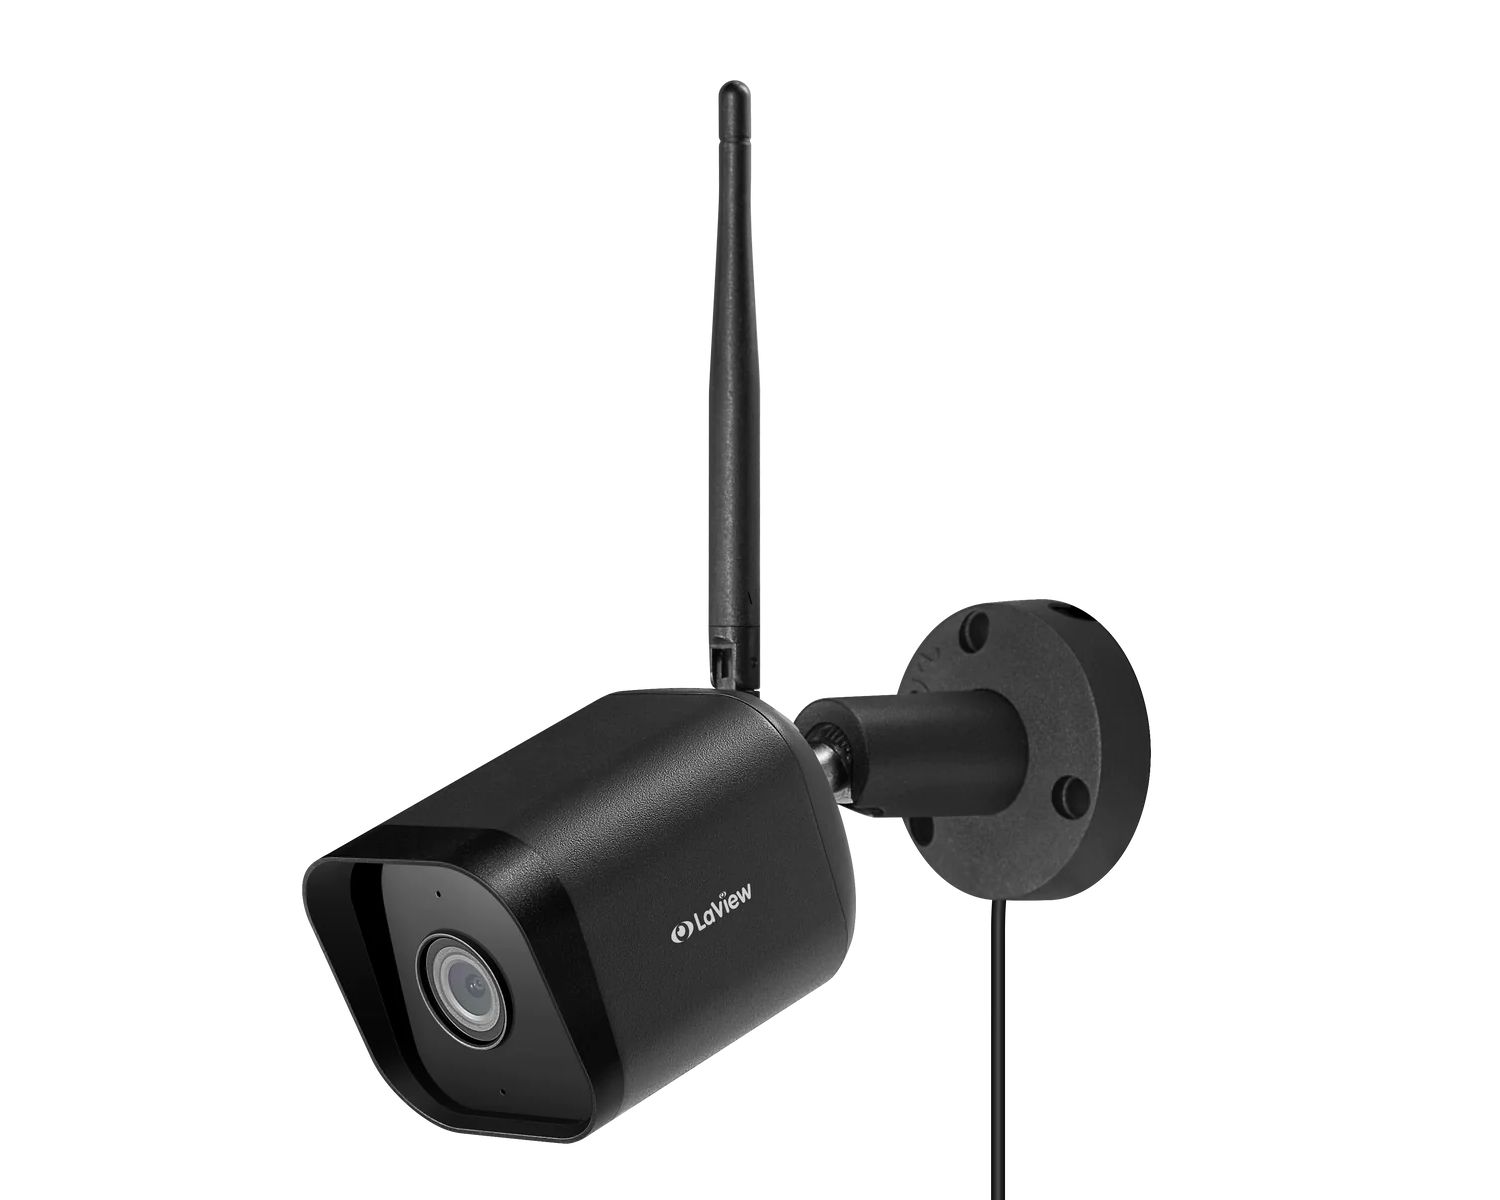
2. Bullet Cameras: Bullet cameras are long and cylindrical in shape, resembling a bullet (hence the name). These cameras are typically used for outdoor surveillance because they are weatherproof and offer a long-range view. Bullet cameras are often equipped with infrared sensors for night vision capabilities, allowing them to capture clear footage even in low-light conditions.
3. PTZ Cameras: PTZ (Pan-Tilt-Zoom) cameras are known for their ability to pan, tilt, and zoom in on specific areas. These are ideal for large properties or areas that require active monitoring. With PTZ cameras, you can remotely control the direction and zoom functions, giving you the flexibility to track movement or zoom in for close-ups.
4. Indoor Cameras: As the name suggests, indoor cameras are designed to be used indoors. These cameras are typically compact and discreet, making them easy to install and blend into the decor of your home. Indoor cameras are ideal for monitoring spaces such as living rooms, bedrooms, or nurseries.
5. Outdoor Cameras: Outdoor cameras are built to withstand the elements and are designed to be used in outdoor environments. They are typically weatherproof and come with additional features such as vandal resistance to ensure optimal performance and durability. Outdoor cameras are commonly used for monitoring the exterior of your home, including entryways, driveways, and gardens.
6. Wireless Cameras: Wireless cameras offer the convenience of easy installation, as they do not require any hardwiring. These cameras utilize Wi-Fi connectivity to transmit video footage to your mobile device or computer. Wireless cameras are versatile and can be placed anywhere within range of your home’s Wi-Fi network, giving you more flexibility in terms of camera placement.
7. Wired Cameras: Wired cameras require a physical connection to a power source and a network video recorder (NVR) or digital video recorder (DVR) for video storage. While the installation process might be more involved compared to wireless cameras, wired cameras are known for their reliable and stable connection, ensuring consistent video recording and playback.
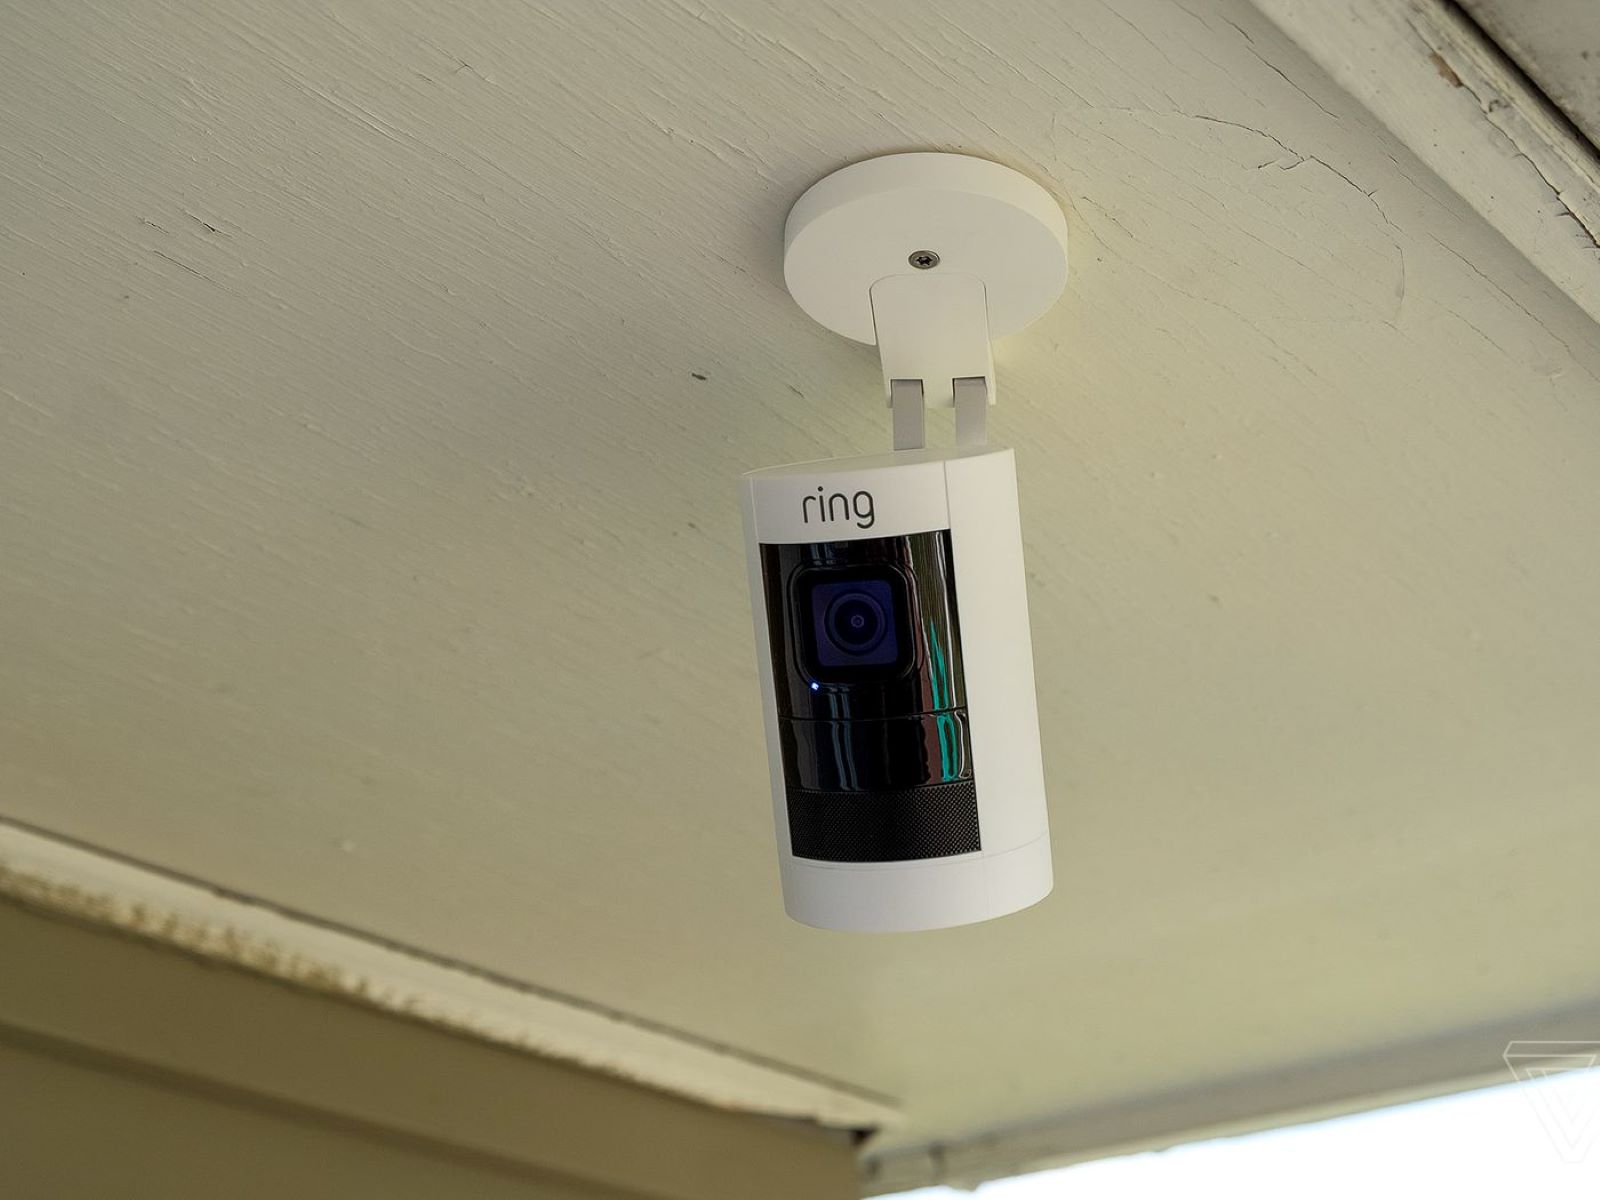
8. Doorbell Cameras: Doorbell cameras are becoming increasingly popular for enhancing home security. These cameras are integrated into doorbell systems and allow you to see and communicate with whoever is at your front door. Doorbell cameras often feature motion detection, two-way audio, and remote access via smartphone applications.
Consider your specific needs and the areas you want to monitor when choosing the type of home surveillance camera for your property. Additionally, it’s important to review the features and specifications of each camera to ensure it aligns with your desired functionality and budget.
Setting Up Your Home Surveillance Camera System
Setting up a home surveillance camera system requires careful planning and attention to detail. Follow these steps to ensure a smooth installation process:
1. Determine your camera placement: First, identify the areas of your home that you want to monitor. Consider entry points, blind spots, and high-traffic areas. This will help you determine the number of cameras you need and their ideal locations.
2. Choose the right cameras: Select cameras that are appropriate for your specific needs, taking into account factors such as indoor or outdoor use, desired features (e.g., night vision, motion detection), and connectivity options (e.g., wired or wireless).
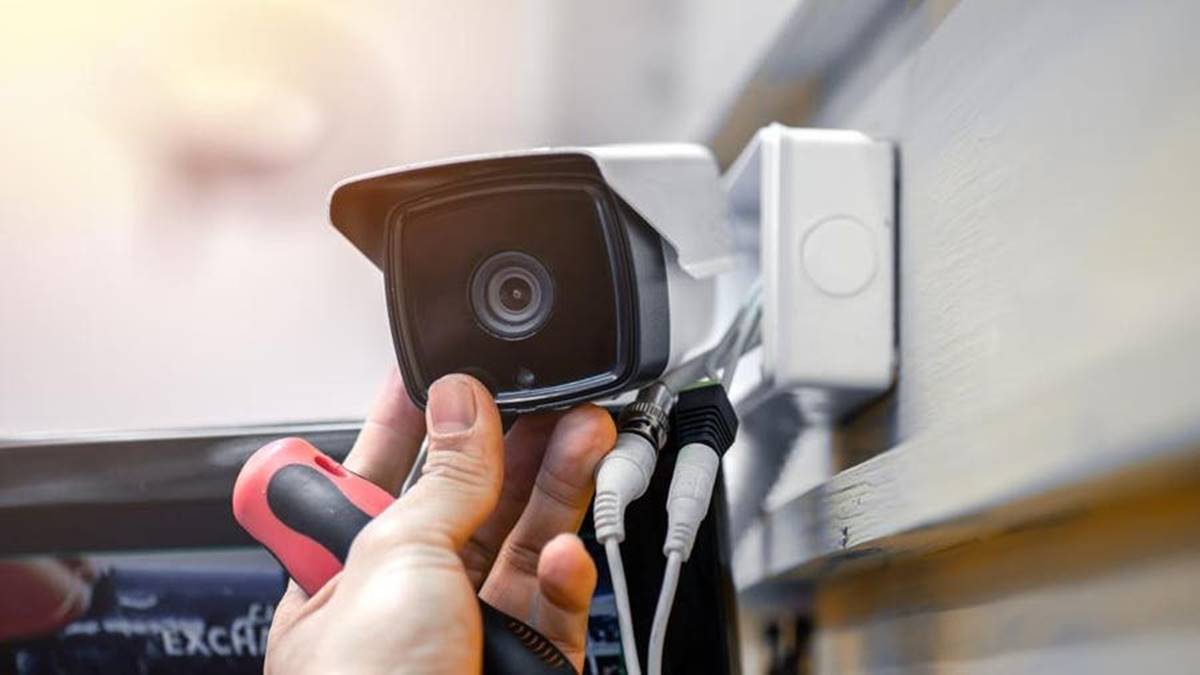
3. Install the cameras: Follow the manufacturer’s instructions for mounting and installing the cameras. Ensure that they are securely fixed and positioned to capture the desired area. For wired cameras, make sure to properly route and conceal the cables for a clean and professional installation.
4. Set up the network video recorder (NVR) or digital video recorder (DVR): If you are using wired cameras, connect them to the NVR or DVR using the provided cables. This device will act as the central hub for storing and accessing your video recordings.
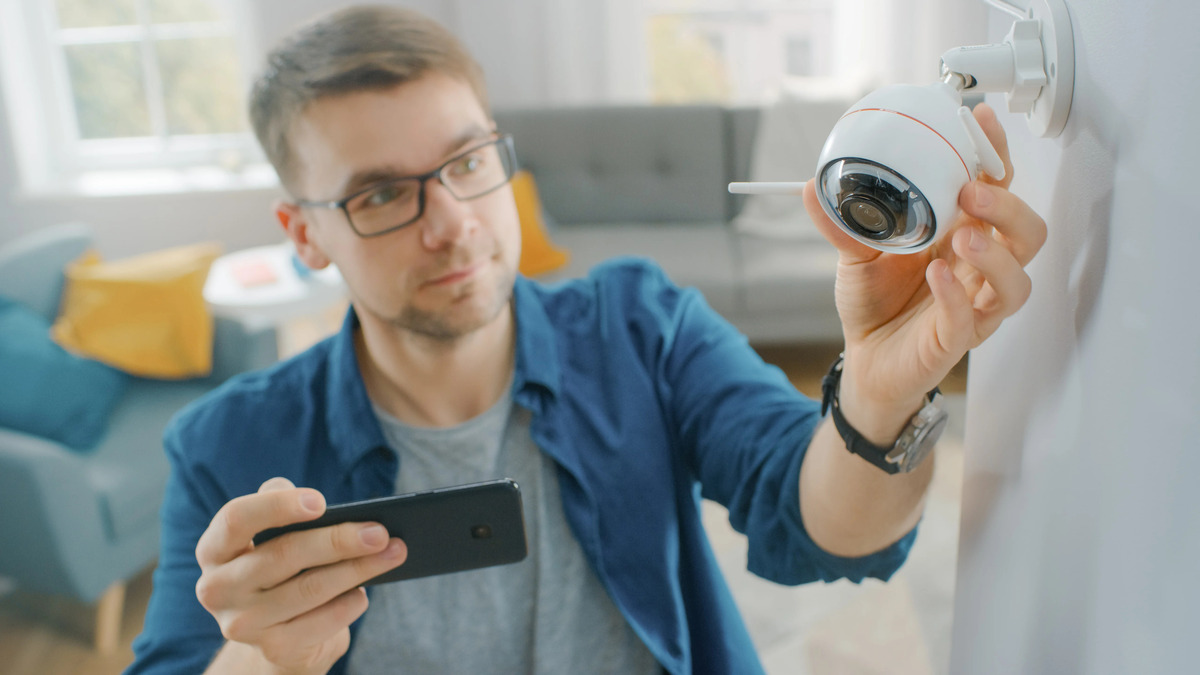
5. Connect to your home network: For wireless cameras, follow the manufacturer’s instructions to connect each camera to your home network. Typically, this involves using a mobile app or web interface to connect the cameras to your Wi-Fi network.
6. Configure your camera settings: Access the camera’s settings through the mobile app or web interface. Set up features such as motion detection, video quality, and recording schedules based on your preferences.
7. Test the system: Once everything is set up, perform a test to ensure that the cameras are functioning correctly. Verify that the video feed is clear, and test any additional features, such as motion alerts or remote viewing, to ensure they are working as intended.
8. Install a surveillance camera management software (optional): If you have multiple cameras or want advanced features, consider installing surveillance camera management software. This software allows you to centrally manage and monitor your cameras, view multiple feeds simultaneously, and set up advanced recording and notification settings.
9. Regularly maintain and update: Keep your camera system up-to-date by regularly checking for firmware updates from the manufacturer. These updates often include important security patches and new features that can enhance the performance and functionality of your cameras.
By following these steps, you can successfully set up your home surveillance camera system. Remember, it’s essential to spend time planning and ensuring proper camera placement to maximize coverage and effectiveness. Once your system is up and running, you’ll have peace of mind knowing that your home is under constant surveillance.
Choosing the Right Network Connectivity
When setting up your home surveillance camera system, one crucial decision you need to make is the type of network connectivity you will use. The connectivity option you choose will determine how your cameras connect to your home network and how you can access them remotely. Here are the common types of network connectivity for surveillance cameras:
Ethernet (Wired) Connection: An Ethernet connection involves physically connecting your cameras to your home network using Ethernet cables. This type of connection offers a reliable and stable connection, as it is not subject to interference from other devices or Wi-Fi signals. Ethernet connections are particularly suited for situations where there is a need for high-quality, uninterrupted video streaming.
Wi-Fi (Wireless) Connection: Wi-Fi connectivity allows you to connect your wireless cameras to your home network without the need for cables. With Wi-Fi cameras, you have the flexibility to place your cameras in various locations within the range of your Wi-Fi signal. This type of connection is convenient, as it eliminates the need for cabling and allows for easier installation and camera repositioning. However, Wi-Fi signals can be prone to interference, which may result in occasional drops in connection or lower video quality.
Powerline Connection: Powerline adapters use your home’s electrical wiring to transmit data signals. With this connection, you can connect your cameras to your network by plugging them into power outlets near the cameras, eliminating the need for long Ethernet cables. Powerline connections offer more stability and faster data transfer rates compared to Wi-Fi, making them a good alternative if running Ethernet cables is not feasible.
Cellular Connection: In areas without reliable Wi-Fi or Ethernet connectivity, cellular connections can provide a reliable and secure option for remote access to your surveillance cameras. Cellular cameras use a built-in SIM card to connect to the cellular network, allowing you to monitor your cameras from anywhere using your smartphone or computer. This type of connection is particularly useful for remote locations or properties without access to traditional internet connections.
When choosing the right network connectivity for your surveillance cameras, consider factors such as the distance between your cameras and your home network router, the level of reliability needed, the potential for interference, and your specific property’s layout. It’s important to ensure that the chosen connectivity option provides a stable and secure connection for real-time video streaming and remote access.
Regardless of the connectivity option you choose, it’s essential to ensure that your home network is secure. Secure your network by assigning strong passwords, enabling encryption protocols (such as WPA2), and regularly updating the firmware of your cameras and network devices.
By carefully considering your requirements and the pros and cons of each connectivity option, you can select the most suitable network connectivity for your home surveillance camera system. This will help you achieve a seamless and reliable connection, ensuring that you can easily access your cameras and monitor your property with confidence.
Make sure to set up strong and unique login credentials for your home surveillance camera to prevent unauthorized access from the internet. Use a combination of letters, numbers, and special characters for added security.
Configuring Your Home Network for Remote Access
Configuring your home network for remote access is essential to be able to monitor your surveillance cameras from anywhere. Here are the steps to set up your home network for remote access:
1. Check your internet connection: Ensure that you have a reliable and stable internet connection in your home. A high-speed internet connection is recommended to ensure smooth and uninterrupted remote access to your surveillance cameras.
2. Enable port forwarding: Port forwarding allows you to redirect incoming traffic from the internet to your surveillance camera’s IP address. Access your home router’s settings and configure port forwarding rules to direct traffic to the specific port used by your surveillance camera system. Consult your camera’s documentation or the manufacturer’s website for the recommended port numbers and protocols to use.
3. Set up a dynamic DNS service: A dynamic DNS (Domain Name System) service allows you to assign a domain name to your home network, even if you have a dynamic IP address from your internet service provider (ISP). Dynamic IP addresses can change periodically, making it challenging to connect to your cameras remotely. By using a dynamic DNS service, you can access your cameras using a domain name that remains constant even if your IP address changes.
4. Enable secure remote access: Security is crucial when accessing your surveillance cameras remotely. Use secure protocols such as HTTPS or SSL/TLS to encrypt the communication between your devices and the cameras. This ensures that your video feed and data are protected from unauthorized access.
5. Configure user authentication: Create strong and unique usernames and passwords for your surveillance camera system to prevent unauthorized access. Avoid using default or common login credentials, as they are easily guessable. Additionally, consider enabling two-factor authentication (2FA) for an extra layer of security.
6. Test remote access: Once you have configured your home network, test remote access from an external network, such as using your smartphone or a computer outside of your home. Ensure that you can connect to your surveillance cameras and view the live video feed without any issues. If you encounter any problems, double-check your port forwarding settings and network configurations.
7. Regularly update your devices: It’s crucial to keep your surveillance camera system, router, and any associated software up to date with the latest firmware and security patches. Regular updates help address potential vulnerabilities and ensure optimal performance and security for your remote access setup.
Remember to secure your home network by using strong passwords for your Wi-Fi network and router login. Additionally, keep your router’s firmware updated and enable any built-in security features, such as firewall protection and intrusion detection.
By following these steps and ensuring proper network configuration, you can establish a secure and reliable remote access setup for your home surveillance cameras. This allows you to monitor your property and enjoy peace of mind, no matter where you are.
Configuring Your Surveillance Camera for Internet Access
To access your surveillance cameras over the internet, you need to configure them properly. Here are the steps to configure your surveillance camera for internet access:
1. Connect the camera to your home network: Ensure that your surveillance camera is connected to your home network. This can be done either through a wired Ethernet connection or a wireless Wi-Fi connection, depending on the camera’s capabilities and your network setup.
2. Access the camera’s settings: Use the manufacturer-provided software, mobile app, or web interface to access the camera’s settings. This allows you to customize various camera parameters, including network settings, video quality, recording schedules, and event triggers.
3. Assign a static IP address: To ensure consistent connectivity, it’s recommended to assign a static IP address to your surveillance camera. This prevents the IP address from changing each time the camera restarts or reconnects to the network. Refer to the camera’s documentation for instructions on how to assign a static IP address.
4. Configure port forwarding: Enable port forwarding on your router to allow incoming connections from the internet to reach your surveillance camera’s IP address. This step allows you to access your camera remotely. Consult your camera’s documentation or the manufacturer’s website for the specific port numbers required for remote access.
5. Enable UPnP (Universal Plug and Play): If supported by your camera and router, enable UPnP to automate the port forwarding process. UPnP allows devices on your network to automatically configure the necessary port forwarding settings, simplifying the setup process.
6. Set up DDNS (Dynamic DNS): If you have a dynamic IP address from your internet service provider, consider setting up a DDNS service. DDNS allows you to assign a domain name to your camera’s IP address, making it easier to access your camera remotely even when your IP address changes. Select a DDNS provider and follow their instructions for configuration.
7. Enable security features: It’s crucial to protect the access to your surveillance camera from unauthorized users. Set up strong passwords for your camera’s login credentials and make sure they are not easily guessable. If available, enable encryption protocols such as HTTPS or SSL/TLS to secure the communication between your devices and the camera.
8. Test remote access: After configuring your camera, test remote access by connecting to it from an external network, such as a smartphone or computer outside of your home network. Ensure that you can access the camera’s video feed and adjust any necessary settings to optimize remote viewing performance.
9. Regularly update firmware: Manufacturers often release firmware updates for surveillance cameras to address security vulnerabilities and improve functionality. Regularly check for updates on the manufacturer’s website or through the camera’s software and apply them as recommended to keep your camera up to date.
Remember to periodically review and update your camera’s settings as needed, such as adjusting recording schedules, motion detection sensitivity, and video quality, to ensure optimal performance and functionality.
By following these steps and properly configuring your surveillance camera for internet access, you can monitor your property remotely and stay connected to your cameras from anywhere with an internet connection.
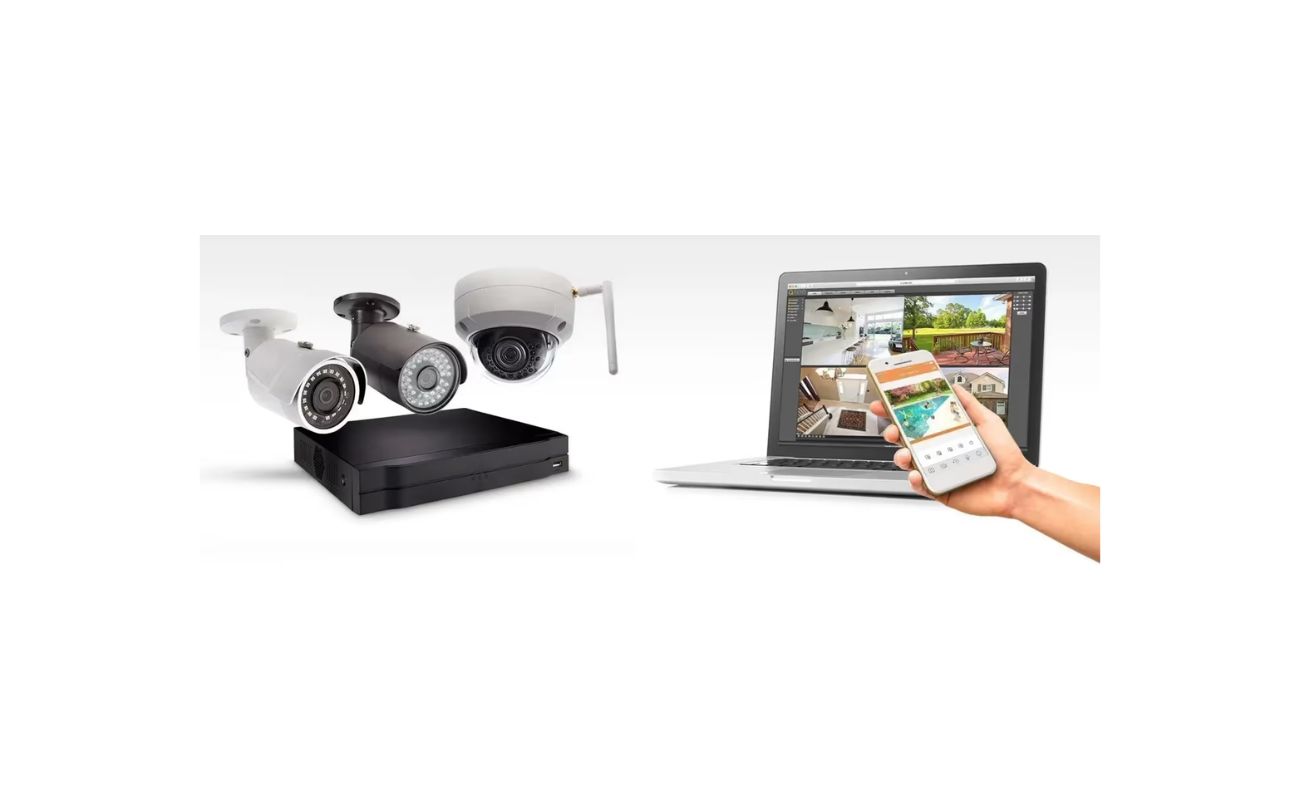
Accessing Your Home Surveillance Camera from the Internet
Once you have set up your home surveillance cameras and configured them for internet access, you can easily monitor them from anywhere using the following methods:
1. Mobile Apps: Most surveillance camera manufacturers provide mobile apps that allow you to access and control your cameras from your smartphone or tablet. Install the app on your mobile device and log in using your camera’s credentials. Once connected, you can view the live video feed, receive motion alerts, and even control camera settings remotely.
2. Web Browsers: Many surveillance cameras offer web interfaces that allow you to access and manage your cameras through a web browser on a computer or laptop. Enter the camera’s IP address or domain name in the browser’s address bar, and log in using your camera’s credentials. From there, you can view the live video feed, adjust camera settings, and review recorded footage.
3. Cloud-Based Services: Some camera manufacturers offer cloud-based services that allow you to store and access your camera footage remotely. These services typically require a subscription and offer additional features such as cloud storage, remote playback, and intelligent video analysis. Check with your camera manufacturer for more information on their cloud-based services and how to access them.
4. Port Forwarding: If you have set up port forwarding on your home router, you can directly access your surveillance cameras using their IP address or domain name from a remote location. Open a web browser and enter the external IP address or domain name along with the appropriate port number to access the camera’s interface. Remember to enter your camera’s login credentials to access the live video feed and camera settings.
5. Virtual Private Network (VPN): For enhanced security and privacy, consider setting up a VPN connection to access your home surveillance cameras remotely. A VPN creates a secure and encrypted connection between your remote device and your home network, allowing you to access your cameras as if you were locally connected. Consult your router’s documentation or seek guidance from a network professional to set up a VPN for remote access.
When accessing your surveillance cameras remotely, it’s important to ensure the security of your network and devices. Here are some security tips to keep in mind:
– Use strong, unique passwords for your surveillance cameras and change them regularly.
– Keep your camera firmware up to date to protect against known vulnerabilities.
– Enable encryption protocols such as HTTPS or SSL/TLS for secure communication.
– Regularly review and audit access logs to detect any unauthorized access attempts.
Always prioritize the security of your surveillance camera system to maintain the privacy and protection of your property.
By utilizing these methods to access your surveillance cameras from the internet, you can keep a close eye on your home or property from anywhere at any time. Enjoy the peace of mind that comes with knowing you can monitor your property’s security with just a few clicks or taps on your mobile device or computer.
Troubleshooting Remote Access Issues
While setting up remote access to your home surveillance cameras, you may encounter certain issues that prevent you from accessing them remotely. Here are some common troubleshooting steps to help you resolve remote access problems:
1. Check your internet connection: Ensure that you have a stable and reliable internet connection in your location. Slow or unstable internet can cause issues with remote access to your cameras. Restart your router or contact your internet service provider (ISP) if you continue to experience connectivity issues.
2. Verify port forwarding settings: Double-check that your port forwarding settings are correctly configured on your router. Ensure that the correct port numbers are entered and that they are correctly mapped to the internal IP address of your surveillance cameras. Update the settings if necessary and restart your router to apply the changes.
3. Reboot your surveillance cameras: Sometimes, cameras may experience temporary glitches. Try rebooting or power cycling your cameras by disconnecting the power source and reconnecting it after a few seconds. Allow the cameras to fully restart and reconnect to your network before attempting remote access again.
4. Confirm camera connectivity: Ensure that your surveillance cameras are properly connected to your home network. Check the physical connections for wired cameras and verify that wireless cameras are connected to the correct Wi-Fi network. Use the camera’s software or app to check the camera’s online status and connectivity information.
5. Test remote access from different networks: Attempt to access your cameras from a different network, such as a friend’s house or a public Wi-Fi network. This can help determine if the issue lies with your home network or the remote access configuration. If you can successfully access your cameras from another network, it may suggest a problem with your home network setup.
6. Disable firewalls or adjust security settings: Temporary disable any firewall or security software on your computer or mobile device to see if it is blocking the remote access. If you can access the cameras after disabling the firewall, adjust your firewall settings to allow the necessary traffic for remote access.
7. Ensure correct DDNS configuration: If you are using a dynamic DNS (DDNS) service, verify that the DDNS service is correctly configured on your router. Check that the domain name or URL assigned to your cameras is correctly updated with your current IP address. If the DDNS service is not updating automatically, manually update the IP address in your DDNS settings.
8. Update camera firmware and software: Check for any available firmware updates for your surveillance cameras. Manufacturers often release updates that address connectivity and compatibility issues. Similarly, check for updates to the camera’s software or app and verify that you are using the most recent version.
9. Seek manufacturer support: If you have tried the troubleshooting steps and are still unable to resolve the remote access issue, contact the manufacturer’s customer support. They can provide specific guidance and assistance for your particular camera model, including any known issues and troubleshooting techniques.
Remember, troubleshooting steps may vary depending on your specific camera model and network setup. Always refer to the documentation and support resources provided by the manufacturer for detailed instructions and troubleshooting guidance.
By following these troubleshooting steps and seeking assistance when needed, you should be able to resolve most remote access issues and enjoy seamless access to your home surveillance cameras from anywhere in the world.
Conclusion
In today’s world, ensuring the security and safety of our homes is a top priority. Home surveillance cameras provide an effective way to monitor our properties and have peace of mind even when we are away. By connecting these cameras to the internet, we gain the ability to access and view live video feeds remotely, enhancing our ability to monitor and protect our homes.
In this comprehensive guide, we have explored how to connect home surveillance cameras to the internet for remote access. We have covered topics such as understanding the different types of surveillance cameras available, setting up your camera system, choosing the right network connectivity, configuring your home network for remote access, and troubleshooting common remote access issues.
By understanding the characteristics and features of each type of surveillance camera, you can make an informed decision on the best camera for your specific needs. Setting up your camera system involves careful planning, placement, and configuration to ensure optimal coverage and performance.
Choosing the right network connectivity, whether wired or wireless, allows you to establish a reliable and secure connection between your cameras and your home network. Configuring your home network for remote access includes steps such as port forwarding, enabling secure access protocols, and setting up dynamic DNS to maintain connectivity despite changing IP addresses.
When accessing your surveillance cameras remotely, it’s essential to prioritize security. Strong passwords, encryption protocols, and regular firmware updates help protect your cameras from unauthorized access and ensure the privacy of your video feeds.
While troubleshooting remote access issues, it’s important to check internet connectivity, verify port forwarding settings, and ensure proper camera and network configuration. Rebooting cameras, testing from different networks, and seeking manufacturer support can help address any issues that arise.
By following the steps outlined in this guide and taking the necessary precautions, you can successfully connect your home surveillance cameras to the internet for remote access. This technology empowers you to monitor your property, keep an eye on loved ones, and enjoy peace of mind knowing that your home is secure, no matter where you are.
Remember to regularly maintain and update your camera system to ensure optimal performance and security. Stay informed about new advancements in home surveillance technology to continually enhance the safety and protection of your home.
With the knowledge gained from this guide, you are well-equipped to embark on your home surveillance journey. Embrace the power of technology and confidently monitor your home, knowing that you have taken the necessary steps to protect what matters most to you.
Frequently Asked Questions about How To Connect To A Home Surveillance Camera From The Internet
Was this page helpful?
At Storables.com, we guarantee accurate and reliable information. Our content, validated by Expert Board Contributors, is crafted following stringent Editorial Policies. We're committed to providing you with well-researched, expert-backed insights for all your informational needs.