Home>Home Security and Surveillance>How To Setup A Home Surveillance System

Home Security and Surveillance
How To Setup A Home Surveillance System
Modified: March 6, 2024
Learn how to set up a reliable home surveillance system for enhanced home security and surveillance. Safeguard your property with our comprehensive guide.
(Many of the links in this article redirect to a specific reviewed product. Your purchase of these products through affiliate links helps to generate commission for Storables.com, at no extra cost. Learn more)
Introduction
Home security is a top concern for many homeowners. With the rise in burglaries and property crimes, it is essential to have a reliable surveillance system in place to protect your family and property. A home surveillance system provides peace of mind, allowing you to monitor your home and keep an eye on any potential threats, even when you are away.
Setting up a home surveillance system may seem like a daunting task, but with the right equipment and a little knowledge, it can be a straightforward process. In this article, we will guide you through the steps to set up a home surveillance system that meets your needs and fits your budget.
Before diving into the technical details, it is essential to understand the benefits of having a home surveillance system. Firstly, it acts as a deterrent for potential intruders. The presence of visible cameras can discourage criminals from targeting your home, as they know they are being watched.
Secondly, a surveillance system provides evidence in case of a break-in or any other criminal activities. The recorded footage can be handed over to the authorities, increasing the chances of identifying and apprehending the culprits.
Lastly, a home surveillance system allows you to keep an eye on your property and loved ones even when you are not physically present. With remote access capabilities, you can view the live feed or recorded footage from your smartphone or computer, ensuring that everything is in order.
Now that we understand the importance of a home surveillance system, let’s move on to the crucial factors to consider when choosing the right equipment.
Key Takeaways:
- Protect Your Home with Confidence
Setting up a home surveillance system deters intruders, provides evidence in case of criminal activity, and allows remote monitoring for peace of mind. - Tailor Your Security System to Your Needs
Choose the right surveillance equipment, plan camera placement, and enable remote access to create a robust and effective home surveillance system.
Read more: How To Setup Blink XT Outdoor Camera
Choosing the Right Surveillance Equipment
When it comes to selecting the right surveillance equipment for your home, there are several factors to consider. Here are some key points to keep in mind:
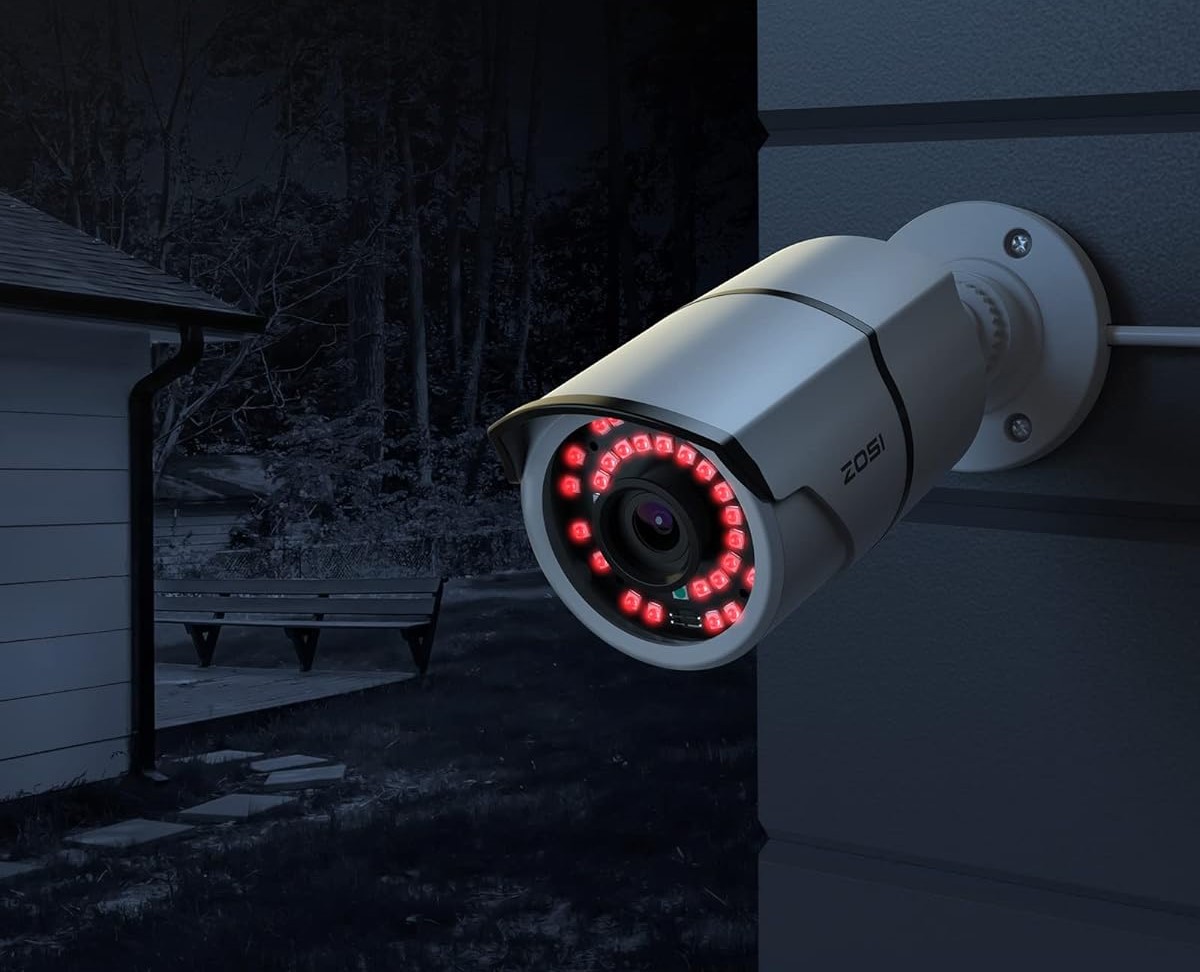
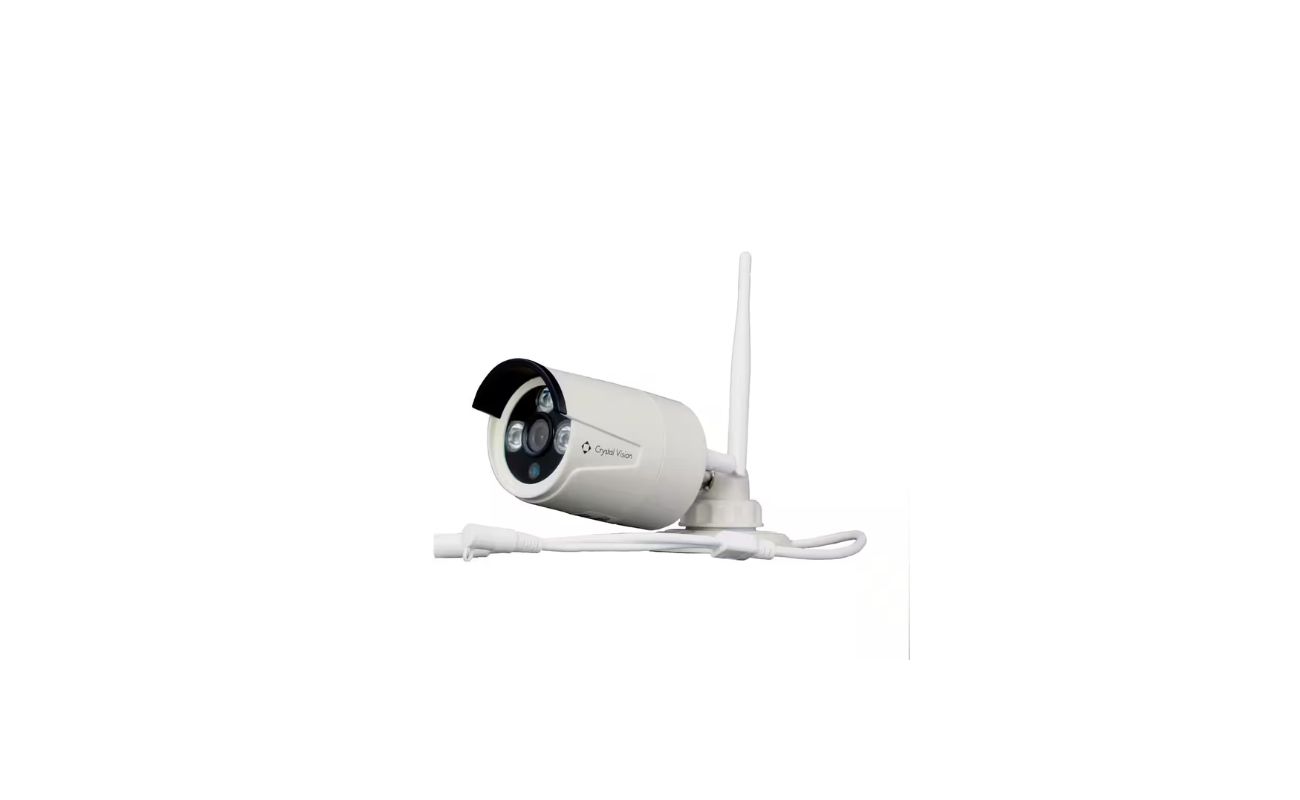
- Camera Types: There are various types of cameras available, including dome cameras, bullet cameras, and PTZ (Pan-Tilt-Zoom) cameras. Consider the coverage area and desired features when choosing the type of camera. Dome cameras are discreet and provide 360-degree coverage, while bullet cameras are ideal for long-range monitoring. PTZ cameras allow you to remotely control the camera’s movement and zoom.
- Video Resolution: The resolution of the cameras determines the clarity of the footage. High-resolution cameras, such as 1080p or 4K, capture detailed images and make it easier to identify individuals and objects in the recorded footage. Consider your requirements and budget when deciding on the resolution.
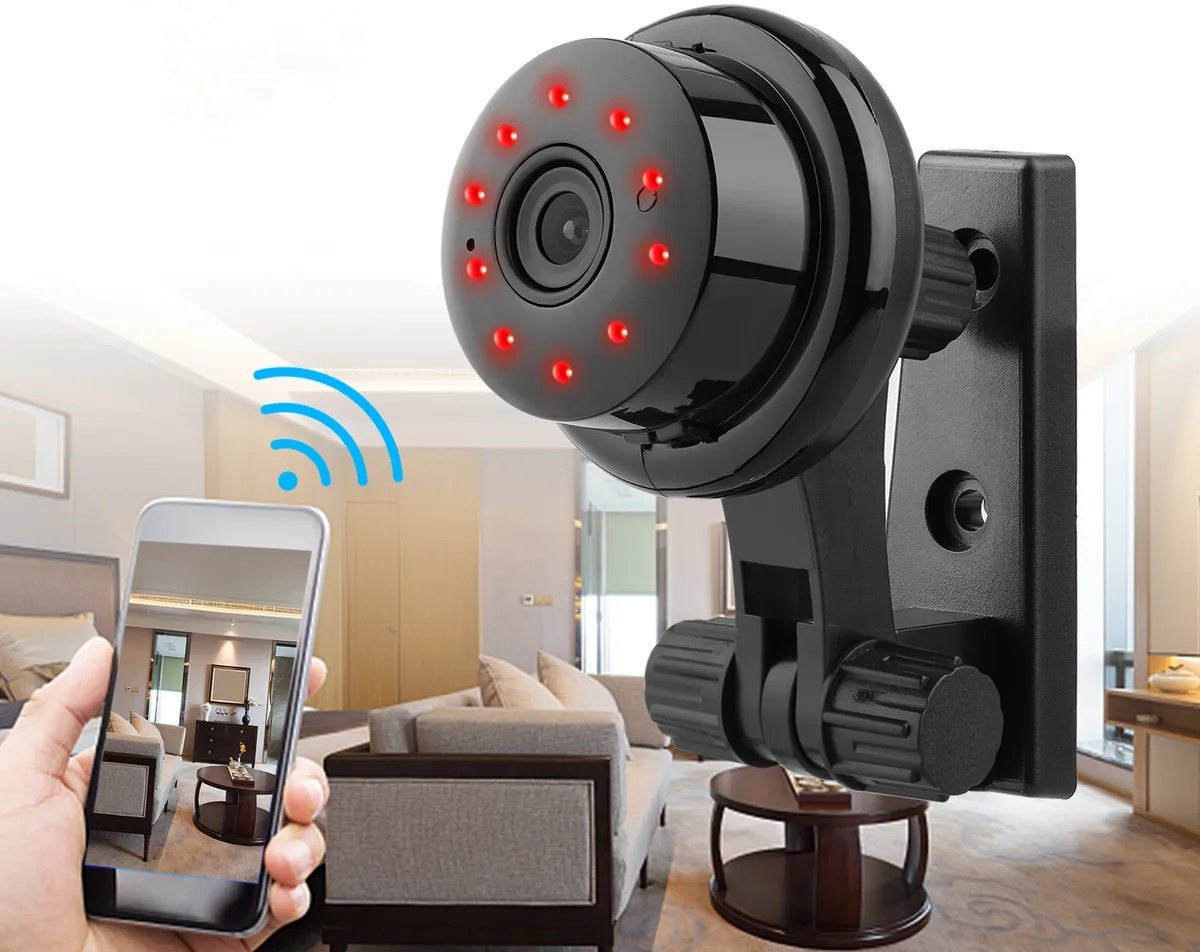
- Night Vision: For round-the-clock surveillance, it is crucial to choose cameras with excellent night vision capabilities. Look for cameras that have infrared (IR) LEDs or low-light sensors to capture clear images even in complete darkness.
- Storage: Determine how much storage you will need for your surveillance system. There are two main options: local storage and cloud storage. Local storage involves using a Network Video Recorder (NVR) or Digital Video Recorder (DVR) to save the recorded footage on hard drives. Cloud storage allows you to store the footage remotely, providing backup and accessibility from anywhere.
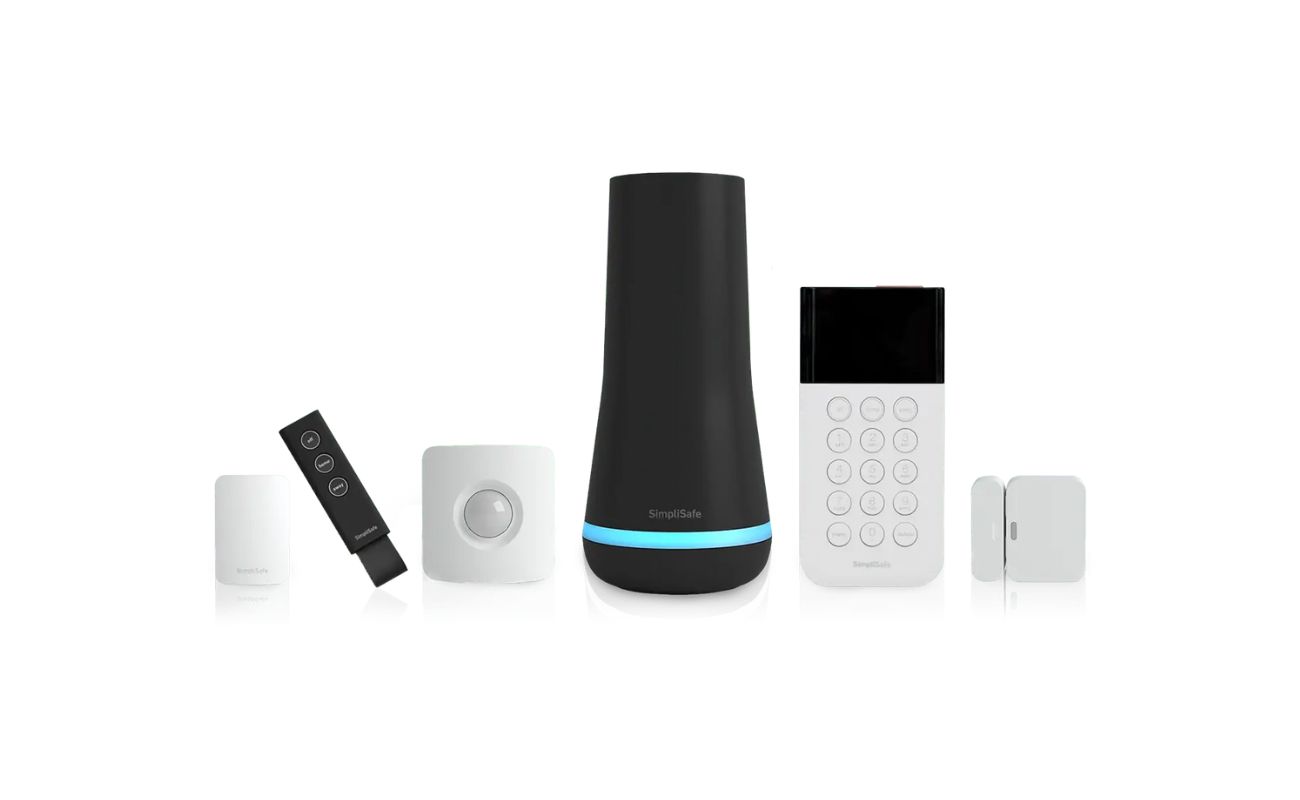
- Integration: If you have existing smart home devices or security systems, consider cameras that can integrate with these systems. This enables you to control and monitor all aspects of your home security from a centralized platform.
- Wireless vs. Wired: Decide whether you prefer wireless or wired cameras. Wireless cameras offer flexibility in terms of installation but may be susceptible to signal interference. Wired cameras, on the other hand, provide a more reliable and stable connection but may require professional installation.
By considering these factors and carefully evaluating your specific needs, you can choose the right surveillance equipment that provides optimal coverage and functionality for your home security system.
Determining the Areas to Be Covered
Before you start installing your home surveillance cameras, it is essential to determine the areas you want to cover. This step will help you identify the number of cameras you need and their optimal placement.
Begin by assessing the vulnerable areas and potential entry points of your home. Common areas to consider include the front and back doors, windows, garage, driveway, and backyard. Think about areas that are hidden or secluded, as these are often targeted by intruders.
Consider the layout and size of your property. Large homes may require more cameras to ensure complete coverage, while smaller homes may only need a few strategically placed cameras.
If you have a multi-story property, think about whether you need cameras on each level. For example, if you have a basement or an upper floor with accessible windows, it is crucial to include those areas in your surveillance plan.
Additionally, if you have specific valuables or areas of interest within your home, such as a home office, art collection, or a safe, make sure to include cameras that cover those areas as well.
Consider the surroundings of your property as well. Are there any blind spots or areas that require special attention? For example, if your home has outdoor structures like sheds or a detached garage, consider installing cameras to monitor those areas.
Lastly, think about any areas that might be attractive to potential burglars, such as entrances with poor visibility or locations that provide easy access. By identifying these areas, you can ensure that your surveillance system covers all angles and provides comprehensive security for your home.
Once you have determined the areas to be covered, you can move on to planning the placement of your home surveillance cameras.
Planning Camera Placement
Proper camera placement is crucial for maximizing the effectiveness of your home surveillance system. Here are some tips for planning camera placement:
- Entry Points: Start by placing cameras at all entry points to your home, including doors and windows. This will capture any potential intruders as they attempt to enter your property.
- High-Profile Areas: Identify high-profile areas within your property that are most likely to be targeted. These can include the front yard, patio, or backyard. By placing cameras in these areas, you can monitor any suspicious activity.
- Line of Sight: Ensure that the cameras have a clear line of sight to the areas you want to monitor. Avoid obstructions such as trees, bushes, or structures that may hinder the camera’s view.
- Focus on Vulnerable Areas: Pay special attention to vulnerable areas like ground-level windows or areas with poor lighting. These areas are more prone to break-ins and should be given priority when planning camera placement.
- Consider Height: Position the cameras at an appropriate height to capture a wide field of view. Mounting cameras at a higher elevation can provide a broader perspective and reduce the risk of tampering.
- Avoid Glare and Reflections: Be mindful of placing cameras near reflective surfaces or areas with excessive direct sunlight. Glare and reflections may obstruct the camera’s view, resulting in distorted or unusable footage.
- Extra Coverage: If you have larger areas to monitor or blind spots that need coverage, consider using wide-angle or panoramic cameras. These cameras can capture a wider area and reduce the number of cameras required.
- Consider Privacy: Take privacy concerns into account when planning camera placement. Avoid pointing cameras towards neighboring properties or areas where privacy might be compromised.
Once you have a clear plan for camera placement, you can proceed to the installation phase. Keep in mind that the specific needs of your property may require adjustments to this general guide. By considering these factors and tailoring the placement to your home’s unique layout, you can ensure comprehensive coverage and an effective surveillance system.
Installing the Cameras
Now that you have determined the areas and planned the placement of your home surveillance cameras, it is time to proceed with the installation process. Follow these steps to ensure a successful installation:
- Gather Your Tools: Before you begin, gather all the necessary tools for the installation process. This may include a power drill, screwdriver, measuring tape, and cable clips.
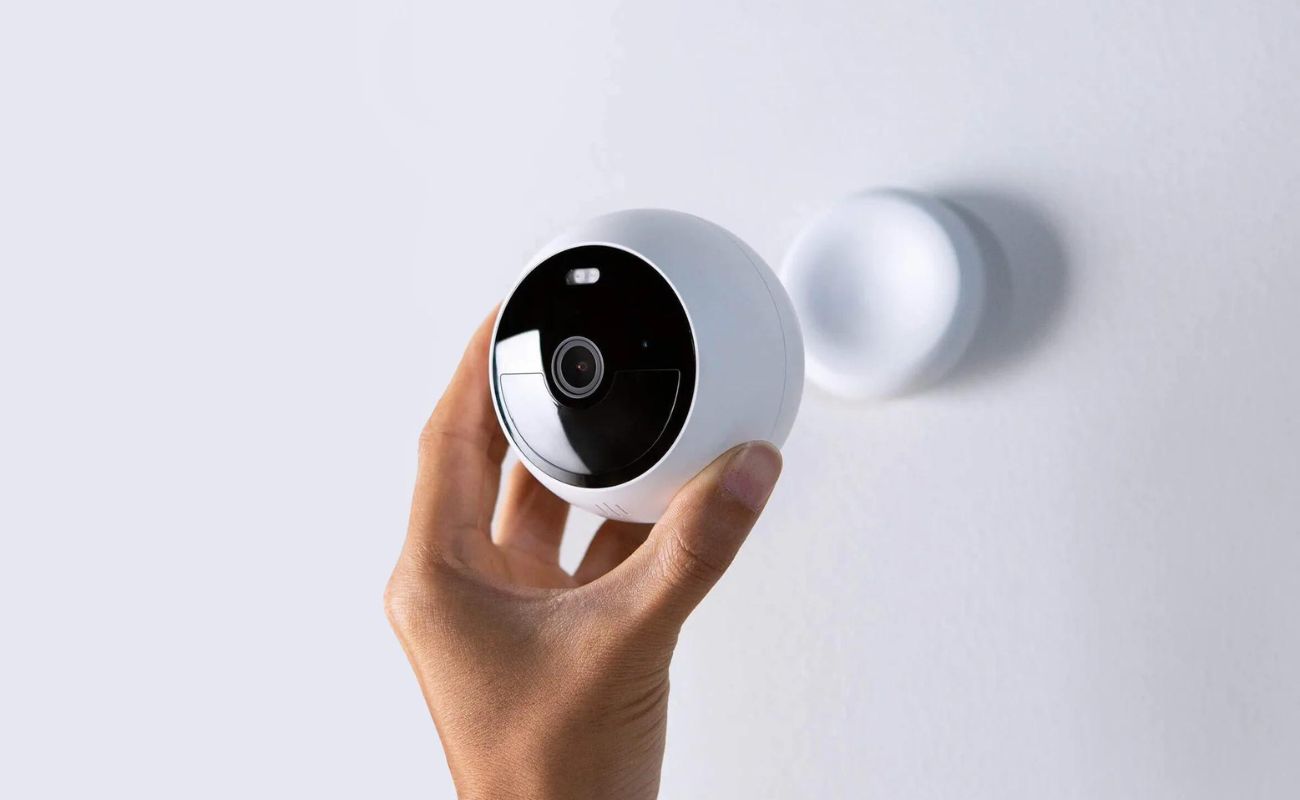
- Mounting the Cameras: Start by mounting the cameras in their designated locations. Follow the manufacturer’s instructions for proper installation. Make sure the camera is securely attached to the mounting surface to prevent any accidental movement or tampering.
- Routing the Cables: Once the cameras are in place, route the cables from each camera to the recording device. Conceal the cables as much as possible to maintain a clean and professional installation.
- Power Connection: Ensure that each camera is properly connected to a power source. Depending on the camera type, you may need to use an electrical outlet or a power adapter.
- Adjusting the Camera Angle: Once the cameras are installed, adjust the camera angles to maximize their coverage. Test the views and make any necessary adjustments to ensure optimal visibility of the monitoring areas.
- Weatherproofing: If your cameras are located outdoors, make sure they are weatherproofed to protect them from the elements. Use weatherproof housing or covers to safeguard the cameras from rain, dust, and extreme temperatures.
- Securing the Cables: Securely fasten the cables using cable clips or wire ties to prevent them from coming loose or getting damaged over time. This will help maintain the integrity of your surveillance system.
- Testing: After the installation is complete, test each camera to ensure they are functioning properly. Check the live feed and adjust any settings if necessary.
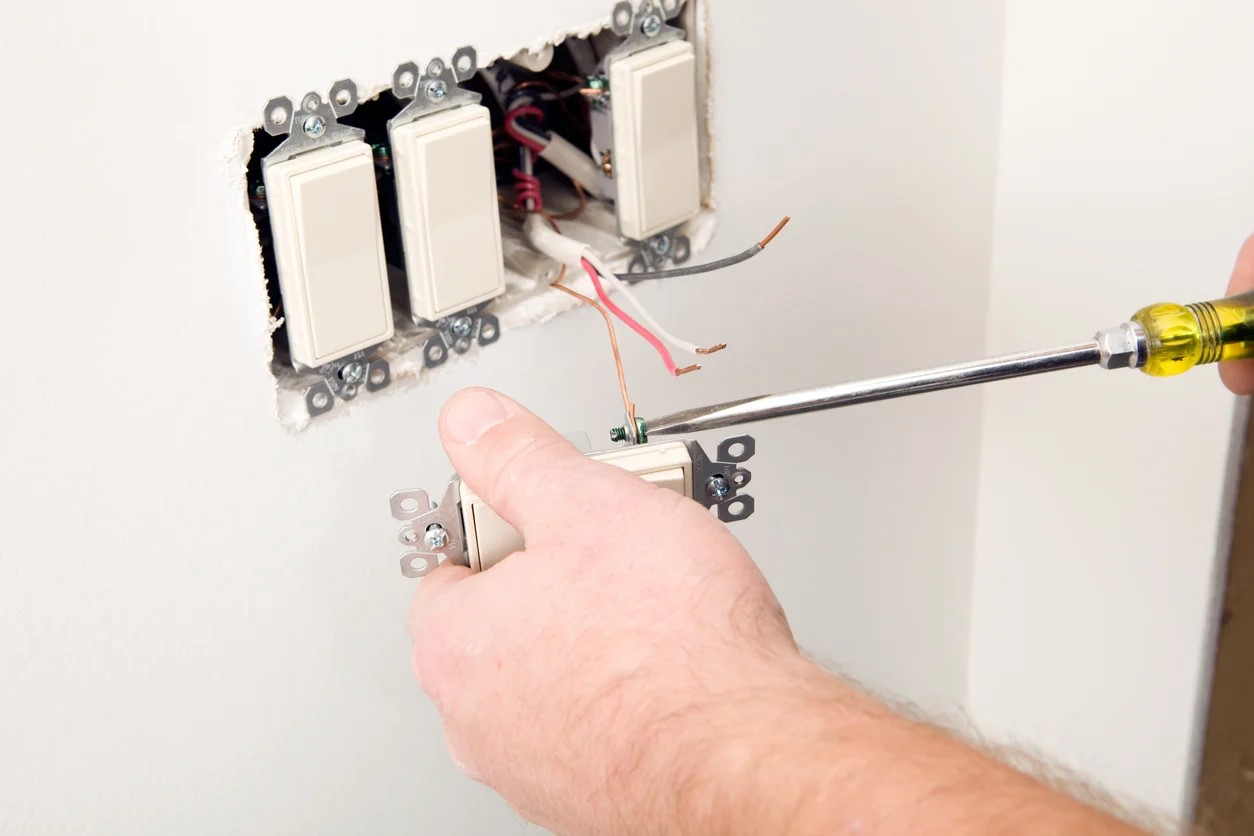
It is important to note that if you are not comfortable with the installation process or if you have a more complex surveillance system, it is recommended to seek professional assistance. A professional installer can ensure that the cameras are mounted correctly and the system is set up for optimal performance.
Once the cameras are installed and tested, it’s time to connect them to a recording device.
When setting up a home surveillance system, make sure to place cameras at all entry points and vulnerable areas, such as windows. This will help to maximize coverage and security for your home.
Connecting the Cameras to a Recording Device
Connecting your surveillance cameras to a recording device is a crucial step in setting up your home surveillance system. The recording device captures and stores the camera footage for later review or playback. Follow these steps to connect your cameras to a recording device:
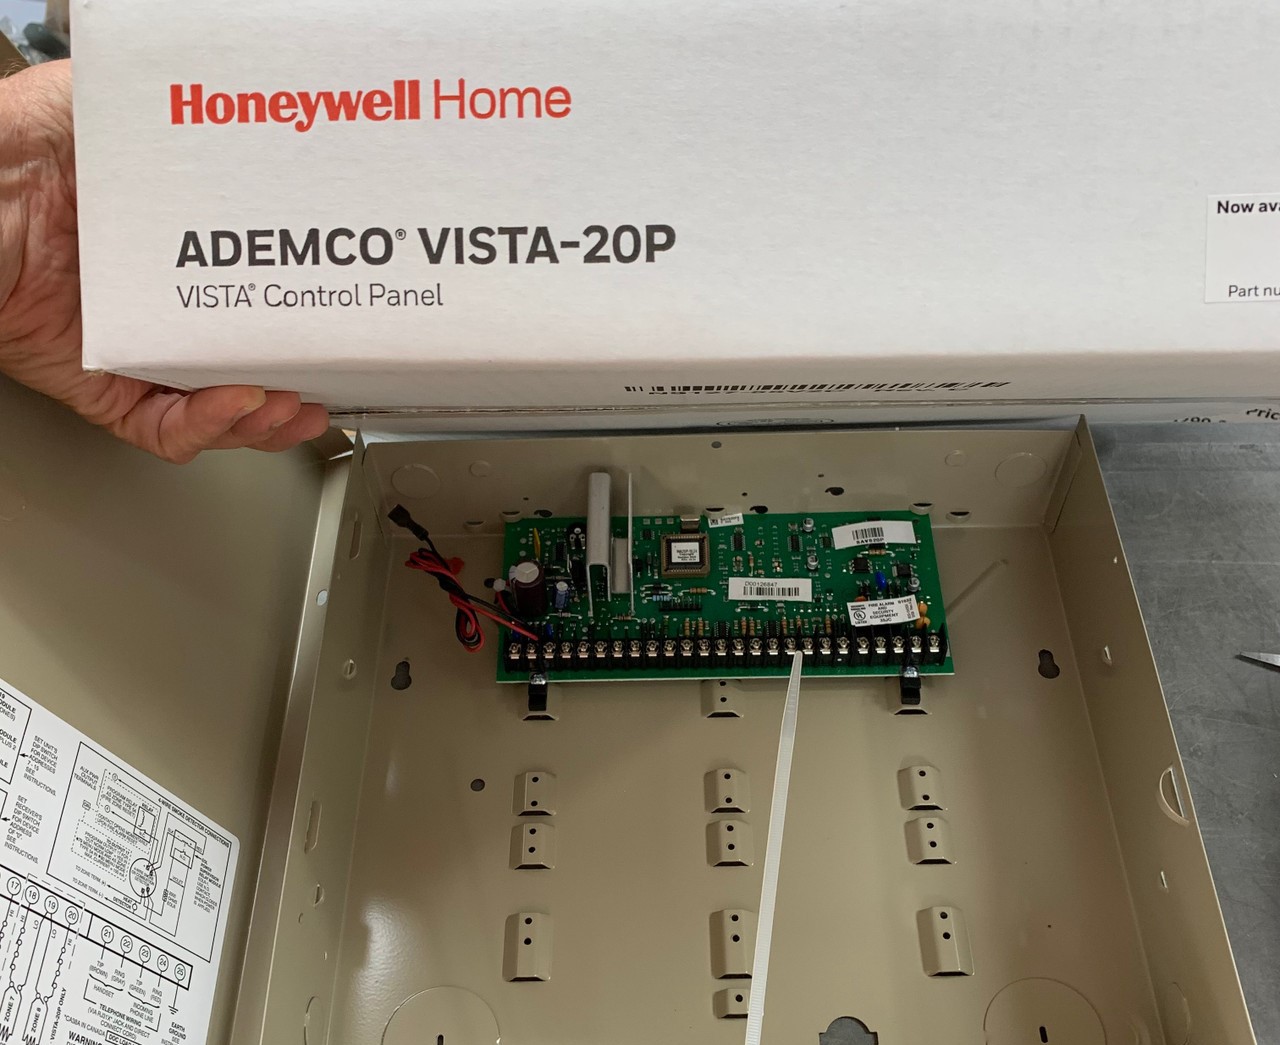
- Choose the Right Recording Device: Determine whether you will be using a Network Video Recorder (NVR), a Digital Video Recorder (DVR), or a computer-based software solution. Consider the number of cameras you have and the desired storage capacity when selecting the recording device.
- Connect the Cameras to the Recorder: Use the provided cables to connect each camera to the recording device. Most cameras use either Ethernet cables or coaxial cables for connection. Follow the specific instructions provided by the manufacturer for proper connection.
- Configure IP Cameras: If your cameras are IP cameras, you will need to configure them to connect to your network. Assign each camera a unique IP address and ensure that they are connected to the same network as the recording device.
- Set Up Hard Drive: If you are using an NVR or DVR, install and format the hard drive according to the manufacturer’s instructions. This will provide the necessary storage for saving the recorded footage.
- Configure Recording Settings: Access the settings of the recording device to set up the recording parameters. This includes specifying the recording schedule, resolution, and other preferences such as motion detection or continuous recording.
- Ensure Network Connectivity: If you plan on accessing your surveillance system remotely, make sure your recording device is connected to the internet. This will enable you to view the live feed or access the recorded footage from anywhere using a computer or smartphone.
- Test the System: Once the cameras are connected to the recording device, test the system to ensure that the footage is being recorded properly. Check the playback functionality and review the recorded footage for each camera.
By following these steps, you will successfully connect your surveillance cameras to a recording device, allowing you to store and review the recorded footage whenever needed.
Next, we will explore how to set up remote access for your home surveillance system.
Setting Up Remote Access
Setting up remote access for your home surveillance system allows you to view the live feed or access the recorded footage from anywhere using a computer, smartphone, or tablet. Follow these steps to enable remote access:
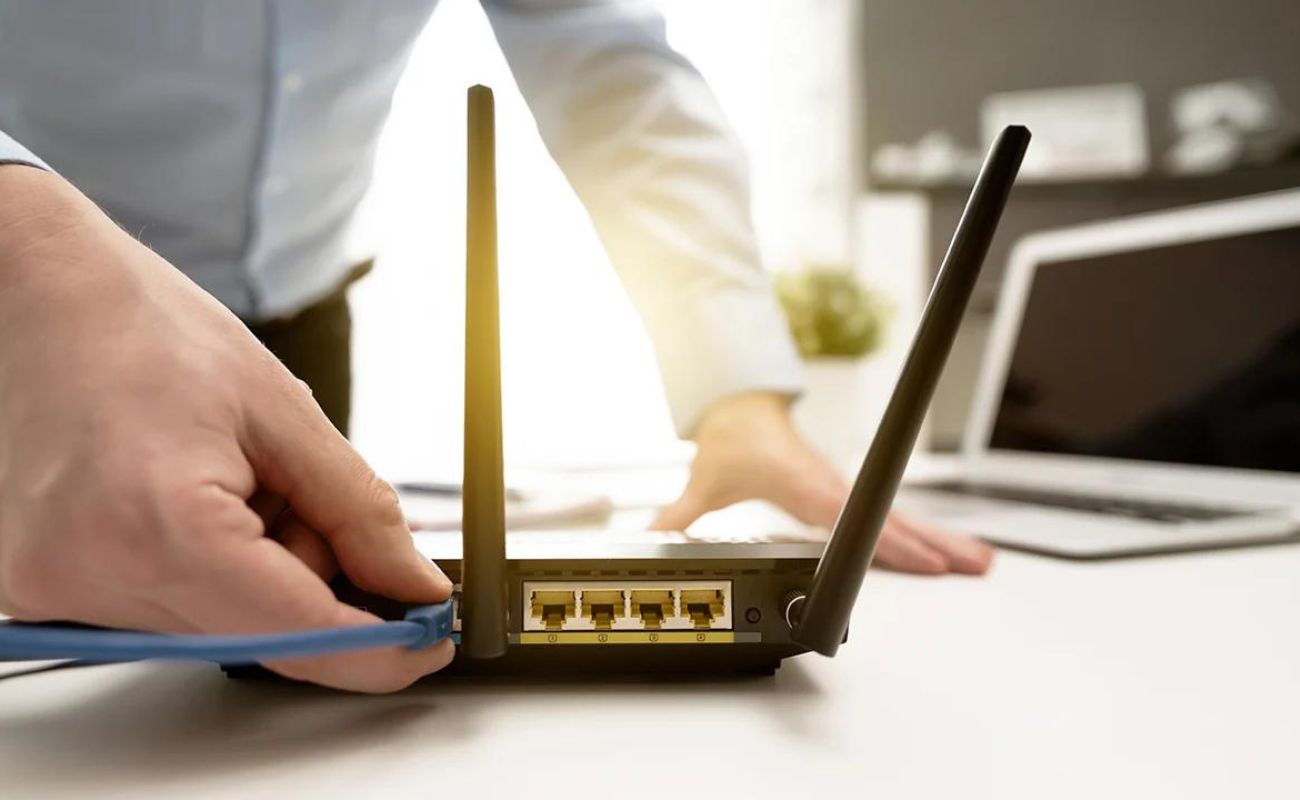
- Router Configuration: Access your router’s settings page and enable port forwarding. This allows incoming connections from outside your network to access your surveillance system. Refer to your router’s manual or contact your internet service provider for assistance with port forwarding.
- Dynamic DNS (DDNS): If your internet service provider assigns you a dynamic IP address, use a DDNS service. DDNS translates your dynamic IP address into a hostname, making it easier to access your surveillance system remotely. Sign up with a DDNS provider and configure your recorder or router to update the DDNS information periodically.
- Enable Remote Access: In the settings of your recording device, enable the remote access feature. This may involve setting up user accounts, passwords, and specifying the level of access for each user.
- Install Remote Viewing App: Install the appropriate app on your smartphone or tablet to access your surveillance system remotely. Make sure the app is compatible with your recording device and follow the instructions to set it up.
- Configure App Settings: Open the app and enter the necessary information, such as the DDNS hostname or static IP address, port number, username, and password. Save the settings, and the app should connect to your surveillance system.
- Test Remote Access: Once everything is set up, test the remote access by connecting to your surveillance system using the app. Ensure that you can view the live feed and access the recorded footage without any issues.
With remote access enabled, you can monitor your home, check on your loved ones, or keep an eye on your property while you are away. It provides convenience, flexibility, and enhanced peace of mind.
Remember to regularly update your passwords and keep your surveillance system’s software up to date to ensure optimal security and protection.
Now that your home surveillance system is fully configured, it’s time to test and fine-tune the system to meet your specific needs.
Testing and Adjusting the System
Once you have set up your home surveillance system, it is crucial to test and fine-tune the system to ensure optimal functionality. Here are some steps to follow for testing and adjusting your system:
- Check Camera Feeds: Start by checking the live feeds of each camera to ensure they are capturing the intended areas. Make sure the camera angles and positioning provide the desired coverage and visibility.
- Test Recording: Perform a test recording to ensure that the cameras are correctly connected to the recording device and that the footage is being saved properly. Review the recorded footage to ensure its quality and clarity.
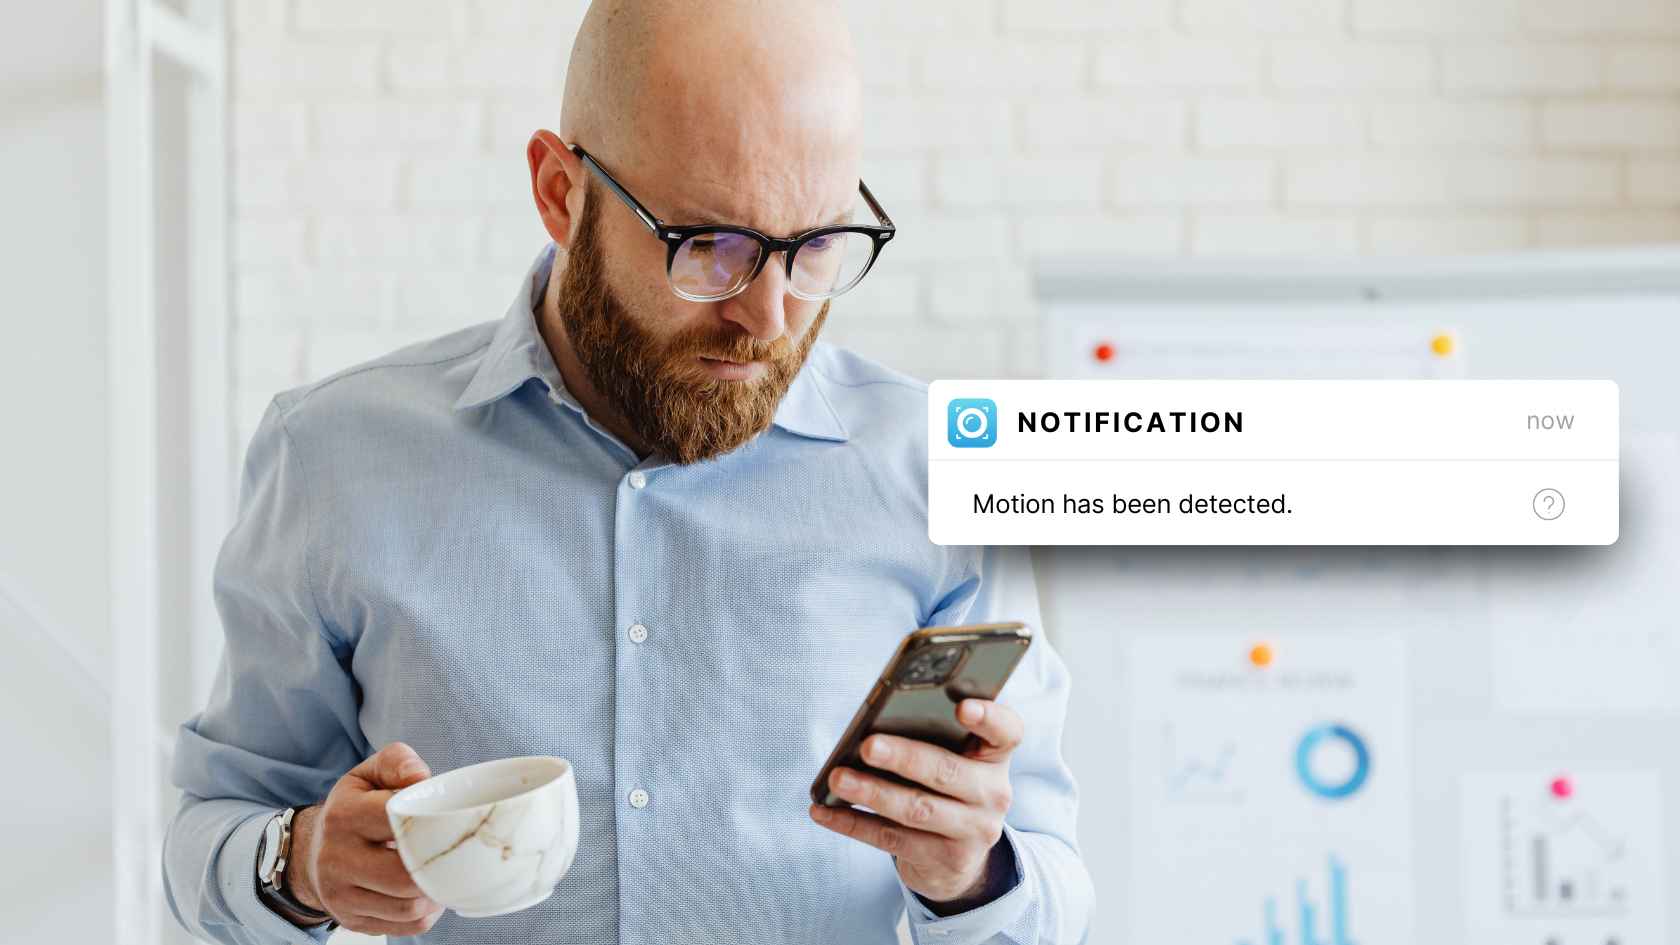
- Adjust Motion Detection: If your surveillance system has motion detection capabilities, adjust the sensitivity settings to avoid false alarms while ensuring that all significant movements are detected.
- Check Night Vision: Test the night vision capabilities of your cameras to ensure that they provide clear images in low-light or dark conditions. Make any necessary adjustments to improve the quality of the night vision footage.
- Review Storage Capacity: Assess the storage capacity of your recording device and determine if it is sufficient for your needs. Consider adjusting the recording settings, such as resolution or frame rate, to optimize storage usage without compromising image quality.
- Review Remote Access: Test the remote access functionality by connecting to your surveillance system from a remote location. Ensure that you can view the live feed and access the recorded footage smoothly and without any connectivity issues.
- Perform Regular Maintenance: Regularly clean the camera lenses to prevent dirt or debris from obstructing the view. Check cables and connections periodically to ensure they are secure and functioning correctly.
- Review System Performance: Monitor the performance of your home surveillance system over time. Pay attention to any technical issues, such as camera malfunctions or recording errors, and address them promptly.
It is essential to periodically review and adjust your system to adapt to changing security needs or technological advancements. As your requirements evolve or as new features become available, consider upgrading or expanding your surveillance system accordingly.
By regularly testing and fine-tuning your home surveillance system, you can ensure that it operates at its best, providing you with reliable security and peace of mind.
Now that you have successfully set up and tested your home surveillance system, you are ready to enjoy enhanced security and protection for your home and loved ones.
Conclusion
Setting up a home surveillance system is a proactive step towards enhancing the security and protection of your home and loved ones. By following the steps outlined in this article, you can create a robust and effective surveillance system tailored to your specific needs.
Choosing the right surveillance equipment, determining the areas to be covered, planning the camera placement, and installing the cameras are the initial steps in the process. Connecting the cameras to a recording device and enabling remote access further enhance the functionality and convenience of your surveillance system.
After setting up the system, it is essential to test and adjust it to ensure optimal performance. Regular maintenance and monitoring allow you to identify and address any issues promptly, ensuring that your system remains reliable and effective over time.
A home surveillance system provides peace of mind, allowing you to monitor your property and loved ones, both when you’re at home and away. It acts as a deterrent for potential intruders, provides evidence in case of criminal activity, and enables remote access for convenient monitoring.
Remember to prioritize privacy and consider legal regulations when installing and using surveillance equipment. It is important to respect the privacy of your neighbors and ensure compliance with local laws and regulations.
In conclusion, a properly set up and maintained home surveillance system is an invaluable investment in protecting your property and ensuring the safety of your loved ones. Take the time to carefully plan, install, and fine-tune your system, and enjoy the added security and peace of mind that it brings.
Frequently Asked Questions about How To Setup A Home Surveillance System
Was this page helpful?
At Storables.com, we guarantee accurate and reliable information. Our content, validated by Expert Board Contributors, is crafted following stringent Editorial Policies. We're committed to providing you with well-researched, expert-backed insights for all your informational needs.