Home>Home Security and Surveillance>Ubiquiti UAP-AC-M-US: How To Connect Wireless Security Cameras
Home Security and Surveillance
Ubiquiti UAP-AC-M-US: How To Connect Wireless Security Cameras
Modified: October 18, 2024
Learn how to connect wireless security cameras to your home security and surveillance system with the Ubiquiti UAP-AC-M-US. Ensure maximum protection for your property
(Many of the links in this article redirect to a specific reviewed product. Your purchase of these products through affiliate links helps to generate commission for Storables.com, at no extra cost. Learn more)
Introduction
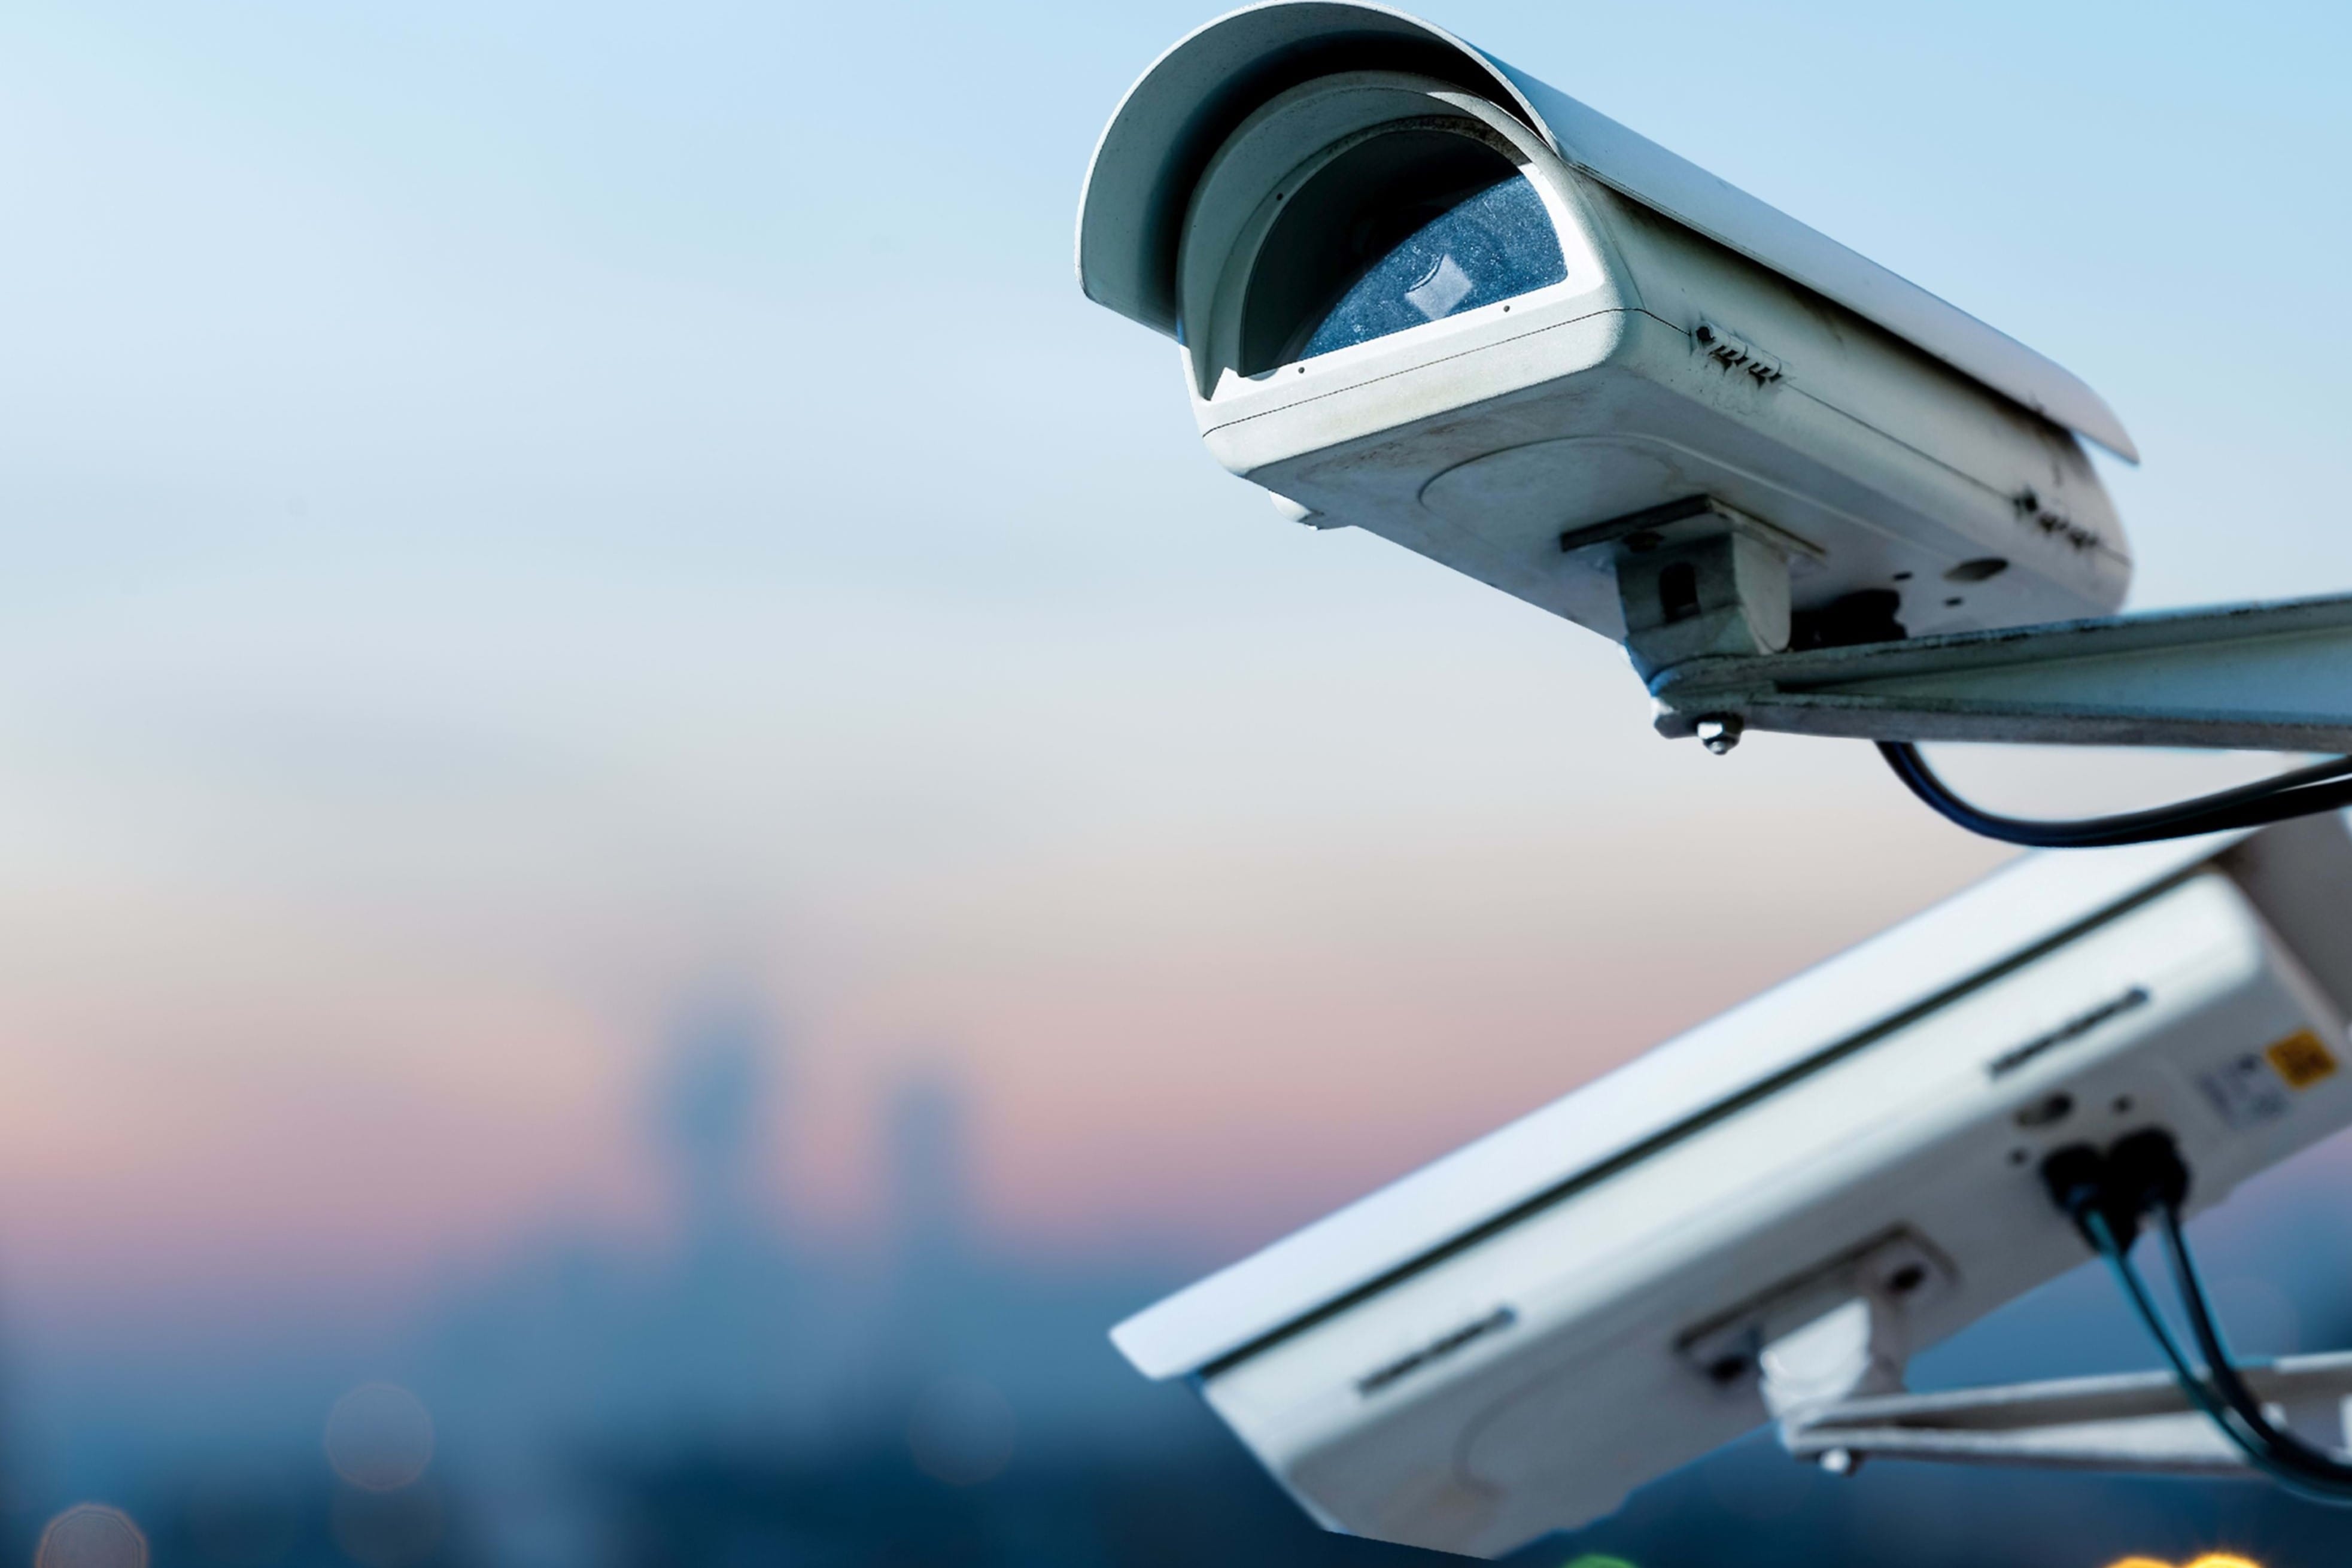
Welcome to the world of home security and surveillance. With the increasing concerns about safety and the need for constant monitoring, a reliable and efficient security camera system has become essential for many homeowners. While traditional wired security cameras have been the go-to option for many years, wireless security cameras are gaining popularity due to their ease of installation, flexibility, and remote access capabilities. In this article, we will guide you through the process of connecting wireless security cameras using the Ubiquiti UAP-AC-M-US access point.
The Ubiquiti UAP-AC-M-US is a powerful and versatile access point that provides seamless and reliable wireless connectivity. It offers high-performance Wi-Fi coverage, making it an ideal choice for connecting wireless security cameras in your home. By following the steps outlined in this guide, you’ll be able to set up and configure your wireless security cameras using the UAP-AC-M-US, ensuring a secure and efficient surveillance system.
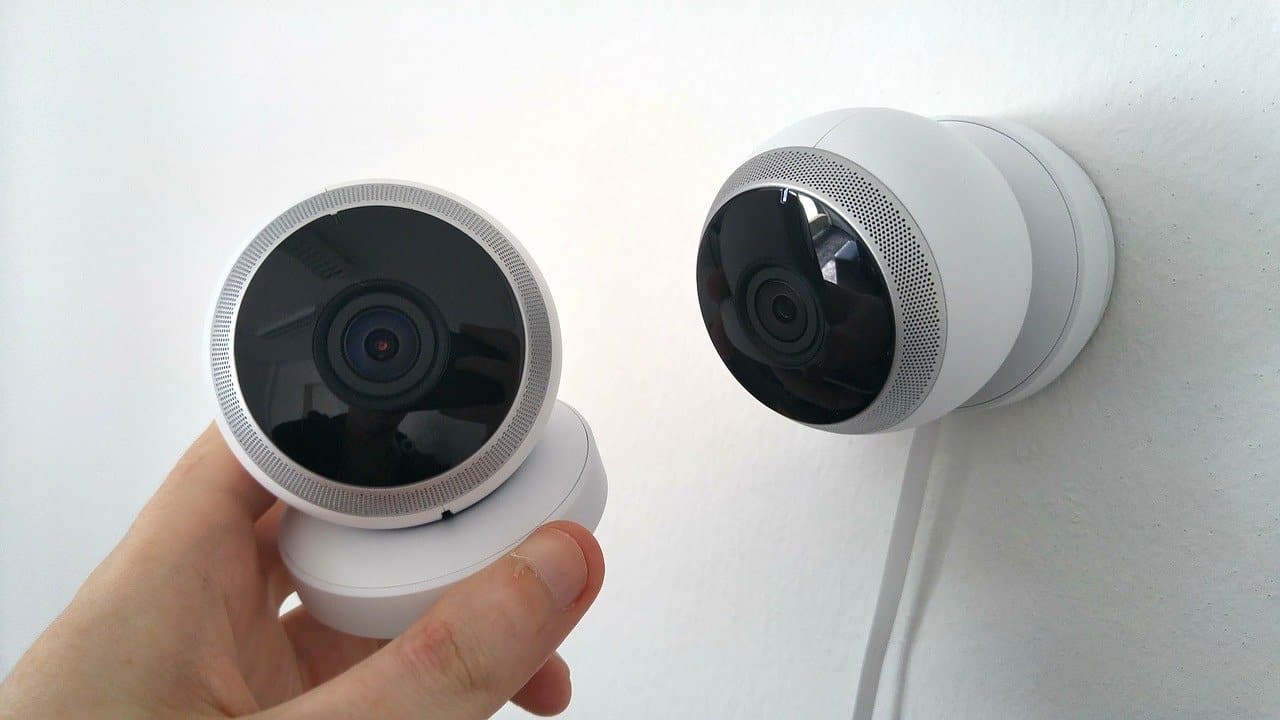
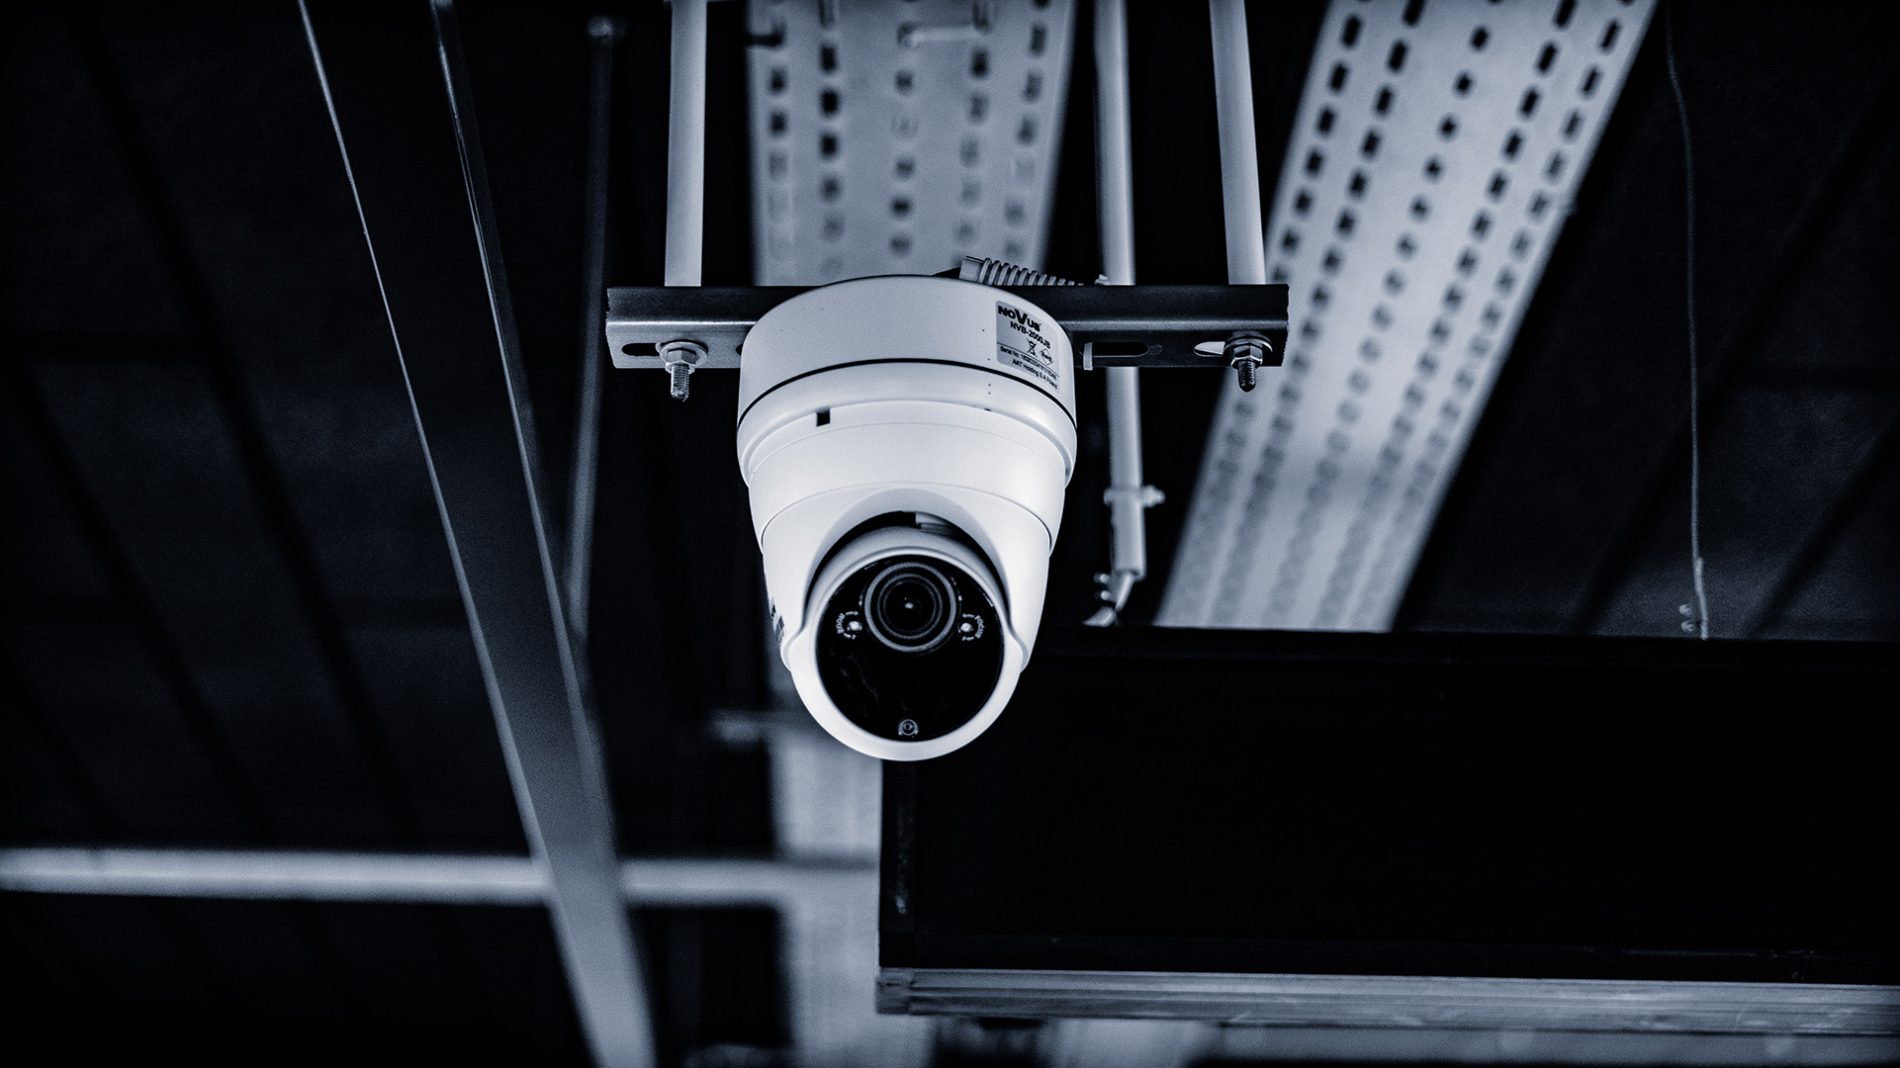
Before we dive into the setup process, it’s important to note the benefits of using wireless security cameras in your home. Firstly, wireless cameras offer a hassle-free installation process as there is no need for extensive wiring throughout your property. This not only saves time but also eliminates any potential damage to your walls or ceilings. Secondly, wireless cameras provide flexibility in terms of camera placement. You can easily mount them in various locations without restrictions imposed by the presence of wires. Additionally, wireless cameras offer remote access capabilities, allowing you to monitor your home from anywhere using your smartphone or computer.
Now that you understand the advantages of wireless security cameras, let’s move on to the first step in setting up your system: gathering the necessary equipment.
Key Takeaways:
- Setting up wireless security cameras with the Ubiquiti UAP-AC-M-US access point offers easy installation, flexible placement, and remote access, providing homeowners with a convenient and reliable surveillance system.
- Gathering the right equipment, strategically placing cameras, and following manufacturer instructions for setup and testing are essential for a successful wireless security camera system, ensuring peace of mind and enhanced home security.
Read more: How To Connect Wireless Security Cameras?
Step 1: Gathering the Equipment
Before you can start setting up your wireless security camera system using the Ubiquiti UAP-AC-M-US, you’ll need to gather all the necessary equipment. Here’s a list of items you’ll need:
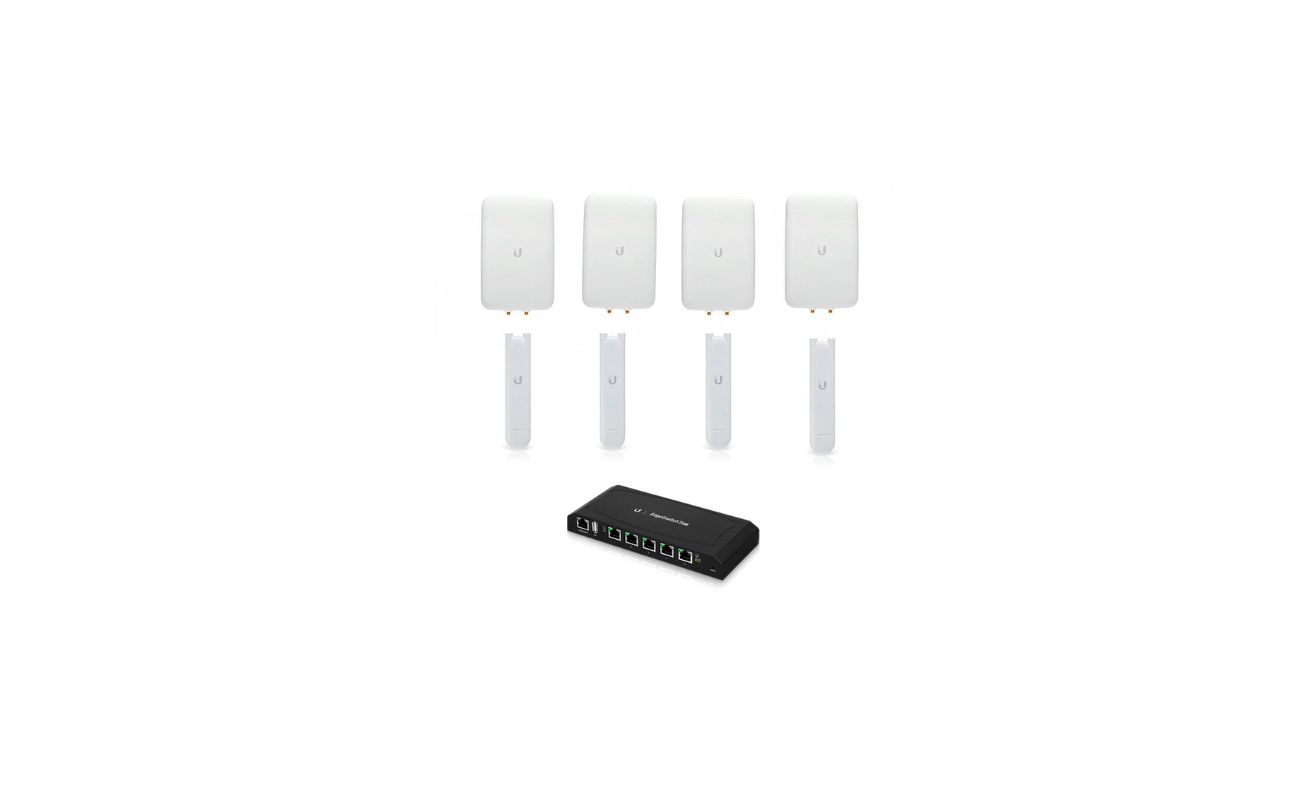
- Ubiquiti UAP-AC-M-US access point
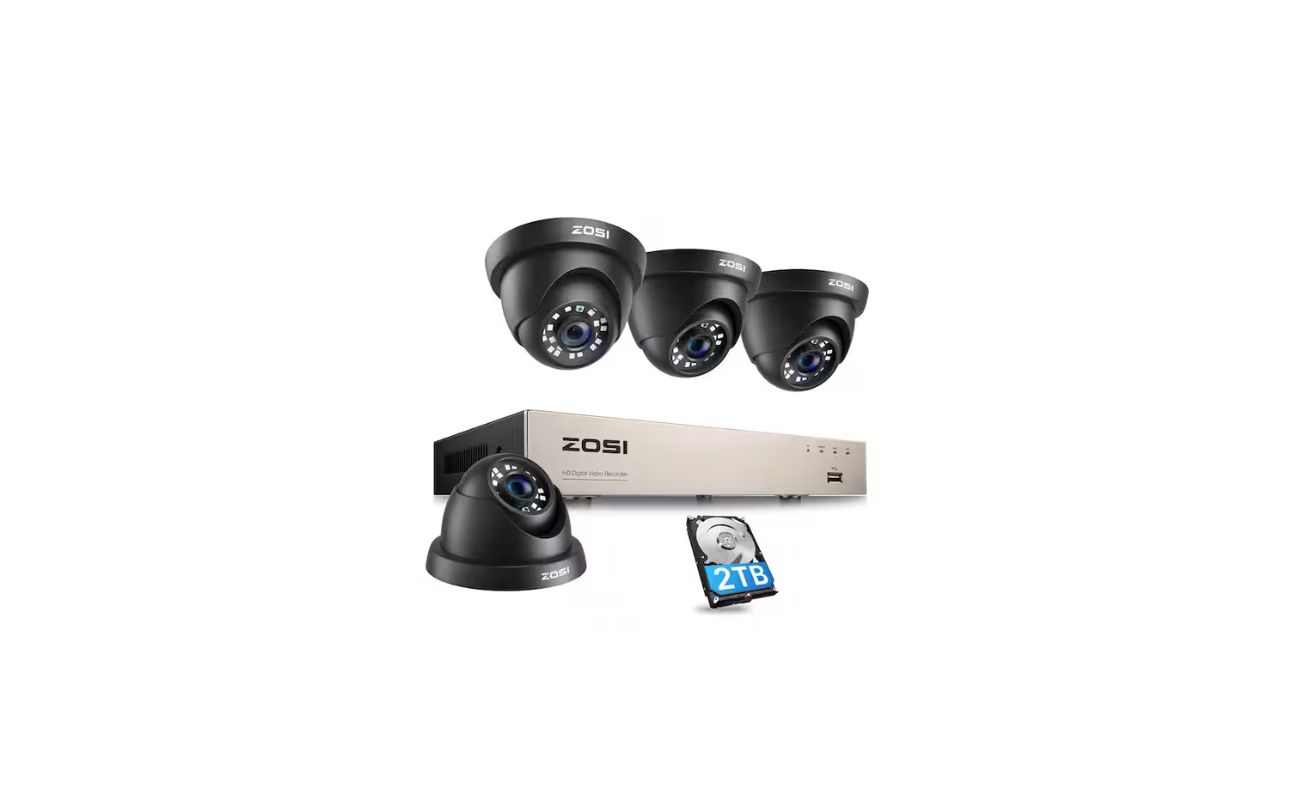
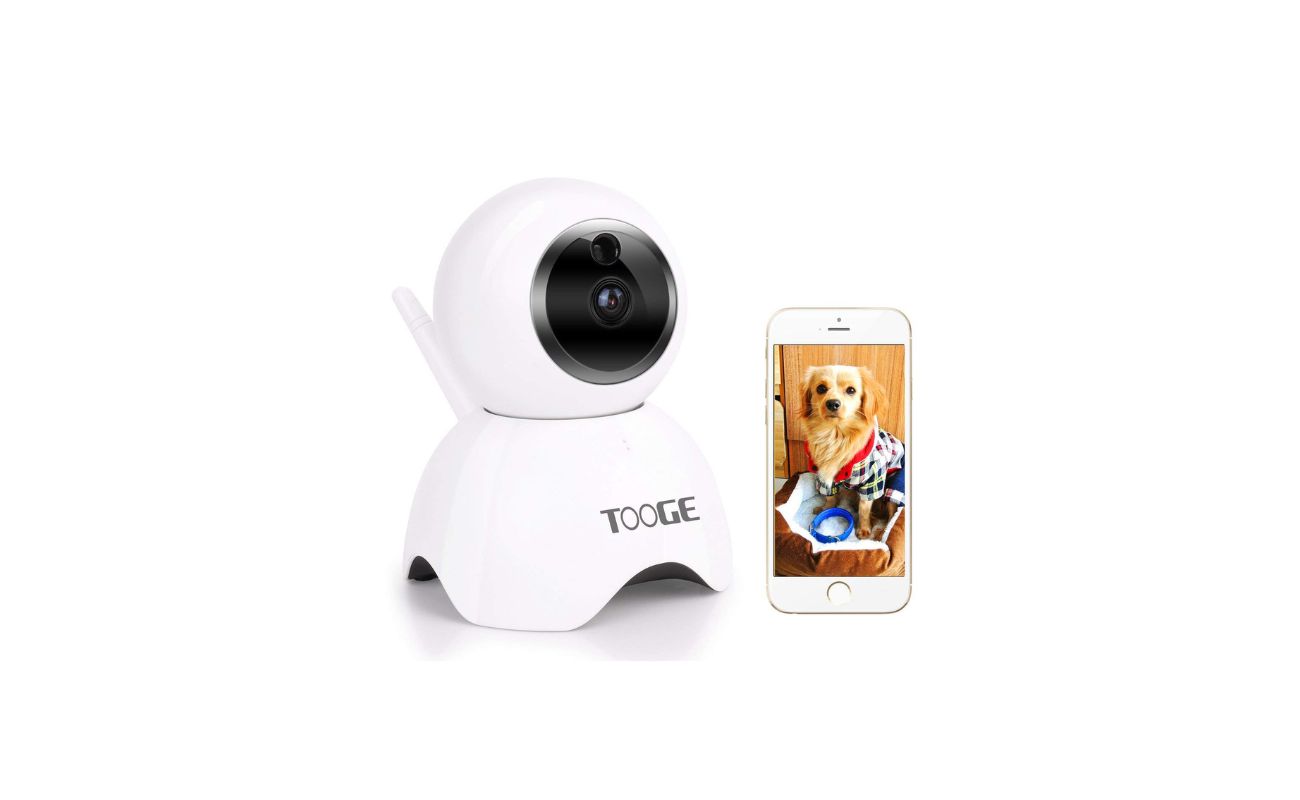
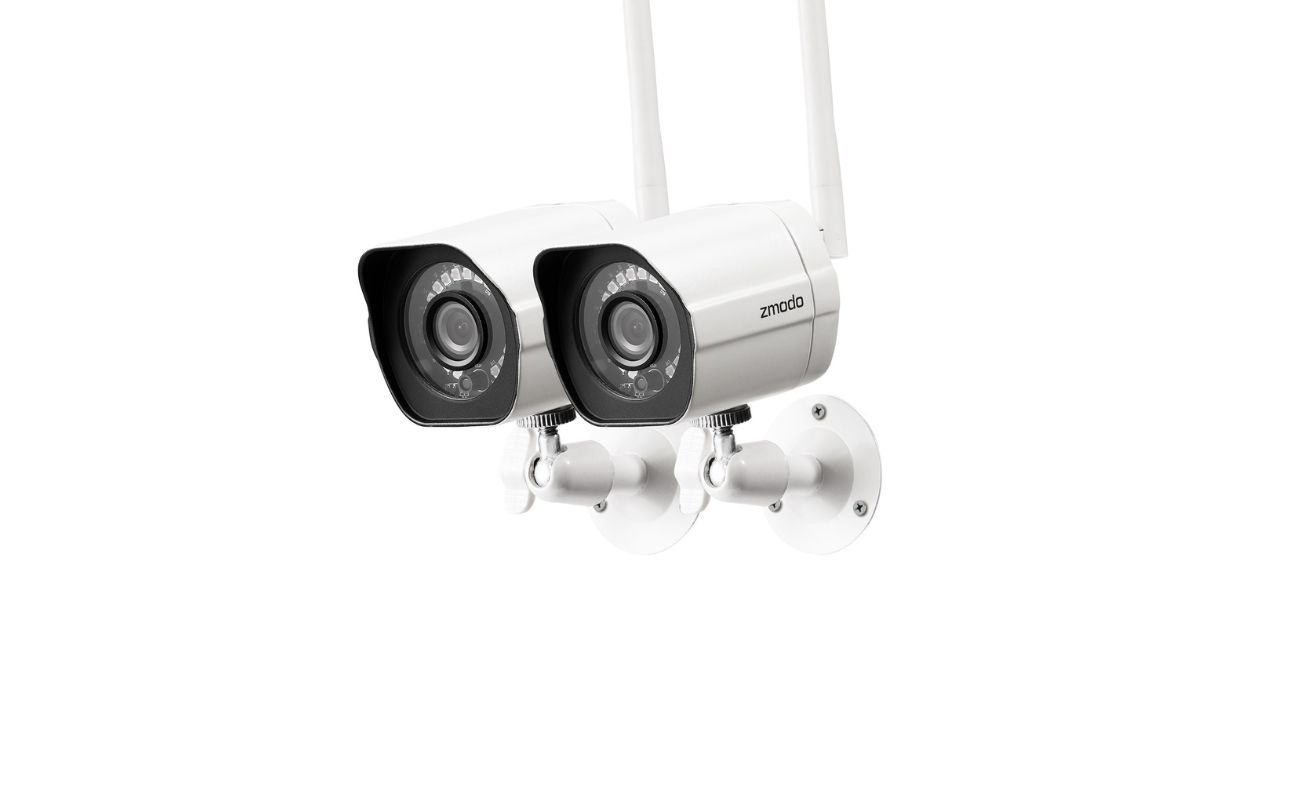
- Wireless security cameras (make sure they are compatible with the UAP-AC-M-US)
- Network cables (Ethernet cables) – one for each camera
- Power adapters or PoE injectors for the cameras (depending on their power requirements)
- A computer or smartphone for configuration
- A stable internet connection
Ensure that you have all the necessary equipment before proceeding to the next step to avoid any delays in the setup process.
In addition to the equipment mentioned above, it’s essential to consider the placement of your wireless security cameras. Determine the areas of your home that require surveillance, such as entrances, windows, or outdoor spaces. This will help you strategically position the cameras for maximum coverage and security.
Once you have gathered all the equipment and decided on the camera placement, you’re ready to move on to setting up the Ubiquiti UAP-AC-M-US access point, which is the central component of your wireless camera system.
Step 2: Setting up the Ubiquiti UAP-AC-M-US Access Point
The Ubiquiti UAP-AC-M-US access point acts as the central hub for your wireless security camera system. Here are the steps to set it up:
- Connect the UAP-AC-M-US to your internet router or switch using an Ethernet cable. Make sure the access point is powered on and connected to a power source.
- Download the Ubiquiti UniFi Controller software on your computer or smartphone. The UniFi Controller allows you to manage and configure your UAP-AC-M-US.
- Open the UniFi Controller software and create a new account if you don’t already have one. Sign in with your account credentials to access the software interface.
- After signing in, the software will automatically detect any Ubiquiti devices connected to your network. Locate the UAP-AC-M-US device from the list and click on “Adopt” to add it to your UniFi network.
- Follow the on-screen prompts to configure the UAP-AC-M-US. Set a unique name for the access point, update the firmware if necessary, and choose a secure password for access.
- Once the configuration is complete, the UAP-AC-M-US will start broadcasting a new Wi-Fi network. Take note of the network name (SSID) and password as you’ll need them later to connect your wireless security cameras.
With the Ubiquiti UAP-AC-M-US set up and ready to go, you can now move on to configuring your wireless security cameras to connect them to the access point.
Note: It’s important to keep the UAP-AC-M-US in a central location within your home to ensure optimal Wi-Fi coverage for all your cameras. Avoid placing it near obstructions or metal objects that could interfere with the wireless signal.
Step 3: Configuring the Wireless Security Camera
Now that you have successfully set up the Ubiquiti UAP-AC-M-US access point, it’s time to configure your wireless security cameras. Here are the steps to follow:
- Consult the manufacturer’s instructions for your specific wireless security camera model to determine the configuration process.
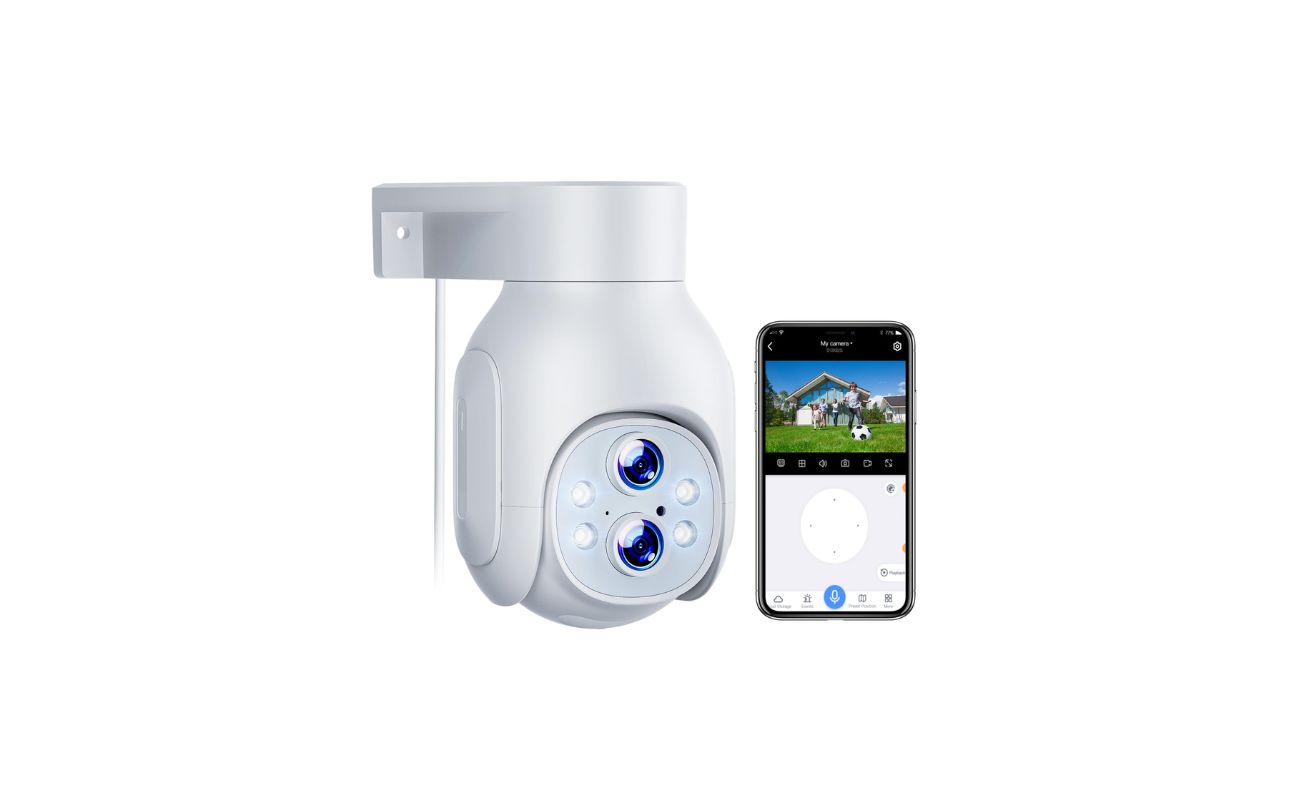
- Most wireless security cameras come with a companion mobile app or software that allows for easy setup and configuration. Install the app on your smartphone or open the software on your computer.
- Follow the on-screen prompts to create an account or sign in to your existing account associated with the wireless camera system.
- In the app or software, you’ll typically find an option to add a new device or camera. Select this option and follow the instructions to connect the camera to your network.
- When prompted, enter the SSID and password of the Wi-Fi network that the Ubiquiti UAP-AC-M-US is broadcasting. This will allow the camera to communicate with the access point.
- Ensure that the camera is connected to a stable power source and positioned in the desired location for surveillance.
- Once the camera has successfully connected to the network, you can further customize its settings through the app or software. This may include adjusting motion detection sensitivity, setting up recording schedules, or enabling notifications.
Repeat this process for each wireless security camera in your system, ensuring that they are all connected to the same Wi-Fi network provided by the Ubiquiti UAP-AC-M-US.
It’s important to note that some wireless security cameras may require additional configuration steps, such as assigning unique IP addresses or setting up port forwarding for remote access. Refer to the manufacturer’s instructions for detailed guidance on configuring your specific camera model.
Now that your wireless security cameras are configured and connected to the network, it’s time to move on to the next step: connecting the cameras to the Ubiquiti UAP-AC-M-US access point.
When connecting wireless security cameras to the Ubiquiti UAP-AC-M-US, make sure to place the access point in a central location for optimal coverage. Additionally, ensure that the cameras are within the recommended range of the access point for a stable connection.
Step 4: Connecting the Wireless Security Camera to the UAP-AC-M-US
With both the Ubiquiti UAP-AC-M-US access point and the wireless security cameras configured, it’s time to connect the cameras to the access point. Follow these steps:
- Locate the wireless security camera that you want to connect to the UAP-AC-M-US.
- Ensure that the camera is powered on and positioned within range of the access point’s Wi-Fi signal.
- Access the camera’s settings through the companion app or software.
- Look for the option to connect to a Wi-Fi network or access point. Select this option.
- From the list of available networks, choose the Wi-Fi network that the Ubiquiti UAP-AC-M-US is broadcasting.
- Enter the SSID and password of the Wi-Fi network when prompted. This will allow the camera to authenticate and connect to the access point.
- Wait for the camera to establish a connection with the UAP-AC-M-US. This process may take a few moments.
- Once the connection is established, you should see a notification or indicator on the camera or in the companion app confirming the successful connection.
Repeat this process for each wireless security camera in your system, ensuring that they are all connected to the Ubiquiti UAP-AC-M-US access point. As you connect more cameras, your surveillance system becomes more comprehensive and robust.
Remember to position the cameras strategically for maximum coverage and security. Place them in areas that require monitoring, such as entrances, windows, or outdoor spaces. You can adjust and fine-tune the camera angles and positions as needed to optimize the surveillance area.
Now that you have successfully connected the wireless security cameras to the UAP-AC-M-US, it’s time to move on to the final step: testing and troubleshooting the system.
Step 5: Testing and Troubleshooting
After connecting the wireless security cameras to the Ubiquiti UAP-AC-M-US access point, it’s important to test the system to ensure everything is functioning properly. Follow these steps to test and troubleshoot your setup:
- Access the live video feed of each camera through the companion app or software. Verify that you can see a clear image or video from each camera.
- Test the motion detection capabilities of the cameras by walking in front of their view. Make sure you receive notifications or recordings when motion is detected.
- Check the camera’s night vision functionality by monitoring the footage in low light or darkness. Ensure that the camera provides clear and detailed images in these conditions.
- If you encounter any issues with the camera’s connectivity or performance, try the following troubleshooting steps:
- Ensure that the camera is within range of the UAP-AC-M-US access point and that there are no obstructions blocking the Wi-Fi signal.
- Restart the camera and the access point to establish a fresh connection.
- Check the Wi-Fi signal strength in the camera’s vicinity using a Wi-Fi analyzer app. If the signal is weak, consider repositioning the camera or adding a Wi-Fi range extender.
- Make sure that the camera’s firmware is up to date. Consult the manufacturer’s website for firmware updates and follow the instructions to install them.
- If the camera still doesn’t function correctly, reach out to the manufacturer’s support team for further assistance.
Regularly monitor and test your wireless security camera system to ensure its continued performance and reliability. Check for any software updates or firmware upgrades for both the Ubiquiti UAP-AC-M-US access point and the cameras. Keeping the system up to date will help address any potential security vulnerabilities and optimize its functionality.
Congratulations! You have successfully set up and connected wireless security cameras using the Ubiquiti UAP-AC-M-US access point. Enjoy the peace of mind provided by your new surveillance system, knowing that your home is under constant watch. If you have any further questions or need assistance, refer to the user manuals or reach out to the manufacturer’s support team for guidance.
Final note: Remember to comply with all relevant laws and regulations regarding the use of surveillance cameras in your jurisdiction.
Conclusion
Setting up a wireless security camera system using the Ubiquiti UAP-AC-M-US access point can provide you with convenience, flexibility, and peace of mind when it comes to home security and surveillance. By following the steps outlined in this guide, you can easily connect and configure your wireless security cameras, creating a comprehensive surveillance network for your home.
Wireless security cameras offer several advantages over traditional wired cameras, including easy installation, flexibility in camera placement, and remote access capabilities. With the Ubiquiti UAP-AC-M-US access point, you can ensure seamless and reliable wireless connectivity for your cameras, allowing you to monitor your home from anywhere using your smartphone or computer.
Throughout the setup process, it’s important to gather the necessary equipment, including the Ubiquiti UAP-AC-M-US access point, compatible wireless security cameras, network cables, and power adapters. Taking the time to plan the placement of your cameras will help you maximize coverage and security.
Remember to follow the manufacturer’s instructions for each wireless security camera model to configure and connect them to the UAP-AC-M-US access point. Take advantage of the companion app or software provided by the camera manufacturer to customize settings and enable features such as motion detection and night vision.
Once your cameras are connected, it’s crucial to test the system to ensure smooth operation. Monitor the live video feed, test motion detection, and verify night vision functionality. If any issues arise, utilize the troubleshooting steps provided in this guide to address them effectively.
By keeping your wireless security camera system up to date and regularly monitoring its performance, you can enjoy the added security and peace of mind it brings to your home. Remember to comply with all relevant laws and regulations regarding surveillance camera use and respect the privacy of others.
Now that you have learned how to connect wireless security cameras using the Ubiquiti UAP-AC-M-US access point, take the necessary steps to set up your own efficient and reliable surveillance system. Enhance the security of your home and gain the ability to monitor your property with ease, whether you’re away or just a few feet away.
Frequently Asked Questions about Ubiquiti UAP-AC-M-US: How To Connect Wireless Security Cameras
Was this page helpful?
At Storables.com, we guarantee accurate and reliable information. Our content, validated by Expert Board Contributors, is crafted following stringent Editorial Policies. We're committed to providing you with well-researched, expert-backed insights for all your informational needs.