Home>Renovation & DIY>Tools & Equipment>How To Resurface Rotors With Sandpaper
Tools & Equipment
How To Resurface Rotors With Sandpaper
Modified: October 22, 2024
Learn how to resurface rotors with sandpaper using the right tools and equipment. Follow our step-by-step guide for smooth and efficient results.
(Many of the links in this article redirect to a specific reviewed product. Your purchase of these products through affiliate links helps to generate commission for Storables.com, at no extra cost. Learn more)
Understanding the Importance of Resurfacing Rotors
Introduction
When it comes to maintaining your vehicle's braking system, ensuring that the rotors are in optimal condition is crucial. Over time, continuous use can lead to wear and tear on the rotors, affecting their smoothness and ability to function effectively. As a result, it becomes necessary to address any damage by resurfacing the rotors, a process that can be accomplished with the right tools and knowledge.
Resurfacing rotors involves restoring the smooth, flat surface of the rotor disc, which is essential for proper braking performance. This process not only extends the life of the rotors but also enhances the overall safety and efficiency of your vehicle. By understanding the steps involved in resurfacing rotors and having the necessary tools and materials at your disposal, you can ensure that your vehicle's braking system operates at its best.
In the following sections, we will delve into the intricacies of rotor resurfacing, providing a comprehensive guide that outlines the tools and materials required, the preparation process, the actual resurfacing steps, and the final checks to guarantee a job well done. Whether you are a seasoned DIY enthusiast or a newcomer to the world of automotive maintenance, this guide will equip you with the knowledge and confidence to tackle rotor resurfacing with precision and skill. Let's embark on this journey to discover the art of restoring your vehicle's rotors to their optimal condition.
Key Takeaways:
- Maintaining your vehicle’s braking system is crucial, and resurfacing rotors with the right tools and knowledge can extend their life, enhance safety, and ensure optimal performance.
- Before resurfacing rotors, ensure you have the necessary tools and materials, prepare the vehicle, sand the rotors meticulously, and conduct a thorough surface finish check for optimal braking performance.
Read more: What Grit Sandpaper To Resurface Heads
Understanding Rotor Resurfacing
Before delving into the practical aspects of resurfacing rotors, it is essential to grasp the significance of this maintenance procedure. Rotors, also known as brake discs, play a pivotal role in the braking system of a vehicle. When the brake pedal is engaged, the calipers squeeze the brake pads against the rotors, generating the friction necessary to slow down and stop the vehicle. This process subjects the rotors to immense heat and pressure, leading to wear and tear over time.
One of the most common issues that arise with rotors is the development of uneven surfaces and grooves due to prolonged use. These imperfections can compromise the effectiveness of the braking system, leading to pulsation, vibration, and reduced stopping power. By resurfacing the rotors, these irregularities can be smoothed out, restoring the flat and even surface necessary for optimal braking performance.
It is important to note that not all rotors are suitable for resurfacing. Factors such as the rotor’s thickness and the extent of wear and damage will determine whether resurfacing is a viable option. Additionally, some vehicle manufacturers recommend replacing the rotors instead of resurfacing them, especially if they have reached a certain level of wear. Therefore, it is crucial to consult the vehicle’s manual or seek professional advice to determine the best course of action for your specific situation.
By understanding the significance of rotor resurfacing and recognizing the conditions that warrant this maintenance procedure, you can proactively address issues related to brake performance and ensure the safety and reliability of your vehicle’s braking system.
Tools and Materials Needed
Before embarking on the process of resurfacing rotors, it is essential to gather the necessary tools and materials to ensure a smooth and efficient workflow. Here is a comprehensive list of the items you will need:
- Protective Gear: Safety should always be a top priority. Ensure that you have protective eyewear and gloves to shield your eyes and hands from debris and metal shavings during the resurfacing process.
- Jack and Jack Stands: To safely elevate the vehicle and remove the wheels for access to the rotors, a reliable jack and jack stands are indispensable.
- Wrench or Socket Set: Depending on your vehicle’s specifications, a wrench or socket set will be needed to loosen and remove the lug nuts securing the wheels.
- Caliper Tool: When resurfacing the rotors in place, a caliper tool is necessary to retract the caliper piston, allowing for the removal and reinstallation of the caliper assembly.
- Brake Cleaner: A high-quality brake cleaner is essential for thoroughly cleaning the rotors and removing any contaminants or debris before the resurfacing process.
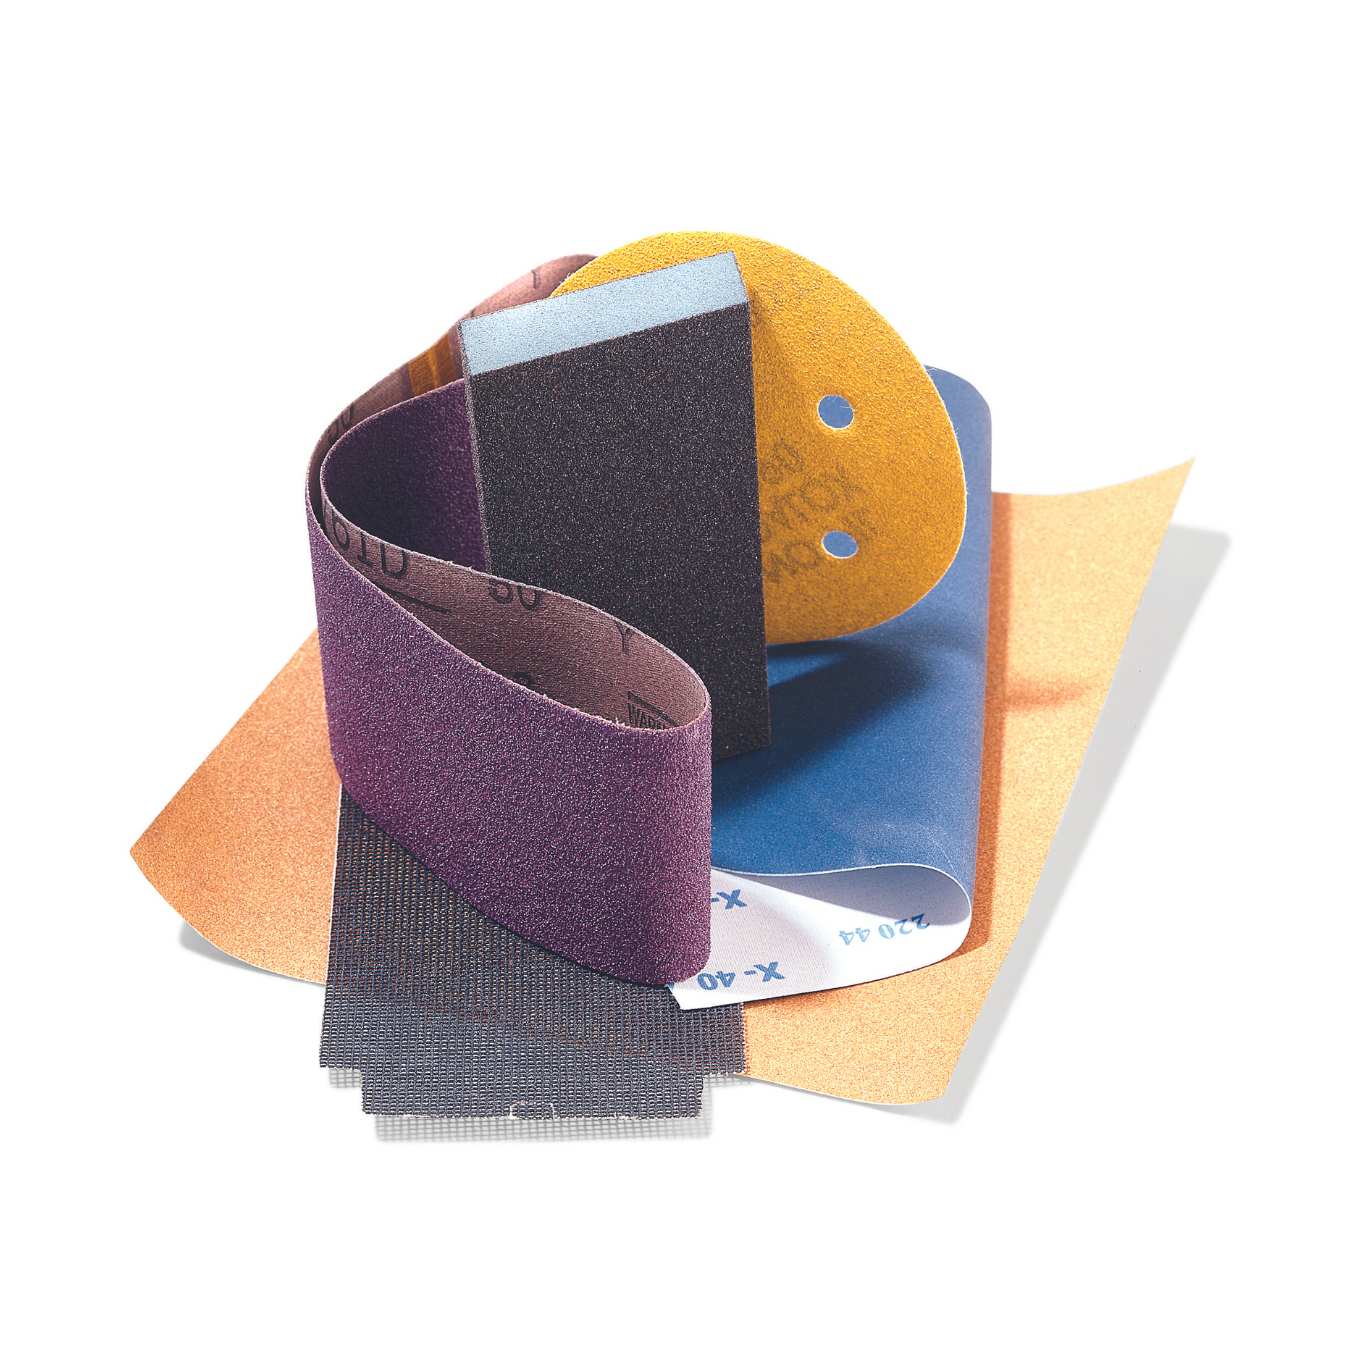
- Sandpaper or Brake Rotor Resurfacing Kit: Depending on your preference and the extent of rotor damage, you can opt for sandpaper of various grits or a specialized brake rotor resurfacing kit designed for this specific task.
- Microfiber Cloth: A soft and lint-free microfiber cloth will be used to wipe down the rotors and ensure they are free from any residual particles before and after the resurfacing process.
- Measuring Tool: A micrometer or digital caliper is essential for measuring the rotor’s thickness and determining whether it meets the minimum thickness specifications for resurfacing.
- Lug Nut Torque Wrench: Once the resurfacing is complete and the wheels are reinstalled, a lug nut torque wrench is crucial for properly tightening the lug nuts to the manufacturer’s recommended specifications.
By ensuring that you have all the necessary tools and materials at your disposal, you can proceed with confidence, knowing that you are well-equipped to undertake the rotor resurfacing process efficiently and safely.
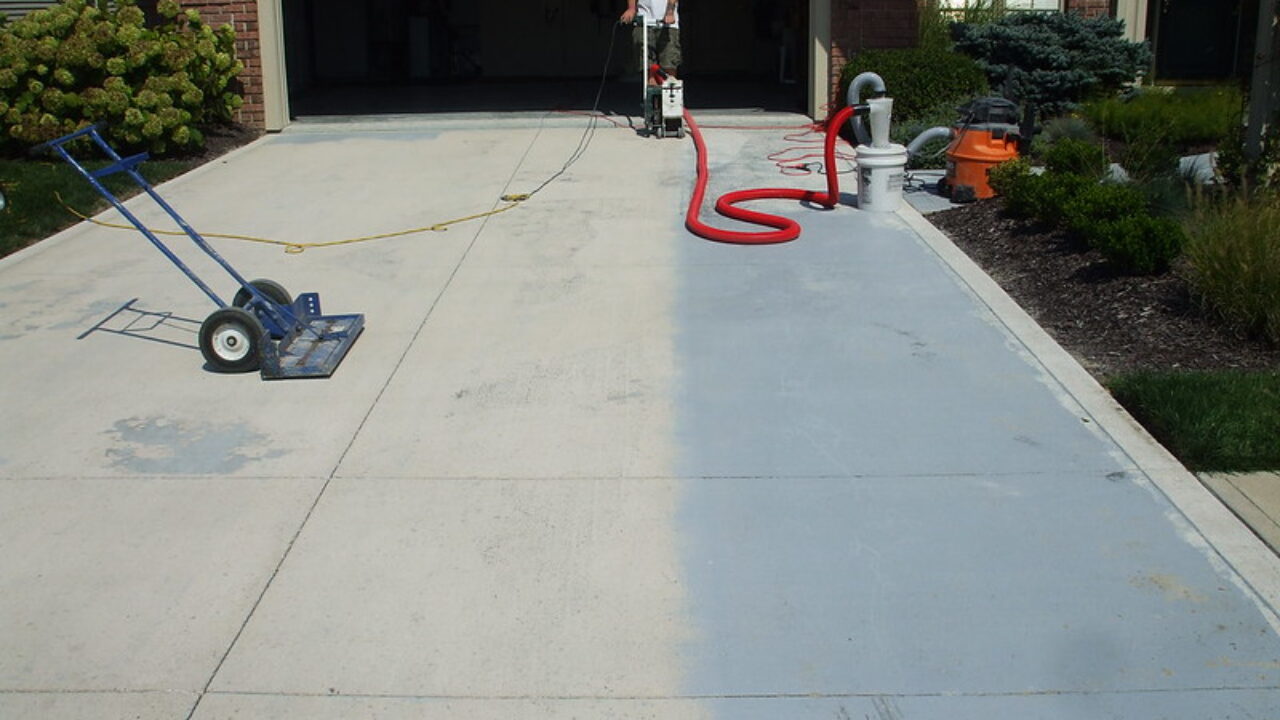
Preparation
Proper preparation is key to the successful resurfacing of rotors. Before initiating the resurfacing process, it is essential to adhere to the following preparatory steps:
- Vehicle Safety: Park the vehicle on a level surface and engage the parking brake to prevent any unintended movement. Additionally, chock the wheels to ensure that the vehicle remains stationary throughout the resurfacing process.
- Lift the Vehicle: Using a reliable jack, lift the vehicle off the ground and secure it with jack stands to create a safe working environment. Ensure that the vehicle is adequately supported before proceeding.
- Wheel Removal: Loosen the lug nuts with a wrench or socket set and remove the wheels to gain access to the rotors. Place the removed wheels in a safe and easily accessible location.
- Caliper Removal: Depending on the specific design of your vehicle’s braking system, you may need to remove the caliper assembly to access the rotors. Use a caliper tool to retract the caliper piston and carefully detach the caliper, ensuring that it is properly supported to prevent damage to the brake line.
- Inspect the Rotors: Thoroughly inspect the rotors for any signs of severe damage, excessive wear, or warping. Measure the rotor’s thickness using a micrometer or digital caliper to ascertain whether it meets the minimum thickness specifications for resurfacing.
- Clean the Rotors: Utilize a high-quality brake cleaner to thoroughly clean the rotors, ensuring that any contaminants, brake dust, or debris are effectively removed. Wipe down the rotors with a microfiber cloth to ensure they are clean and free from any residual particles.
By meticulously following these preparatory steps, you can create an optimal environment for the resurfacing process and ensure that the rotors are ready for the subsequent stages. Taking the time to prepare the vehicle and the components involved will contribute to a smooth and efficient resurfacing experience.
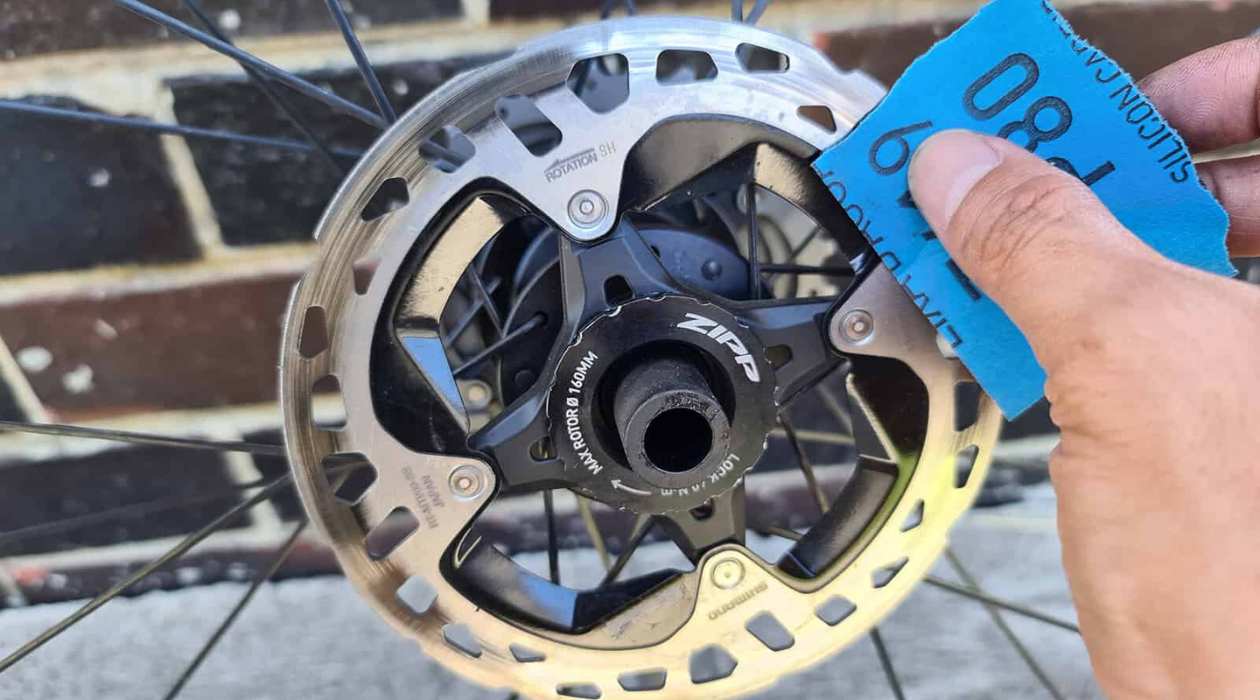
When resurfacing rotors with sandpaper, make sure to use a fine grit sandpaper and sand in a circular motion to remove any surface imperfections. Be sure to keep the rotor cool to prevent warping.
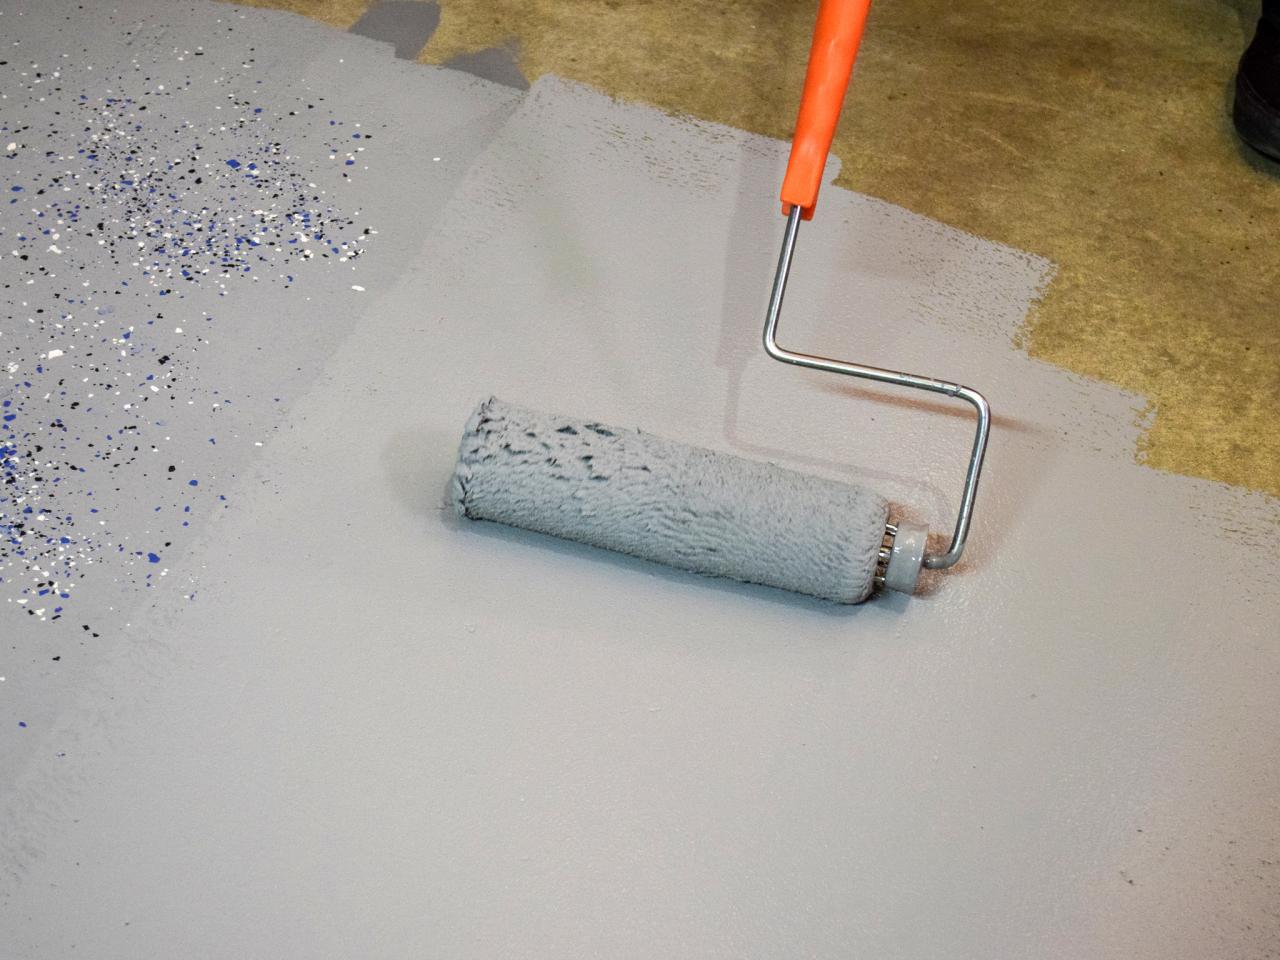
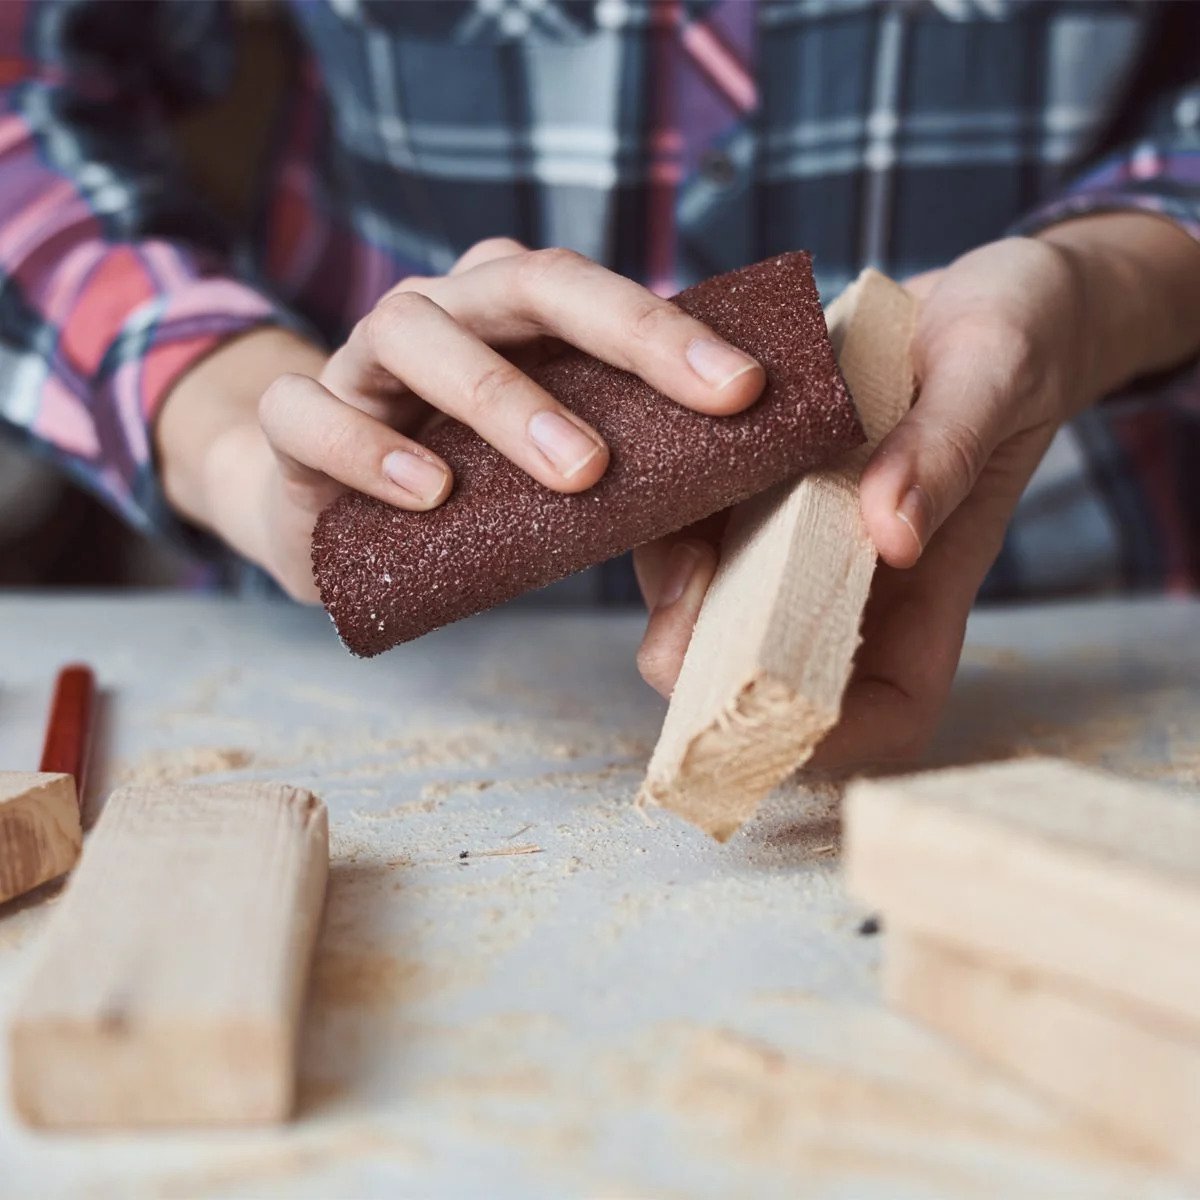
Sanding the Rotors
Once the preparatory steps have been completed and the rotors are accessible, the process of sanding the rotors can commence. This crucial stage involves the meticulous removal of imperfections and irregularities from the rotor’s surface, ultimately restoring it to a smooth and even finish. Here are the essential steps to effectively sand the rotors:
- Secure the Rotor: If the rotors are being resurfaced on the vehicle, secure the rotor in place using a suitable tool or clamp to prevent any movement during the sanding process. Alternatively, if the rotors have been removed, secure them on a stable work surface.
- Choose the Appropriate Grit: Select the appropriate grit of sandpaper based on the condition of the rotors. Coarser grits, such as 80 or 120, are suitable for addressing significant imperfections, while finer grits, such as 320 or 400, can be used for achieving a smooth finish.
- Even Strokes: With the sandpaper firmly held against the rotor’s surface, apply even and consistent strokes in a radial pattern. This technique ensures that the rotor’s surface is uniformly sanded, removing any irregularities and creating a flat and smooth finish.
- Check for Overheating: Periodically pause during the sanding process to check for any signs of overheating on the rotor. Overheating can lead to discoloration and potential damage to the rotor, so it is essential to allow the rotor to cool if excessive heat is detected.
- Inspect for Progress: Regularly inspect the rotor’s surface to gauge the progress of the sanding process. Ensure that all imperfections, grooves, and irregularities are gradually being removed, and the surface is becoming increasingly smooth and uniform.
- Repeat as Needed: Depending on the extent of the rotor’s damage, it may be necessary to repeat the sanding process with progressively finer grits of sandpaper to achieve the desired smoothness and surface finish.
By meticulously sanding the rotors with precision and care, you can effectively address any imperfections and restore the surface to its optimal condition. This critical stage sets the foundation for ensuring the proper functioning and longevity of the braking system.
Read more: How To Resurface Fireplace
Checking the Surface Finish
After the sanding process has been completed, it is imperative to conduct a thorough assessment of the rotor’s surface finish to ensure that it meets the necessary standards for optimal braking performance. The following steps outline the crucial aspects of checking the surface finish:
- Visual Inspection: Carefully examine the entire surface of the rotor, ensuring that it is free from any remaining imperfections, grooves, or irregularities. The surface should appear uniformly smooth and consistent, devoid of any visible signs of damage or unevenness.
- Runout Measurement: Utilize a dial indicator to measure the rotor’s runout, which refers to any deviation from a true rotational path. Excessive runout can lead to brake pulsation and vibration, indicating the need for further adjustments or potential replacement of the rotor.
- Surface Texture: Run your fingers across the rotor’s surface to assess the texture. It should feel smooth and devoid of any rough patches or inconsistencies, indicating that the sanding process has effectively restored the surface to an optimal condition.
- Comparative Analysis: If available, compare the resurfaced rotor to a new or previously resurfaced rotor to ensure that the surface finish closely matches the desired standard. This comparative analysis can provide valuable insights into the effectiveness of the resurfacing process.
- Brake Pad Compatibility: Consider the compatibility of the resurfaced rotor with the existing brake pads. Ensure that the rotor’s surface finish aligns with the specifications recommended by the vehicle manufacturer to facilitate seamless interaction with the brake pads.
By meticulously evaluating the surface finish of the resurfaced rotor, you can ascertain whether the sanding process has effectively addressed any irregularities and restored the rotor to its optimal condition. This critical assessment serves as a pivotal determinant of the rotor’s suitability for continued use within the vehicle’s braking system.
Final Steps
As the resurfacing process nears completion, several crucial final steps must be undertaken to ensure that the rotors are reinstalled and integrated into the braking system with precision and care. The following key actions constitute the final steps of the rotor resurfacing process:
- Cleaning the Components: Thoroughly clean the caliper, caliper bracket, and any other relevant components to remove any accumulated debris, brake dust, or contaminants. This step ensures that the components are free from obstructions that could impede their functionality.
- Applying Anti-Seize Compound: Apply an appropriate amount of anti-seize compound to the hub’s center and mounting surface to facilitate the smooth installation and future removal of the rotors. This compound helps prevent the rotors from seizing onto the hub, simplifying maintenance and replacement in the future.
- Reinstalling the Rotors: Carefully position the resurfaced rotors onto the hub, ensuring a precise fit. If applicable, secure the rotors in place using the specified retention hardware, such as retaining screws or clips, to prevent any shifting or misalignment during operation.
- Caliper Reinstallation: Reinstall the caliper assembly, ensuring that it is aligned correctly with the rotor. Carefully torque the caliper mounting bolts to the manufacturer’s specifications to guarantee proper seating and alignment.
- Wheel Installation: Reinstall the wheels onto the vehicle’s hub and securely tighten the lug nuts using a lug nut torque wrench, adhering to the recommended torque specifications provided by the vehicle manufacturer.
- Brake System Check: Before operating the vehicle, conduct a comprehensive check of the brake system, including pedal feel, brake fluid level, and visual inspection of the calipers and rotors. Test the brakes at low speeds to ensure proper functionality and responsiveness.
By meticulously executing these final steps, you can conclude the rotor resurfacing process with confidence, knowing that the components have been reinstalled and integrated with precision and attention to detail. This comprehensive approach ensures that the braking system operates optimally and reliably, contributing to the safety and performance of the vehicle.
Conclusion
Embarking on the journey of rotor resurfacing unveils the intricate art of restoring these critical components to their optimal condition, thereby enhancing the safety and performance of the vehicle’s braking system. By understanding the significance of rotor resurfacing and following the comprehensive guide outlined in this article, you have gained valuable insights into the tools, materials, and steps necessary to undertake this maintenance procedure with confidence and precision.
From the initial preparation and meticulous sanding of the rotors to the critical assessment of the surface finish and the final steps of reinstallation, each stage contributes to the seamless restoration of the rotors. The attention to detail and commitment to quality exhibited throughout the resurfacing process culminates in a braking system that operates at its best, ensuring reliable stopping power and optimal vehicle control.
As you conclude the rotor resurfacing journey, take pride in the knowledge and skills you have acquired, empowering you to proactively maintain and enhance the performance of your vehicle. Whether you are a seasoned DIY enthusiast or a newcomer to the realm of automotive maintenance, the ability to skillfully resurface rotors adds a valuable dimension to your repertoire of automotive care and expertise.
Remember, the safety and reliability of your vehicle’s braking system are paramount, and by embracing the art of rotor resurfacing, you play a pivotal role in upholding these essential attributes. With the right tools, knowledge, and dedication, you have the capacity to ensure that your vehicle’s braking system operates at its peak, embodying the fusion of precision, skill, and commitment to excellence.
So, as you embark on future automotive endeavors, may the art of rotor resurfacing serve as a testament to your dedication to vehicle maintenance and your unwavering pursuit of automotive excellence.
Frequently Asked Questions about How To Resurface Rotors With Sandpaper
Was this page helpful?
At Storables.com, we guarantee accurate and reliable information. Our content, validated by Expert Board Contributors, is crafted following stringent Editorial Policies. We're committed to providing you with well-researched, expert-backed insights for all your informational needs.


0 thoughts on “How To Resurface Rotors With Sandpaper”