Home>Technology>Smart Home Devices>How To Add A Local Printer

Smart Home Devices
How To Add A Local Printer
Modified: August 17, 2024
Learn how to add a local printer to your smart home devices easily with our step-by-step guide. Simplify your printing setup today!
(Many of the links in this article redirect to a specific reviewed product. Your purchase of these products through affiliate links helps to generate commission for Storables.com, at no extra cost. Learn more)
**
Introduction
**
In today’s digital age, the ability to seamlessly connect and configure local printers is a fundamental aspect of optimizing home and office environments. Adding a local printer to your network not only facilitates convenient access to printing resources but also simplifies the process of producing hard copies of essential documents. Whether you are setting up a new printer or reconfiguring an existing one, the process can be straightforward and rewarding when approached with the right knowledge and guidance.
As we delve into the step-by-step process of adding a local printer, it’s important to note that this guide is designed to cater to users of various technical backgrounds. From the initial connection of the printer to the installation of the necessary drivers and the final setup, each stage is essential in ensuring a smooth and efficient printing experience. By following these steps, you can harness the full potential of your local printer and streamline your printing tasks with ease and confidence. Let’s embark on this journey of printer integration, empowering you to harness the power of local printing in your home or office environment.
**
Key Takeaways:
- Connecting a local printer is as easy as plugging in a USB cable, connecting via Ethernet, or setting up a wireless connection. Once connected, installing the printer driver and setting up the printer ensures a seamless printing experience.
- By following the steps to connect, install the driver, and set up the printer, you can customize printing preferences and streamline your printing tasks. Embrace the convenience of local printing and unlock a world of possibilities right at your fingertips.
Step 1: Connect the Printer
**
Before diving into the technical intricacies of adding a local printer, the initial step involves physically connecting the printer to your computer or local network. This process may vary depending on the type of printer and the connectivity options it offers. Here are the primary methods of connecting a local printer:
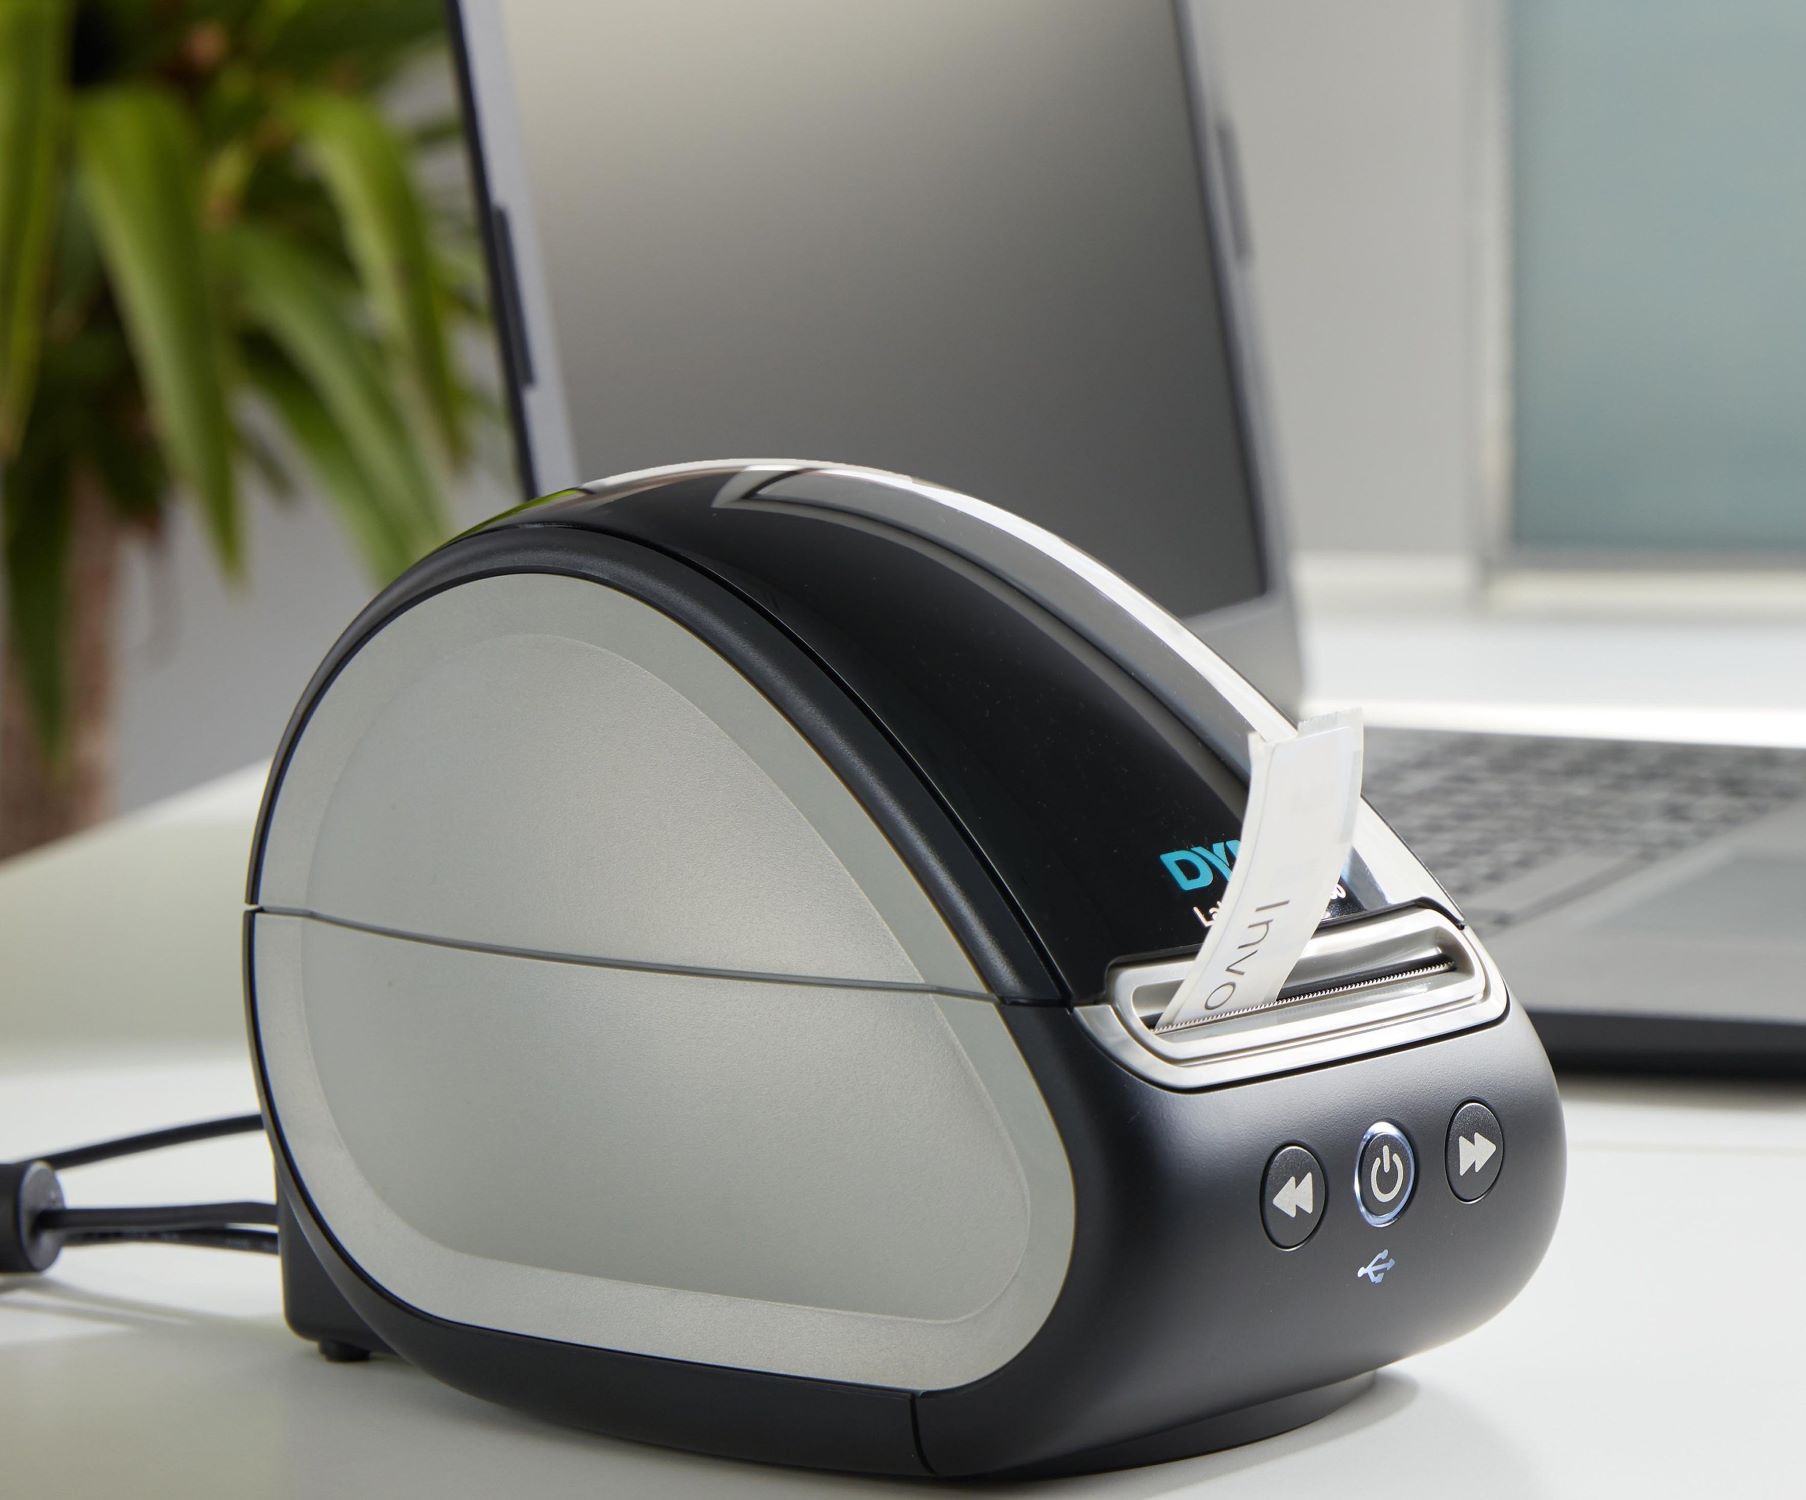
- USB Connection: For printers equipped with a USB port, connecting the printer to your computer is as simple as plugging in the USB cable. Once the printer is connected, your computer should automatically detect the new hardware and initiate the installation process.
- Ethernet Connection: Printers with Ethernet capabilities can be connected directly to your local network using an Ethernet cable. This method allows multiple users to access the printer over the network, making it an ideal solution for shared printing environments.
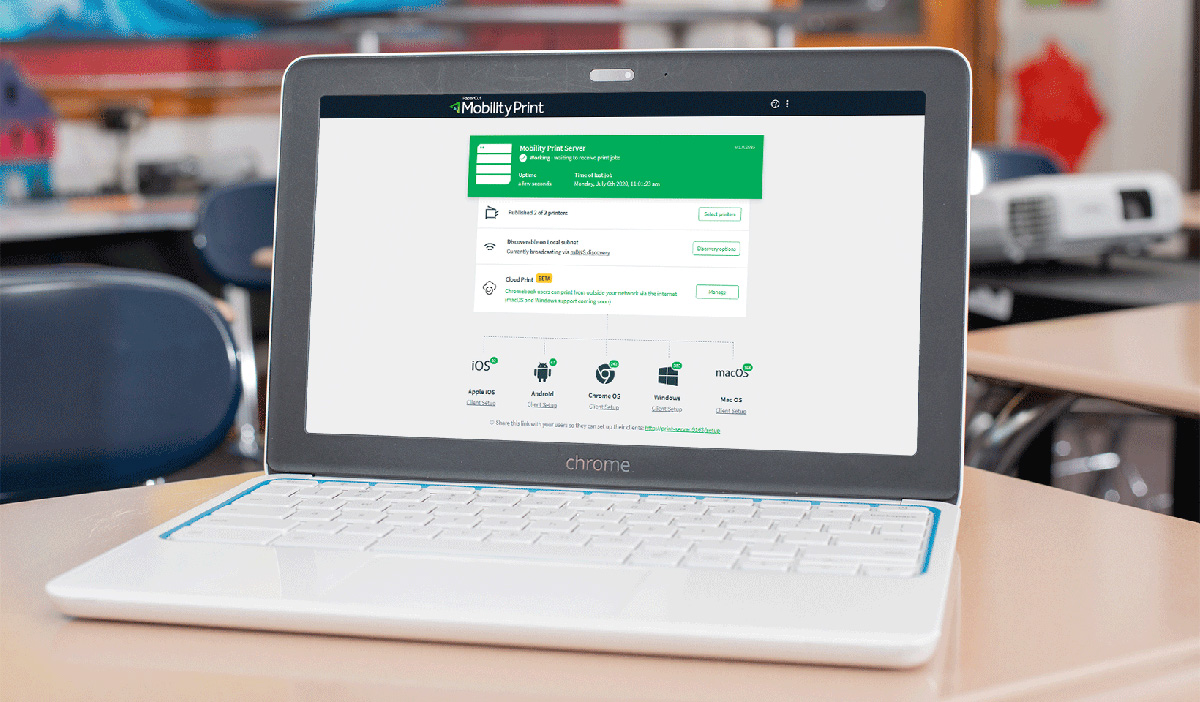
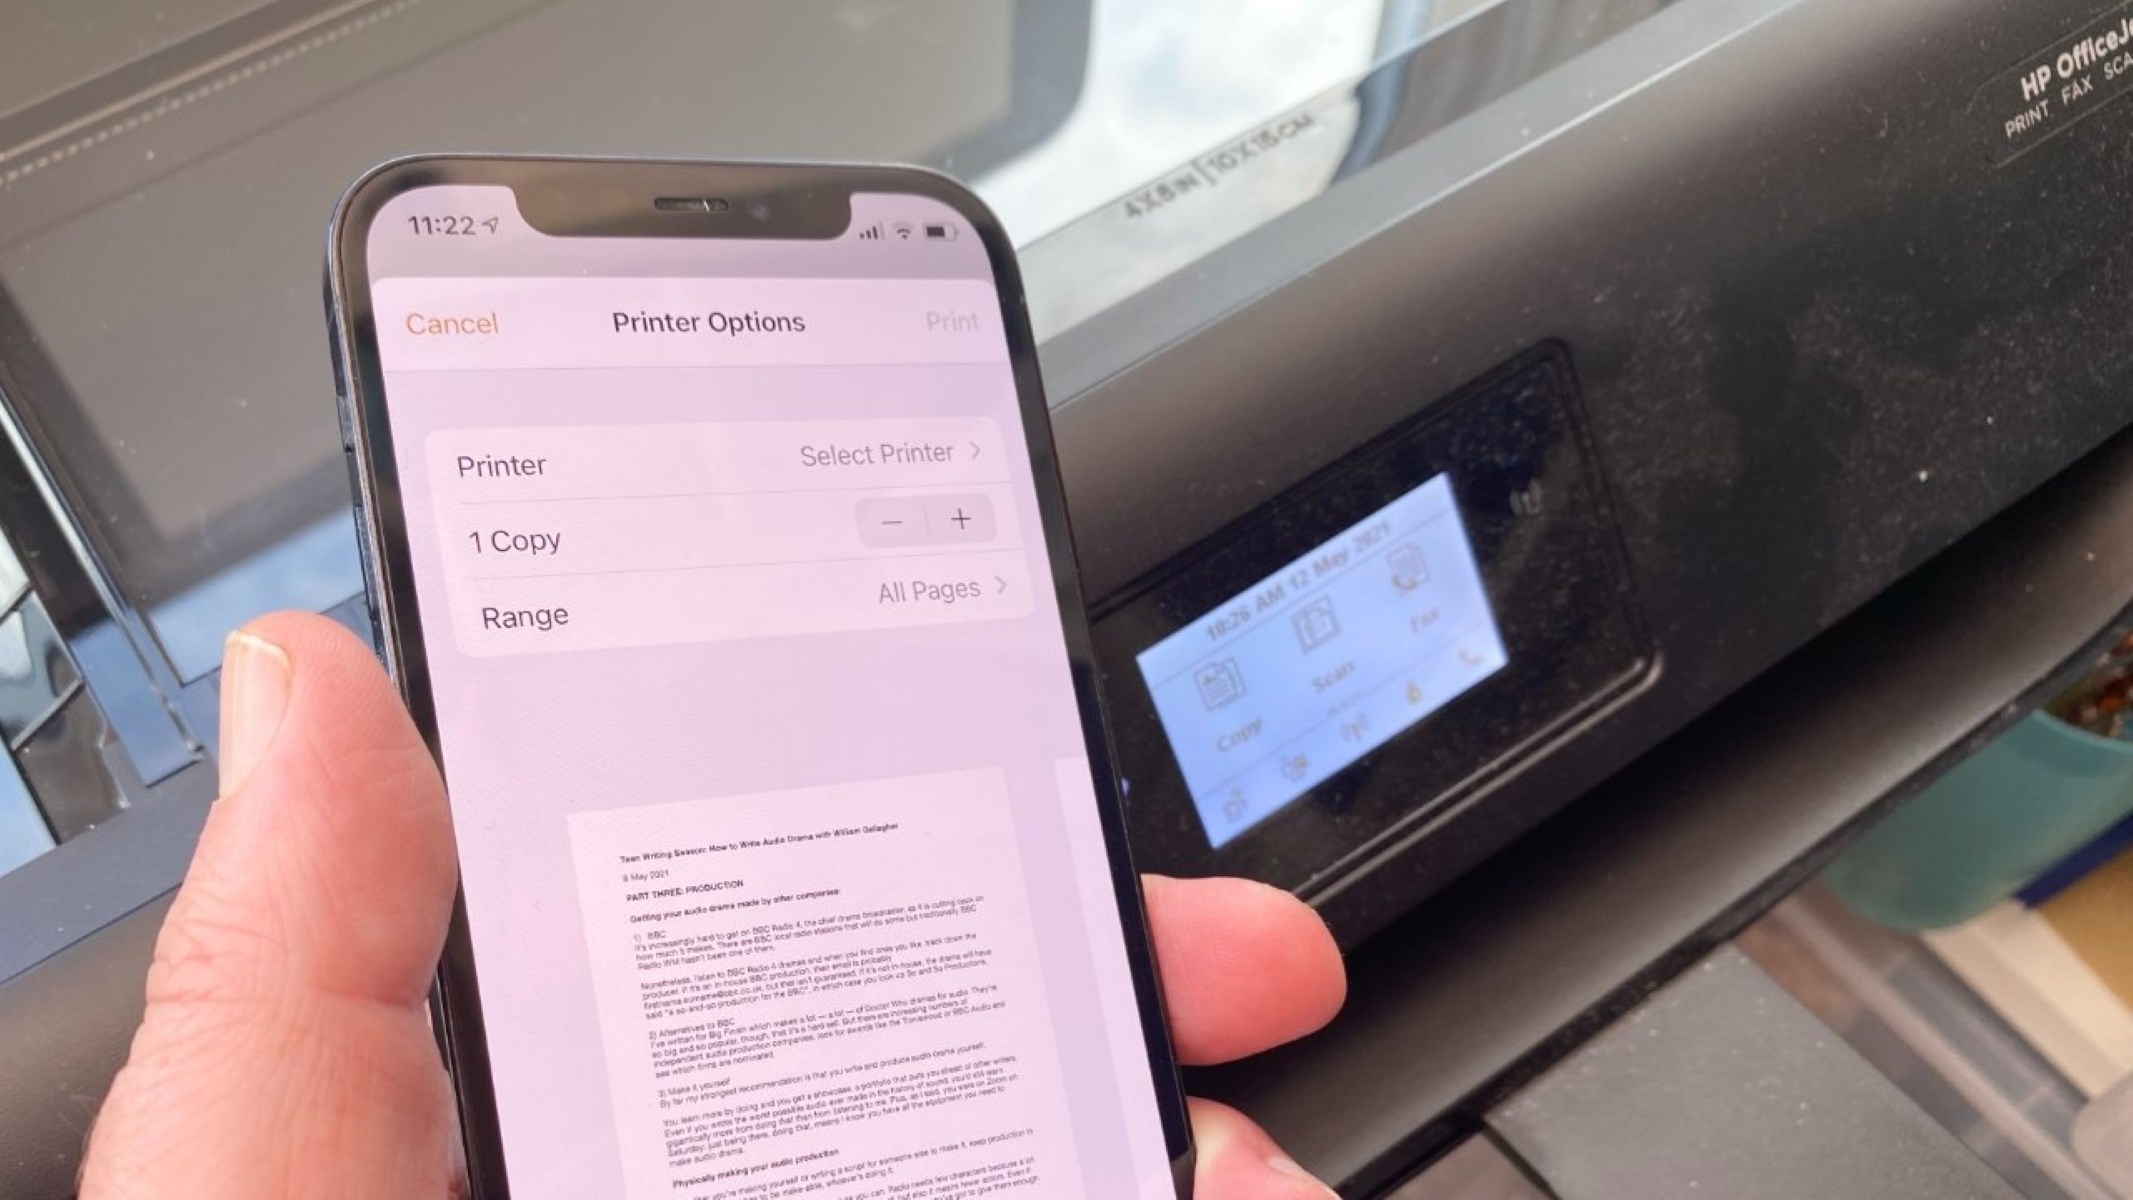
- Wireless Connection: Wireless printers offer the flexibility of connecting to your network without the need for physical cables. By following the printer’s setup instructions, you can establish a wireless connection between the printer and your Wi-Fi network, enabling convenient printing from multiple devices.
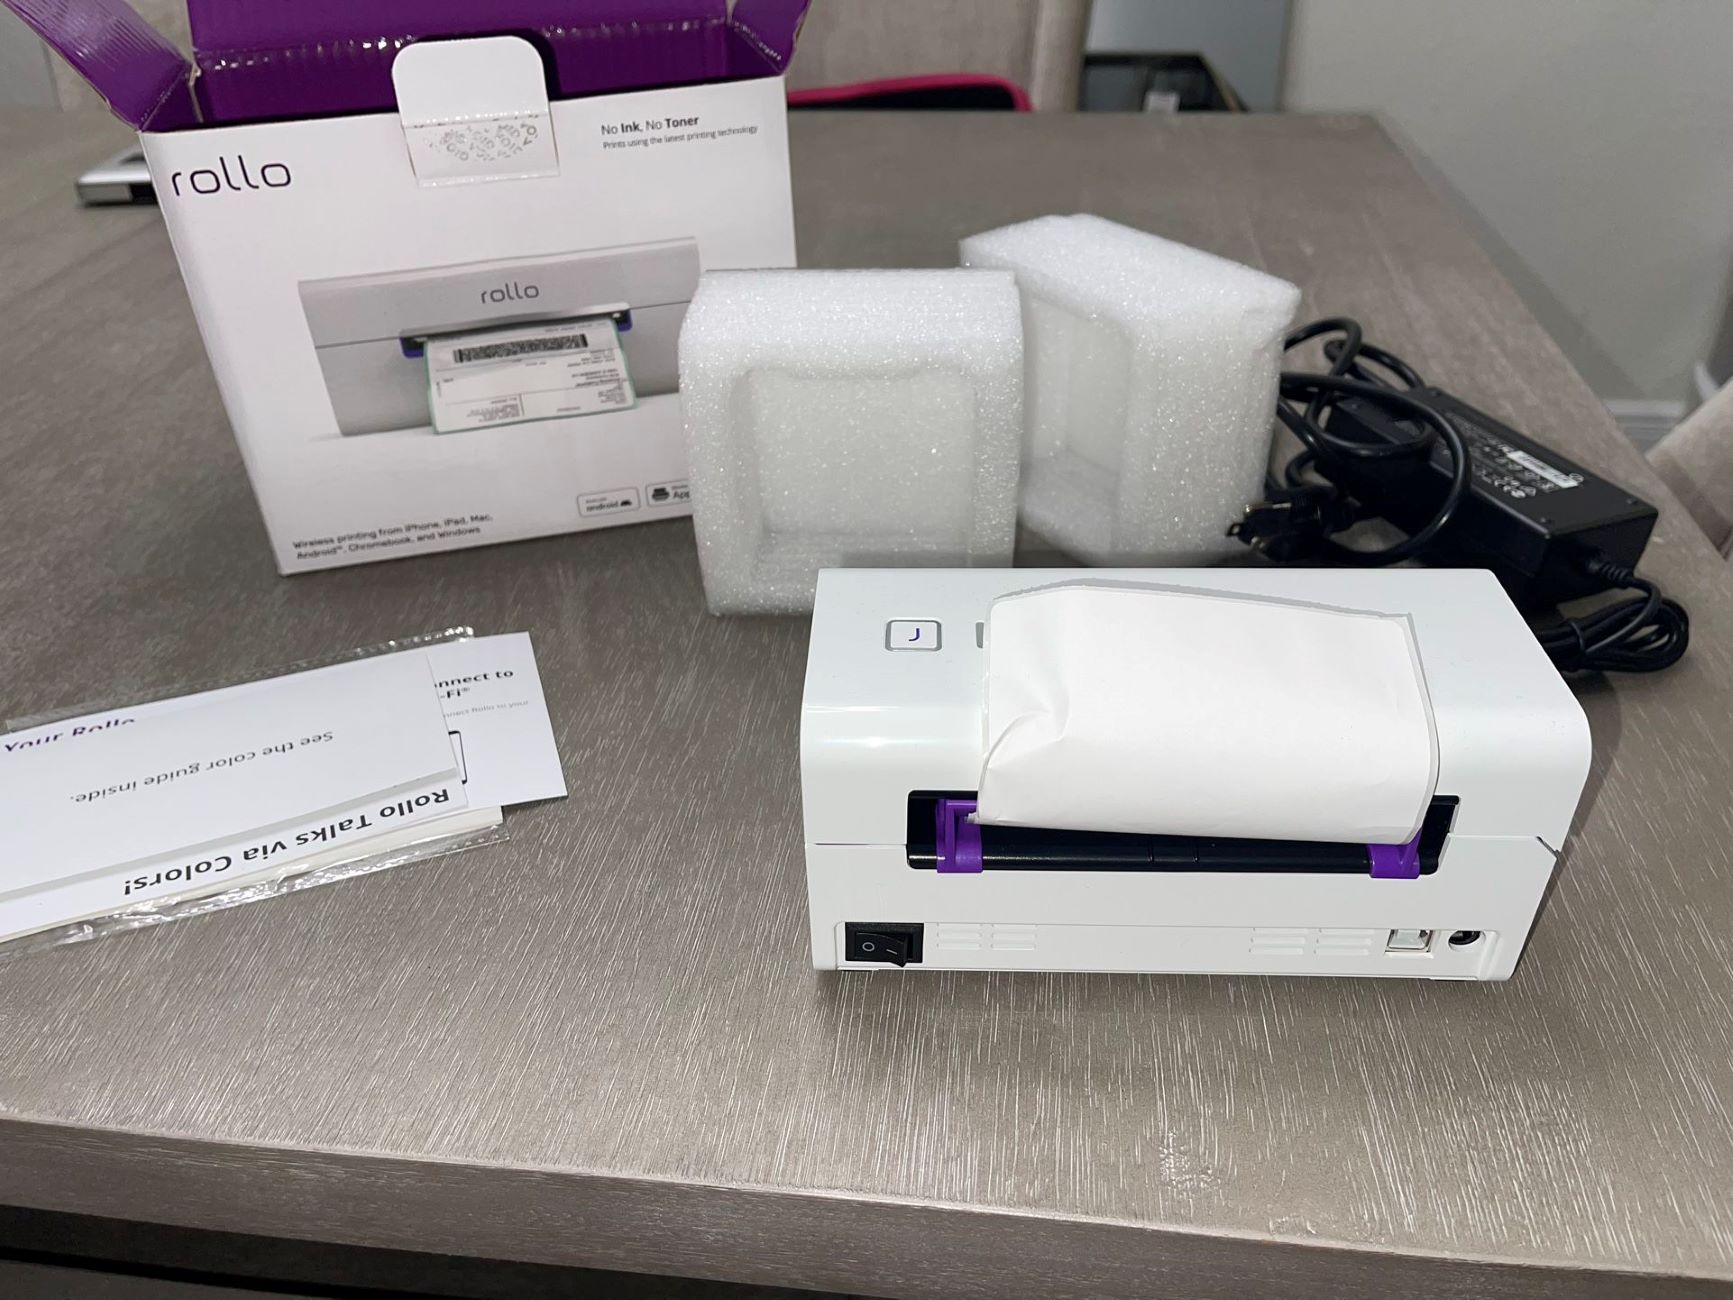
Once the printer is physically connected to your computer or network, it’s essential to ensure that the printer is powered on and ready to receive print jobs. This may involve loading paper and installing ink or toner cartridges, depending on the type of printer you are using. With the printer successfully connected and prepared, you are now ready to proceed to the next step of installing the required printer drivers.
**
Step 2: Install the Printer Driver
**
Once the local printer is physically connected to your computer or network, the next crucial step is to install the appropriate printer driver. The printer driver serves as a bridge between your computer’s operating system and the printer, enabling seamless communication and control of the printing process. Here’s how you can install the printer driver:
- Automatic Driver Installation: In many cases, when you connect a new printer to your computer, the operating system will automatically detect the device and attempt to install the necessary driver. This automated process simplifies the setup for users, as the required driver files are fetched from the operating system’s built-in driver repository or downloaded from the internet.
- Manual Driver Installation: If the automatic driver installation process does not occur, or if you prefer to install a specific driver version, you can manually install the printer driver. This involves obtaining the driver software from the printer manufacturer’s website or the installation disc that accompanies the printer. Once the driver file is obtained, you can run the installation wizard to set up the driver on your computer.
After the printer driver is successfully installed, your computer gains the ability to communicate with the printer and send print jobs for processing. It’s important to ensure that the installed driver is compatible with your operating system to avoid compatibility issues. With the printer driver in place, you are now equipped to proceed to the final step of setting up the printer for use.
**
When adding a local printer, make sure to connect the printer to your computer using a USB cable. Then, go to your computer’s settings, select “Devices” and click on “Add a printer or scanner.” Your computer should detect the printer and guide you through the installation process.
Step 3: Set Up the Printer
**
With the local printer connected and the printer driver installed, the final step involves setting up the printer to ensure seamless functionality and optimal performance. This step encompasses configuring printer preferences, setting default settings, and verifying the successful integration of the printer with your computer or network. Here are the key aspects of setting up the printer:
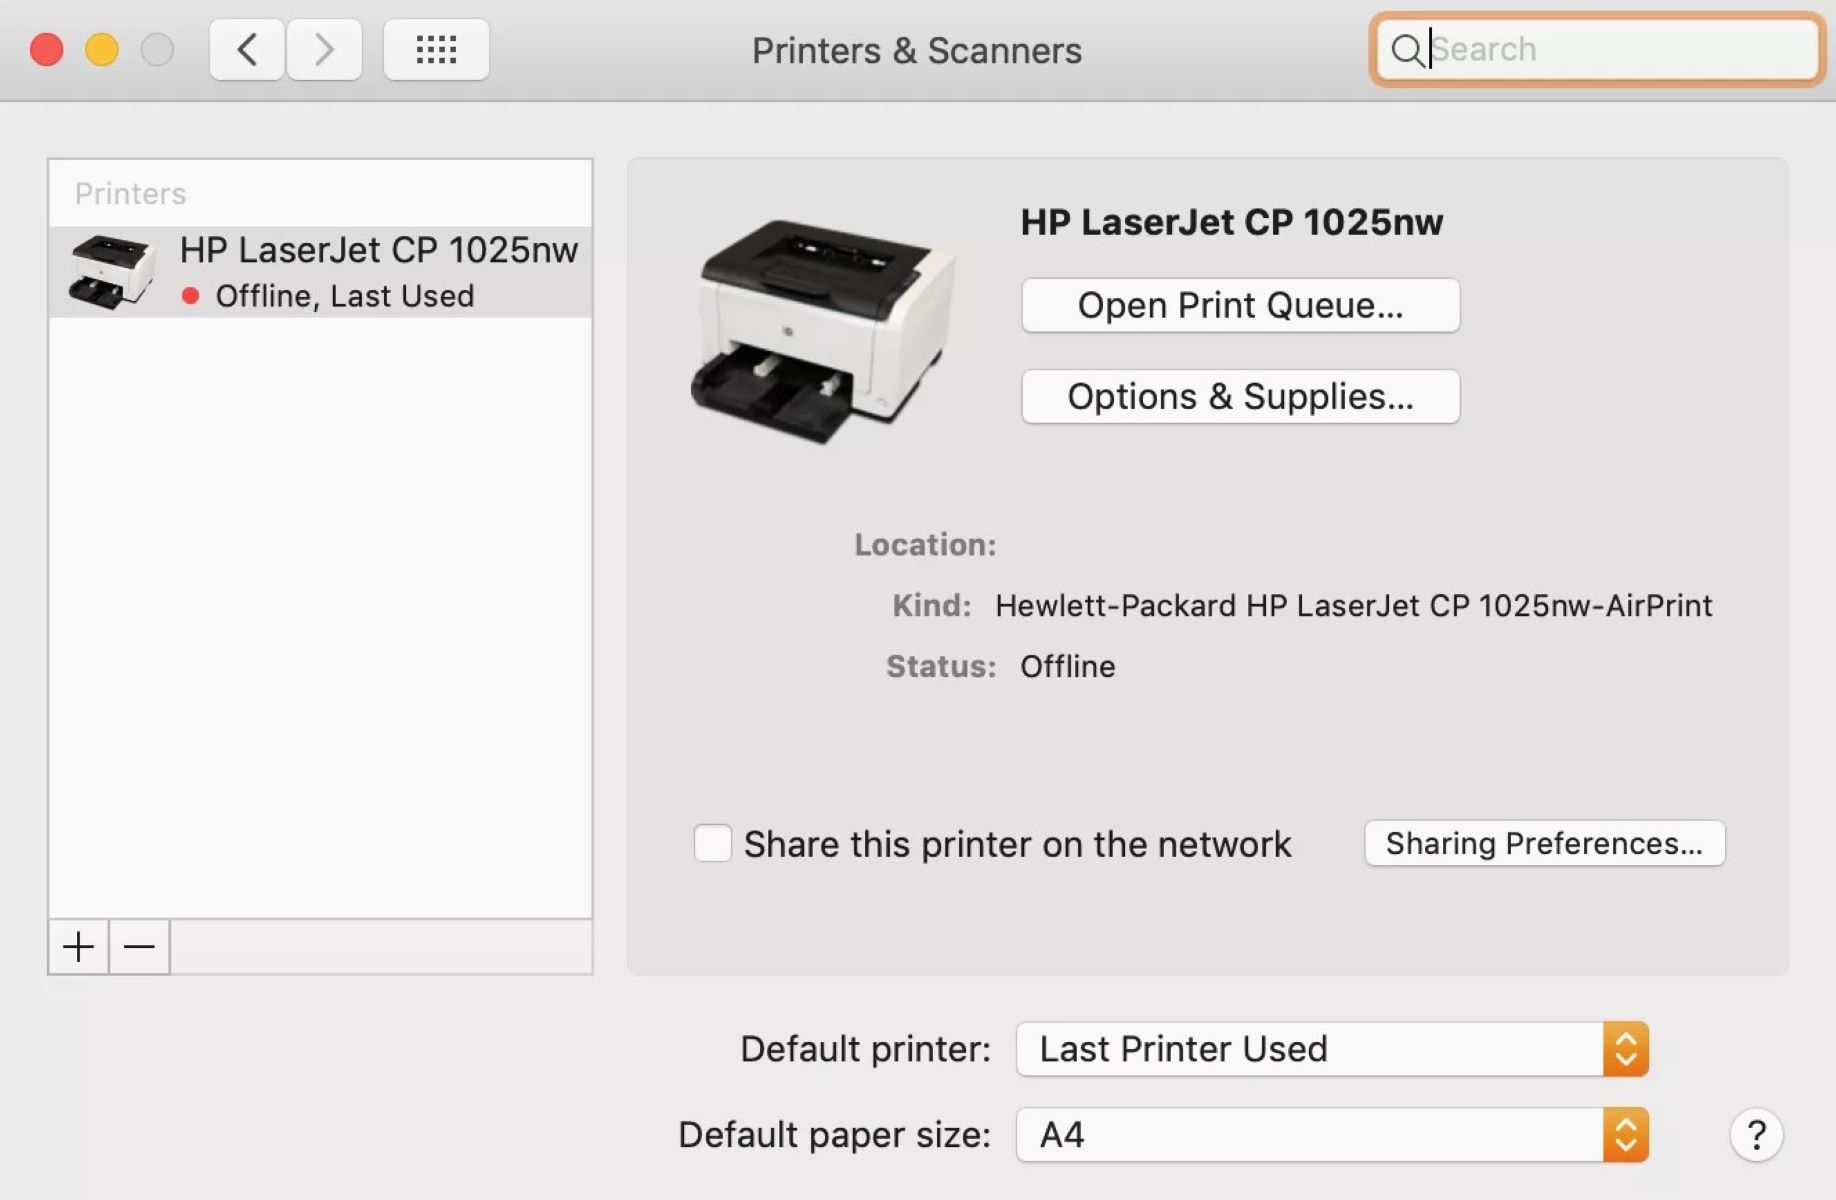
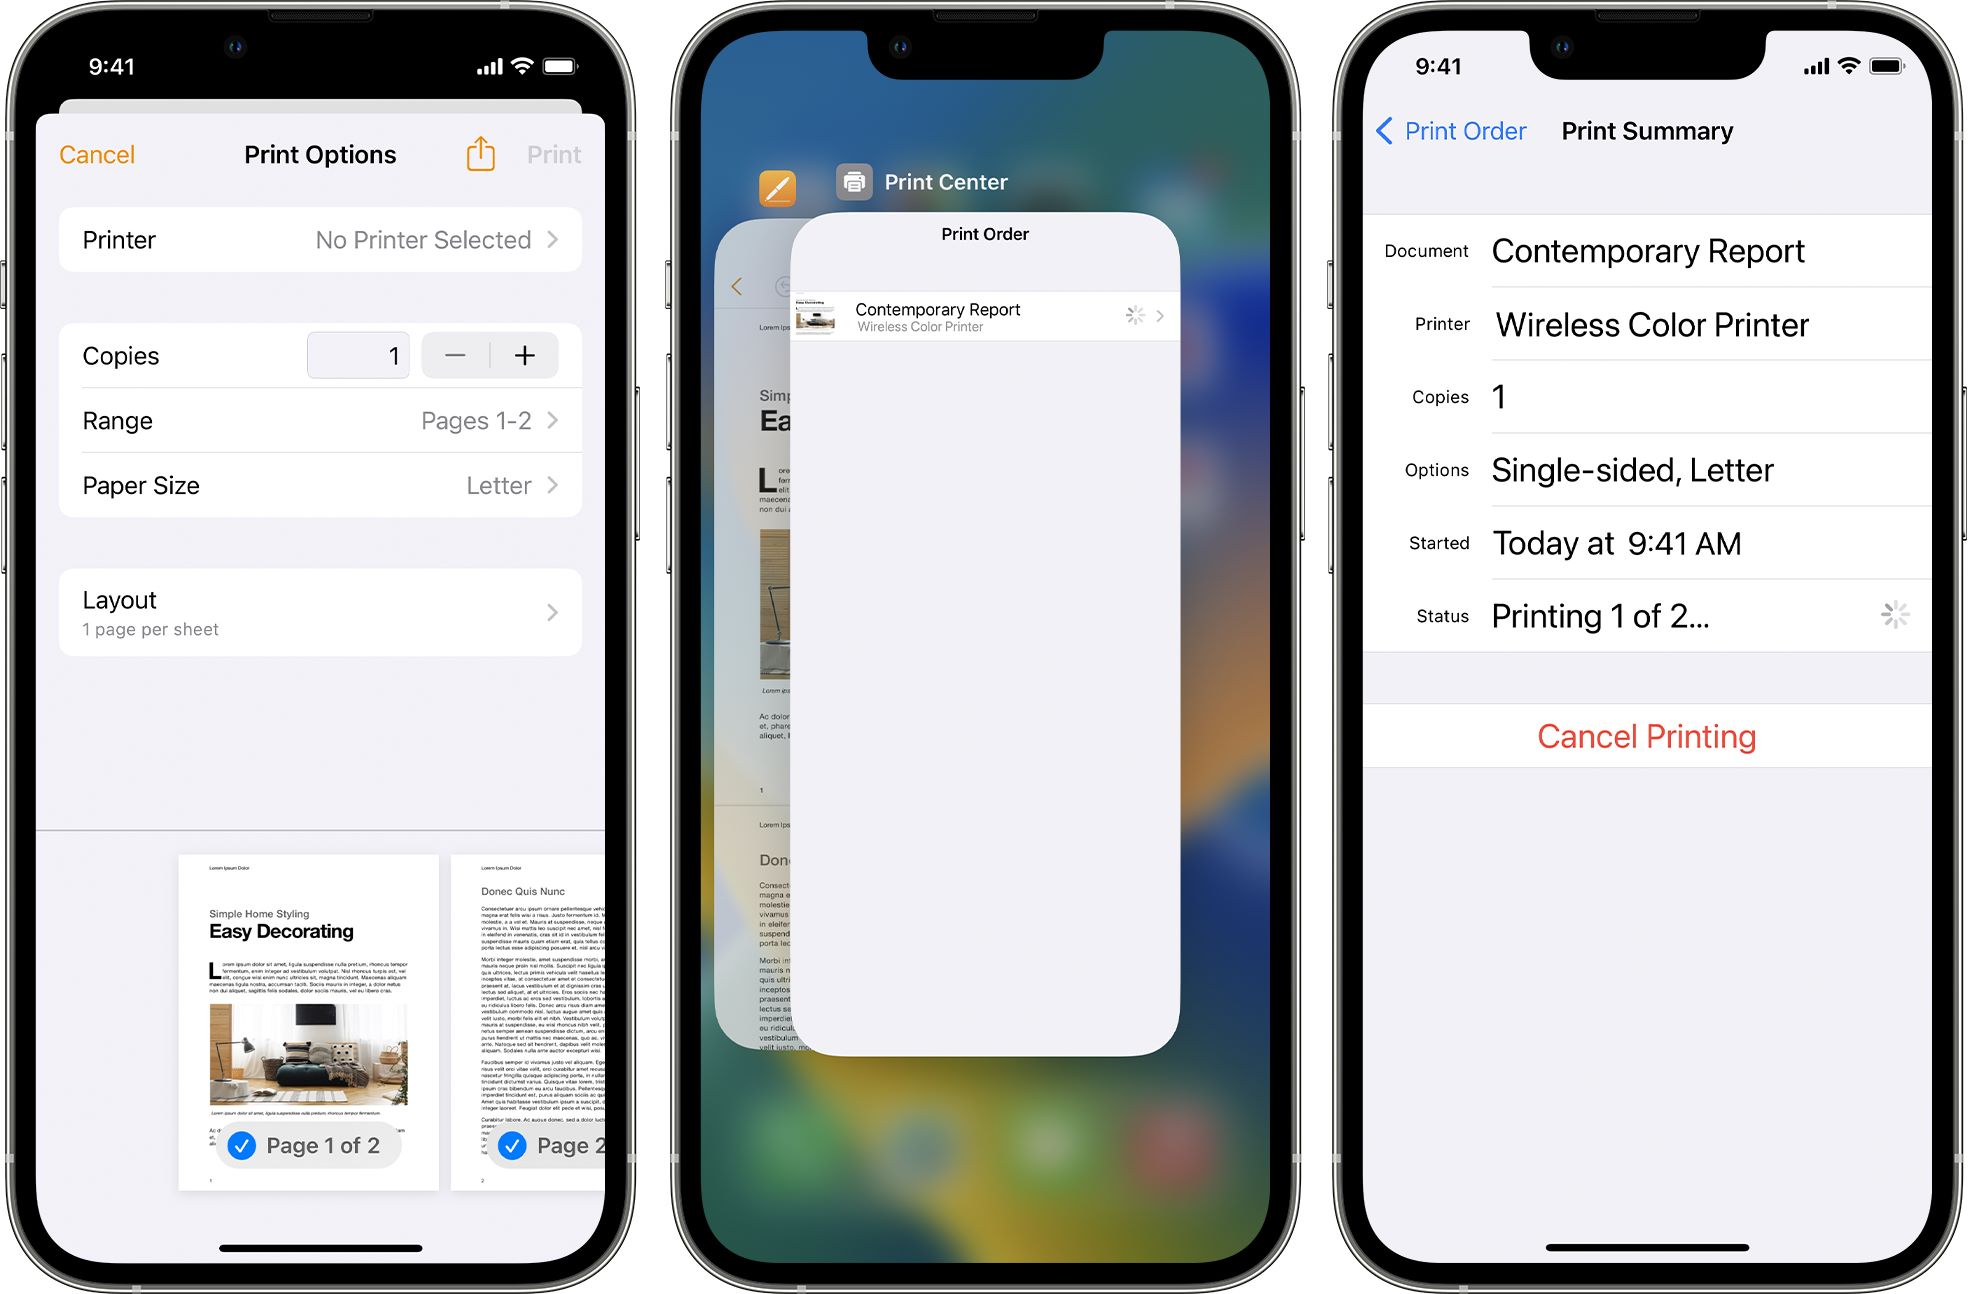
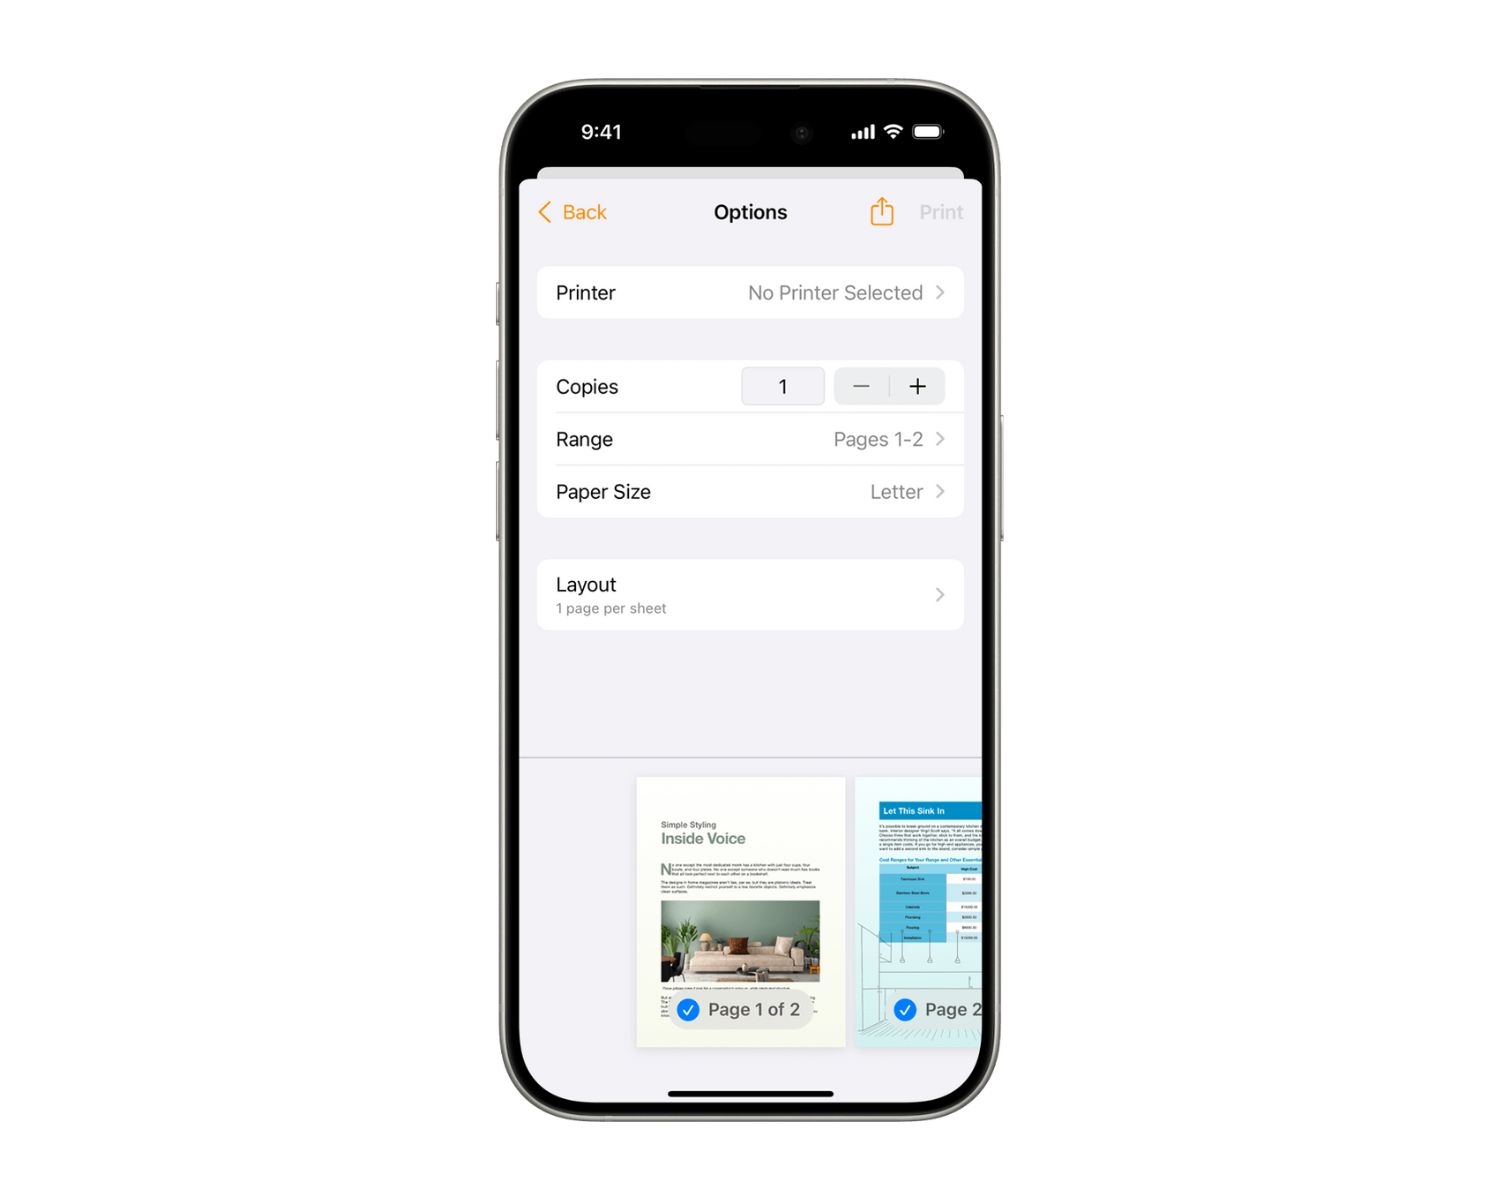
- Printer Configuration: Access the printer settings through your computer’s control panel or system preferences to configure specific parameters such as paper size, print quality, and orientation. These settings can be tailored to suit your printing requirements, ensuring that the printer operates according to your preferences.
- Default Printer Selection: If you have multiple printers installed on your computer, you can designate a default printer for your regular printing tasks. This simplifies the printing process, as documents and files will be sent to the default printer automatically unless you specify otherwise.
- Test Print: To confirm that the printer is set up correctly and is ready to fulfill your printing needs, initiate a test print. This involves sending a sample document or image to the printer to verify that it produces the intended output without any issues.
By completing the setup process, you ensure that the local printer is fully integrated into your computing environment and is primed for efficient printing operations. Whether you’re printing documents, photos, or other materials, the streamlined setup guarantees a smooth printing experience, allowing you to harness the full potential of your local printer.
**
Conclusion
**
Adding a local printer to your home or office environment is a transformative process that empowers you to harness the convenience and efficiency of printing hard copies with ease. By following the comprehensive steps outlined in this guide, you have gained the knowledge and confidence to seamlessly integrate a local printer into your computing setup. From the initial connection of the printer to the installation of the essential printer driver and the final setup, each stage plays a pivotal role in ensuring a seamless printing experience.
As you embark on your printing journey, it’s important to embrace the versatility and convenience that a local printer offers. Whether you opt for a USB, Ethernet, or wireless connection, the ability to connect the printer to your network opens up a world of printing possibilities. With the printer driver serving as the crucial link between your computer and the printer, you can effortlessly communicate and transmit print jobs, facilitating a seamless printing process.
As you navigate the setup process and configure the printer to your preferences, you are taking proactive steps to streamline your printing tasks and optimize the performance of your local printer. The ability to customize printer settings, designate default printers, and conduct test prints empowers you to tailor the printing experience to your specific needs, ensuring that the printer seamlessly aligns with your workflow.
By embracing the insights and guidance provided in this guide, you are well-equipped to add a local printer to your computing environment with confidence and proficiency. The seamless integration of the printer sets the stage for enhanced productivity and convenience, allowing you to effortlessly produce high-quality prints whenever the need arises. Embrace the power of local printing, and unlock a world of possibilities right at your fingertips.
Frequently Asked Questions about How To Add A Local Printer
Was this page helpful?
At Storables.com, we guarantee accurate and reliable information. Our content, validated by Expert Board Contributors, is crafted following stringent Editorial Policies. We're committed to providing you with well-researched, expert-backed insights for all your informational needs.


0 thoughts on “How To Add A Local Printer”