Home>Technology>Smart Home Devices>How To Add A Printer On Windows 10
Smart Home Devices
How To Add A Printer On Windows 10
Modified: August 17, 2024
Learn how to easily add a printer to your Windows 10 computer and start printing from your smart home devices. Follow our step-by-step guide for seamless setup.
(Many of the links in this article redirect to a specific reviewed product. Your purchase of these products through affiliate links helps to generate commission for Storables.com, at no extra cost. Learn more)
Introduction
Setting up a printer on a Windows 10 computer can seem like a daunting task, but fear not! With the right guidance, the process can be smooth and hassle-free. Whether you're connecting a new printer or adding a network printer, Windows 10 offers user-friendly options to get your printer up and running in no time. In this guide, we'll walk you through the step-by-step process of adding a printer to your Windows 10 system.
Adding a printer to your Windows 10 device allows you to print documents, photos, and more with ease. Whether it's a wired or wireless printer, Windows 10 provides a range of features and settings to ensure a seamless printing experience. So, let's dive in and explore the simple yet effective methods to add a printer on Windows 10, ensuring that you can start printing your important documents without any unnecessary delays.
Key Takeaways:
- Setting up a printer on Windows 10 is easy! Just check compatibility, connect the printer, install drivers, and set it as the default. Troubleshoot common issues for a smooth printing experience.
- Ensure your printer is compatible, connect it to your computer, install the drivers, and set it as the default printer. Troubleshoot any issues for hassle-free printing on Windows 10.
Read more: How To Add A Printer On Windows 7
Checking Printer Compatibility
Before adding a printer to your Windows 10 computer, it’s essential to ensure that the printer is compatible with the operating system. Most modern printers are compatible with Windows 10, but it’s always a good idea to verify compatibility to avoid any potential issues down the line.
Here are the steps to check the compatibility of your printer with Windows 10:
- Manufacturer’s Website: Visit the official website of the printer’s manufacturer to check for Windows 10 compatibility information. Most reputable printer manufacturers provide detailed compatibility information for their products on their websites. You can usually find this information in the product specifications or support section of the website.
- Windows Compatibility Center: Microsoft offers a Windows Compatibility Center where you can search for the specific make and model of your printer to check its compatibility with Windows 10. This resource provides valuable insights into the compatibility status of various hardware and software with Windows 10.
- Driver Availability: Check if the printer’s driver is readily available for Windows 10. The driver is crucial for the printer to communicate effectively with the operating system. If the driver is not available for Windows 10, you may encounter challenges in setting up and using the printer.
Verifying printer compatibility with Windows 10 ensures that you can seamlessly integrate the printer into your system without encountering compatibility-related hurdles. Once you’ve confirmed the compatibility of your printer with Windows 10, you can proceed with confidence to connect and install the printer on your computer.
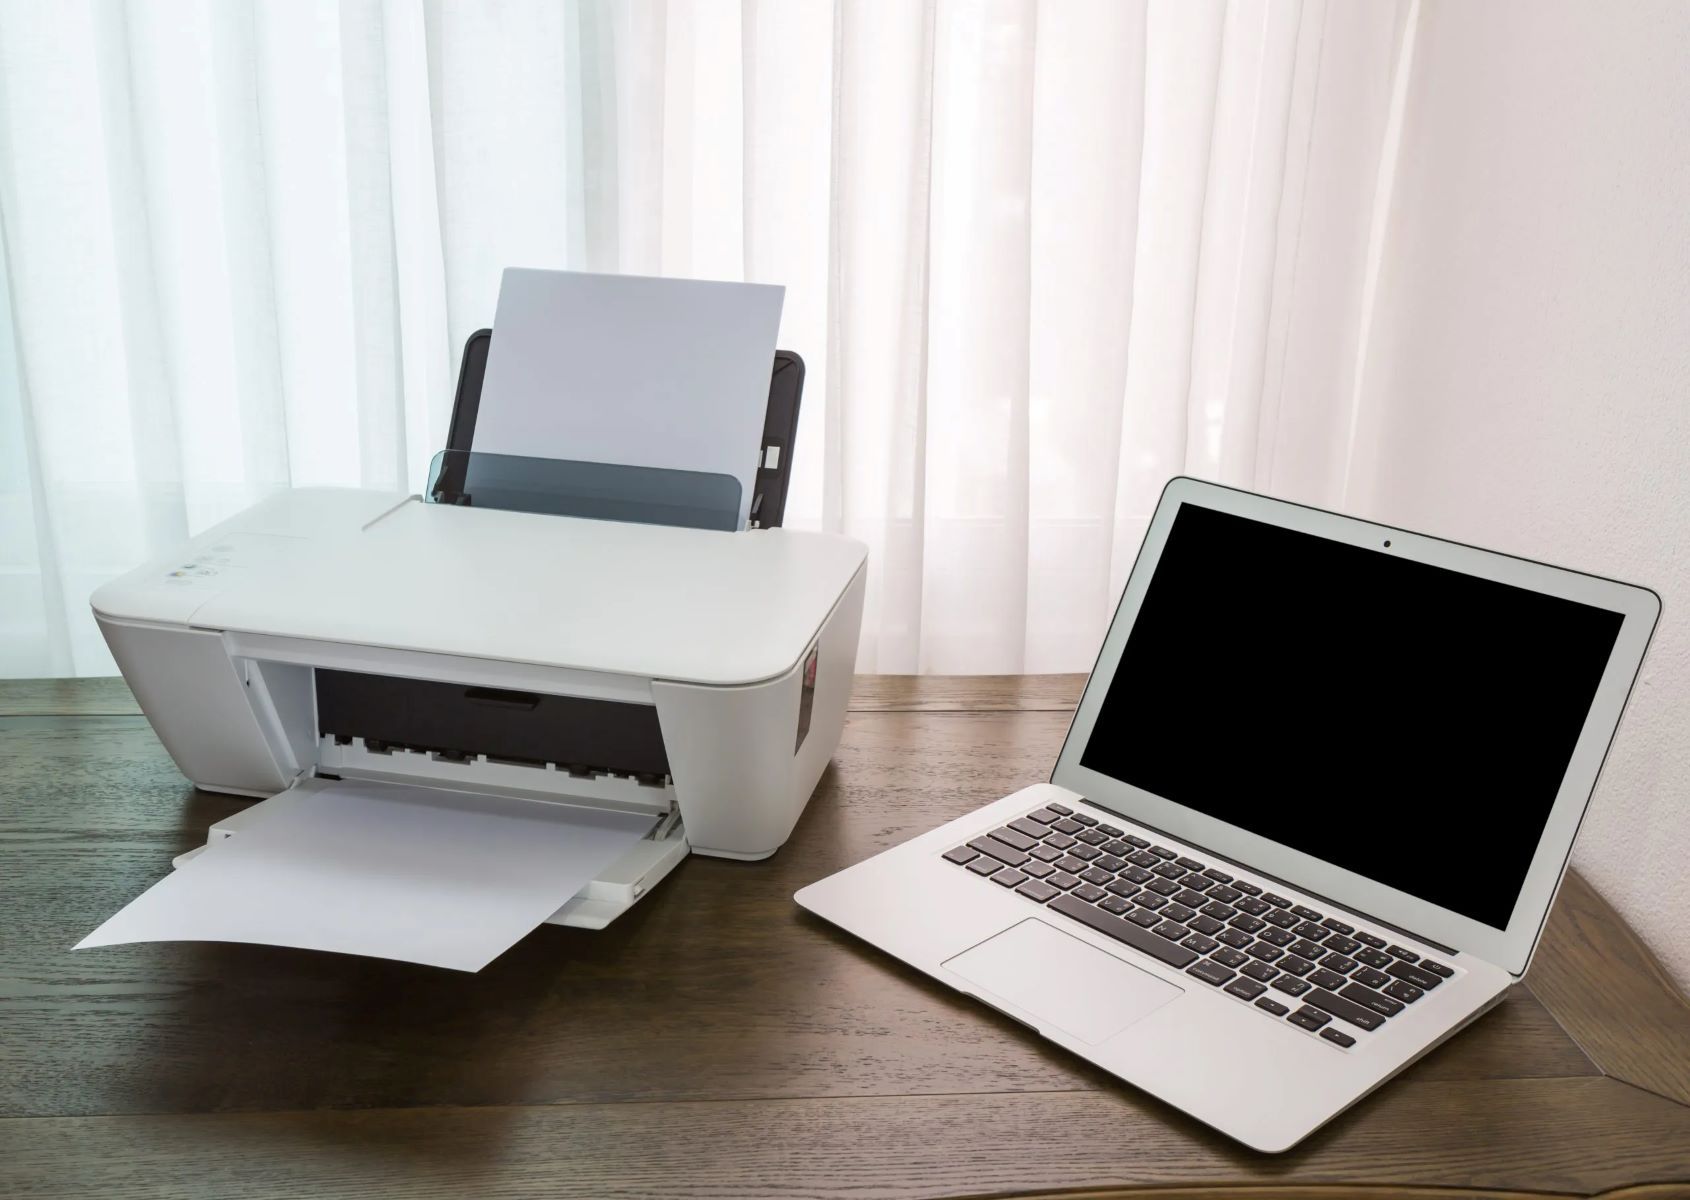
Connecting the Printer
After confirming the compatibility of your printer with Windows 10, the next step is to connect the printer to your computer. The connection method may vary depending on whether the printer is wired or wireless. Here’s how to connect your printer to your Windows 10 computer:
Wired Connection:
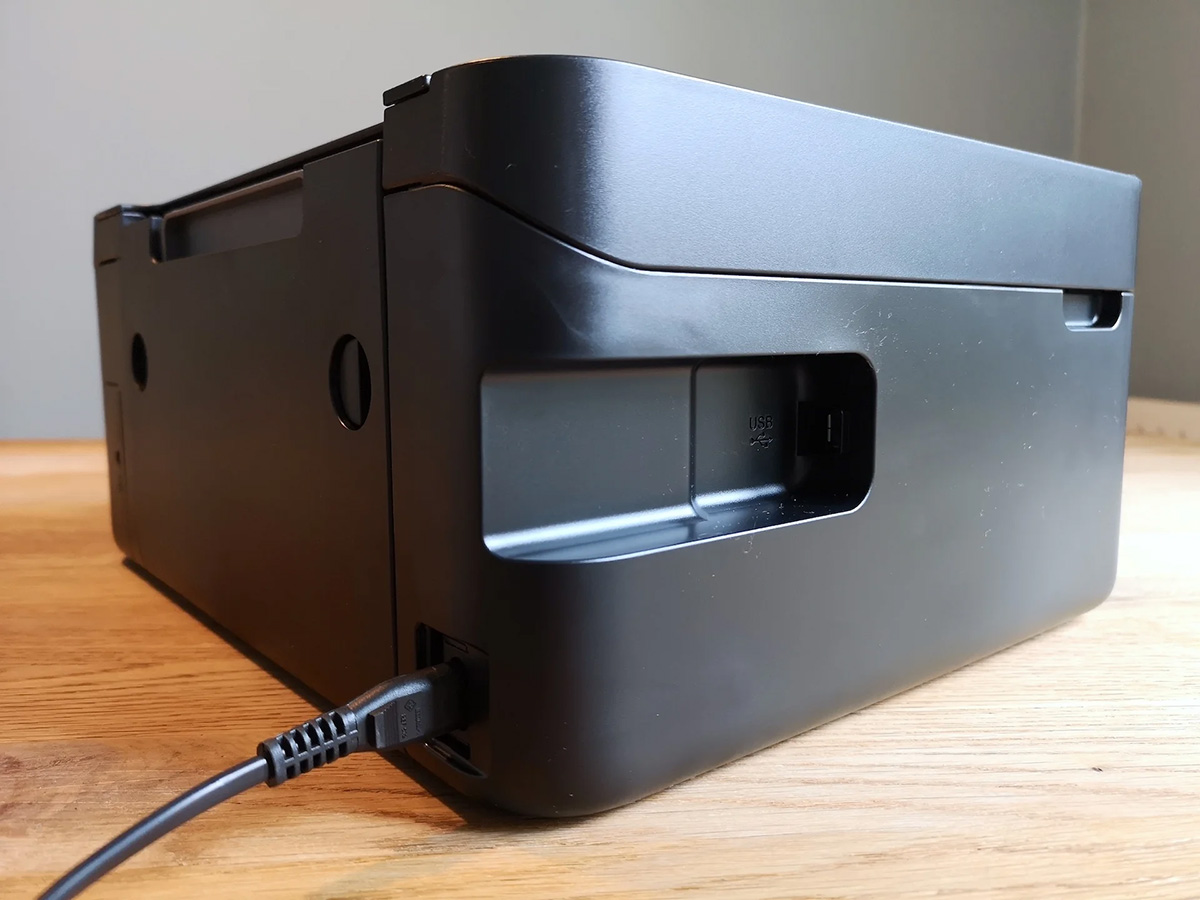
If you have a USB printer, connecting it to your Windows 10 computer is straightforward. Simply follow these steps:
- Ensure that your printer is powered on and ready for setup.
- Locate an available USB port on your computer.
- Connect one end of the USB cable to the printer and the other end to the USB port on your computer.
- Windows 10 will automatically detect the new hardware and attempt to install the necessary drivers. If the drivers are not installed automatically, you may need to install them manually using the installation CD provided with the printer or by downloading the drivers from the manufacturer’s website.
Wireless Connection:
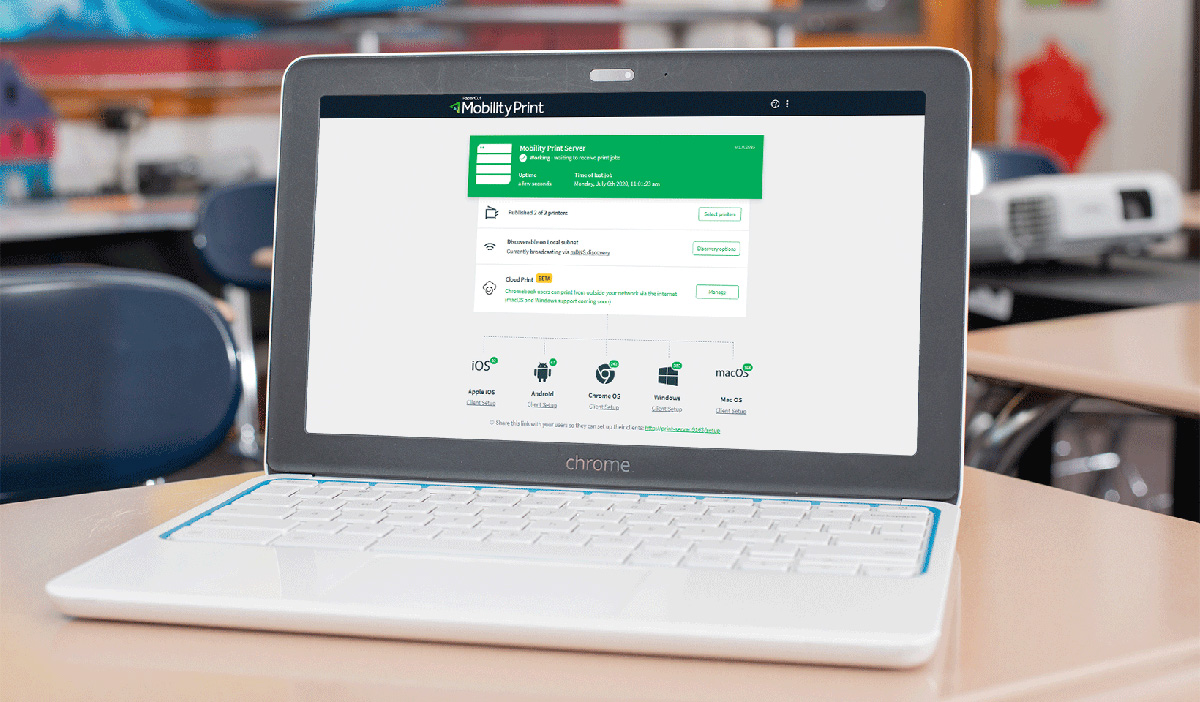
For wireless printers, the setup process involves connecting the printer to your Wi-Fi network. Follow these general steps to connect a wireless printer to your Windows 10 computer:
- Access the printer’s control panel to enable Wi-Fi or wireless connectivity.
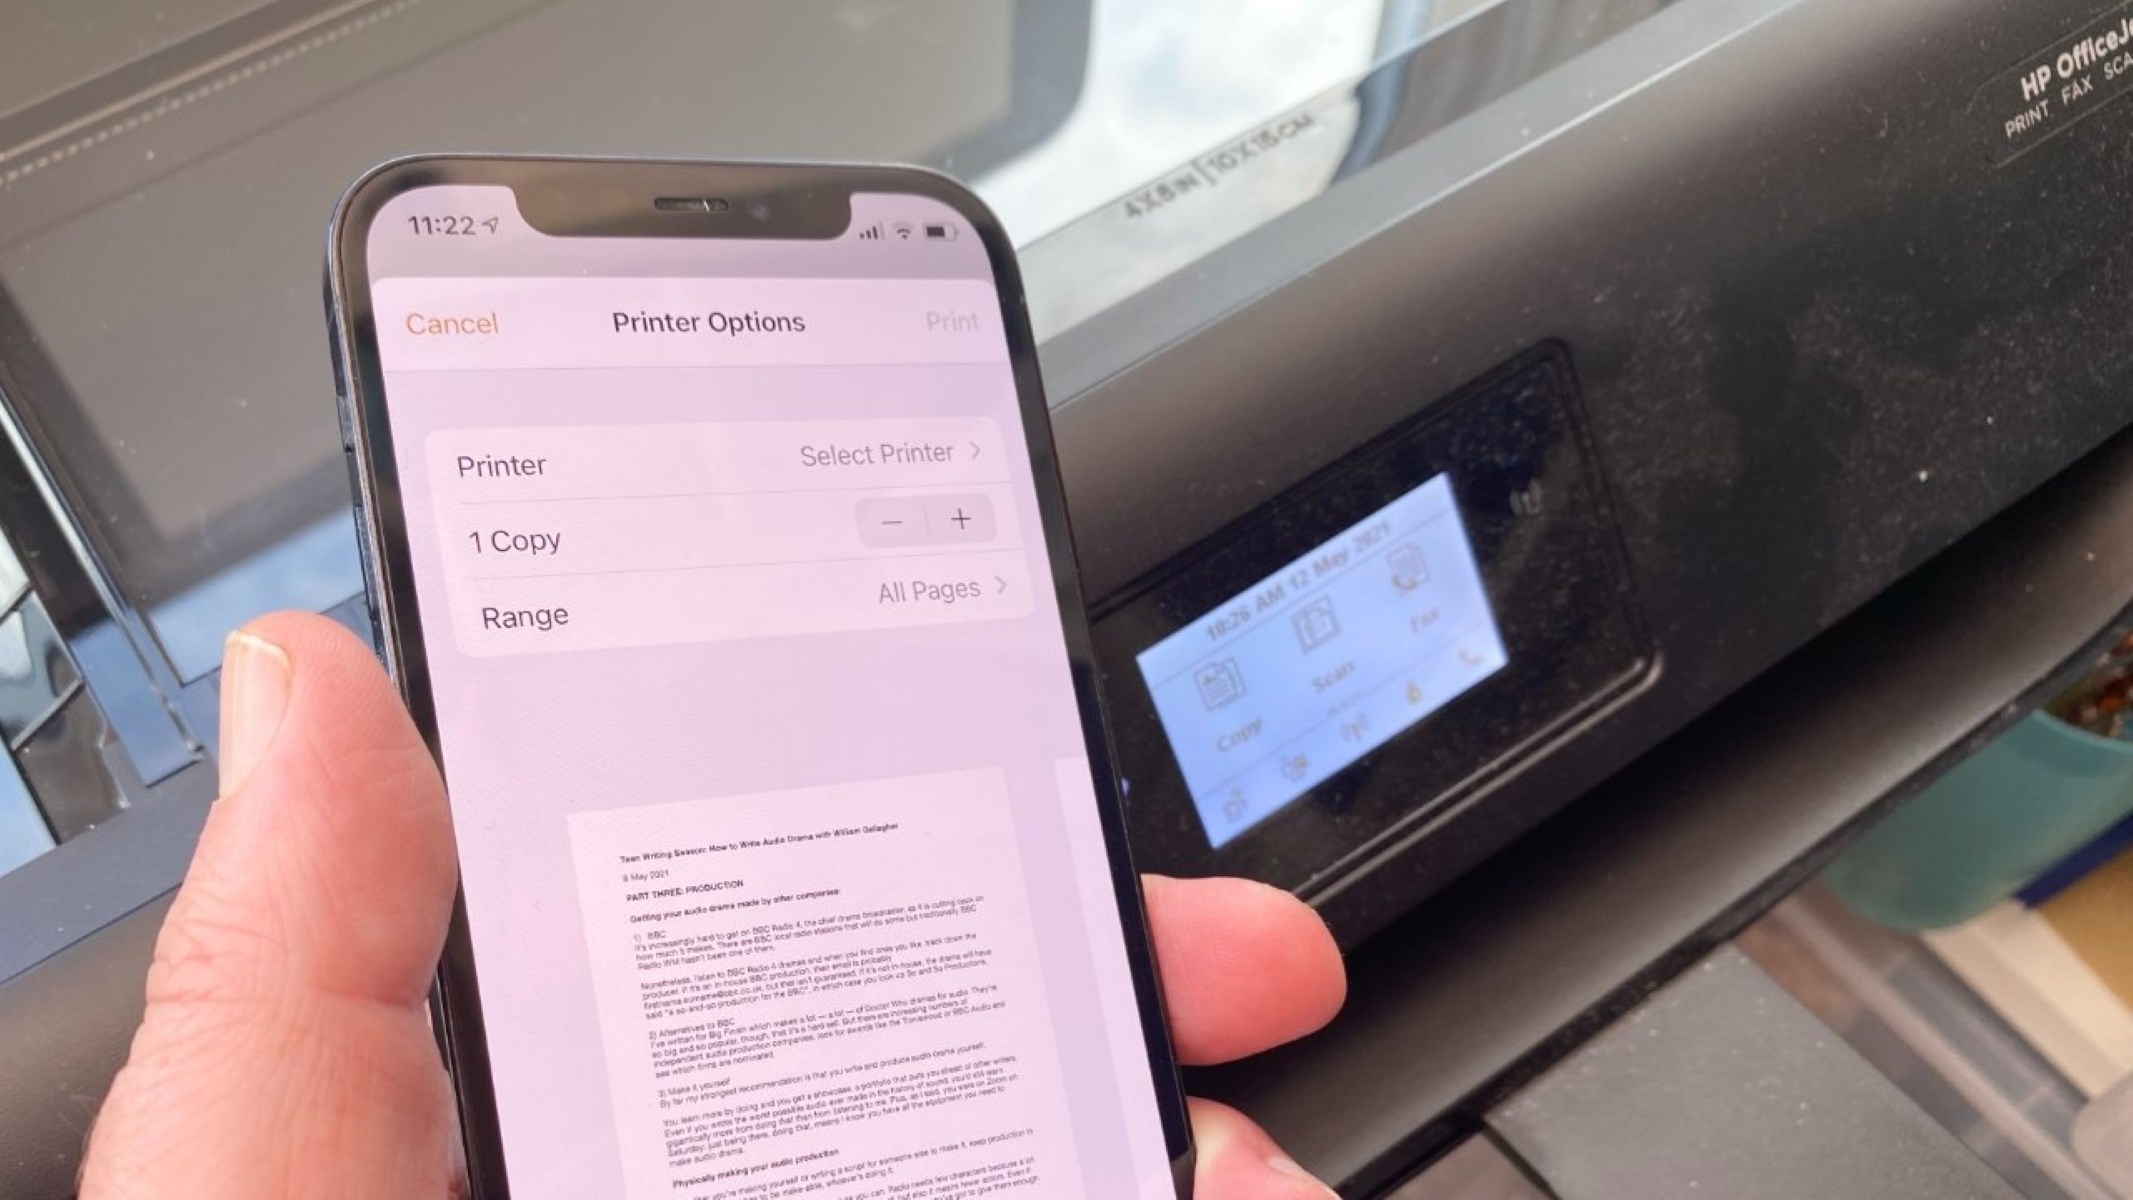
- On your Windows 10 computer, navigate to “Settings” and select “Devices,” then click on “Printers & scanners.”
- Click on “Add a printer or scanner” and wait for Windows 10 to detect your wireless printer.
- Once the printer is detected, select it from the list of available printers and follow the on-screen instructions to complete the setup process.
By following these steps, you can successfully connect your printer to your Windows 10 computer, paving the way for the next crucial step: installing the printer drivers.
Read more: How To Share A Printer On Windows 10
Installing Printer Drivers
Once your printer is connected to your Windows 10 computer, the next vital step is to install the necessary printer drivers. Printer drivers are software programs that facilitate communication between your computer and the printer, allowing them to work together seamlessly. Here’s how to install printer drivers on Windows 10:
- Automatic Installation: In many cases, Windows 10 will automatically install the basic drivers for your printer once it’s connected. This automatic installation process eliminates the need for manual driver installation in most instances. However, if the basic drivers don’t provide full functionality or if Windows doesn’t automatically install them, you can proceed to manual installation.
- Manual Installation: If your printer requires specific drivers for optimal performance, you can download the drivers from the manufacturer’s website. Visit the support or downloads section of the manufacturer’s website, enter your printer model, and download the appropriate drivers for Windows 10. Once downloaded, run the driver installation file and follow the on-screen instructions to complete the installation.
After the installation is complete, your printer should be ready to use with all its features and functionality fully accessible from your Windows 10 computer. It’s important to keep the printer drivers updated to ensure compatibility with the latest Windows 10 updates and to benefit from any enhancements or bug fixes provided by the manufacturer.
By installing the correct printer drivers, you can optimize the performance of your printer and enjoy a seamless printing experience on your Windows 10 system.
When adding a printer on Windows 10, make sure to have the printer’s driver software ready. You can usually find this on the manufacturer’s website. This will ensure that the printer functions properly with your computer.
Setting Default Printer
Setting a default printer on your Windows 10 computer ensures that when you hit the print command, the document is sent to the designated printer without the need to select it each time. Here’s how to set a default printer on Windows 10:
- Access Settings: Click on the Windows Start button and select “Settings” (the gear icon) to open the Settings app.
- Open Devices: In the Settings app, click on “Devices.” This will open the Devices settings window.
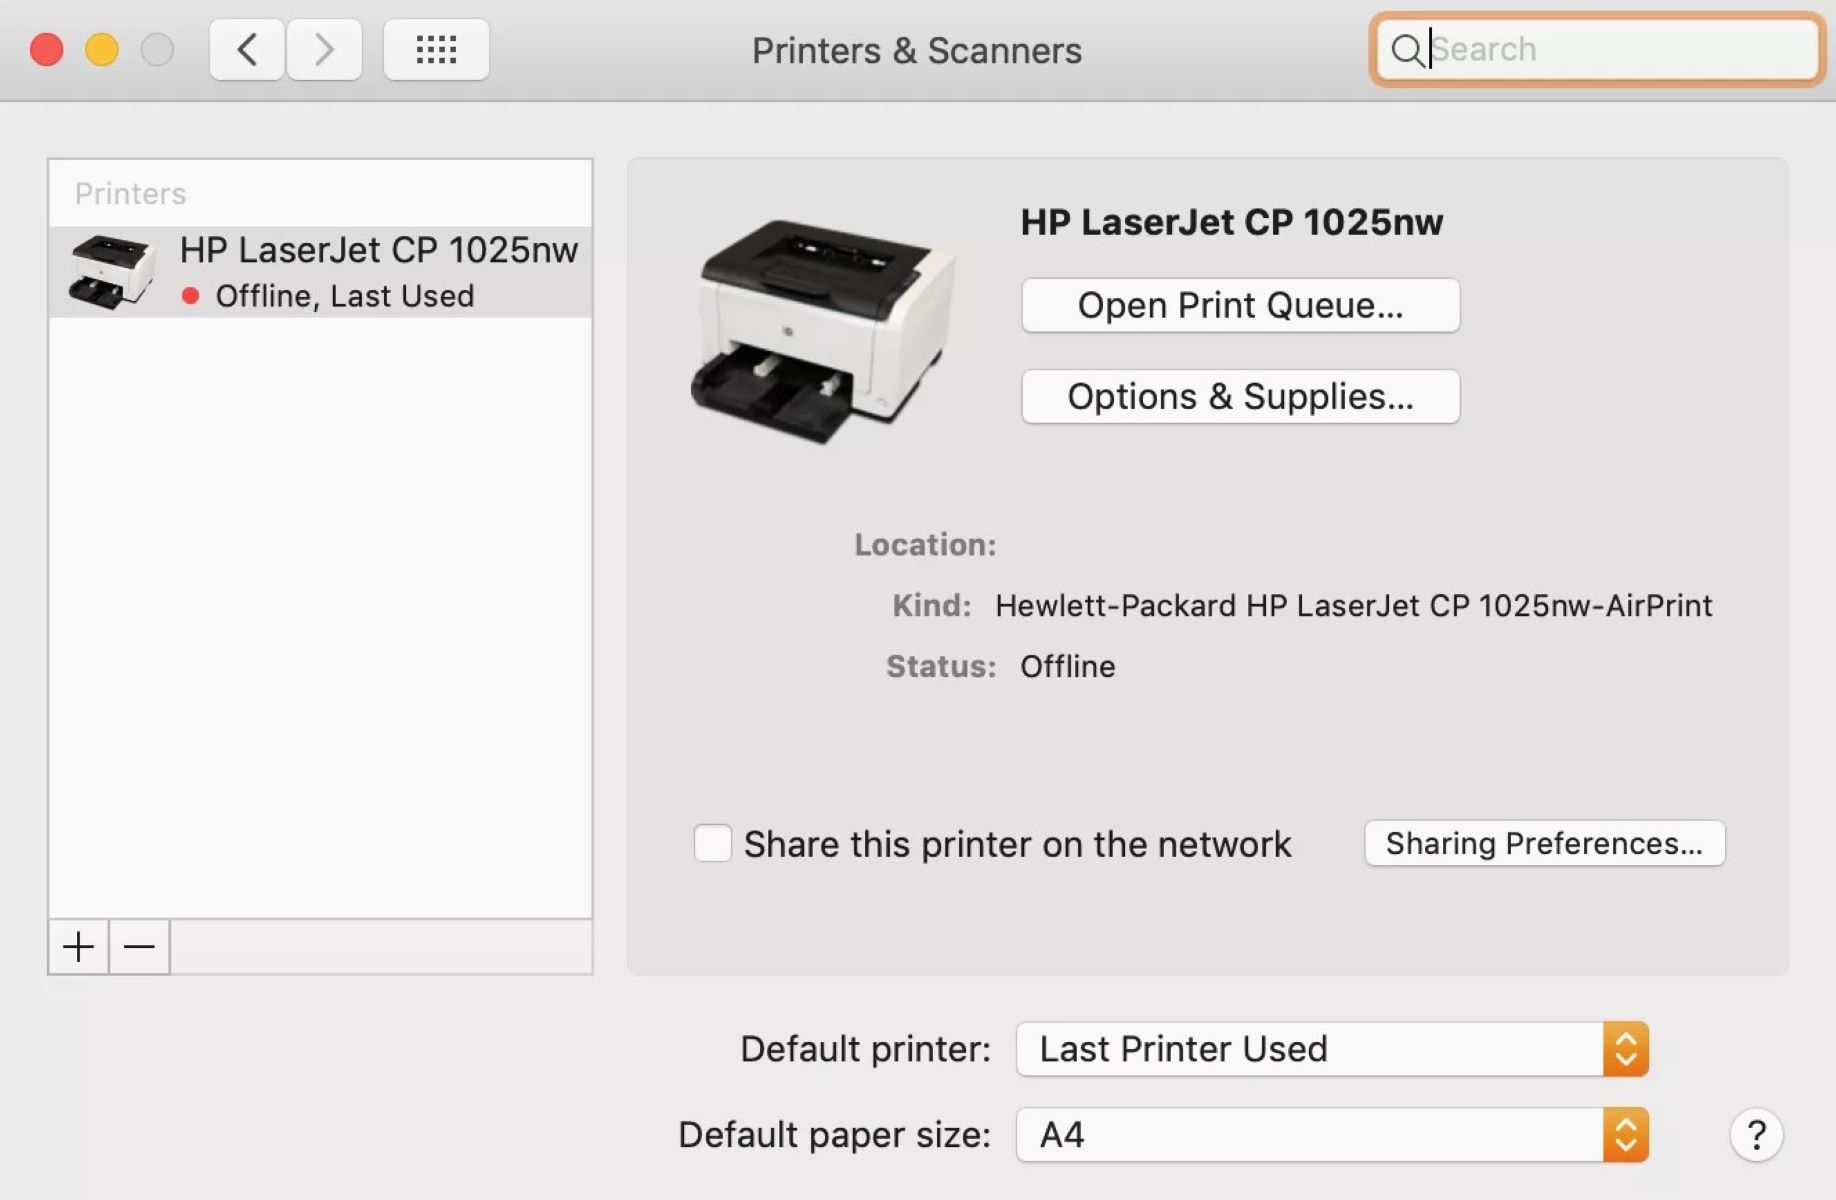
- Select Printers & Scanners: In the Devices settings window, select “Printers & scanners” from the menu on the left-hand side.
- Choose Default Printer: Scroll down to the “Printers & scanners” section and locate the printer you want to set as the default. Click on the printer to select it.
- Set as Default: After selecting the desired printer, click on the “Manage” button. A drop-down menu will appear. Click on “Set as default” to designate the selected printer as the default printer for your Windows 10 system.
Once you’ve completed these steps, your chosen printer will be set as the default printer on your Windows 10 computer. Any future print jobs will be automatically directed to this default printer, streamlining the printing process and saving you time and effort.
Setting a default printer is especially useful if you have multiple printers connected to your computer or if you frequently switch between different printers for various printing tasks. By designating a default printer, you can simplify the printing process and ensure that your documents are consistently sent to the intended printer.
Troubleshooting Printer Issues
While adding and setting up a printer on Windows 10 is generally straightforward, you may encounter occasional issues that hinder the printing process. Here are some common printer issues and troubleshooting steps to resolve them:
- Printer Not Detected: If your printer is not detected by Windows 10, ensure that it is properly connected to your computer or network. Check the printer’s power source, cables, and network connection to ensure everything is properly set up. Restart both the printer and your computer to allow them to reestablish communication.
- Driver Errors: If you encounter driver-related errors, such as incompatible or outdated drivers, consider reinstalling the printer drivers. Visit the manufacturer’s website to download the latest drivers compatible with Windows 10. After installing the updated drivers, restart your computer and try printing again.
- Print Queue Issues: If print jobs are stuck in the print queue and not progressing, you can clear the print queue to resolve the issue. Open the Control Panel, navigate to “Devices and Printers,” right-click on your printer, and select “See what’s printing.” In the print queue window, click on “Printer” in the top menu and select “Cancel All Documents” to clear the print queue.
- Network Connectivity Problems: For network printers, ensure that the printer is connected to the same network as your Windows 10 computer. Check the network settings on the printer and verify that it is connected to the correct network. Additionally, restart your router and printer to refresh the network connection.
- Print Quality Issues: If you experience print quality problems, such as faded prints or streaks on the paper, consider performing a printer maintenance routine. This may involve cleaning the print head, aligning the printer, or replacing ink or toner cartridges based on the type of printer you have.
By addressing these common printer issues through the suggested troubleshooting steps, you can overcome obstacles that may arise during the printer setup and usage process. Troubleshooting printer issues empowers you to maintain a smooth and efficient printing experience on your Windows 10 computer.
With these troubleshooting measures at your disposal, you can effectively resolve printer-related challenges and ensure that your printing tasks proceed without interruption.
Frequently Asked Questions about How To Add A Printer On Windows 10
Was this page helpful?
At Storables.com, we guarantee accurate and reliable information. Our content, validated by Expert Board Contributors, is crafted following stringent Editorial Policies. We're committed to providing you with well-researched, expert-backed insights for all your informational needs.


0 thoughts on “How To Add A Printer On Windows 10”