Home>Articles>How To Assemble Earth Showerhead 2.0 GPM A112.18.1
Articles
How To Assemble Earth Showerhead 2.0 GPM A112.18.1
Modified: August 26, 2024
Learn how to assemble the Earth Showerhead 2.0 GPM A112.18.1 with our step-by-step articles. Master the art of assembly with our helpful guides.
(Many of the links in this article redirect to a specific reviewed product. Your purchase of these products through affiliate links helps to generate commission for Storables.com, at no extra cost. Learn more)
Introduction
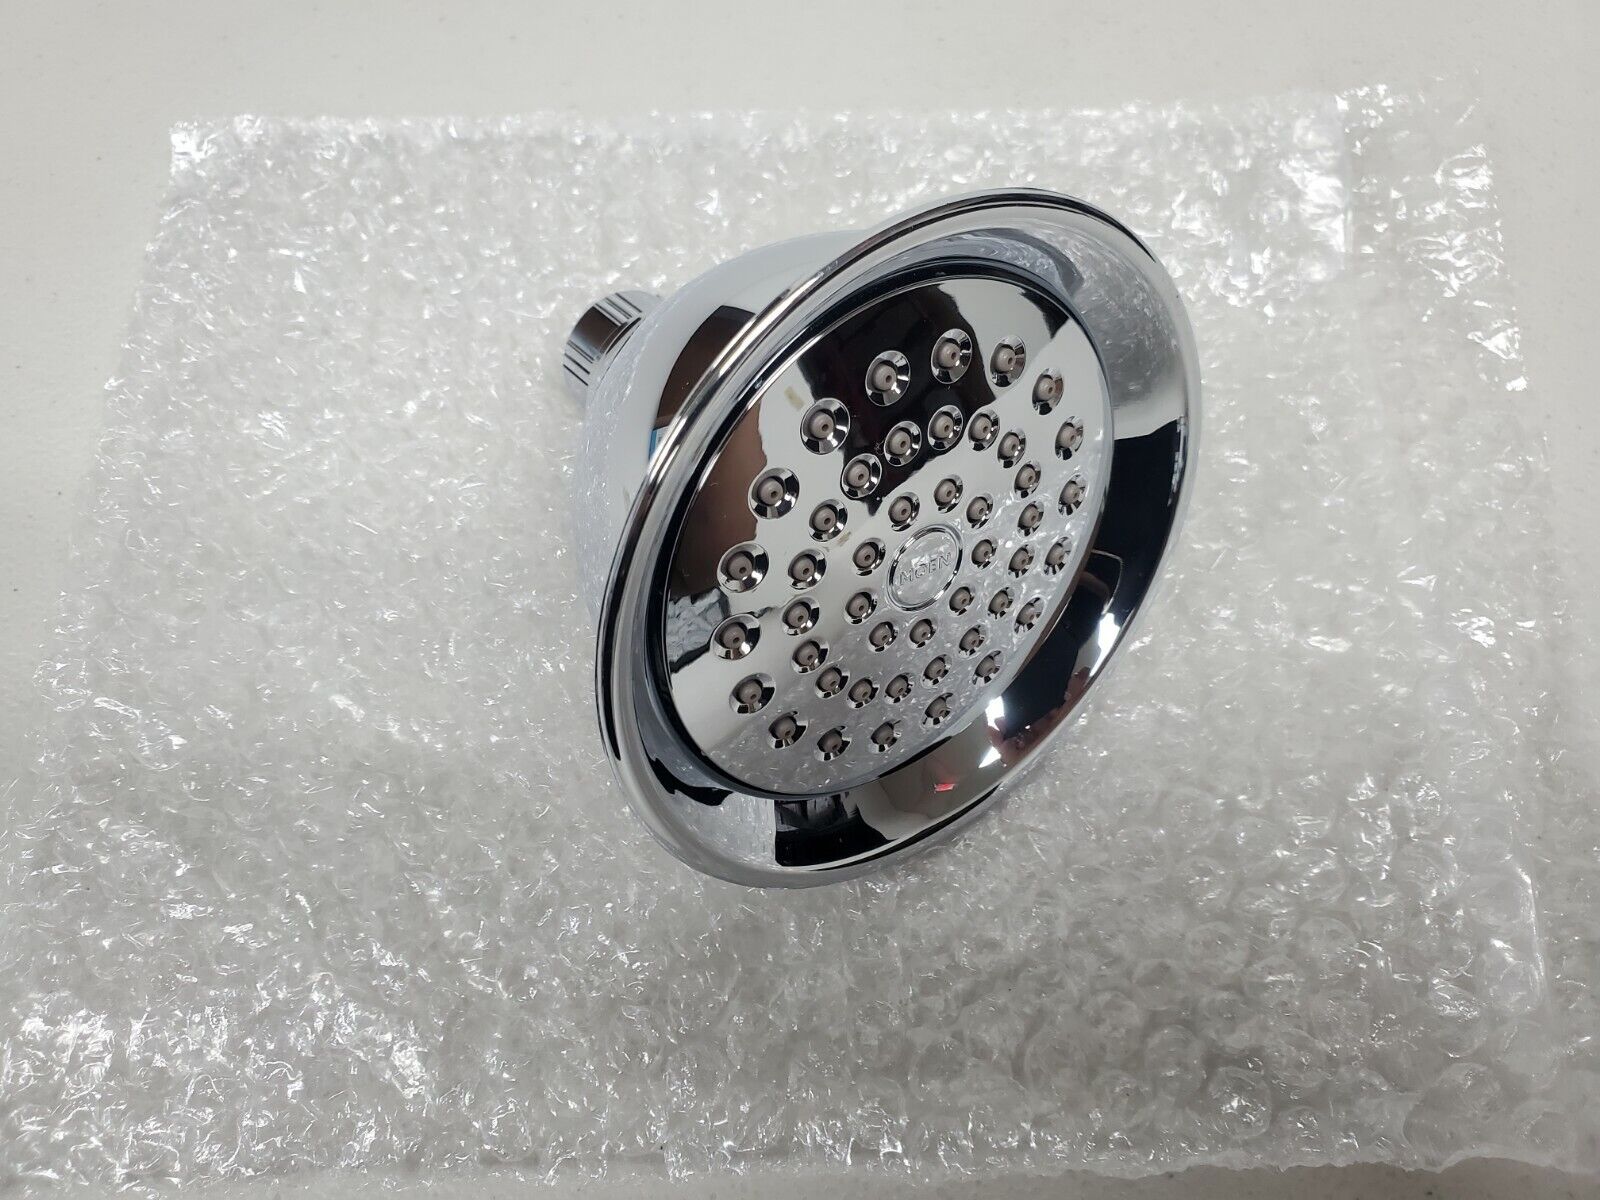
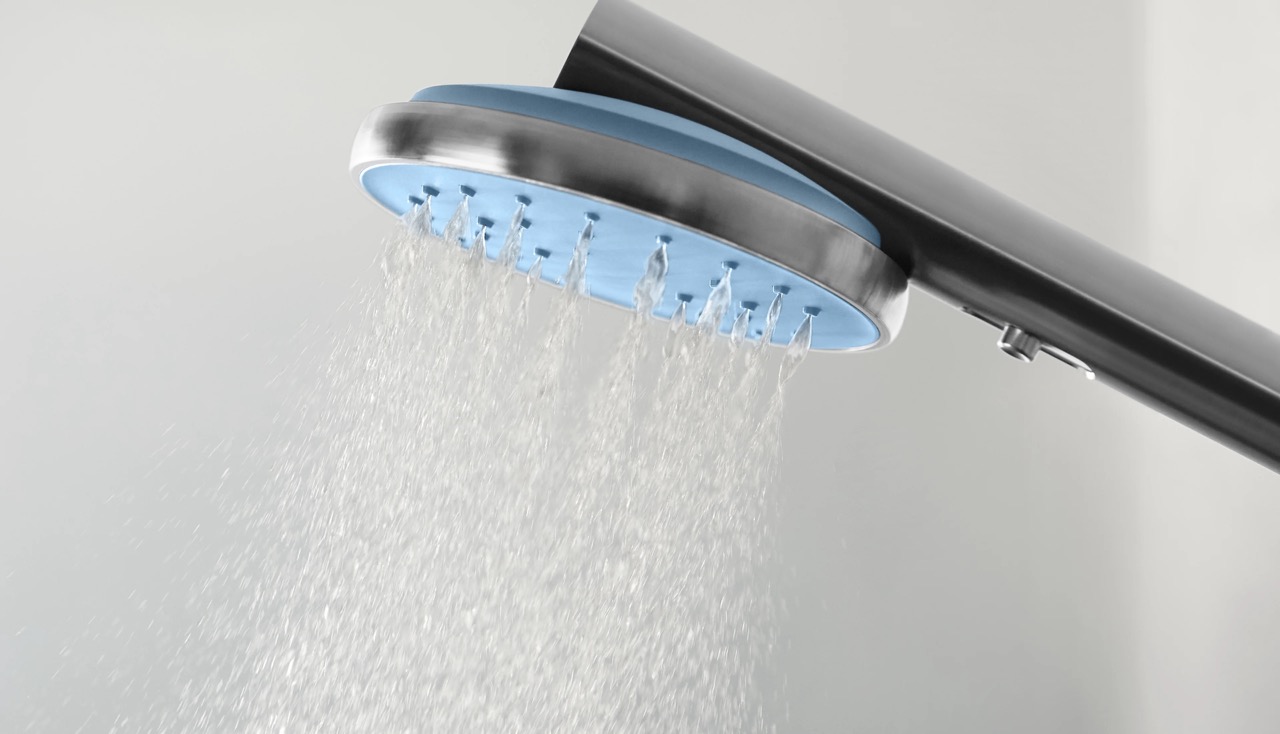
Welcome to the step-by-step guide on how to assemble the Earth Showerhead 2.0 Gpm A112.18.1. This innovative showerhead is designed to provide a relaxing and eco-friendly shower experience. With its water-saving features and efficient performance, it has gained popularity among environmentally-conscious individuals.
Assembling the Earth Showerhead 2.0 Gpm A112.18.1 is a simple process that can be completed in a few easy steps. Whether you’re a DIY enthusiast or someone with limited plumbing experience, this guide will help you navigate through the assembly process smoothly. By following these instructions, you’ll be enjoying a refreshing and sustainable shower experience in no time.
Before we dive into the assembly process, it’s important to ensure that you have all the necessary tools and equipment ready. Make sure you have the Earth Showerhead 2.0 Gpm A112.18.1 package, a wrench, plumber’s tape, and a cloth for cleaning. With these essentials at hand, let’s get started on assembling your Earth Showerhead 2.0 Gpm A112.18.1.
Key Takeaways:
- Assembling the Earth Showerhead 2.0 Gpm A112.18.1 is a straightforward process that involves unboxing, assessing parts, connecting, securing, testing water flow, adjusting water pressure, and troubleshooting. Enjoy an eco-friendly shower experience with these simple steps!
- By following the step-by-step guide, you can confidently assemble the Earth Showerhead 2.0 Gpm A112.18.1 and contribute to water conservation efforts. Remember to regularly clean the showerhead and address any issues promptly for an optimal showering experience.
Read more: How To Open Earth Showerhead A112.18.1
Step 1: Unboxing the Earth Showerhead 2.0 Gpm A112.18.1
The first step in assembling the Earth Showerhead 2.0 Gpm A112.18.1 is to unbox the package. Find a clean and well-lit area where you can easily access all the components. Carefully remove the Earth Showerhead 2.0 Gpm A112.18.1 from its packaging and lay out all the parts on a flat surface.
Take a moment to familiarize yourself with the different components of the Earth Showerhead 2.0 Gpm A112.18.1. You will typically find the following items:
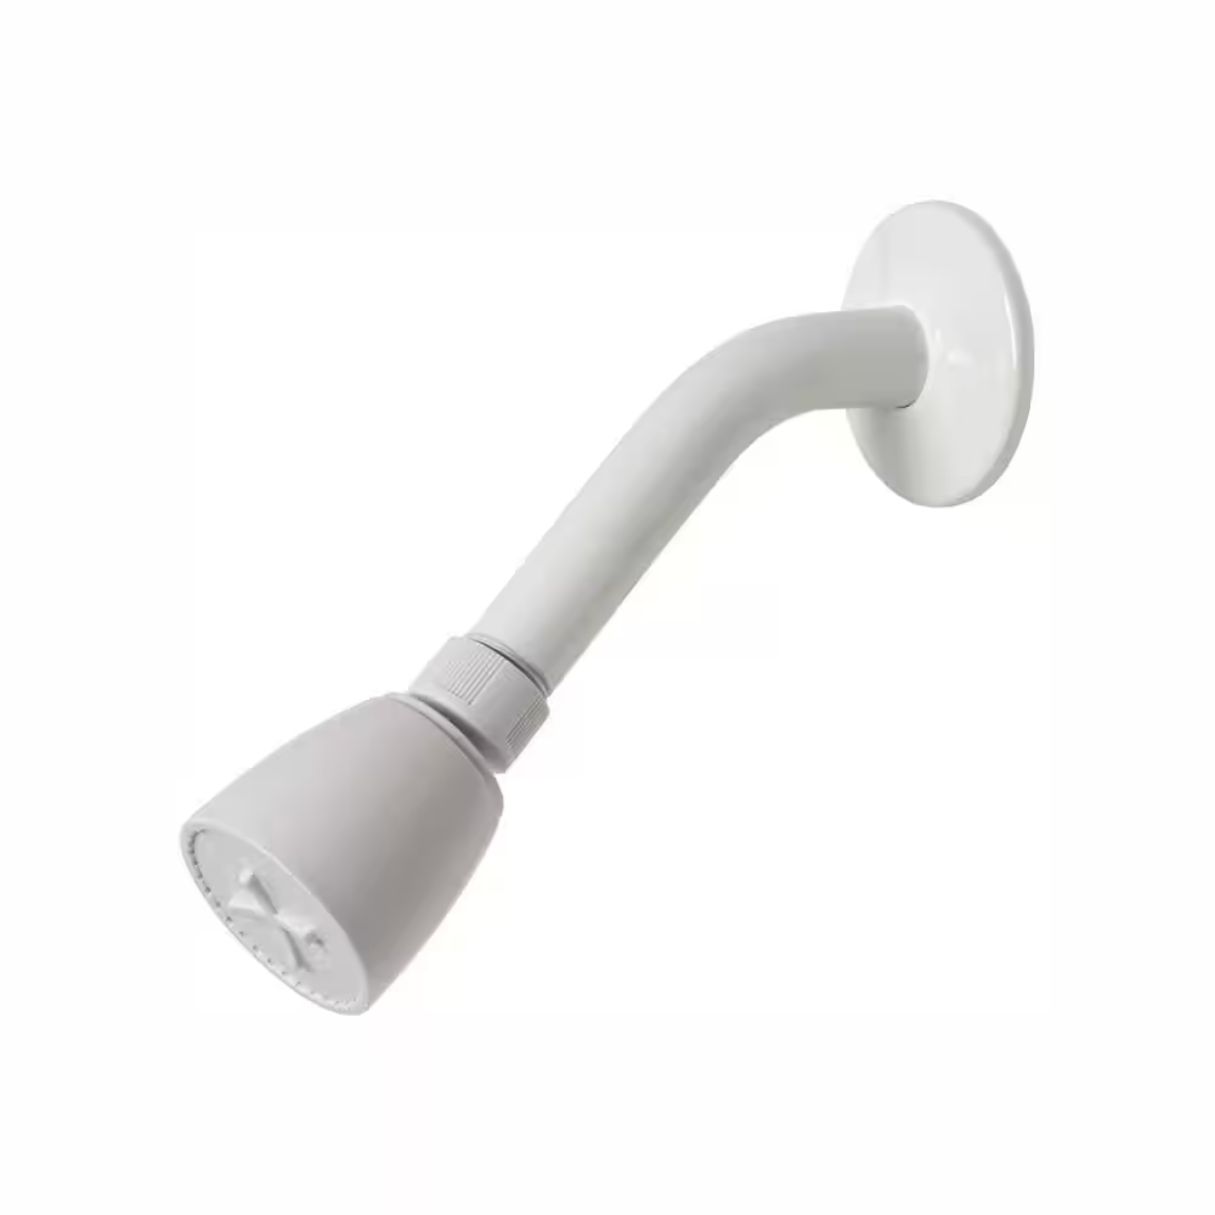
- Showerhead body
- Shower arm adapter
- Rubber washers
- Teflon tape
- Installation instructions
Inspect each component to ensure that they are in good condition and free from any defects. If you notice any damage or missing parts, contact the manufacturer for assistance.
It’s also worth noting that the Earth Showerhead 2.0 Gpm A112.18.1 is designed to work with standard shower arm connections. If you have a non-standard shower arm, you may need to purchase an additional adapter to ensure a proper fit.
Now that you have unboxed the Earth Showerhead 2.0 Gpm A112.18.1 and familiarized yourself with the components, you’re ready to move on to the next step: assessing the parts.
Step 2: Assessing the Parts
After unboxing the Earth Showerhead 2.0 Gpm A112.18.1, it’s important to assess the parts to ensure everything is present and in good condition. Take a closer look at each component, checking for any defects, missing pieces, or signs of damage.
Start by examining the showerhead body. Inspect the nozzles and ensure they are clean and free from any debris or obstructions. If you notice any clogs, gently clean the nozzles using a soft brush or toothbrush. This will help maintain optimal water flow and prevent blockages.
Next, check the shower arm adapter. Ensure that the threading is in good condition and fits securely onto the shower arm. If you notice any damage or threading issues, it’s recommended to replace the shower arm adapter before proceeding with the assembly.
Verify that you have the rubber washers included in the package. These small but essential components help create a watertight seal and prevent leaks. Make sure they are in good condition and have no visible signs of wear or tearing. If needed, it’s advisable to replace the washers with new ones for optimal performance.
Lastly, locate the Teflon tape included in the package. This thin white tape is used to create a tight and secure seal between threaded connections. It helps prevent leaks and ensures a reliable connection. Ensure that the Teflon tape is in good condition and doesn’t have any tears or damages.
If you find any issues with the parts or have concerns about their condition, it’s best to contact the manufacturer or retailer for guidance. They can provide assistance and ensure you have all the necessary components for a successful assembly. Once you have assessed the parts and confirmed everything is in order, it’s time to move on to the next step: connecting the showerhead.
Step 3: Connecting the Showerhead
Now that you have assessed the parts, it’s time to move on to connecting the showerhead of the Earth Showerhead 2.0 Gpm A112.18.1. Follow these step-by-step instructions to ensure a proper and secure connection:
- Start by wrapping the threaded end of the shower arm with Teflon tape. This will help create a tight seal and prevent any potential leaks. Take the end of the Teflon tape and wrap it clockwise around the threads, covering them completely. Make sure to apply a few layers of tape for a secure seal.
- Take the showerhead body and locate the inlet on the back. Align the threads on the inlet with the Teflon tape on the shower arm.
- Gently twist the showerhead body clockwise onto the shower arm. Use your hand to tighten it securely, ensuring a snug fit. If necessary, you can use a wrench to give it an extra quarter turn for added tightness. However, be cautious not to overtighten, as it may damage the showerhead or the shower arm.
- Once the showerhead is securely connected, check for any leaks around the connection point. Turn on the water and allow it to flow for a few moments, observing if there are any signs of leakage. If you notice any leaks, use a wrench to tighten the connection further or consider adding an additional layer of Teflon tape.
- After ensuring a tight and leak-free connection, use a cloth to wipe away any excess water from the showerhead and surrounding area. This will help keep the showerhead clean and prevent any water stains or buildup.
By following these steps, you have successfully connected the showerhead of the Earth Showerhead 2.0 Gpm A112.18.1 to the shower arm. In the next step, we will discuss how to attach the shower arm adapter.
Step 4: Attaching the Shower Arm Adapter
Once you have connected the showerhead, the next step is to attach the shower arm adapter of the Earth Showerhead 2.0 Gpm A112.18.1. The shower arm adapter allows you to adjust the positioning of the showerhead for your comfort. Follow these instructions to securely attach the shower arm adapter:
- Take the shower arm adapter and examine it for any visible defects or damage. Ensure that the threading is in good condition and compatible with your shower arm.
- Apply a layer of Teflon tape to the threaded end of the shower arm adapter. Wrap it clockwise around the threads, covering them completely for a secure seal.
- Gently twist the shower arm adapter onto the shower arm. Start by hand tightening it in a clockwise direction, ensuring a snug fit.
- If necessary, use a wrench to give the shower arm adapter an extra quarter turn. This will ensure a tight and secure connection. However, be careful not to overtighten, as it may cause damage to the shower arm or the adapter.
- Double-check for any signs of leakage around the connection point. Turn on the water and observe if there are any leaks. If you notice any leaks, use a wrench to tighten the connection further or add another layer of Teflon tape.
- After confirming a tight and leak-free connection, use a cloth to wipe away any excess water or moisture.
By following these steps, you have successfully attached the shower arm adapter of the Earth Showerhead 2.0 Gpm A112.18.1. In the next step, we will discuss how to secure the showerhead in place.
When assembling the Earth Showerhead 2.0 GPM A112.18.1, make sure to follow the manufacturer’s instructions carefully to ensure proper installation and optimal performance. Pay attention to the placement of washers and seals to prevent leaks.
Read more: How Many 2/0 Wires In 1-1/2 Inch Conduit
Step 5: Securing the Showerhead
Now that you have attached the shower arm adapter, it’s time to secure the showerhead of the Earth Showerhead 2.0 Gpm A112.18.1 in its desired position. Follow these steps to ensure a secure and stable placement:
- Hold the showerhead in your desired position, whether it’s facing straight down or angled to your preference.
- Locate the tightening ring on the shower arm adapter. This ring is typically located near the base of the shower arm adapter where it connects to the showerhead.
- Gently twist the tightening ring in a clockwise direction to secure the showerhead in place. Be cautious not to overtighten, as it may cause damage to the showerhead or the shower arm adapter.
- Test the stability of the showerhead by gently nudging it. It should remain in its desired position without any excessive movement or wobbling.
- If you find that the showerhead is too loose or unstable, slightly tighten the tightening ring in a clockwise direction to provide a firmer grip.
- Once you are satisfied with the stability and positioning of the showerhead, turn on the water and check for any leaks around the connection points. If you observe any leaks, try tightening the connections further or adding another layer of Teflon tape.
- After confirming a secure and leak-free connection, use a cloth to wipe away any water or moisture from the showerhead and surrounding area.
By following these steps, you have successfully secured the showerhead of the Earth Showerhead 2.0 Gpm A112.18.1 in its desired position. In the next step, we will discuss how to test the water flow of the showerhead.
Step 6: Testing the Water Flow
Now that you have secured the Earth Showerhead 2.0 Gpm A112.18.1 in place, it’s time to test the water flow to ensure that it is functioning properly. Follow these steps to test the water flow:
- Make sure the water supply to the showerhead is turned off.
- Adjust the temperature and flow settings on your shower to your preferred settings.
- Turn on the water supply to the showerhead.
- Observe the water flow from the showerhead. It should come out evenly and smoothly from each nozzle.
- Check for any signs of uneven or reduced water flow. If you notice any issues, try removing and cleaning the showerhead to remove any potential blockages.
- If the water flow is not satisfactory, double-check the connections to ensure they are tightened securely.
- Make any necessary adjustments to the position of the showerhead or the flow settings on your shower to achieve your desired water flow.
- If you continue to experience issues with the water flow, consult the manufacturer’s instructions or contact customer support for further assistance.
By following these steps, you will be able to test the water flow of the Earth Showerhead 2.0 Gpm A112.18.1 and ensure that it is operating at its optimal performance. In the next step, we will discuss how to adjust the water pressure of the showerhead.
Step 7: Adjusting the Water Pressure
Adjusting the water pressure of your Earth Showerhead 2.0 Gpm A112.18.1 is a crucial step to ensure a comfortable and enjoyable shower experience. Follow these steps to adjust the water pressure:
- Identify if your Earth Showerhead 2.0 Gpm A112.18.1 has a flow restrictor. This restrictor is designed to limit the amount of water flowing through the showerhead, helping to conserve water. It is typically located near the base of the showerhead.
- To adjust the water pressure, you may choose to remove the flow restrictor. This can be done by unscrewing the restrictor counterclockwise. Keep in mind that removing the flow restrictor may increase water consumption.
- Alternatively, if you prefer to keep the flow restrictor in place, but still want to adjust the water pressure, you can partially close the water supply valve to the showerhead. This will reduce the amount of water flowing through the showerhead, resulting in lower water pressure.
- Experiment with different levels of water flow until you find the desired pressure that suits your preferences.
- Remember that finding the right water pressure is subjective and may require some trial and error. Take your time to adjust the settings to achieve your ideal balance between strong water pressure and water conservation.
- Make sure to test the water pressure during your shower to ensure it remains consistent. If you notice any sudden changes or fluctuations in water pressure, check the connections and adjust the settings accordingly.
By following these steps, you can easily adjust the water pressure of your Earth Showerhead 2.0 Gpm A112.18.1 to suit your personal preferences. In the next step, we will provide some troubleshooting tips to address common issues that may arise during the assembly process.
Step 8: Troubleshooting Tips
While assembling the Earth Showerhead 2.0 Gpm A112.18.1 is a straightforward process, you may encounter some common issues along the way. Here are some troubleshooting tips to help you resolve these issues:
- If you experience leaks at the connection points, check if the connections are tightened properly. Use a wrench if necessary but avoid overtightening, as it may cause damage.
- If the water flow is uneven or reduced, there may be a blockage in the showerhead. Remove the showerhead and clean the nozzles thoroughly using a soft brush or toothbrush to remove any debris or mineral buildup.
- If you need to replace any parts of the Earth Showerhead 2.0 Gpm A112.18.1, such as rubber washers, make sure to use compatible replacements to maintain proper function and prevent leaks.
- If you encounter threading issues with the shower arm adapter, double-check that it is compatible with your shower arm. If needed, purchase an adapter that fits your specific shower arm dimensions.
- If adjusting the water pressure is still not satisfactory, consider consulting a professional plumber who can assess the water supply system and suggest potential solutions.
- If you have any concerns or encounter difficulties during the assembly process, refer to the manufacturer’s instructions or contact their customer support for assistance.
By following these troubleshooting tips, you’ll be able to overcome common challenges and ensure a successful assembly of the Earth Showerhead 2.0 Gpm A112.18.1. Remember to be patient and take your time to troubleshoot any issues that arise along the way.
Congratulations! You have now completed the assembly process of the Earth Showerhead 2.0 Gpm A112.18.1. Enjoy your eco-friendly and refreshing shower experience!
This concludes our step-by-step guide on how to assemble the Earth Showerhead 2.0 Gpm A112.18.1. We hope you found this guide helpful and that it has provided you with the knowledge and confidence to successfully assemble your Earth Showerhead 2.0 Gpm A112.18.1.
Conclusion
Congratulations on successfully completing the assembly of your Earth Showerhead 2.0 Gpm A112.18.1! By following the step-by-step guide provided, you have learned how to unbox the showerhead, assess the parts, connect the showerhead, attach the shower arm adapter, secure the showerhead, test the water flow, adjust the water pressure, and troubleshoot common issues.
With its eco-friendly features and efficient performance, the Earth Showerhead 2.0 Gpm A112.18.1 offers a sustainable and enjoyable shower experience. By conserving water without compromising on comfort, you can contribute to water conservation efforts and reduce your environmental impact.
Remember to regularly clean the showerhead to maintain optimal water flow and prevent any blockages caused by mineral buildup. Additionally, be mindful of any changes in water pressure or leaks and address them promptly to ensure the longevity and efficiency of your Earth Showerhead 2.0 Gpm A112.18.1.
If you require any further assistance or encounter any challenges during the assembly process, don’t hesitate to consult the manufacturer’s instructions or reach out to their customer support for guidance.
Thank you for choosing the Earth Showerhead 2.0 Gpm A112.18.1 and for taking the initiative to adopt more sustainable showering practices. We hope that you enjoy the benefits it provides and that it enhances your overall showering experience.
Happy showering!
Frequently Asked Questions about How To Assemble Earth Showerhead 2.0 GPM A112.18.1
Was this page helpful?
At Storables.com, we guarantee accurate and reliable information. Our content, validated by Expert Board Contributors, is crafted following stringent Editorial Policies. We're committed to providing you with well-researched, expert-backed insights for all your informational needs.


0 thoughts on “How To Assemble Earth Showerhead 2.0 GPM A112.18.1”