Home>Articles>How To Attach A New Bathroom To Existing Plumbing
Articles
How To Attach A New Bathroom To Existing Plumbing
Modified: October 19, 2024
Discover step-by-step articles on attaching a new bathroom to existing plumbing. Learn how to seamlessly connect pipes and fixtures for a functional and efficient bathroom renovation.
(Many of the links in this article redirect to a specific reviewed product. Your purchase of these products through affiliate links helps to generate commission for Storables.com, at no extra cost. Learn more)
Introduction
Adding a new bathroom to your home can be an exciting and practical renovation project. Whether you need an extra bathroom to accommodate a growing family or want to increase your home’s value, attaching a new bathroom to the existing plumbing system is a cost-effective solution.
Before you start the project, it’s important to assess the existing plumbing system to determine its capacity and identify any potential issues. This will help you plan the layout of the new bathroom and ensure proper installation of the fixtures.
In this article, we will guide you through the process of attaching a new bathroom to existing plumbing. We will discuss how to assess the existing plumbing system, plan the new bathroom layout, and provide step-by-step instructions on cutting into the existing plumbing lines, extending the drainpipe and vent stack, installing new water supply lines, and connecting the bathroom fixtures.
But before we dive into the technical details, let’s quickly go over the tools and materials you’ll need to get started.
Key Takeaways:
- Proper planning, assessment of existing plumbing, and precise installation of new fixtures are crucial for successfully attaching a new bathroom to the existing plumbing system. Attention to detail and adherence to safety measures are essential for a reliable and efficient outcome.
- Thorough testing for leaks, water flow, and drainage, along with careful visual inspections, ensures the integrity and functionality of the new plumbing system. Addressing any issues promptly leads to a reliable and long-lasting bathroom installation.
Read more: How To Attach Shed Roof To Existing Roof
Assessing the Existing Plumbing System
Before you begin attaching a new bathroom to the existing plumbing system, it’s crucial to assess the condition and capacity of the current infrastructure. This assessment will help you determine if the system can handle the additional fixtures and ensure proper functioning.
Here are the key steps to assess the existing plumbing system:
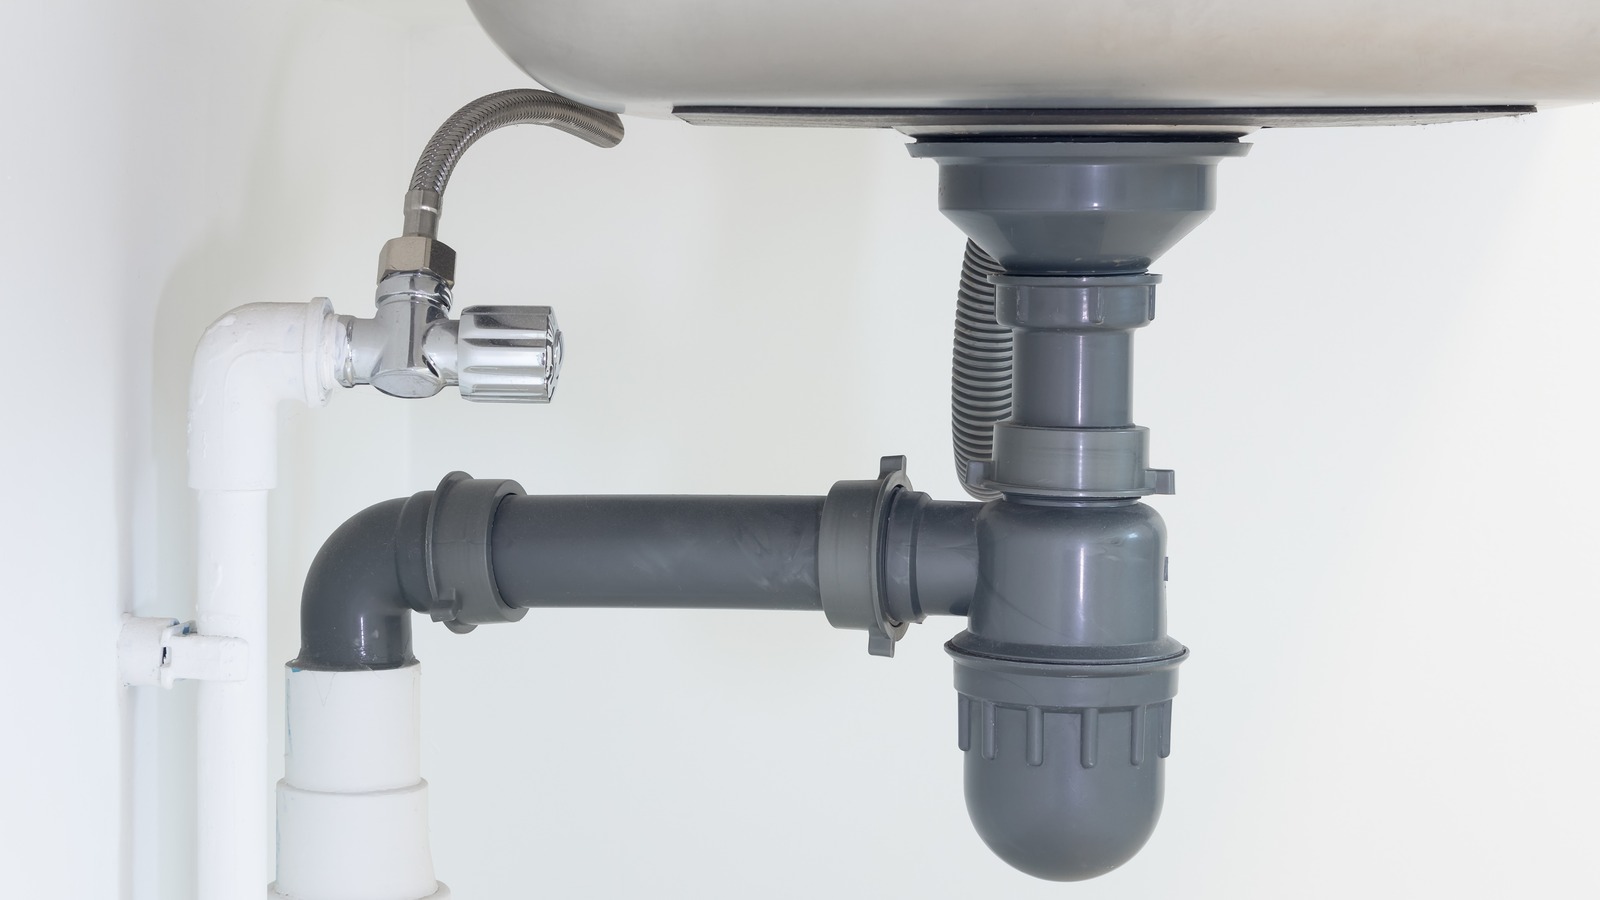
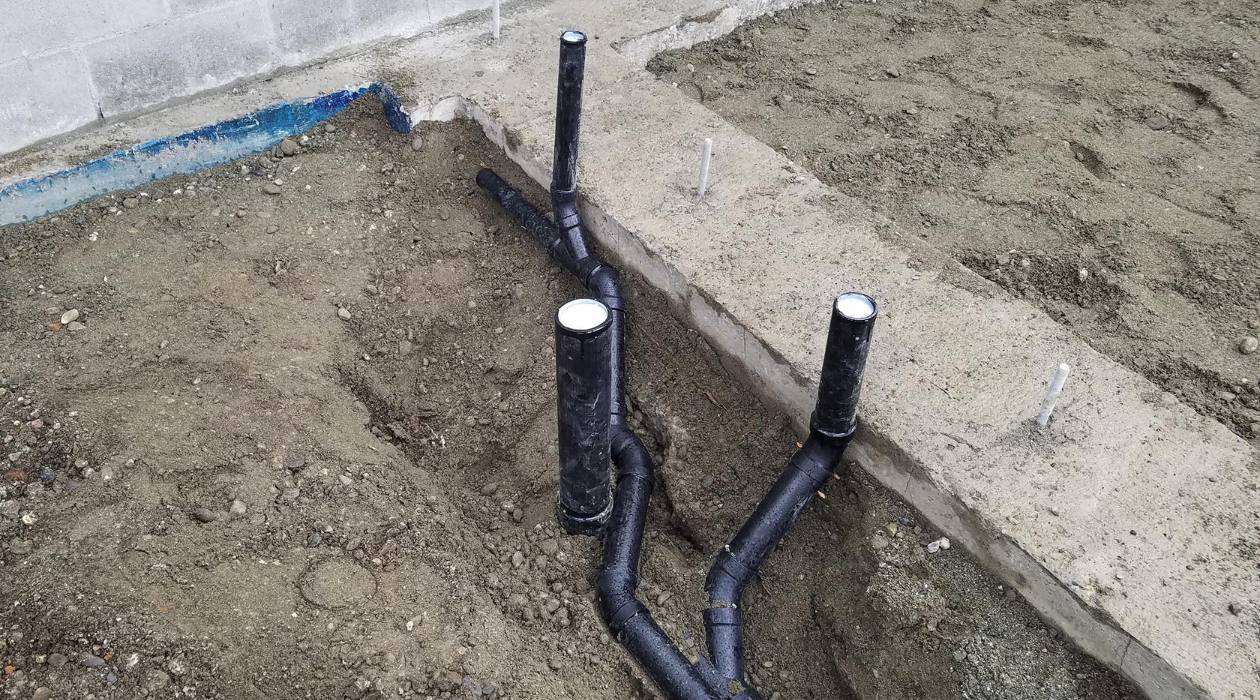
1. Inspect the drain and vent pipes: Start by locating the main drainpipe and vent stack in your home. These are typically found in the basement or crawl space. Check for any signs of damage or leaks, such as water stains or corrosion. Inspect the pipes for proper slope and ensure they are clear of any clogs or obstructions.
2. Determine the pipe materials: Identify the materials used for the existing plumbing pipes. Common materials include copper, PVC, and galvanized steel. Different pipe materials have varying lifespans and may require different connection methods when attaching new fixtures.
3. Evaluate the size and capacity: Assess the size of the existing drain and vent pipes to determine their capacity. A larger diameter pipe can handle more wastewater flow and reduces the chances of clogs. If the existing pipes are too small or inadequate for the new bathroom, you may need to upgrade them to ensure proper drainage.
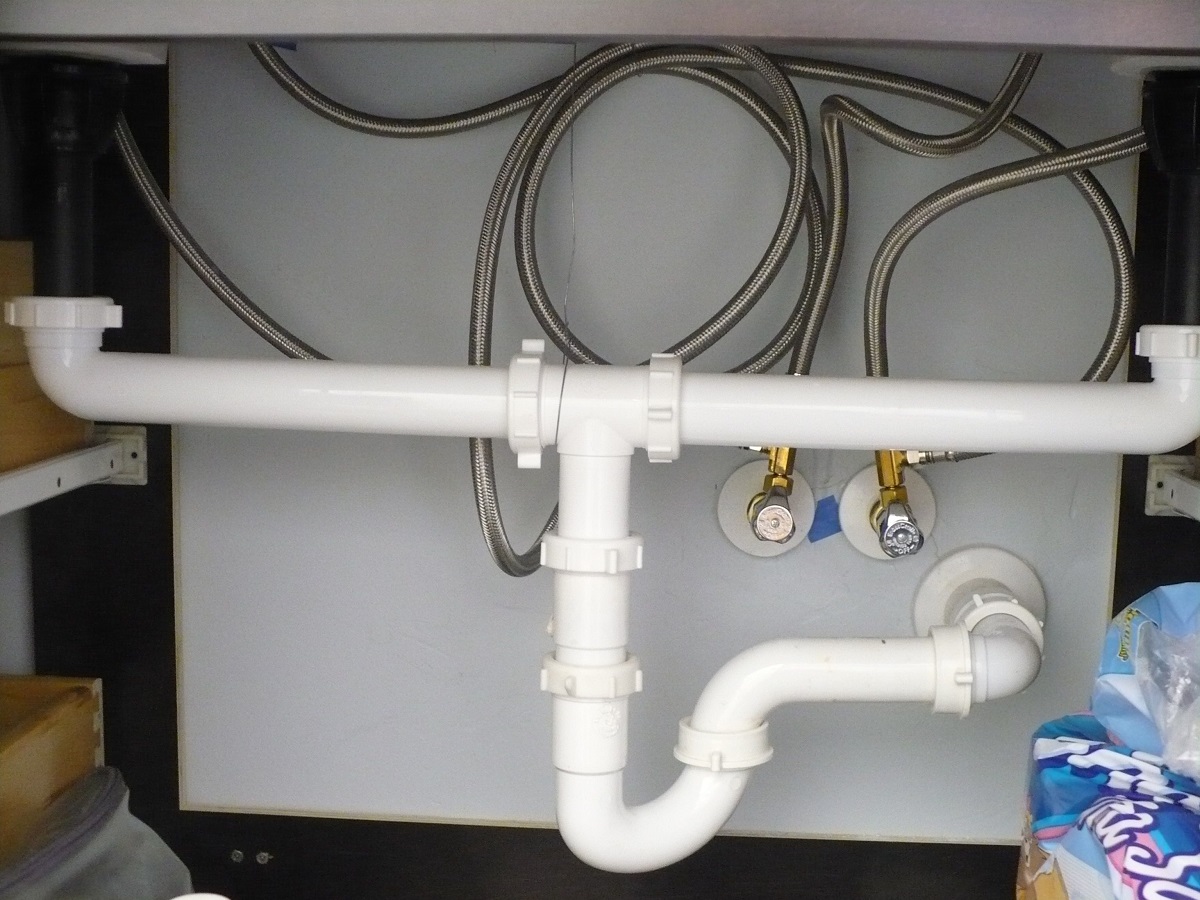
4. Check the water supply lines: Locate the main water supply line and examine the condition of the pipes. Look for signs of leaks or corrosion. Determine the pipe material and size to ensure compatibility with the new bathroom fixtures.
5. Consider the water pressure: Evaluate the water pressure in your home to ensure it’s sufficient for the new bathroom fixtures. Low water pressure can result in weak flushing toilets, slow-filling sinks, and reduced shower performance. If necessary, you may need to install a water pressure booster system.
Assessing the existing plumbing system is a crucial step in the process of attaching a new bathroom. It will help you identify any potential issues and determine if modifications are required to accommodate the additional fixtures. Once you have a clear understanding of the current plumbing infrastructure, you can proceed to plan the layout for your new bathroom.
Planning the New Bathroom Layout
When attaching a new bathroom to the existing plumbing system, careful planning of the layout is essential. This will ensure that the fixtures are placed efficiently and that the plumbing connections can be made easily. Here are the key steps to consider when planning the layout for your new bathroom:
1. Measure the available space: Start by measuring the area where you plan to install the new bathroom. Consider the dimensions of the room, including the length, width, and height. Take note of any obstructions, such as structural walls or utility lines, that may affect the placement of fixtures.
2. Determine the placement of fixtures: Decide where you want to install the essential bathroom fixtures, including the toilet, sink, and shower or bathtub. Consider factors such as convenience, accessibility, and the flow of the overall space. Keep in mind that proper spacing between fixtures is necessary to comply with building codes and ensure comfortable use.
3. Consider the plumbing connections: Take into account the existing plumbing lines and their locations when determining the placement of fixtures. It is generally more cost-effective and easier to connect new fixtures to the existing plumbing system. Ensure that the proposed locations for the fixtures align with the nearby plumbing lines for a simpler installation process.
4. Plan the electrical and ventilation systems: Determine the location of electrical outlets, light fixtures, and ventilation systems in the new bathroom. Ensure that they comply with safety codes and provide adequate lighting and ventilation.
5. Create a detailed layout plan: Use graph paper or a computer-aided design (CAD) software to create a detailed layout plan for your new bathroom. Include accurate measurements of the room and fixtures, as well as the location of plumbing and electrical connections. This plan will serve as a guide during the installation process.
Planning the layout of your new bathroom is crucial to ensure a functional and aesthetically pleasing space. By carefully considering the available space, fixture placement, and plumbing connections, you can create a well-designed bathroom that meets your needs.
Tools and Materials Needed
Before you start attaching a new bathroom to the existing plumbing system, it’s important to gather the necessary tools and materials. Having everything on hand will streamline the installation process and prevent delays. Here are the essential tools and materials you’ll need:
Tools:
– Pipe cutter: Used to cut through existing plumbing lines and create new connections.
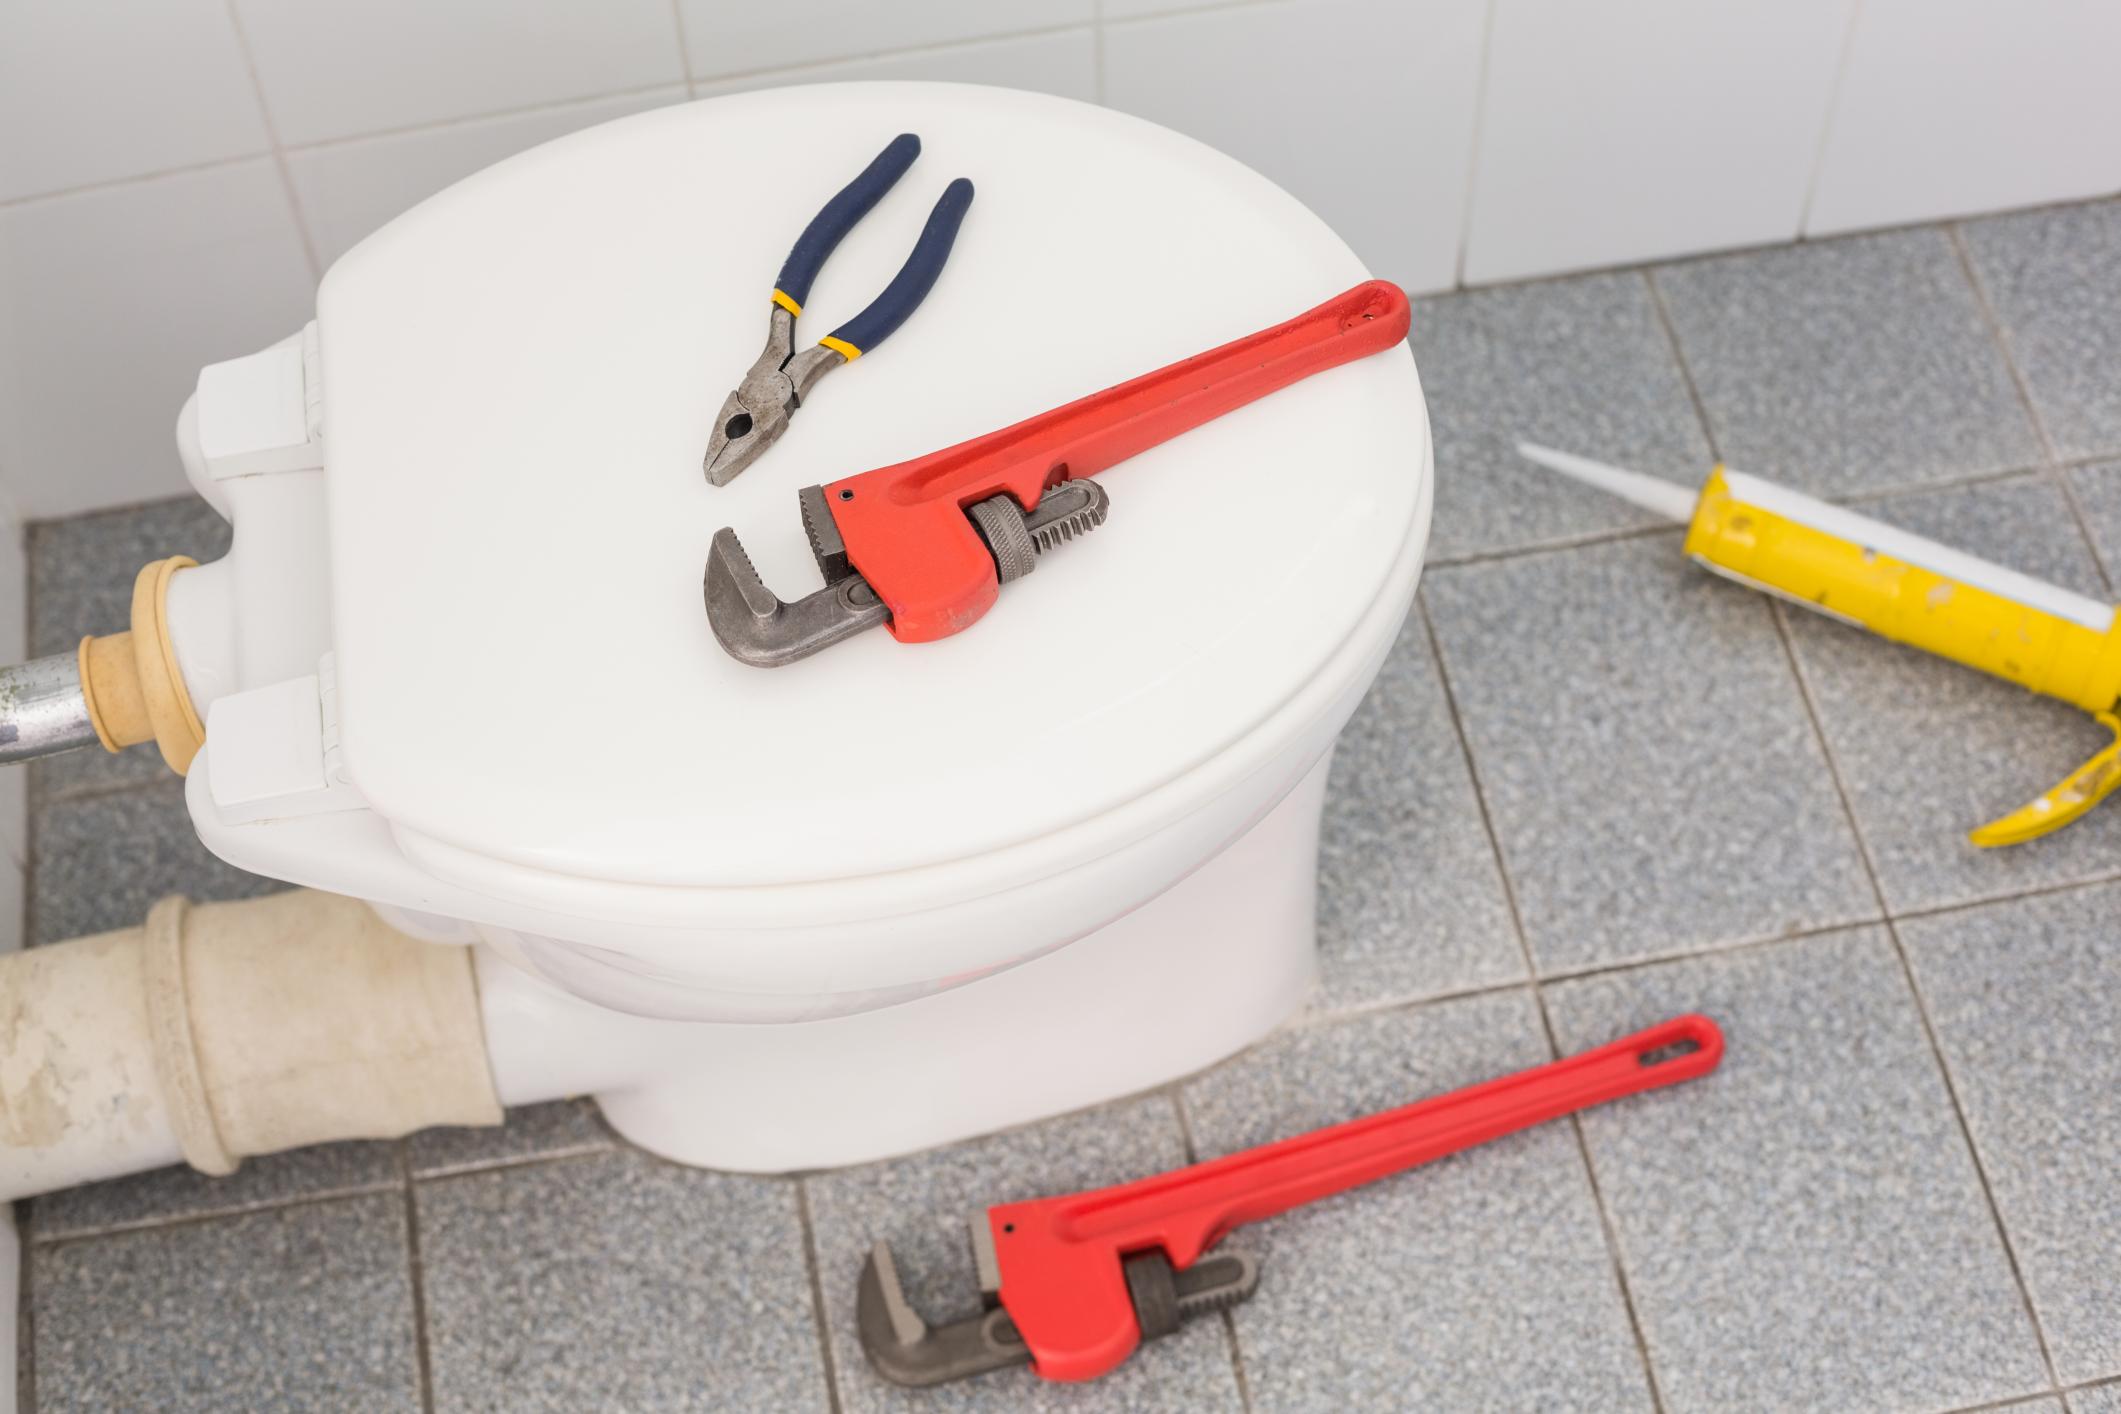
– Adjustable wrench: Required for tightening and loosening plumbing fittings.
– Plumber’s tape: Used to create a watertight seal on threaded connections.
– Jigsaw or reciprocating saw: Used to cut holes in walls or floors for routing new plumbing lines.
– Screwdriver: Used to remove and install plumbing fixtures.
– Level: Ensures that the new fixtures are installed correctly and are level.
– Pliers: Used for gripping and manipulating pipes and fittings.
– Measuring tape: Essential for taking accurate measurements of the space and fixtures.
– Pencil: Used for marking measurements and guidelines on the walls and floor.
– Safety goggles and gloves: Protects your eyes and hands while working with tools and materials.
Materials:
– PVC or copper pipes: Depending on the existing plumbing system and local building codes, you’ll need the appropriate type and size of pipes for extending the plumbing lines.
– Pipe fittings: Includes elbows, tees, couplings, and unions, which are necessary for making connections between existing and new plumbing lines.
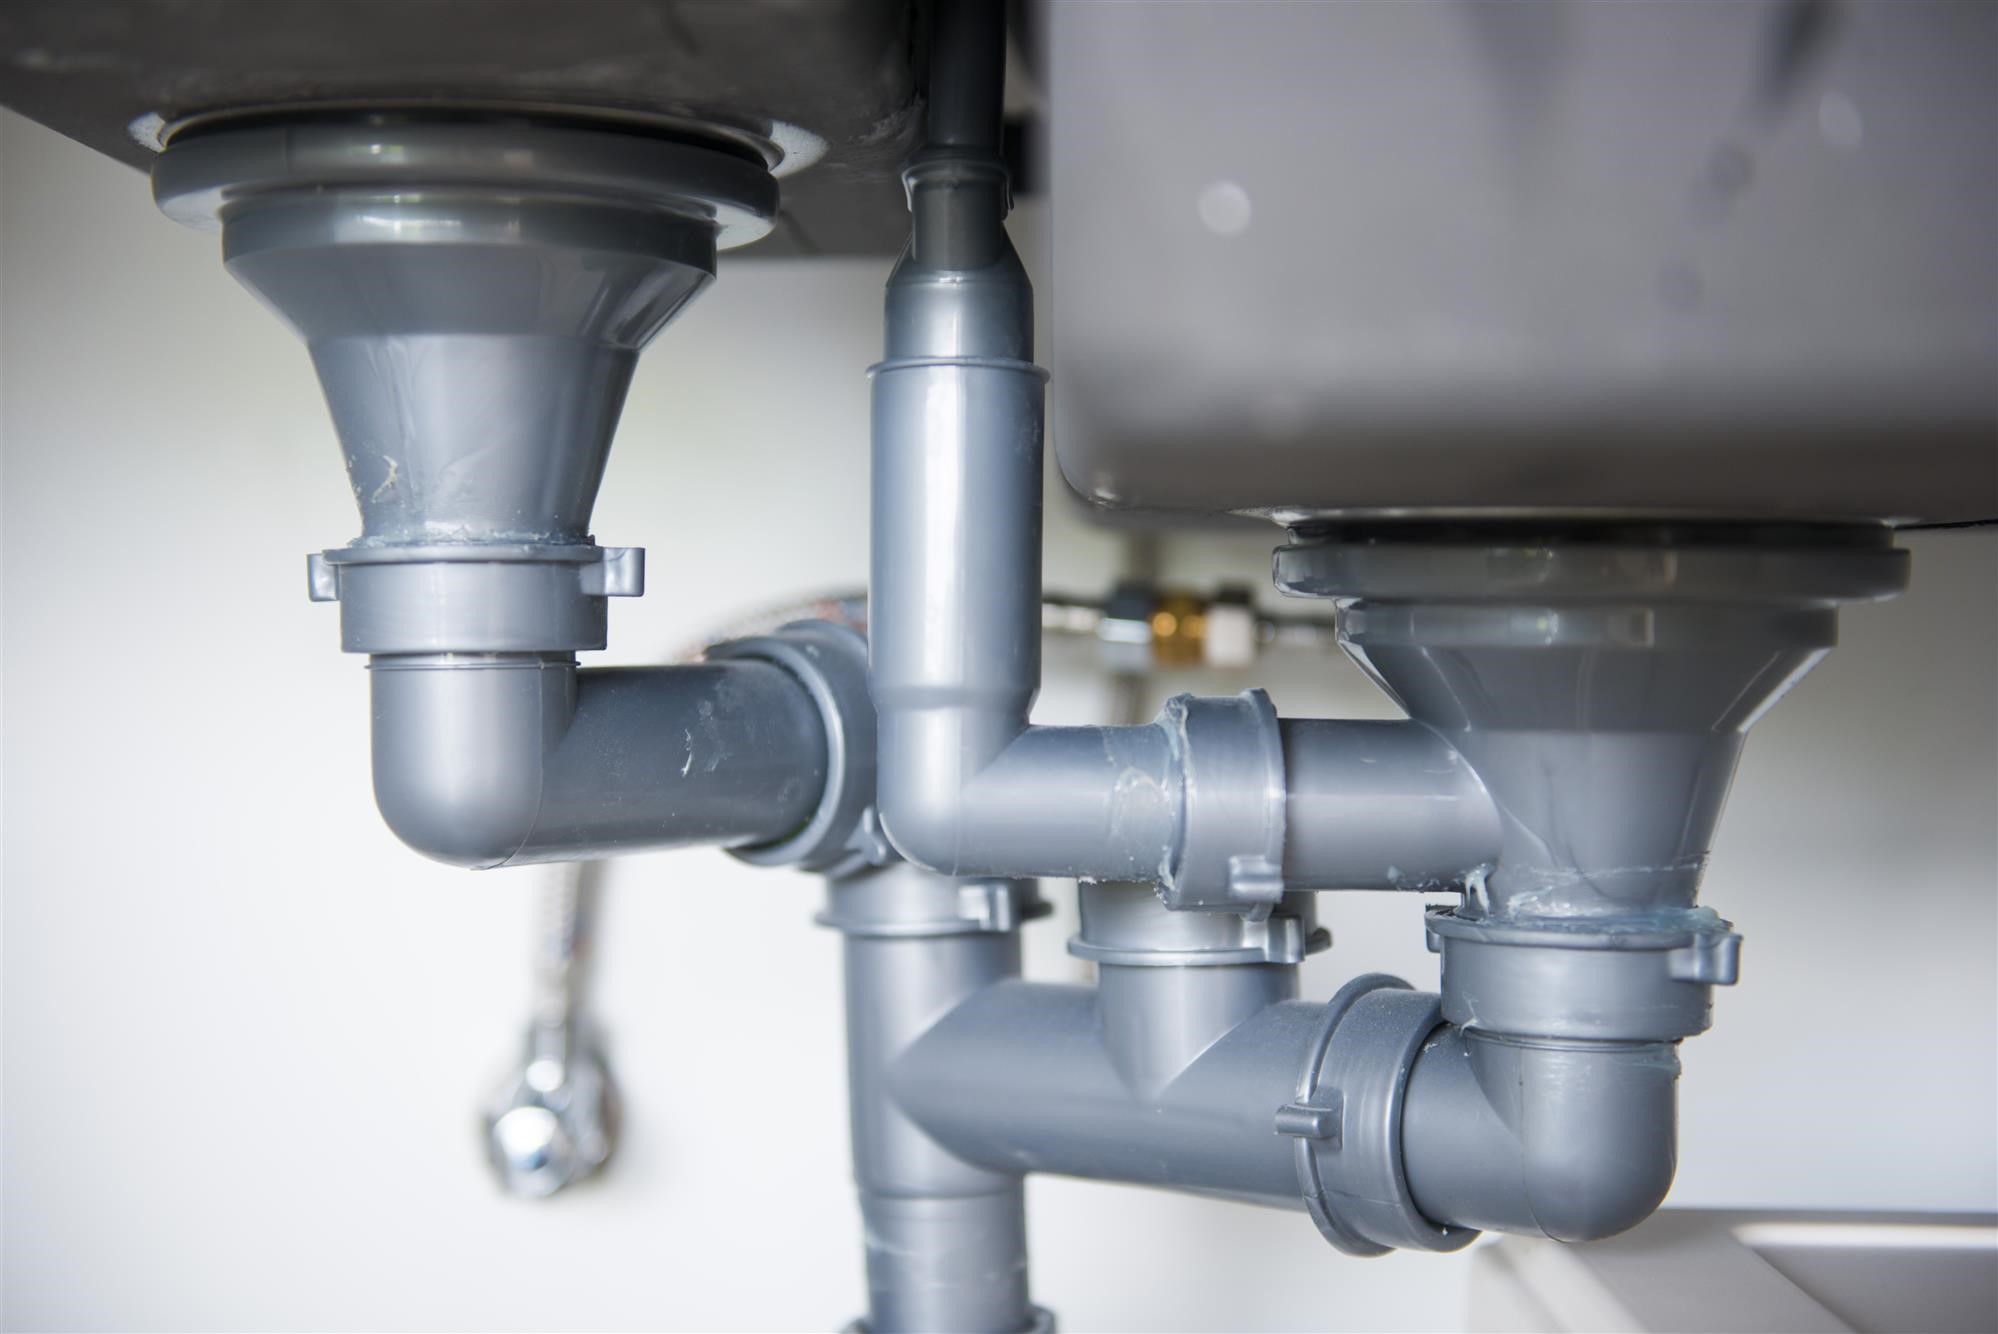
– Drain fittings: Includes P-traps, drain pipes, and drain flanges for connecting the new fixtures to the existing drain system.
– Vent pipes and fittings: Required for extending the vent stack to ensure proper air circulation in the plumbing system.
– Water supply lines: Includes flexible supply lines or PEX tubing for connecting the new fixtures to the existing water supply lines.
– Plumber’s putty or silicone caulk: Used to create watertight seals around fixtures and plumbing connections.
– Pipe hangers and supports: Essential for securing and stabilizing the new plumbing lines.
– Construction adhesive: Used to secure fixtures to the floor or wall.
– Drywall patch: If any walls or ceilings need to be cut during the installation process, you’ll need a patch to repair them.
– Paint and brushes: If necessary, you may need to paint the walls or ceiling after the installation.
Having the right tools and materials will ensure a smooth and efficient installation process. Before starting the project, make sure you have everything listed above, and consider adding any additional items specific to your project or local building codes.
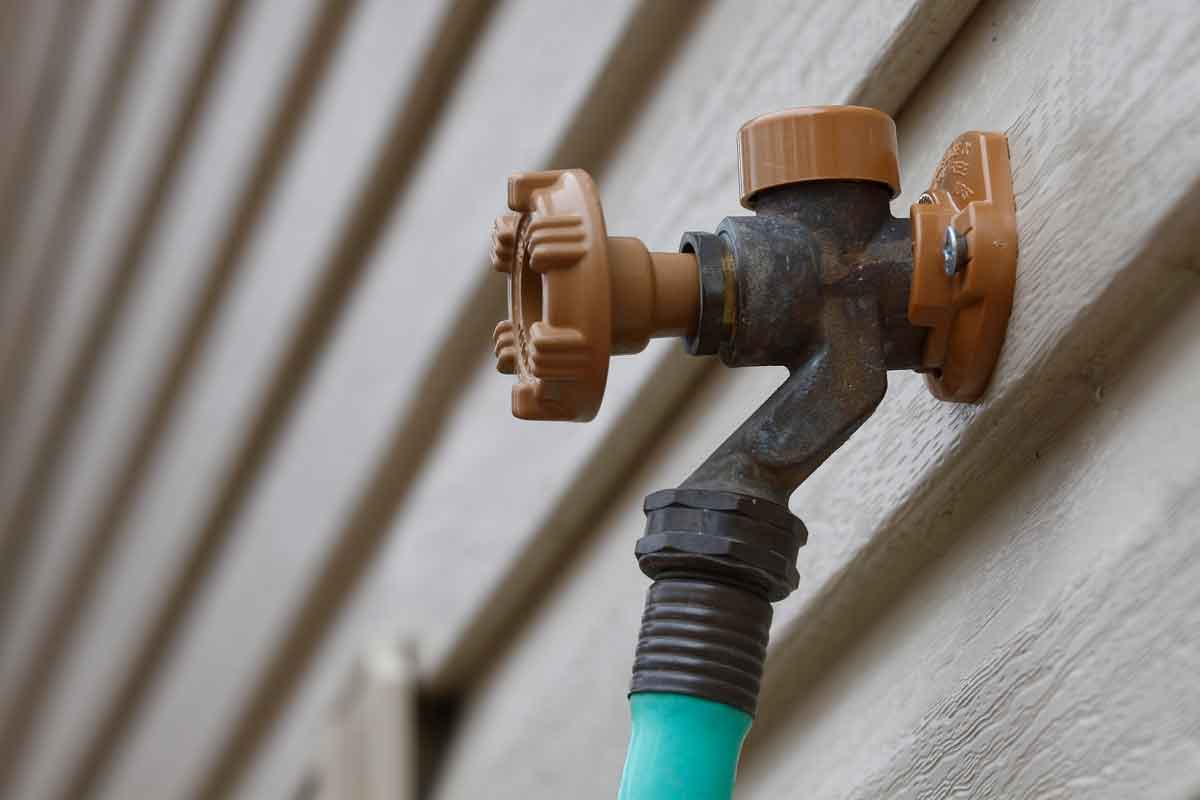
Shutting off the Water Supply
Before you begin the process of attaching a new bathroom to the existing plumbing, it is essential to shut off the water supply to your home. This ensures that you can work on the plumbing lines without the risk of water flowing and causing damage. Here is the step-by-step process to shut off the water supply:
1. Locate the main water shut-off valve: The main shut-off valve is typically located where the water line enters your home. It is commonly found in the basement, crawl space, garage, or outside near the water meter. If you are unsure of its location, refer to your home’s plumbing blueprint or consult a professional plumber.
2. Turn off the main water supply: Once you have located the main shut-off valve, use a wrench or pliers to turn the valve clockwise (right) until it is fully closed. This will stop the flow of water into your home, effectively shutting off the water supply.
3. Drain the remaining water: After shutting off the main water supply, open all faucets, showers, and toilets in your home to drain any remaining water from the plumbing lines. This will help prevent any water from flowing back into the system while you work.
4. Check for water flow: To ensure that the water supply is completely shut off, check various faucets and fixtures throughout your home to confirm that no water is flowing. If you notice any water still coming out, double-check that the main shut-off valve is fully closed. If needed, consider contacting a professional plumber for assistance.
5. Label the shut-off valve: It’s a good practice to label the main shut-off valve with a permanent marker or tag to make it easily recognizable in the future. This will help save time and prevent any confusion during emergency situations or when you need to shut off the water supply again.
Remember, shutting off the water supply is a critical step before working on the plumbing. It ensures the safety of your home and prevents any potential water damage. Always take precautions and follow proper procedures when dealing with your home’s plumbing system.
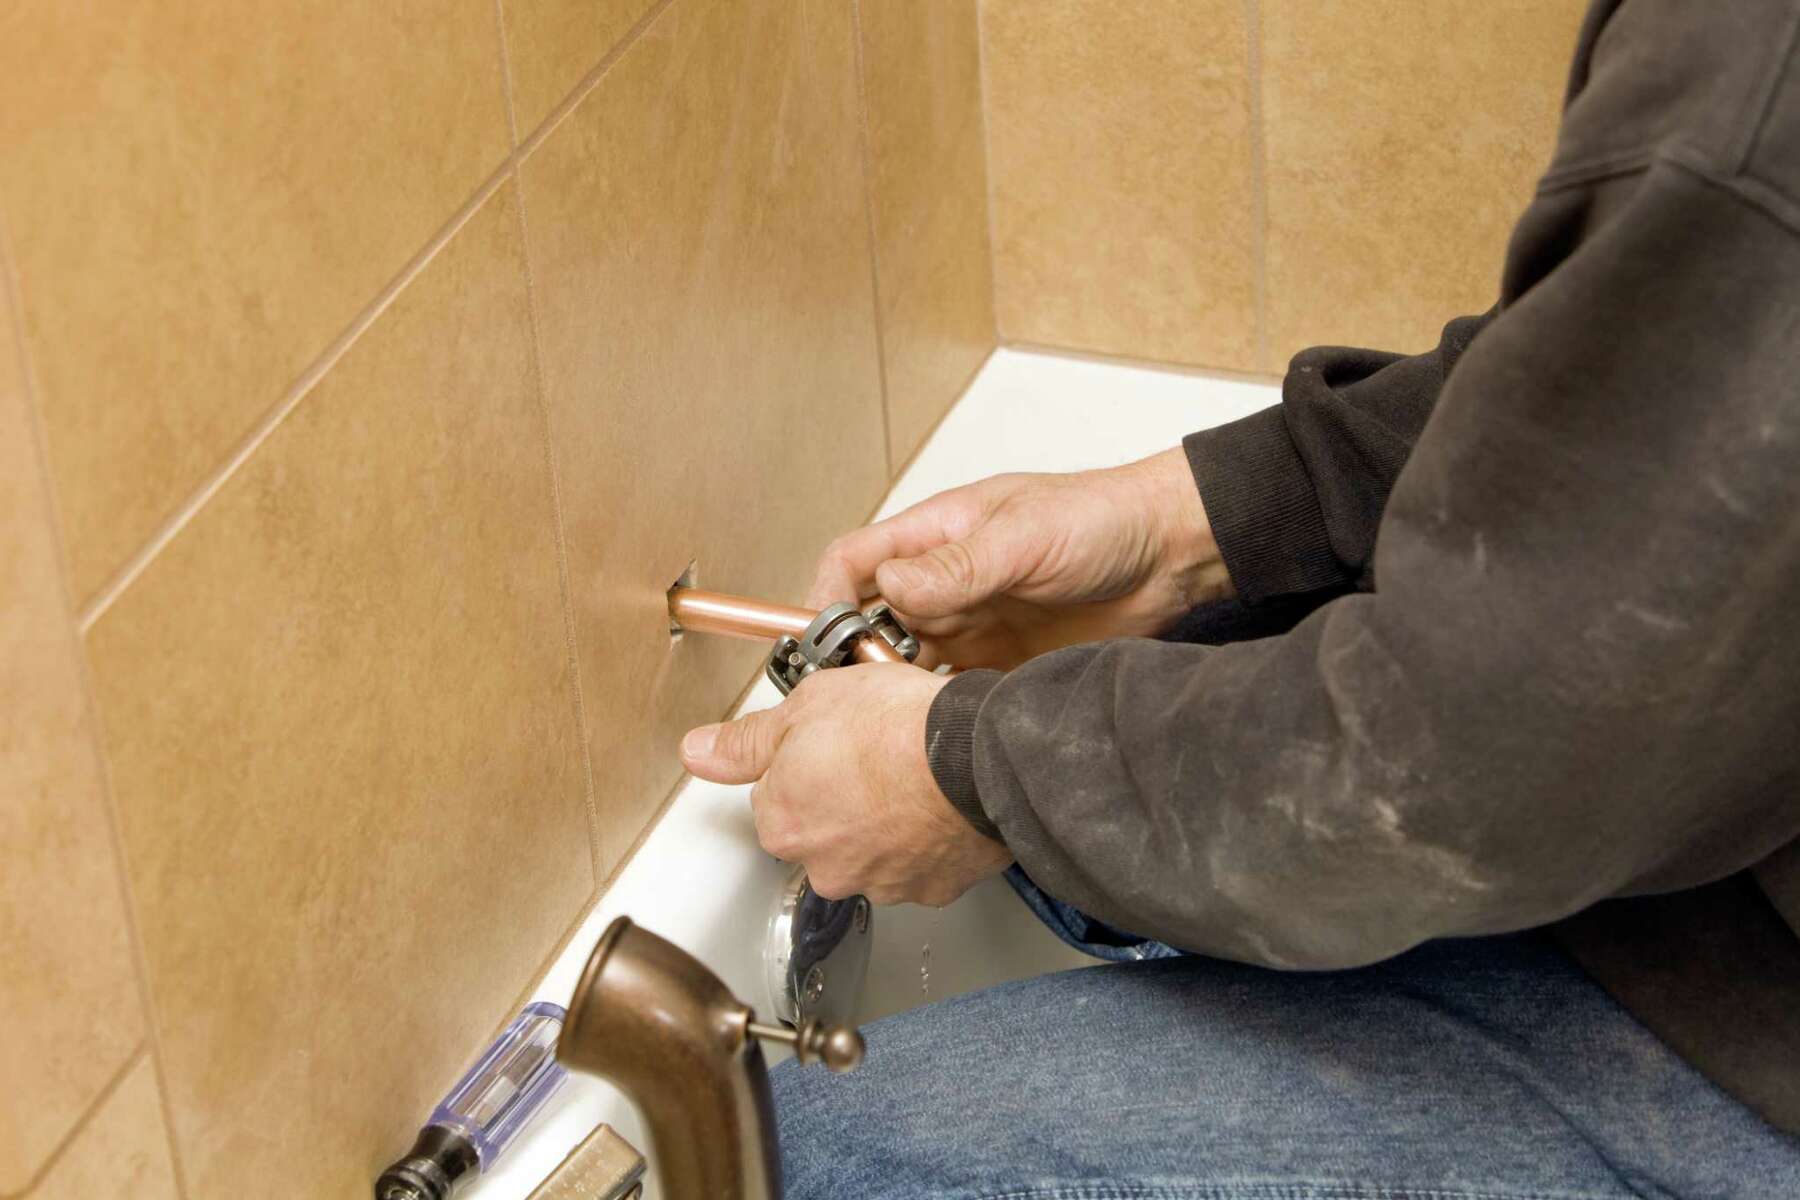
Cutting into the Existing Plumbing Lines
When attaching a new bathroom to the existing plumbing system, you will need to cut into the existing plumbing lines to create connections for the new fixtures. Proper cutting and preparation of the pipes are crucial to ensure leak-free connections and a smooth installation process. Here is a step-by-step guide on how to cut into the existing plumbing lines:
1. Locate the appropriate spots for cutting: Determine where you need to cut into the existing plumbing lines to make connections for the new bathroom fixtures. Measure and mark the pipe at the desired locations using a pencil or marker.
2. Gather the necessary tools: To cut into the plumbing lines, you will need a pipe cutter. Pipe cutters come in various types, including ratcheting or wheeled cutters. Choose the appropriate cutter based on the material and size of your existing pipes.
3. Prepare the area: Before making the cuts, ensure that the area around the pipes is clear and accessible. Remove any obstacles or objects that may hinder your work. If necessary, use a pair of pliers or a strap wrench to stabilize the pipes while cutting.
4. Secure the pipe cutter: Position the pipe cutter on the marked spot and tighten it securely around the pipe. Make sure that the cutting wheel is aligned with the mark to ensure a clean and accurate cut.
5. Rotate the cutter: Begin rotating the pipe cutter around the pipe, applying consistent pressure. Continue rotating until the pipe is completely cut through. For larger pipes, it may be necessary to make multiple rotations until the cut is deep enough to separate the pipe.
6. Inspect the cuts: Once the cuts are made, carefully inspect the ends of the pipes for any burrs or rough edges. Use a deburring tool or sandpaper to smooth out any rough areas, as they can interfere with the insertion of fittings.
7. Prepare the new plumbing connections: Depending on the type of connections required, you may need to clean and prepare the ends of the existing plumbing lines and the fittings. Use a pipe cleaner or emery cloth to remove any dirt, debris, or corrosion.
When cutting into the existing plumbing lines, be cautious not to damage any other pipes or utilities nearby. Take your time and ensure that the cuts are accurate, clean, and free from any irregularities. By properly preparing the pipes, you will be ready to extend the plumbing system for the new bathroom fixtures.
When attaching a new bathroom to existing plumbing, make sure to accurately measure and plan the layout to ensure proper connection to the existing pipes. It’s important to consider the water supply, drainage, and venting requirements for the new fixtures.
Extending the Drainpipe and Vent Stack
Extending the drainpipe and vent stack is a critical part of attaching a new bathroom to the existing plumbing system. The drainpipe carries wastewater away from the fixtures, while the vent stack provides proper air circulation and prevents water traps and odors. Here is a step-by-step process for extending the drainpipe and vent stack:
1. Determine the new drainpipe and vent stack routes: Assess the location of the new bathroom fixtures and determine the paths for extending the drainpipe and vent stack. Plan the routes to minimize the number of bends and maintain the appropriate slope for efficient drainage.
2. Prepare the drainpipe connections: Cut the existing drainpipe at the desired connection points using a pipe cutter. Clean the cut ends of the pipe and the fittings with a pipe cleaner or emery cloth. Apply PVC primer to the pipe ends and fittings, followed by PVC cement. Quickly join the pipes and fittings while they are still wet using a twisting motion to ensure a secure bond.
3. Extend the drainpipe: Continue extending the drainpipe to the new bathroom fixtures using the appropriate fittings and pipe lengths. Maintain the proper slope (1/4 inch per foot) for efficient drainage. Secure the pipes and fittings with pipe hangers and supports to prevent movement or sagging.
4. Install the drain traps: Install P-traps under each new fixture to create a water seal and prevent sewer gases from entering the bathroom. Connect the P-traps to the drainpipe using slip-joint fittings or compression fittings. Ensure that the traps are properly aligned and tightened to avoid leaks.
5. Extend the vent stack: Determine the location for extending the vent stack. Cut into the existing vent stack using a pipe cutter, making sure to create a clean and smooth cut. Connect a piece of PVC pipe to the cut section using PVC primer and cement. Extend the vent pipe vertically, ensuring it reaches above the roofline to allow for proper ventilation.
6. Install the vent stack fittings: Install fittings, such as 90-degree elbows and 45-degree elbows, as needed to create the desired vent stack configuration. Use PVC primer and cement to secure the fittings and ensure a tight connection.
7. Secure the drainpipe and vent stack: Ensure that the extended drainpipe and vent stack are properly supported and secured using pipe hangers and supports. This will prevent movement, reduce stress on the connections, and maintain the proper slope.
Extending the drainpipe and vent stack requires careful planning and precise installation to ensure proper functioning of the plumbing system. By following these step-by-step instructions, you can effectively connect the new bathroom fixtures to the existing drain and vent system.
Installing New Water Supply Lines
Installing new water supply lines is an essential step when attaching a new bathroom to the existing plumbing system. Proper installation of the water supply lines is crucial to ensure a reliable and efficient water flow to the new fixtures. Here is a step-by-step guide on how to install new water supply lines:
1. Determine the water supply route: Assess the location of the new bathroom fixtures and plan the route for the water supply lines. Consider the shortest and most direct path from the existing water supply lines to the fixtures.
2. Shut off the main water supply: Before starting the installation process, make sure to shut off the main water supply to your home. This will prevent any water from flowing while you work on the water supply lines.
3. Prepare the existing water supply lines: Cut into the existing water supply lines using a pipe cutter. Clean the cut ends of the pipes and the fittings with a pipe cleaner or emery cloth. Apply flux to the pipe ends and fittings, then join them using solder and a propane torch for copper pipes. For PEX or other flexible tubing, use appropriate fittings and crimping or compression tools.
4. Extend the water supply lines: Connect the newly installed water supply lines to the existing water supply lines using the appropriate fittings and connectors. Ensure watertight connections by following the manufacturer’s instructions for the specific type of pipes and connectors you are using.
5. Secure the water supply lines: Use pipe hangers or clamps to secure the water supply lines to nearby walls or framing members. This will prevent movement and reduce stress on the connections.
6. Install shut-off valves: Install shut-off valves near each fixture to allow you to isolate the water flow in case of maintenance or repairs. Attach the shut-off valves to the water supply lines using the appropriate fittings and connectors. Make sure the valves are in the closed position before turning on the main water supply.
7. Test the water supply lines: Once the installation is complete, turn on the main water supply and carefully inspect the newly installed water supply lines for leaks. Check each connection and valve for any signs of water leakage. If any leaks are detected, make the necessary adjustments or repairs to achieve a leak-free system.
Proper installation of new water supply lines will ensure an uninterrupted flow of water to the new bathroom fixtures. By following these step-by-step instructions and using the appropriate fittings and techniques, you can successfully install the water supply lines for your new bathroom.
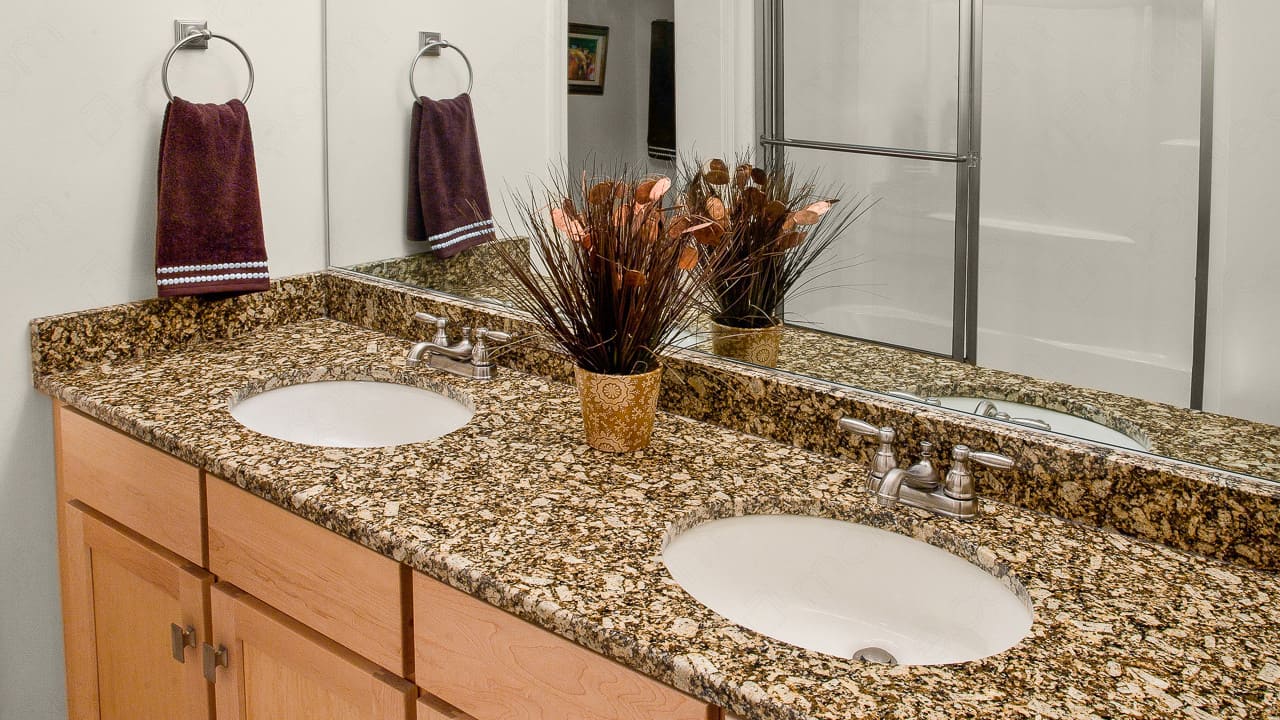
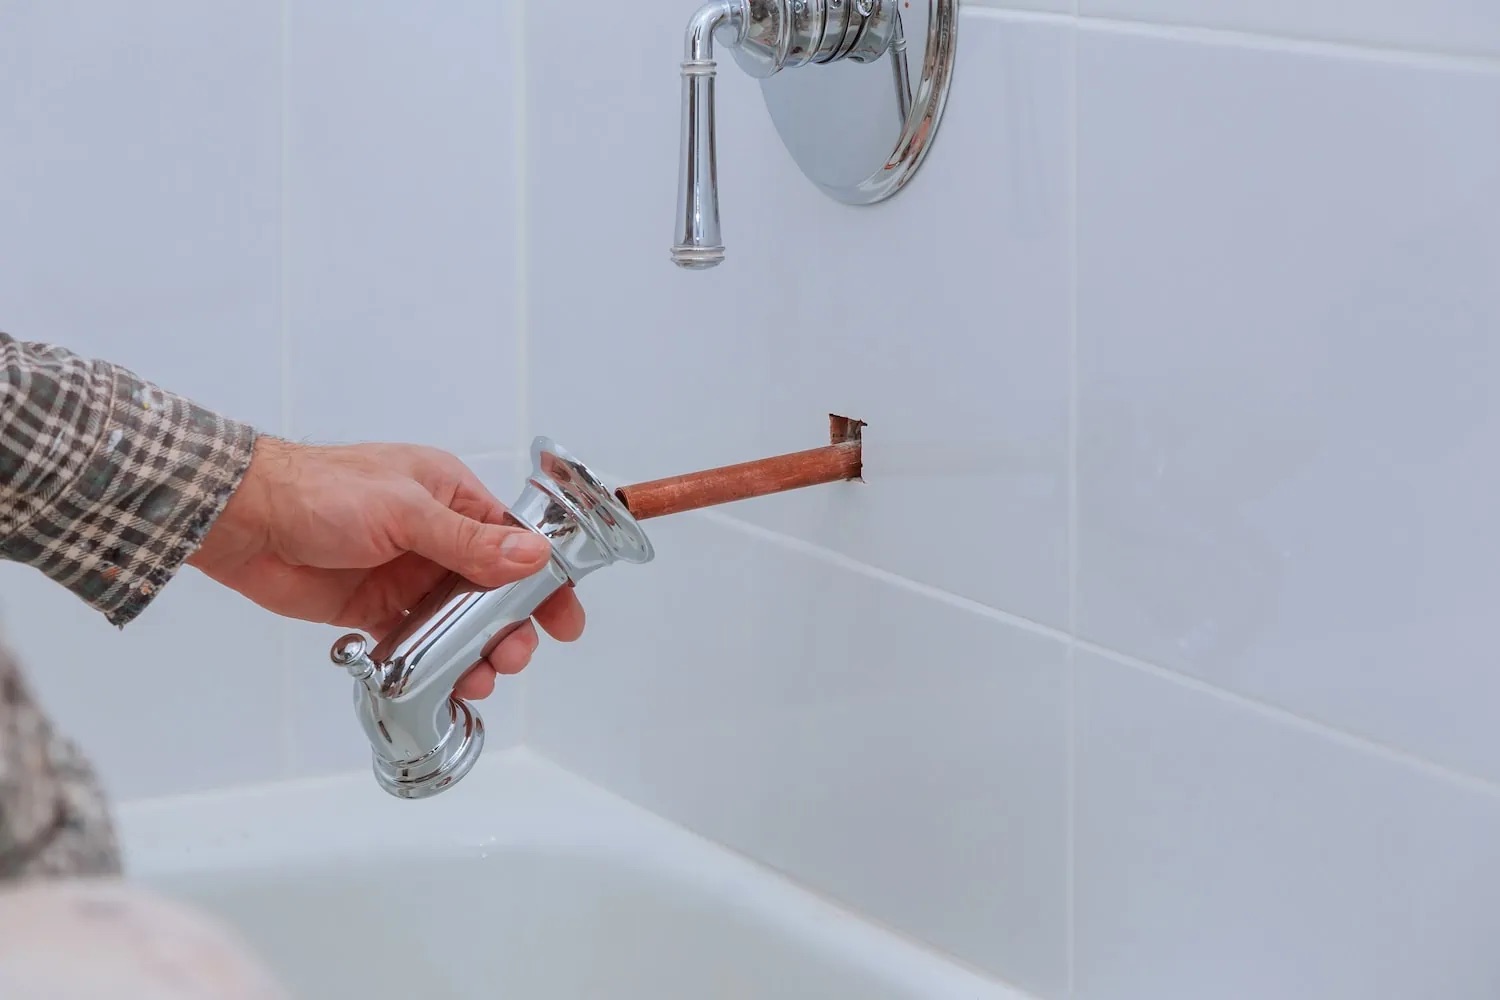
Connecting the Bathroom Fixtures
Connecting the bathroom fixtures is the final step when attaching a new bathroom to the existing plumbing system. Properly connecting the fixtures ensures their functionality and prevents any leaks or malfunctions. Here is a step-by-step guide on how to connect the bathroom fixtures:
1. Attach the faucet: Start by attaching the faucet to the sink or countertop. Follow the manufacturer’s instructions for your specific faucet model. Typically, you will need to install the gasket or O-ring and secure the faucet with mounting nuts or screws. Use an adjustable wrench or basin wrench to tighten the connections, ensuring a snug fit without over-tightening.
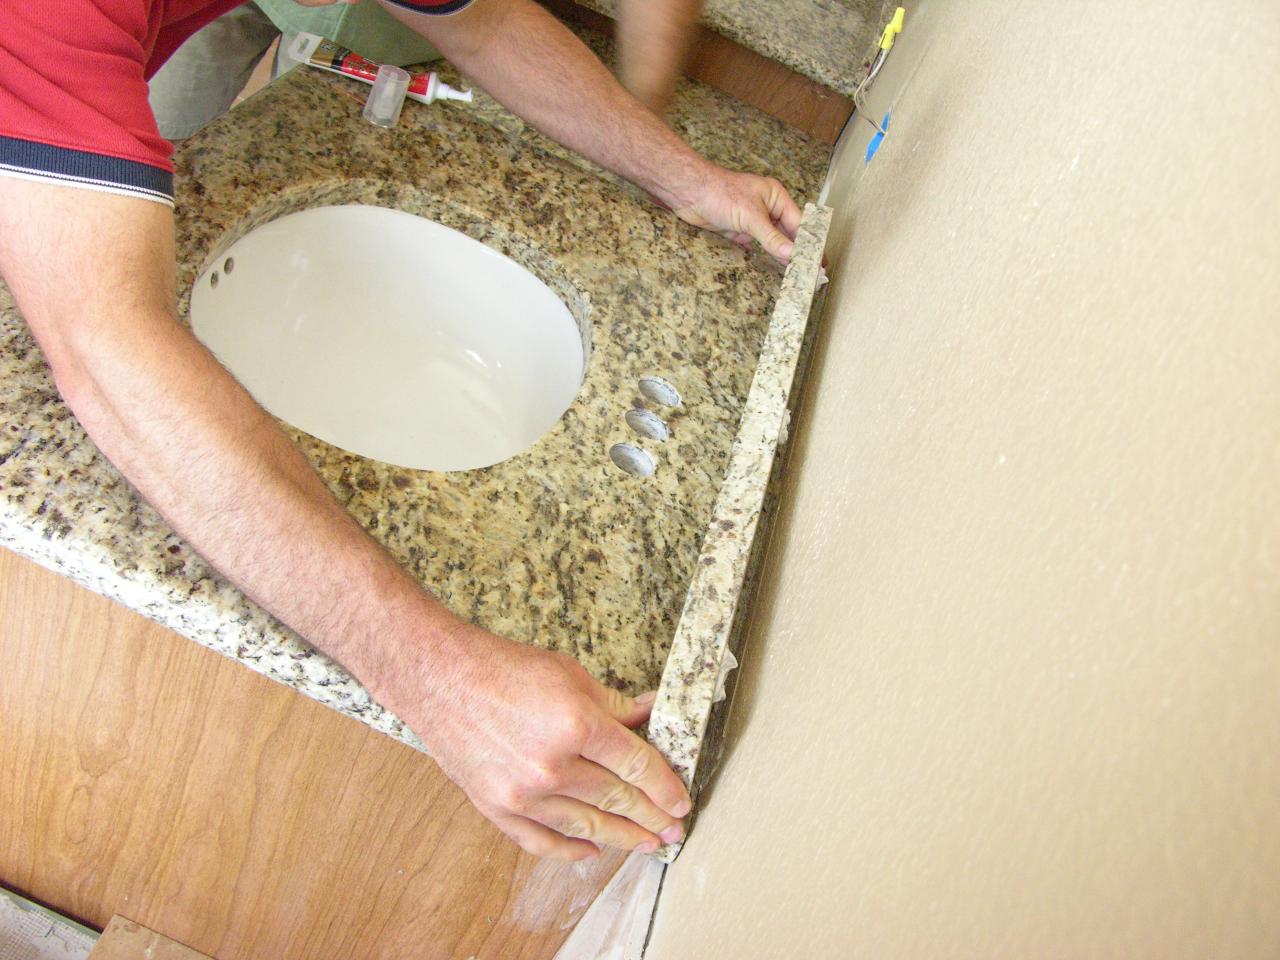
2. Connect the sink: Place the sink onto the vanity or countertop and align it with the drainage hole. Apply plumber’s putty or silicone caulk around the edges of the sink to create a watertight seal. Lower the sink into position and secure it in place with mounting clips or brackets. Connect the P-trap to the sink drain and tighten the fittings.
3. Install the toilet: Position the toilet over the toilet flange on the floor. Ensure that the wax ring is properly seated on the flange to create a watertight seal. Carefully lower the toilet onto the wax ring and align the mounting bolts with the holes in the base of the toilet. Secure the toilet in place by tightening the nuts onto the mounting bolts. Connect the water supply line to the fill valve and tighten the fitting.
4. Connect the shower or bathtub: Install the showerhead or bathtub spout according to the manufacturer’s instructions. Use plumber’s tape on the threaded connections to create a tight seal. Connect the shower or bathtub valves to the water supply lines using the appropriate fittings and connectors. Make sure to tighten all connections securely but avoid over-tightening, which can lead to leaks.
5. Install the drain stoppers: For sinks and bathtubs, install the drain stoppers or pop-up assemblies according to the manufacturer’s instructions. Ensure that the stoppers create a tight seal when closed and open smoothly when activated.
6. Test the fixtures: Once all the connections are made, turn on the water supply and test each fixture for proper functioning. Check for any leaks around the connections and make any necessary adjustments to achieve a leak-free system. Run water through each fixture to ensure that the flow is steady and without any issues.
Connecting the bathroom fixtures is the final step in the process of attaching a new bathroom to the existing plumbing system. By following these step-by-step instructions and ensuring tight and secure connections, you can enjoy a fully functional and leak-free bathroom.
Read more: How To Attach A Vanity Top
Checking for Leaks and Testing the System
After attaching a new bathroom to the existing plumbing system and connecting all the fixtures, it is crucial to check for leaks and thoroughly test the system. This step ensures that the plumbing installation is secure and functions properly. Here is a step-by-step guide on how to check for leaks and test the plumbing system:
1. Visual inspection: Conduct a visual inspection of all the plumbing connections. Look for any signs of water leakage, such as drips, puddles, or water stains. Pay close attention to joints, fittings, and connections to ensure they are tight and secure.
2. Check the drain system: Fill each fixture with water and let it drain. Observe the drainpipes and P-traps for any signs of leaks. Pay attention to the connections at the drains and ensure they are properly sealed. If any leaks are found, tighten the connections, replace gaskets or O-rings as needed, or apply plumber’s putty or silicone caulk to create a watertight seal.
3. Test the water supply: Turn on all the faucets, showers, and toilets in the new bathroom. Check for leaks around the connections and verify that the water flow is steady and without any fluctuations. Observe the water pressure to ensure it is sufficient for proper fixture operation.
4. Check shut-off valves: Close and reopen the shut-off valves near each fixture to ensure they are functioning properly. Verify that the valves completely shut off the water flow and do not allow any leaks when closed.
5. Test the drains: Run water through each fixture to ensure proper drainage. Pay attention to the speed at which the water drains and any gurgling or backups in the drain system. If you notice any issues, there may be a blockage or improper slope in the drainpipes that need to be addressed.
6. Check for water hammer: Turn off the water fixtures one by one to check for any water hammer, which is a loud banging noise in the pipes when the water flow is abruptly stopped. If you experience water hammer, it may indicate a need for an air chamber or water hammer arrestor to be installed.
7. Final inspection: Conduct a final visual inspection of the entire plumbing system, paying attention to any previously hidden areas under sinks, behind toilets, or in walls. Look for any signs of moisture, leaks, or water damage.
Regularly checking for leaks and testing the plumbing system is essential to maintain its integrity and prevent water damage. By following these step-by-step instructions and addressing any issues or leaks promptly, you can ensure a reliable and efficient plumbing system in your new bathroom.
Conclusion
Attaching a new bathroom to the existing plumbing system can be a complex yet rewarding project. With careful planning, precise execution, and attention to detail, you can create a functional and efficient bathroom that seamlessly integrates with the existing plumbing. Throughout the process, it is crucial to assess the existing plumbing system, plan the layout, and use the right tools and materials for the job.
By shutting off the water supply and cutting into the existing plumbing lines, you can extend the drainpipes and vent stack to accommodate the new fixtures. Installing new water supply lines ensures a reliable flow of water to the bathroom. Finally, connecting the bathroom fixtures and thoroughly testing the system for leaks and proper functionality completes the installation process.
Throughout the project, it’s important to prioritize safety and adhere to local building codes and regulations. If you encounter any challenges or are unsure about any step, it is always wise to consult a professional plumber for guidance and assistance.
Attaching a new bathroom to the existing plumbing system not only increases the value and functionality of your home but also improves your overall quality of life. Whether you’re embarking on this project for practical reasons, like accommodating a growing family, or simply to enhance the comfort of your home, taking the time to do it right will yield long-lasting results.
Remember to always check for leaks, test the system thoroughly, and address any issues promptly. By doing so, you can enjoy the benefits of your new bathroom for years to come.
Frequently Asked Questions about How To Attach A New Bathroom To Existing Plumbing
Was this page helpful?
At Storables.com, we guarantee accurate and reliable information. Our content, validated by Expert Board Contributors, is crafted following stringent Editorial Policies. We're committed to providing you with well-researched, expert-backed insights for all your informational needs.

0 thoughts on “How To Attach A New Bathroom To Existing Plumbing”