Articles
How To Install A New Bathroom Faucet
Modified: January 8, 2024
Learn how to easily install a new bathroom faucet with step-by-step instructions and helpful tips. Read our informative articles on this DIY project.
(Many of the links in this article redirect to a specific reviewed product. Your purchase of these products through affiliate links helps to generate commission for Storables.com, at no extra cost. Learn more)
Introduction
Welcome to our guide on how to install a new bathroom faucet. Upgrading your bathroom faucet not only improves the aesthetic appeal of your sink area, but it also enhances functionality and can help conserve water. While the task may seem daunting, with the right tools and a step-by-step approach, you can easily install a new faucet on your own.
In this article, we will walk you through the process of replacing a bathroom faucet. We will cover everything from turning off the water supply to connecting the water supply lines and testing for leaks. By following these steps, you can successfully install a new faucet and give your bathroom a fresh and updated look.
Before we begin, please note that this guide assumes you have some basic plumbing knowledge and experience working with tools. If you are unsure or uncomfortable with any step, it is always best to consult a professional plumber.
Now, let’s gather the necessary tools and materials before we dive into the installation process.
Key Takeaways:
- Upgrade your bathroom with a new faucet to enhance aesthetics, functionality, and water conservation. Follow the step-by-step guide for a manageable DIY project, but consult a professional if unsure.
- Ensure a successful installation by preparing the sink, securing the new faucet, and testing for leaks. Enjoy the refreshed look and improved functionality of your bathroom with a polished and professional finish.
Read more: How To Install A Delta Faucet
Tools and Materials Needed
Before you start the installation process, make sure you have the following tools and materials on hand:
- Adjustable wrench
- Bucket or towel
- Screwdriver (flathead or Phillips, depending on your faucet)
- Plumber’s tape
- Teflon tape
- Plumbing putty or silicone sealant
- New faucet and accompanying parts (handles, spout, aerator, etc.)
- New supply lines
- Plumbing wrench (if needed)
Having these tools and materials readily available will ensure a smooth and efficient installation process. Take a moment to gather everything before you proceed.
Now that you have everything you need, let’s move on to the first step: turning off the water supply.
Step 1: Turn Off Water Supply
Before you begin the installation process, it is crucial to turn off the water supply to your bathroom. This will prevent any water leakage or accidental flooding during the installation.
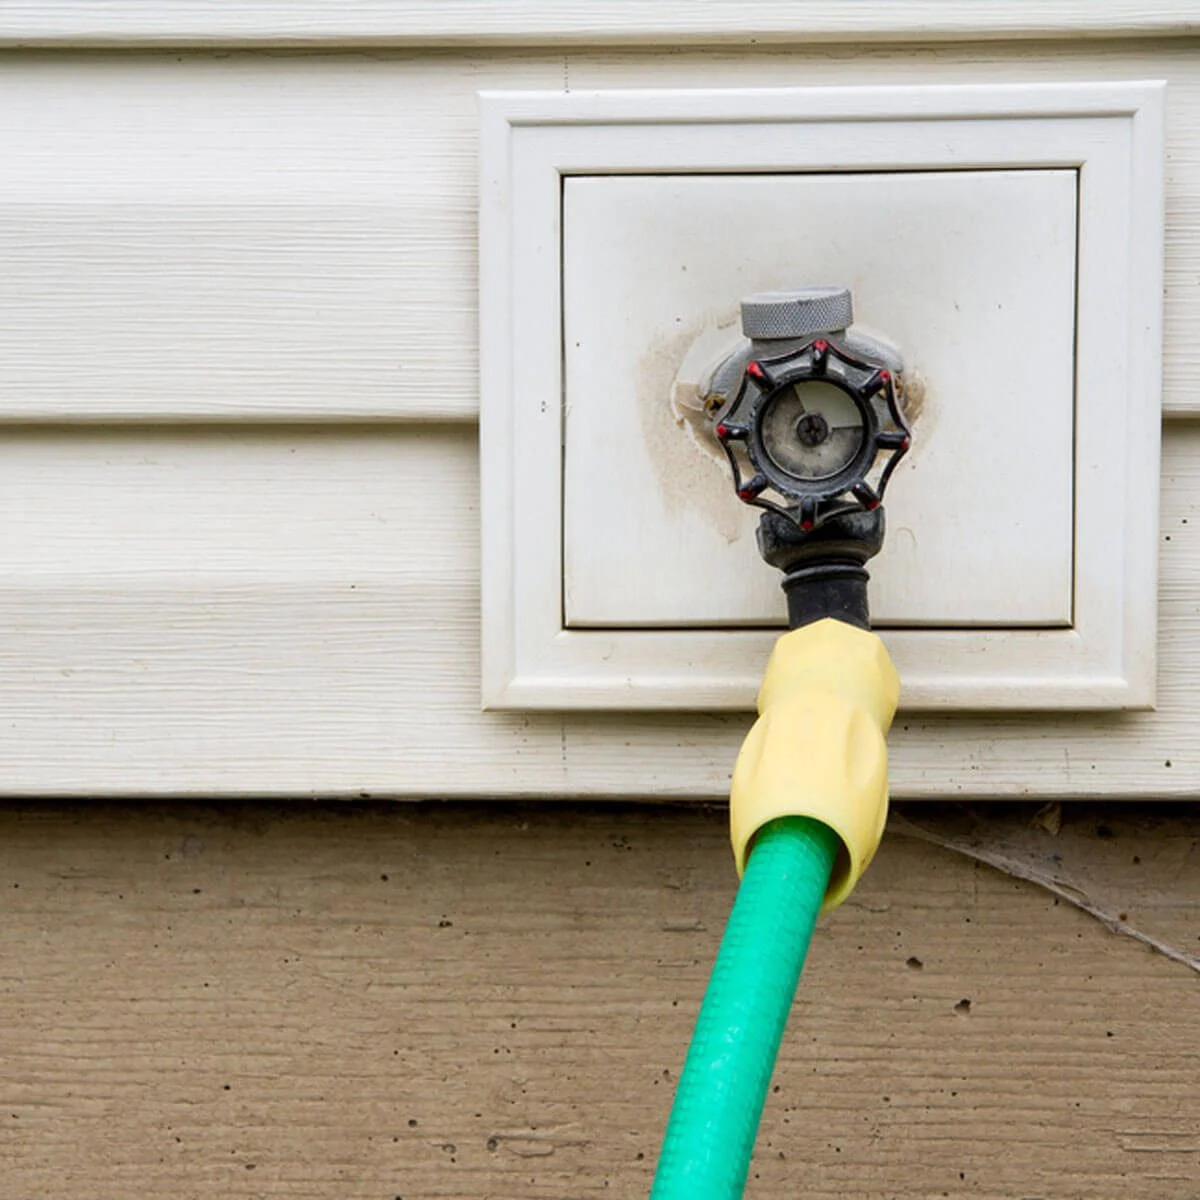
To turn off the water supply, locate the shut-off valves under the sink. These valves are usually located on the water pipes that connect to the faucet. Turn the valves clockwise until they are fully closed. If your bathroom doesn’t have shut-off valves, you may need to shut off the main water supply to your home.
Once the water supply is turned off, open the faucet to relieve any remaining water pressure. This step will help prevent any unwanted leaks when you disconnect the old faucet.
It is also a good idea to place a bucket or towel under the sink to catch any water that may still be in the pipes. This will help keep your workspace clean and dry while you work on the installation.
Now that the water supply is turned off and you have prepared the sink area, we can move on to removing the old faucet in the next step.
Step 2: Prepare the Sink
Before you can install the new faucet, you need to prepare the sink by removing any remnants of the old faucet and cleaning the surface.
Start by disconnecting the water supply lines connected to the old faucet. Use an adjustable wrench to loosen and remove the nuts that secure the supply lines to the faucet. Be sure to have a bucket or towel ready to catch any water that may come out.
Next, you’ll need to remove the old faucet. Use a screwdriver (either flathead or Phillips, depending on the type of screws holding the faucet in place) to loosen and remove any screws or mounting hardware that secure the faucet to the sink. Once the screws are removed, carefully lift the old faucet off the sink. If the faucet is stuck, you may need to gently pry it off using a flathead screwdriver.
Once the old faucet is removed, thoroughly clean the sink surface. Use a mild cleaning solution and a cloth or sponge to remove any residue, dirt, or old plumbing putty. Make sure the surface is clean and dry before proceeding to the next step.
Now that the sink is prepared and ready, we can move on to the exciting part: installing the new faucet. Follow along to learn how to install it in the next step.
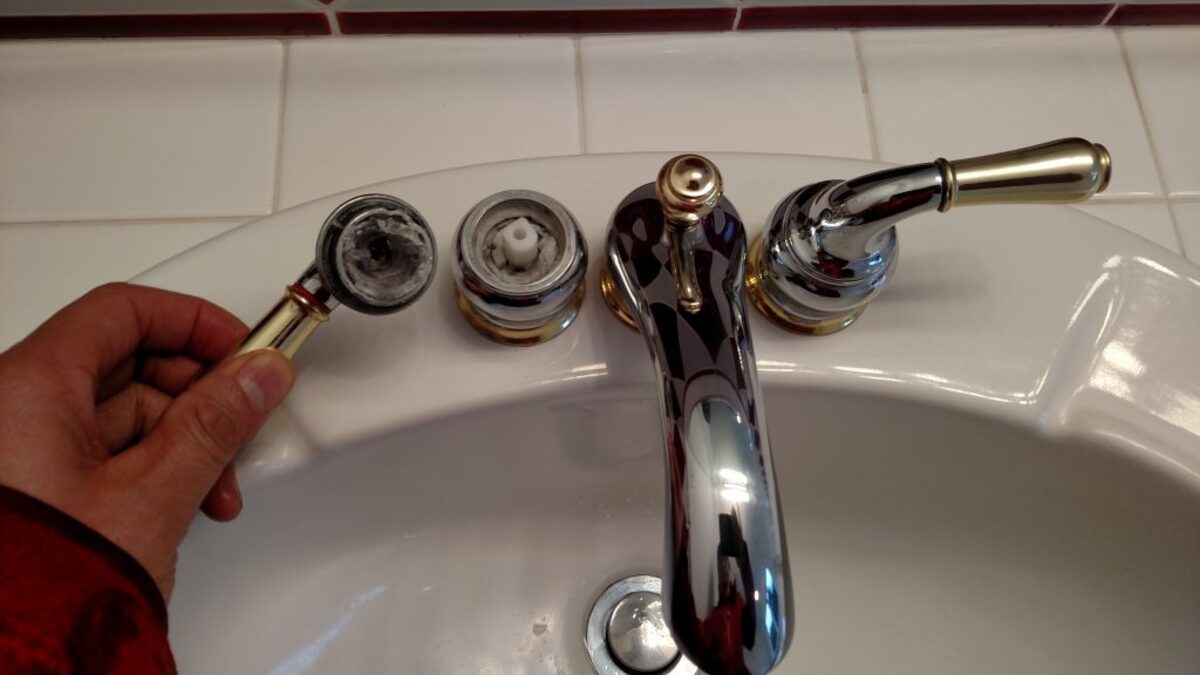
Step 3: Remove Old Faucet
Now that the sink is prepared, it’s time to remove the old faucet. This step involves disconnecting the faucet from the water supply lines and removing any mounting hardware.
First, locate the nuts or compression fittings that secure the water supply lines to the old faucet. Use an adjustable wrench to loosen and remove these nuts. Again, be prepared for some residual water to drip out, so have a bucket or towel handy.
Once the water supply lines are disconnected, you can proceed to remove the mounting hardware that holds the faucet in place. Depending on the type of faucet, there may be screws, nuts, or a mounting bracket. Use the appropriate tools, such as a screwdriver or wrench, to remove these components.
With the mounting hardware removed, carefully lift the old faucet out of the sink. If the faucet is stuck, you may need to gently pry it off using a flathead screwdriver or a putty knife. Take your time and be cautious not to damage the sink surface.
After removing the old faucet, clean any remaining residue or old plumber’s putty from the sink surface. Use a mild cleaning solution and a cloth or sponge to thoroughly clean the area. Ensure that the surface is clean and dry before proceeding to the next step.
Now that the old faucet has been removed and the sink surface is clean, you’re ready to move on to the exciting part: installing the new faucet. Follow along as we guide you through the process in the next step.
Before starting the installation, make sure to turn off the water supply to the faucet. This will prevent any water from leaking and make the installation process much easier.
Read more: How To Install A Freestanding Tub Faucet
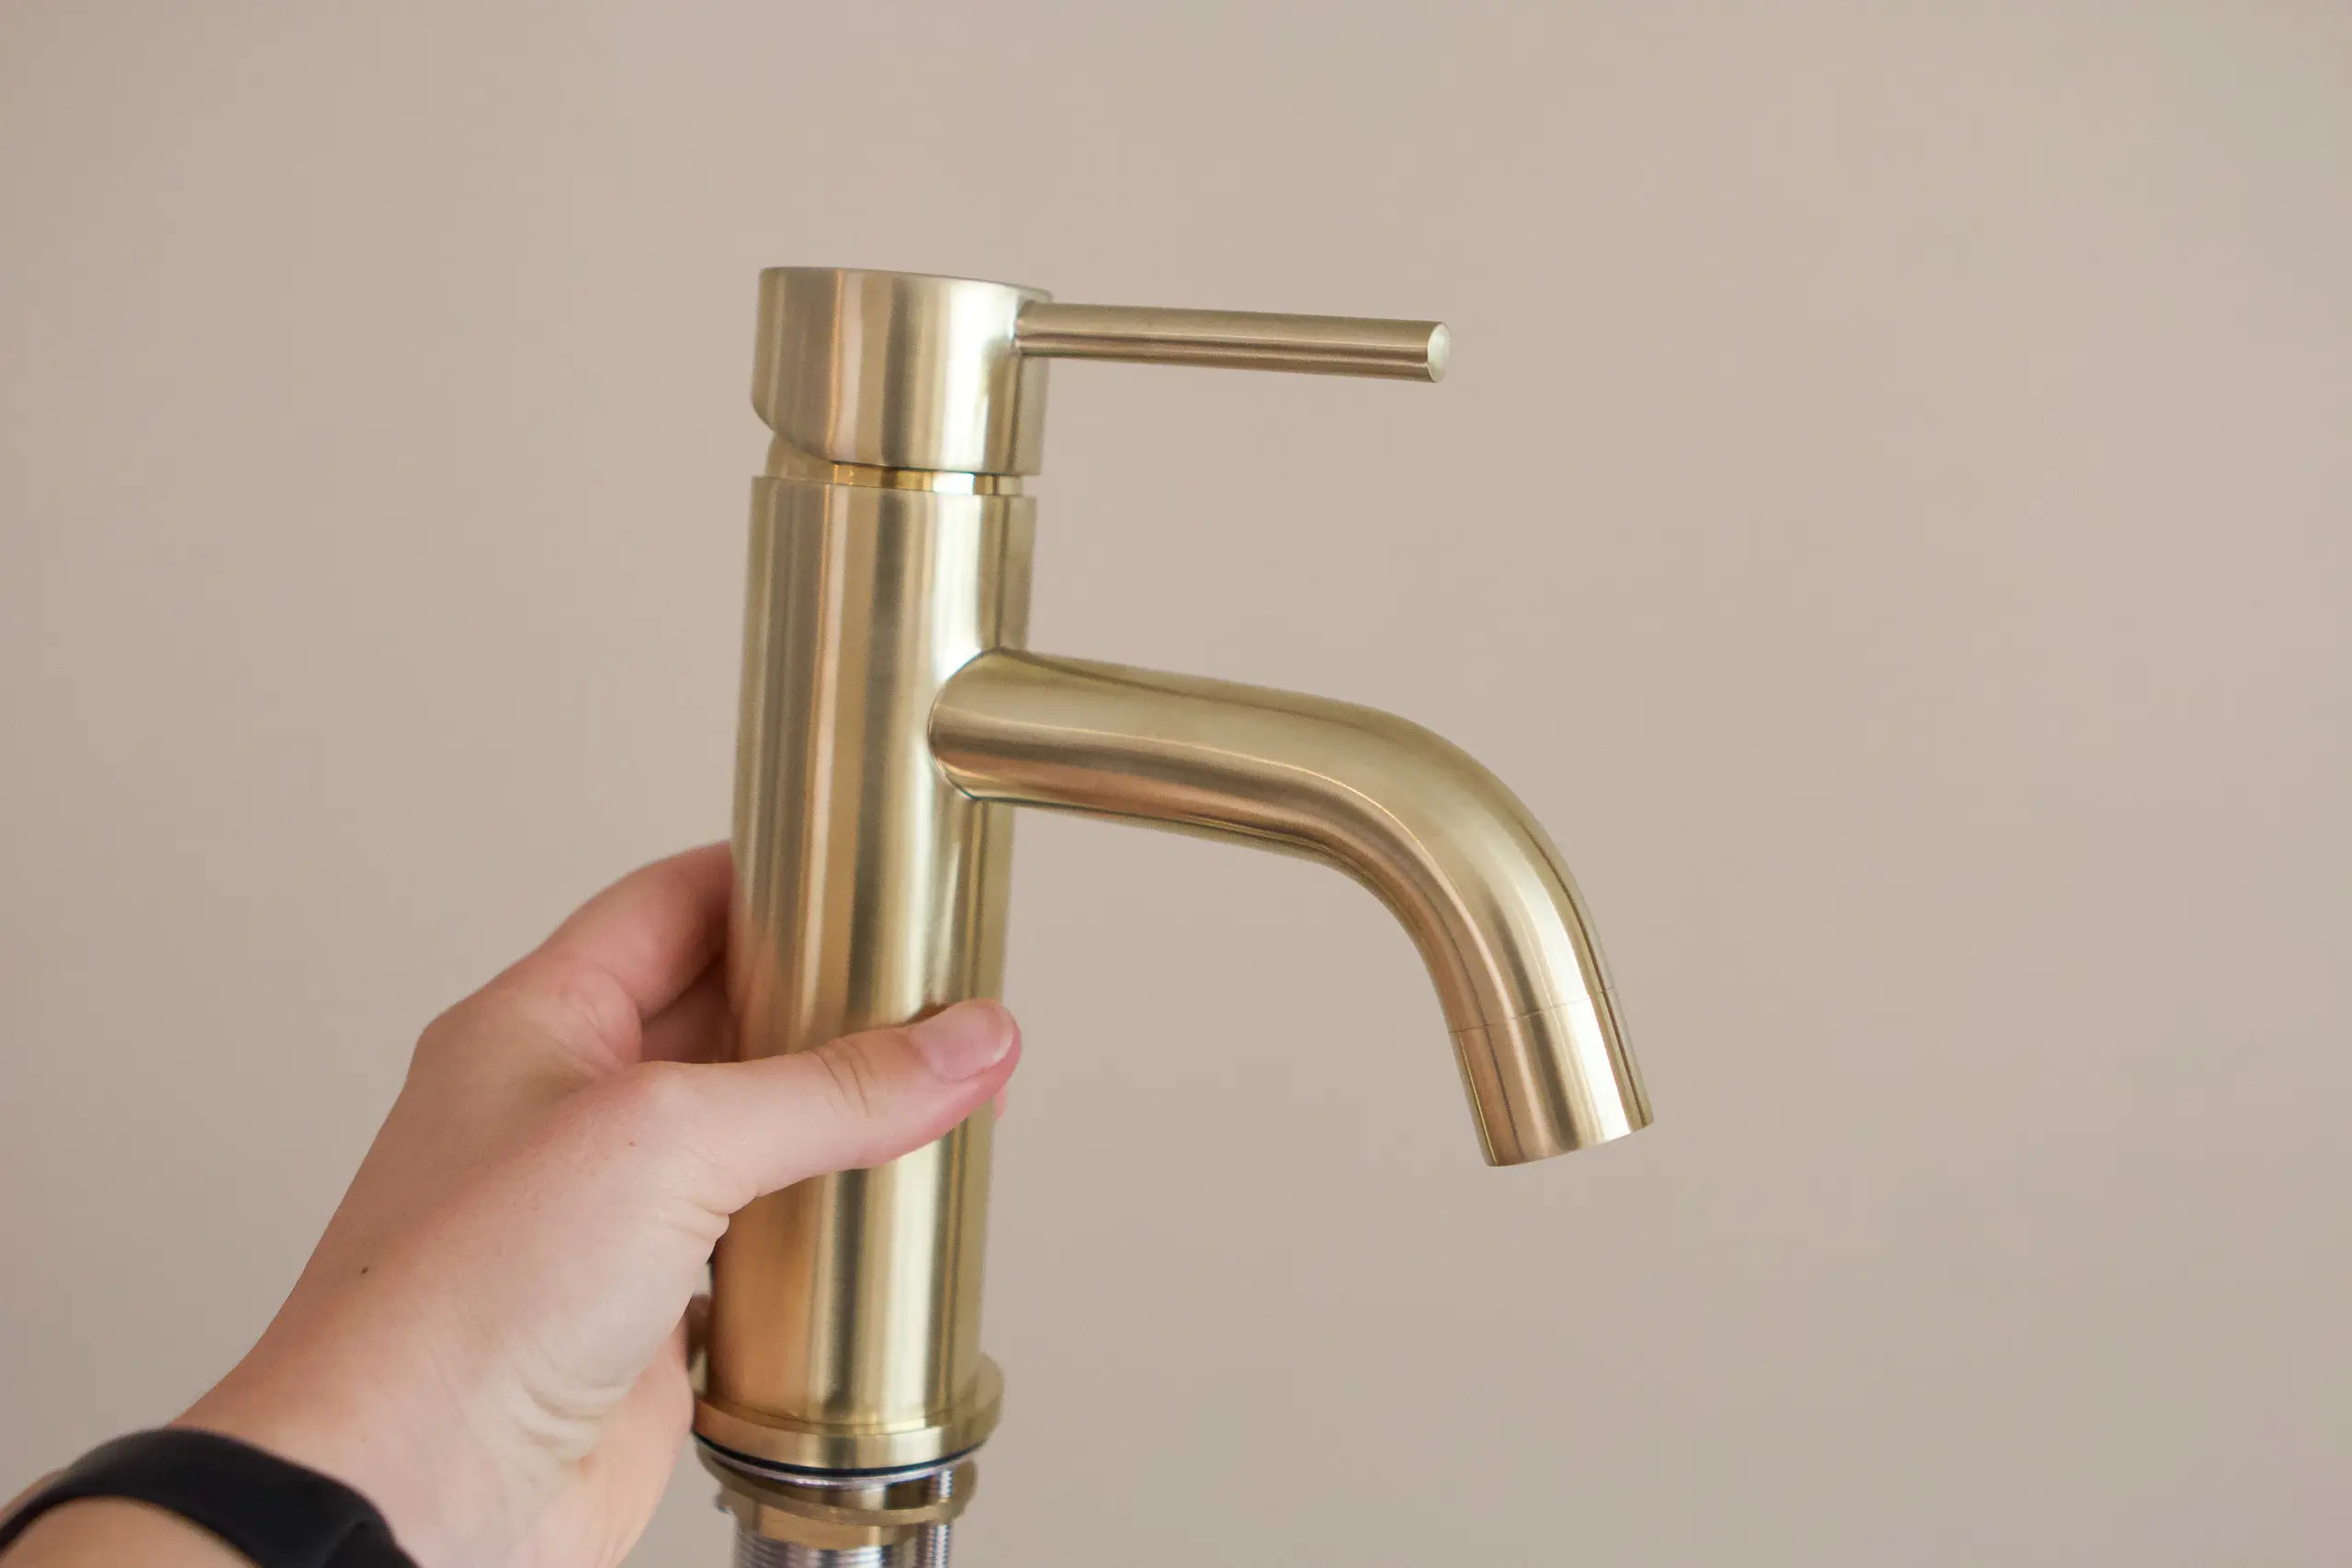
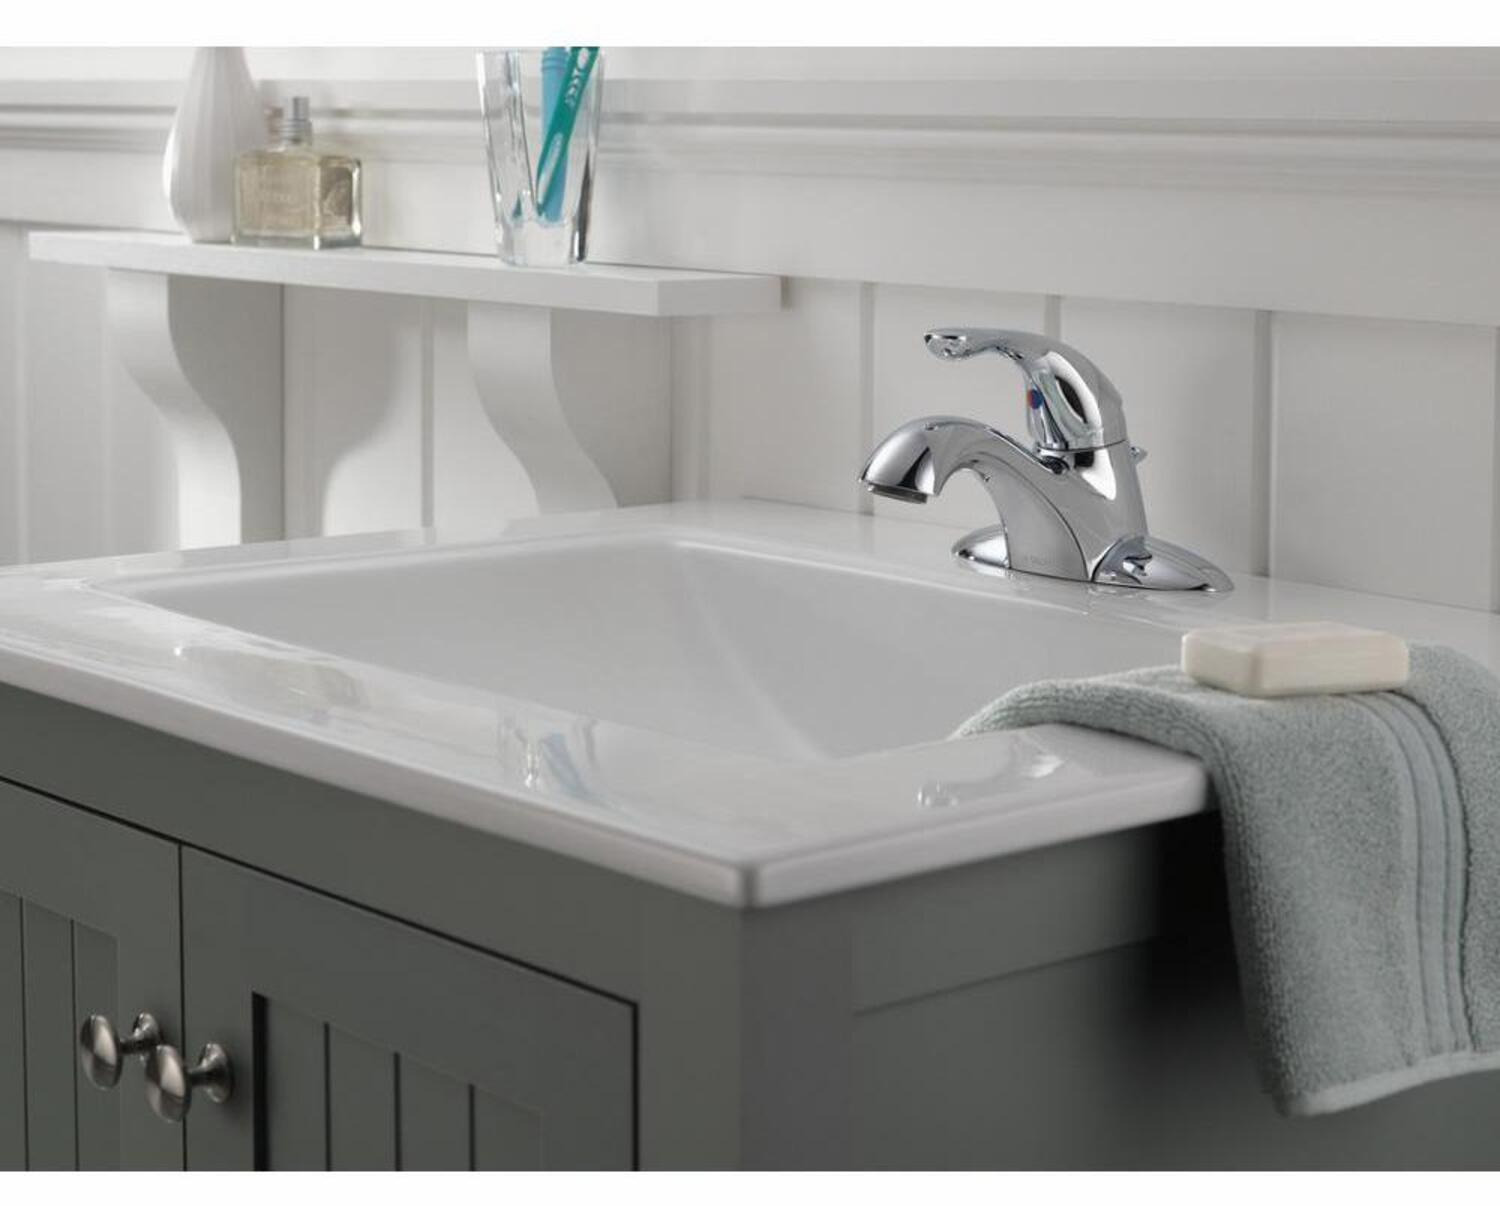
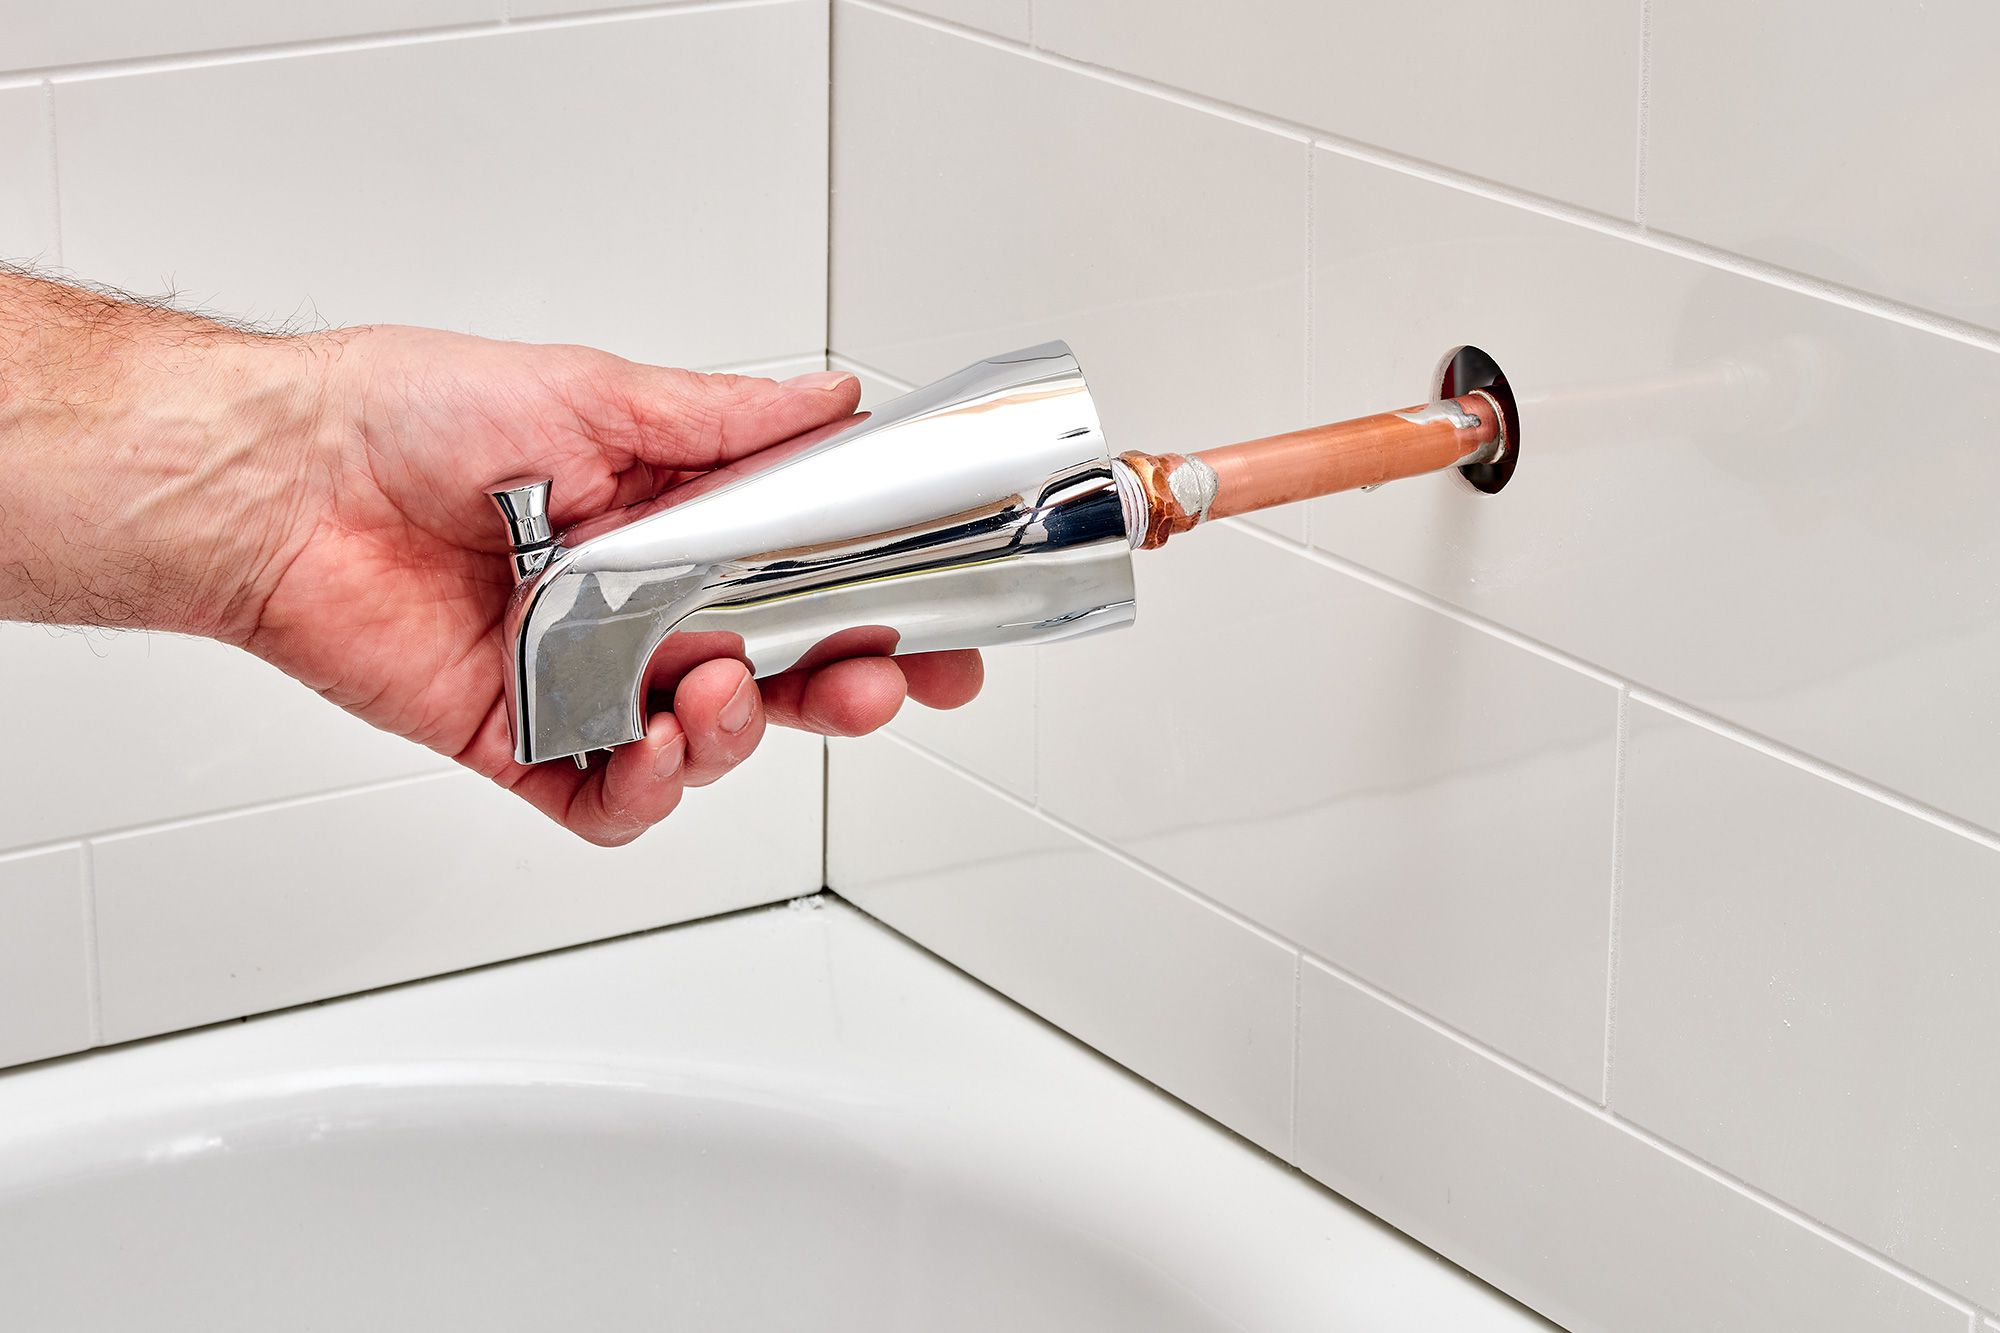
Step 4: Install New Faucet
With the old faucet removed and the sink surface clean, it’s time to install the new faucet. Follow these steps to ensure a successful installation:
- Start by placing a bead of plumber’s putty or applying silicone sealant around the base of the new faucet. This will create a watertight seal and prevent any water from seeping under the faucet.
- Next, carefully insert the new faucet into the mounting holes on the sink. Make sure the faucet is positioned correctly and aligned with the handles facing the desired direction.
- Once the faucet is in place, secure it by using the mounting hardware provided with the new faucet. This may include screws, nuts, or a mounting bracket. Follow the manufacturer’s instructions to properly secure the faucet.
- Using a screwdriver or a wrench, tighten the mounting hardware snugly but avoid over-tightening, as this can cause damage to the faucet or the sink.
- After securing the faucet, wipe away any excess putty or sealant that may have squeezed out during installation. Use a clean cloth or sponge for this task.
Once the new faucet is securely installed, it’s time to connect the water supply lines. Continue to the next step to learn how to do this.
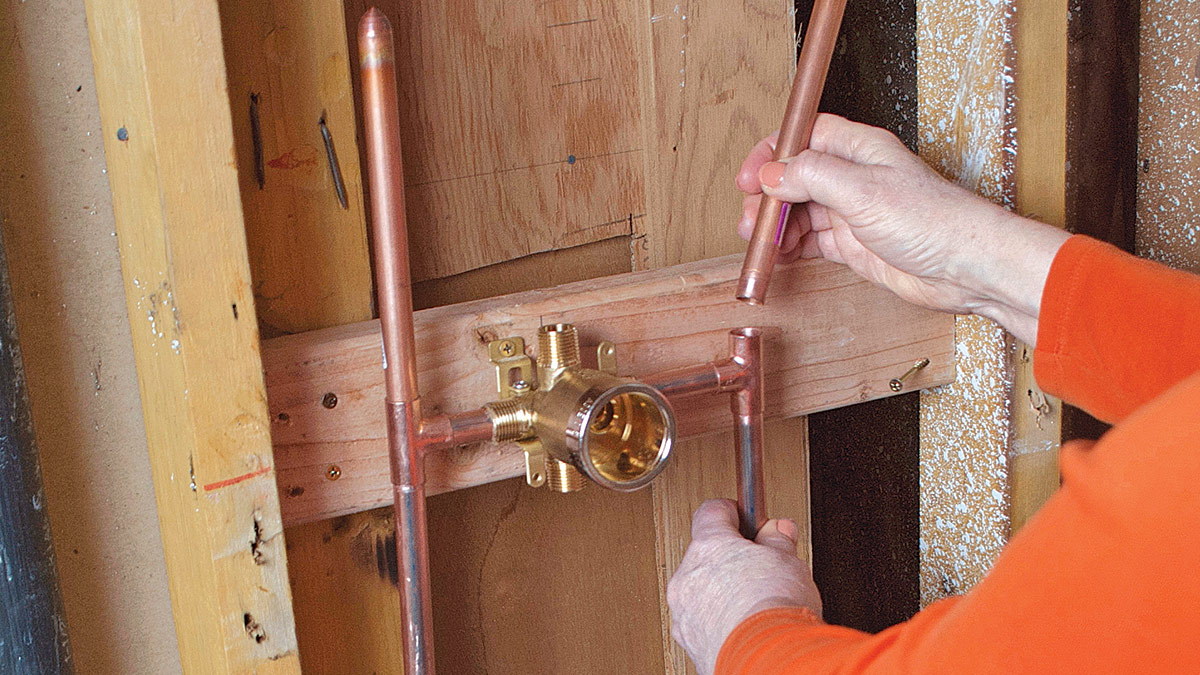
Step 5: Connect Water Supply Lines
Now that the new faucet is installed, it’s time to connect the water supply lines. Follow these steps to ensure a proper and leak-free connection:
- Start by applying a layer of Teflon tape to the threads of the water supply line connections. This will help create a tight seal and prevent any leaks.
- Next, carefully thread the water supply lines onto the corresponding connections on the new faucet. Hand-tighten the connections, and then use an adjustable wrench to give them a quarter-turn to ensure a secure fit. Be careful not to overtighten, as this can cause damage to the connections or the faucet.
- If your new faucet requires a separate fastening nut for the water supply lines, make sure to use it according to the manufacturer’s instructions. This nut will help secure the lines in place and prevent any movement or leaks.
- Once the connections are secured, double-check that all connections are tight and properly aligned. Inspect for any signs of leaks or drips.
It’s important to note that some faucets may require additional steps or unique connections. Always refer to the manufacturer’s instructions for specific guidance on connecting the water supply lines.
With the water supply lines connected, it’s time to proceed to the next step: testing and checking for leaks.
Step 6: Test and Check for Leaks
After connecting the water supply lines, it’s crucial to test the new faucet and check for any potential leaks. Follow these steps to ensure everything is working properly:
- First, turn on the water supply by opening the shut-off valves under the sink. Gradually open the valves to allow water to flow into the faucet.
- With the water running, carefully inspect all connections, including the base of the faucet, the supply line connections, and any other joints or fittings. Look for any signs of dripping or leaking water.
- If you notice any leaks, tighten the affected connections a little more using an adjustable wrench. Be careful not to overtighten, as this can damage the connections.
- If the leaks persist, you may need to disconnect and reattach the connections, ensuring they are properly aligned and tightly secured.
- Once you’re confident that there are no leaks, test the functionality of the faucet. Turn the handles or knobs to ensure smooth operation and proper water flow.
- Check the water temperature by adjusting the handles to both hot and cold settings. Make sure the water is reaching the desired temperature.
If everything looks good and there are no leaks or issues, congratulations! You’ve successfully installed a new bathroom faucet. Now, let’s move on to the final touches and clean up in the next step.
Step 7: Final Touches and Cleanup
With the new faucet installed and tested, it’s time to put the finishing touches on your project and clean up the workspace. Follow these final steps for a polished and professional look:
- Using a damp cloth or sponge, wipe down the sink surface to remove any dust, fingerprints, or debris that may have accumulated during the installation process.
- Inspect the faucet for any smudges, water spots, or residue. Use a clean, dry cloth to buff the faucet and restore its shine.
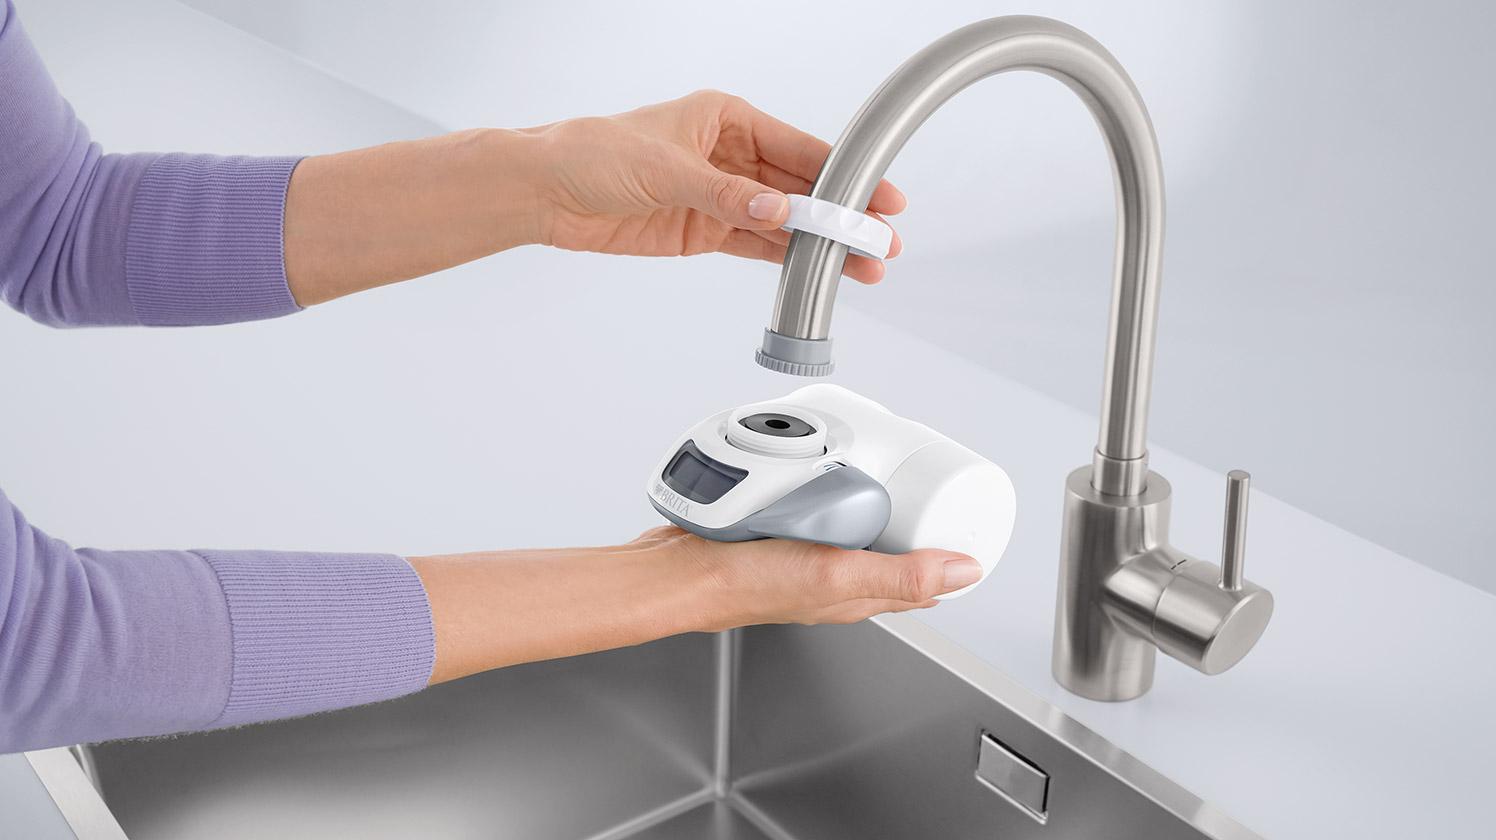
- If your new faucet has removable aerators, remove them and run water through them to remove any debris or sediment. Clean and reinstall the aerators, ensuring a smooth flow of water.
- If necessary, apply a small amount of silicone sealant or plumber’s putty around the base of the faucet to further secure it and prevent any water from seeping underneath.
- Dispose of any packaging materials or old faucet components responsibly. Recycle or discard them in the appropriate manner.
- Finally, admire your newly installed faucet! Take a moment to appreciate the transformation it brings to your bathroom and enjoy the refreshed look and improved functionality.
Congratulations on successfully installing a new bathroom faucet! By following these steps and taking care during the installation process, you’ve not only upgraded your space but also gained valuable plumbing knowledge. If you encounter any issues or have concerns about the installation, don’t hesitate to consult a professional plumber for further assistance.
Thank you for reading our guide on how to install a new bathroom faucet. We hope you found it helpful and informative. Enjoy your new faucet and the improved functionality and style it brings to your bathroom!
Read more: How To Install A Water Filter Faucet
Conclusion
Installing a new bathroom faucet may seem like a daunting task, but with the right tools, materials, and steps, it can be a manageable DIY project. By following our guide and taking care during each step of the process, you can successfully replace your old faucet and give your bathroom a fresh new look.
Remember to start by turning off the water supply and preparing the sink before removing the old faucet. Take your time to clean the sink surface and ensure it’s ready for the new installation. Installing the new faucet involves securing it with the appropriate mounting hardware and connecting the water supply lines. Always double-check for leaks and make any necessary adjustments before proceeding.
Once the installation is complete, take a moment to test the faucet and check for any leaks or deficiencies. Address any issues promptly and make the necessary adjustments to ensure proper functionality. The final touches and cleanup will ensure a polished and professional look.
By following these steps and paying attention to detail, you’ll not only have a beautiful and functional new faucet but also gain valuable plumbing knowledge and skills. However, if at any point in the process you feel unsure or uncomfortable, it’s always best to consult a professional plumber for assistance. They can provide expert guidance and ensure a seamless installation.
We hope this guide has been helpful in guiding you through the process of installing a new bathroom faucet. Enjoy your updated space and the improved functionality and style that a new faucet brings. Happy DIYing!
Frequently Asked Questions about How To Install A New Bathroom Faucet
Was this page helpful?
At Storables.com, we guarantee accurate and reliable information. Our content, validated by Expert Board Contributors, is crafted following stringent Editorial Policies. We're committed to providing you with well-researched, expert-backed insights for all your informational needs.


0 thoughts on “How To Install A New Bathroom Faucet”