Articles
How To Cut A Concrete Floor For New Plumbing
Modified: February 23, 2024
Looking for articles on how to cut a concrete floor for plumbing? Find step-by-step guides and expert advice to tackle this project effectively.
(Many of the links in this article redirect to a specific reviewed product. Your purchase of these products through affiliate links helps to generate commission for Storables.com, at no extra cost. Learn more)
Introduction
When it comes to plumbing projects, sometimes you may find yourself in a situation where you need to cut through a concrete floor. This could be for a variety of reasons, such as installing new plumbing lines or repairing existing ones. While cutting through concrete may seem like a daunting task, with the right tools and techniques, you can successfully complete this job.
In this article, we will guide you through the process of cutting a concrete floor for plumbing. We will cover everything from the necessary preparation and safety equipment to the cutting techniques and finishing touches. So, let’s dive in and learn how to cut through concrete like a pro!
Key Takeaways:
- Proper planning, safety equipment, and precise cutting techniques are essential for successfully cutting a concrete floor for plumbing. Thorough preparation and careful execution lead to a clean and professional result.
- Prioritizing safety, choosing the right tools, and diligently completing finishing steps are crucial for a successful concrete cutting project. Attention to detail and proper technique ensure a polished and well-executed outcome.
Read more: How To Waterproof A Concrete Floor
Preparation
Before you begin cutting into the concrete floor, it’s crucial to make proper preparations to ensure a smooth and successful project. Here are the steps you need to follow:
- 1. Plan and Measure: Start by planning and measuring the area where you need to cut the concrete. Identify the exact location where the plumbing lines will run and mark it accordingly.
- 2. Clear the Area: Remove any furniture, rugs, or obstacles from the area to create a clear workspace. This will prevent any damage to your belongings and allow for easy access to the concrete floor.
- 3. Locate Utilities: Before cutting, it’s essential to locate and mark the position of any electrical or plumbing lines that might be hidden beneath the concrete. This will prevent accidental damage and ensure your safety.
- 4. Gather Materials and Tools: Make a list of all the materials and tools you’ll need for the project. This may include a concrete saw, safety goggles, ear protection, gloves, a dust mask, and a tape measure.
- 5. Prepare the Work Area: Set up a designated work area with proper ventilation. Open windows and doors or use fans to help dissipate the dust created during the cutting process.
By thoroughly preparing before starting the project, you will minimize the risk of mistakes or accidents and ensure a smooth workflow. Take the time to plan and gather all the necessary materials to prevent any delays during the cutting process. Now that you’re prepared, it’s time to move on to marking the cut.
Marking the Cut
Once you have completed the necessary preparations, the next step is to mark the area where you will be cutting the concrete. This step is crucial for ensuring accuracy and precision. Here’s how to mark the cut:
- 1. Measure and Mark: Use a tape measure to determine the exact dimensions of the cut. Mark the measurements directly on the concrete surface using a permanent marker or chalk.
- 2. Create Straight Lines: Use a straightedge, such as a level or a straight piece of wood, to connect the marks and create clear, straight lines for cutting.
- 3. Double-Check Measurements: Before proceeding, double-check your measurements to ensure they are accurate. This will help avoid any errors during the actual cutting process.
When marking the cut, it’s important to consider the plumbing layout and any specific requirements for your project. It’s also a good idea to add extra space around the marked area to allow for adjustments during the cutting process.
By taking the time to carefully mark the cut, you will have a clear guide to follow during the cutting process. This will help ensure precision and accuracy, resulting in a professional-looking cut through the concrete floor.
Safety Equipment
When working with concrete and operating cutting tools, it’s crucial to prioritize your safety. The following safety equipment is essential to protect yourself throughout the cutting process:
- 1. Safety Goggles: Protect your eyes from flying debris, dust, and sparks by wearing safety goggles. Ensure that they fit snugly and provide proper coverage.
- 2. Ear Protection: Cutting concrete can be loud, and prolonged exposure to high noise levels can cause hearing damage. Wear ear protection such as earplugs or earmuffs to minimize the risk.
- 3. Gloves: Use sturdy gloves to protect your hands from sharp concrete edges and potential injuries while handling cutting tools.
- 4. Dust Mask: Cutting concrete generates a significant amount of dust. Protect your respiratory system by wearing a dust mask or respirator to filter out fine particles.
- 5. Protective Clothing: Wear long sleeves, pants, and work boots to protect your skin and avoid any injury caused by contact with rough concrete surfaces or debris.
- 6. Safety Boots: Use sturdy, non-slip safety boots to protect your feet from potential hazards such as falling objects or accidental slips.
Prioritizing your safety by wearing the appropriate safety equipment will significantly reduce the risk of accidents or injuries. Remember to always follow the manufacturer’s instructions for proper usage of safety gear.
Additionally, it’s important to have a first aid kit readily available in case of any minor injuries. Familiarize yourself with basic first aid procedures to provide prompt care, if needed.
By investing in and wearing the necessary safety equipment, you’ll ensure a safe working environment throughout the concrete cutting process.
Choosing the Right Tools
Choosing the appropriate tools for cutting through a concrete floor is crucial for achieving clean and precise results. Here are some essential tools to consider for your project:
- 1. Concrete Saw: A concrete saw is the primary tool used for cutting through concrete. There are different types of concrete saws available, including handheld saws, walk-behind saws, and floor saws. Select the one that best suits your project’s requirements.
- 2. Diamond Blades: Diamond blades are specifically designed to cut through hard materials like concrete. They are available in various sizes and configurations. Choose a diamond blade suitable for your saw and the thickness of the concrete you’ll be cutting.
- 3. Measuring Tools: Accurate measurements are crucial for marking and cutting the concrete. Have a tape measure, ruler, or a measuring stick on hand to ensure precise measurements.
- 4. Straightedge: A straightedge, such as a level or a straight piece of wood, is essential for marking straight lines on the concrete. This will guide your cutting and help you achieve clean edges.
- 5. Water Supply: If you’re using a wet cutting technique, ensure a reliable water supply to keep the blade cool and control dust during the cutting process.
- 6. Vacuum Cleaner or Dust Extraction System: To minimize dust and keep the work area clean, consider using a vacuum cleaner or a dust extraction system. This will help maintain visibility and prevent the accumulation of dust.
When selecting tools, it’s important to consider the size and intricacy of the job, as well as your own level of experience. If you’re unsure about which tools to use, consult with professionals or rental companies to get expert advice.
By using the right tools for the job, you’ll ensure efficiency, precision, and minimize the risks associated with cutting through a concrete floor.
Before cutting concrete for plumbing, mark the area carefully and wear proper safety gear including goggles and a respirator. Use a diamond blade saw for clean and precise cuts.
Read more: How To Stain A Concrete Floor
Cutting Techniques
Now that you have the necessary tools and equipment, it’s time to delve into the cutting techniques for your concrete floor. Follow these steps to ensure a successful and precise cut:
- 1. Set Up: Prepare the concrete saw according to the manufacturer’s instructions. Make sure the diamond blade is securely attached and properly aligned.
- 2. Safety Precautions: Put on your safety equipment, including safety goggles, ear protection, gloves, and a dust mask, to protect yourself from potential hazards.
- 3. Start the Saw: Start the saw and allow it to reach its optimum speed. Verify that the blade is rotating smoothly before proceeding.
- 4. Begin Cutting: Position the saw at the starting point of the marked cut line. Gently guide the blade into the concrete, applying gentle pressure to avoid excessive strain on the saw or blade.
- 5. Maintain a Steady Pace: Move the saw steadily along the marked cut line, always maintaining a consistent pace. Avoid pushing or forcing the saw too quickly, as this can lead to an uneven cut or even damage to the blade.
- 6. Wet Cutting Technique: If you’re using a wet cutting technique, ensure a continuous supply of water to the cutting area. This will help keep the blade cool and control dust during the process.
- 7. Dry Cutting Technique: If you’re using a dry cutting technique, periodically stop cutting to allow the saw to cool down and remove any accumulated dust or debris. Be sure to wear your dust mask to protect your respiratory system.
- 8. Cut in Sections: If you’re making a long cut, consider dividing it into smaller sections. This will make the process more manageable and allow for easier sawing.
- 9. Follow the Marked Lines: Stay focused and follow the marked lines carefully to achieve a precise and straight cut. Pay extra attention to any corners or curves that require more precision.
- 10. Complete the Cut: Continue cutting until the entire marked area has been cut through. Take your time and ensure that the cut is even and meets your desired specifications.
Remember to take breaks if necessary, especially during long cutting sessions, to prevent fatigue and maintain your concentration.
By employing these cutting techniques, you’ll be able to achieve clean and precise cuts through your concrete floor, resulting in a successful plumbing project.
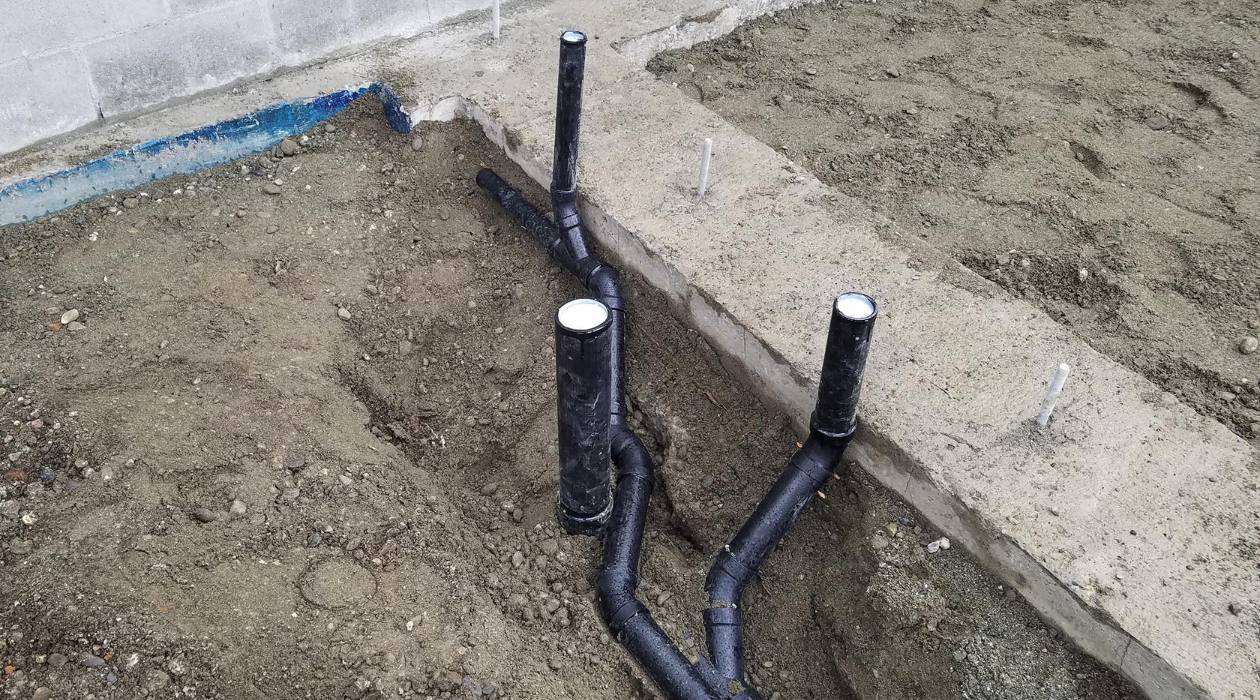
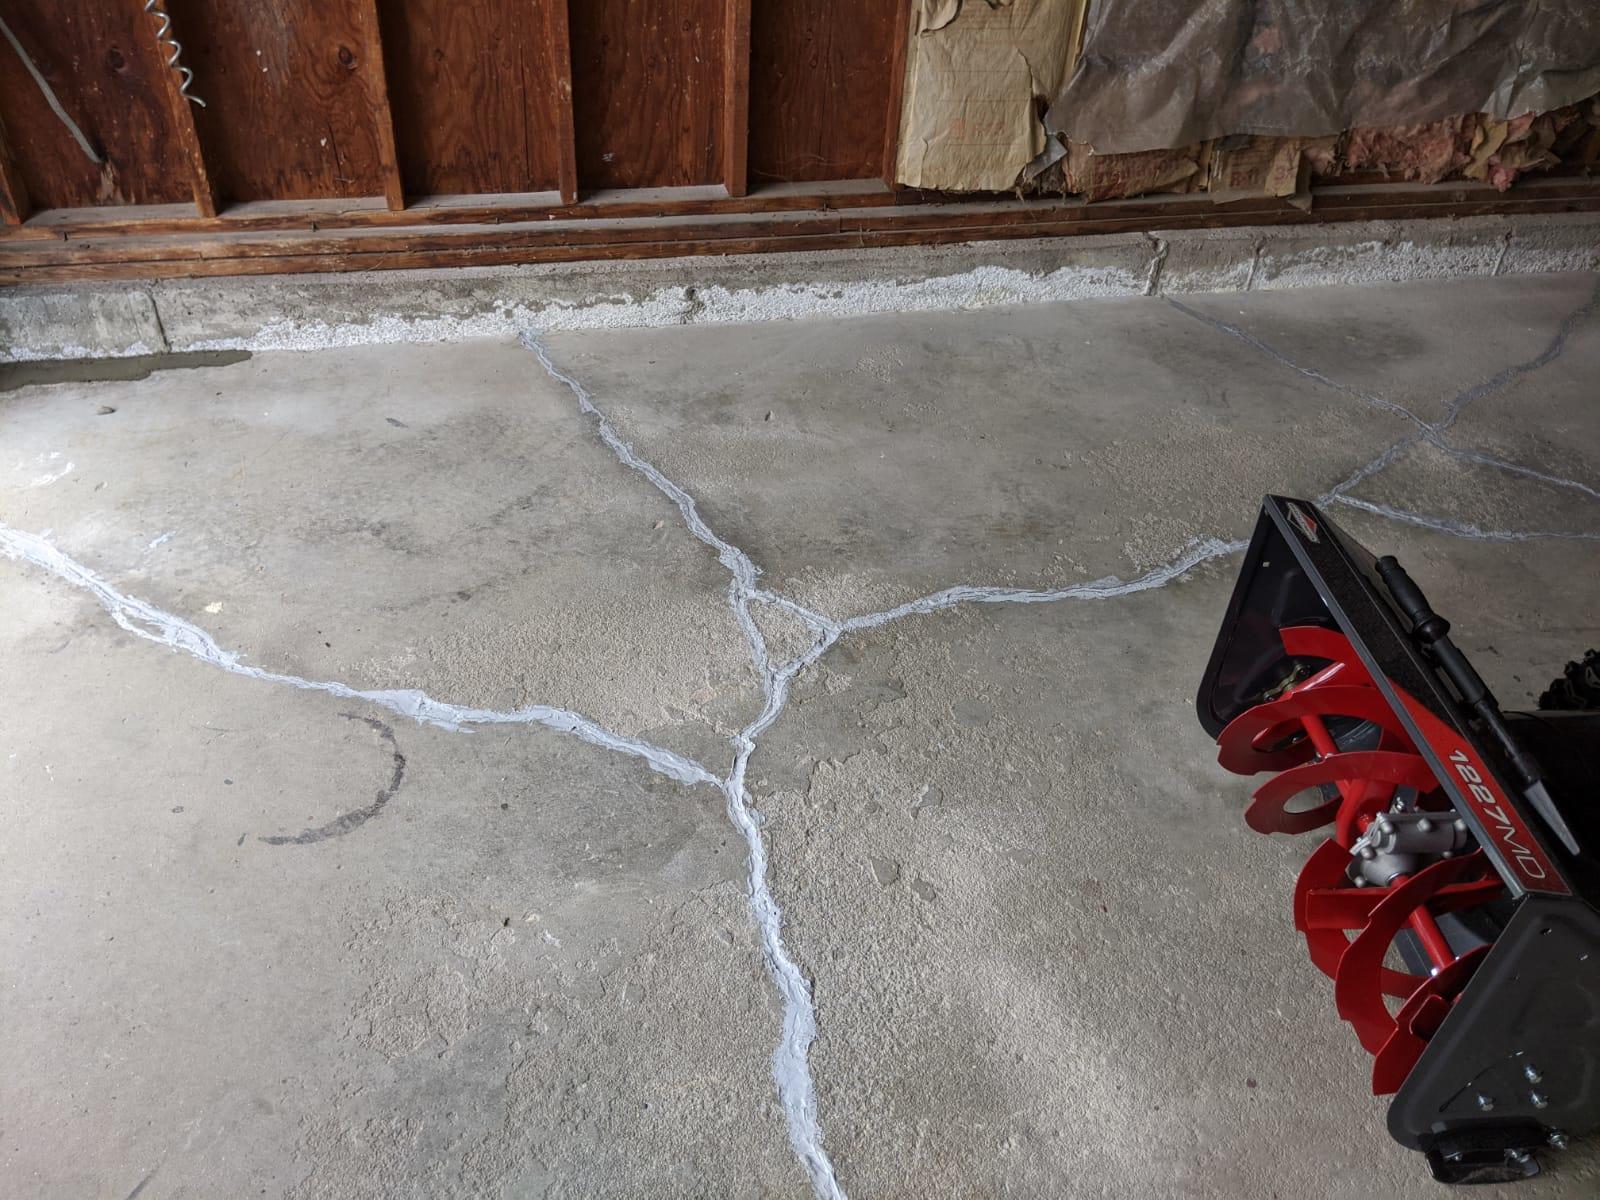
Removing the Concrete
After successfully cutting through the concrete floor for your plumbing project, the next step is to remove the concrete debris. Here’s a step-by-step guide on how to effectively remove the concrete:
- 1. Clear the Area: Remove any loose debris or dust from the area surrounding the cut to provide better visibility and prevent interference during the removal process.
- 2. Break up the Concrete: Use a sledgehammer or a jackhammer to break up the cut concrete into manageable pieces. Start at one end and work your way along the cut line, applying controlled force to break the concrete into smaller sections.
- 3. Remove the Larger Pieces: Carefully lift and remove the larger pieces of broken concrete from the trench. Be cautious of your back and lift with your legs to prevent any injuries.
- 4. Clear the Trench: Use a shovel or a garden hoe to clear out any remaining smaller pieces and debris from the trench. This will prepare the area for the next steps in your plumbing project.
- 5. Safely Dispose of the Debris: Properly dispose of the concrete debris by either renting a dumpster or contacting your local waste management facility for guidance on disposal options.
It’s important to note that removing concrete can be a physically demanding task. Take breaks as needed and consider seeking assistance if the debris is heavy or the project is extensive.
Additionally, if you encounter any rebar or other reinforcement materials embedded in the concrete, be cautious and use appropriate tools to safely remove or cut them.
By following these steps, you will be able to remove the concrete debris effectively, leaving a clean and accessible trench for your plumbing project.
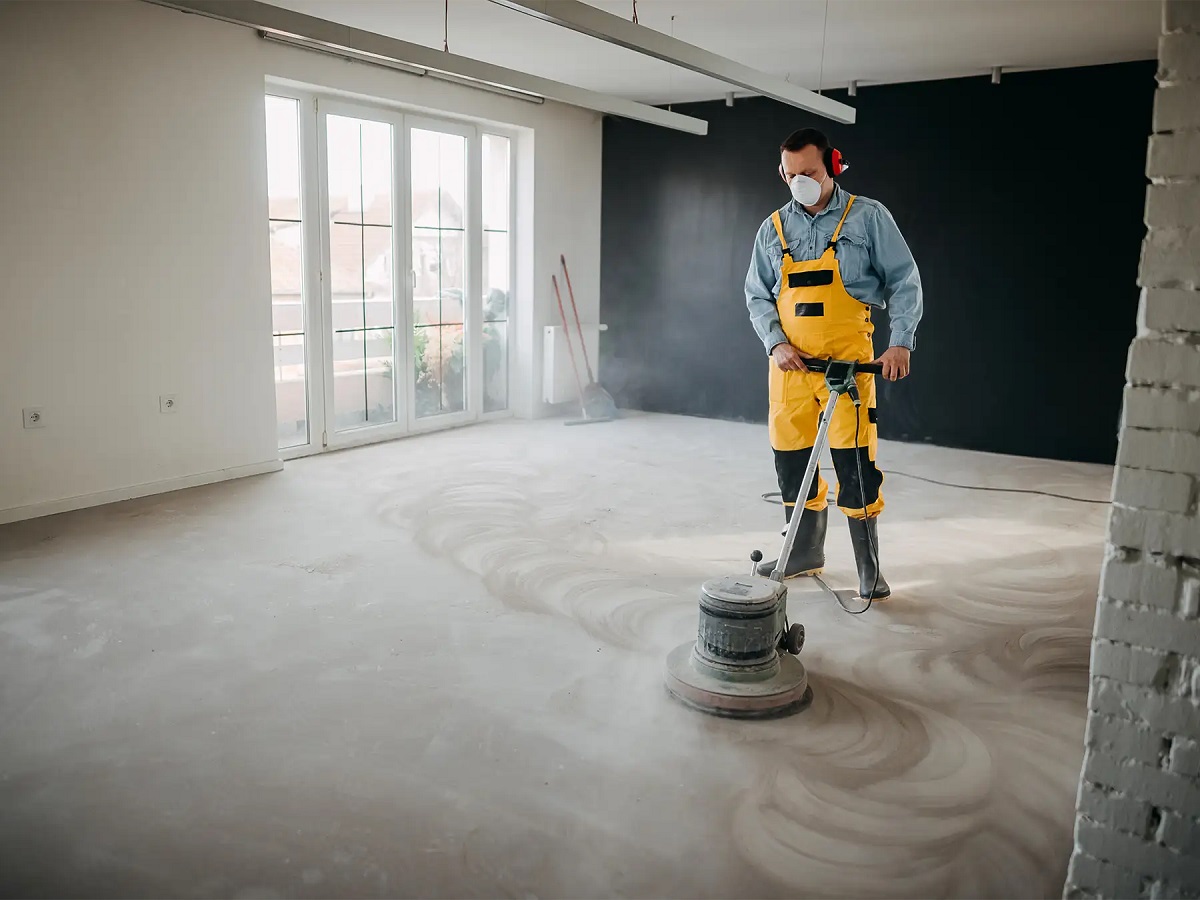
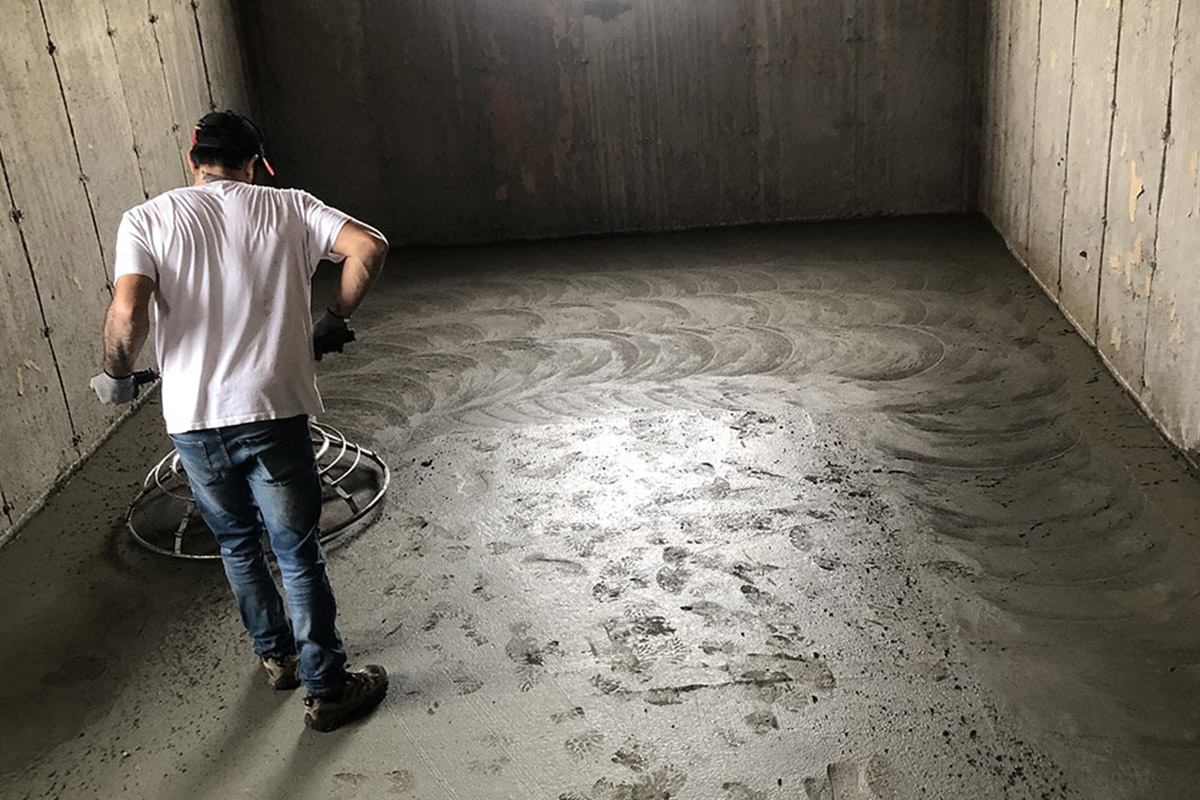
Finishing the Cut
Once you have successfully cut through the concrete floor and removed the debris, it’s important to pay attention to the finishing touches to ensure a professional result. Here are some steps to consider when finishing the cut:
- 1. Smooth the Edges: Use a hand grinder or a concrete rubbing stone to smooth out any rough edges along the cut. This will create a clean and uniform appearance.
- 2. Check for Levelness: Use a level or a straightedge to ensure that the cut is level and even. This is particularly important if you’re installing plumbing pipes or fixtures that require a precise fit.
- 3. Fill the Trench: If necessary, fill in the trench with suitable materials, such as gravel or sand, to create a stable base for your plumbing lines. Compact the fill material firmly to prevent shifting or settling.
- 4. Seal the Cut: Consider using a concrete sealant or epoxy to seal the cut edges. This will provide added protection against moisture and help prevent future cracking or deterioration.
- 5. Allow for Curing: If you have applied any sealant or epoxy, allow sufficient time for it to cure according to the manufacturer’s instructions before proceeding with your plumbing installation.
It’s important to note that the finishing steps may vary depending on your specific project requirements and the type of concrete floor you’re working with. Consulting with a professional or following manufacturer guidelines can provide valuable insights for the best finishing practices.
By diligently completing these finishing steps, you will ensure that the cut is not only functional but also visually appealing, leaving your plumbing project looking polished and well-executed.
Conclusion
Cutting through a concrete floor for plumbing purposes may seem intimidating, but with proper preparation, the right tools, and careful execution, it can be a manageable task. By following the steps outlined in this article, you can successfully cut through the concrete and create a clean and precise trench for your plumbing lines.
Remember to start with thorough preparation, including planning and measuring the area, clearing the workspace, and identifying any utilities that may be hidden beneath the concrete. Gathering the necessary tools and safety equipment is crucial to ensure your safety and the success of the project.
When it comes to cutting techniques, maintaining a steady pace, following the marked lines, and using the recommended cutting techniques will help you achieve a clean and precise cut through the concrete floor. Pay attention to safety precautions, and take breaks as needed to maintain your focus and prevent fatigue.
After cutting through the concrete, removing the debris and finishing the cut are essential steps. Clear the area, break up the concrete, and dispose of the debris properly. Smooth the edges, check for levelness, and consider sealing the cut to enhance its durability and aesthetics.
In conclusion, cutting through a concrete floor for plumbing requires careful planning, the right tools, and the adherence to safety procedures. By following these steps, you can successfully complete the task and create a solid foundation for your plumbing project.
Remember, if you have any doubts or concerns about cutting through the concrete floor, it’s always a good idea to seek guidance from a professional contractor or plumber who can offer expert advice and assistance.
Frequently Asked Questions about How To Cut A Concrete Floor For New Plumbing
Was this page helpful?
At Storables.com, we guarantee accurate and reliable information. Our content, validated by Expert Board Contributors, is crafted following stringent Editorial Policies. We're committed to providing you with well-researched, expert-backed insights for all your informational needs.


0 thoughts on “How To Cut A Concrete Floor For New Plumbing”