
Articles
How To Buff A Tile Floor
Modified: August 28, 2024
Learn the steps and techniques to effectively buff a tile floor with our informative and comprehensive articles. Achieve a stunning shine and preserve the beauty of your floors
(Many of the links in this article redirect to a specific reviewed product. Your purchase of these products through affiliate links helps to generate commission for Storables.com, at no extra cost. Learn more)
Introduction
Have you ever looked at your tile floor and noticed it has lost its shine? Over time, tile floors can become dull and lackluster due to dirt, grime, and normal wear and tear. But don’t worry, there’s a simple and effective solution to bring back that glossy, polished look – buffing!
In this article, we will guide you through the process of buffing your tile floor to restore its brilliance. Whether you have ceramic, porcelain, or natural stone tiles, this technique can breathe new life into any type of tile surface. So, let’s dive in and learn how to transform your dull floor into a sparkling masterpiece!
Key Takeaways:
- Transform your dull tile floor into a sparkling masterpiece by buffing it to restore its brilliance. Gather the right tools, prepare the surface, and apply the appropriate buffing compound for a stunning shine.
- Maintain the beauty of your buffed tile floor by cleaning up properly and establishing a regular maintenance routine. Avoid harsh cleaners, protect the floor from damage, and consider periodic re-buffing to keep it looking fresh and beautiful.
Read more: How To Put Tile On Floor
Tools and Materials Needed
Before you start buffing your tile floor, make sure you have the following tools and materials on hand:
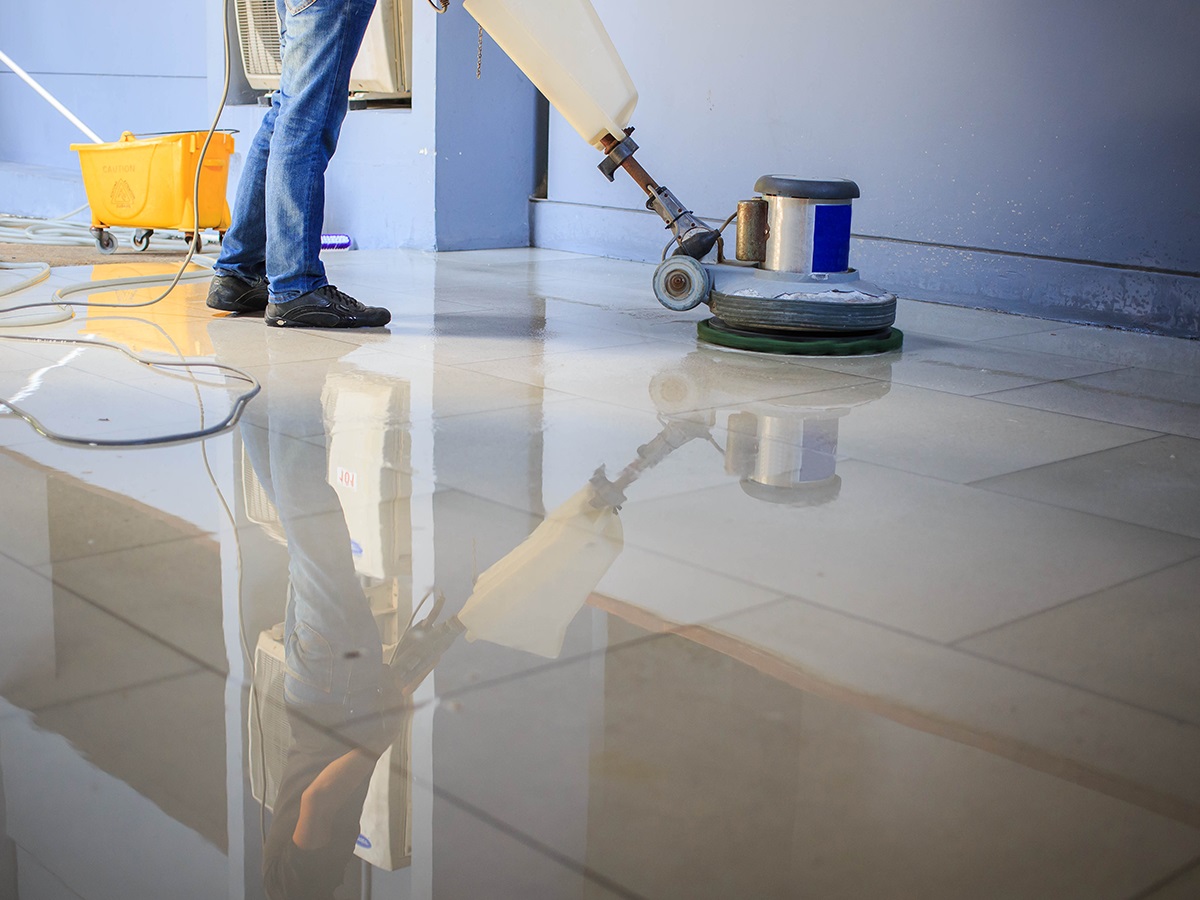
- Buffing Machine: You will need a buffing machine or floor polisher equipped with a buffing pad. Consider renting one if you don’t already own it.
- Buffing Pads: Choose the appropriate buffing pads for your tile type. For glossy tiles, use a soft and fine pad, while textured or matte tiles may require a more abrasive pad.
- Buffing Compound: Select a high-quality buffing compound designed for your specific tile material.
- Protective Gear: Wear protective gear such as safety goggles, gloves, and a dust mask to protect yourself from debris and inhaling dust particles during the process.
- Clean Water: Have a bucket or container filled with clean water nearby to dampen the buffing pad and rinse as needed.
- Cleaning Solution: Prepare a mild cleaning solution or use a manufacturer-recommended tile cleaner to remove dirt and grime before buffing.
- Mop or Microfiber Cloth: Use a mop or microfiber cloth to clean the floor before buffing and to remove any excess compound or residue afterwards.
Ensure that you have these tools and materials readily available before you begin the buffing process. Having them on hand will make your task more efficient and convenient.
Preparing the Tile Floor for Buffing
Before you start buffing your tile floor, it’s important to prepare the surface properly to achieve optimal results. Follow these steps to prepare the tile floor:
- Clean the Floor: Start by thoroughly cleaning the tile floor. Sweep or vacuum the area to remove loose dirt and debris. Then, use a mop or microfiber cloth with a mild cleaning solution to remove any remaining dirt, stains, or residue. Allow the floor to dry completely.
- Remove Tough Stains: If there are any stubborn stains or grime on the tiles, use a tile cleaner or a mixture of warm water and mild detergent to spot clean the affected areas. Scrub gently with a soft brush or sponge to lift the stains.
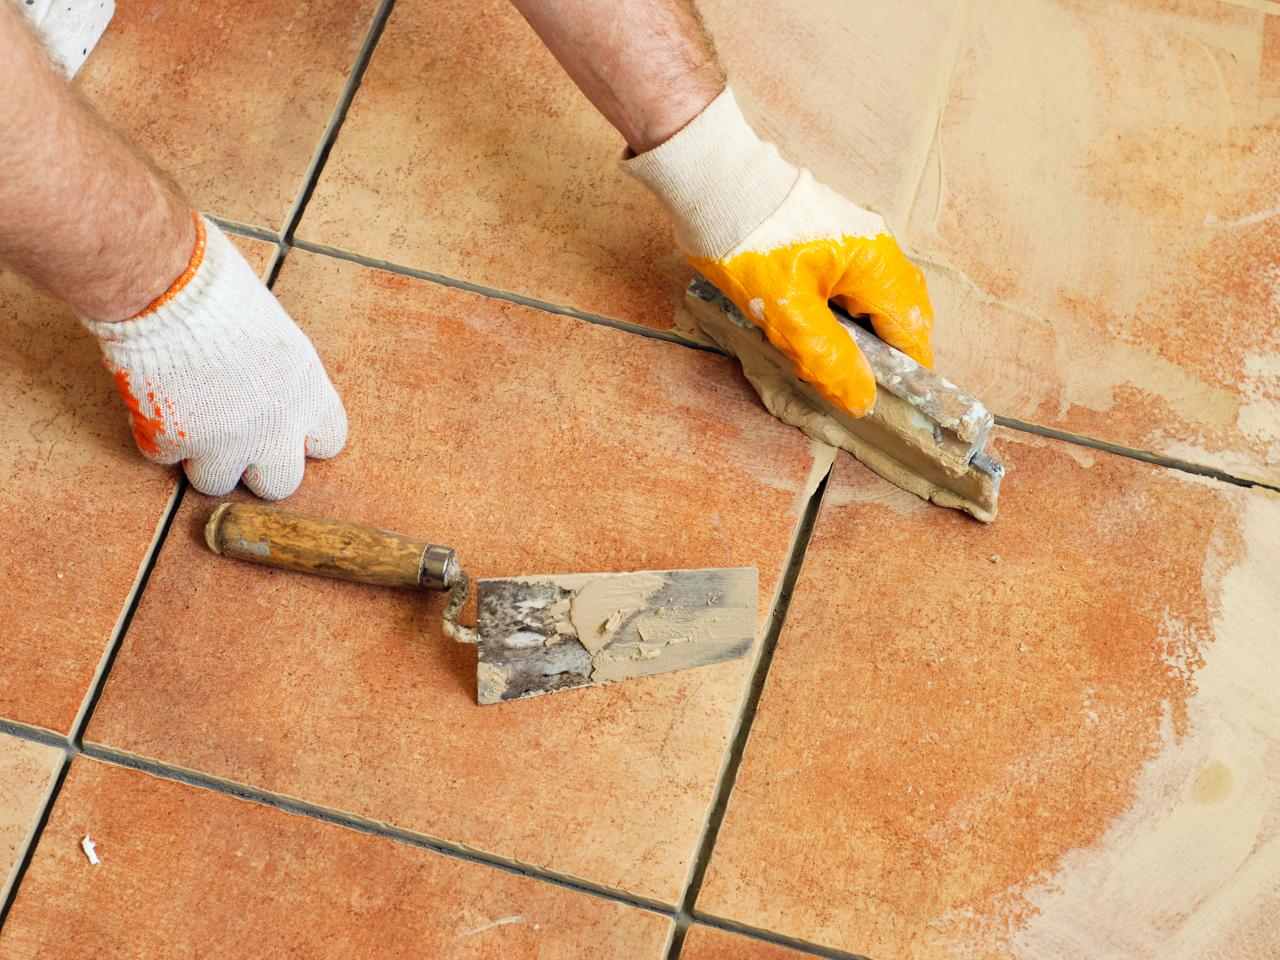
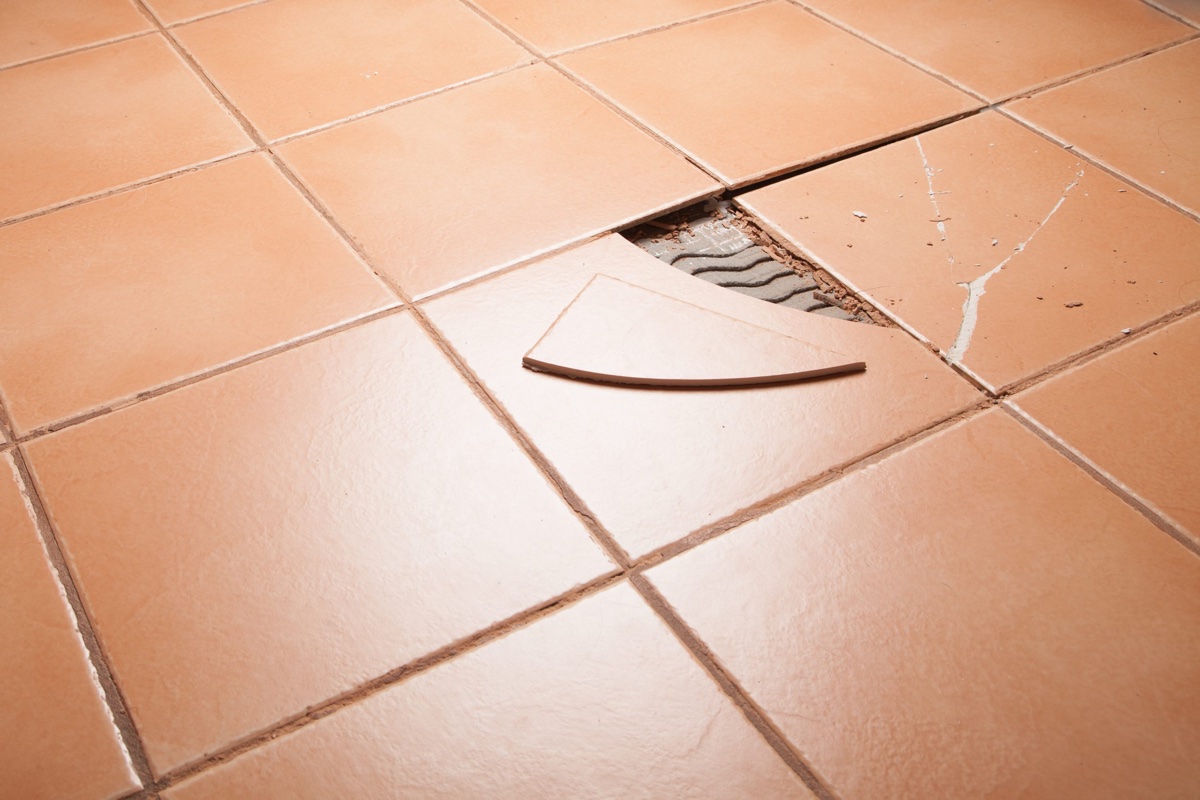
- Repair Any Damaged Tiles or Grout: Inspect the floor for any cracked or damaged tiles. Replace them if necessary. Additionally, check the grout lines and repair any cracks or crumbling areas. Ensure the grout is fully dry before proceeding.
- Protect Adjacent Surfaces: If you have adjoining walls or furniture near the tile floor, protect them by covering them with plastic sheets or drop cloths. This will prevent any splashes or damage from the buffing process.
By properly preparing the tile floor, you’ll have a clean and smooth surface to work with, allowing the buffing process to be more effective. It will also prevent any unwanted damage or mess during the buffing process.
Choosing the Right Buffing Compound
Choosing the right buffing compound is crucial for achieving the desired results when buffing your tile floor. The type of buffing compound you use will depend on the material of your tiles and the level of shine you want to achieve. Here are some factors to consider when selecting the buffing compound:
- Tile Material: Different tile materials such as ceramic, porcelain, or natural stone may require different types of buffing compounds. For example, a gentle compound is suitable for polished porcelain tiles, while a more abrasive compound may be needed for natural stone tiles.
- Desired Shine: Consider the level of shine you want to achieve. Some buffing compounds are designed to create a high-gloss finish, while others provide a more subtle sheen. Read the product labels or consult with a professional to choose the right compound for your desired shine level.
- Compatibility: Ensure that the buffing compound you select is compatible with your specific tile type. Certain harsh chemicals or acidic compounds may damage or discolor certain types of tiles.
- Environmental Factors: Consider any environmental factors that can affect the performance of the buffing compound. For example, if you’re buffing an outdoor tile surface exposed to the elements, choose a compound that is resistant to UV rays and weathering.
It’s always a good idea to consult with a professional or read manufacturer recommendations to ensure you select the right buffing compound for your specific tile type and desired outcome. Additionally, perform a small patch test in an inconspicuous area before applying the compound to the entire floor to ensure compatibility and desired results.
Use a microfiber mop to buff your tile floor. Microfiber is gentle on the surface and effectively picks up dust and debris, leaving your floor shiny and clean.
Applying the Buffing Compound
Once you have selected the appropriate buffing compound for your tile floor, it’s time to apply it. Follow these steps to effectively apply the buffing compound:
- Read the Instructions: Before you begin, carefully read the instructions on the buffing compound packaging. Follow any specific guidelines or recommendations provided by the manufacturer.
- Prepare the Buffing Machine: Attach the appropriate buffing pad to your buffing machine. Make sure it is clean, free from any debris, and securely attached.
- Apply a Thin Layer: Apply a small amount of the buffing compound directly onto the tile floor. Start with a small area and work your way across the floor. Use a sponge, applicator, or soft cloth to spread the compound evenly in a thin layer.
- Work in Sections: Divide the floor into manageable sections to ensure even application. This will prevent the buffing compound from drying out before you have a chance to buff it.
- Blend the Edges: Pay attention to the edges and corners of the sections you are working on. Blend the buffing compound gently into these areas to avoid any harsh lines or uneven finish.
- Allow the Compound to Set: Check the instructions on the buffing compound to determine the recommended drying or setting time. Allow the compound to properly set before proceeding to the next step.
By following these steps, you can ensure that the buffing compound is applied evenly and effectively to the tile floor. This will help to achieve a smooth, glossy finish when the buffing process is complete.
Read more: How Thick Are Floor Tiles
Buffing the Tile Floor
Now that you have applied the buffing compound to the tile floor, it’s time to start buffing! Follow these steps to effectively buff the floor and restore its shine:
- Start at a Low Speed: Begin by setting your buffing machine to a low speed. This will allow you to control the process and prevent any damage to the tiles.
- Buff in Small Sections: Work in small sections, starting from one corner of the room and gradually moving across the floor. This will ensure that each section receives an equal amount of buffing and prevents the compound from drying out.
- Overlap Your Strokes: As you buff, make sure to overlap your strokes slightly to ensure even coverage. This helps to distribute the buffing compound and achieve a consistent shine across the entire floor.
- Apply Light Pressure: Apply light pressure to the buffing machine as you move it across the floor. Too much pressure can cause damage, while too little may not produce the desired shine. Find a balance that works well for your specific tile type.
- Buff in Multiple Passes: Depending on the condition of your tile floor, you may need to make multiple passes to achieve the desired level of shine. Buffing in several directions can help to ensure thorough coverage.
- Check Your Progress: Periodically stop and examine the floor’s shine as you buff. This will allow you to gauge your progress and determine if any areas require extra attention.
- Monitor the Buffing Pad: Keep an eye on the condition of the buffing pad. If it becomes clogged with buffing compound or debris, clean or replace it as needed to maintain optimal performance.
- Work in Ventilated Areas: Ensure that the area you are working in is well-ventilated. Open windows or use fans to improve air circulation and prevent the buildup of dust and fumes.
By following these steps and taking your time, you can effectively buff the tile floor and restore its natural shine and beauty. Remember, patience and attention to detail are key to achieve the best results.
Cleaning Up and Maintaining the Buffed Tile Floor
After buffing your tile floor and achieving that beautiful shine, it’s important to properly clean up and maintain the buffed surface to keep it looking its best. Follow these steps for cleaning up and maintaining your buffed tile floor:
- Remove Residue: Once you have finished buffing, use a mop or microfiber cloth dampened with clean water to remove any residue or excess buffing compound from the floor. This will prevent a buildup of compound on the surface.
- Dry the Floor: Allow the floor to dry completely before walking on it or placing any furniture back in the room. This will prevent any water spots or streaks from forming on the shiny surface.
- Regular Sweeping and Mopping: To maintain the shine of your buffed tile floor, establish a regular cleaning routine. Sweep or vacuum the floor regularly to remove loose dirt and debris. Mop with a mild cleaning solution to remove any stains or spills.
- Avoid Harsh Cleaners: When cleaning your buffed tile floor, avoid using harsh chemical cleaners or abrasive tools. These can damage the finish and dull the shine. Stick to mild cleaners and non-abrasive methods to keep the floor looking its best.
- Protect the Floor: Place doormats at entryways to prevent dirt and grit from being tracked onto the floor. Use furniture pads or coasters to protect the floor from scratches caused by moving furniture. These preventive measures will help prolong the life and appearance of your buffed tile floor.
- Periodic Re-Buffing: Over time, the shine of your buffed tile floor may diminish due to regular foot traffic and wear. Consider periodically re-buffing the floor to restore its shine and keep it looking like new. The frequency of re-buffing will depend on the level of use the floor receives.
By following these cleaning and maintenance tips, you can preserve the brilliance of your buffed tile floor and enjoy its stunning appearance for years to come. Regular upkeep and gentle cleaning will help to maintain its shine and keep it looking fresh and beautiful.
Conclusion
Buffing your tile floor is an effective way to restore its shine and bring back its original beauty. By following the steps outlined in this article, you can transform your dull and lackluster tile floor into a stunning and glossy surface.
Remember to gather all the necessary tools and materials before starting the buffing process. Preparing the tile floor by cleaning it thoroughly and repairing any damage is crucial to achieve the best results. Selecting the right buffing compound for your specific tile type is also important in achieving the desired shine.
When applying the buffing compound, make sure to follow the instructions and work in small sections to ensure even coverage. Buff the floor with light pressure, overlapping your strokes, and make multiple passes if necessary to achieve the best shine.
After buffing, clean up any residue and maintain the buffed tile floor with regular sweeping and mopping. Avoid using harsh cleaners or abrasive tools that can damage the shine. Protect the floor from dirt, scratches, and wear to preserve its appearance.
By incorporating these practices into your cleaning routine, you can enjoy a beautiful and shiny tile floor for years to come. So, roll up your sleeves, gather your tools, and give your tile floor the attention it deserves. Happy buffing!
Frequently Asked Questions about How To Buff A Tile Floor
Was this page helpful?
At Storables.com, we guarantee accurate and reliable information. Our content, validated by Expert Board Contributors, is crafted following stringent Editorial Policies. We're committed to providing you with well-researched, expert-backed insights for all your informational needs.

0 thoughts on “How To Buff A Tile Floor”