Articles
How To Build Stairs With A Landing
Modified: August 21, 2024
Learn how to build stairs with a landing in this comprehensive articles guide. Find step-by-step instructions, tips, and tricks to create safe and sturdy stairs for your home renovation project.
(Many of the links in this article redirect to a specific reviewed product. Your purchase of these products through affiliate links helps to generate commission for Storables.com, at no extra cost. Learn more)
Introduction
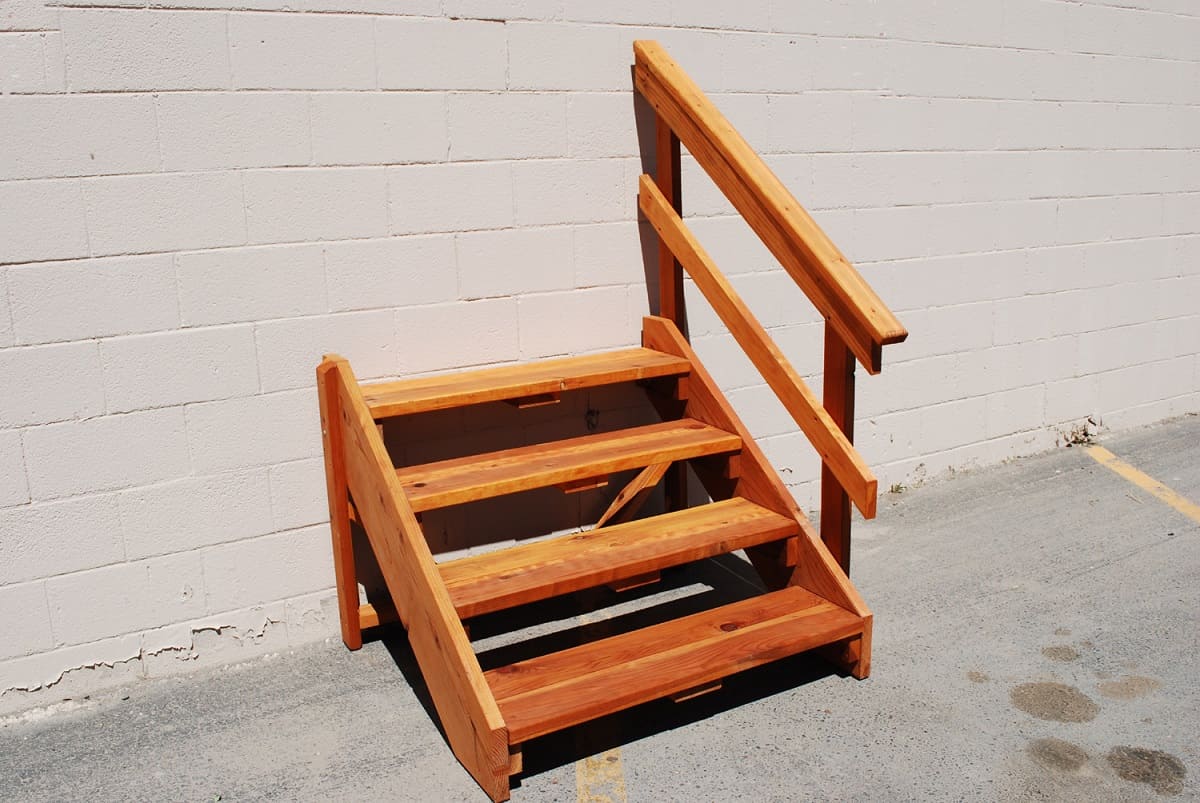
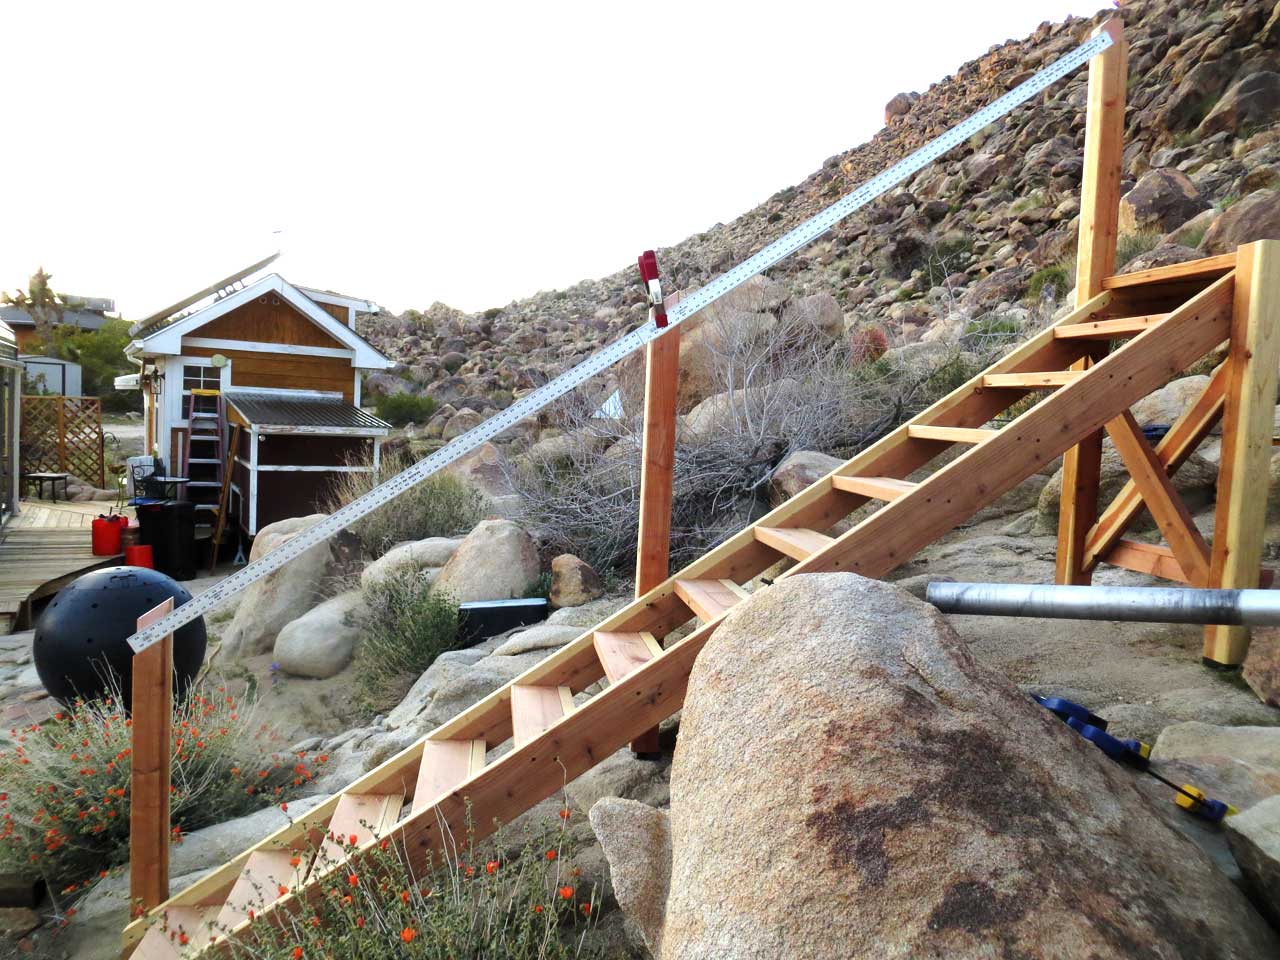
Building stairs with a landing can be a practical and visually appealing addition to any home or outdoor space. Whether you need to create a staircase for accessing different levels of your house or navigate uneven terrain in your backyard, constructing a well-designed and sturdy set of stairs is essential.
With proper planning, the right tools, and a little bit of know-how, you can easily build stairs with a landing. In this article, we will guide you through the step-by-step process of creating a functional and aesthetically pleasing set of stairs that will enhance both the functionality and the overall appeal of your space.
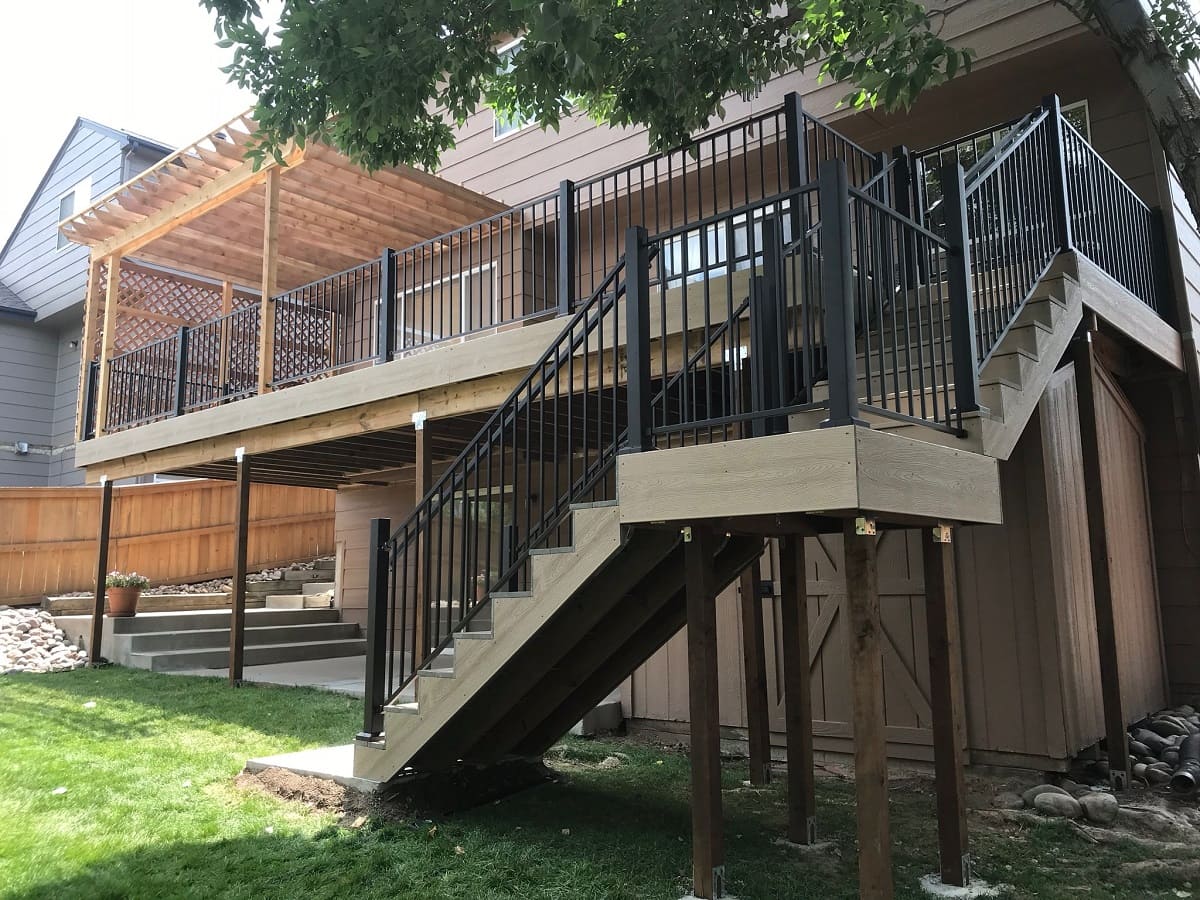
Before you get started, it is important to understand the basic terminology associated with stairs. The landing is a flat platform that provides a resting point between flights of stairs. It not only adds safety by breaking up a long set of stairs but also allows for a change in direction or level of the staircase. Understanding this concept will help you visualize and plan your stair project effectively.
Now let’s dive into the tools and materials you will need to build stairs with a landing.
Key Takeaways:
- Building stairs with a landing requires accurate measurements, sturdy construction, and attention to detail. Prioritize safety, adhere to building codes, and add finishing touches for a visually appealing and functional staircase.
- From clearing the area to installing the handrail, each step in building stairs with a landing contributes to a safe and visually appealing structure. With the right tools, materials, and know-how, you can create a practical and visually appealing addition to your home or outdoor space.
Read more: How To Decorate Landing At Top Of Stairs
Tools and Materials Needed
Before you embark on your staircase construction project, gather the following tools and materials:
Tools:
- Tape measure
- Pencil
- Square
- Circular saw
- Jigsaw
- Drill
- Hammer
- Screwdriver
- Level
- Chisel
- Clamp
- Hand saw
- Miter box
- Stair jig
- Safety goggles
- Gloves
Materials:
- Lumber (pressure-treated for outdoor stairs)
- Plywood
- 2×4 boards
- Deck screws
- Nails
- Wood glue
- Stair treads and risers
- Handrail
- Post and balusters (if needed)
- Finishing materials (paint, stain, varnish, etc.)
Having the right tools and materials will ensure that you can complete the project efficiently and effectively. Remember to prioritize safety at all times by using protective gear such as safety goggles and gloves.
Now that you have the necessary tools and materials, let’s move on to the first step: measuring and determining the stair dimensions.
Step 1: Measure and Determine the Stair Dimensions
Accurate measurements are crucial when it comes to building stairs. Before you start cutting any lumber or constructing the staircase, take the time to measure and determine the dimensions of your stairs. Here’s how:
- Measure the total rise: This refers to the overall height from the ground level to the landing or the upper level where the stairs will end. Use a tape measure to measure the vertical distance and note it down.
- Calculate the number of risers: Divide the total rise by the desired height of each riser. Typically, a riser height between 6 and 8 inches is recommended. Round the result to the nearest whole number to determine the number of risers needed.
- Measure the total run: The run refers to the horizontal distance covered by the stairs. Measure the space available for the stairs, taking into account any obstructions or restrictions. Ensure that the run is consistent and comfortable for walking.
- Calculate the tread width: The tread is the horizontal surface of each step. Divide the total run by the number of treads to determine the width of each tread. Keep in mind that a comfortable tread width is typically between 10 and 12 inches.
- Determine the landing dimensions: If your staircase requires a landing, measure the available space for the landing. Ensure that it is wide enough and provides a safe and convenient transition between flights of stairs.
Once you have gathered all the necessary measurements, make a rough sketch or use a computer software to create a visual representation of your stairs. This will help you visualize the layout and make any necessary adjustments before moving forward.
With the stair dimensions determined, you are now ready to clear the area and prepare the ground for construction. This brings us to the next step of building stairs with a landing.
Read more: When Do You Need A Landing For Stairs
Step 2: Clear the Area and Prepare the Ground
Before you can begin building your stairs with a landing, it’s important to clear the area and prepare the ground to ensure a solid and stable foundation. Follow these steps to get started:
- Clear the area: Remove any obstacles or debris in the location where you will be building the stairs. This includes plants, rocks, or any other objects that may impede the construction process.
- Check for level ground: Use a level to ensure that the ground is relatively level. If there are any uneven areas, you may need to make adjustments by adding or removing soil to create a level surface.
- Mark the area: Use stakes and string to mark out the perimeter and layout of the stairs and landing. This will provide a clear visual guide as you proceed with construction.
- Excavate the soil: Use a shovel to dig out the area where the landing will be located, as well as the areas where the stair stringers will be positioned. Dig to a depth that accommodates the size and desired height of your landing and matches the dimensions of your stringers.
- Compact the soil: Once the soil is excavated, use a hand tamper or a plate compactor to compact the soil in the landing and stringer areas. This will create a firm and stable base for the stairs.
- Add gravel or base material: For additional stability, consider adding a layer of gravel or base material to the excavated areas. This helps with drainage and prevents the soil from shifting over time.
By clearing the area and preparing the ground, you are setting the stage for a solid and secure foundation for your stairs. With the groundwork complete, it’s time to move on to building the landing in the next step.
Step 3: Build the Landing
The landing is an essential component of stairs with a landing, providing a safe and stable platform between flights of stairs. Follow these steps to construct the landing:
- Measure and mark: Determine the dimensions of the landing based on your initial measurements. Use a tape measure and level to mark the boundaries of the landing area on the ground.
- Frame the landing: Using 2×4 boards, construct the frame of the landing according to the marked dimensions. Secure the boards together using nails or screws, ensuring that the frame is level and squared.
- Install joists: Place joists within the frame, spacing them evenly and ensuring they run perpendicular to the stair stringers. Secure the joists to the frame using nails or screws.
- Add plywood decking: Cut and install plywood sheets to cover the top of the landing frame. Secure the plywood to the frame using screws or nails, ensuring a sturdy and even surface.
- Strengthen the landing: To reinforce the landing and provide additional support, consider adding diagonal bracing or blocking between the joists. This will help prevent any sagging or shifting over time.
Once the landing is built, double-check that it is level and secure. The landing should be wide enough to comfortably accommodate traffic flow and provide a safe transition between flights of stairs.
Now that the landing is complete, you can proceed to the next step of constructing the stair stringers, which will serve as the framework for your stairs.
Step 4: Construct the Stair Stringers
The stair stringers are the supporting framework that holds the treads and risers in place. Follow these steps to construct the stair stringers:
- Measure and mark: Using your previously determined measurements, mark the positions and angles for the stair stringers. Ensure that the measurements are accurate and the angles are consistent.
- Prepare the boards: Cut the stair stringer boards to the appropriate length, accounting for the rise and run of each step. Use a circular saw or jigsaw to make precise cuts.
- Construct the stringers: Lay out the cut stringer boards on a flat surface and attach them together using wood glue and screws or nails. Ensure that the stringers are aligned and securely fastened.
- Cut the notches: Measure and mark the location of the tread and riser notches on the stringers. Use a circular saw or jigsaw to carefully cut out these notches, following the markings.
- Check for accuracy: Double-check the stringers for accuracy and consistency. Use a square or a stair jig to ensure that the angles and dimensions are correct.
Once the stringers are constructed and thoroughly checked, you can proceed to the next step of installing the stair treads and risers.
Note: If you are unfamiliar with cutting and constructing stair stringers, it is recommended to consult a professional or utilize pre-cut stringer kits for accuracy and safety.
When building stairs with a landing, ensure that the landing is at least as wide as the stairs and that the stairs are evenly spaced and securely attached to the landing for safety and stability.
Step 5: Install the Stair Treads and Risers
Now that the stair stringers are constructed, you can proceed to install the stair treads and risers. Follow these steps:
- Prepare the treads and risers: Measure and cut the tread and riser boards to the appropriate dimensions. Use a circular saw or jigsaw to make accurate cuts.
- Start at the bottom: Begin installation at the bottom of the stairs. Apply construction adhesive to the top surface of the stringer, then position the first riser board in place.
- Attach the risers: Secure the riser board to the stringer using nails or screws. Ensure that it is level and flush with the stringer.
- Install the treads: Apply construction adhesive to the top surface of the installed riser, then position the tread board on top. Secure the tread to the riser and stringer, ensuring it is level and evenly spaced.
- Continue the process: Repeat the above steps for each riser and tread until you reach the top of the stairs. Ensure that all risers and treads are securely fastened and aligned.
- Check for stability: After installing all the treads and risers, check for stability and make any necessary adjustments. The stairs should be sturdy, with no wobbling or movement.
It is important to ensure that the treads and risers are securely attached to the stringers to guarantee safe and stable stairs. Remember to follow local building codes and regulations regarding the height and depth of each step.
With the stair treads and risers in place, you are now ready to install the handrail. This will provide support and safety while ascending or descending the stairs.
Read more: How To Build Basement Stairs
Step 6: Install the Handrail
The handrail is an essential safety feature of any staircase, providing support and stability while navigating the steps. Follow these steps to install the handrail:
- Measure and mark: Determine the desired height and position of the handrail. Using a tape measure and level, mark the locations for the handrail brackets on the wall or posts.
- Install the brackets: Use a drill and screws to attach the handrail brackets to the marked locations. Ensure that the brackets are securely fastened and able to support the weight of the handrail.
- Attach the handrail: Cut the handrail to the appropriate length using a saw, taking into consideration any angles or corners. Place the handrail onto the installed brackets, aligning it properly.
- Secure the handrail: Use screws or brackets to secure the handrail to the brackets, ensuring it is firmly attached. Test the handrail for stability and make any necessary adjustments.
- Finishing touches: Sand down any rough edges or splinters on the handrail and apply a protective finish such as paint, stain, or varnish. This will enhance its durability and appearance.
Remember to verify that the installed handrail meets the local building codes and regulations for height, clearance, and graspability. Prioritize safety by ensuring the handrail is securely in place and provides ample support while using the stairs.
With the handrail installed, you’re almost done! Just a few more steps to add the finishing touches to your stairs.
Step 7: Add Finishing Touches
Now that the main construction of your stairs with a landing is complete, it’s time to add the final touches to enhance their functionality and aesthetics. Follow these steps to add the finishing touches:
- Fill any gaps or holes: Inspect the stairs, landing, and handrail for any gaps, holes, or imperfections. Fill them with wood filler or putty, smoothing the surface to create a seamless finish.
- Sand and smooth: Use sandpaper to sand down any rough edges or uneven surfaces. Pay attention to the treads, risers, and handrail, ensuring a smooth and splinter-free finish.
- Apply a protective finish: Depending on the material used for your stairs and landing, consider applying a protective finish such as paint, stain, or varnish. This will not only enhance the appearance but also protect the wood from wear and tear.
- Add non-slip features: For added safety, consider adding non-slip features to the stairs. This can be in the form of adhesive non-slip strips or paint specifically designed for traction.
- Install lighting: If your stairs are located in a dimly lit area, install lighting to improve visibility and safety. This can include overhead lights, wall-mounted lights, or step lights.
- Accessorize: To add a personal touch and complement the overall design of your space, consider adding decorative elements such as potted plants, artwork, or handrail embellishments.
By paying attention to the finishing touches, you can transform your stairs into a visually appealing and functional feature of your home or outdoor space.
Congratulations! You have successfully built stairs with a landing. Take a step back and admire your work, knowing that you have created a safe and beautiful addition to your space.
Conclusion
Building stairs with a landing can be a rewarding and worthwhile project. By following the step-by-step process outlined in this article, you can create a functional and visually appealing set of stairs that enhance the accessibility and aesthetic of your space.
Throughout the construction process, it is important to prioritize safety and adherence to local building codes and regulations. Take the time to accurately measure and plan your stairs, ensuring proper dimensions and spacing for each step. Use high-quality materials and secure all components firmly to create a stable and durable structure.
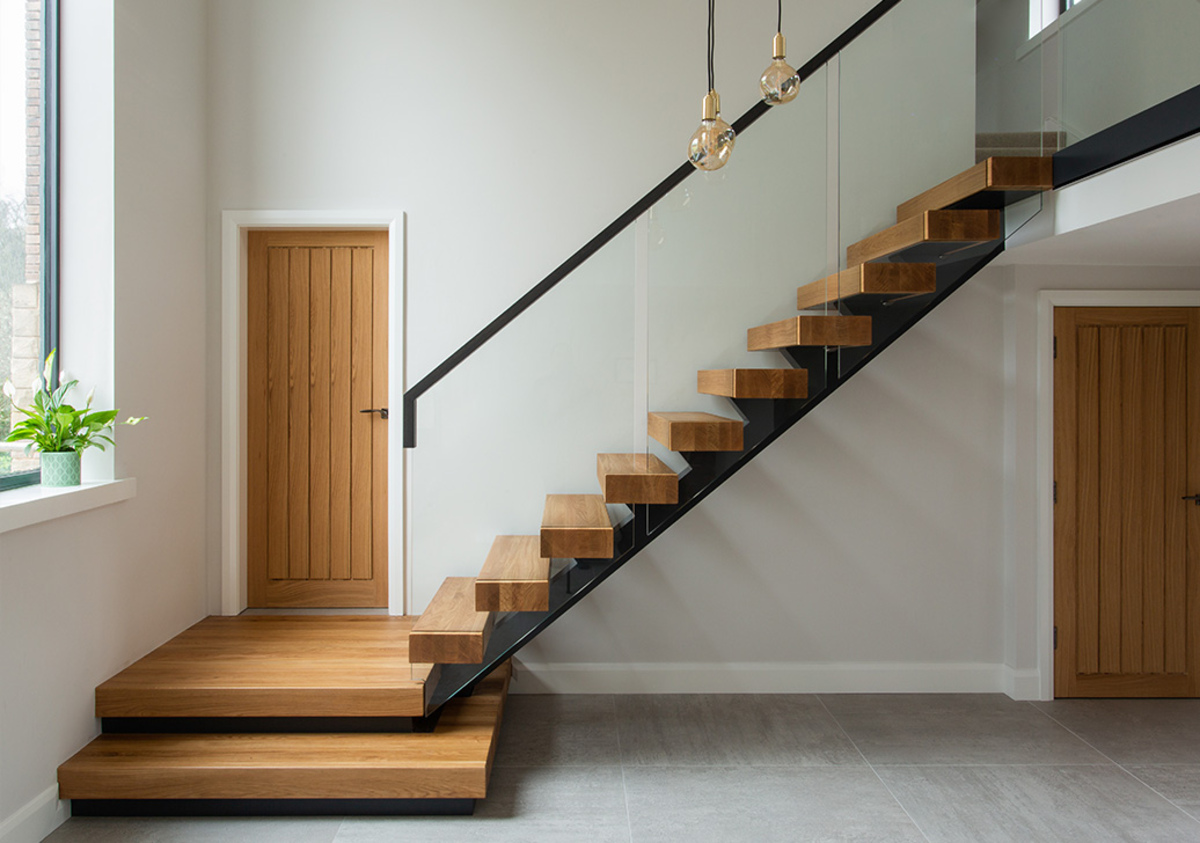
Remember to consider the design and style of your stairs to suit the overall aesthetics of your space. Whether you prefer a sleek and modern look or a rustic and traditional design, there are various options available to customize your stairs with a landing.
As you build your stairs, don’t hesitate to seek assistance from professionals or consult relevant resources for guidance. Proper tools, attention to detail, and patience are essential in achieving the desired outcome.
Once your stairs with a landing are complete, take the time to add the finishing touches and ensure the stairs are safe and accessible. Consider the installation of handrails, non-slip features, and adequate lighting to further enhance the functionality and safety of your stairs.
By successfully completing this project, you have not only built a functional set of stairs but have also added value and visual appeal to your home or outdoor space. Now, take a moment to appreciate your hard work and enjoy the convenience and beauty of your newly built stairs with a landing.
Now that you’ve mastered building stairs with a landing, why not tackle more woodworking projects or dive into DIY tasks? For those inspired to create with wood, our guide on the best woodworking techniques offers invaluable insights and tips. If you’re more into crafting and enhancing your space yourself, our discussion on the benefits of DIY projects will surely spark your enthusiasm. Both guides are perfect for expanding your skills and bringing more personal touches to your home.
Frequently Asked Questions about How To Build Stairs With A Landing
Was this page helpful?
At Storables.com, we guarantee accurate and reliable information. Our content, validated by Expert Board Contributors, is crafted following stringent Editorial Policies. We're committed to providing you with well-researched, expert-backed insights for all your informational needs.


0 thoughts on “How To Build Stairs With A Landing”