
Articles
How To Build Stairs Outside
Modified: August 27, 2024
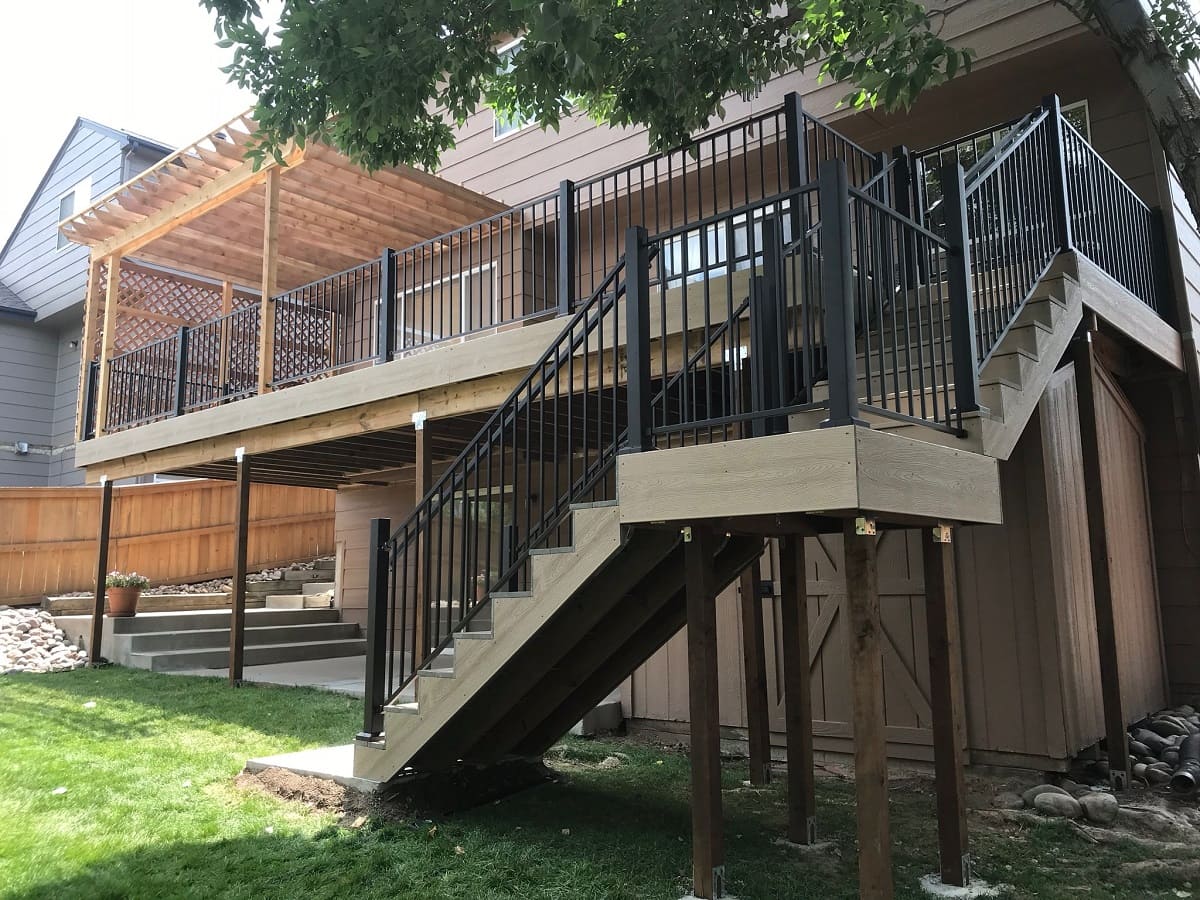
Learn how to build stairs outside with our informative articles. Get step-by-step instructions and expert advice for building safe and sturdy stairs for your outdoor space.
(Many of the links in this article redirect to a specific reviewed product. Your purchase of these products through affiliate links helps to generate commission for Storables.com, at no extra cost. Learn more)
Introduction
Outdoor stairs play a vital role in providing access to elevated areas around your property. Whether it’s connecting different levels of your garden, leading to a patio or deck, or providing access to a pool or hot tub, well-designed and properly-constructed outdoor stairs can greatly enhance both the functionality and aesthetic appeal of your outdoor space. In this article, we will explore the importance of outdoor stairs and the benefits of building your own stairs.
Read more: How To Build Basement Stairs
Importance of outdoor stairs
Outdoor stairs are an essential feature for any property with varying levels. They provide a safe and convenient way to navigate through uneven terrain and access different areas of your outdoor space. Whether you have a sloping yard or multiple levels of outdoor living spaces, stairs offer a practical solution to ensure easy and secure movement.
Moreover, outdoor stairs can significantly enhance the overall design and visual appeal of your property. They serve as a focal point, creating a seamless transition between different outdoor areas, and adding architectural interest to your space. Properly designed and constructed stairs can also complement the style of your home and outdoor decor, elevating the overall aesthetic value of your property.
Benefits of building your own stairs
While you may consider hiring a professional to build your outdoor stairs, there are several benefits to taking on the project yourself:
- Cost savings: Building your own stairs can save you a significant amount of money compared to hiring a contractor. By purchasing materials and dedicating your time and effort, you have the potential to reduce labor costs substantially.
- Customization: Building your own stairs allows you to customize them according to your specific needs and preferences. You can choose the materials, design, and dimensions that best suit your outdoor space, ensuring a perfect fit and a personalized touch.
- Sense of accomplishment: Taking on a DIY project like building outdoor stairs can be incredibly rewarding. Not only will you acquire new skills and knowledge, but you will also gain a sense of pride and accomplishment every time you use the stairs you built yourself.
- Flexibility and control: By building your own stairs, you have full control over the process. You can work at your own pace, adjust the design as needed, and ensure that the stairs meet your exact specifications.
Building outdoor stairs can be a challenging yet fulfilling project. It not only provides practical functionality but also adds value and charm to your outdoor space. So, why not take on the task and enjoy the benefits of having well-built and customized outdoor stairs?
Key Takeaways:
- Building your own outdoor stairs can save money, offer customization, and provide a sense of accomplishment. Take control of the process and enjoy the benefits of well-built, personalized stairs.
- Proper planning, site preparation, and maintenance are crucial for creating safe, durable, and visually appealing outdoor stairs. Attention to detail and regular care ensure long-lasting functionality and aesthetics.
Step 1: Planning and Design
Before you start building outdoor stairs, it’s crucial to plan and design the project carefully. This step ensures that you have a clear vision of what you want to achieve and helps you avoid common pitfalls. Here are the key aspects to consider:
Assessing the site and determining the location
Begin by assessing the site where you intend to build the stairs. Take note of any existing structures, obstacles, or natural elements that may affect the placement and design of the stairs. Consider factors such as the slope of the terrain, the proximity to other elements like decks or patios, and any potential views you would like to enhance.
Once you have assessed the site, determine the best location for the stairs. Consider practicality, aesthetics, and functionality. Ensure that the stairs will provide safe and convenient access to the desired area while blending harmoniously with the surrounding landscape.
Read more: How To Build Cement Stairs
Calculating the number of steps required
Next, calculate the number of steps required for your outdoor staircase. The height difference between the starting point and the landing or next level will determine the number of steps needed. Typically, each step should have a rise (vertical height) between 6 and 8 inches and a run (horizontal depth) between 10 and 12 inches.
Measure the total rise, which is the total height difference between the start and end point. Divide the total rise by the desired rise per step to determine the number of steps needed. Adjust the number of steps if necessary to ensure they are evenly distributed and meet the recommended rise and run measurements.
Choosing the type of staircase (straight, spiral, or L-shaped)
Consider the available space, the overall aesthetic of your outdoor area, and your personal preferences when choosing the type of staircase. The three main options are straight, spiral, and L-shaped staircases.
Straight staircases are the most common and straightforward option. They are ideal for situations where there is a linear or direct path from the start to the landing point.
Spiral staircases are a more compact and visually striking option. They require less space but may be more challenging to navigate, especially for individuals with mobility limitations. Spiral stairs are often chosen for their aesthetic appeal and ability to add a touch of elegance to the outdoor space.
L-shaped staircases are a versatile option that can easily adapt to the available space. They consist of two straight segments connected by a landing, making them a practical choice for areas with limited room or when there are directional shifts in the stairs’ path.
Measuring and marking the dimensions of the stairs
With the type of staircase chosen and the number of steps determined, you can proceed with measuring and marking the dimensions of the stairs. Use a measuring tape to measure the required rise and run for each step, ensuring consistency throughout the staircase.
Once you have the measurements, mark the dimensions on the ground or on a template if you prefer to build the stairs off-site. Use a chalk line or spray paint to mark the outlines of the staircase, taking into account the width and depth of each step.
This careful planning and design process sets the foundation for a successful outdoor staircase construction project. By assessing the site, calculating the number of steps, choosing the type of staircase, and measuring and marking the dimensions, you’ll be well-prepared to move on to the next steps of building your outdoor stairs.
Step 2: Gathering Materials and Tools
Now that you have completed the planning and design phase of your outdoor stairs, it’s time to gather the necessary materials and tools. Having all the required supplies beforehand will streamline the construction process and ensure that you have everything you need readily available. Here are the essential materials, tools, and safety equipment you will need:
Read more: How To Build Spiral Stairs
Essential materials for outdoor stairs
The materials you choose for your outdoor stairs will depend on your design preferences, budget, and the climate in your area. Here are the commonly used materials for outdoor stairs:
- Pressure-treated lumber or composite boards for the stringers, risers, and treads
- Concrete or stone for the foundation and landing area
- Screws, brackets, and nails for securing the components
- Galvanized or stainless steel hardware for durability and resistance to corrosion
- Handrail and balusters for added safety and aesthetic appeal
Consider consulting with a local building supply store or professional to ensure that you select the appropriate materials for the specific requirements of your outdoor stairs.
Necessary tools for the construction process
Here are the basic tools you will need to build outdoor stairs:
- Tape measure for taking accurate measurements
- Pencil or marker for marking dimensions
- Circular saw or miter saw for cutting the lumber
- Drill and drill bits for creating pilot holes and fastening screws
- Screwdriver for tightening screws
- Level for ensuring the stairs are straight and level
- Hammer for nailing components if needed
Depending on the complexity of your design, you may need additional tools such as a jigsaw, chisel, or angle grinder for more detailed cuts or shaping.
Safety equipment required
When working on any construction project, safety should be a top priority. Make sure to have the following safety equipment readily available:
- Safety glasses or goggles to protect your eyes from debris
- Gloves to safeguard your hands from cuts and splinters
- Dust mask or respirator to prevent inhalation of dust and particles
- Earplugs or earmuffs to protect your ears from loud power tools
- Sturdy work boots with slip-resistant soles for traction and foot protection
Wearing the appropriate safety equipment and taking necessary precautions will help prevent accidents and ensure a safe construction process.
By gathering all the essential materials, tools, and safety equipment before beginning the construction process, you’ll be well-prepared and equipped for building your outdoor stairs. Remember, safety should always come first, so don’t overlook the importance of using proper safety gear and following safety guidelines throughout the entire project.
Step 3: Preparing the Site
Before you can start building your outdoor stairs, it’s crucial to prepare the site properly. This ensures a stable foundation and a smooth construction process. Here are the key steps involved in preparing the site:
Read more: How To Build Stairs To Attic
Clearing the area and leveling the ground
Begin by clearing the area where the stairs will be installed. Remove any plants, rocks, or debris that may obstruct the construction process. Clearing the site allows you to have a clear workspace and ensures that the stairs will be built on a clean and even surface.
Once the area is cleared, it’s important to level the ground. Use a shovel, rake, or a powered leveler to smooth out any unevenness in the soil. Ensuring a level foundation is essential for the stability and longevity of your outdoor stairs.
Checking for any necessary permits or regulations
Before proceeding with the construction, check with your local building department to determine if you need any permits or if there are any specific regulations regarding the construction of outdoor stairs. Building codes can vary from one area to another, and it’s important to comply with these regulations to ensure the safety and legality of your project.
Familiarize yourself with the specific requirements for outdoor stairs, such as the minimum width and height of the steps, railing height, and any other guidelines set by your local building department.
Digging the foundation for the stairs
The next step is to dig the foundation for your stairs. This foundation will provide stability and support for the structure. Use a shovel or an excavator to dig a trench for the foundation. The depth of the trench will depend on the recommended depth for your specific location and the height of your stairs.
Ensure that the trench is wide enough to accommodate the width of your staircase. It should allow for the proper installation of the stringers (the main structural components of the stairs) and provide a stable base for the stairs to rest upon.
Installing the required drainage system
Proper drainage is essential to prevent water accumulation and ensure the longevity of your outdoor stairs. Install a drainage system to redirect water away from the stairs and the surrounding area. This can help prevent erosion, water damage, and slippery surfaces.
A common solution is to install perforated drain pipes at the base of the foundation trench. The pipes will collect water and direct it away from the stairs. Connect the drain pipes to existing drainage systems or create an outlet away from the stairs, ensuring that water flows freely without causing any damage.
By taking the time to properly prepare the site for your outdoor stairs, you’ll establish a solid foundation and set the stage for a successful construction process. Clearing the area, leveling the ground, checking for permits and regulations, digging the foundation, and installing a drainage system are critical steps in ensuring the stability, safety, and longevity of your outdoor stairs.
Read more: How To Build Stone Stairs
Step 4: Building the Staircase Structure
Now that you have prepared the site, it’s time to start building the structure of your outdoor stairs. This step involves constructing the essential components that provide support and functionality to the staircase. Here are the key steps involved in building the staircase structure:
Constructing the stringers for the stairs
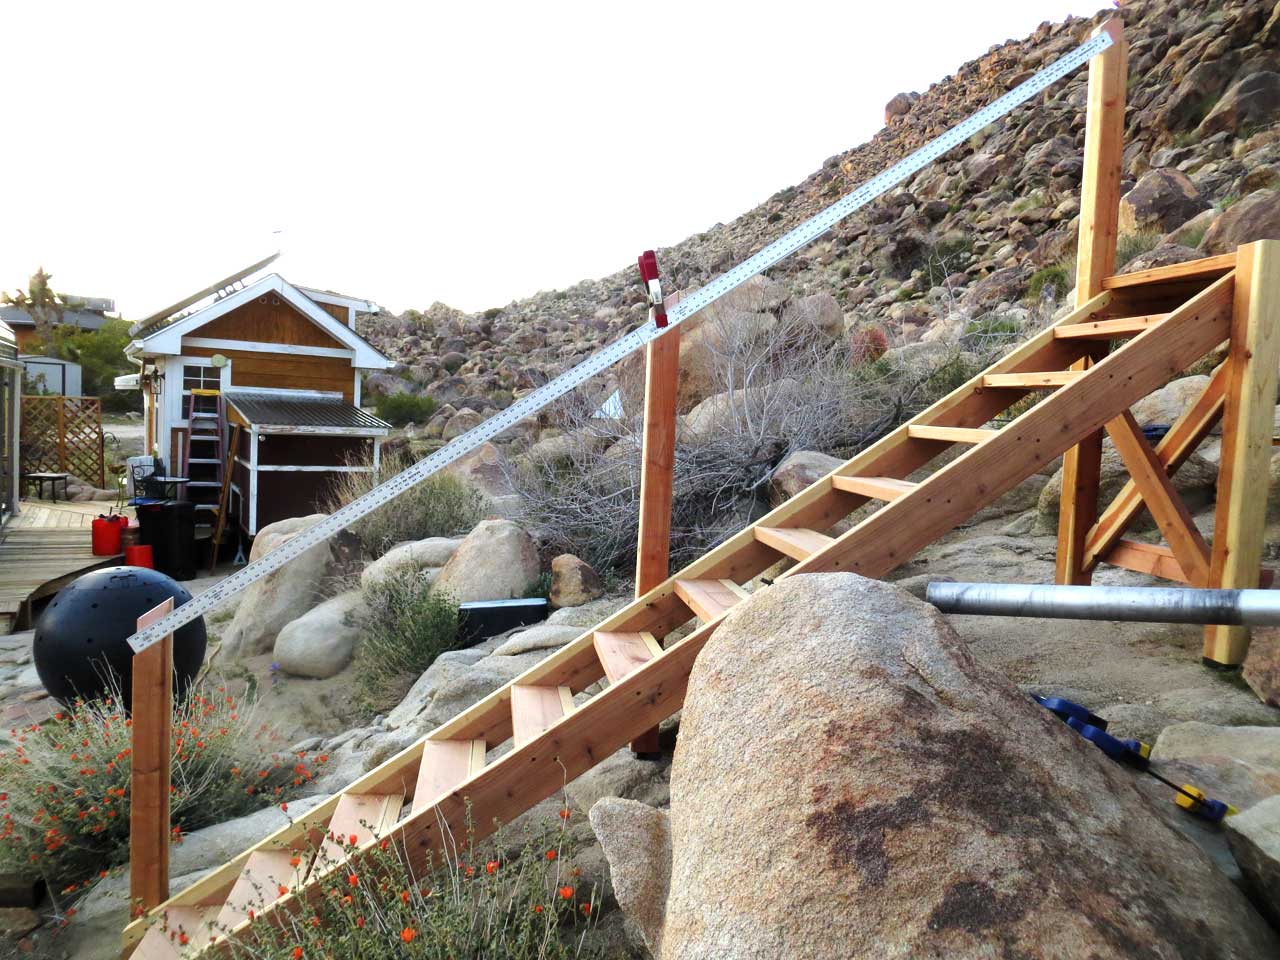
The stringers are the diagonal supports that hold the steps in place and provide the main structural strength of the stairs. Begin by measuring and cutting the stringers according to the dimensions you marked in the planning phase. Use a circular saw or a miter saw to make clean and precise cuts.
Stringers can be constructed from pressure-treated lumber or composite materials. Ensure that you choose a sturdy and durable material that can withstand outdoor conditions.
Attaching the stringers to the deck or landing
Once the stringers are cut and ready, position them in the trench or against the deck or landing where you want the stairs to be installed. Make sure they are aligned properly and level.
Attach the stringers securely to the deck or landing using brackets and galvanized or stainless steel screws or nails. Ensure that the stringers are level and plumb in all directions to provide a stable and balanced structure for your stairs.
Installing the risers and treads
With the stringers securely in place, it’s time to install the risers and treads. The risers are the vertical boards that form the front-facing of each step, while the treads are the horizontal boards that you step on.
Measure and cut the risers and treads according to your desired dimensions, ensuring that they fit securely within the stringers. Install them one by one, starting from the bottom step and working your way up. Use screws or nails to secure them to the stringers, ensuring a snug fit.
For added durability and safety, consider using outdoor-grade adhesive in addition to the mechanical fasteners to secure the risers and treads firmly in place.
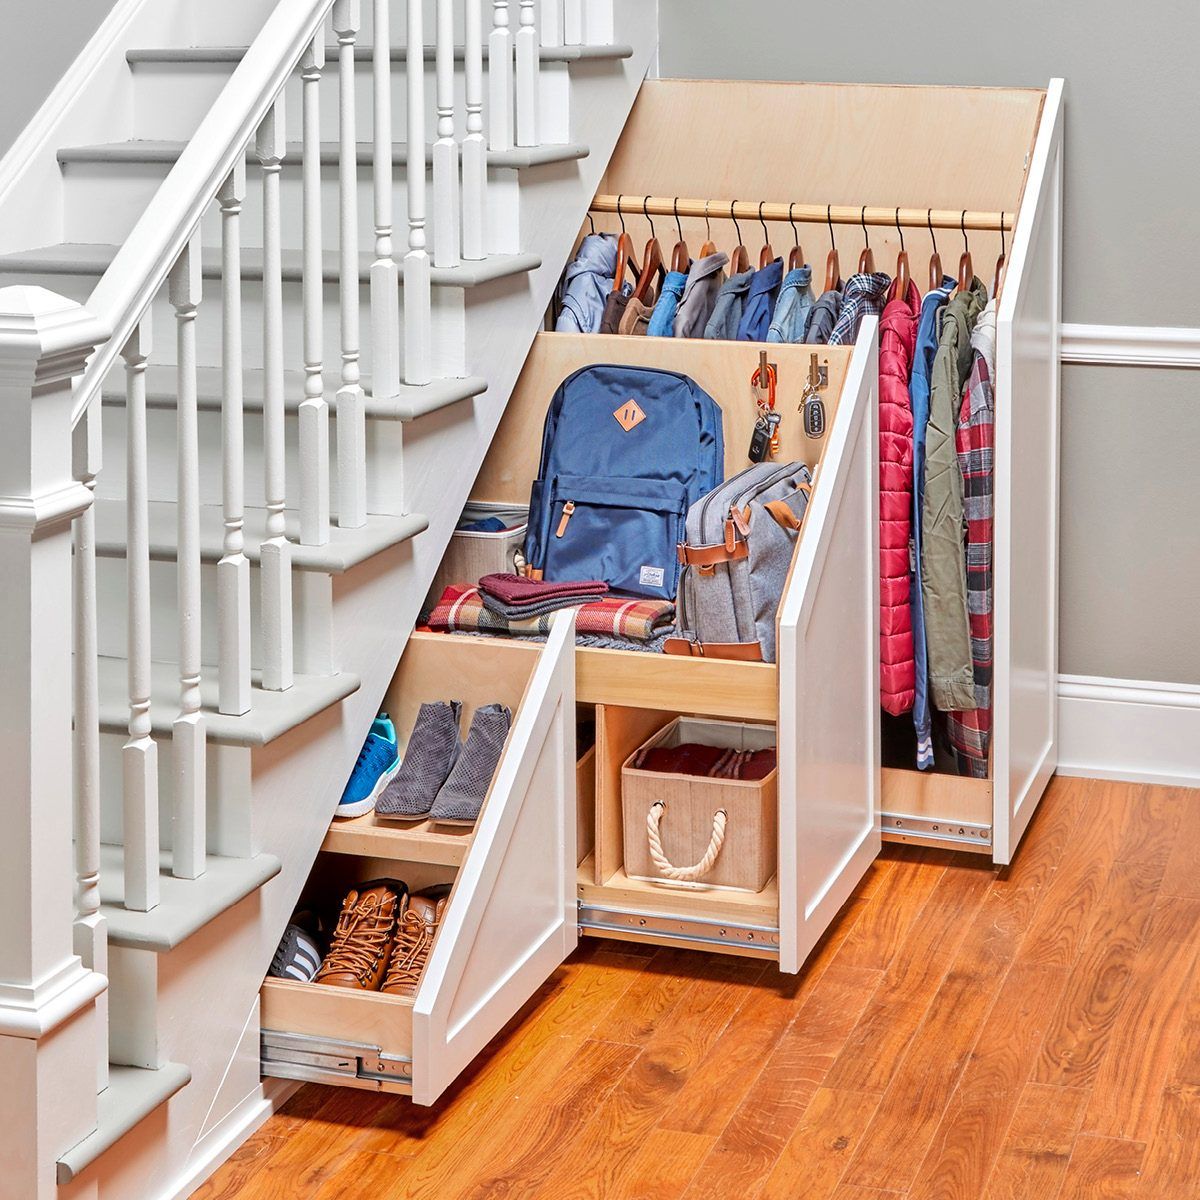
Read more: How To Build Drawers In Stairs
Securing the structure with brackets and screws
To reinforce the staircase structure, use brackets and screws to secure the stringers, risers, and treads together. Place brackets underneath each step where the stringers and treads meet, and attach them securely using screws.
This extra reinforcement ensures the stability and strength of the staircase, making it safe for use. Make sure to use galvanized or stainless steel brackets and screws to prevent corrosion and ensure durability.
By following these steps and building the staircase structure properly, you’ll create a solid and reliable foundation for your outdoor stairs. Constructing the stringers, attaching them securely, installing the risers and treads, and reinforcing the structure with brackets and screws are crucial in ensuring the safety and functionality of your outdoor stairs.
Step 5: Adding Railings and Handrails
Now that the basic structure of your outdoor stairs is in place, it’s time to add the railings and handrails. Railings not only enhance the safety of the stairs but also contribute to the overall aesthetic appeal of your outdoor space. Here are the key steps involved in adding railings and handrails to your outdoor stairs:
Selecting the appropriate railing design
Start by selecting the railing design that fits your personal style and complements the overall look of your outdoor area. There are various options available, including wood, metal, composite, and glass railings. Consider the durability, maintenance requirements, and visual impact of each material to make an informed choice.
Additionally, ensure that the chosen railing design complies with local building codes and regulations regarding railing height, spacing between balusters, and other safety considerations.
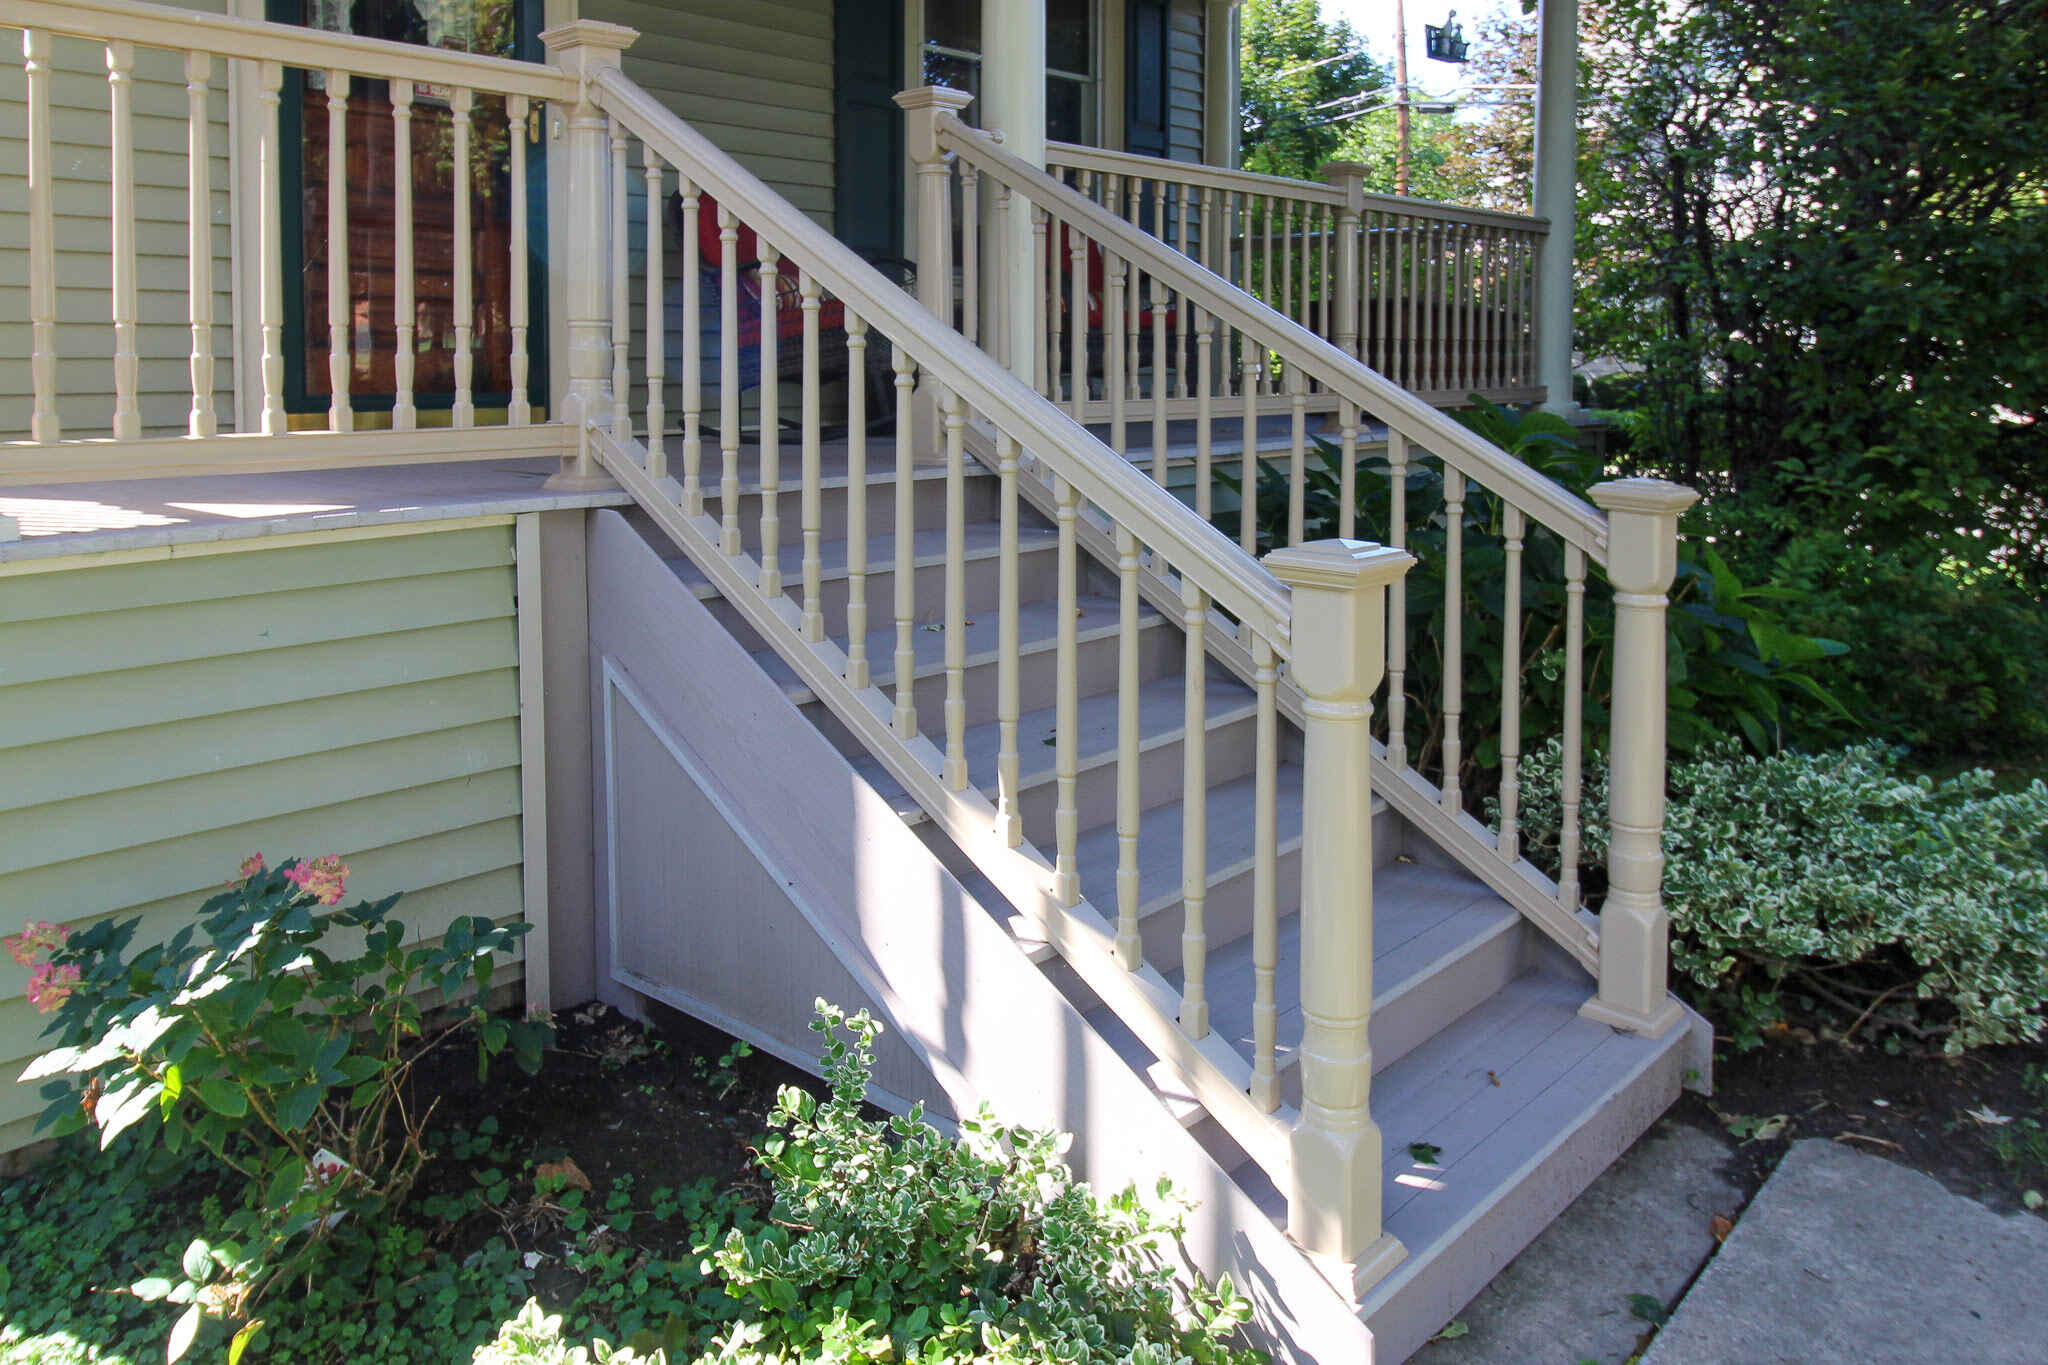
Installing posts and balusters for safety
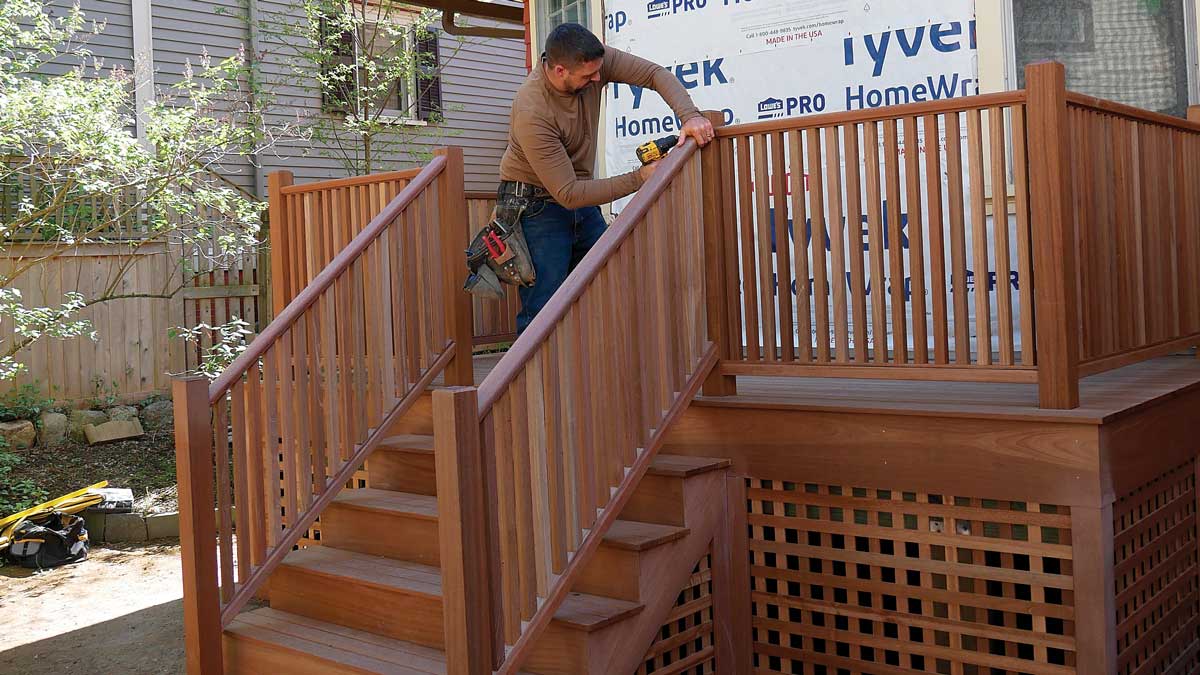
Begin by installing the necessary posts for your railing system. Posts provide the support and stability for the railings and should be securely attached to the deck, landing, or stringers.
Next, install the balusters, which are the vertical components that fit between the posts. The spacing between the balusters should comply with local building codes to prevent children or pets from getting stuck or falling through.
Ensure that the posts and balusters are level and securely attached to the stairs or deck. Use galvanized or stainless steel screws or brackets to reinforce their stability.
Read more: How To Build Freestanding Stairs
Attaching the handrail to the staircase
Attach the handrail to the posts and balusters to provide a secure grip and additional support while using the stairs. The handrail should be positioned at a comfortable and ergonomic height.
Secure the handrail to the posts and balusters using screws or brackets, ensuring that it is securely fastened and able to withstand pressure and weight.
Painting or staining the railings for a finished look
Once the railings and handrails are installed, you can finish the look by painting or staining them to match your desired aesthetic. Choose a high-quality outdoor paint or stain that is suitable for the material you are working with.
Before painting or staining, make sure the railings are clean and free of any dirt or debris. Apply the paint or stain evenly, following the manufacturer’s instructions, and allow ample time for drying between coats.
The painting or staining process not only adds a finished look to the railings but also provides protection against the outdoor elements, ensuring their longevity and durability.
By following these steps and adding railings and handrails to your outdoor stairs, you greatly enhance the safety and aesthetics of your outdoor space. Selecting the appropriate design, installing posts and balusters, attaching the handrail, and painting or staining the railings are pivotal in creating a visually appealing and secure staircase.
Step 6: Finishing Touches and Maintenance
As you approach the final stage of building your outdoor stairs, it’s important to focus on the finishing touches and ongoing maintenance. These steps ensure that your stairs are not only visually appealing but also durable and safe for use. Here are the key steps involved in completing your outdoor staircase:
Filling any gaps or cracks in the stairs
Inspect the stairs for any gaps or cracks that may have occurred during the construction process. Address these imperfections by filling them with an appropriate outdoor-grade filler or caulk. This will help maintain the structural integrity of the stairs and prevent any further damage.
Smooth out the filler or caulk, ensuring that it blends seamlessly with the surrounding surface. Allow it to dry completely before moving on to the next step.
Read more: How To Build Stairs With A Landing
Applying a protective sealant or coating
Apply a protective sealant or coating to your outdoor stairs to protect them from the elements and enhance their durability. A sealant or coating acts as a barrier against moisture, UV rays, and other outdoor elements that can cause damage over time.
Choose a sealant or coating that is specifically formulated for outdoor use and suitable for the material of your stairs. Follow the manufacturer’s instructions for application, ensuring that you coat all exposed surfaces.
Regularly reapply the sealant or coating as per the manufacturer’s recommendations for ongoing protection and maintenance.
Regular maintenance and inspection of the stairs
To ensure the longevity and safety of your outdoor stairs, it’s important to perform regular maintenance and inspections. This includes cleaning the stairs periodically to remove dirt, debris, and stains. Use a mild detergent and a soft brush or mop to gently scrub the surfaces.
Inspect the stairs for any signs of wear, damage, or loose components. Tighten or replace any loose screws, brackets, or balusters as needed. Address any issues promptly to prevent further damage and maintain the integrity of the stairs.
Additionally, check the stability of the handrail and balusters regularly. Ensure that they are securely attached and in good condition to provide optimal safety.
Enhancing the outdoor staircase with lighting or landscaping
To further enhance the visual appeal of your outdoor staircase, consider incorporating lighting fixtures or landscaping elements. Outdoor lighting can provide both safety and ambiance, illuminating the stairs and surrounding areas during nighttime use.
Choose lighting fixtures that are designed for outdoor use and are resistant to weather conditions. Install them strategically to ensure proper visibility and prevent glare or shadows that may pose a safety risk.
Landscaping elements such as potted plants, flower beds, or decorative stones can also add a beautiful touch to the outdoor staircase. Consider the overall design and style of your outdoor space and select elements that complement the surrounding environment.
By focusing on these finishing touches and committing to regular maintenance, you will add the final polish to your completed outdoor staircase. Filling any gaps or cracks, applying a protective sealant or coating, performing ongoing maintenance and inspections, and enhancing the stairs with lighting or landscaping will ensure that your outdoor stairs remain both visually appealing and in optimal condition for years to come.
Frequently Asked Questions about How To Build Stairs Outside
Was this page helpful?
At Storables.com, we guarantee accurate and reliable information. Our content, validated by Expert Board Contributors, is crafted following stringent Editorial Policies. We're committed to providing you with well-researched, expert-backed insights for all your informational needs.


0 thoughts on “How To Build Stairs Outside”