Articles
How To Build Storage Under Stairs
Modified: February 28, 2024
Learn how to maximize space in your home with our informative articles on building storage under stairs.
(Many of the links in this article redirect to a specific reviewed product. Your purchase of these products through affiliate links helps to generate commission for Storables.com, at no extra cost. Learn more)
Introduction
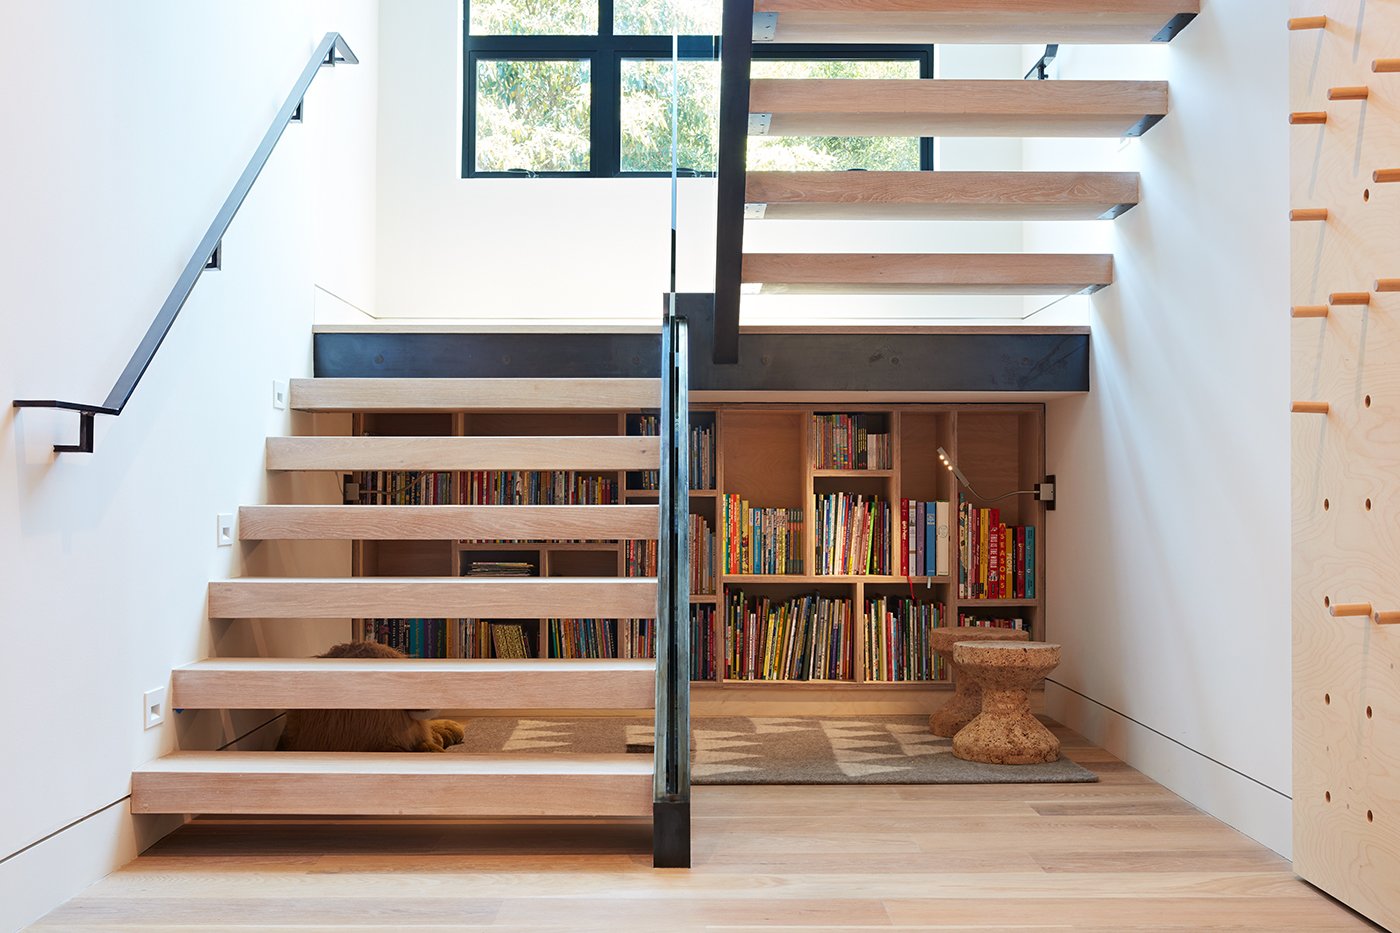
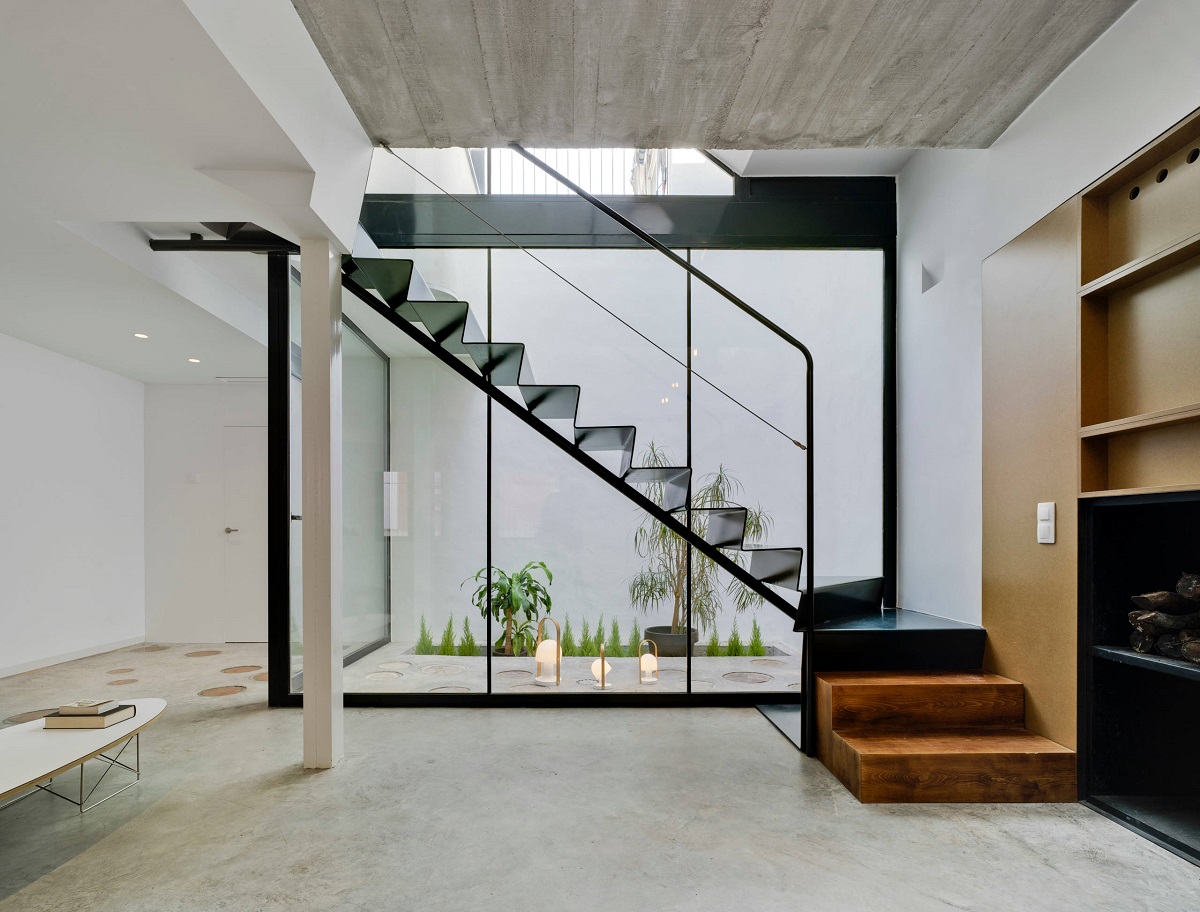
Having extra storage space in your home is always a valuable asset. One area that is often overlooked for storage potential is the space under the stairs. With a little creativity and some basic DIY skills, you can transform this often unused area into a functional and stylish storage solution. Whether you live in a small apartment or a spacious house, building storage under the stairs can help you maximize space and declutter your living areas.
In this article, we will guide you through the step-by-step process of building storage under the stairs. From measuring the space to adding the finishing touches, we will cover everything you need to know to create a customized storage unit that suits your needs and complements your home’s aesthetic.
Before diving into the building process, it’s essential to consider the purpose of the storage under your stairs. Are you looking to organize shoes, books, or seasonal items? Do you want open shelves or closed cabinets? Understanding your storage needs will help you plan the design and layout of your storage unit.
Additionally, it’s crucial to measure the space under your stairs accurately. Each staircase layout may have its unique dimensions and angles, so taking precise measurements will ensure a perfect fit for your storage unit. Once you have the measurements, you can start designing the storage system that will make the most of the available space.
With the necessary materials and tools on hand, you’ll be ready to begin building the frame of your storage unit. The frame provides the structure and support for the shelves or drawers that will be installed. This step requires careful planning and accurate measurements to ensure stability and durability.
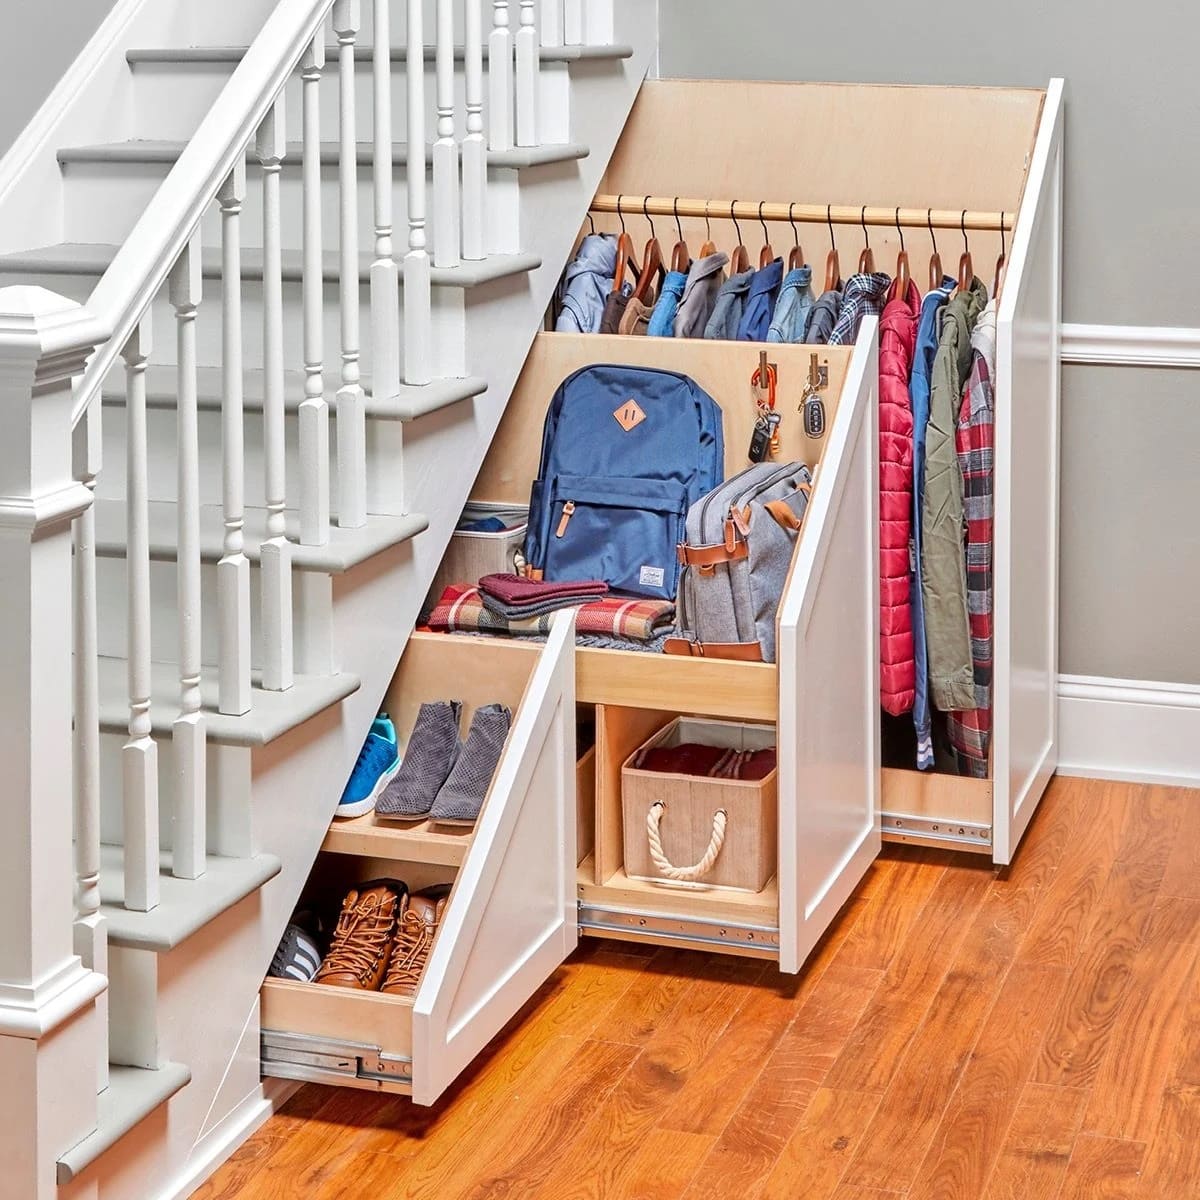
After building the frame, it’s time to install the shelves or drawers. This is where you can get creative with the configuration of your storage unit. Consider using adjustable shelves or incorporating pull-out drawers to maximize accessibility and organization. The choices are endless, and you can customize the storage layout to suit your specific needs.
Once the shelves or drawers are in place, you can add doors or panels to conceal the contents of your storage unit if desired. This step provides a sleek and polished look to your storage under the stairs, giving it a seamless integration with the rest of your home’s design.
To complete the project, you can finish the storage unit by painting it to match your interior color scheme or applying a stain or varnish for a natural and elegant look. This final touch will not only protect the wood but also enhance the overall aesthetics of the storage unit.
Building storage under the stairs is a practical solution that can transform wasted space into a valuable asset in your home. By following the step-by-step process outlined in this article, you will be able to create a functional and attractive storage unit that suits your needs and adds value to your living space. So let’s get started and make the most of the space under your stairs!
Key Takeaways:
- Transform the overlooked space under your stairs into a functional and stylish storage solution by following a step-by-step process. Maximize space, declutter, and add value to your home with a customized storage unit.
- Measure accurately, plan creatively, and build with precision to create a storage unit that suits your needs and complements your home’s aesthetic. Enjoy the benefits of a DIY project that enhances organization and maximizes space utilization.
Read more: How To Build Storage Under Stairs
Step 1: Measure the Space
Before you begin building storage under the stairs, it’s crucial to measure the available space accurately. This step will ensure that your storage unit fits perfectly and maximizes the use of the area. Here’s how you can measure the space under the stairs:
- Start by gathering the necessary tools, such as a measuring tape, pencil, and paper.
- Stand at the bottom of the staircase and identify the area under the stairs that you plan to use for storage. Take note of any obstacles or obstructions that may affect the measurements, such as electrical wires or pipes.
- Measure the height of the space from the highest point to the lowest point. This measurement will help you determine the maximum height your storage unit can be.
- Measure the width of the space at various points along the bottom and top. This will help you identify any irregularities in the space and ensure that your storage unit will fit properly.
- Measure the depth of the space by placing the measuring tape against the back wall and extending it towards the front. Take note of any protrusions or angles that may affect the depth measurement.
- If your staircase has an angled or curved shape, take additional measurements to ensure accuracy. Measure the angle and the width of each step to account for any irregularities.
As you take the measurements, it’s important to write them down and keep them organized. This will help you refer back to the measurements during the planning and building process. Additionally, take note of any specific requirements or limitations that may influence the design of your storage unit.
Remember, precision is key when measuring the space under the stairs. Any errors or miscalculations can result in an ill-fitting storage unit that doesn’t utilize the space effectively. Take your time and double-check your measurements to ensure accuracy.
Once you have the measurements, it’s time to move on to the next step: planning the design of your storage unit. By having accurate measurements in hand, you can create a customized storage solution that perfectly fits the space under your stairs and fulfills your organizational needs.
Step 2: Plan the Design
With accurate measurements in hand, it’s time to plan the design of your storage unit under the stairs. This step is crucial for creating a functional and aesthetically pleasing storage solution. Here are some considerations to keep in mind as you plan the design:
1. Determine the Purpose: Consider what you intend to store in the space under the stairs. Are you looking to organize shoes, books, or seasonal items? Understanding your storage needs will help you determine the number and configuration of shelves or drawers you’ll need.
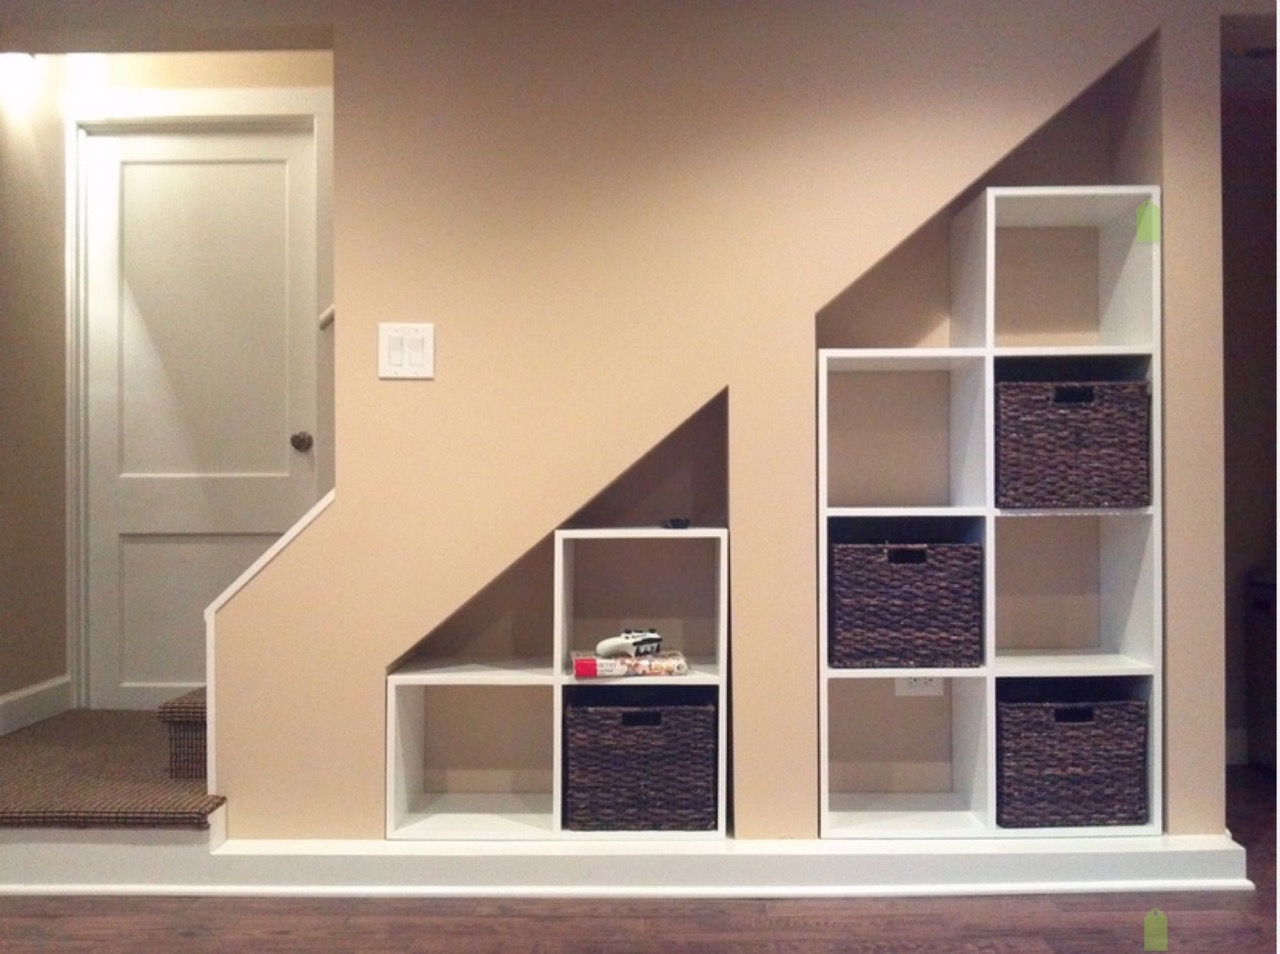
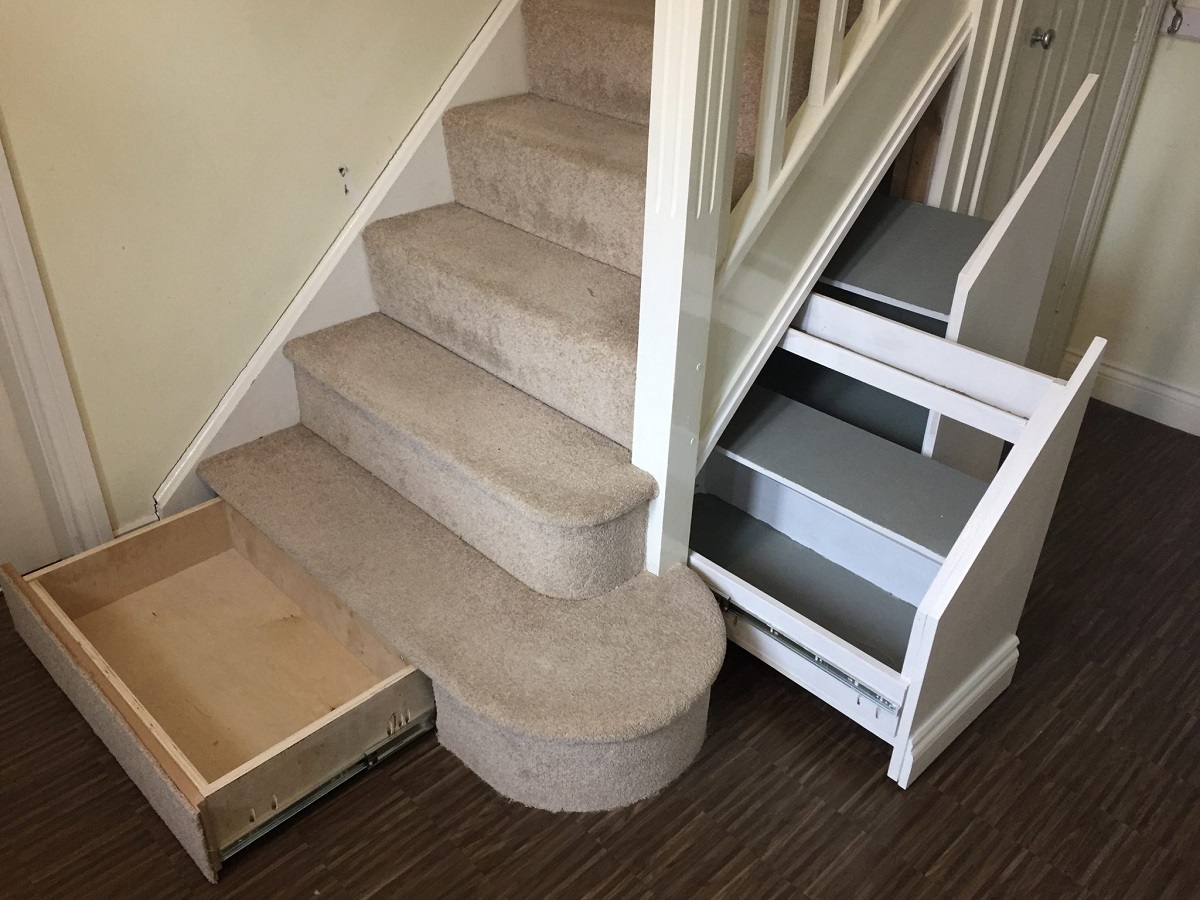
2. Layout Options: Explore different layout options to maximize space utilization. This could include installing open shelves, closed cabinets, or a combination of both. Additionally, think about incorporating adjustable shelves or pull-out drawers to enhance accessibility and organization.
3. Access Points: Think about how you want to access your storage. Will you require doors, panels, or a combination of both? Consider the aesthetics and functionality of different access options and choose the one that best suits your needs.
4. Lighting: Consider incorporating lighting to illuminate the storage area under the stairs. This can be achieved through recessed lighting, LED strips, or even small spotlights. Proper lighting not only enhances visibility but also adds a touch of ambiance to the space.
5. Style and Aesthetics: Take into account the overall style and aesthetics of your home when designing the storage unit. Consider the materials, colors, and finishes that will complement your interior design. Whether you prefer a modern, rustic, or traditional look, ensure that the storage unit seamlessly integrates with the rest of your home.
6. Safety: Keep safety in mind when planning the design. If you have small children or pets, consider incorporating childproof locks or safety features to prevent accidents.
7. Budget: Determine your budget for the project and consider the cost of materials, tools, and any professional assistance you might require. Planning within your budget will help you prioritize and make informed decisions during the design process.
Use paper and pencil, a design software, or even online tools to sketch out your preferred design. Make multiple sketches and iterate until you’re satisfied with the layout. Don’t hesitate to seek inspiration from design websites, home improvement magazines, or even consulting with an interior designer.
By planning the design of your storage unit under the stairs, you’ll have a clear vision of what you want to achieve. This will guide you in the next steps of preparing the materials and building the frame. So take your time, be creative, and design a storage solution that meets your unique needs and enhances the functionality and beauty of your home.
Step 3: Prepare the Materials
Before you start building the storage unit under the stairs, it’s essential to gather all the necessary materials. Having everything on hand will make the construction process smoother and more efficient. Here is a list of materials you’ll likely need:
- Wood: Choose high-quality plywood or lumber that is sturdy and durable. The type and thickness of the wood will depend on your design and desired aesthetics.
- Hardware: Purchase the appropriate screws, hinges, drawer slides, and any other necessary hardware to assemble the storage unit.
- Tools: Make sure you have the right tools for the job, including a measuring tape, level, drill, saw, screwdriver, and sandpaper. Having the correct tools will make the construction process easier and more precise.
- Paint or Finish: If you plan to paint or finish your storage unit, choose the appropriate paint or finish based on your desired look and the type of wood you’re using.
- Additional Materials: Depending on your design, you may need additional materials such as backing boards, brackets, or trim to provide structural support or enhance the aesthetics of the storage unit.
Once you have compiled a list of materials, take inventory of what you already have and make a shopping list for anything you still need to purchase. Consider the quantity and dimensions required based on your design, as well as any additional components specific to your storage unit layout.
When purchasing wood, opt for sustainable and eco-friendly options if available. And don’t forget to account for any waste or extra material needed for adjustments or unforeseen errors during the construction process.
Before starting the build, prepare your workspace by clearing any clutter and ensuring the area is clean and free from hazards. Set up a designated workbench or table to assemble the storage unit, and have a safe storage area for your tools and materials.
Having all the necessary materials and tools ready will save you time and frustration during the construction process. With everything organized and easily accessible, you’ll be able to focus on building your storage unit efficiently and accurately. So gather your materials, prepare your workspace, and get ready to bring your storage unit design to life!
Step 4: Build the Frame
Now that you have measured the space, planned the design, and gathered all the necessary materials, it’s time to start building the frame for your storage unit under the stairs. The frame provides the structure and support for the shelves or drawers that will be installed. Follow these steps to build the frame:
- Prepare the wood: Begin by cutting the wood pieces according to your measurements. Use a saw to make precise cuts, ensuring that each piece fits snugly within the space under the stairs. Sand the edges and surfaces of the wood to remove any roughness or splinters.
- Start with the sides: Attach the side pieces of the frame to the walls of the staircase using screws or brackets. Make sure the sides are level and plumb before securing them in place. Use a level and measuring tape throughout the process to ensure accuracy.
- Add horizontal pieces: Install the horizontal pieces of the frame between the side pieces. These pieces will provide stability and support for the shelves or drawers. Use screws or brackets to secure the horizontal pieces to the sides, ensuring everything is level and square.
- Create additional support: Depending on the size and design of your storage unit, you may need to add additional support in the form of cross beams or backing boards. These will provide extra stability and prevent sagging or warping over time. Attach them securely to the frame using screws or nails.
- Double-check for stability: Once the frame is assembled, double-check that it is sturdy and stable. Shake it gently to ensure there is no wobbling or shifting. Make any necessary adjustments or reinforcements to maintain the structural integrity of the frame.
- Fill any gaps: Inspect the frame for any gaps or spaces between the wood pieces. Fill these with wood filler or caulk to create a seamless and polished appearance.
Maintaining accuracy and precision is crucial while building the frame. Take your time to ensure the pieces fit together properly and the frame is level and sturdy. Pay attention to details and make any necessary adjustments as you go along. Remember, a strong and well-built frame will provide the foundation for a functional and durable storage unit under the stairs.
Once the frame is complete, you can move on to the next step: installing the shelves or drawers. This is where your storage unit will start to take shape, and you’ll begin to see the benefits of your hard work. So keep the momentum going and get ready to transform the empty space under your stairs into a practical and organized storage solution!
Consider using built-in drawers or cabinets to maximize the storage space under the stairs. This will help keep the area organized and clutter-free.
Read more: How To Organize Under Stairs Closet
Step 5: Install Shelves or Drawers
With the frame of your storage unit under the stairs in place, it’s time to install the shelves or drawers. This step will help you maximize the storage capacity and organization of your space. Follow these steps to install the shelves or drawers:
- Measure and cut: Measure the width and depth inside the frame to determine the dimensions of your shelves or drawers. Using a saw or a pre-cutting service, cut the shelves or drawer components to the desired size and shape.
- Adjustable shelves: If you opted for adjustable shelves, install the shelf support hardware according to the manufacturer’s instructions. This will allow you to change the height of the shelves as needed to accommodate different items.
- Install shelves: Place the shelves into position within the frame. For maximum stability, use brackets, screws, or shelf pins to secure the shelves to the frame or the support hardware.
- Drawer slides: If you chose to include drawers, install the drawer slide hardware on the sides of the frame. Follow the instructions provided with the drawer slides, ensuring they are level and aligned correctly.
- Assemble drawers: Next, assemble the drawer components according to the manufacturer’s instructions. This typically involves attaching the front, back, and sides of the drawer together using screws or nails. Make sure the drawers are square and sturdy.
- Attach drawer fronts: Once the drawers are assembled, attach the drawer fronts using screws or another suitable method. Ensure that the fronts are aligned and flush with the surrounding frame for a professional finish.
- Test and adjust: Test the functionality of the installed shelves or drawers. Open and close the drawers smoothly, ensuring they glide properly on the drawer slides. Adjust the hardware or make any necessary modifications for a seamless operation.
As you install the shelves or drawers, take care to ensure they are level, aligned, and securely attached to the frame. Double-check all measurements to avoid any fitment issues or gaps. Test each shelf or drawer to ensure smooth movement and proper support.
Remember to consider the weight-bearing capacity of your shelves or drawers and choose materials that can handle the load. Reinforce the supports or use heavier-duty hardware if necessary.
By installing shelves or drawers within the frame, you’ll transform the empty space under your stairs into a highly functional storage area. The organization and accessibility of your belongings will be greatly improved, making it easier to find and store items.
With the shelves or drawers in place, your storage unit is nearly complete. The next step is to add doors or panels to provide a finished look and conceal the contents of the storage area. So keep up the excellent work and get ready to add the final touches to your under-stair storage solution!
Step 6: Add Doors or Panels
As your storage unit under the stairs nears completion, the next step is to add doors or panels. This step will provide a finished and polished look while allowing you to conceal the contents of the storage area. Follow these steps to add doors or panels to your storage unit:
- Determine the door or panel type: Decide whether you want to install doors that open and close or if you prefer to use panels that provide a more seamless and modern look. Consider the overall style of your home and the functionality you desire for your storage unit.
- Measure and cut: Measure the dimensions of the opening where the doors or panels will be installed. Use a saw to cut the doors or panels from the appropriate material, such as plywood or MDF, according to your measurements.
- Hinges or mounting hardware: If you’re installing doors, attach the hinges to the doors and the frame according to the manufacturer’s instructions. Ensure they are properly aligned and adjust as necessary to ensure smooth operation.
- Mount the doors or panels: For doors, align them with the frame and attach them using the hinges or chosen hardware. Double-check that the doors are level and have even spacing. For panels, attach them securely to the frame using screws or mounting brackets.
- Test and adjust: Open and close the doors or panels to ensure they operate smoothly and align correctly. Make any necessary adjustments to the hinges or mounting hardware to achieve the desired fit and function.
- Finishing touches: If desired, you can add handles or knobs to the doors to enhance their functionality and aesthetics. Choose handles that complement your overall design and make it convenient to open and close the doors.
When adding doors or panels, pay attention to the alignment and overall symmetry of your storage unit. Ensure that the doors or panels are flush with the surrounding surfaces and that they do not obstruct any other components of the storage unit.
Consider factors such as the weight and stability of the doors or panels. Use appropriate hardware and reinforcements to ensure they are secure and will withstand regular use over time.
Adding doors or panels to your storage unit under the stairs will not only provide a finished and cohesive look, but it will also keep the contents hidden and create a clean and clutter-free appearance in your living space.
With doors or panels installed, your storage unit is now complete. The final step is to paint or finish the storage unit to enhance its appearance and protect the material. So keep up the fantastic work, and get ready to add the finishing touches to your under-stair storage masterpiece!
Step 7: Paint or Finish the Storage Unit
As you approach the final step of building your storage unit under the stairs, it’s time to add the finishing touches by painting or finishing the unit. This step will not only enhance the aesthetics of your storage unit but also protect the material and provide a longer lifespan. Follow these steps to paint or finish your storage unit:
- Clean and prepare the surfaces: Before applying paint or finish, make sure the surfaces are clean and free from dust, debris, or any imperfections. Use a damp cloth or a gentle cleanser to wipe down the surfaces and let them dry completely.
- Choose your paint or finish: Decide whether you want to use paint or a clear finish to complement your desired look. Paint allows you to add color and completely change the appearance of the storage unit, while a clear finish can maintain the natural beauty and texture of the material.
- Prime (if necessary): If your chosen paint or finish requires a primer, apply it to the surfaces according to the manufacturer’s instructions. Priming helps create a smooth and even surface for the paint or finish to adhere to.
- Apply the paint or finish: Using a brush, roller, or spray gun, apply the paint or finish to the surfaces of the storage unit. Follow the recommended application technique and allow each coat to dry completely before applying subsequent coats. Ensure even coverage and pay attention to any corners or crevices.
- Take precautions for ventilation: If you’re working indoors, ensure proper ventilation by opening windows or setting up fans. This will help dissipate paint fumes and create a healthier environment.
- Finish with a protective coat: Once the paint is fully dry, consider adding a protective topcoat or sealant to further safeguard your storage unit. This will provide an added layer of durability and protection against wear and tear.
- Clean up: Clean your brushes, rollers, or spray equipment according to the manufacturer’s recommendations. Dispose of any leftover paint or finish appropriately, following local environmental regulations.
When choosing paint or finish, consider the style and color scheme of your home. Opt for a paint color that complements the surrounding decor or select a finish that enhances the natural beauty of the wood or material you used for the storage unit.
Don’t rush the painting or finishing process. Allow ample time for each coat to dry before moving on to the next to achieve a smooth and professional-looking finish.
By painting or finishing your storage unit, you provide a protective layer and create a cohesive and visually pleasing addition to your home’s interior. The final result will be a stunning storage unit under the stairs that not only increases functionality but also enhances the overall aesthetics of your space.
Congratulations! With the completion of the painting or finishing step, your storage unit under the stairs is ready to be utilized. Take a step back and admire your hard work and the transformed space under your stairs. Enjoy the organized and clutter-free environment that this DIY project has created!
Conclusion
Building storage under the stairs is a rewarding DIY project that allows you to maximize the use of space in your home and create a functional and organized storage solution. By following the step-by-step process outlined in this article, you can transform the often overlooked area beneath your staircase into a valuable asset. Let’s recap the steps:
- Measure the space under the stairs accurately to ensure a proper fit for your storage unit.
- Plan the design of your storage unit, taking into consideration your storage needs, layout options, and overall style.
- Prepare the materials and tools necessary for construction, ensuring you have everything on hand.
- Build the frame of the storage unit, paying attention to stability and precision.
- Install shelves or drawers to maximize storage capacity and improve organization.
- Add doors or panels to create a finished look and conceal the contents of the storage area.
- Paint or finish the storage unit to enhance its appearance and protect the material.
Throughout the process, remember to approach the project with creativity and attention to detail. Customize the design to suit your specific needs and preferences, and don’t be afraid to seek inspiration from various sources to make your storage unit unique.
By building storage under the stairs, you not only declutter your living space but also add value to your home. The storage unit provides a dedicated place for belongings, reduces visual clutter, and enhances the overall organization of your home.
So gather your tools, measure your space, and let your creativity flow as you embark on this exciting DIY project. With each step completed, you will be one step closer to enjoying the benefits of a customized storage unit that optimizes the space under your stairs.
Remember to take your time throughout the process, and don’t hesitate to seek assistance if needed. Building storage under the stairs is a fulfilling endeavor that will not only improve the functionality of your home but also showcase your DIY skills and creativity.
Now that you have all the knowledge and guidance, it’s time to get started and create the storage solution you’ve always wanted. Good luck with your project, and may your storage unit under the stairs bring you joy, organization, and peace of mind!
Frequently Asked Questions about How To Build Storage Under Stairs
Was this page helpful?
At Storables.com, we guarantee accurate and reliable information. Our content, validated by Expert Board Contributors, is crafted following stringent Editorial Policies. We're committed to providing you with well-researched, expert-backed insights for all your informational needs.


0 thoughts on “How To Build Storage Under Stairs”