
Articles
How To Caulk A Kitchen Sink
Modified: August 28, 2024
Learn the step-by-step process of caulking a kitchen sink with our informative articles. Achieve a professional-looking seal and prevent leaks.
(Many of the links in this article redirect to a specific reviewed product. Your purchase of these products through affiliate links helps to generate commission for Storables.com, at no extra cost. Learn more)
Introduction
When it comes to maintaining the functionality and appearance of your kitchen sink, one important step is caulking. Caulking is the process of sealing gaps and joints to prevent water from seeping into areas where it shouldn’t be. It not only helps in maintaining the integrity of the sink but also prevents water damage to the surrounding countertops and cabinets.
In this article, we will guide you through the process of caulking your kitchen sink. Whether you’re a DIY enthusiast or a homeowner looking to save money, learning how to caulk a kitchen sink can be a valuable skill.
Before we dive into the step-by-step process, let’s take a look at the supplies you’ll need and how to prepare the sink for caulking.
Key Takeaways:
- Proper preparation is key to successful caulking. Clear the sink, clean thoroughly, choose the right caulk, and apply it evenly for a professional finish that prevents water damage and maintains sink integrity.
- Smoothing and cleaning up after caulking are crucial for a polished look. Smooth the caulk with soapy water, clean up excess caulk, and inspect for imperfections to ensure a watertight seal and a tidy workspace.
Read more: How To Caulk Around A Sink
Supplies Needed
Before you begin caulking your kitchen sink, gather the following supplies:
- Caulk gun: You’ll need a caulk gun to apply the caulk smoothly and accurately.
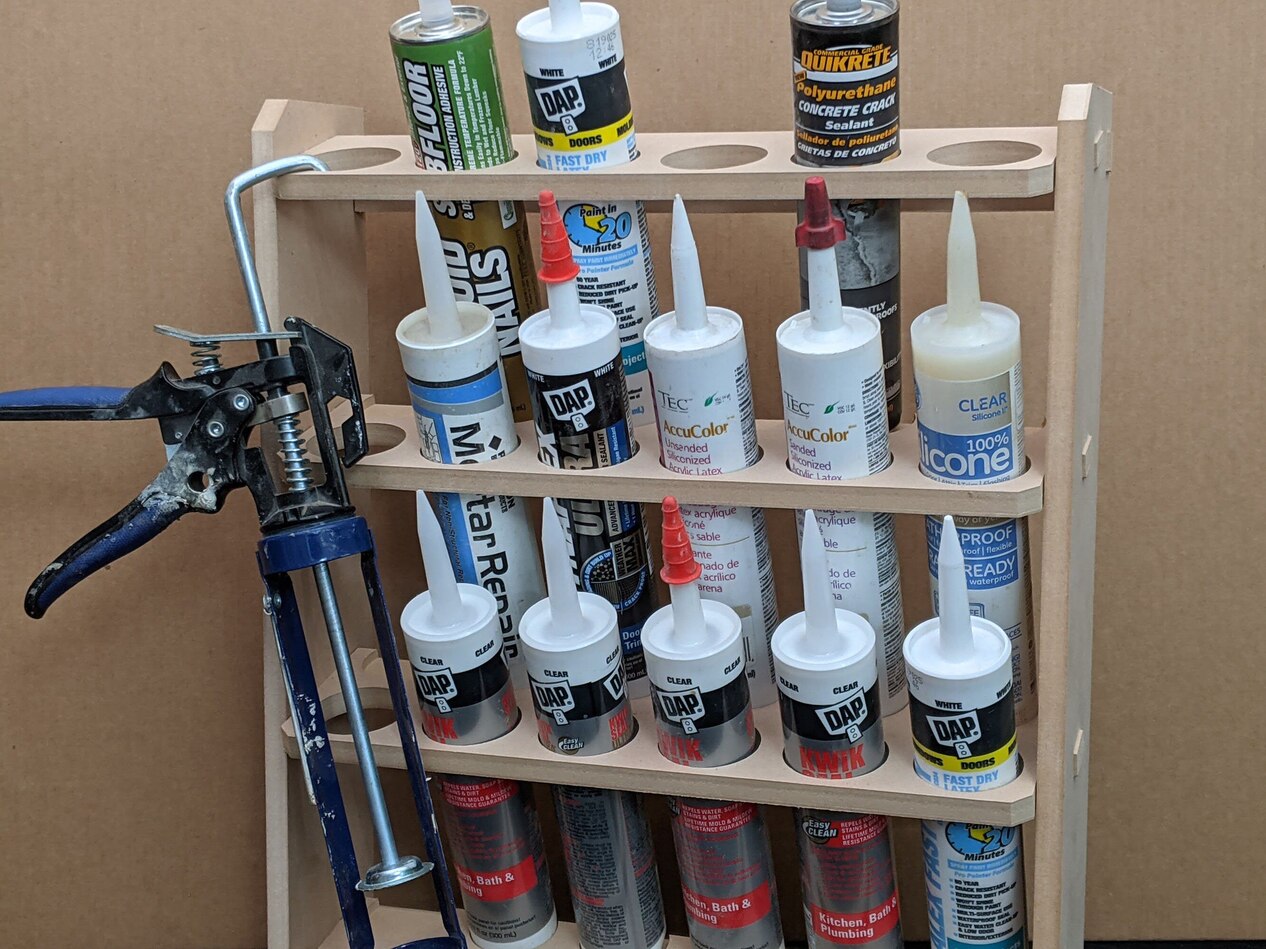
- Caulk: Choose a caulk that is specifically designed for kitchen and bathroom use. Look for one that is waterproof, mold-resistant, and suitable for the material of your sink.
- Caulk remover: If you’re recaulking an existing sink, you’ll need a caulk remover to remove the old caulk.
- Caulk tool: A caulk tool helps in shaping and smoothing the caulk, giving it a professional finish.
- Masking tape: Use masking tape to create clean, straight edges and prevent the caulk from spreading outside the desired area.
- Isopropyl alcohol or soapy water: This will be used to clean the surface of the sink before applying the caulk.
- Paper towels or a cloth: Keep paper towels or a cloth handy to wipe away excess caulk and clean up any mess.
Now that you have gathered all the necessary supplies, let’s move on to preparing the sink for caulking.
Preparing the Sink
Before you start caulking your kitchen sink, it’s important to ensure that the surface is clean and free from any debris. Follow these steps to prepare the sink:
- Clear the area: Remove any items from the sink, such as dishes, utensils, and cleaning supplies. This will give you clear access to the edges of the sink.
- Clean the sink: Thoroughly clean the sink using isopropyl alcohol or soapy water. Scrub the surface to remove any dirt, grease, or residue. Rinse the sink and let it dry completely.
- Remove old caulk (if applicable): If you’re recaulking an existing sink, use a caulk remover to soften and scrape away the old caulk. Follow the manufacturer’s instructions for the specific caulk remover you’re using.
- Wipe down the edges: Once the caulk has been removed, wipe down the edges of the sink with a clean cloth to remove any remaining residue.
- Apply masking tape: Use masking tape to create clean lines along the edges of the sink. This will help create a neat and professional-looking caulk line.
By properly preparing the sink, you’ll ensure that the caulk adheres well and provides a secure seal. Now that the sink is ready, let’s move on to choosing the right caulk for the job.
Choosing the Right Caulk
When it comes to selecting the right caulk for your kitchen sink, there are a few factors to consider. Here are some tips to help you make the right choice:
- Waterproof and mold-resistant: Look for a caulk that is specifically labeled as waterproof and mold-resistant. This ensures that it will stand up to the moisture and humidity that is common in kitchen environments.
- Material compatibility: Consider the material of your sink when choosing caulk. Different materials, such as stainless steel, porcelain, or composite, may require different types of caulk. Read the packaging or consult with a professional to ensure the caulk is suitable for your sink’s material.
- Flexibility: Opt for a caulk that has some flexibility. This is important as kitchen sinks can undergo slight movement due to temperature changes or heavy usage. A flexible caulk will prevent cracks or gaps from forming over time.
- Color: Choose a caulk color that matches your sink or the surrounding countertop. This will give the caulk line a seamless appearance.
- Brand reputation: Stick to reputable brands when purchasing caulk. This ensures that you’re getting a high-quality product that will perform well and last longer.
Take your time to research and read reviews to find the best caulk for your kitchen sink. Now that you have the right caulk, let’s move on to the next step: applying the caulk.
Make sure to clean the area around the sink thoroughly before applying caulk. Any dirt or debris can prevent the caulk from adhering properly, leading to potential leaks.
Applying the Caulk
Now that you have prepared the sink and chosen the right caulk, it’s time to apply it to the edges of your kitchen sink. Follow these steps for a successful application:
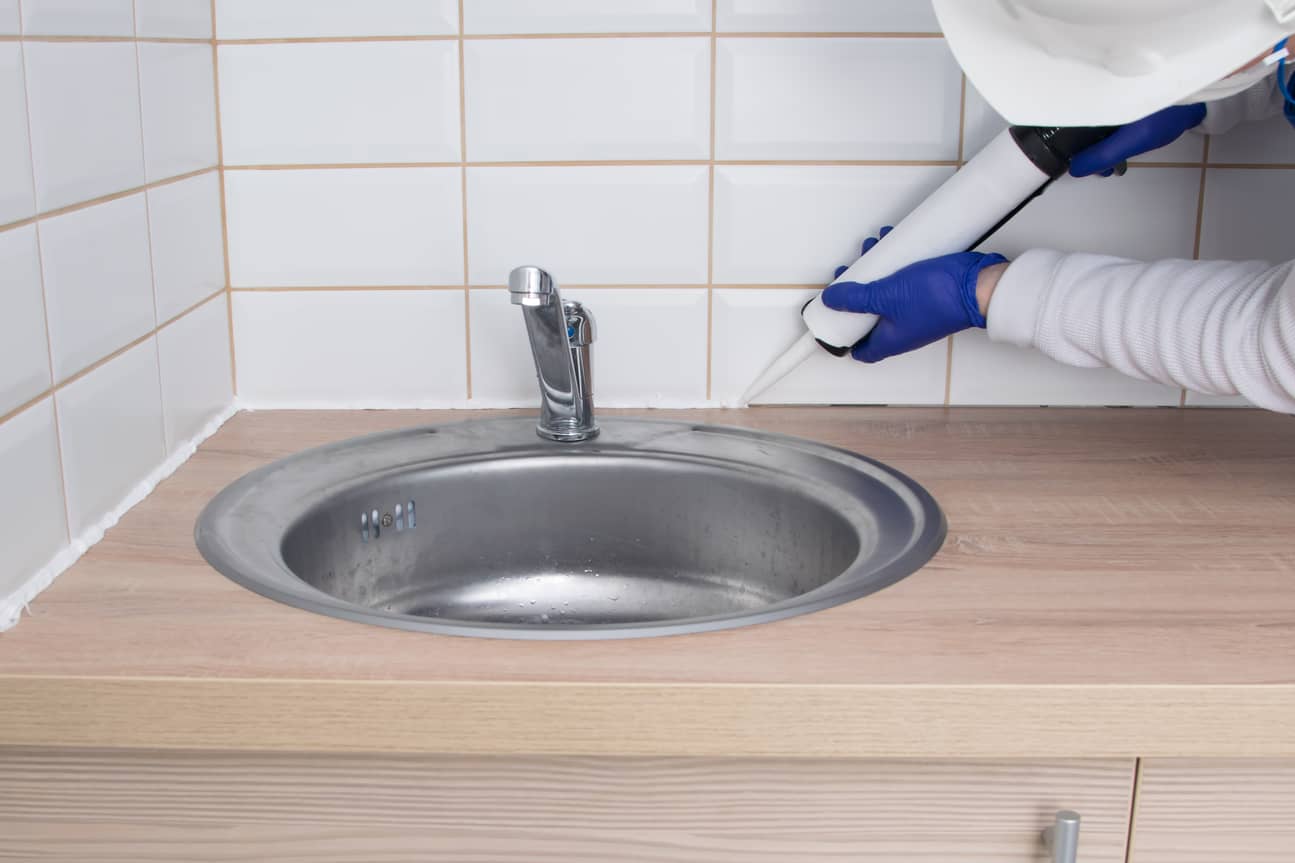
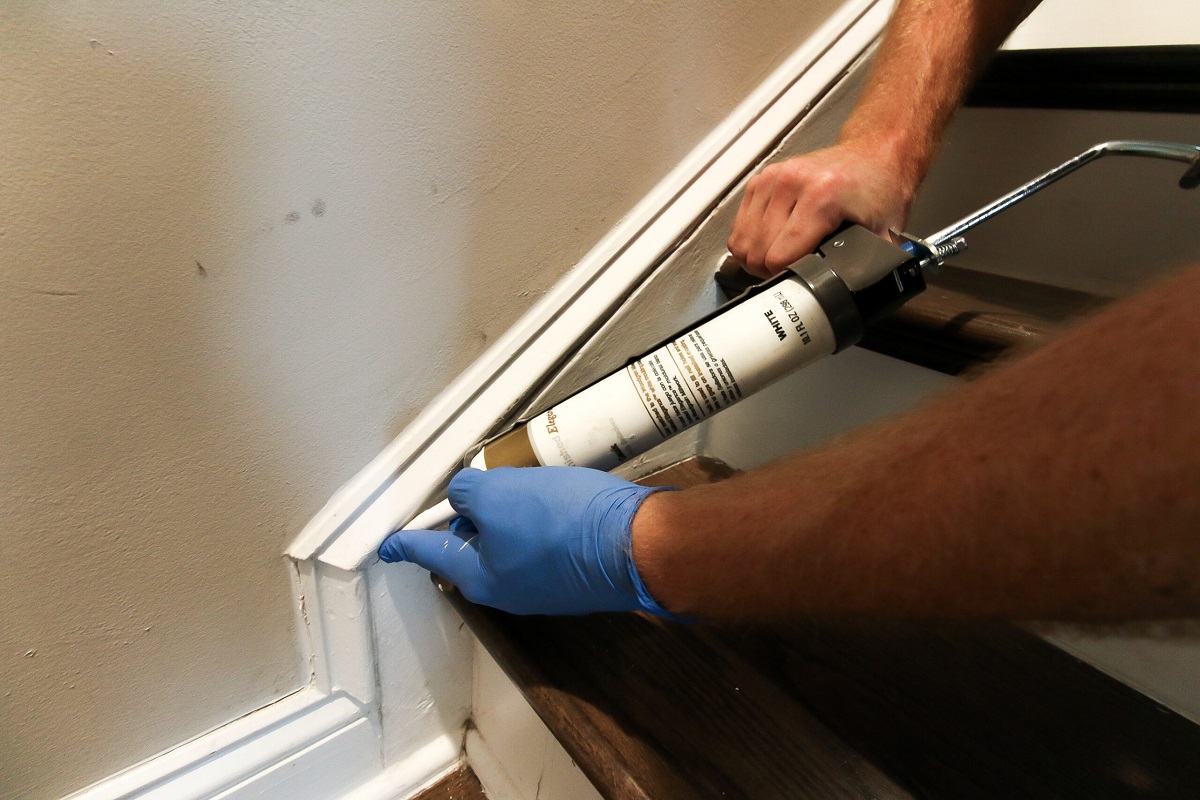
- Load the caulk gun: Cut the tip of the caulk tube at a 45-degree angle, making sure to create a small opening. Insert the caulk tube into the caulk gun and push the plunger until the caulk is ready to dispense.
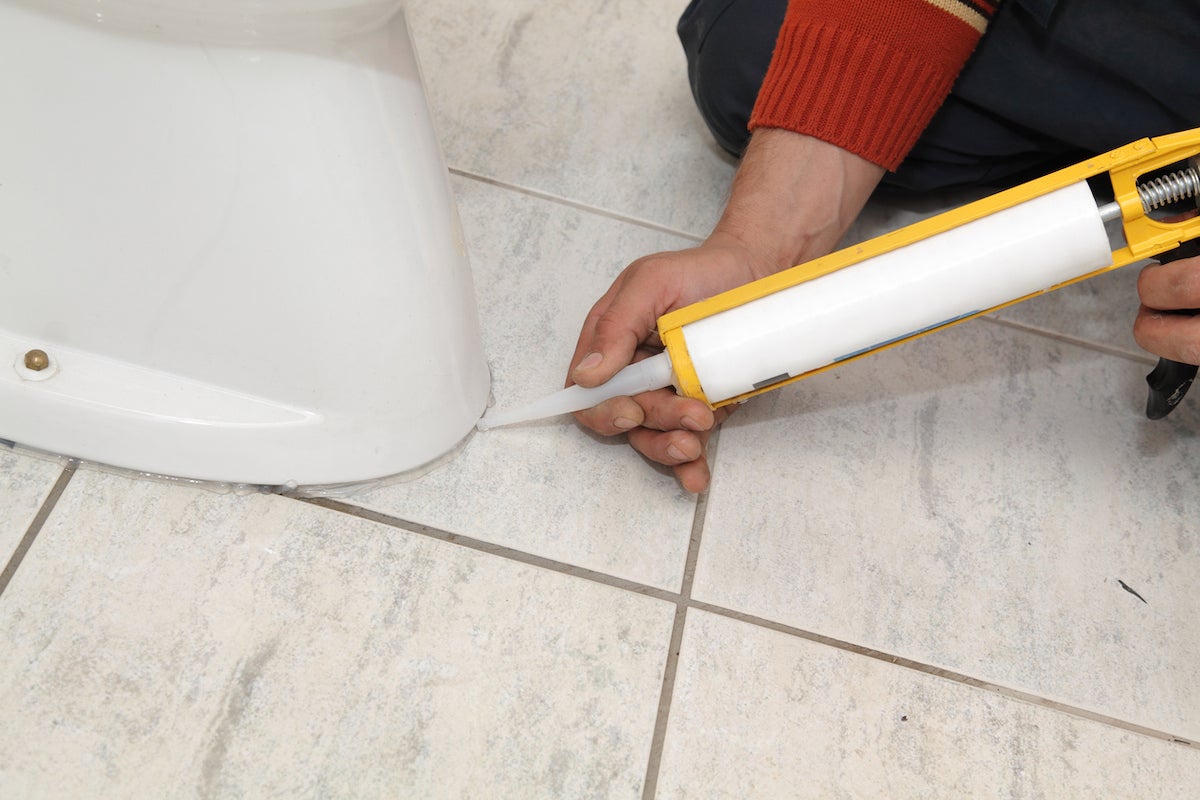
- Start at one end: Begin at one end of the sink and position the caulk gun nozzle at a 45-degree angle against the joint where the sink and countertop meet.
- Apply a steady bead: Squeeze the trigger of the caulk gun with consistent pressure, applying a steady bead of caulk along the joint. Move the caulk gun smoothly and evenly, ensuring the caulk fills the gap completely.
- Continue along the edges: Continue applying the caulk along all the edges of the sink, maintaining a steady bead of caulk. Take your time and be careful not to apply too much caulk or have gaps in the seal.
- Smooth the caulk: Once you have applied the caulk, use a caulking tool or your finger (protected with a latex glove) to smooth and shape the caulk. This will create a neat and professional finish. Wet your finger or the caulking tool with water or soapy water to prevent sticking.
Remember to work quickly but carefully, as caulk can start to dry and become less malleable. If you make a mistake, you can use a caulk remover to clean up and start again. Once you have applied and smoothed the caulk, let it dry according to the manufacturer’s instructions.
Now that the caulk is applied, let’s move on to the next step: smoothing the caulk.
Read more: How To Caulk A Bathroom Sink
Smoothing the Caulk
After applying the caulk, it’s important to smooth it out to achieve a professional-looking finish. Smoothing the caulk will not only enhance the appearance but also ensure a proper seal. Follow these steps to smooth the caulk:
- Prepare a bowl of water: Fill a small bowl with water and add a few drops of dish soap. This will be used to wet your finger or caulking tool.
- Dip your finger or caulking tool: Wet your finger or caulking tool with the soapy water solution. This will prevent the caulk from sticking to your finger or tool, allowing you to smoothly glide over the surface.
- Gently run your finger or tool along the caulk line: Begin at one end of the caulk line and gently run your wet finger or caulking tool along the caulk. Apply light pressure to smooth out any bumps or uneven areas.
- Clean and wet your finger or tool as needed: As you work your way along the caulk line, clean off any excess caulk from your finger or tool and wet it again with the soapy water solution. This will ensure a smooth and even finish.
- Continue until the caulk line is smooth: Repeat the smoothing process along the entire caulk line until it is smooth and seamless. Take your time to ensure the best result.
Smoothing the caulk will give your kitchen sink a polished and professional appearance. Allow the caulk to fully dry according to the manufacturer’s instructions before using the sink or allowing any water contact.
Now that you’ve smoothed the caulk, let’s move on to the final step: cleaning up.
Cleaning Up
After completing the caulking process, it’s important to clean up any excess caulk and ensure a tidy workspace. Follow these steps to properly clean up:
- Remove masking tape: Carefully remove the masking tape from the sink edges, pulling it away at a 45-degree angle to avoid disturbing the caulk line.
- Wipe away excess caulk: Use a damp cloth or paper towel to wipe away any excess caulk from the sink surface. Be gentle to avoid disturbing the caulk line.
- Dispose of caulk residue: Dispose of the caulk residue according to the manufacturer’s instructions. Some caulk may be water-soluble and can be washed down the drain, while others may need to be disposed of in a specific manner.
- Clean tools: If you used a caulking tool, clean it thoroughly with warm, soapy water to remove any caulk residue. For a caulk gun, follow the manufacturer’s instructions for cleaning and storing.
- Inspect the caulk line: Once the cleaning is done, inspect the caulk line for any imperfections or gaps. If needed, touch up the caulk to ensure a tight and secure seal.
By taking the time to clean up properly, you’ll not only achieve a professional look but also prevent any caulk residue from sticking to the sink or surrounding areas.
Congratulations! You have successfully caulked your kitchen sink. With the proper caulk application and regular maintenance, your sink will remain watertight and in great condition for years to come.
Remember, if you encounter any difficulties or have concerns about caulking, it’s always advisable to consult a professional for assistance.
We hope this guide has been helpful in guiding you through the caulking process for your kitchen sink. Happy caulking!
Conclusion
Caulking your kitchen sink is a simple yet essential task that can help maintain its functionality and prevent water damage to surrounding areas. By following the steps outlined in this guide, you can successfully caulk your kitchen sink and achieve a professional-looking finish.
Remember to gather all the necessary supplies, prepare the sink by cleaning it thoroughly, choose the right caulk for your sink material, and apply the caulk evenly and smoothly. Take your time to smooth out the caulk line and clean up any excess caulk. By following these steps, you can ensure a proper seal and enhance the overall appearance of your kitchen sink.
Regularly inspecting and maintaining your caulked sink will help prevent any water leaks and prolong its lifespan. If you notice any signs of wear or damage to the caulk, it’s important to recaulk as soon as possible to avoid any potential water damage.
Remember, if you’re unsure about the caulking process or encounter any difficulties, it’s always recommended to seek the assistance of a professional. They can provide expert advice and ensure the job is done correctly.
We hope this guide has been informative and useful in helping you caulk your kitchen sink. Enjoy your newly caulked sink and the peace of mind that comes with a watertight seal!
Frequently Asked Questions about How To Caulk A Kitchen Sink
Was this page helpful?
At Storables.com, we guarantee accurate and reliable information. Our content, validated by Expert Board Contributors, is crafted following stringent Editorial Policies. We're committed to providing you with well-researched, expert-backed insights for all your informational needs.



0 thoughts on “How To Caulk A Kitchen Sink”