
Articles
How To Change Under Cabinet Light Bulb
Modified: October 20, 2024
Learn how to change under cabinet light bulb with our informative articles. Find step-by-step instructions and helpful tips to easily replace your light bulbs and brighten up your space.
(Many of the links in this article redirect to a specific reviewed product. Your purchase of these products through affiliate links helps to generate commission for Storables.com, at no extra cost. Learn more)
Introduction
Changing the light bulb under your cabinet may seem like a daunting task, but with the right tools and a little know-how, you can do it yourself. Whether you’re experiencing a burnt-out bulb or simply want to upgrade to a more energy-efficient option, this article will guide you through the process step-by-step.
Having proper lighting under your cabinets can make a world of difference in your kitchen or workspace. It provides essential task lighting for cooking, chopping, reading recipes, or working on various projects. When a light bulb needs to be replaced, it’s important to do so promptly to maintain an optimal working environment.
Before you begin, gather all the necessary tools and materials to make the process smoother. This will save you time and ensure that you have everything you need at your fingertips. Let’s take a look at what you’ll need:
Key Takeaways:
- DIY Under Cabinet Light Bulb Replacement
Easily replace under cabinet light bulbs with basic tools and safety precautions. Enjoy a well-lit space by following simple step-by-step instructions. - Safety First for Under Cabinet Light Bulb Change
Prioritize safety by turning off power and using the right tools. Maintain a well-lit and productive environment with timely bulb replacements.
Read more: How To Change A Light Bulb
Tools and Materials Needed
- Screwdriver (Phillips or flathead, depending on your light fixture)
- New light bulb (make sure it’s compatible with your existing fixture)
- Ladder or step stool (if necessary to reach the light fixture)
- Gloves (optional, for added safety)
Now that you have all the necessary tools and materials, let’s dive into the step-by-step process of changing the under cabinet light bulb.
Key Takeaways:
- DIY Under Cabinet Light Bulb Replacement
Easily replace under cabinet light bulbs with basic tools and safety precautions. Enjoy a well-lit space by following simple step-by-step instructions. - Safety First for Under Cabinet Light Bulb Change
Prioritize safety by turning off power and using the right tools. Maintain a well-lit and productive environment with timely bulb replacements.
Read more: How To Change A Light Bulb
Tools and Materials Needed
Before you begin the process of changing the under cabinet light bulb, it’s important to gather all the necessary tools and materials. Having everything ready beforehand will save you time and make the process smoother. Here’s a list of what you’ll need:
- Screwdriver: You’ll need a screwdriver to remove any screws or fastenings that hold the light cover in place. The type of screwdriver you’ll need depends on the specific light fixture you have. Generally, a Phillips or flathead screwdriver should cover most fixtures.
- New Light Bulb: Make sure to have a replacement light bulb that is compatible with your existing fixture. Check the wattage and shape of the old bulb to ensure you purchase the correct replacement. LED bulbs are energy-efficient and long-lasting options.
- Ladder or Step Stool: Depending on the height of your cabinets, you may need a ladder or step stool to reach the light fixture. Safety should always be a priority, so make sure you have a stable and secure platform to stand on.
- Gloves: Although not necessary, wearing gloves during the process can provide added protection for your hands. They can prevent any accidental cuts or burns from broken glass or hot bulbs. Choose gloves that allow you to maintain a good grip on the light fixture and bulb.
Once you have gathered all the tools and materials, you’re ready to start changing the under cabinet light bulb. Make sure you have a clear workspace and enough lighting to see what you’re doing. Safety should always come first, so ensure the power to the light fixture is turned off before proceeding.
Now that you have everything you need, let’s move on to the step-by-step process of changing the under cabinet light bulb.
Step 1: Turn Off Power
Before you begin changing the under cabinet light bulb, it’s essential to ensure your safety by turning off the power to the fixture. This step is crucial to avoid any electrical accidents or shocks. Follow these steps to turn off the power:
- Locate the power source: Find the circuit breaker or fuse box that controls the power supply to your under cabinet light fixture. It is usually located in the basement, garage, or utility room of your home.
- Identify the correct breaker or fuse: Look for the breaker or fuse that corresponds to the area where the light fixture is installed. If you’re unsure about which one it is, you can turn off the main breaker to cut off power to the entire house temporarily.
- Switch off the breaker or remove the fuse: Once you have identified the correct breaker or fuse, switch it off or remove it to cut off power to the under cabinet light fixture. You can also place a piece of tape or a sign on the breaker panel to alert others that you are working on the circuit.
- Test the light fixture: To ensure that the power has been successfully turned off, try turning on the light switch or activating any switches connected to the light fixture. If the light doesn’t turn on, you have successfully cut off power to the fixture.
Remember, safety is paramount when working with electricity. Always double-check that the power is turned off before proceeding with the next steps. Taking these precautions will help prevent any potential accidents and keep you safe throughout the process.
Now that you have turned off the power, you can confidently move on to the next step, which involves removing the light cover.
Step 2: Remove Light Cover
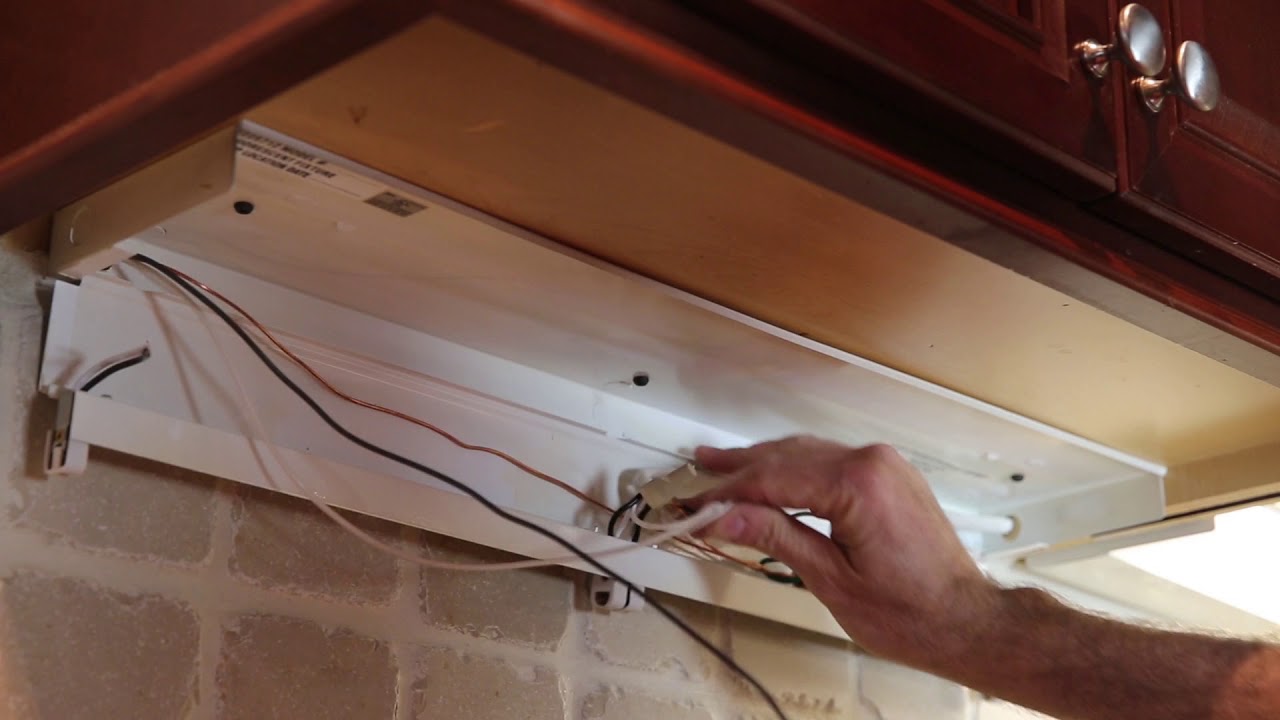
Now that you have turned off the power to the under cabinet light fixture, it’s time to remove the light cover. The light cover is the protective casing that holds the light bulb in place. Follow these steps to safely remove the light cover:
- Locate the screws or fastenings: Inspect the light cover to see how it is attached to the fixture. Look for screws, clips, or any other fastenings that are securing the cover in place.
- Use the appropriate tool: Depending on the type of fastenings, you’ll need to use a screwdriver or a different tool to remove them. If there are screws, use the appropriate screwdriver (either Phillips or flathead) to loosen and remove them. If there are clips or other fastenings, use your hands or a small tool to release them.
- Gently remove the light cover: Once the screws or fastenings are loosened or removed, carefully lift the light cover away from the fixture. Be gentle to avoid any damage to the cover or the fixture. If the cover is stuck, try wiggling it slightly or applying gentle pressure to release it.
- Set aside the light cover: Place the removed light cover in a safe location where it won’t get damaged. You may want to clean the cover at this point if it has accumulated dust or grime.
With the light cover successfully removed, you now have access to the old light bulb that needs to be replaced. Before proceeding with the next steps, take a moment to inspect the interior of the fixture and ensure that there are no signs of damage or loose wires.
In the next step, we will guide you on how to unscrew the old bulb safely.
Read more: How To Wire Under Cabinet Lighting
Step 3: Unscrew Old Bulb
With the light cover removed, it’s time to proceed to the next step: unscrewing the old bulb. Follow these steps to safely and properly remove the old bulb from the under cabinet light fixture:
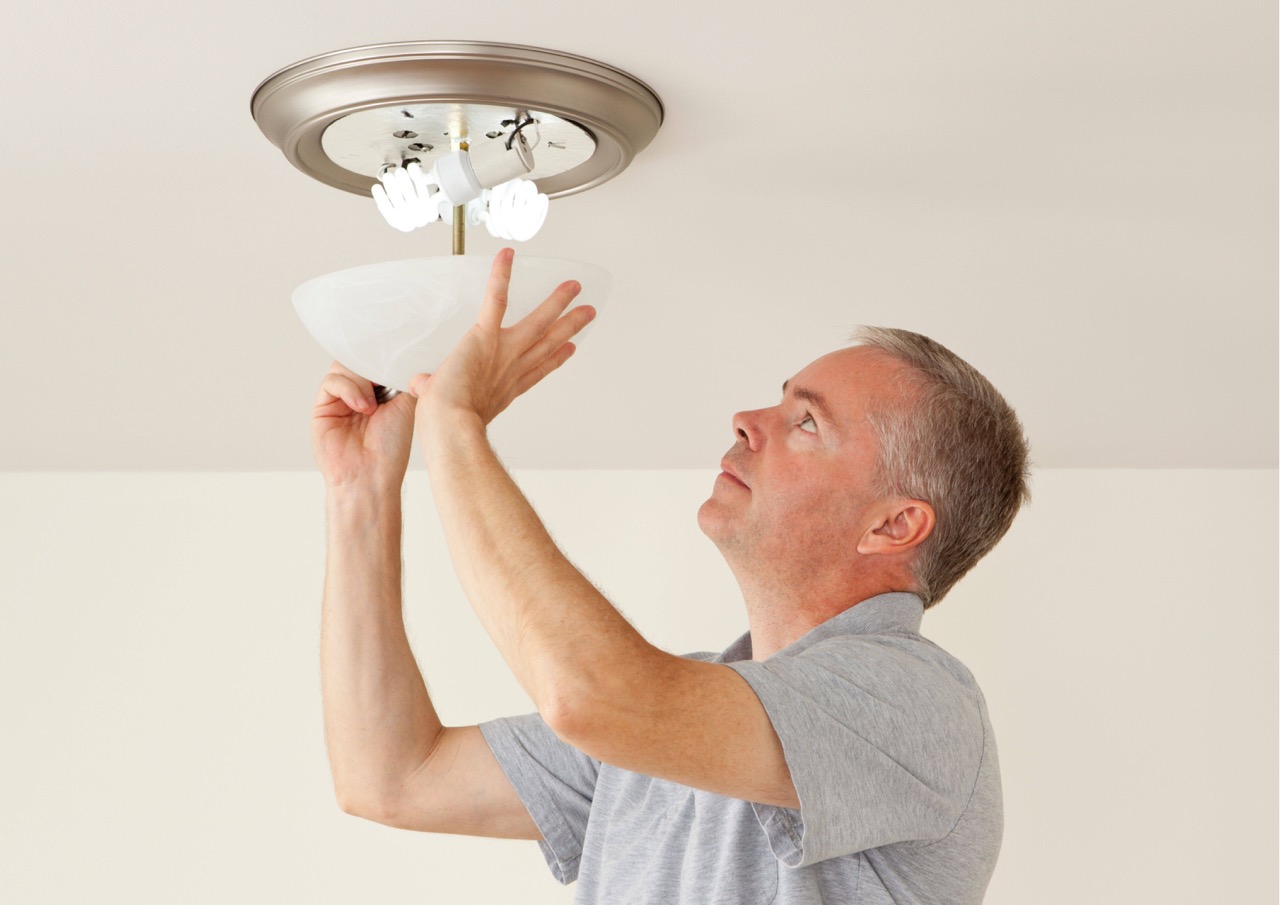
- Inspect the old bulb: Before touching the old bulb, visually inspect it to ensure it’s not hot. If the light fixture was recently in use, give the bulb some time to cool down before attempting to remove it.
- Grip the old bulb: Once the bulb has cooled down, carefully grip it near the base. It’s important to avoid touching the actual glass part of the bulb, as oils from your fingers can damage the bulb or affect its lifespan.
- Twist counterclockwise: While firmly gripping the bulb, gently twist it counterclockwise. Most light bulbs have a threaded base that screws into the socket, so turning it counterclockwise will loosen and eventually detach it.
- Remove the old bulb: Once the bulb is no longer tightly screwed into the socket, continue twisting it until it comes free. Hold onto the bulb as you remove it to prevent it from accidentally falling and shattering.
- Set aside the old bulb: Place the removed old bulb in a safe place, such as a trash bag or a designated recycling container. Keep it separate from other waste to ensure proper disposal or recycling according to your local regulations.
Now that the old bulb has been successfully removed, take a moment to inspect the socket for any signs of damage or corrosion. If any issues are noticed, it may be necessary to address them before proceeding with the next steps. Cleaning the socket with a dry cloth or a small brush can also help remove any debris that may interfere with the installation of the new bulb.
In the following step, you will learn how to properly insert the new bulb into the socket.
When changing an under cabinet light bulb, make sure to turn off the power to the fixture before attempting to replace the bulb. Use a stable step stool or ladder to reach the fixture safely, and be sure to use the correct type and wattage of bulb as recommended by the manufacturer.
Step 4: Insert New Bulb
Now that you have successfully removed the old bulb, it’s time to proceed with inserting the new bulb into the under cabinet light fixture. Follow these steps to ensure a proper and secure installation:
- Select the right replacement bulb: Before inserting the new bulb, make sure that it is the correct replacement for your under cabinet light fixture. Check the wattage and shape of the old bulb to ensure compatibility. LED bulbs are commonly used due to their energy efficiency and long lifespan.
- Hold the new bulb: Carefully grip the new bulb near the base, ensuring that you do not touch the glass part. Oils from your fingers can lead to shortened bulb lifespan or reduced brightness.
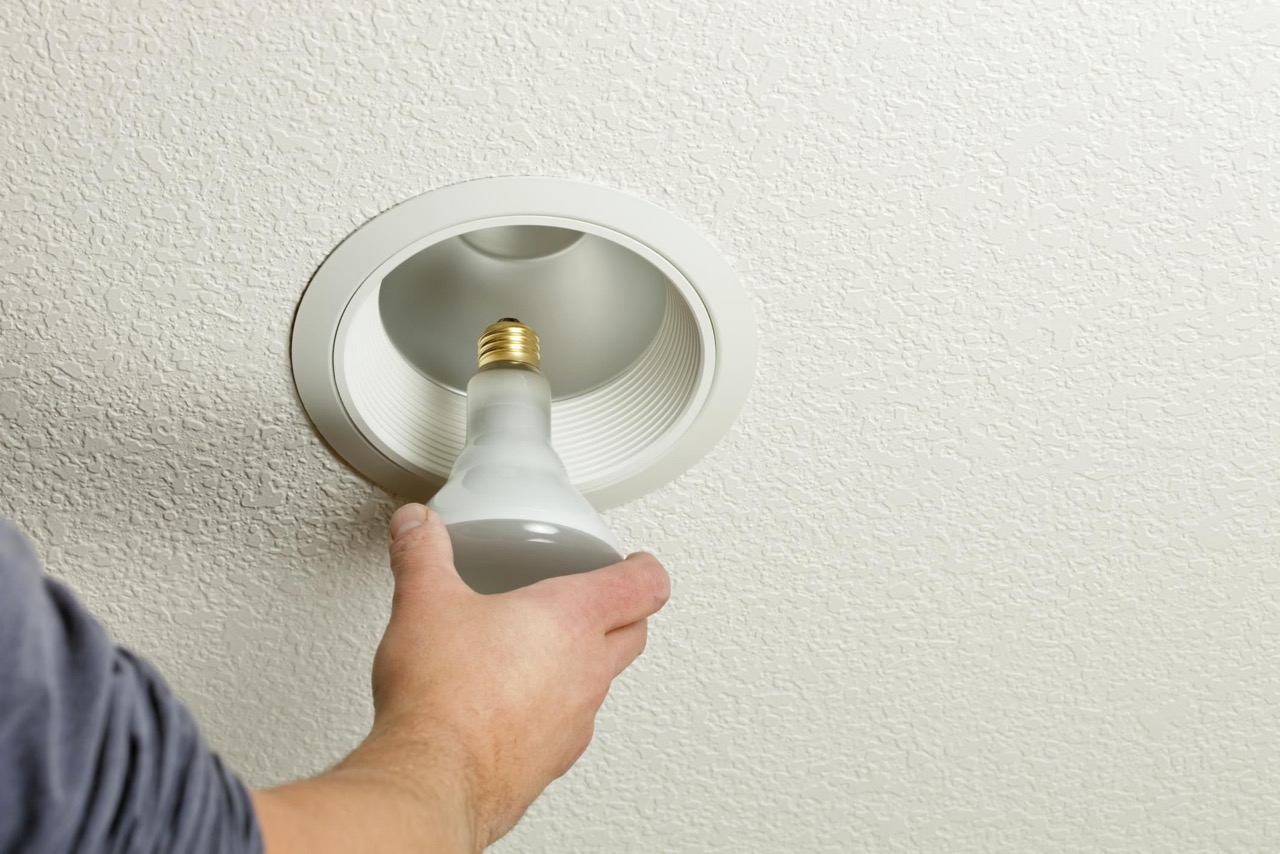
- Align the base: Position the base of the new bulb over the socket, aligning the threads of the bulb with those of the socket.
- Insert the new bulb: While gently applying downward pressure, slowly twist the new bulb clockwise. This will thread the base of the bulb into the socket. Continue twisting until the bulb is securely in place.
- Ensure a snug fit: Once the new bulb is threaded into the socket, give it a gentle wiggle to ensure that it is properly seated and won’t come loose. It should not feel loose or wobbly.
It’s important to note that over-tightening the bulb can cause damage to the socket or the bulb itself. Avoid using excessive force while inserting the bulb to prevent any issues.
Now that the new bulb is securely in place, it’s time to move on to the next step in the process: screwing in the new bulb.
Step 5: Screw in New Bulb
With the new bulb inserted into the under cabinet light fixture, the next step is to securely fasten it in place by screwing it in. Follow these steps to ensure a proper and tight fit of the new bulb:
- Grip the new bulb: Be sure to grip the new bulb near the base, keeping your fingers away from the glass part to prevent any damage or reduction in its lifespan.
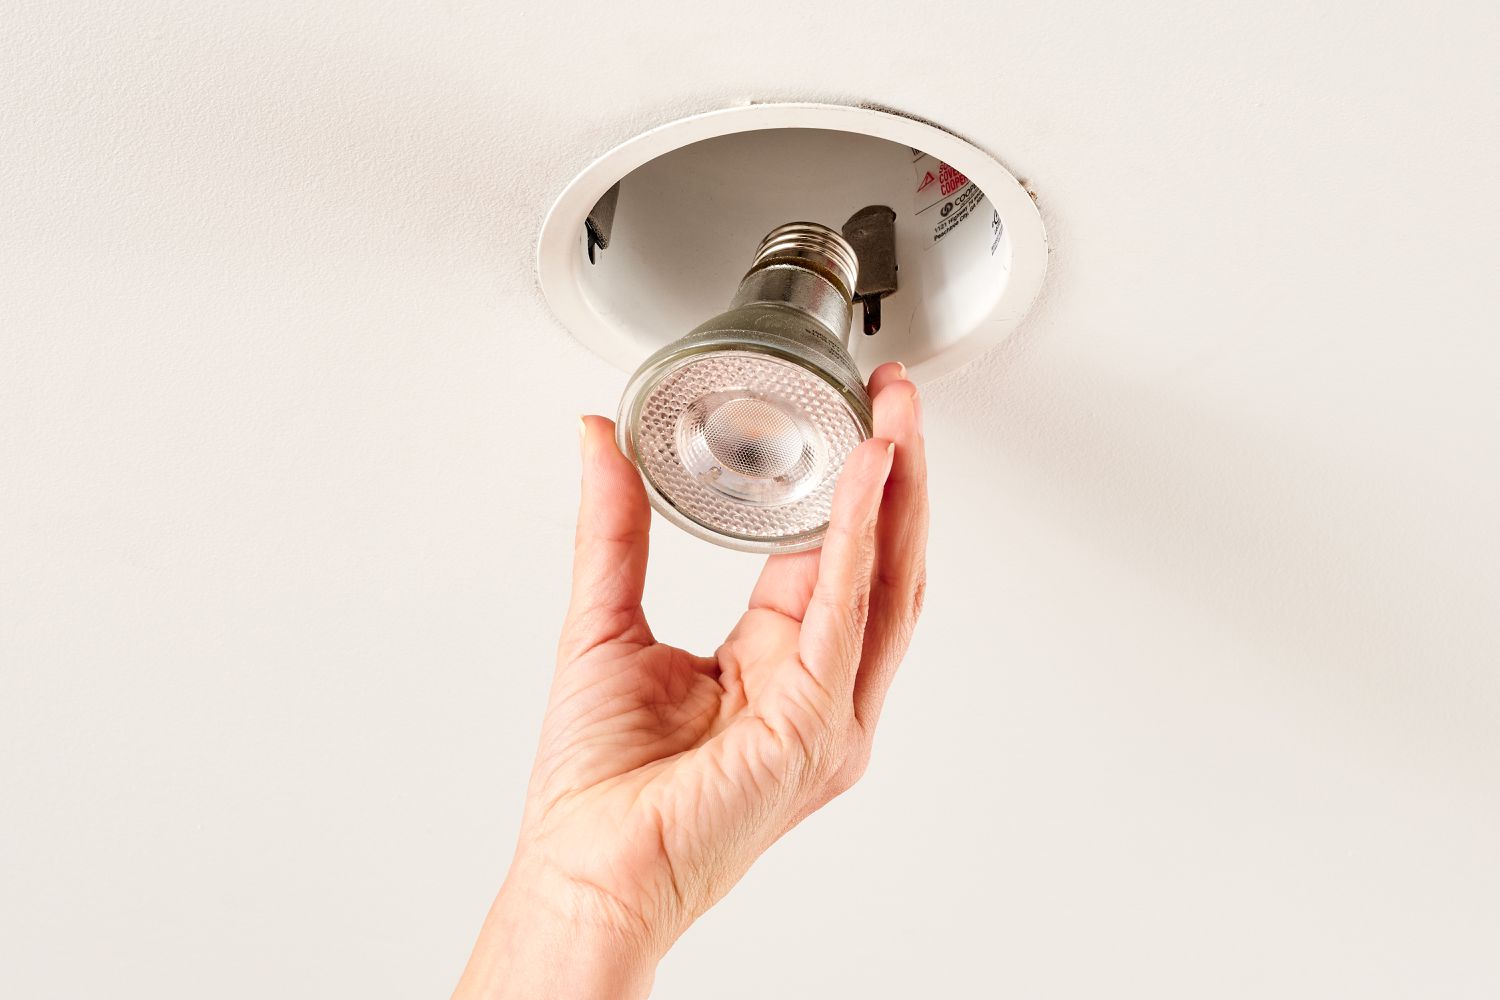
- Position the bulb: Carefully position the base of the new bulb over the socket, aligning the threads of the bulb with those of the socket.
- Press and twist: While applying downward pressure, gently press and twist the bulb clockwise. The threads on the base of the bulb should catch the threads inside the socket, allowing the bulb to start screwing in.
- Continue twisting: Slowly twist the bulb clockwise until it is tightly secured in place. Be cautious not to over-tighten the bulb, as this can lead to damage to the socket or the bulb itself.
- Test the bulb: Once the new bulb is securely screwed in, you can test it by turning the power back on. Flip the breaker switch or reinstall the fuse to restore power to the under cabinet light fixture. Check if the new bulb illuminates properly.
If the new bulb does not light up, double-check that the power is properly restored and that the bulb is securely screwed in. If the issue persists, it might be worth checking the socket or consulting a professional for further assistance.
With the new bulb securely in place and functioning, it’s time to move on to the next step: replacing the light cover.
Step 6: Replace Light Cover
With the new bulb securely installed, the next step is to replace the light cover. The light cover not only provides protection for the bulb but also enhances the overall aesthetic of the under cabinet lighting. Follow these steps to properly replace the light cover:
- Inspect the light cover: Before proceeding, visually inspect the light cover to ensure it is clean and free from any dirt or debris. If necessary, wipe it down gently with a dry cloth to remove any dust or smudges.
- Align the light cover: Carefully align the light cover with the fixture, ensuring that any screw holes or clips line up with their corresponding positions. This will ensure a proper fit and attachment.
- Secure the light cover: If your light cover is held in place by screws, use the appropriate screwdriver to insert and tighten them. If it is secured by clips or other fastenings, press or snap them into place until the light cover is securely attached.
- Test the light cover: Once the light cover is fastened, gently give it a tug to ensure it is held firmly in place. It should not be loose or wobbly. Additionally, check that the cover does not obstruct the light emitted by the bulb.
By replacing the light cover, you’re not only ensuring the safety of the under cabinet light bulb but also maintaining the desired aesthetic of your space. With the light cover securely in place, your under cabinet lighting will not only be functional but also visually appealing.
Now that the light cover is successfully reattached, you’re ready for the final step: turning on the power to the under cabinet light fixture.
Read more: How To Change A Brake Light Bulb
Step 7: Turn On Power
With the new bulb installed and the light cover securely in place, it’s time to restore power to the under cabinet light fixture. Follow these steps to safely turn on the power:
- Locate the circuit breaker or fuse box: Identify the circuit breaker panel or fuse box that controls the power supply to the under cabinet light fixture. This is the same panel or box that you accessed earlier to turn off the power.
- Identify the correct breaker or fuse: Find the breaker or fuse that corresponds to the under cabinet light fixture. If you marked it earlier, it should be easy to locate. If not, you may need to refer to the circuit diagram or consult a professional to find the correct breaker or fuse.
- Switch on the breaker or insert the fuse: Once you have identified the correct breaker or fuse, switch it back on or insert it into the appropriate slot. This will restore power to the under cabinet light fixture.
- Test the light fixture: To ensure that the power has been successfully restored, flip the light switch or activate any switches connected to the under cabinet light fixture. The new bulb should illuminate brightly, indicating that the power is flowing properly.
- Confirm proper functioning: Take a moment to observe the under cabinet lighting and ensure that it is functioning as expected. Check for any flickering, dimness, or other irregularities that may indicate a problem with the installation.
By turning on the power to the under cabinet light fixture, you have completed the process of changing the light bulb. You can now enjoy the renewed illumination and functionality of your under cabinet lighting.
Congratulations on successfully changing the under cabinet light bulb! Remember, if you encounter any issues or are unsure about any step in the process, it’s always best to consult a professional electrician for assistance.
With proper maintenance and regular bulb replacements, your under cabinet lighting will continue to enhance your kitchen or workspace for years to come.
Conclusion
Changing the light bulb under your cabinet may have seemed like a daunting task at first, but with the right tools, materials, and step-by-step guidance, it can be a straightforward process. By following the steps outlined in this article, you can confidently replace the under cabinet light bulb and enjoy a well-lit and functional space.
Remember, safety should always be your top priority. Before starting the process, make sure to turn off the power to the light fixture to avoid any electrical accidents. Use the appropriate tools, such as a screwdriver, to remove the light cover and unscrew the old bulb. Inserting the new bulb and securely screwing it in place will provide long-lasting illumination.
Replacing the light cover not only adds a finishing touch to the under cabinet lighting but also protects the bulb and enhances the overall aesthetic of the area. Finally, don’t forget to turn the power back on after completing the installation and test the functionality of the new bulb.
Regular maintenance and timely bulb replacements will ensure that your under cabinet lighting remains efficient and provides the necessary task lighting for your kitchen or workspace. By keeping an eye on the condition of the bulbs and addressing any issues promptly, you can create a well-lit and productive environment.
Remember, if you encounter any difficulties or have concerns about electrical work, it’s always recommended to consult a professional electrician. They have the knowledge and expertise to handle complex wiring and ensure your safety throughout the process.
With these steps and guidelines, you have the confidence and ability to change the under cabinet light bulb on your own. Enjoy the benefits of a well-lit space and the satisfaction of completing a DIY project!
Now that you've mastered changing under cabinet light bulbs, why not brighten other areas of your home? If you're curious about optimal illumination in culinary spaces, our article on kitchen lighting offers practical advice and stylish solutions. For those looking to enhance functionality and ambiance, check out our recommendations on under cabinet lighting options. Both pieces provide valuable insights to help you make informed choices for your space.
Frequently Asked Questions about How To Change Under Cabinet Light Bulb
Was this page helpful?
At Storables.com, we guarantee accurate and reliable information. Our content, validated by Expert Board Contributors, is crafted following stringent Editorial Policies. We're committed to providing you with well-researched, expert-backed insights for all your informational needs.



0 thoughts on “How To Change Under Cabinet Light Bulb”