
Articles
How To Quiet Noisy Ceiling Fan
Modified: April 23, 2024
Learn how to quiet a noisy ceiling fan with these helpful articles. Fix the irritating noise and enjoy a peaceful environment.
(Many of the links in this article redirect to a specific reviewed product. Your purchase of these products through affiliate links helps to generate commission for Storables.com, at no extra cost. Learn more)
Introduction
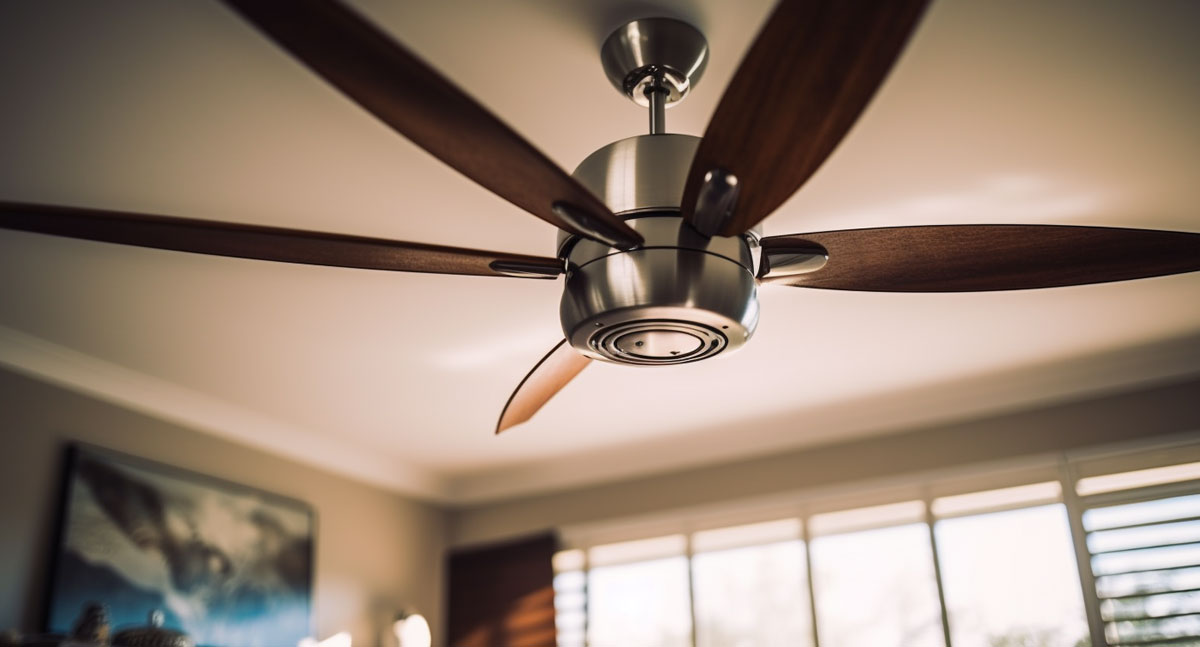
Having a ceiling fan can provide much-needed comfort and airflow in your home. However, when that peaceful breeze transforms into an annoying hum or a rattling noise, it can quickly become a nuisance. A noisy ceiling fan can disrupt your sleep, distract you while you work, and simply make your living space less enjoyable. Fortunately, there are steps you can take to quiet that noisy ceiling fan and restore tranquility to your home.
In this article, we will explore the various causes of a noisy ceiling fan and guide you through the process of addressing each one. From simple cleaning and maintenance tasks to troubleshooting and replacing worn-out parts, we will cover all the necessary steps to get your ceiling fan operating silently and efficiently.
Before we dive into the remedies, it’s important to note that safety should be a priority. Always ensure that you follow proper safety precautions when working with electrical appliances and components. If you feel uncomfortable or unsure about any step, it is advisable to seek professional assistance.
To complete the tasks outlined in this guide, you may need a few tools and materials. These can include a screwdriver or wrench, a vacuum or brush for cleaning, lubricant or oil, and spare parts if necessary. It is a good idea to gather everything you may need beforehand to avoid unnecessary interruptions during the process.
Now that we have covered the basics, let’s dive into the step-by-step process of quieting that noisy ceiling fan. By the end, you’ll be able to enjoy the breeze of your ceiling fan without the unwanted noise.
Key Takeaways:
- Regular cleaning and maintenance, along with tightening loose screws and lubricating the motor, can help eliminate noise from a ceiling fan, restoring tranquility to your home.
- If persistent noise issues persist, consider balancing the fan blades, replacing worn-out parts, or installing a fan noise reduction kit to achieve a quiet and efficient ceiling fan operation.
Read more: How To Fix Noisy Bathroom Fan
Why is your ceiling fan noisy?
There are several potential reasons why your ceiling fan might be making noise. Understanding these common causes can help you identify the source of the problem and take the appropriate steps to resolve it.
1. Dust and debris buildup: Over time, dust, dirt, and debris can accumulate on the blades, motor, and other components of your ceiling fan. This buildup can lead to friction and cause noise. Regular cleaning and maintenance can help alleviate this issue.
2. Loose screws and connections: The constant movement of the fan can cause the screws and connections to become loose over time. Loose screws can result in rattling or vibrating noises. Checking and tightening all the screws and connections is an essential step in troubleshooting a noisy ceiling fan.
3. Poor fan blade balance: Ceiling fan blades should be properly balanced to ensure smooth and quiet operation. If the blades are unbalanced, they can create a wobbling motion that generates noise. Balancing the blades is crucial in resolving this issue.
4. Worn-out motor or bearings: The motor and bearings of a ceiling fan can wear out over time due to continuous use. This can lead to grinding or squeaking noises. Lubricating the motor and bearings can help reduce the noise caused by friction.
5. Damaged or worn-out parts: Any damaged or worn-out parts of the ceiling fan, such as the blades, brackets, or flywheel, can contribute to noise. Identifying and replacing these parts can restore quiet operation.
6. Fan speed settings: Some ceiling fans may produce more noise when operated at certain speeds. Adjusting the speed settings can often help reduce noise levels.
By understanding these common causes, you can narrow down the possibilities and determine the best course of action to resolve the noise issue with your ceiling fan. In the following steps, we will guide you through each potential solution to help you address the specific cause of your noisy ceiling fan.
Safety Precautions
Before you begin troubleshooting and addressing the noise issue with your ceiling fan, it is important to prioritize safety. Working with electrical appliances and components can pose potential hazards, so it is crucial to take the following safety precautions:
- Turn off the power: Before starting any work on your ceiling fan, make sure to turn off the power to the fan. This can be done by turning off the circuit breaker or removing the fuse that controls the fan’s electrical supply. This step ensures that you won’t accidentally come into contact with live wires while working on the fan.
- Use personal protective equipment (PPE): Wear appropriate PPE, such as safety glasses and gloves, to protect yourself from any potential hazards. If you are working on a high ceiling or in a precarious position, consider using a stable ladder or scaffolding for support.
- Read the manufacturer’s instructions: Familiarize yourself with the manufacturer’s instructions for your specific ceiling fan model. This will provide guidance on disassembly, maintenance, and any special safety precautions to follow.
- Avoid contact with moving parts: Exercise caution and avoid touching any moving parts of the fan, such as the blades or motor, while it is in operation or immediately after it has been turned off. Even a fan that seems to have stopped spinning may still have residual movement that can cause injury.
- Turn off the power supply during cleaning: When cleaning the fan blades or other components, ensure that the power supply to the fan is turned off. This prevents accidental activation of the fan while you are working on it, reducing the risk of injury.
- Disconnect from power source during repairs: If you need to disassemble or repair any electrical components of the fan, disconnect the fan from its power source completely. This eliminates the risk of electrical shock or short-circuiting.
Following these safety precautions will help minimize the risk of accidents or injuries while working on your noisy ceiling fan. If you are unsure about any step or feel uncomfortable performing the necessary tasks, it is always advisable to seek assistance from a professional electrician or technician who can safely resolve the issue for you.
Tools and Materials Needed
Before you begin troubleshooting and repairing your noisy ceiling fan, gather the necessary tools and materials. Having everything you need on hand will make the process smoother and ensure that you can complete the tasks efficiently. Here are the tools and materials you may need:
1. Screwdriver or wrench: You will likely need a screwdriver or wrench to tighten any loose screws or connections. The type and size of the driver or wrench needed will depend on the specific screw or bolt used on your ceiling fan.
2. Vacuum or brush: Dust and debris can contribute to the noise produced by a ceiling fan. To clean the fan, you can use a vacuum with a brush attachment or a soft-bristle brush. This will help remove any built-up dust or dirt from the blades and other components.
3. Lubricant or oil: If the noise is caused by a worn-out motor or bearings, lubricating the moving parts can help reduce friction and noise. Depending on the manufacturer’s recommendations, you may need a specific type of lubricant or oil suitable for your ceiling fan.
4. Replacement parts: If your ceiling fan has any damaged or worn-out parts contributing to the noise, you may need to replace them. This can include fan blades, flywheels, brackets, or other components. Check the model and make of your ceiling fan to ensure you purchase the correct replacement parts.
5. Ladder or scaffolding: Depending on the height of your ceiling and the accessibility of the ceiling fan, you may need a ladder or scaffolding to safely reach and work on the fan. Make sure you have a stable and secure platform to avoid accidents or injuries.
6. Safety glasses and gloves: When working on your ceiling fan, protect your eyes and hands by wearing safety glasses and gloves. These will prevent any potential injuries from debris or sharp edges.
7. Instruction manual: Keep the instruction manual for your ceiling fan handy. It will provide guidance on disassembling and reassembling the fan, as well as any specific instructions or precautions unique to your model.
By gathering these tools and materials beforehand, you will have everything you need to effectively troubleshoot and repair your noisy ceiling fan. It’s always better to be prepared and have the necessary tools and materials readily available to save time and ensure a smooth repair process.
Step 1: Turn off the Power
Before you start working on your noisy ceiling fan, it is crucial to ensure your safety by turning off the power supply. Working on an electrically powered device without cutting off the power can be extremely dangerous. Follow these steps to turn off the power:
- Locate the circuit breaker: Identify the circuit breaker that controls the electrical supply to the ceiling fan. Usually, it is labeled as “ceiling fan” or something similar.
- Switch off the circuit breaker: Once you have located the correct circuit breaker, switch it off by flipping the corresponding switch to the “off” position.
- Double-check the power supply: To ensure that the power is indeed off, try turning on the fan’s switch or operating the fan’s remote control. If the fan doesn’t turn on, you can be confident that the power supply has been successfully cut off.
- Use a voltage tester (optional): For added safety, you can use a voltage tester to verify that there is no electrical current flowing to the fan. Simply hold the voltage tester against the fan’s wires or connections to check for any active voltage. If the tester doesn’t detect any electrical current, it is safe to proceed with the repair.
It is essential to follow these steps and take the necessary precautions to avoid electrocution or electrical accidents while working on your ceiling fan. Remember, electricity can be hazardous, so never skip this step or take any risks when it comes to your safety.
Once the power has been completely turned off, you can proceed with the subsequent steps to address the noise issue with your ceiling fan.
Read more: How To Buy Ceiling Fan
Step 2: Clean the Fan
One of the most common culprits behind a noisy ceiling fan is the accumulation of dust and debris on the blades and other components. Cleaning the fan thoroughly can help reduce friction and eliminate the source of the noise. Follow these steps to clean your ceiling fan:
- Prepare your cleaning supplies: Gather a vacuum cleaner with a brush attachment or a soft-bristle brush, a microfiber cloth, and a step ladder if needed.
- Position yourself safely: Ensure that you are standing on a stable surface or have a ladder positioned securely to reach the fan blades safely.
- Switch on the vacuum cleaner or brush: If you are using a vacuum cleaner with a brush attachment, switch it on and adjust the suction power to a medium or low setting. If you are using a brush, ensure that it is clean and free from any debris.
- Clean the fan blades: Starting from one blade, carefully vacuum or brush off any dust and debris. Work your way along each blade, paying attention to both sides. For hard-to-reach areas, you can use a microfiber cloth to wipe away any residue.
- Clean other components: Use the brush or microfiber cloth to clean the motor housing, fan brackets, and any other visible components of the fan. Be gentle and avoid applying excessive pressure to delicate parts.
- Vacuum the surrounding area: Once you’ve cleaned the fan, use the vacuum cleaner or a broom to clean up any fallen dust or debris on the floor or furniture below the fan.
- Inspect for any remaining dirt: After cleaning, visually inspect the fan blades and components to ensure they are free from dirt and debris. If necessary, repeat the cleaning process until everything is thoroughly cleaned.
Regularly cleaning your ceiling fan will not only reduce noise but also help improve its overall performance and lifespan. Aim to clean the fan every few months or as needed, especially in dusty environments.
Once you have finished cleaning, you can move on to the next steps to address any additional causes of the noise and restore the quiet operation of your ceiling fan.
To quiet a noisy ceiling fan, try tightening the screws on the fan blades and motor housing. If that doesn’t work, consider adding a balancing kit to even out the blades.
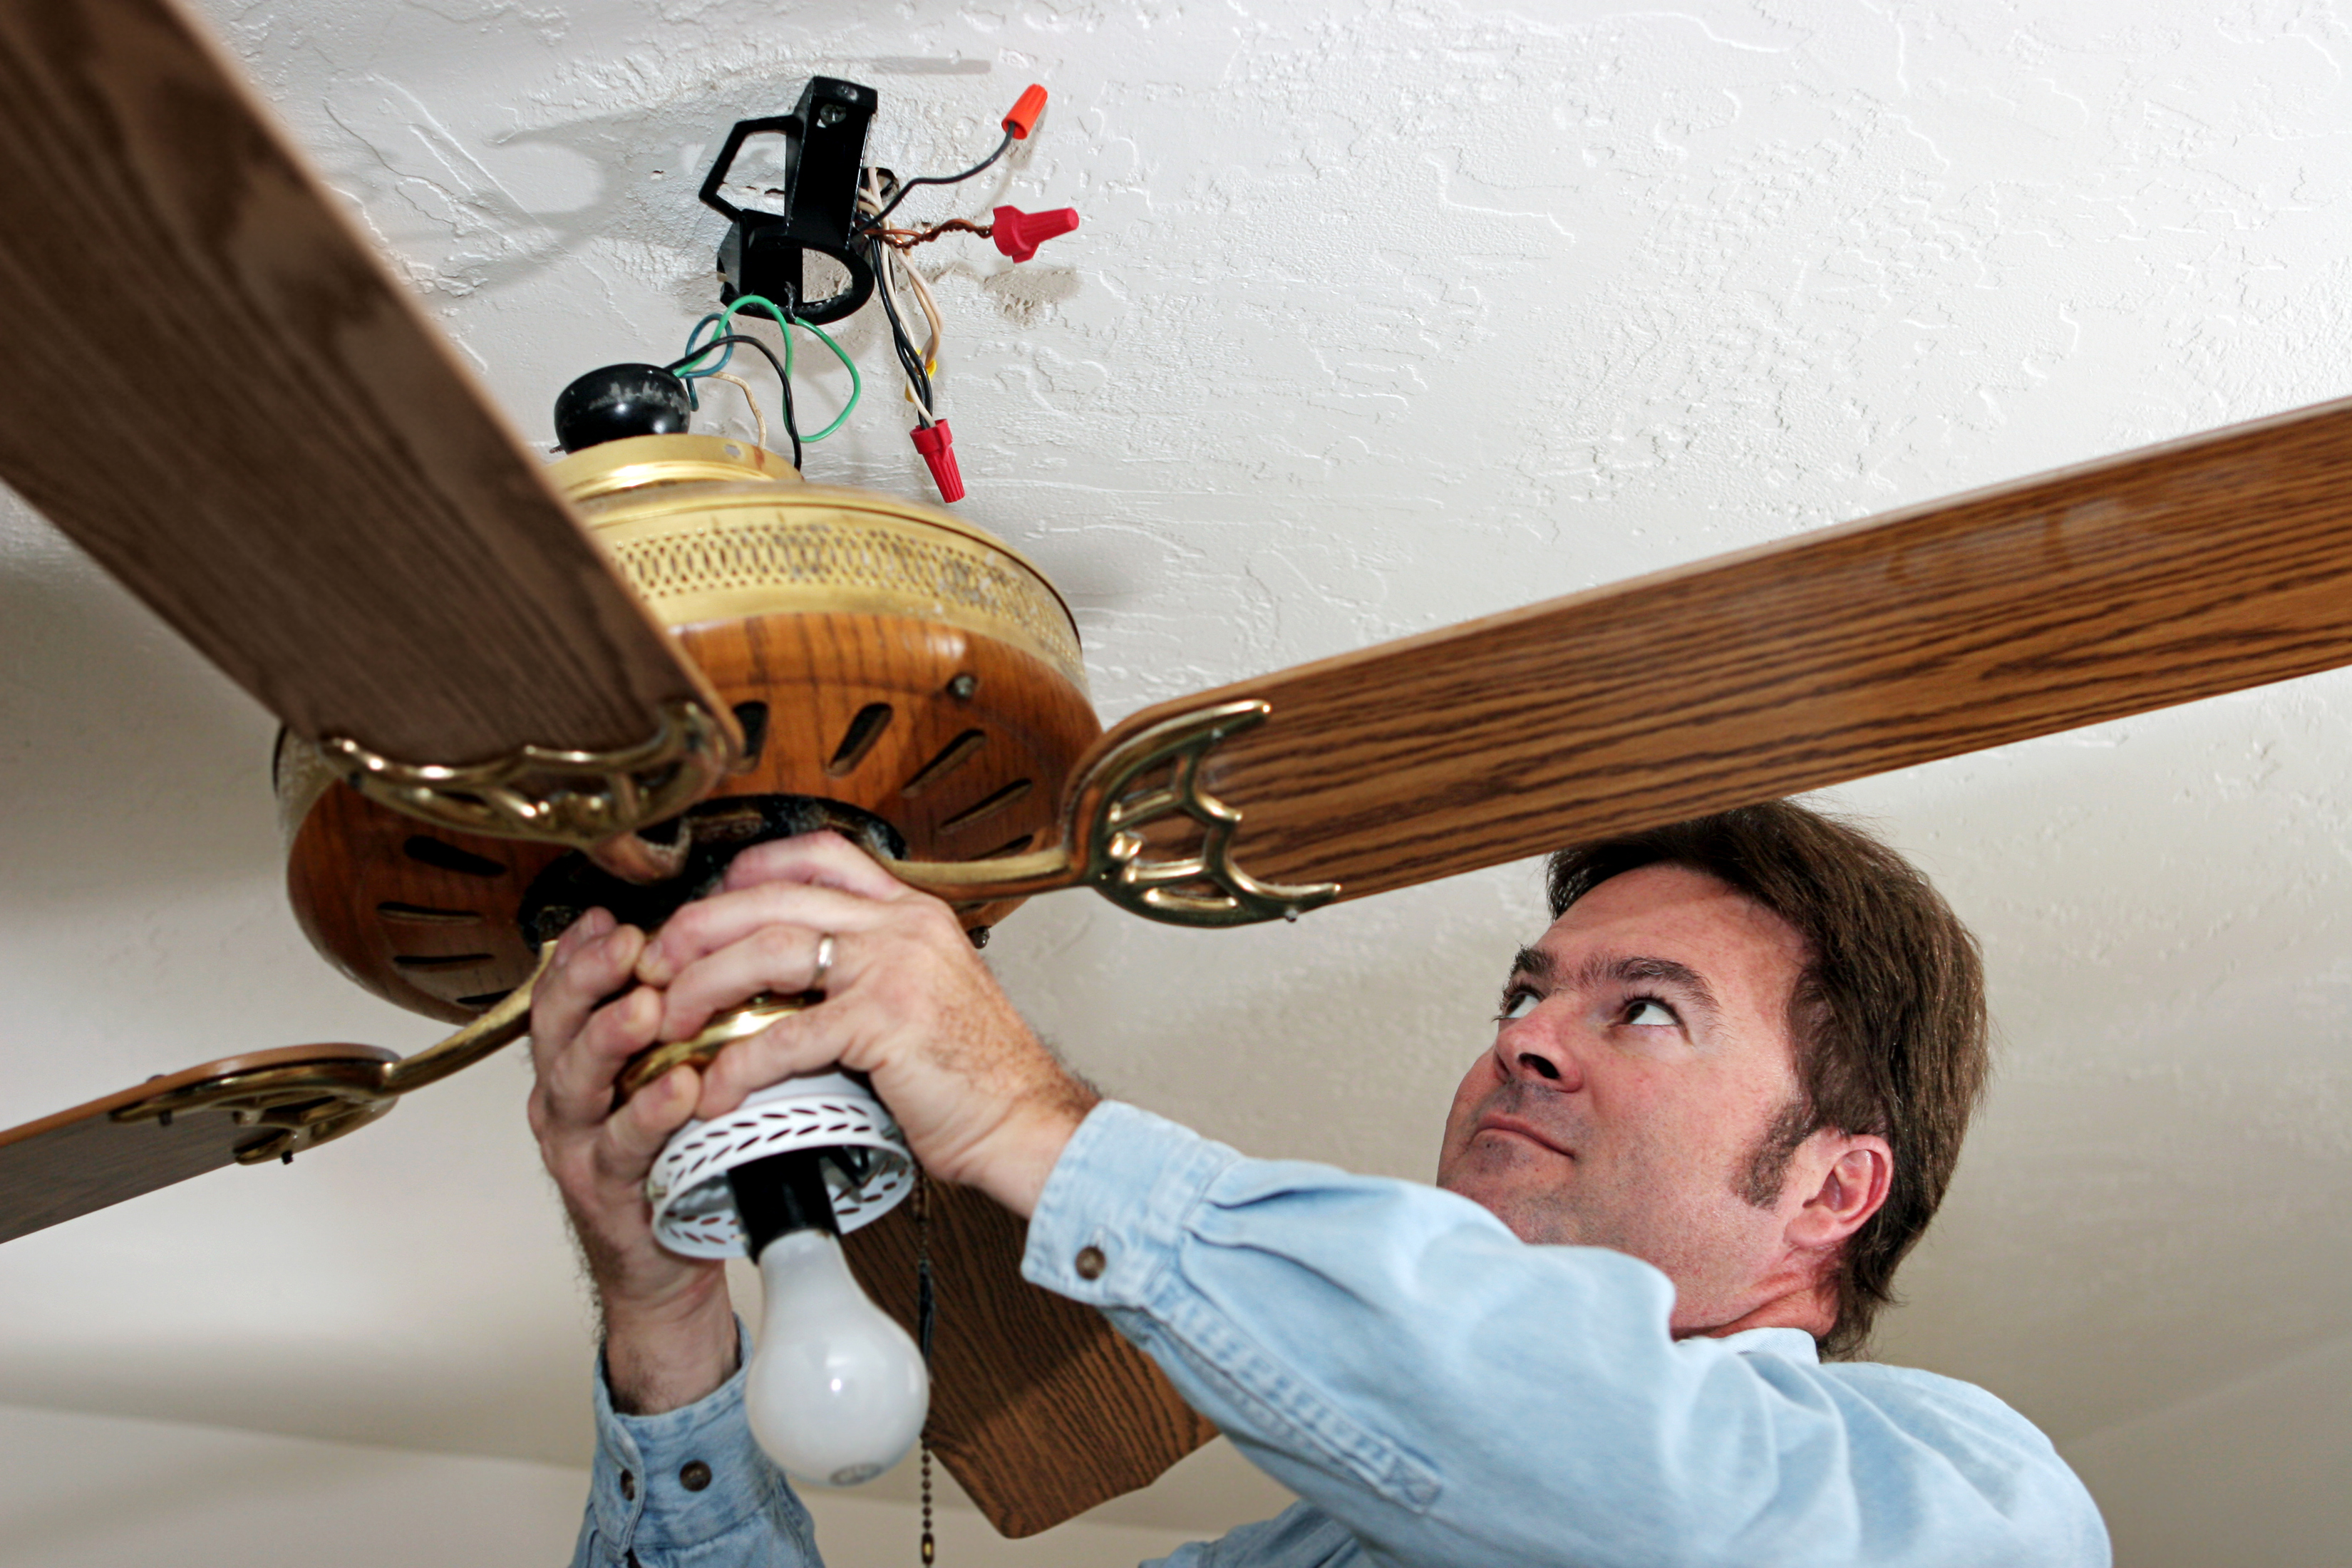
Step 3: Tighten Loose Screws and Connections
Loose screws and connections can cause the components of your ceiling fan to vibrate and produce unwanted noise. By tightening these screws and connections, you can eliminate the source of the noise and restore stability to your fan. Follow these steps to tighten loose screws and connections:
- Inspect the fan housing: Carefully examine the fan housing and identify any visible screws or fasteners.
- Choose the appropriate tool: Depending on the type of screws or fasteners used, select the correct screwdriver or wrench.
- Tighten the visible screws and fasteners: Using the chosen tool, gently tighten any loose screws or fasteners you find. Make sure not to overtighten, as this can cause damage to the fan or its components.
- Check for hidden screws or connections: Some ceiling fans have additional screws or connections that are not immediately visible. Refer to your fan’s instruction manual or visually inspect the fan to locate any hidden screws or connections.
- Tighten all remaining screws and connections: Using the appropriate tool, carefully tighten all the remaining screws and connections you find. Ensure that each screw is secure but again, be mindful not to overtighten.
- Test the fan: Once you have tightened all the screws and connections, turn on the power supply and test the fan. Listen for any remaining noise or vibrations. If the fan still makes noise, proceed to the next step for further troubleshooting.
By tightening loose screws and connections, you can eliminate one of the common causes of a noisy ceiling fan. However, it is important to note that if the noise persists after this step, there may be other underlying issues that need to be addressed. Follow the subsequent steps to identify and resolve any additional causes of the noise.
Step 4: Lubricate the Motor and Bearings
If your ceiling fan is still producing noise after cleaning and tightening loose screws, the problem may lie with the motor or bearings. Over time, these components can become dry and generate friction, resulting in irritating sounds. Lubricating the motor and bearings can help reduce friction and eliminate the noise. Follow these steps to lubricate the motor and bearings of your ceiling fan:
- Gather the necessary lubricant: Check the manufacturer’s instructions or consult the fan’s manual to determine the appropriate type of lubricant for your particular ceiling fan model.
- Locate the motor and bearings: Depending on the design, the motor and bearings may be accessible from the bottom of the fan or require you to remove the fan blades or motor housing.
- Apply the lubricant: Using the recommended lubricant, apply a few drops onto the motor shaft and bearings. Be careful not to apply excessive amounts of lubricant as it may drip onto other components or cause damage.
- Rotate the fan: After applying the lubricant, spin the fan blades manually a few times to evenly distribute the lubricant throughout the motor and bearings.
- Clean up any excess lubricant: Wipe away any excess lubricant that may have dripped onto the housing or other parts of the fan to prevent it from attracting dust and debris.
- Reassemble the fan: If you had to remove any parts to access the motor and bearings, carefully reassemble the fan, following the manufacturer’s instructions.
- Test the fan: Turn on the power supply and test the fan to ensure that the lubrication has reduced the noise. If the fan is still noisy, proceed to the next step for further troubleshooting.
Lubricating the motor and bearings can significantly reduce noise caused by friction and improve the overall performance of your ceiling fan. However, remember to follow the manufacturer’s guidelines and recommendations for lubrication to ensure the effectiveness and longevity of your fan.
If the noise persists after lubrication, it may indicate a more significant issue that requires further investigation. Move on to the next step to address the potential cause of the noise.
Step 5: Balance the Fan Blades
If your ceiling fan continues to produce noise even after cleaning, tightening screws, and lubricating the motor and bearings, unbalanced fan blades could be the culprit. When the blades are not properly balanced, they can create wobbling motions that generate noise. Balancing the fan blades will help eliminate the vibration and restore quiet operation. Follow these steps to balance your fan blades:
- Turn off the power: As a safety precaution, turn off the power supply to the fan before proceeding.
- Observe the fan: Stand directly beneath the fan, looking up at the blades. Observe any noticeable wobbling or irregular movements while the fan is running.
- Identify the problematic blade: Slowly and carefully observe each blade to identify the one causing the imbalance and wobbling.
- Add or remove weight: If the blade is lighter and causing the imbalance, add an adhesive weight to its top side. If the blade is heavier, remove weights or choose a different blade that is more balanced.
- Test the balance: Turn on the fan and observe its operation. If the wobbling persists, continue adjusting weights or swapping blades until the fan operates smoothly and quietly.
- Secure the weights: Once you have achieved the desired balance, securely attach the adhesive weights to the top side of the blade, ensuring they are properly adhered and won’t shift or detach during fan operation.
- Reassemble and test: After ensuring the proper balance, reassemble any removed parts of the fan and turn on the power. Test the fan again to confirm that the noise has been eliminated.
Properly balancing your fan blades is essential to prevent noise caused by wobbling and vibrations. Take your time to carefully assess and adjust each blade until you achieve stable and smooth operation. It may require some trial and error, but the effort will be worth it for a quiet and peaceful fan experience.
If the noise persists even after balancing the fan blades, it is time to move on to the next step to address any potential issues with worn-out or damaged components.
Read more: How To Use A Ceiling Fan
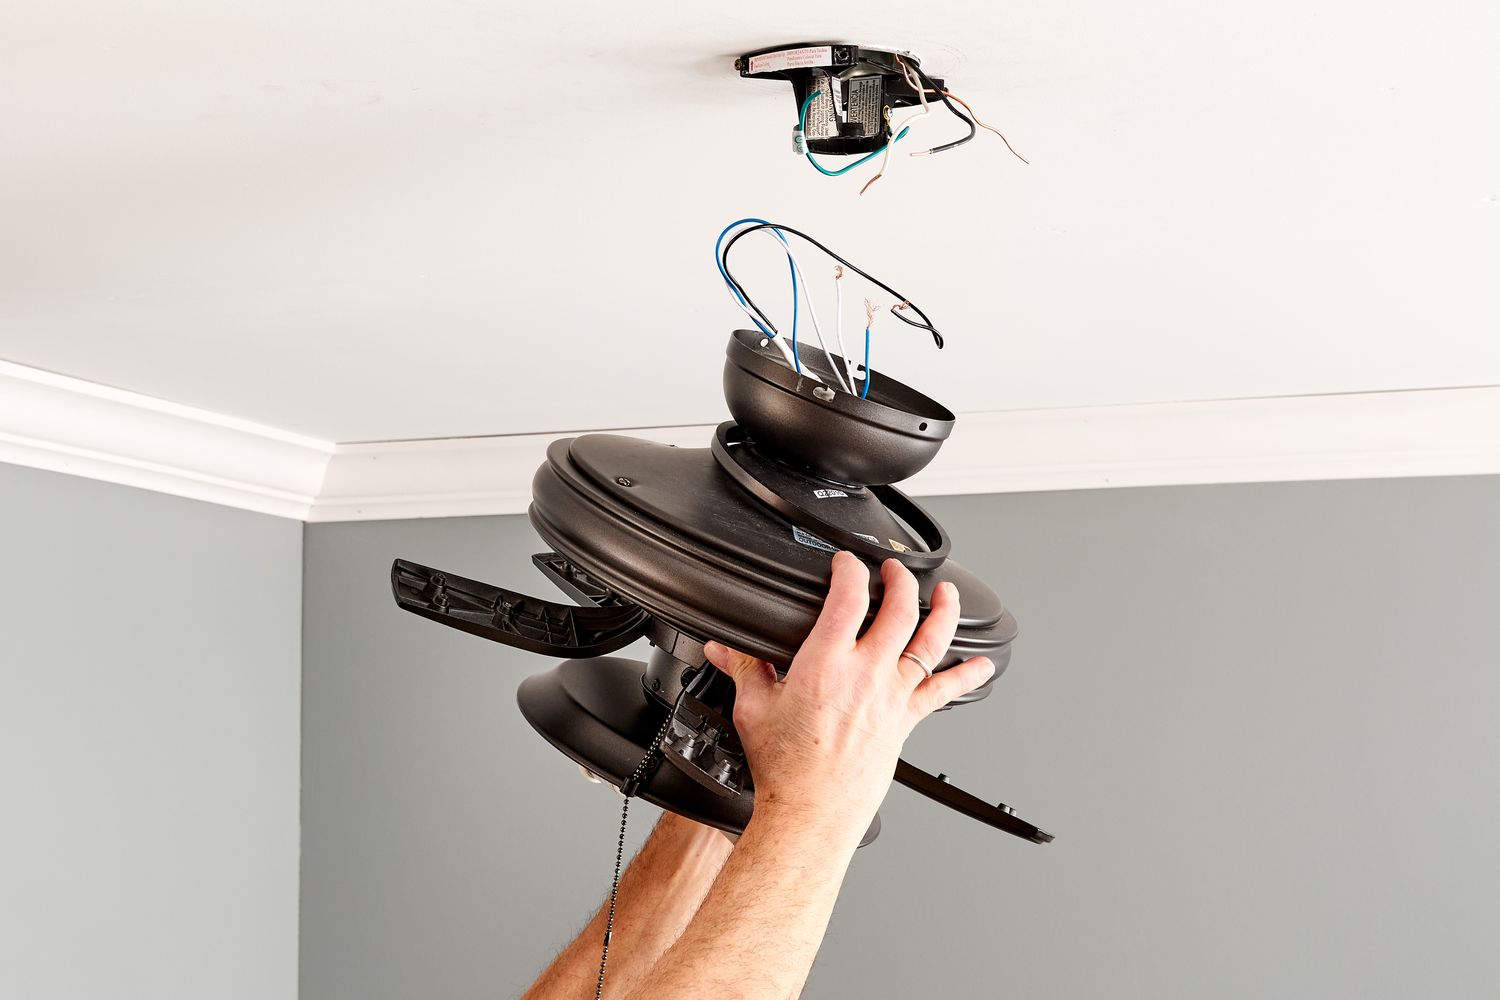
Step 6: Replace Worn-Out Parts
If your ceiling fan is still making noise after cleaning, tightening screws, lubricating the motor, and balancing the blades, it is possible that there are worn-out or damaged parts causing the issue. Over time, components such as fan blades, brackets, or flywheels can wear down, leading to increased noise during operation. In this step, we will guide you through the process of replacing these worn-out parts:
- Identify the problematic part: Carefully examine your ceiling fan to determine which specific part is causing the noise. It could be a bent or damaged fan blade, a worn-out bracket, or a faulty flywheel.
- Order the replacement part: Once you have identified the problematic part, refer to the fan’s manual or contact the manufacturer to find the correct replacement. Make sure to provide them with the model number of your ceiling fan for accurate part identification.
- Turn off the power: Before proceeding with any repairs or replacements, remember to turn off the power supply to the fan to ensure your safety.
- Remove the old part: Follow the instructions provided in the fan’s manual to safely remove the worn-out part. This may involve unscrewing bolts, detaching wires, or disconnecting brackets.
- Install the new part: Carefully install the replacement part as instructed in the manual. Ensure that all connections are secure and aligned correctly.
- Tighten screws and connections: Double-check that all screws and connections related to the replacement part are properly tightened to prevent any future issues.
- Test the fan: Once the replacement part is installed, turn on the power and test the fan to ensure that the noise has been resolved. Listen for any unusual sounds or vibrations. If the noise persists, proceed to the next step for further troubleshooting.
Replacing worn-out parts can be an effective solution to eliminate persistent noise in your ceiling fan. It is essential to use the correct replacement parts and carefully follow the manufacturer’s instructions to ensure proper installation and optimal performance. If you are unsure about completing the replacement on your own, consider consulting a professional electrician or technician for assistance.
If the noise still persists after replacing the worn-out parts, proceed to the final step to explore the option of installing a fan noise reduction kit.
Step 7: Install a Fan Noise Reduction Kit
If you’ve tried all the previous steps and your ceiling fan is still producing noise, installing a fan noise reduction kit can be a viable solution. These kits are designed to minimize vibrations and reduce noise by providing additional insulation and dampening mechanisms. Follow these steps to install a fan noise reduction kit:
- Research and purchase a noise reduction kit: Look for a fan noise reduction kit that is compatible with your ceiling fan model. Consider factors such as the kit’s quality, customer reviews, and its effectiveness in reducing noise.
- Turn off the power: Before starting any installation work, ensure that the power supply to the fan is turned off to prevent any electrical accidents.
- Read the instructions: Familiarize yourself with the instructions provided with the fan noise reduction kit. Each kit may have its own specific installation process, so it’s important to follow the manufacturer’s guidelines carefully.
- Disassemble the fan if necessary: Depending on the design of your ceiling fan and the noise reduction kit, you may need to disassemble certain parts of the fan to install the kit properly. Follow the instructions provided to take apart the fan as needed.
- Install the noise reduction components: Attach the noise reduction components included in the kit to the appropriate areas of the fan. This may include insulating pads, vibration-dampening mounts, or sound-absorbing materials.
- Reassemble the fan: Once the noise reduction components are installed, reassemble the fan following the manufacturer’s instructions. Make sure all connections and screws are secure.
- Turn on the power and test the fan: Restore the power supply to the fan and test its operation. Listen for any noticeable reduction in noise. If the noise persists, double-check that the noise reduction components are properly installed and try adjusting their positioning if necessary.
Installing a fan noise reduction kit can be an effective last resort for addressing persistent noise issues. These kits are designed to dampen vibrations, reduce noise levels, and improve the overall operation of your ceiling fan.
If the noise continues even after installing a fan noise reduction kit, or if you’re uncertain about the installation process, it may be time to consult a professional electrician or technician for further assistance in troubleshooting and resolving the noise problem with your ceiling fan.
Conclusion
A noisy ceiling fan can be a disruptive and irritating problem to deal with. However, with the right approach and step-by-step troubleshooting, you can successfully address and resolve the noise issue.
In this comprehensive guide, we covered various potential causes of a noisy ceiling fan, including dust buildup, loose screws, poor blade balance, worn-out parts, and more. We provided detailed steps for cleaning the fan, tightening screws and connections, lubricating the motor and bearings, balancing the fan blades, replacing worn-out parts, and even installing a fan noise reduction kit.
It’s important to prioritize safety throughout the process by turning off the power supply, using personal protective equipment, and following manufacturer instructions. Remember to exercise caution and seek professional assistance if you are uncomfortable or unsure about any step.
By following these steps and addressing the specific cause of the noise, you can restore your ceiling fan to its quiet and efficient operation. A clean, properly balanced, and well-maintained ceiling fan can provide you with the cool breeze you desire without the distracting noise.
However, if you’ve tried all the steps and the noise persists, it may be indicative of a deeper issue or a more complex mechanical problem. In such cases, it is recommended to reach out to a professional electrician or technician who can provide further guidance and assistance.
Remember, maintaining your ceiling fan regularly and promptly addressing any noise issues can help prolong its lifespan and ensure a comfortable and peaceful living environment.
Frequently Asked Questions about How To Quiet Noisy Ceiling Fan
Was this page helpful?
At Storables.com, we guarantee accurate and reliable information. Our content, validated by Expert Board Contributors, is crafted following stringent Editorial Policies. We're committed to providing you with well-researched, expert-backed insights for all your informational needs.


0 thoughts on “How To Quiet Noisy Ceiling Fan”