Articles
How To Fix Linoleum Floor
Modified: October 20, 2024
Learn how to fix your linoleum floor with these informative articles. Find step-by-step guides and expert tips to restore your flooring to its former glory.
(Many of the links in this article redirect to a specific reviewed product. Your purchase of these products through affiliate links helps to generate commission for Storables.com, at no extra cost. Learn more)
Introduction
In this article, we will explore the steps and techniques on how to fix a linoleum floor. Linoleum flooring is a popular choice among homeowners due to its durability, affordable price, and easy maintenance. However, over time, linoleum floors can experience wear and tear, such as scratches, tears, or adhesive residue. It is important to address these issues promptly to ensure the longevity and aesthetics of your linoleum floor.
Before diving into the repair process, it is essential to gather the necessary tools and materials. Having the right equipment will help you tackle the repair effectively and efficiently. Some of the tools you will need include:
- Utility knife
- Straight edge or ruler
- Heat gun or blow dryer
- Linoleum adhesive
- Putty knife or scraper
- Replacement linoleum tiles
- Adhesive remover
- Clean cloth or sponge
Now that we have our tools ready, let’s move on to the step-by-step process of fixing a linoleum floor.
Key Takeaways:
- Proper maintenance and timely repairs, such as fixing small tears or cuts and replacing damaged tiles, can extend the lifespan of your linoleum floor, keeping it looking fresh and pristine for years to come.
- Implementing a regular cleaning and maintenance routine, along with preventive measures, will not only preserve the aesthetics of your linoleum floor but also create a clean and healthy environment for your family.
Read more: How To Clean A Linoleum Floor
Tools and Materials Needed
Before starting the repair process for your linoleum floor, it’s important to have all the necessary tools and materials at hand. Here’s a list of what you’ll need:
Tools:
- Utility Knife: A sharp utility knife will be used to cut and trim the linoleum.
- Straight Edge or Ruler: This will help you make precise cuts and measurements.
- Heat Gun or Blow Dryer: A heat gun or blow dryer can be used to soften the adhesive and make it easier to remove or reposition the linoleum.
- Putty Knife or Scraper: A putty knife or scraper will be used to remove adhesive residue from the floor.
Materials:
- Linoleum Adhesive: You’ll need a suitable linoleum adhesive to secure any loose or damaged tiles.
- Replacement Linoleum Tiles: If you have severely damaged tiles that cannot be repaired, you’ll need to have replacement tiles that match the design and size of your existing linoleum.
- Adhesive Remover: An adhesive remover will be used to dissolve and remove any stubborn adhesive residue from the floor.
- Clean Cloth or Sponge: You’ll need a clean cloth or sponge to clean the floor before and after the repair process.
Having these tools and materials ready will ensure that you can carry out the repair process smoothly and efficiently. Now, let’s move on to the step-by-step instructions on how to fix a linoleum floor.
Step 1: Clean the Floor
Before you begin repairing your linoleum floor, it’s essential to ensure that the surface is clean and free from any dirt, dust, or debris. Cleaning the floor will help provide a smooth and even surface for any repairs or installations.
To clean the floor, follow these steps:
- Sweep or Vacuum: Start by removing any loose dirt, dust, or debris from the linoleum. You can use a broom or vacuum cleaner for this step.
- Mix a Cleaning Solution: Prepare a cleaning solution by mixing a few drops of mild detergent or linoleum floor cleaner with warm water. Be sure to read the instructions on the cleaning product for proper dilution ratios.
- Mop the Floor: Dip a clean cloth or sponge into the cleaning solution and wring out any excess liquid. Begin mopping the floor, focusing on one section at a time. Make sure to thoroughly clean the surface, including any corners or hard-to-reach areas.
- Rinse the Floor: After mopping, rinse the floor with clean water to remove any traces of cleaning solution. This step is important to prevent any residue buildup on the linoleum surface.
- Dry the Floor: Finally, use a clean towel or allow the floor to air dry completely before proceeding to the next repair step. It’s important to ensure that the linoleum is completely dry to avoid any issues with adhesion or installation.
By thoroughly cleaning the linoleum floor, you’ll create an optimal surface for the repair process. Cleaning the floor also helps to maintain the longevity and appearance of your linoleum flooring.
Once the floor is clean and dry, you can move on to the next step: inspecting the floor for any damages.
Read more: Linoleum Vs Vinyl Flooring: Which is Better?
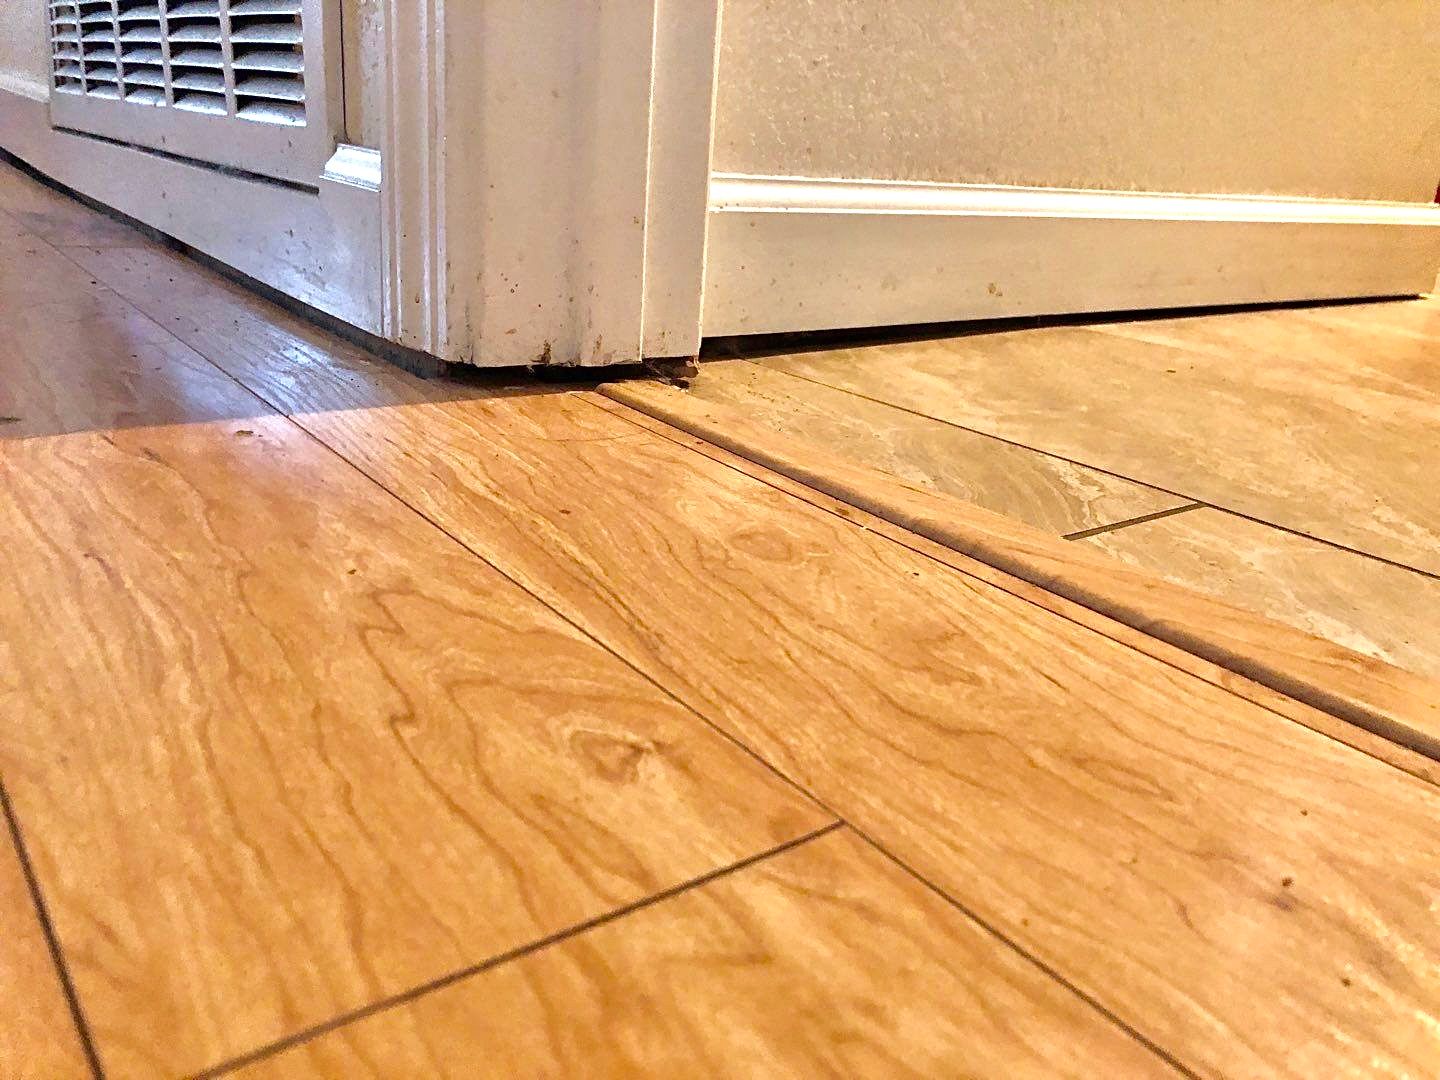
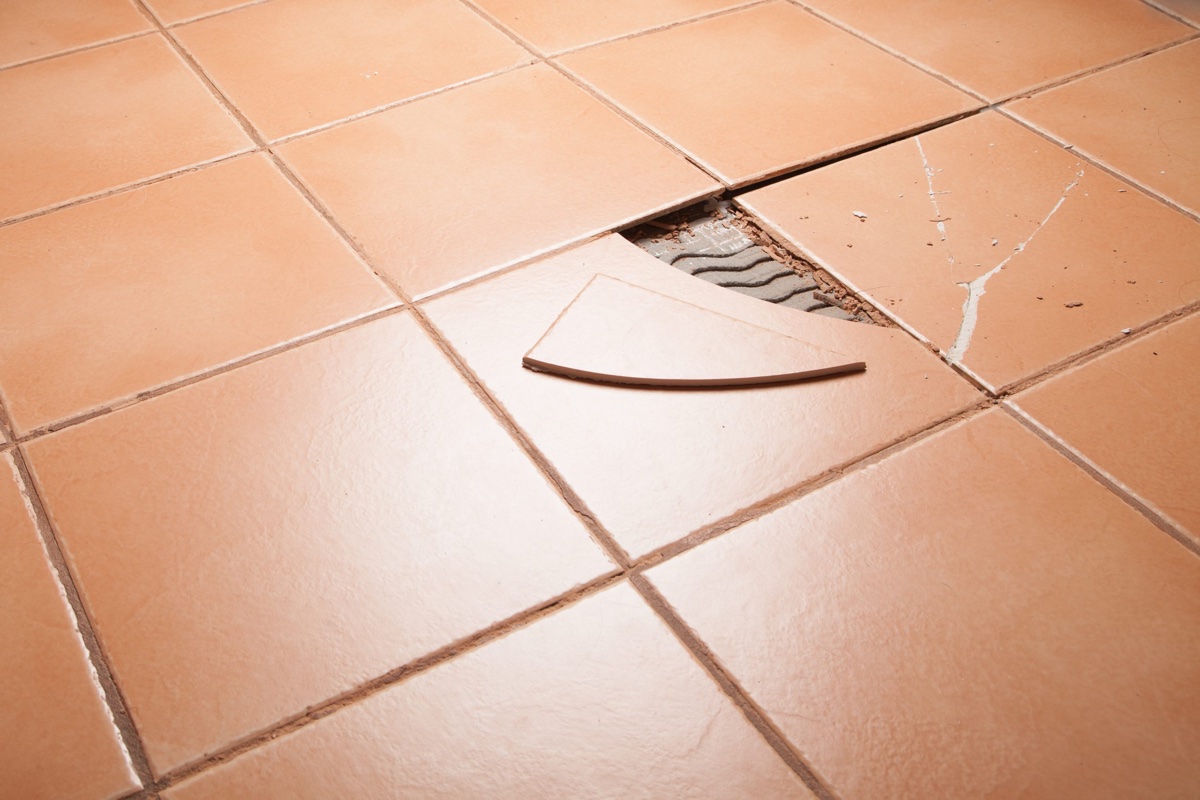
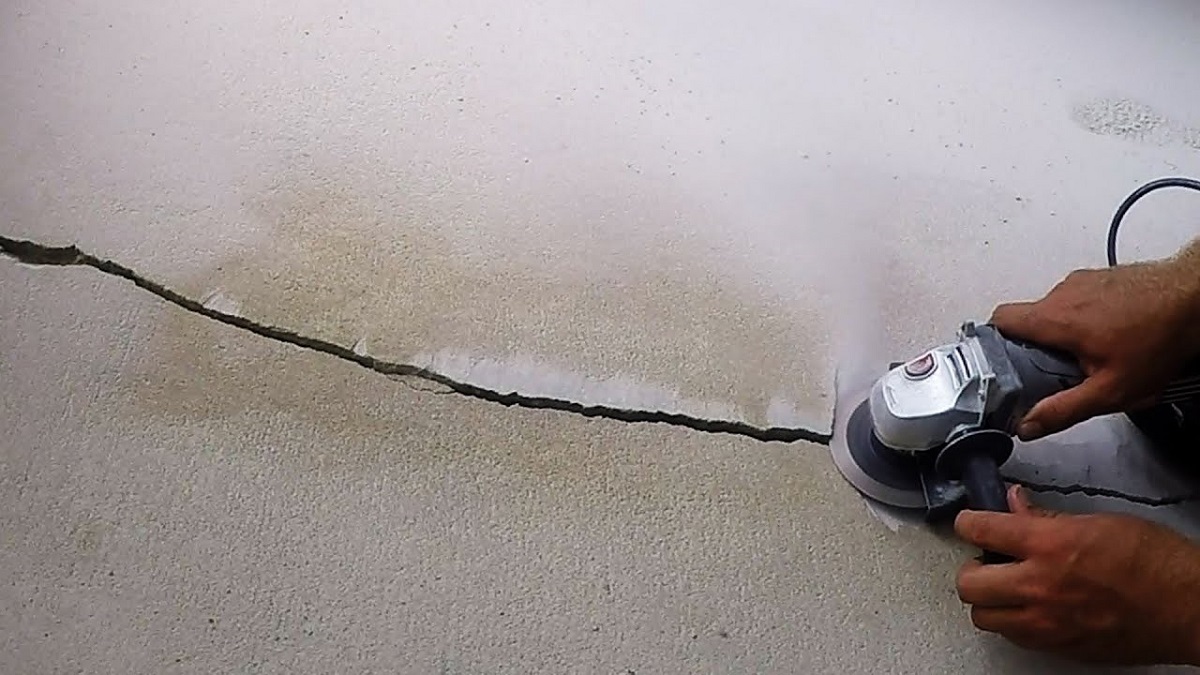
Step 2: Inspect for Damages
After cleaning the linoleum floor, the next step is to carefully inspect the flooring for any damages. This step is crucial as it helps you identify areas that require repair or replacement.
During the inspection, pay attention to the following:
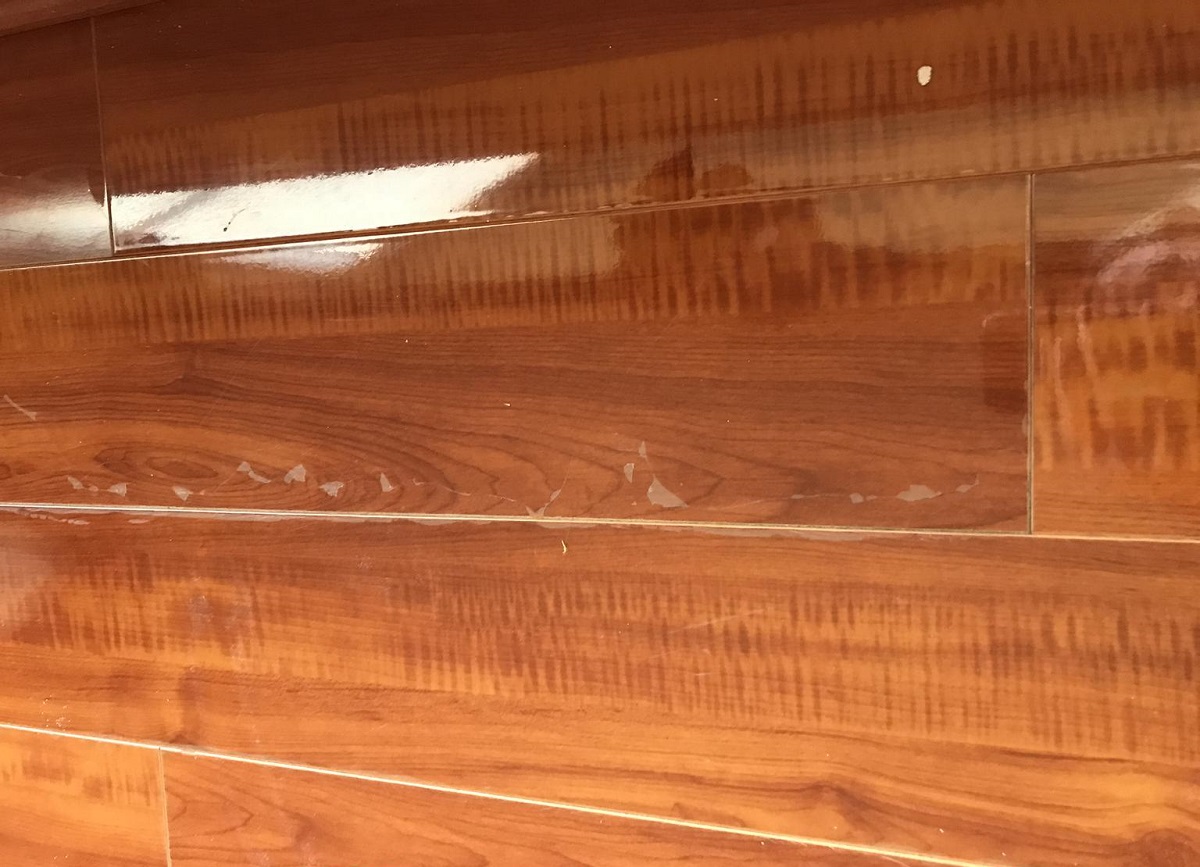
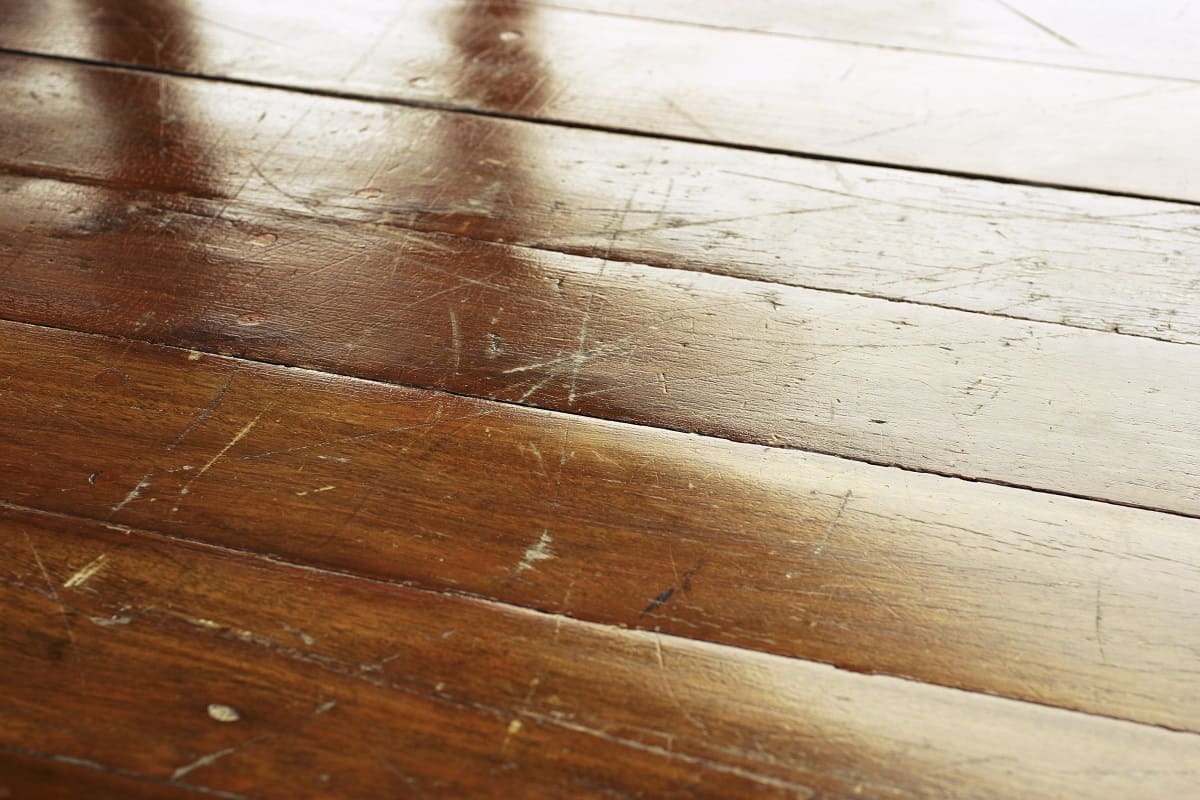
- Scratches: Look for any visible scratches or gouges on the surface of the linoleum. These can be caused by furniture, sharp objects, or heavy foot traffic.
- Tears or Cuts: Check for any tears or cuts in the linoleum, especially in high-traffic areas or near the edges. These can occur due to accidents or improper installation.
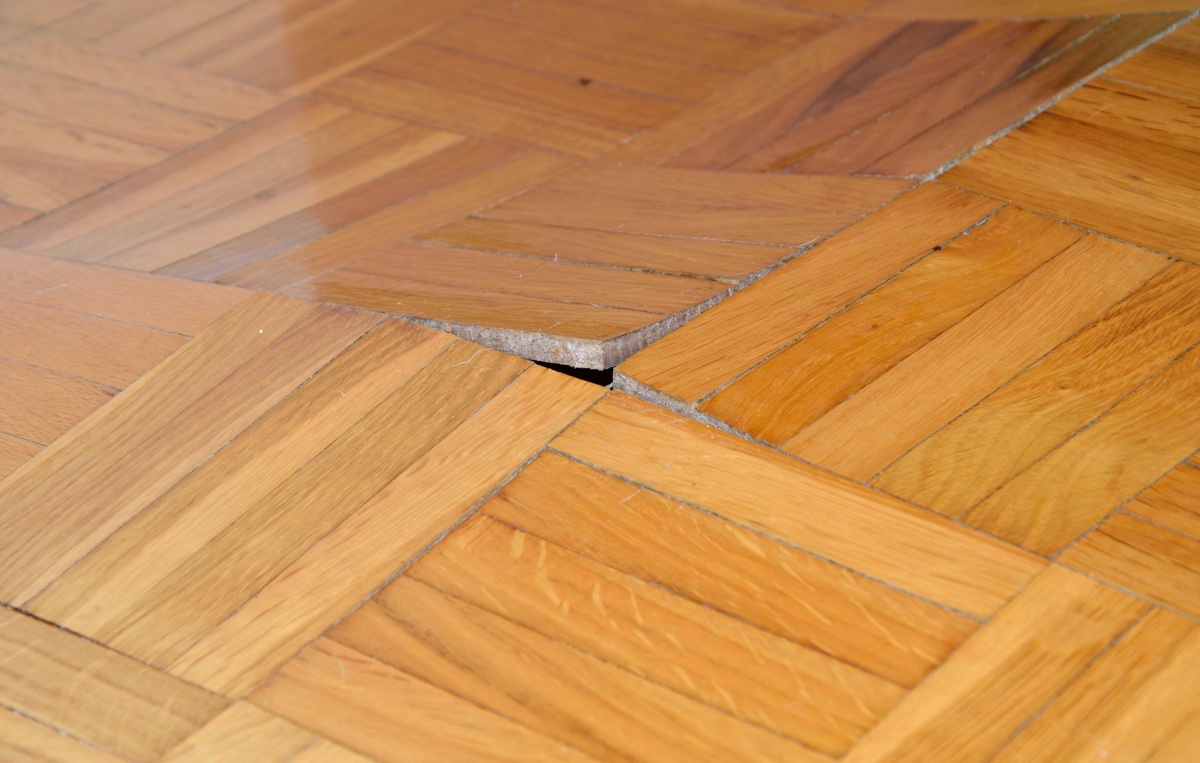
- Loose Tiles: Gently press down on each tile to check if any are loose or not securely adhered to the floor. Loose tiles can cause tripping hazards and further damage if not addressed.
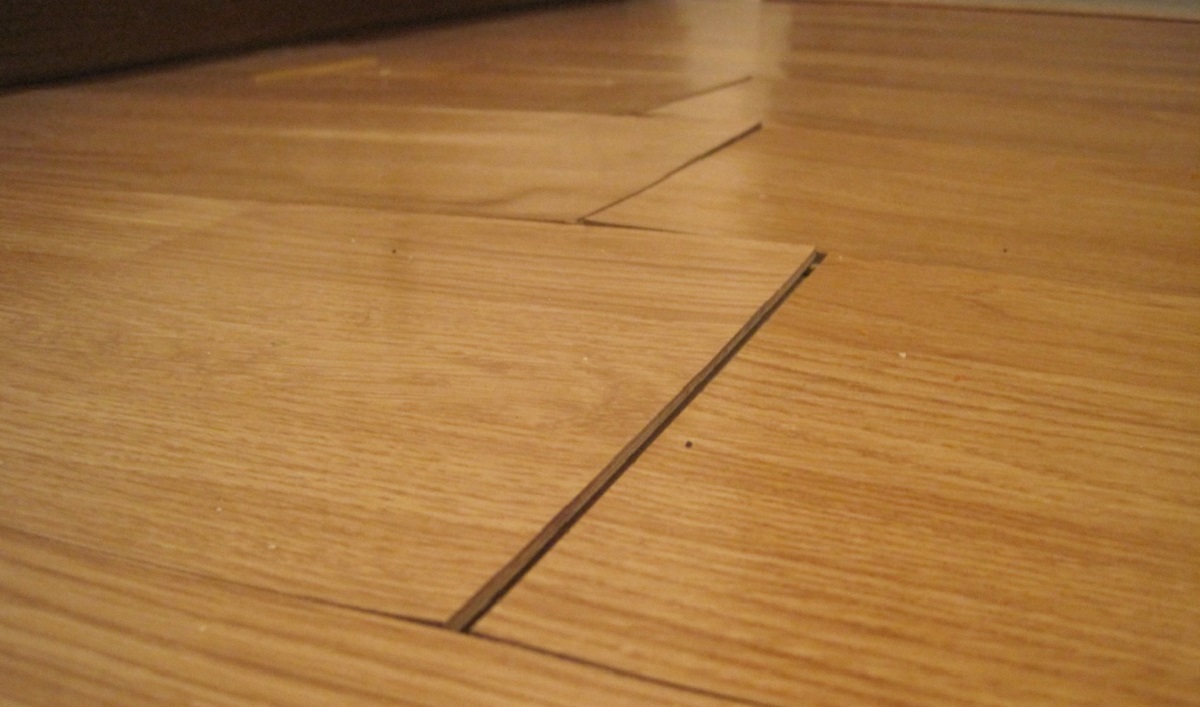
- Seam Gaps: Inspect the seams between the linoleum tiles to ensure that there are no noticeable gaps or separations. Over time, these gaps can collect dirt and moisture, leading to further issues.
- Adhesive Residue: Look for any sticky or residue spots on the floor, indicating leftover adhesive from previous installations or repairs.
Make a note of any damages or problem areas you find during the inspection. This will help you prioritize and plan the necessary repairs. Minor damages, such as small scratches or cuts, can often be fixed with simple techniques, while more significant issues may require tile replacement.
Once you have completed the inspection, you can proceed to fix the identified damages using the appropriate repair methods. In the next steps, we will cover the repair process for small tears or cuts and how to replace damaged linoleum tiles.
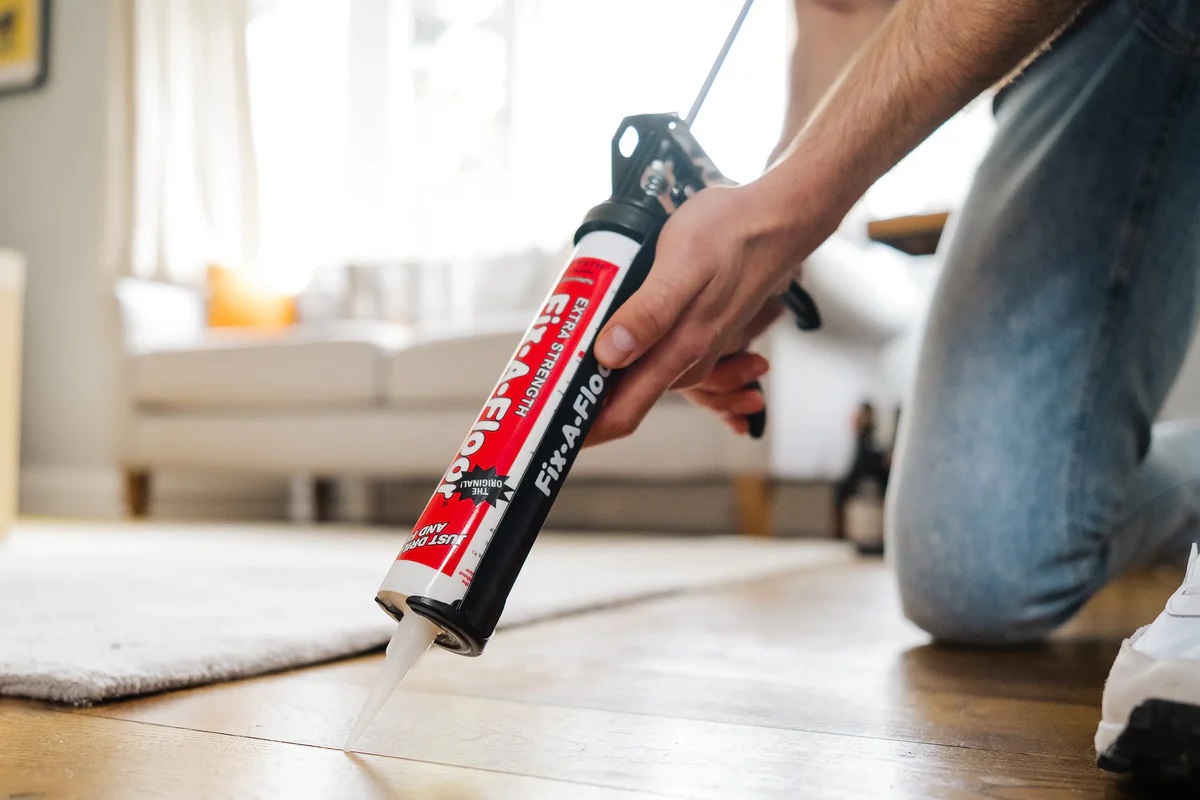
Step 3: Repair Small Tears or Cuts
If your linoleum floor has small tears or cuts, you can repair them easily. Fixing these minor damages will prevent them from worsening and improve the overall appearance of your floor. Follow these steps to repair small tears or cuts:
- Clean the Damaged Area: Begin by cleaning the area around the tear or cut. Use a mild detergent or linoleum floor cleaner and a clean cloth to remove any dirt or debris.
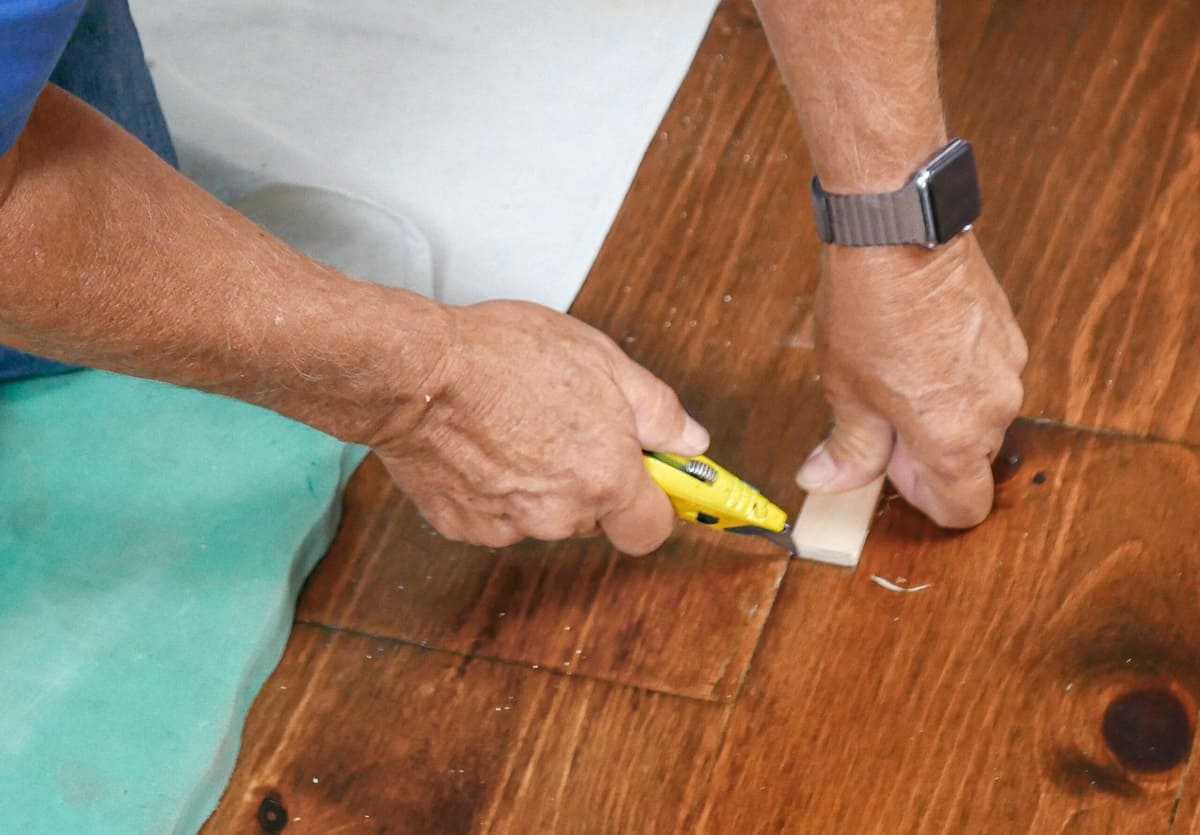
- Trim the Edges: Using a sharp utility knife, carefully trim any frayed edges or uneven sections around the tear or cut. Be sure to cut in a straight line to achieve a clean repair.
- Apply Adhesive: Apply a small amount of linoleum adhesive to the backside of the torn or cut section, using a putty knife or scraper. Make sure to spread the adhesive evenly, covering the entire surface of the damaged area.
- Press and Smooth: Gently press the repaired section back into place, aligning it with the surrounding tiles. Use a clean cloth or roller to smooth out any air bubbles and ensure a secure bond.
- Allow for Drying: Let the adhesive dry according to the manufacturer’s instructions. This usually takes a few hours to ensure a strong bond.
- Inspect and Clean: Once the repaired section is dry, carefully inspect the area for any additional issues. Wipe off any excess adhesive with a clean cloth dampened with adhesive remover or warm water.
By following these steps, you can effectively repair small tears or cuts in your linoleum floor. It’s important to address these damages promptly to prevent them from spreading or becoming more noticeable.
If you have larger or more severe damages that cannot be repaired, you may need to consider replacing the damaged linoleum tiles. We will cover the replacement process in the next step.
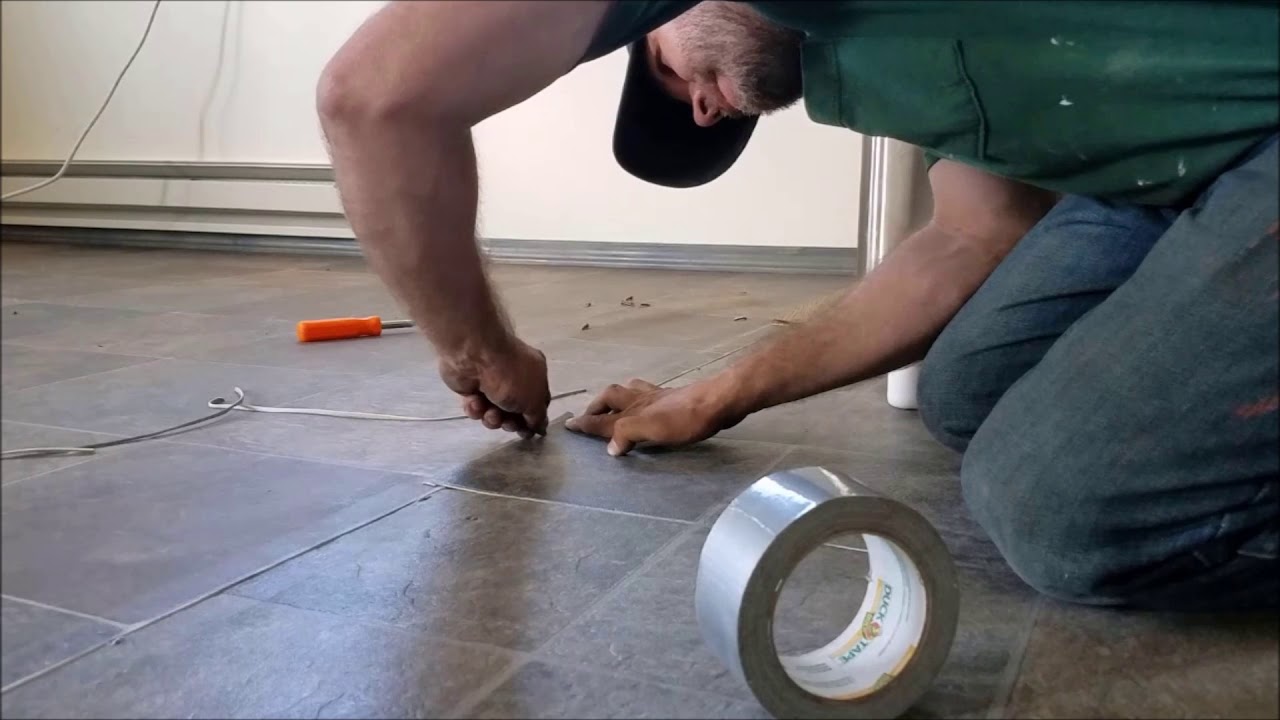
Step 4: Replace Damaged Linoleum Tiles
If you have severely damaged linoleum tiles that cannot be repaired, it’s best to replace them to maintain the overall integrity and appearance of your floor. Here’s how you can replace damaged linoleum tiles:
- Identify the Damaged Tiles: Begin by identifying the tiles that need to be replaced. Look for tiles that are severely scratched, torn, or have extensive damage.
- Measure and Order Replacement Tiles: Measure the size and shape of the damaged tiles accurately. You can then order replacement tiles that match the design and dimensions of your existing linoleum floor. It’s important to ensure a seamless blend between the new and old tiles.
- Prepare the Area: Before removing the damaged tiles, clear the surrounding area and remove any furniture or obstacles. This will give you enough space to work and prevent any damage to the adjacent tiles.
- Remove the Damaged Tiles: Use a putty knife or scraper to carefully lift and pry the damaged tiles from the floor. Start at one edge and work your way towards the center, being cautious not to cause any additional damage to the surrounding tiles.
- Clean the Subfloor: Once the damaged tiles are removed, clean the subfloor thoroughly. Remove any adhesive residue or debris using a scraper or adhesive remover. Ensure that the subfloor is in good condition and free of any moisture or irregularities.
- Install the Replacement Tiles: Apply a suitable linoleum adhesive to the backside of the replacement tile using a putty knife or trowel. Carefully place the tile into position, aligning it with the surrounding tiles. Press down firmly to ensure proper adhesion. Use a cloth or roller to remove any air bubbles and achieve a flat surface.
- Allow for Drying: Give the adhesive enough time to dry according to the manufacturer’s instructions. This typically takes a few hours or overnight. Avoid walking on the newly installed tiles during this time to prevent any shifting or misalignment.
- Clean the Floor: Once the adhesive is fully dry, clean the entire floor using a mild detergent or linoleum floor cleaner. This will remove any residue and ensure a uniform appearance throughout the floor.
By following these steps, you can successfully replace damaged linoleum tiles and restore the beauty of your floor. Remember to take your time and work carefully to achieve precise and professional-looking results.
In the next step, we will address the removal of adhesive residue, which may be necessary during the repair or replacement process.
To fix a linoleum floor, start by cleaning the surface thoroughly. Then, apply a high-quality adhesive to any loose or damaged areas, and press the linoleum back into place. Finally, use a roller to ensure a secure bond.
Step 5: Remove Adhesive Residue
During the repair or replacement process of your linoleum floor, you may encounter adhesive residue left behind from previous installations or repairs. It’s important to remove this residue to ensure a clean and smooth surface. Here’s how you can remove adhesive residue:
- Assess the Residue: Examine the floor to identify areas with adhesive residue. It may appear as sticky spots or hardened patches.
- Apply Adhesive Remover: Use an adhesive remover specifically designed for linoleum floors. Apply the remover to the affected areas, following the instructions provided by the manufacturer.
- Allow Penetration Time: Depending on the adhesive remover you’re using, allow it to penetrate the residue for the suggested amount of time. This will soften the adhesive and make it easier to remove.
- Scrape or Scrub the Residue: After the penetration time, use a putty knife, scraper, or scrub brush to carefully remove the adhesive residue. Be gentle to avoid damaging the linoleum surface. You may need to repeat this step several times to fully remove the residue.
- Clean the Area: Once the adhesive residue is removed, clean the area with a mild detergent or linoleum floor cleaner and a clean cloth or sponge. This will ensure that no traces of adhesive or residue are left behind.
- Rinse and Dry: Rinse the cleaned area with water to remove any cleaning solution or residue. Then, use a clean cloth or towel to dry the floor thoroughly.
By following these steps, you can effectively remove adhesive residue from your linoleum floor. It’s important to use proper techniques and products to avoid damaging the flooring surface.
Once the adhesive residue is removed, you can proceed to the final step: cleaning and maintaining the linoleum floor.
Read more: How To Remove Old Linoleum From Wood Floor
Step 6: Clean and Maintain the Linoleum Floor
After completing the repairs and replacements, it’s important to implement a regular cleaning and maintenance routine for your linoleum floor. Proper care will prolong the life of your flooring and keep it looking its best. Here are some tips on cleaning and maintaining your linoleum floor:
- Vacuum or Sweep Regularly: Remove loose dirt, dust, and debris by vacuuming or sweeping the floor on a regular basis. This will prevent them from scratching the surface.
- Mop with a Gentle Cleaner: Use a pH-neutral linoleum floor cleaner or a mixture of warm water and a mild detergent to mop the floor. Avoid using harsh chemicals or abrasive cleaners that can damage the linoleum.
- Wipe up Spills Immediately: Accidental spills should be cleaned up promptly to prevent staining or seepage beneath the linoleum. Use a clean cloth or paper towel to blot the spill gently.
- Avoid Excessive Water: While linoleum is water-resistant, excessive water can seep into the seams or the edges, causing damage. When mopping, wring out the mop or use a damp mop rather than a soaking wet one.
- Protect Against Furniture Scratches: Place felt pads or furniture sliders under the legs of furniture to prevent scratches and indentations on the floor surface.
- Use Mats or Rugs in High-Traffic Areas: Place mats or rugs in entranceways or high-traffic areas to trap dirt and debris. This will help protect the linoleum from excessive wear and tear.
- Avoid Sharp Objects: Be cautious with sharp objects that can potentially scratch or cut the linoleum. Avoid dragging heavy objects or using knives directly on the floor.
- Periodic Deep Cleaning: Every few months, consider doing a deeper clean on your linoleum floor. You can use a specialized linoleum floor cleaner or DIY solutions to remove any ingrained dirt or stains.
By following these cleaning and maintenance practices, your linoleum floor will remain in good condition and retain its appearance. Regular upkeep will ensure its longevity and minimize the need for extensive repairs or replacements in the future.
Congratulations! You have successfully learned how to fix a linoleum floor and maintain its beauty. With the right tools, materials, and techniques, you can keep your linoleum floor looking fresh and pristine for years to come.
Conclusion
Repairing and maintaining your linoleum floor is a worthwhile investment that will extend its lifespan and keep it looking beautiful for years to come. By following the steps outlined in this article, you can fix small tears or cuts, replace damaged tiles, remove adhesive residue, and establish a regular cleaning routine.
Ensuring a clean and well-maintained linoleum floor not only enhances the aesthetics of your space but also promotes a clean and healthy environment for you and your family. Regular cleaning and timely repairs will prevent further damage, reduce the risk of accidents, and save you from costly replacements in the future.
Remember to gather the necessary tools and materials for the repair process, including a utility knife, adhesive, replacement tiles, and adhesive remover. Take your time during each step to achieve precise and professional results.
Taking care of your linoleum floor goes beyond just fixing and cleaning it. It also involves implementing preventive measures such as using mats or rugs in high-traffic areas, placing furniture pads, and avoiding sharp objects. These small actions will protect your linoleum floor from unnecessary wear and tear.
By following the repair and maintenance recommendations in this article, you can ensure that your linoleum floor remains a durable, affordable, and visually appealing flooring choice. Regularly inspect and address any damages promptly, clean the floor with gentle solutions, and implement preventive measures to keep it in excellent condition.
Now that you have the knowledge and tools, it’s time to tackle those repairs and start enjoying your newly refreshed linoleum floor. Happy fixing!
Frequently Asked Questions about How To Fix Linoleum Floor
Was this page helpful?
At Storables.com, we guarantee accurate and reliable information. Our content, validated by Expert Board Contributors, is crafted following stringent Editorial Policies. We're committed to providing you with well-researched, expert-backed insights for all your informational needs.
0 thoughts on “How To Fix Linoleum Floor”