Articles
How To Fix Unlevel Floor
Modified: October 31, 2024
Learn effective techniques and articles to fix an unlevel floor quickly and efficiently. Put an end to your flooring woes with our expert tips and methods.
(Many of the links in this article redirect to a specific reviewed product. Your purchase of these products through affiliate links helps to generate commission for Storables.com, at no extra cost. Learn more)
Introduction
Having an unlevel floor can be a frustrating and potentially dangerous issue in any home or building. Not only does it create an uneven walking surface, but it can also lead to problems with furniture stability and can even affect the structural integrity of the building.
Fortunately, there are solutions available to fix an unlevel floor and restore it to its proper condition. In this article, we will explore the common causes of unlevel floors, how to assess the severity of the problem, and the step-by-step process of fixing an unlevel floor.
Whether you have noticeable slopes or dips in your floor or simply suspect that it may be unlevel, this guide will provide you with the knowledge and practical steps to address the issue. Before we delve into the solution, let’s first understand the potential causes of unlevel floors.
Key Takeaways:
- Identifying the root cause of an unlevel floor is crucial for effective repair. Whether it’s foundation issues, structural problems, or settling, understanding the cause is the first step towards a stable and level floor.
- Fixing an unlevel floor requires careful planning, precise execution, and attention to detail. From leveling with self-leveling compound to reinstalling flooring materials, each step contributes to a sturdy and visually appealing result.
Read more: How To Fix The Floor
Common Causes of Unlevel Floors
Unlevel floors can occur due to various reasons, and understanding the underlying cause is crucial for implementing the appropriate fix. Here are some common causes of unlevel floors:
- Foundation Issues: One of the primary culprits behind unlevel floors is foundation problems. If the foundation of your building is settling, shifting, or has been damaged in any way, it can lead to an unlevel floor. This can be a result of poor soil conditions, improper construction, or water damage.
- Structural Problems: In some cases, the structural components of a building may contribute to an unlevel floor. This includes issues with load-bearing walls, beams, or joists. Over time, these structural elements can weaken or experience damage, causing the floor to become uneven.
- Water Damage: Excessive moisture or water intrusion can wreak havoc on the flooring and subfloor, leading to warping, rotting, or unevenness. This can occur due to plumbing leaks, flooding, or high humidity levels.
- Settling: As a building settles over time, the ground beneath it can shift, causing the floor to become unlevel. This settling can occur due to various factors, including the type of soil, inadequate foundation preparation, or incorrect grading.
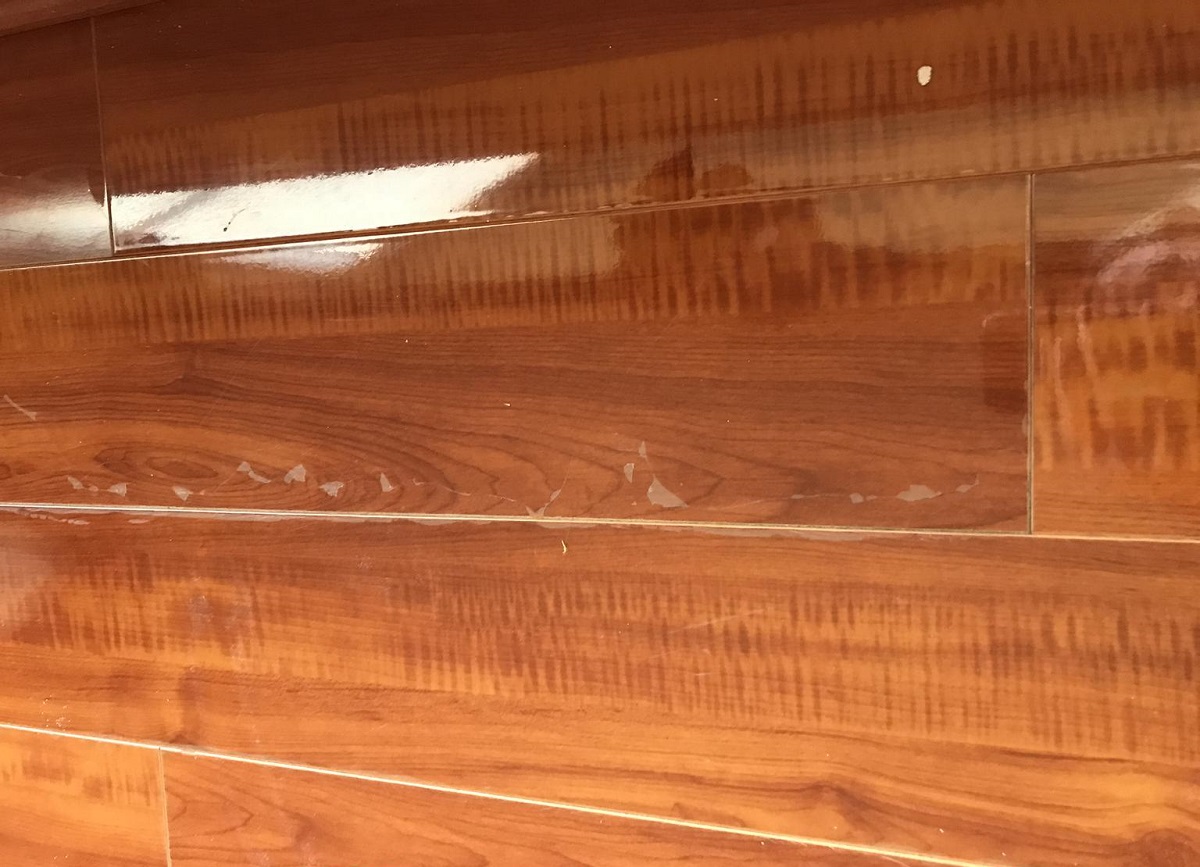
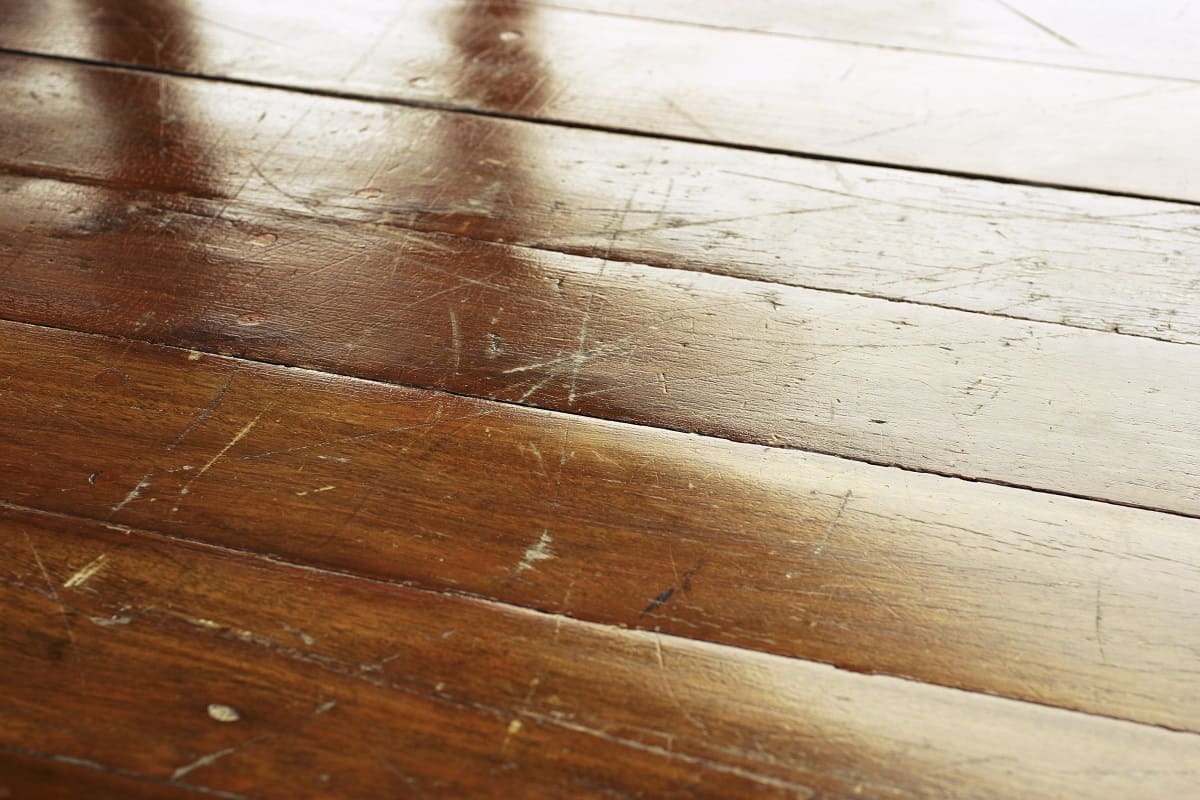
- Age and Wear: Floors naturally experience wear and tear over time, and this can contribute to their unevenness. Subfloor materials may deteriorate, causing sagging or warping, or flooring materials may become worn or damaged.
Understanding the cause of your unlevel floor is essential for determining the appropriate steps to fix it. In some cases, it may be necessary to address the underlying issue, such as foundation or structural problems, before focusing on leveling the floor.
Assessing the Severity of the Unlevel Floor
Before diving into the process of fixing an unlevel floor, it’s important to assess the severity of the issue. This will help determine the necessary steps and materials needed to achieve a level surface. Here are a few key points to consider when assessing the severity of an unlevel floor:
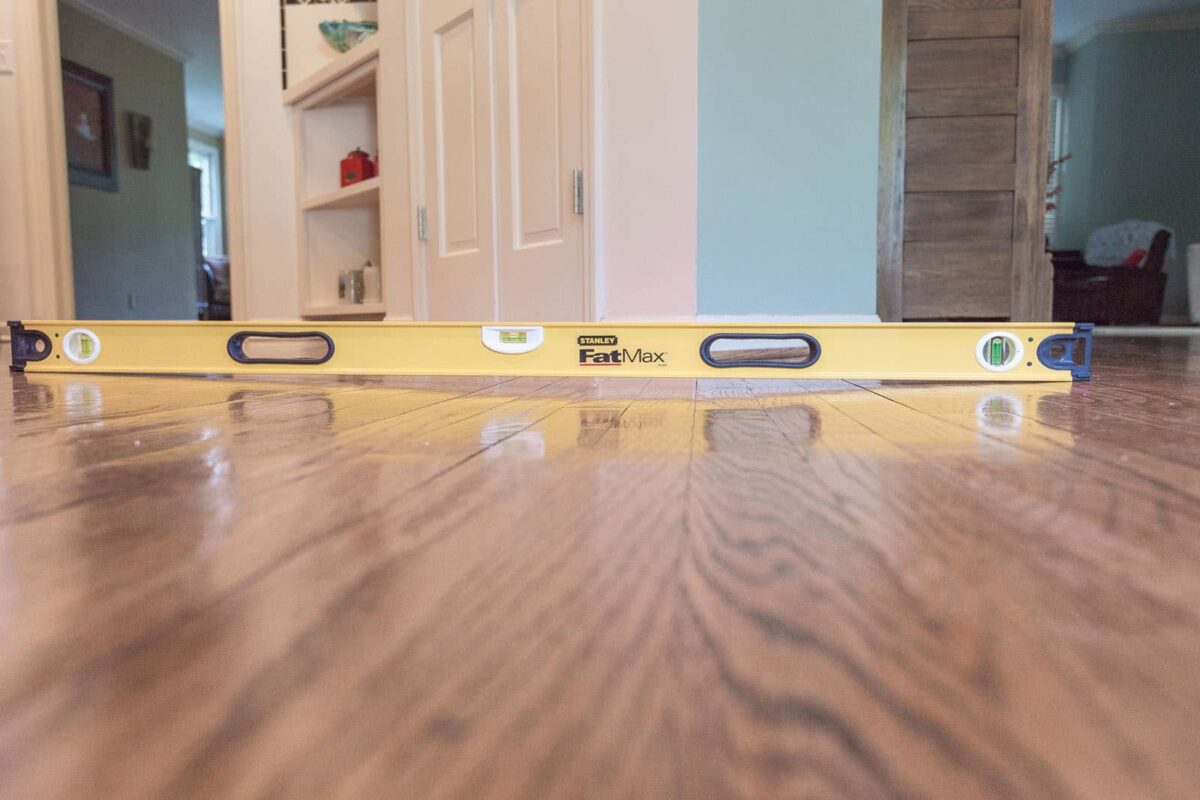
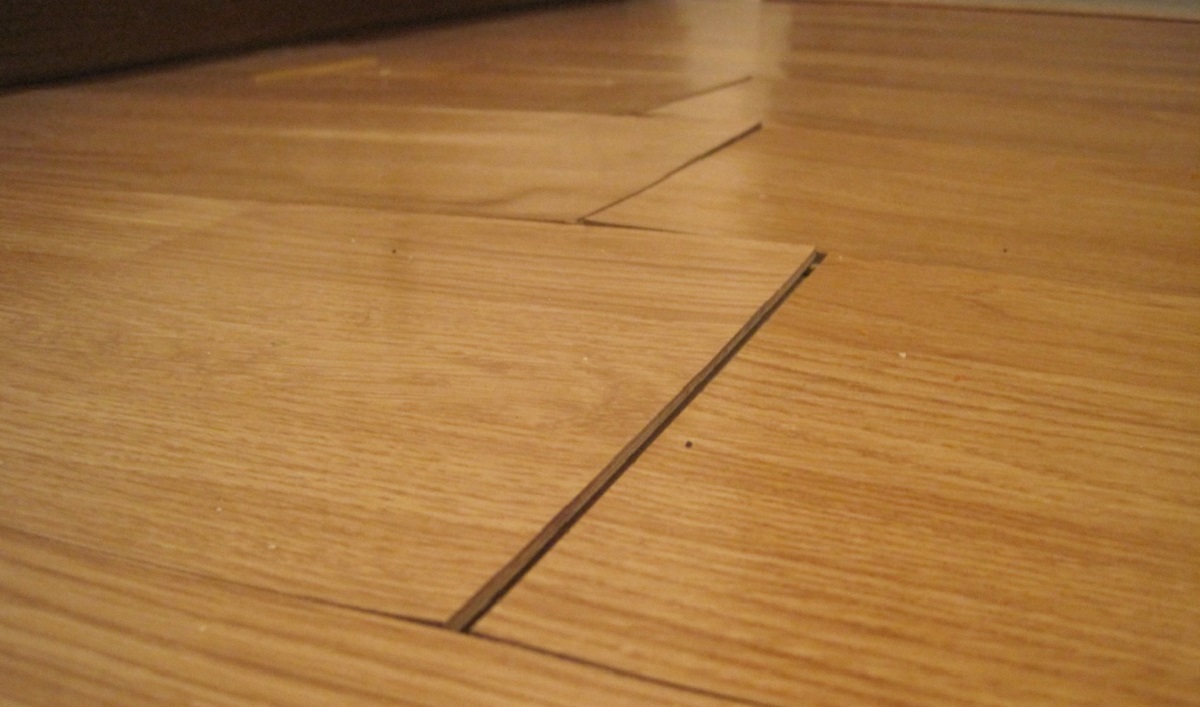
- Visible Slopes or Dips: Take a walk around the room and pay attention to any noticeable slopes or dips in the floor. These can be seen and felt, indicating areas that are significantly higher or lower than others. Use a straightedge or level tool to confirm the unevenness.
- Measurements: Use a measuring tape or ruler to take measurements of the floor height at different points in the room. This will give you a clearer understanding of the extent of the unevenness. Keep track of the variations in height and note the largest discrepancies.
- Observe Flooring Movement: Walk across the floor and observe any movement or shifting in the flooring materials. Excessive movement can indicate a more severe issue that needs to be addressed.
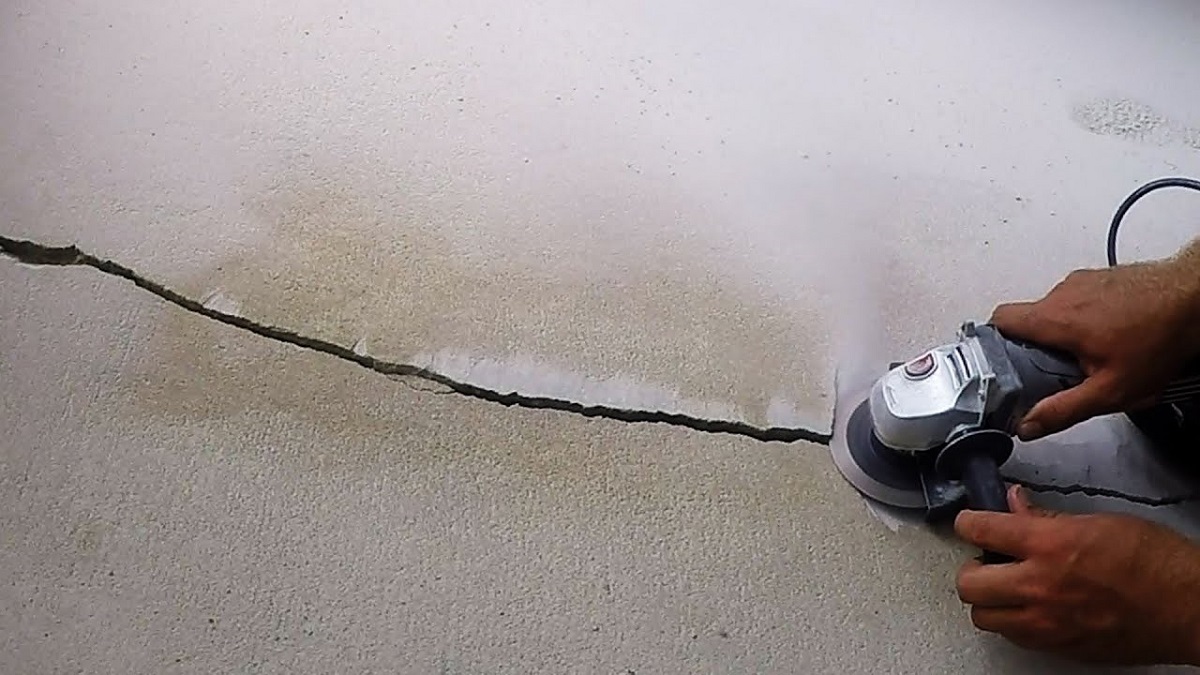
- Check for Structural Damage: Inspect the surrounding walls, baseboards, and windows for any signs of cracks or gaps. Structural damage can be an indication of underlying issues that may have contributed to the unlevel floor.
- Consider Future Flooring Plans: It’s also important to consider your future flooring plans. For example, if you plan to install tile or hardwood flooring, a more precise and level surface may be required compared to carpet or vinyl flooring.
By assessing the severity of the unlevel floor, you can better determine the appropriate approach to fixing it. In some cases, minor adjustments or repairs may be sufficient, while more extensive measures like leveling compounds or subfloor replacements may be necessary for severe cases. With a clear understanding of the floor’s condition, you’ll be ready to tackle the task of fixing an unlevel floor effectively.
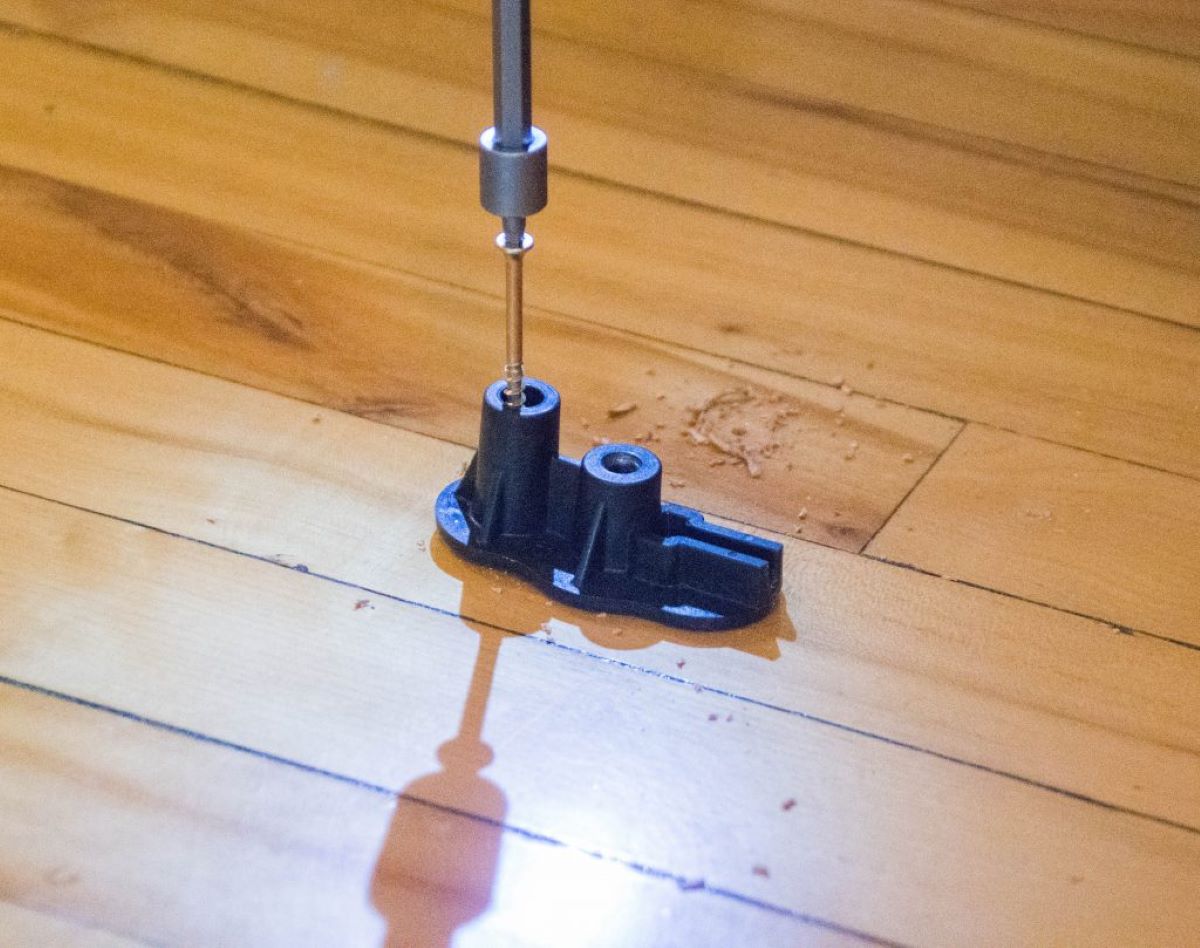
Tools and Materials Needed for Fixing an Unlevel Floor
Fixing an unlevel floor requires the use of specific tools and materials to ensure a successful and long-lasting result. Here is a list of essential tools and materials you will need:
Tools:
- Measuring tape or ruler
- Straightedge or level tool
- Hammer
- Chisel
- Trowel
- Power drill
- Mixing paddle or drill attachment
- Circular saw or jigsaw
- Sanding block or sander
- Caulking gun
- Utility knife
- Safety goggles
- Gloves
Materials:
- Self-leveling compound
- Plywood or OSB sheets (if subfloor repair is needed)
- Screws or nails (for subfloor repair)
- Wood shims (if needed for leveling)
- Wood putty or filler (for small gaps and cracks)
- Construction adhesive (for securing subfloor)
- Sealant or caulk (for finishing touches)
- Primer and paint (if refinishing the floor)
- Flooring material (e.g., carpet, tile, hardwood, vinyl)
It’s important to have these tools and materials readily available before you begin the process of fixing an unlevel floor. This ensures a smoother workflow and helps you tackle any challenges that may arise during the repair. Additionally, be sure to use protective gear, such as safety goggles and gloves, to ensure your safety throughout the project.
With the necessary tools and materials in hand, you are now ready to proceed with the step-by-step process of fixing an unlevel floor.
Step 1: Clearing the Area and Preparing the Floor
Before you can begin fixing an unlevel floor, it’s important to clear the area and prepare the surface for repair. This step sets the foundation for a successful and efficient repair process. Here’s what you need to do:
- Remove Furniture and Obstacles: Clear the room of any furniture, rugs, or other obstacles that may impede your work. This provides you with a clear and unobstructed workspace.
- Clean the Floor: Thoroughly clean the floor by removing any debris, dust, or loose materials. Use a broom or vacuum to sweep the surface and a damp cloth or mop to remove any stubborn dirt or stains. Ensure the floor is completely dry before proceeding to the next step.
- Inspect for Damage: Take this opportunity to carefully inspect the floor for any signs of damage, such as rot, mold, or weak spots. Address any underlying issues before proceeding with the leveling process.
- Set Up Proper Ventilation: Ensure the room is well-ventilated by opening windows or using fans. Some leveling compounds emit strong odors or require proper airflow for curing, so it’s important to provide adequate ventilation during the repair process.
- Protect Adjacent Surfaces: If you have walls or baseboards adjacent to the area you’ll be working on, consider applying masking tape or protective coverings to prevent accidental damage or staining.
By clearing the area and preparing the floor properly, you create a clean and safe workspace for the repair process. This helps ensure a smooth and efficient repair while minimizing the risk of any additional damage.
Read more: How To Fix Linoleum Floor
Step 2: Identifying the Low Areas or High Spots
After preparing the floor, the next step in fixing an unlevel floor is to identify the low areas or high spots that need to be addressed. This step is crucial for determining where the leveling or repair work needs to be focused. Follow these steps to identify the areas that require attention:
- Use a Straightedge or Level Tool: Take a straightedge or level tool and place it on the floor. Move it around the room, paying close attention to any gaps or dips between the tool and the floor surface. This will help you identify low areas that need to be raised or high spots that need to be addressed.
- Mark the Low and High Points: Once you identify the low areas and high spots, mark them using a pencil or masking tape. This will serve as a guide during the leveling process.
- Measure the Variation: Use a measuring tape or ruler to measure the difference in height between the low areas and the rest of the floor. Note these measurements as they will help determine the amount of leveling compound or other materials needed.
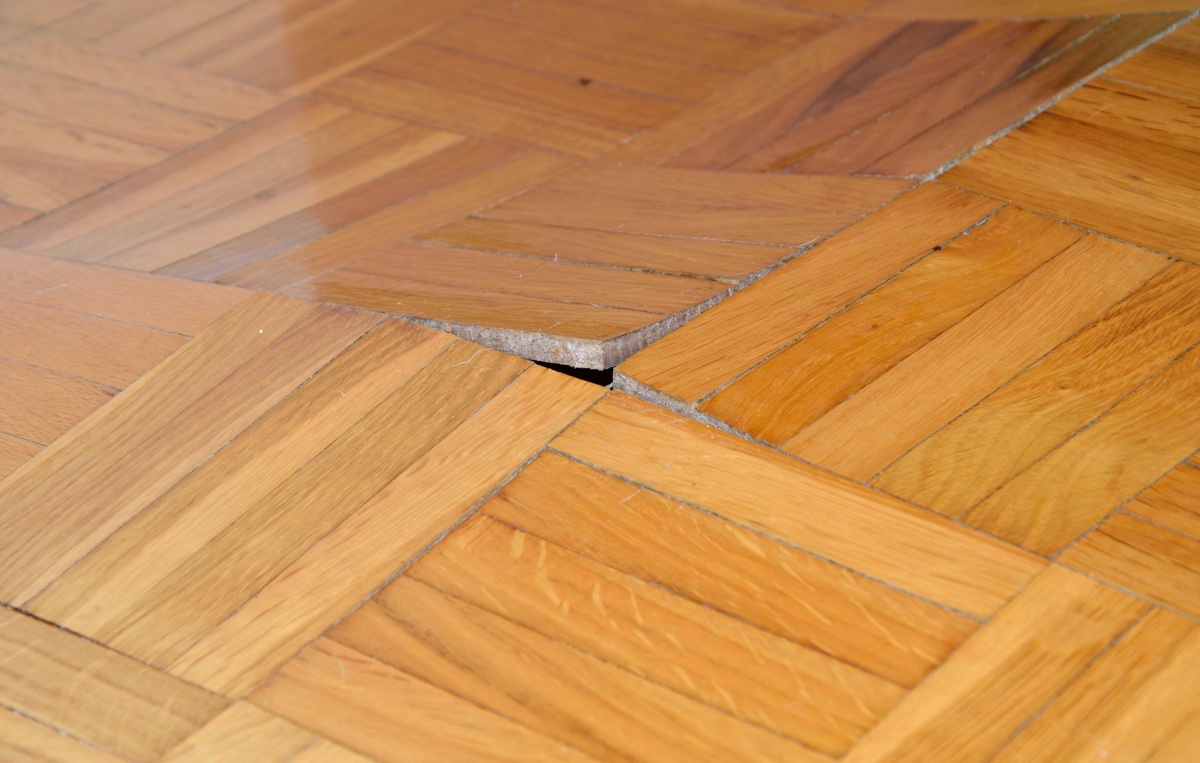
- Check for Subfloor Damage: In some cases, the unlevel floor may be due to damaged or deteriorated subflooring. Inspect the subfloor for any signs of rot, sagging, or weak spots. If necessary, mark these areas for further repair or replacement.
By identifying the low areas and high spots, you have a clear roadmap for addressing the unevenness in the floor. This step allows you to focus your efforts and ensure that the leveling process targets the specific areas that need adjustment or repair.
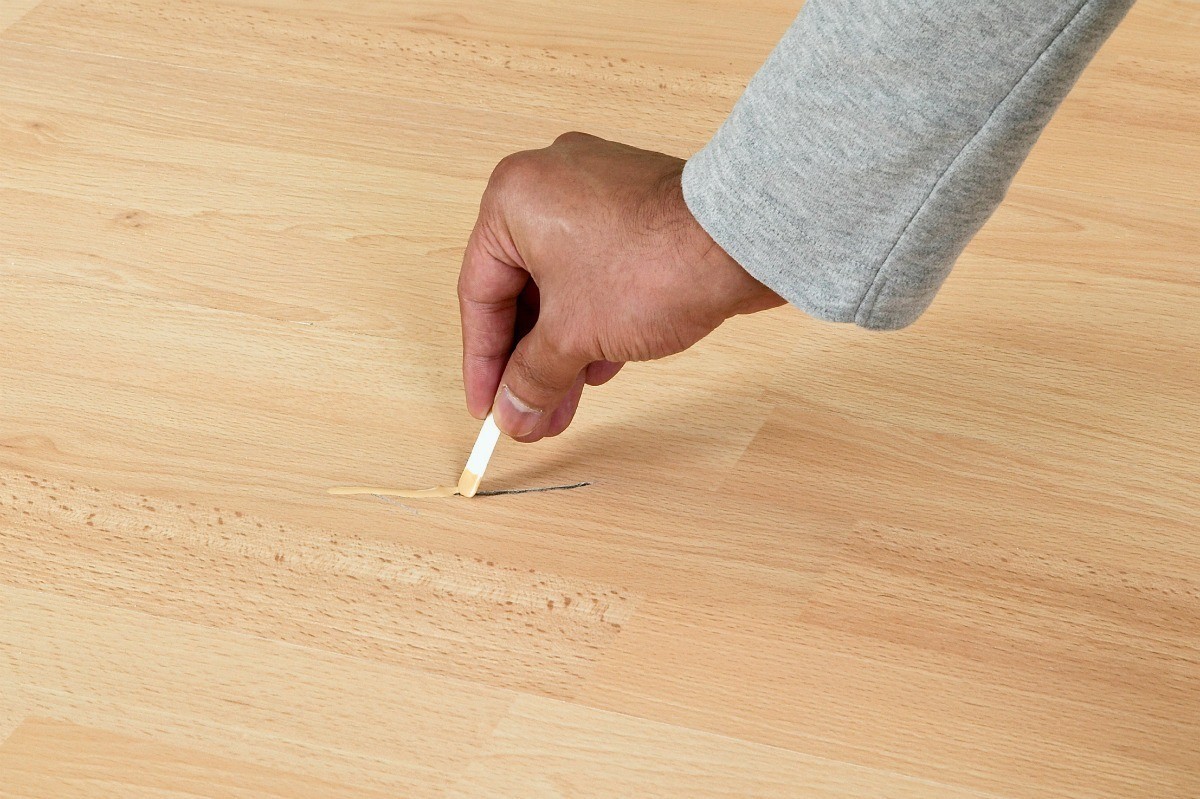
Use a self-leveling compound to fill in low spots on the floor. Follow the manufacturer’s instructions for mixing and application for best results.
Step 3: Leveling the Floor with Self-Leveling Compound
Once you have identified the low areas and high spots on your unlevel floor, the next step is to level the surface using a self-leveling compound. This compound is designed to even out the floor by filling in the gaps and creating a smooth, level surface. Follow these steps to properly apply self-leveling compound:
- Prepare the Compound: Read the instructions provided by the manufacturer of the self-leveling compound and follow the recommended mixing ratio. Use a mixing paddle or drill attachment to mix the compound thoroughly until it reaches a smooth, pourable consistency.
- Prime the Floor: If the manufacturer’s instructions recommend it, prime the floor with a bonding agent or primer before applying the self-leveling compound. This helps improve adhesion and ensures a more durable result.
- Pour the Compound: Start pouring the self-leveling compound onto the low areas of the floor. Use a trowel or edge tool to spread and smooth the compound, ensuring that it fills in the gaps and covers the marked low spots. Work in small sections to ensure even coverage.
- Level the Compound: Using a straightedge or level tool, carefully guide and spread the compound to create a level surface. Adjust the thickness of the compound as necessary to match the surrounding floor height. Work methodically across the entire area, taking care to feather the edges to create a seamless transition.
- Allow the Compound to Cure: Follow the manufacturer’s instructions for curing time. Typically, self-leveling compounds take several hours to dry and cure completely. During this time, avoid walking on the floor or introducing any additional weight or stress.
- Sand and Finish: Once the self-leveling compound has fully cured, sand any rough spots or ridges with a sanding block or sander. Clean the area thoroughly to remove any dust or debris. At this point, you can proceed with refinishing the floor by installing your choice of flooring material.
Remember to follow the manufacturer’s instructions and recommendations for the specific self-leveling compound you are using. This will help ensure optimal results and a level floor surface that is ready for the next step in the repair process.
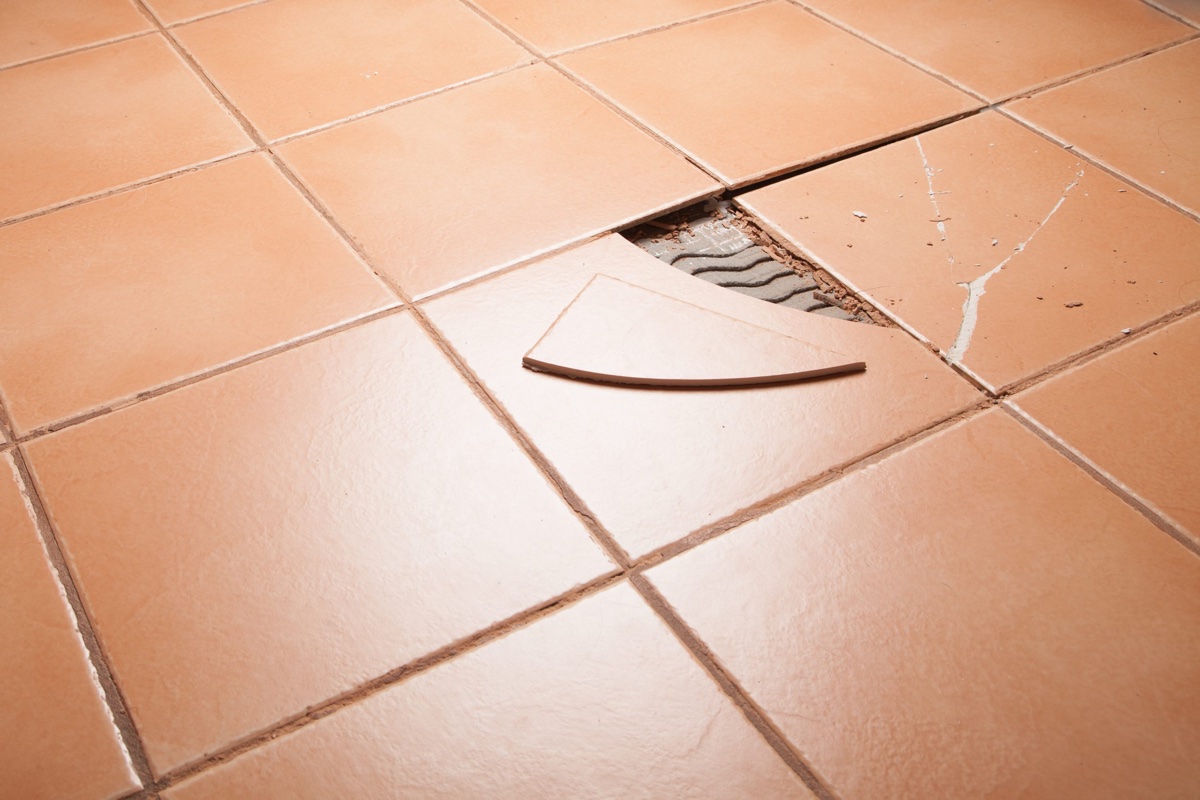
Step 4: Patching or Repairing the Subfloor
After leveling the floor with a self-leveling compound, it’s essential to assess the condition of the subfloor and perform any necessary patching or repairs. This step ensures a solid and stable foundation for your flooring materials. Follow these steps to patch or repair the subfloor:
- Inspect the Subfloor: Take a close look at the subfloor to identify any damaged or weakened areas. Look for signs of rot, mold, or water damage, as well as any loose or squeaky sections.
- Remove Damaged Materials: If you find any damaged or deteriorated sections of the subfloor, remove them using a circular saw or jigsaw. Be careful to cut along the damaged areas to avoid causing further damage to the surrounding subfloor.
- Prepare Replacement Materials: Cut replacement pieces of plywood or OSB (oriented strand board) to fit the removed sections of the subfloor. Make sure the replacement materials are the same thickness as the existing subfloor to maintain a level surface.
- Secure the Replacement Materials: Apply construction adhesive to the back of the replacement pieces and carefully fit them into place. Use screws or nails to secure the subfloor, making sure they are flush with the surface. Follow the appropriate spacing guidelines provided by building codes.
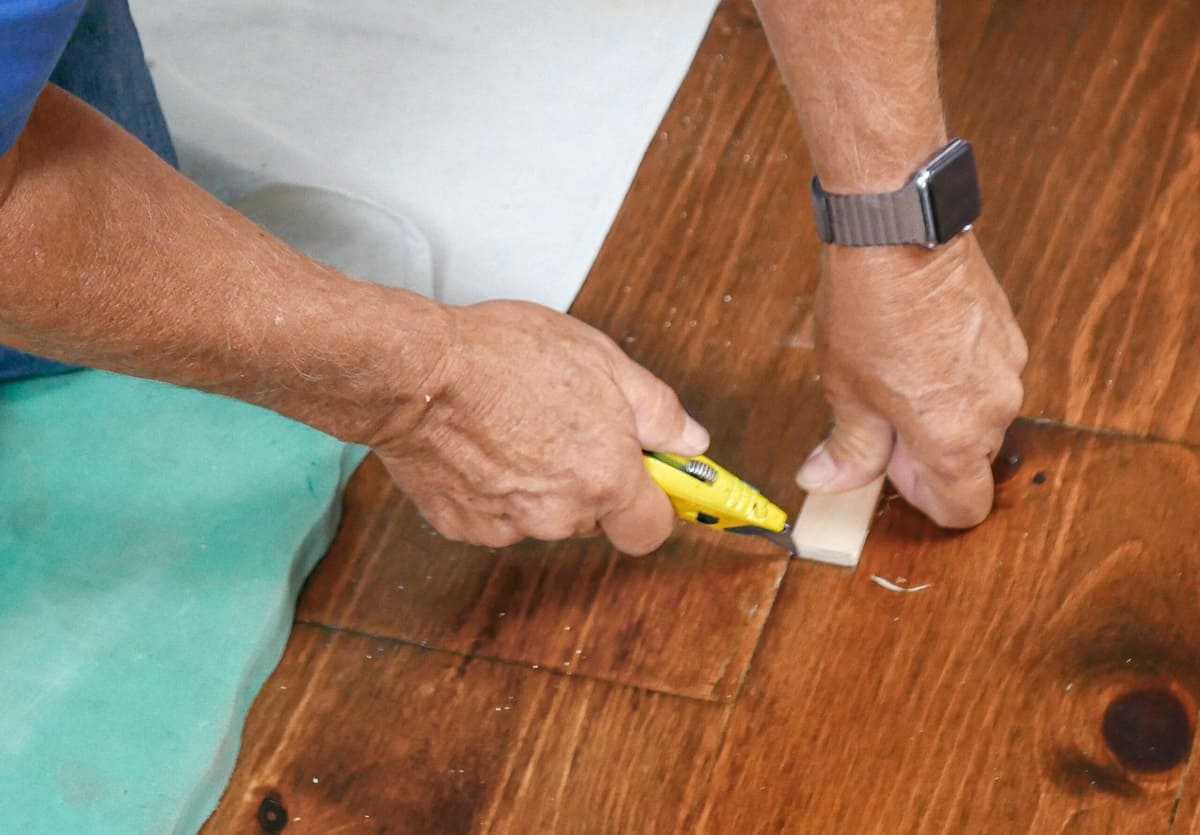
- Fill Gaps and Cracks: Use wood filler or putty to fill any gaps or cracks in the subfloor. Smooth out the filler with a putty knife and allow it to dry completely before proceeding.
- Ensure a Level Surface: After the patching and repairs are complete, use a straightedge or level tool to ensure that the subfloor is level. Make any necessary adjustments or additional sanding to achieve a flat and even surface.
By patching or repairing the subfloor, you address any structural issues and create a stable foundation for your flooring materials. This step helps prevent future problems and ensures a smoother installation of your chosen flooring materials.
Step 5: Reinstalling Flooring Materials
Once you have leveled the floor and patched or repaired the subfloor, it’s time to reinstall the flooring materials. This step brings your project one step closer to completion and provides a finished and polished look to your newly leveled floor. Follow these steps to reinstall your flooring materials:
- Select the Right Flooring: Choose the appropriate flooring material based on your preferences and the function of the room. Consider factors such as durability, maintenance, and aesthetics.
- Prepare the Flooring: If you are reusing existing flooring materials, make sure they are clean and in good condition. If you are installing new flooring, follow the manufacturer’s instructions for preparation, acclimation, and installation.
- Start from a Reference Point: Begin installing the flooring from a reference point, such as the longest wall or the center of the room. This ensures a balanced and visually pleasing layout.
- Follow the Manufacturer’s Instructions: Each type of flooring material has specific installation instructions. Follow these instructions carefully, including any required adhesive application, joining techniques, or spacing guidelines.
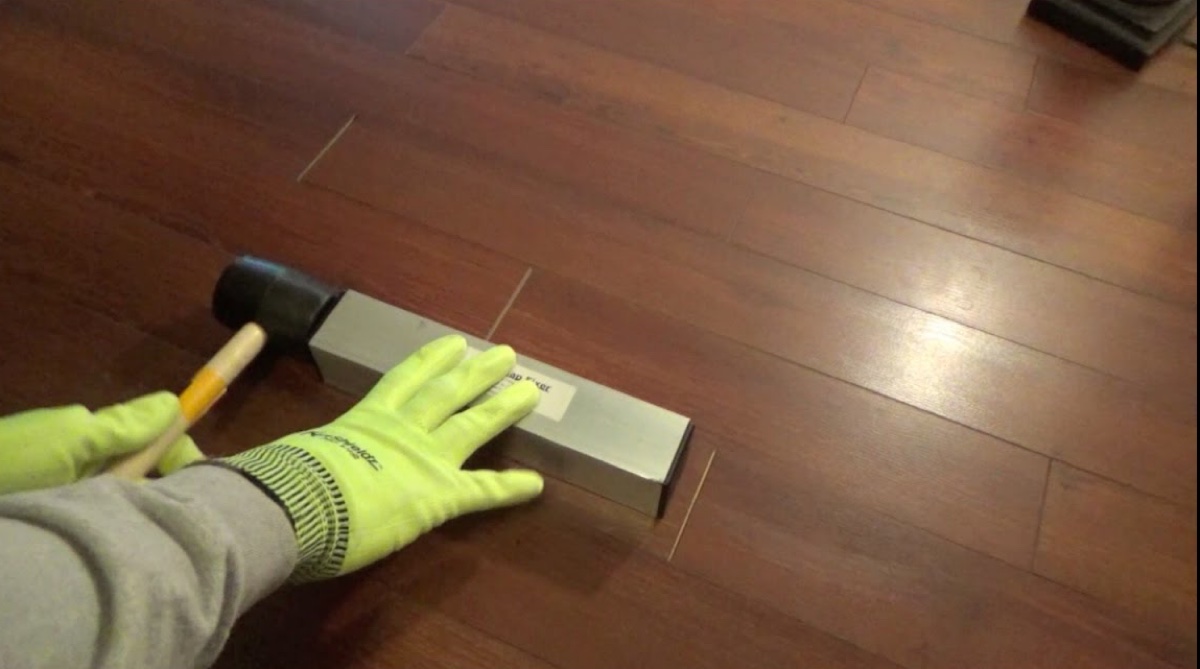
- Cut the Flooring to Fit: Use a utility knife, circular saw, or jigsaw to trim the flooring pieces as needed to fit around the edges of the room, obstacles, or protrusions. Take accurate measurements and make precise cuts for a professional-looking finish.
- Secure the Flooring: Depending on the type of flooring material, secure it to the subfloor using adhesive, nails, staples, or interlocking mechanisms as specified by the manufacturer. Follow the recommended installation pattern for optimal strength and stability.
- Ensure Proper Alignment and Appearance: As you progress with the installation, periodically step back and check the alignment and appearance of the flooring. Make any adjustments as necessary to achieve a consistent and visually pleasing result.
By reinstalling the flooring materials correctly, you not only restore the functionality of the room but also enhance its aesthetic appeal. Take your time and follow the manufacturer’s instructions to ensure a professional and long-lasting installation.
Read more: How To Fix A Sagging Floor
Step 6: Applying Finishing Touches
With the flooring materials reinstalled, it’s time to add the finishing touches to complete the project and give your newly leveled floor a polished and refined look. These final steps will add those extra details that make a significant difference in the overall appearance and durability of your floor. Follow these steps to apply the finishing touches:
- Trim Installation: Install baseboards or quarter round molding along the edges of the floor to cover the gaps and create a seamless transition between the floor and the walls. Use a miter saw or pre-cut molding pieces to achieve clean and precise corners.
- Fill Nail or Staple Holes: If you used nails or staples to secure the flooring, fill any visible holes with wood putty. Smooth out the putty with a putty knife and allow it to dry before sanding the area to create a seamless surface.
- Seal the Joints: If you installed tile or other flooring materials with visible joints, apply a sealant or grout along the joints to protect them from moisture and dirt. Use a grout float or a caulking gun to apply the sealant, following the manufacturer’s instructions.
- Touch-Up Paint or Finish: If your flooring material requires painting or refinishing, apply touch-up paint or finish to match the rest of the floor. Use a brush or roller to carefully cover any areas that need additional color or protection.
- Clean and Inspect: Thoroughly clean the floor, removing any dust, debris, or residue. Inspect the entire area to ensure that all finishing touches are complete and that the floor looks and feels even, smooth, and visually appealing.
- Enjoy Your Leveled Floor: Once the finishing touches are applied and everything is in place, take a moment to appreciate your hard work and enjoy your newly leveled floor. It’s now ready to withstand daily use and provide a comfortable and even surface for years to come.
By focusing on these final details, you bring your fixing project to its completion. These finishing touches not only enhance the appearance of your floor but also ensure its longevity and durability.
Conclusion
Fixing an unlevel floor is a task that requires careful assessment, planning, and execution. By addressing the underlying causes and following a systematic approach, you can restore your floor’s levelness and create a sturdy and visually pleasing surface.
In this guide, we have explored the common causes of unlevel floors, assessed the severity of the issue, and outlined the step-by-step process of fixing an unlevel floor. From clearing the area and preparing the floor to leveling with self-leveling compound, patching the subfloor, reinstalling flooring materials, and applying finishing touches, each step plays a vital role in achieving a successful outcome.
Remember to use the appropriate tools and materials, follow manufacturer instructions, and take the necessary precautions to ensure your safety throughout the process. It’s also important to pay attention to detail and take the time to make necessary adjustments and achieve a level and visually appealing result.
By following these guidelines, you can transform your unlevel floor into a leveled, stable, and aesthetically pleasing surface. Not only will this improve the functionality and stability of your space, but it will also enhance its overall appearance and add value to your property.
Should you encounter severe or complex issues with your floor, it is recommended to consult with a professional contractor or flooring specialist for guidance and assistance. They can provide expertise and experience to address the specific challenges you may face.
With proper planning, patience, and attention to detail, you can successfully fix an unlevel floor and enjoy the comfort and beauty of a level surface in your home or building.
Frequently Asked Questions about How To Fix Unlevel Floor
Was this page helpful?
At Storables.com, we guarantee accurate and reliable information. Our content, validated by Expert Board Contributors, is crafted following stringent Editorial Policies. We're committed to providing you with well-researched, expert-backed insights for all your informational needs.

0 thoughts on “How To Fix Unlevel Floor”