Home>Articles>How To Install Conduit To Protect Wiring In Your Home
Articles
How To Install Conduit To Protect Wiring In Your Home
Modified: October 31, 2024
Learn how to install conduit to protect the wiring in your home with our informative articles. Discover step-by-step instructions and tips for a successful installation.
(Many of the links in this article redirect to a specific reviewed product. Your purchase of these products through affiliate links helps to generate commission for Storables.com, at no extra cost. Learn more)
Introduction
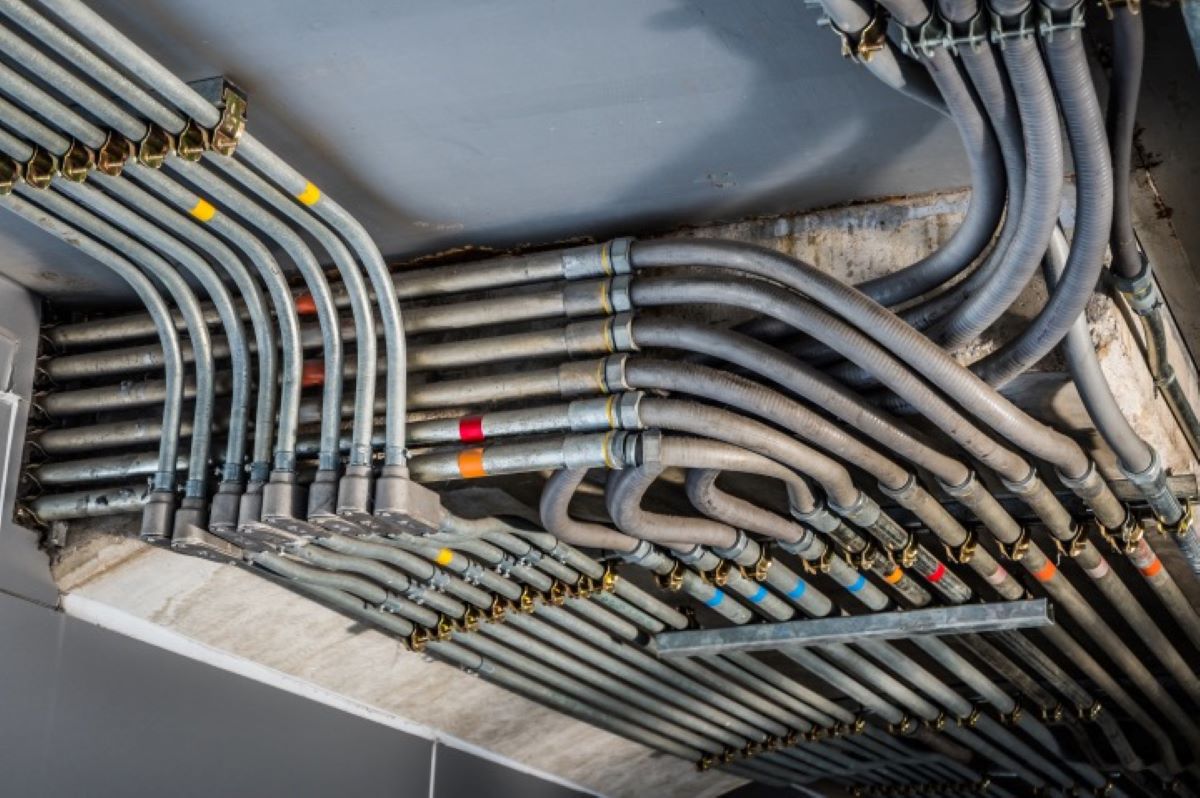
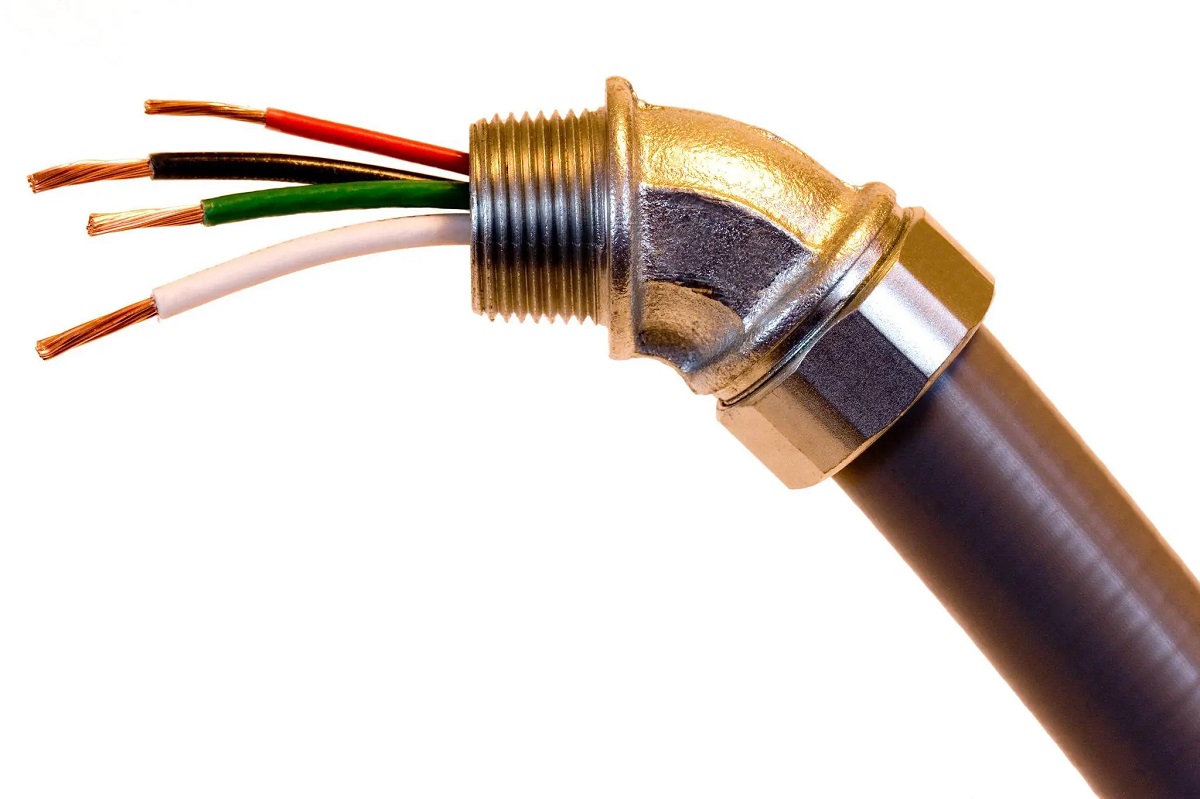
Protecting the wiring in your home is crucial for preventing potential hazards and maintaining the integrity of your electrical system. One effective way to achieve this is by installing conduit. Conduit is a protective tubing that encloses electrical wires, shielding them from damage caused by moisture, impact, or other external factors.
In this guide, we will walk you through the step-by-step process of installing conduit to protect the wiring in your home. By following these instructions, you can ensure the safety and longevity of your electrical system.
Before we begin, it’s important to note that while this guide provides general instructions, it is always advisable to consult local electrical codes and regulations in your area. Additionally, if you are not confident in your abilities to perform electrical work, it is recommended to hire a licensed electrician for the installation process.
Now, let’s dive into the necessary materials and tools you will need to get started.
Key Takeaways:
- Protect your home’s wiring by installing conduit, shielding it from potential hazards like moisture and impact. Follow the step-by-step guide for a safe and reliable electrical system.
- Ensure safety and longevity of your electrical system by planning the conduit route, measuring and cutting conduit, and securing the wiring. Enjoy peace of mind with a well-protected home wiring.
Read more: How To Protect Your Outdoor Camera
Step 1: Gather the Necessary Materials
Before you begin installing conduit to protect the wiring in your home, it’s essential to gather all the necessary materials and tools. Here’s a list of items you will need:
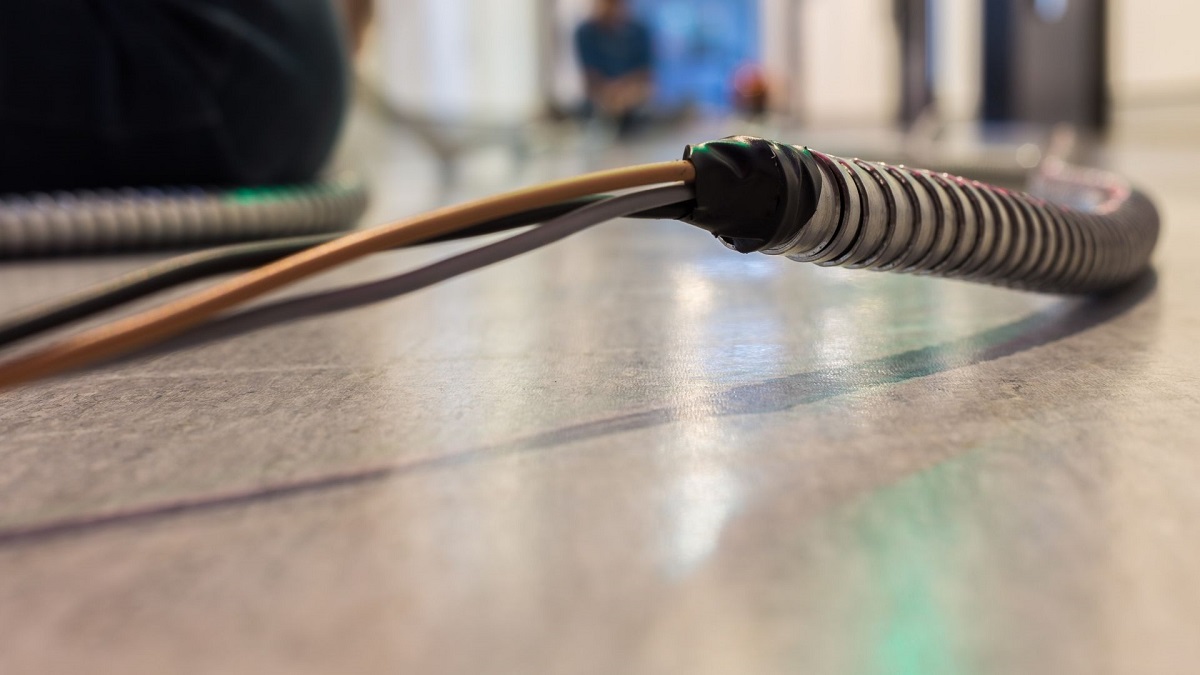
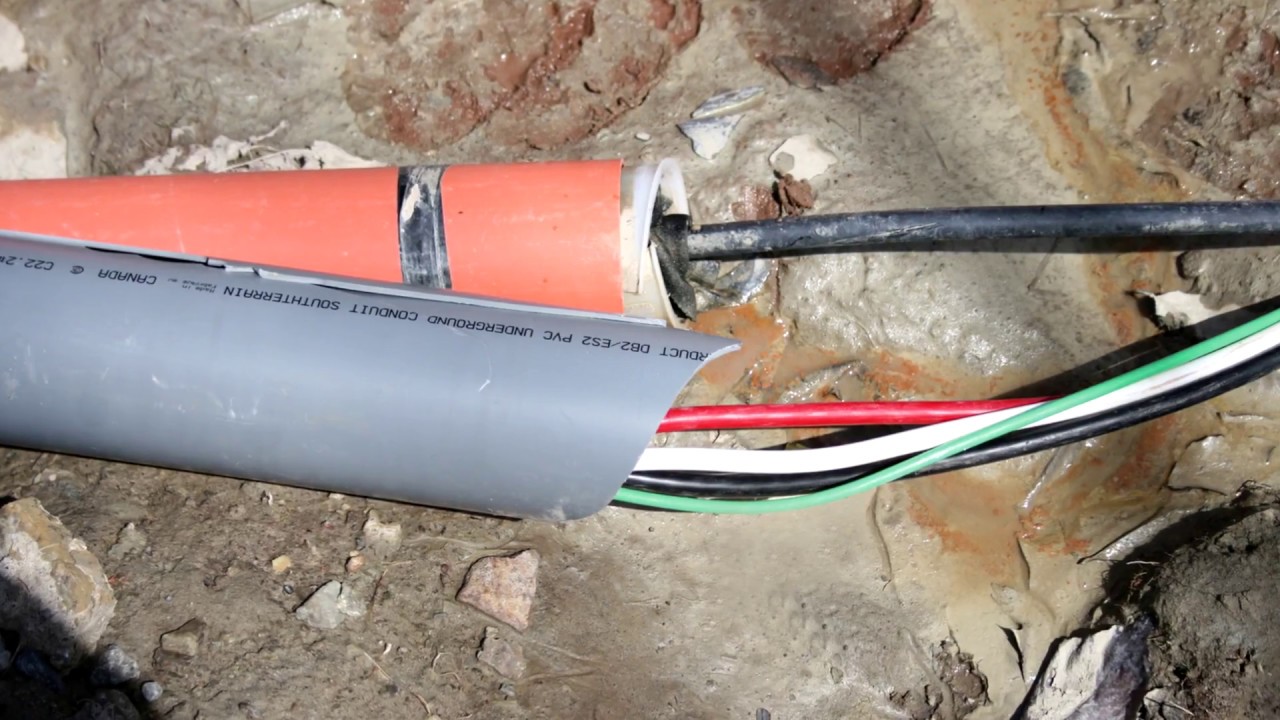
- Conduit: Choose the appropriate type and size of conduit based on your specific requirements. Common options include PVC, metal, or flexible conduit.
- Conduit fittings: These fittings are necessary to connect and secure the conduit sections. They include elbows, couplings, and connectors.
- Tape measure: Use a tape measure to accurately measure the length of conduit needed for each section.
- Hacksaw or conduit cutter: Depending on the type of conduit you are using, a hacksaw or conduit cutter will be required to cut the conduit to the desired lengths.
- 90-degree conduit elbows: These fittings are used to make sharp turns in the conduit path. They ensure a smooth and efficient route for the wiring.
- Conduit straps or hangers: These are used to secure the conduit to the wall or ceiling. They provide stability and prevent sagging.
- Conduit connectors: Connectors are essential for joining conduit sections together. They come in different types, including compression connectors and set-screw connectors.
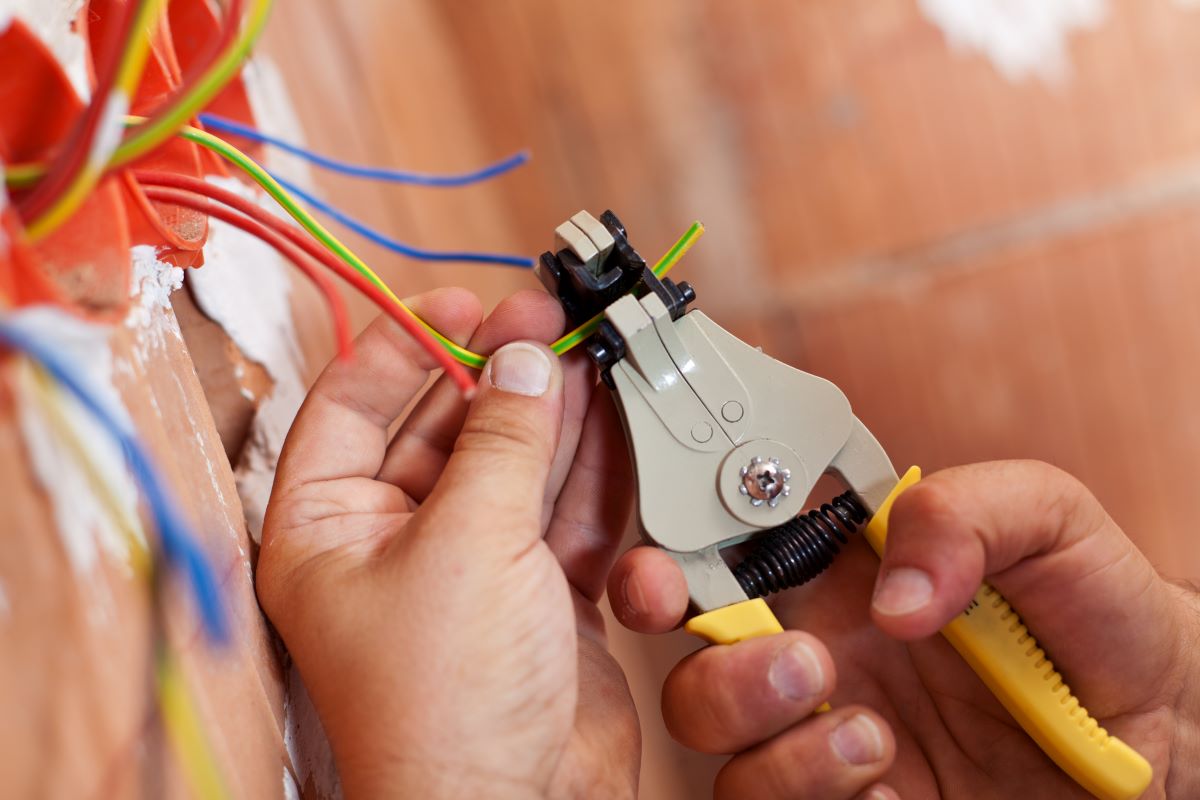
- Fish tape or wire puller: You will need a fish tape or wire puller to feed the wiring through the conduit. This ensures a protected pathway for the electrical wires.
Once you have gathered all the necessary materials, you are ready to move on to planning the conduit route in your home.
Step 2: Plan the Conduit Route
Before you start installing conduit, it’s important to plan the route that the conduit will take throughout your home. Follow these steps to effectively plan the conduit route:
1. Assess the areas where wiring needs protection: Take a thorough inventory of the areas where the wiring needs to be protected. This may include areas such as basements, garages, or outdoor spaces.
2. Determine the best conduit path: Decide on the most efficient and practical pathway for the conduit. Consider the shortest distance between the starting point and the endpoint while also accounting for accessibility and future maintenance needs.
3. Consider any obstacles or obstructions: Take note of any obstacles or obstructions that may affect the conduit installation. This could include existing structures, plumbing, or HVAC systems. Find solutions to navigate around or work with these obstacles to ensure a smooth conduit path.
By carefully planning the conduit route, you can safeguard the wiring in your home and make the installation process more streamlined. Once you have a clear plan, you can move on to measuring and cutting the conduit.
Step 3: Measure and Cut the Conduit
Once you have planned the conduit route, it’s time to measure and cut the conduit to the appropriate lengths. Follow these steps to ensure accurate measurements and clean cuts:
1. Measure the length needed for each conduit section: Use a tape measure to determine the length required for each section of conduit along the planned route. Measure from one conduit fitting to another, accounting for any twists or turns in the path.
2. Cut the conduit using a hacksaw or conduit cutter: Once you have measured the desired length, mark the conduit using a pencil or a marker. Ensure that the mark is clear and easily visible.
Now, using a hacksaw or conduit cutter, make a clean and straight cut along the marked line. Apply steady pressure and saw or cut through the conduit in a back-and-forth motion until the cut is complete.
It’s important to note that when working with metal conduit, be cautious of any sharp edges that may result from the cut. Use a file or sandpaper to smooth out the edges, ensuring the safety of both yourself and the wiring inside the conduit.
Repeat this process for each section of conduit needed along the planned route. Once the conduit is correctly measured and cut, you are ready to proceed to the next step of attaching conduit fittings.
Step 4: Attach Conduit Fittings
With the conduit sections cut to the appropriate lengths, it’s time to attach the necessary fittings. Follow these steps to securely connect the conduit fittings:
1. Attach a conduit connector to one end of each conduit section: Take one end of a conduit section and slide a conduit connector onto it. Ensure that the connector is pushed all the way onto the conduit section, creating a tight and secure connection.
2. Connect conduit fittings as needed for the desired conduit path: Depending on the planned conduit path, you may need to connect additional fittings such as elbows, couplings, or other types of connectors.
If the conduit needs to make a 90-degree turn, use a 90-degree conduit elbow fitting to create a smooth transition. Simply slide the elbow fitting onto the opposite end of the conduit section. For straight runs, connect multiple conduit sections with couplings or connectors.
It’s important to ensure that all fittings are properly secured and tightly connected to the conduit sections. This will help maintain the integrity of the conduit system and provide a secure pathway for the wiring.
Continue attaching conduit connectors and fittings as needed along the planned conduit route. Once all the fittings are securely in place, you are ready to move on to the next step of installing the conduit.
When installing conduit to protect wiring in your home, make sure to measure and cut the conduit to the appropriate length before securing it in place. This will ensure a clean and professional installation.
Step 5: Install the Conduit
Now that you have the conduit sections cut and fittings attached, it’s time to install the conduit along the planned path. Follow these steps to properly install the conduit:
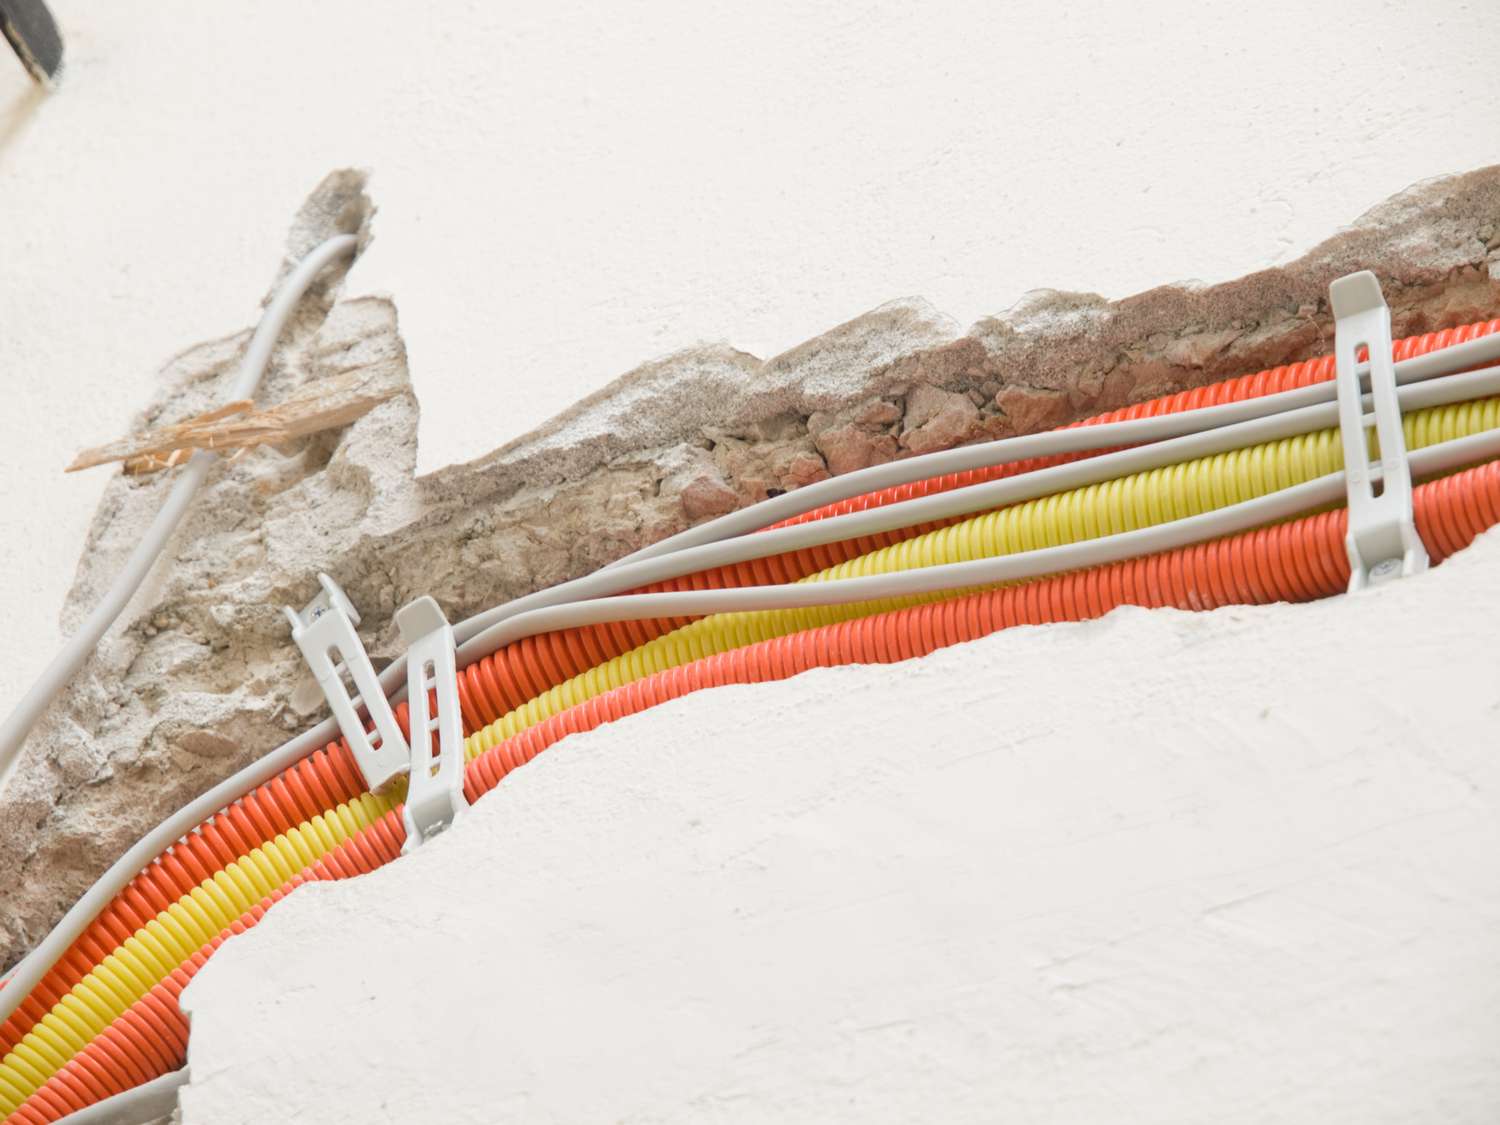
1. Secure the conduit to the wall using conduit straps or hangers: Use conduit straps or hangers to secure the conduit to the wall or ceiling. These will provide stability and prevent the conduit from sagging or coming loose. Position the straps or hangers evenly along the conduit to ensure proper support.
2. Make sure the conduit follows the planned path: As you secure the conduit, make sure it follows the exact path you planned during the previous steps. Ensure that the conduit has a smooth and continuous route, avoiding any sharp bends or overly tight curves. This will allow for easy access and future maintenance, if needed.
When attaching the conduit straps or hangers, ensure that they are tightly fastened to the surface and provide adequate support. This will keep the conduit in place and prevent it from shifting or vibrating.
Take your time to carefully install the conduit, ensuring it is aligned and securely attached along the entire route. A well-installed conduit will provide maximum protection for your wiring and enhance the overall safety of your electrical system.
Once you have securely installed the conduit, it’s time to move on to the next step of threading the wiring through the conduit.
Step 6: Thread Wiring through the Conduit
With the conduit securely installed, it’s time to thread the wiring through it. Follow these steps to feed the wiring through the conduit:
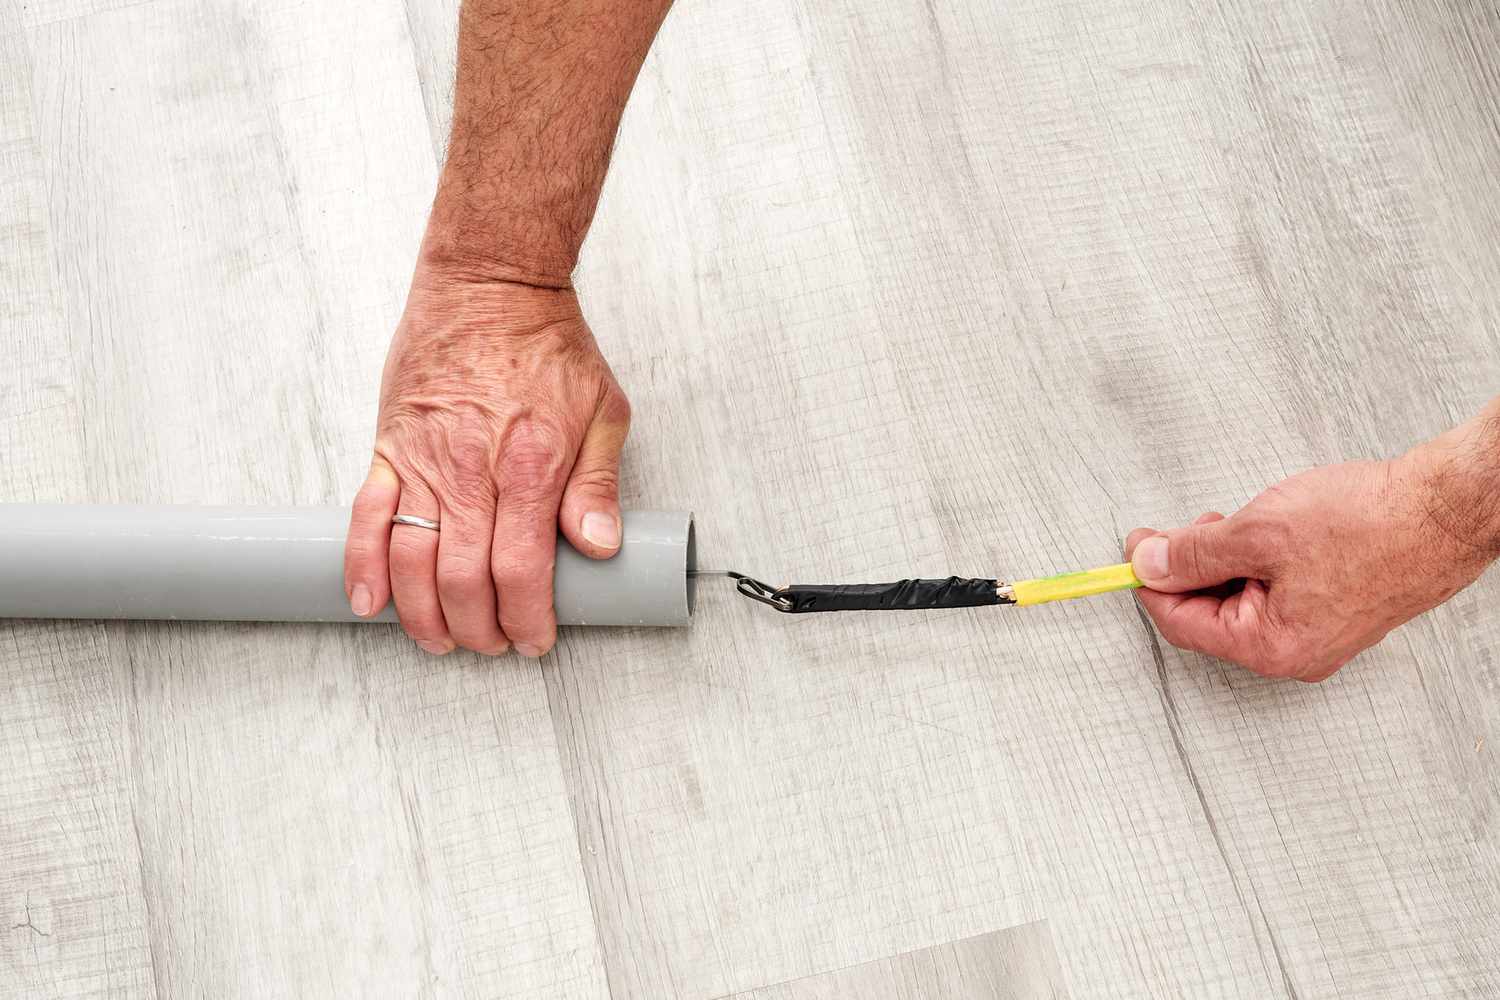
1. Use fish tape or a wire puller: Fish tape or a wire puller is a handy tool used to guide and pull the wiring through the conduit. Start by inserting one end of the fish tape or wire puller into the conduit at the desired starting point.
2. Navigate the wiring through the conduit: Carefully push or pull the fish tape or wire puller through the conduit, guiding it along the planned path. Take your time to avoid any unnecessary bends or kinks that could damage the wiring.
It may be helpful to have an assistant at the other end of the conduit to guide and catch the wiring as it emerges. Ensure clear communication and coordination throughout the process to make threading the wiring easier and more efficient.
Depending on the complexity and length of the conduit, you may need to periodically attach the wiring to the fish tape or wire puller using electrical tape or cable ties. This will help secure the wiring to the tool and prevent it from inadvertently detaching during the threading process.
Continue pulling or pushing the fish tape or wire puller until the wiring has completely passed through the conduit. Once the wiring is successfully threaded, you can move on to the final step of securing and grounding the wiring.
Step 7: Secure and Ground the Wiring
After successfully threading the wiring through the conduit, it’s important to secure it properly and ensure that it is grounded if required. Follow these steps to secure and ground the wiring:
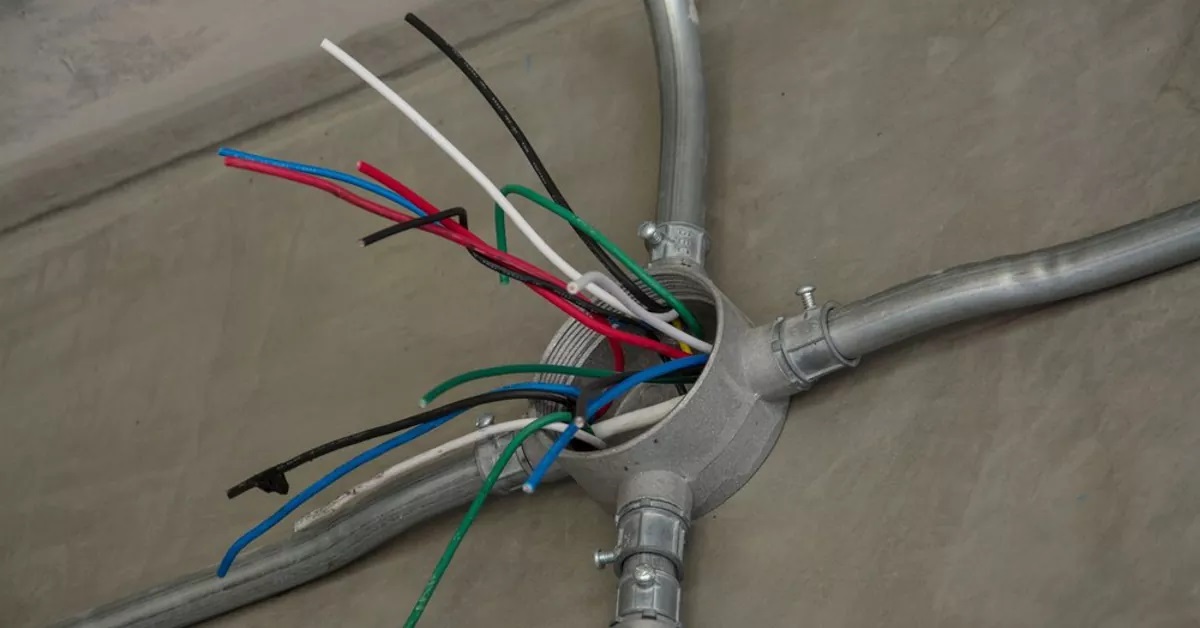
1. Attach the wires securely to the conduit using clamps or cable ties: Use clamps or cable ties to secure the wiring to the conduit at regular intervals. This will prevent the wires from moving or shifting within the conduit, ensuring their protection and maintaining a neat and organized installation.
2. Ensure proper grounding of the conduit if required: Depending on local electrical codes and regulations, you may be required to ground the conduit to provide an additional layer of safety. Grounding the conduit helps divert any potential electrical faults or surges away from the wiring.
If grounding is necessary, consult a licensed electrician or refer to local electrical codes for specific instructions on how to properly ground the conduit. This may involve connecting grounding wires or using grounding clamps to establish a secure electrical connection.
Properly securing and grounding the wiring will not only protect the electrical system but also ensure compliance with safety standards. Take the time to double-check that all wires are securely fastened to the conduit and follow any grounding requirements as recommended in your area.
Congratulations, you have successfully installed conduit to protect the wiring in your home! By following these steps and ensuring proper installation, you have taken an essential step towards maintaining a safe and reliable electrical system.
Finally, remember that if you have any uncertainties or doubts during the installation process, it is always advisable to consult a licensed electrician for assistance. Safety should always be the top priority when working with electrical systems.
Now sit back, relax, and enjoy the peace of mind knowing that your wiring is well-protected and your home is safer as a result of your diligent efforts.
Conclusion
Protecting the wiring in your home is crucial for ensuring safety and maintaining the integrity of your electrical system. By installing conduit, you provide a sturdy and protective pathway for your wiring, shielding it from potential hazards and minimizing the risk of damage.
In this comprehensive guide, we have outlined the step-by-step process of installing conduit to protect the wiring in your home. From gathering the necessary materials to securing and grounding the wiring, each step has been carefully explained to help you achieve a successful installation.
Remember, while this guide provides general instructions, it is important to consult local electrical codes and regulations before undertaking any electrical work. Safety should always be the priority, and if you are unsure or uncomfortable with the installation process, it is highly recommended to seek the assistance of a licensed electrician.
By following the steps outlined in this guide, you can enjoy the benefits of a well-protected electrical system. The conduit will shield your wiring from moisture, impact, and other external factors, prolonging the lifespan of your electrical components and reducing the likelihood of electrical malfunctions.
With the wiring securely enclosed in conduit, you can have peace of mind knowing that your electrical system is safeguarded against potential hazards. Moreover, this installation will make future maintenance and troubleshooting easier, as the wiring will be organized and accessible within the conduit.
Take pride in your accomplishments and the effort you put into protecting your home’s wiring. By investing time and attention to detail during the conduit installation process, you have taken a proactive step towards creating a safer and more reliable electrical system that will benefit you and your family for years to come.
Now that you have completed the installation, you can enjoy the peace of mind that comes with knowing your wiring is well-protected. So, sit back, relax, and enjoy the safety and efficiency of your newly installed conduit system.
Frequently Asked Questions about How To Install Conduit To Protect Wiring In Your Home
Was this page helpful?
At Storables.com, we guarantee accurate and reliable information. Our content, validated by Expert Board Contributors, is crafted following stringent Editorial Policies. We're committed to providing you with well-researched, expert-backed insights for all your informational needs.


0 thoughts on “How To Install Conduit To Protect Wiring In Your Home”