Articles
How To Install Plumbing For A Washing Machine
Modified: March 2, 2024
Learn how to install plumbing for a washing machine with our comprehensive articles. Get step-by-step guides and expert tips for a successful installation.
(Many of the links in this article redirect to a specific reviewed product. Your purchase of these products through affiliate links helps to generate commission for Storables.com, at no extra cost. Learn more)
Introduction
Installing plumbing for a washing machine is an essential step in setting up a laundry area in your home. Whether you’re remodeling an existing space or creating a new one, properly installing plumbing for your washing machine ensures efficient water supply and drainage. By following a few steps and utilizing the right tools and materials, you can have your washing machine up and running smoothly in no time.
In this comprehensive guide, we will walk you through the process of installing plumbing for a washing machine. From gathering the necessary tools and materials to testing the connections, we’ve got you covered. So, let’s dive in and get started!
Key Takeaways:
- Proper preparation is key to successful washing machine plumbing installation. Gather all necessary tools and materials, identify the ideal location, and meticulously prepare and test the plumbing connections for optimal functionality.
- Securing and insulating the plumbing is crucial for long-term durability. By taking steps to secure pipes, insulate exposed sections, and seal any openings, you can enhance the longevity and efficiency of your washing machine plumbing.
Read more: How To Plumb A Washing Machine
Step 1: Gather the Necessary Tools and Materials
Before you begin installing the plumbing for your washing machine, it’s essential to gather all the necessary tools and materials. This ensures that you have everything you need to complete the installation smoothly. Here’s a list of the tools and materials you’ll need:
- Adjustable wrench
- Plumber’s tape
- Bucket
- Tubing cutter
- Pipe wrench
- Pipe fittings (elbows, couplings, valves)
- PVC pipe
- PVC primer and cement
- Water supply hoses
- Drain pipe
- Drain trap
- Plumbers putty
Once you have gathered all the necessary tools and materials, you’ll be well prepared to move on to the next steps of the installation process.
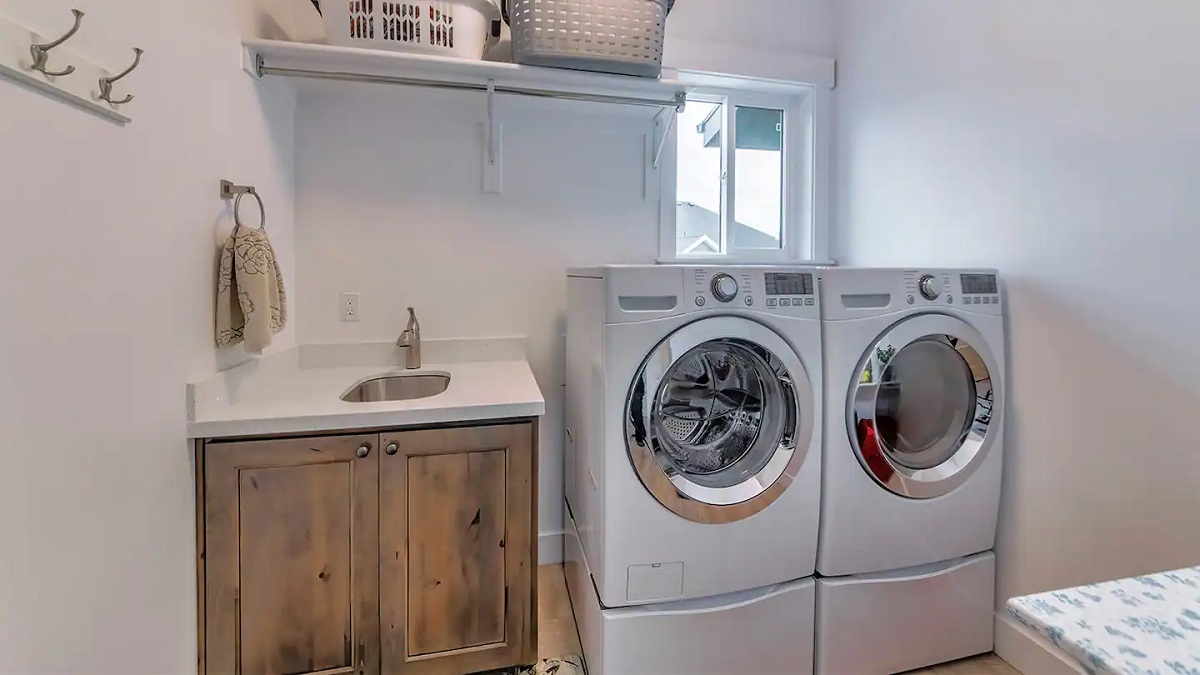
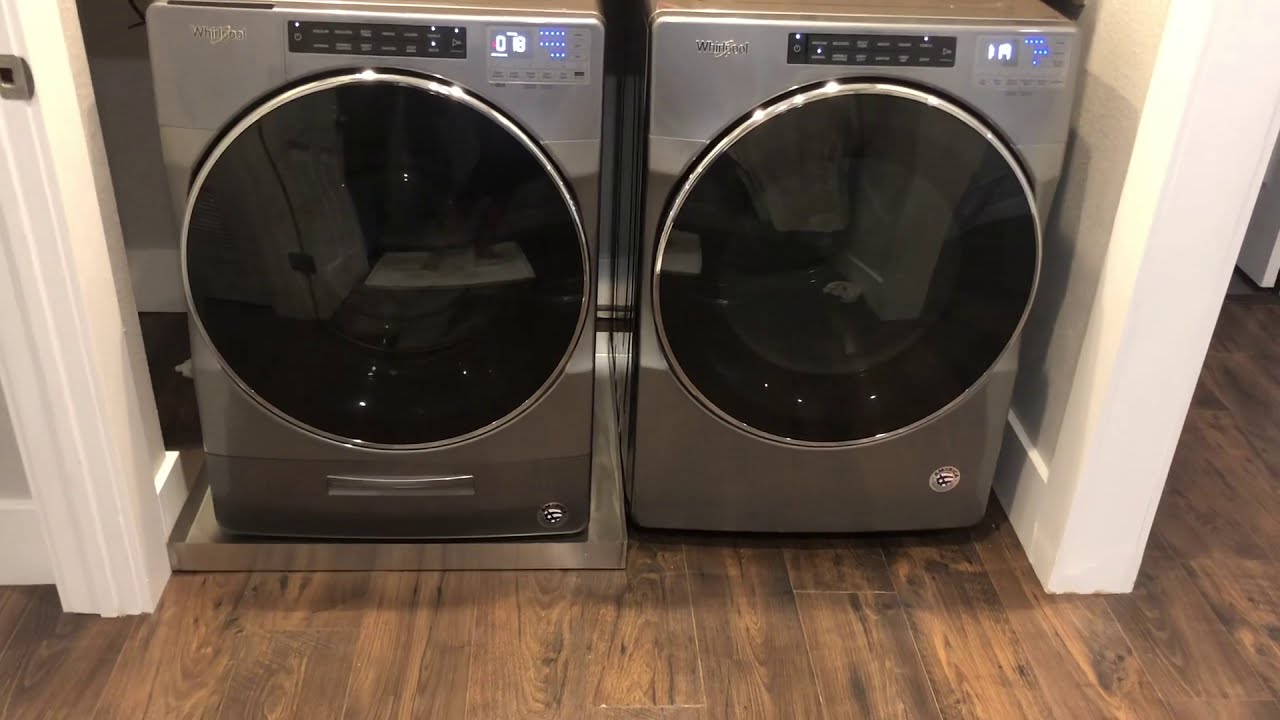
Step 2: Identify the Location for the Washing Machine
Choosing the right location for your washing machine is crucial for optimal functionality and convenience. Here are a few factors to consider when identifying the location:
- Proximity to water supply and drainage: Ideally, the location should be near existing water supply lines and a drain. This will minimize the need for extensive plumbing work.
- Space availability: Ensure that the chosen location has enough space to accommodate the washing machine and provide ample room for loading and unloading.
- Flooring and ventilation: Opt for a location with appropriate flooring that can handle the weight of the washing machine and any potential water spills. Additionally, ensure the area is well-ventilated to prevent moisture buildup.
Once you have identified the ideal location for your washing machine, mark the area and proceed to the next step.
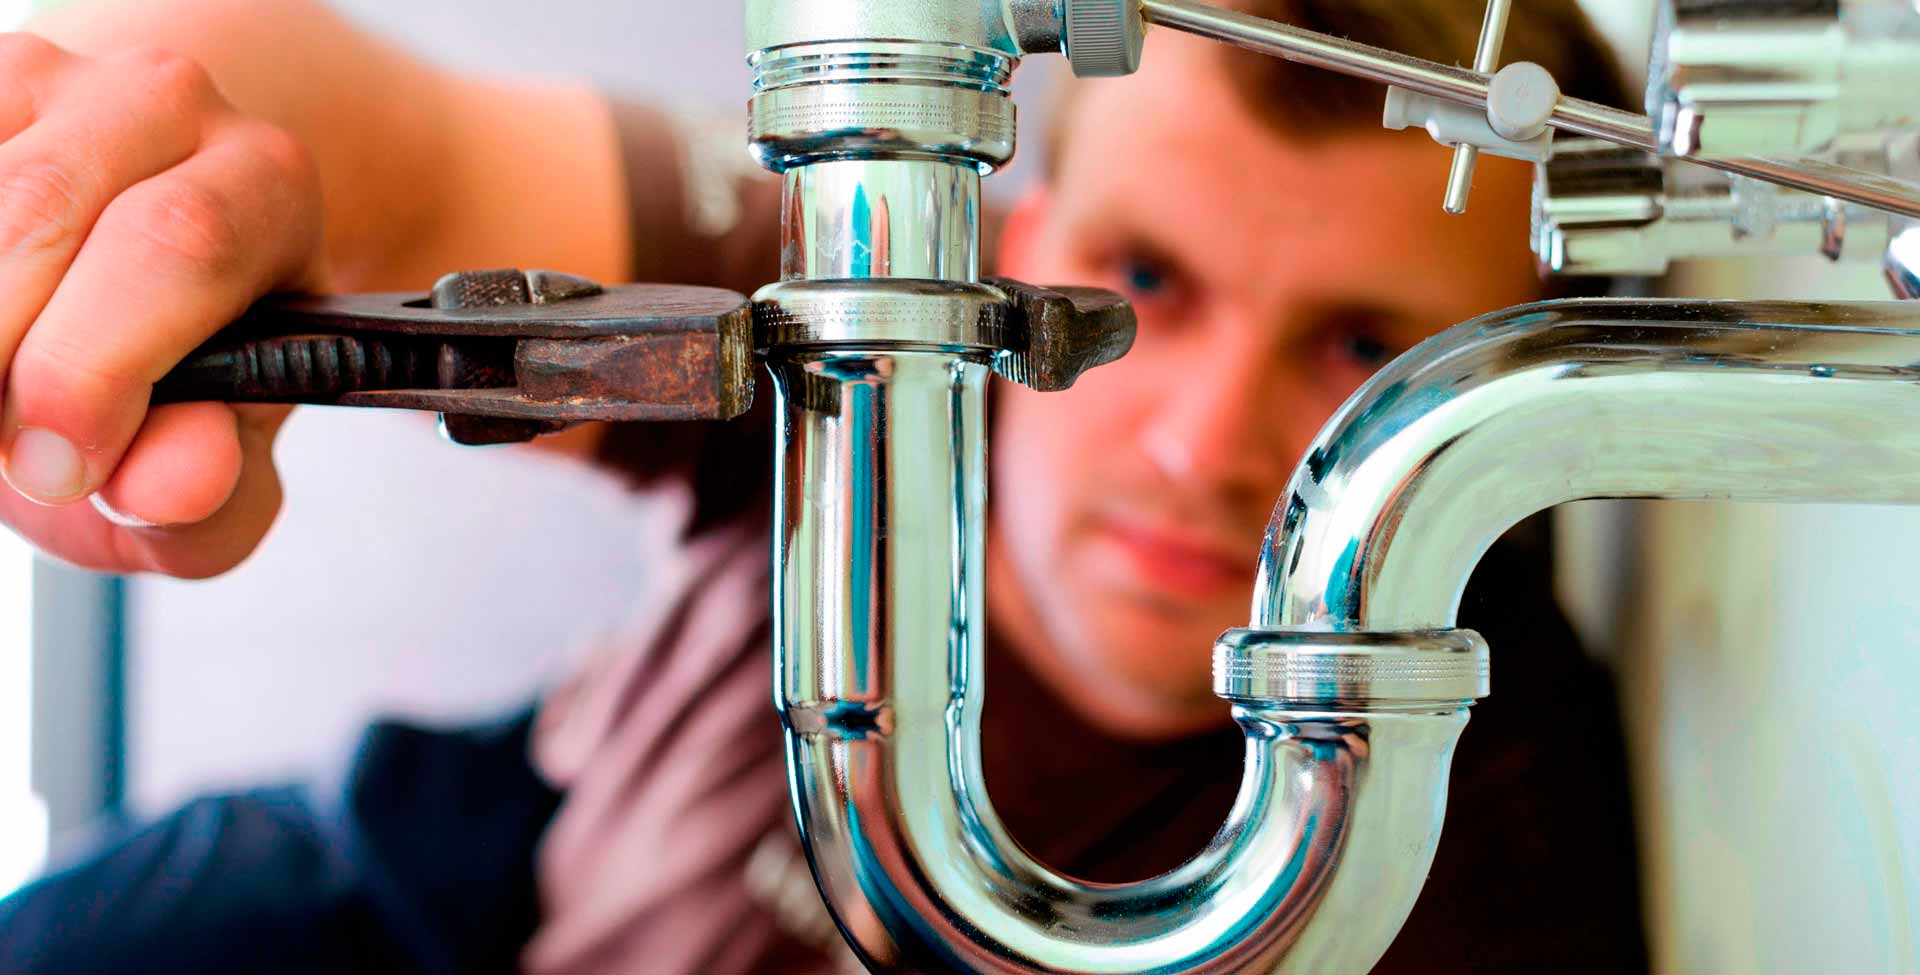
Step 3: Prepare the Plumbing Connections
With the location for your washing machine determined, it’s time to prepare the plumbing connections to ensure a smooth installation process. Follow these steps:
- Shut off the water supply: Locate the main water supply valve and turn it off. This will prevent any water flow while you work on the plumbing connections.
- Drain any existing water: Open a nearby faucet to drain any remaining water in the pipes.
- Measure and cut the pipes: Measure the distance from the water supply lines to the location of the washing machine. Using a tubing cutter, cut the pipes at the appropriate length.
- Clean the pipe ends: Use sandpaper or a pipe cleaning brush to clean the cut ends of the pipes. This will ensure a proper seal when connecting the fittings.
- Apply plumber’s tape: Wrap plumber’s tape clockwise around the threads of the fittings to create a tight seal and prevent leaks.
By preparing the plumbing connections beforehand, you’ll be one step closer to seamlessly installing your washing machine. Make sure to double-check the measurements and clean the pipes thoroughly before proceeding to the next step.
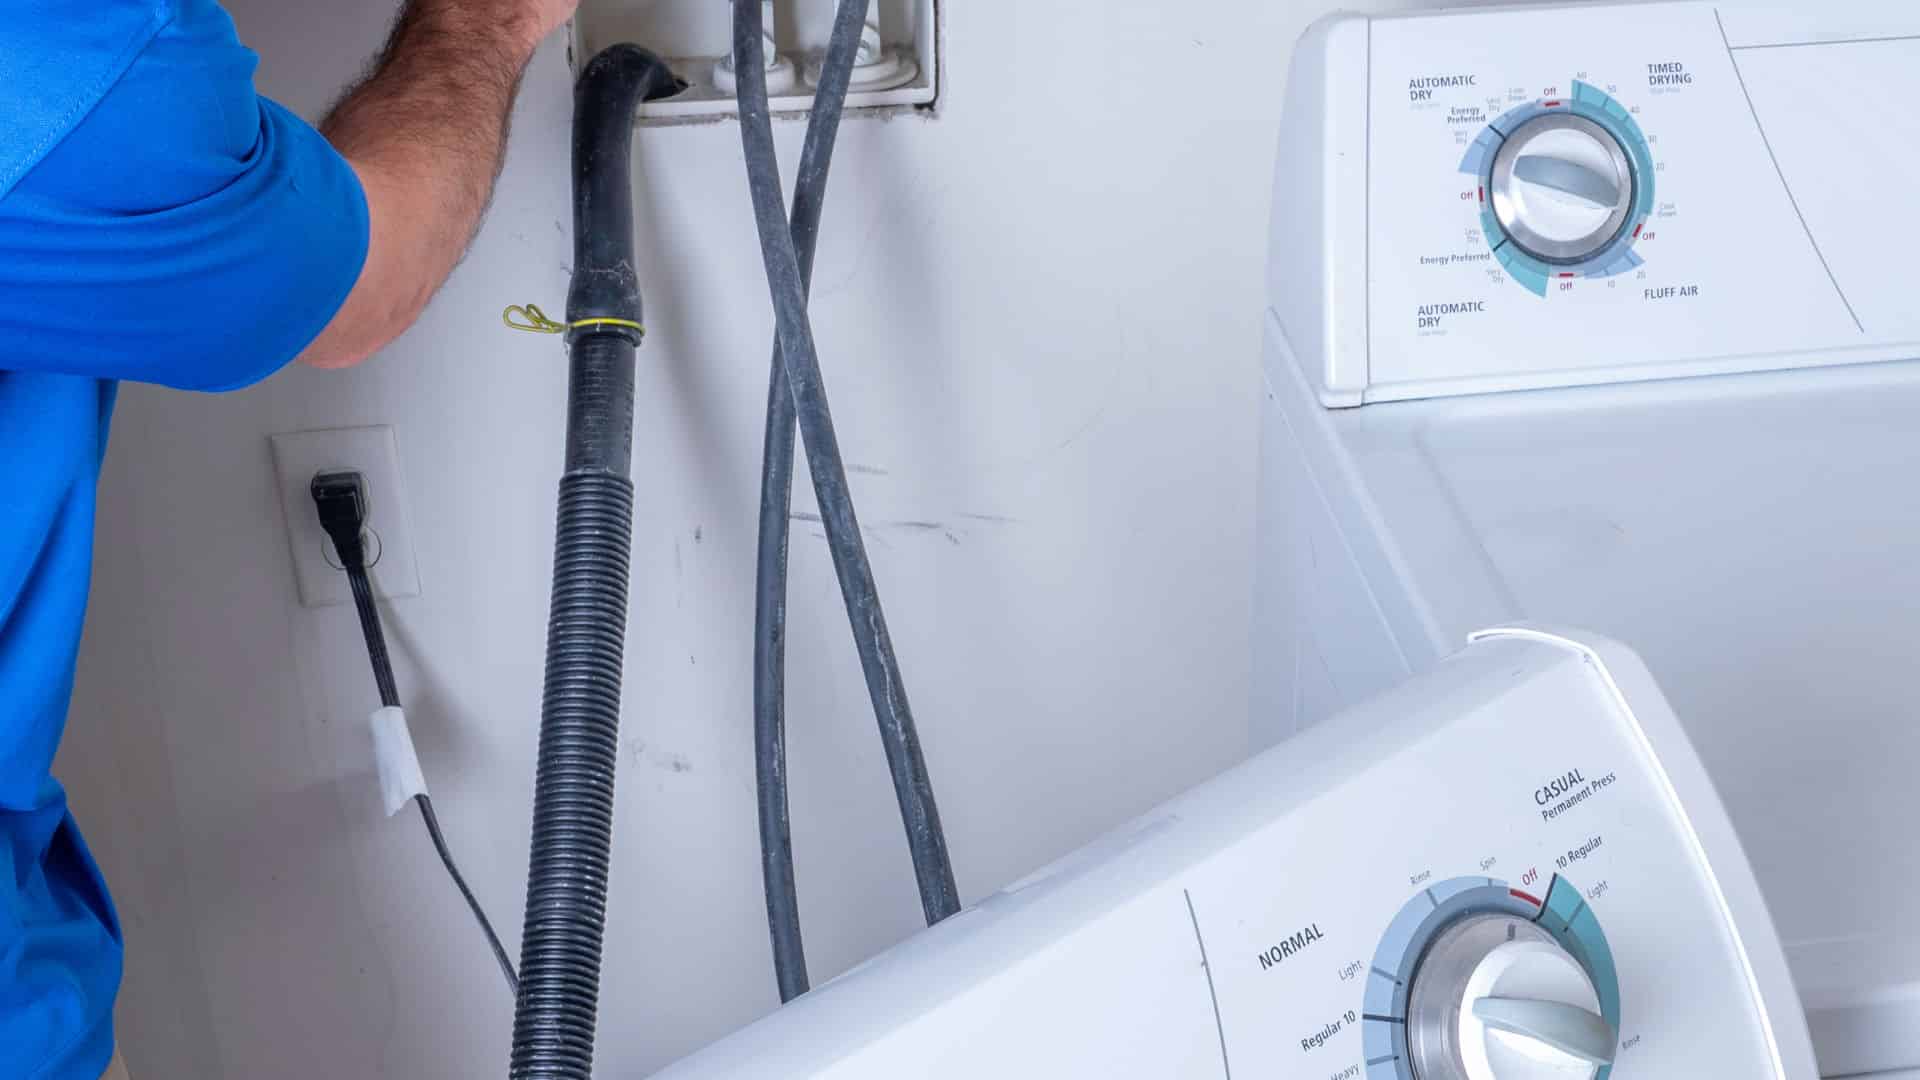
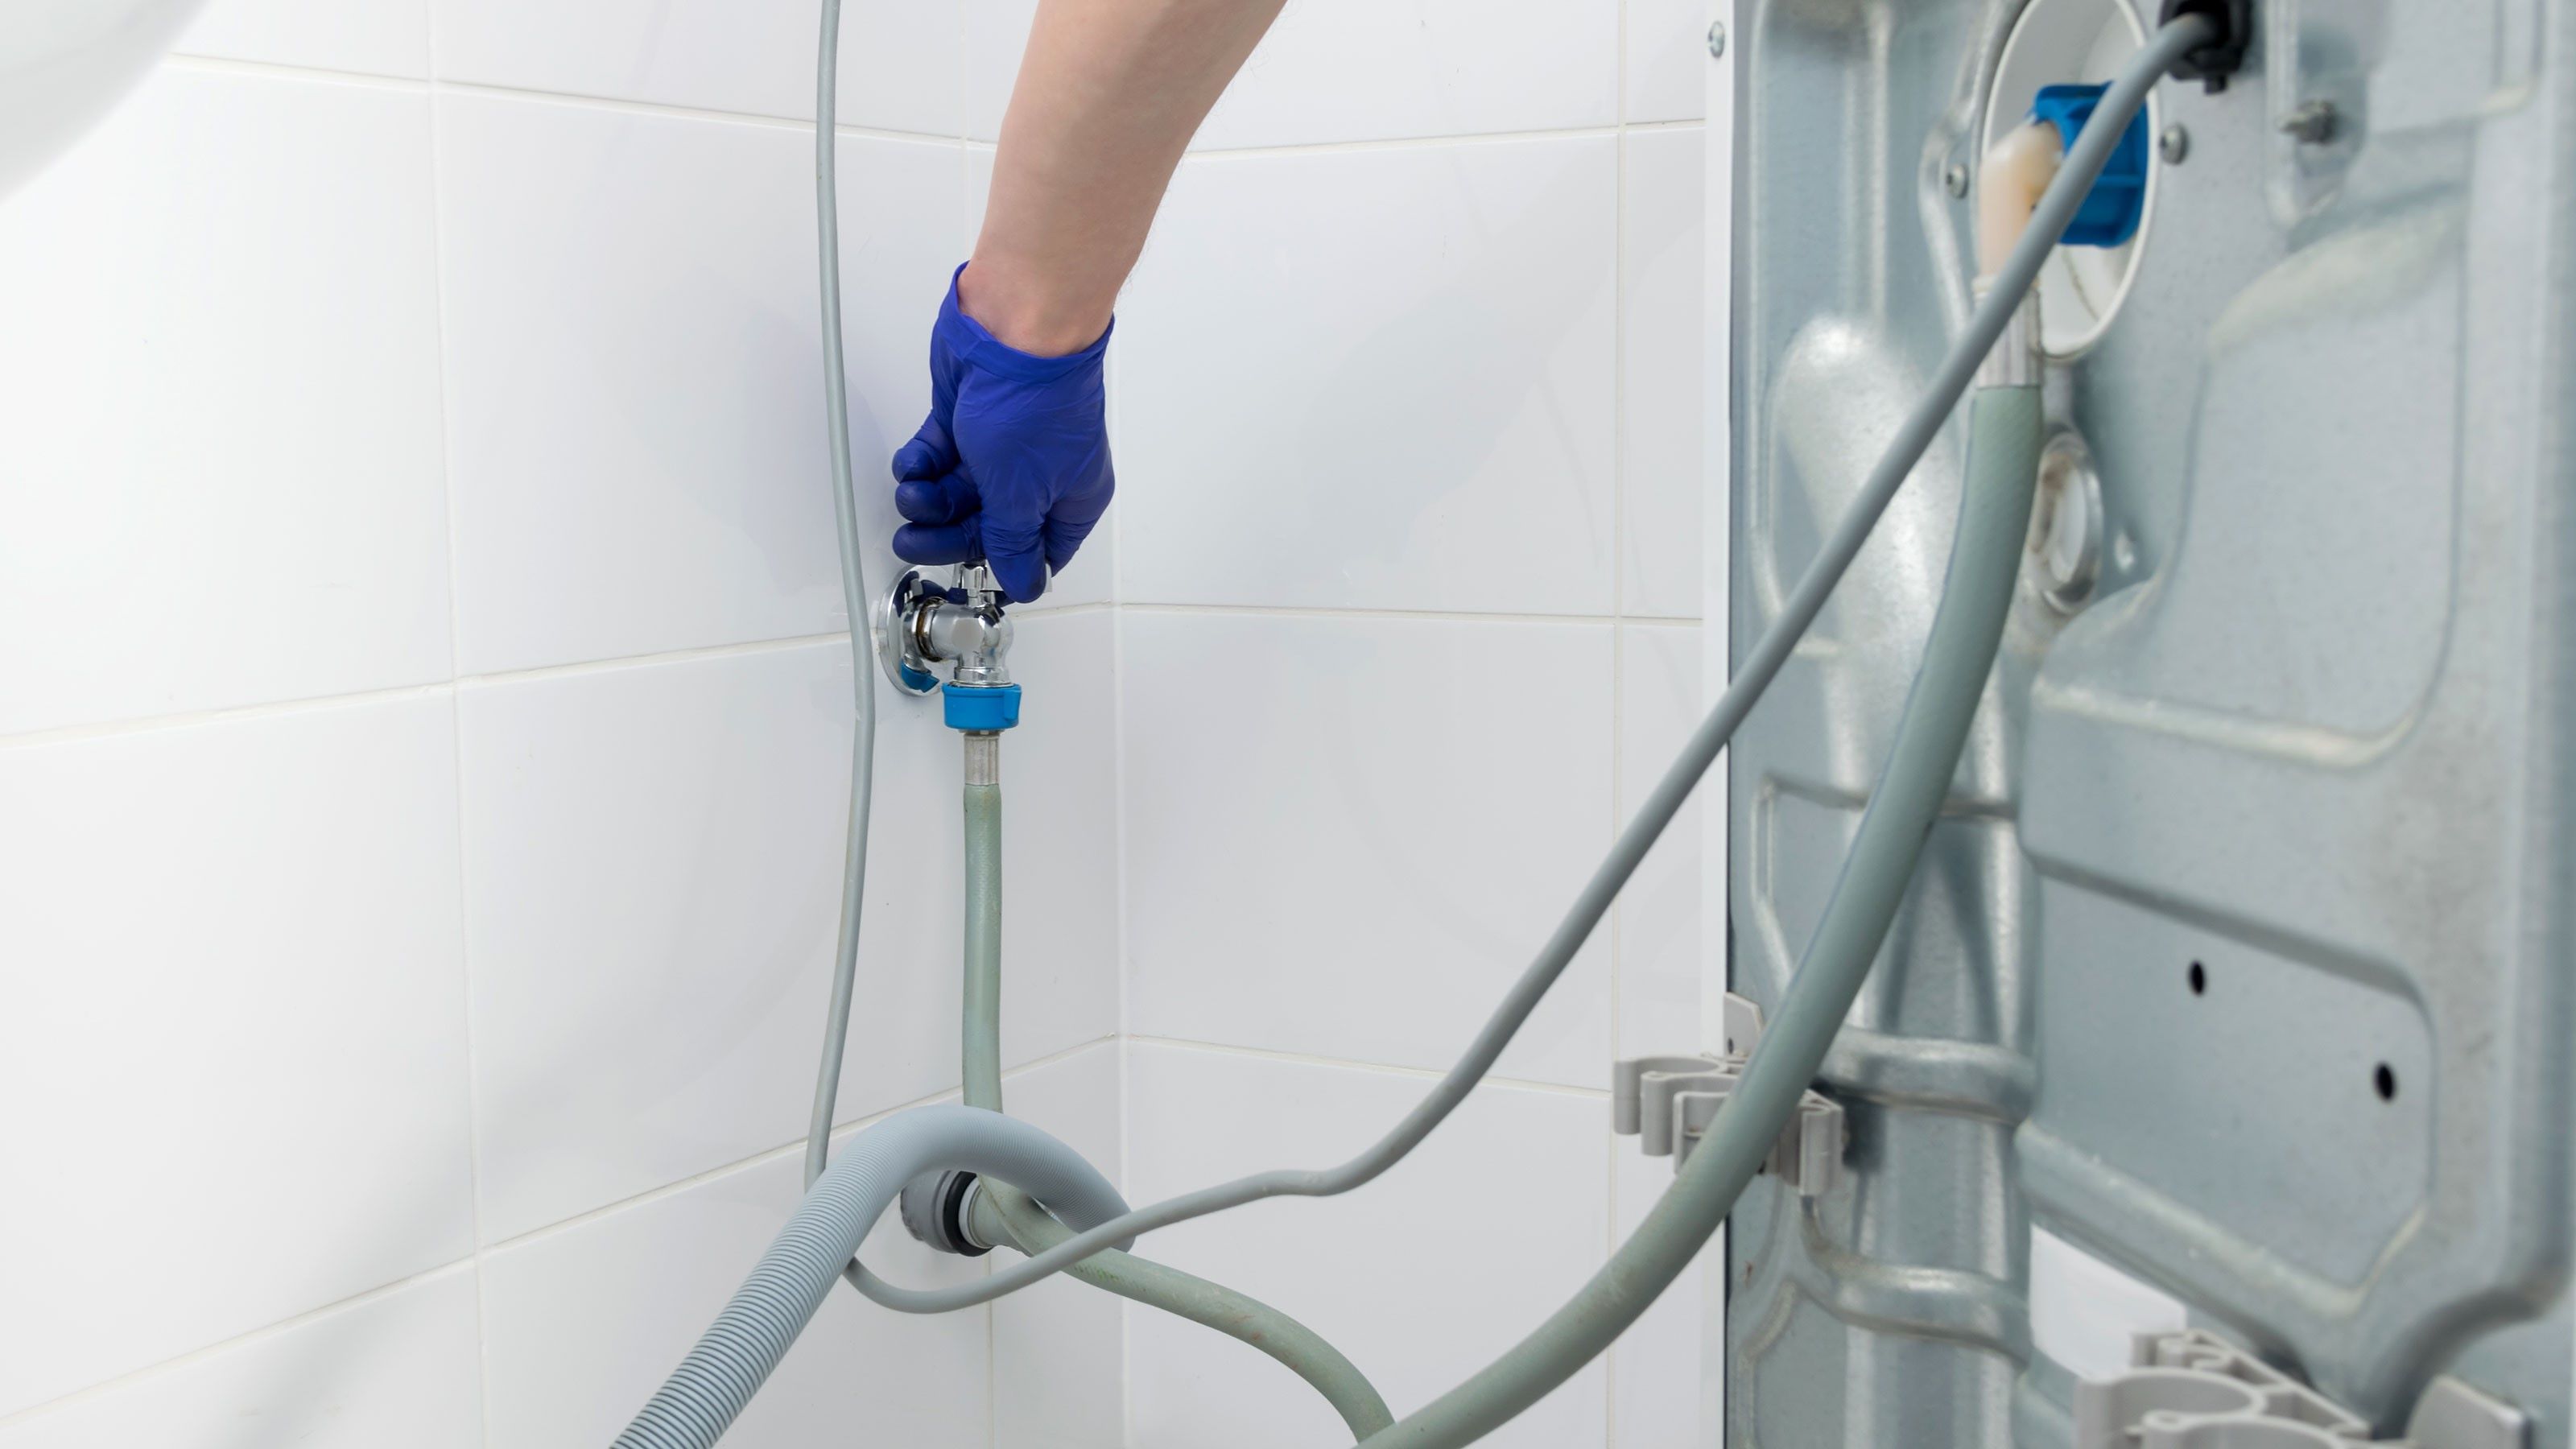
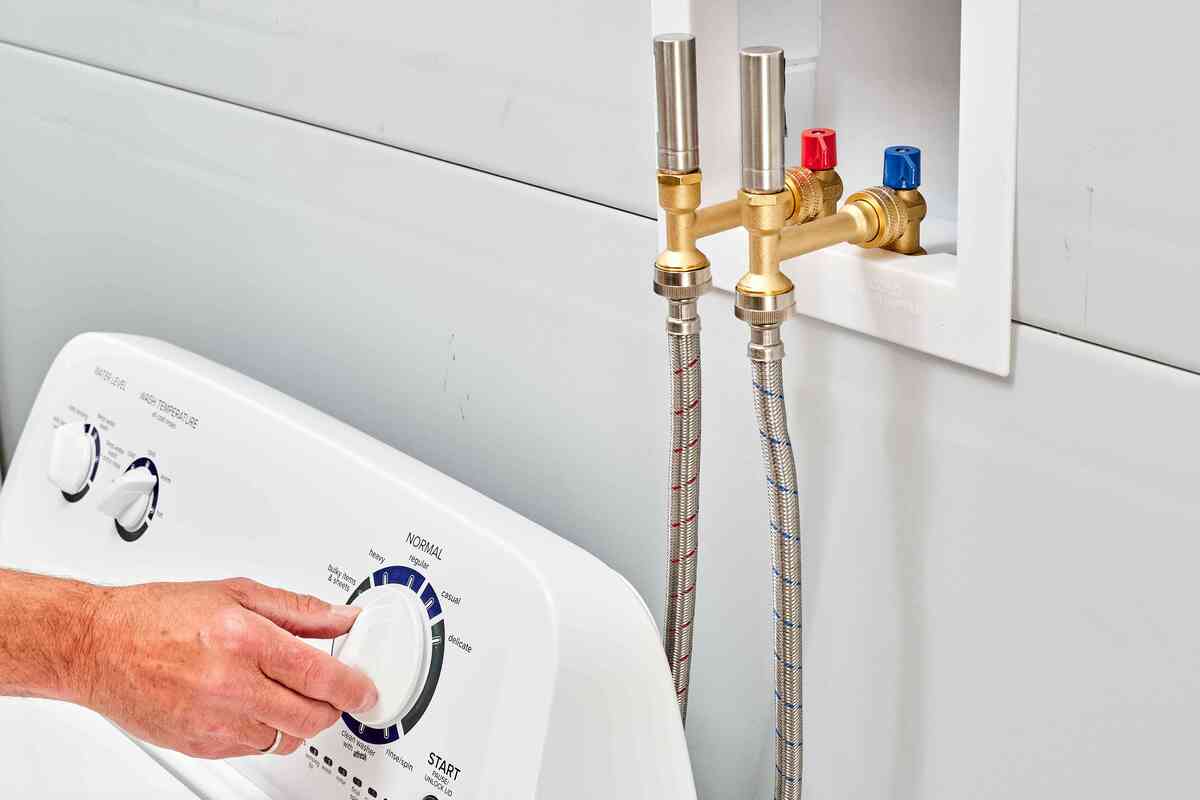
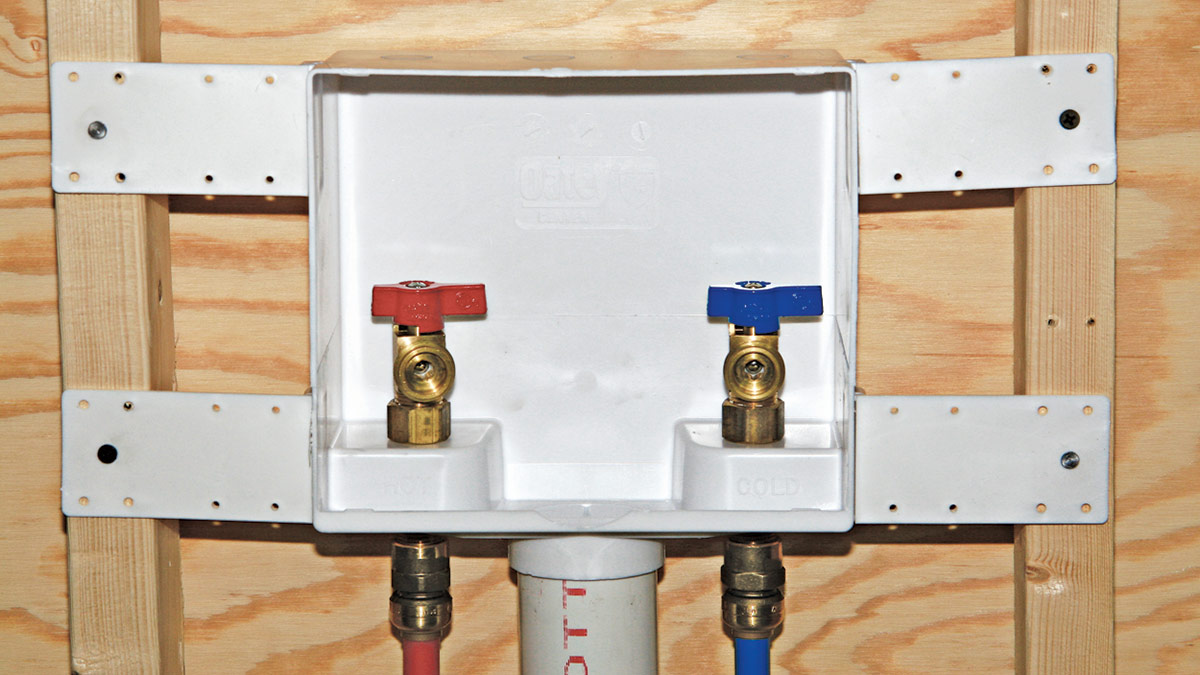
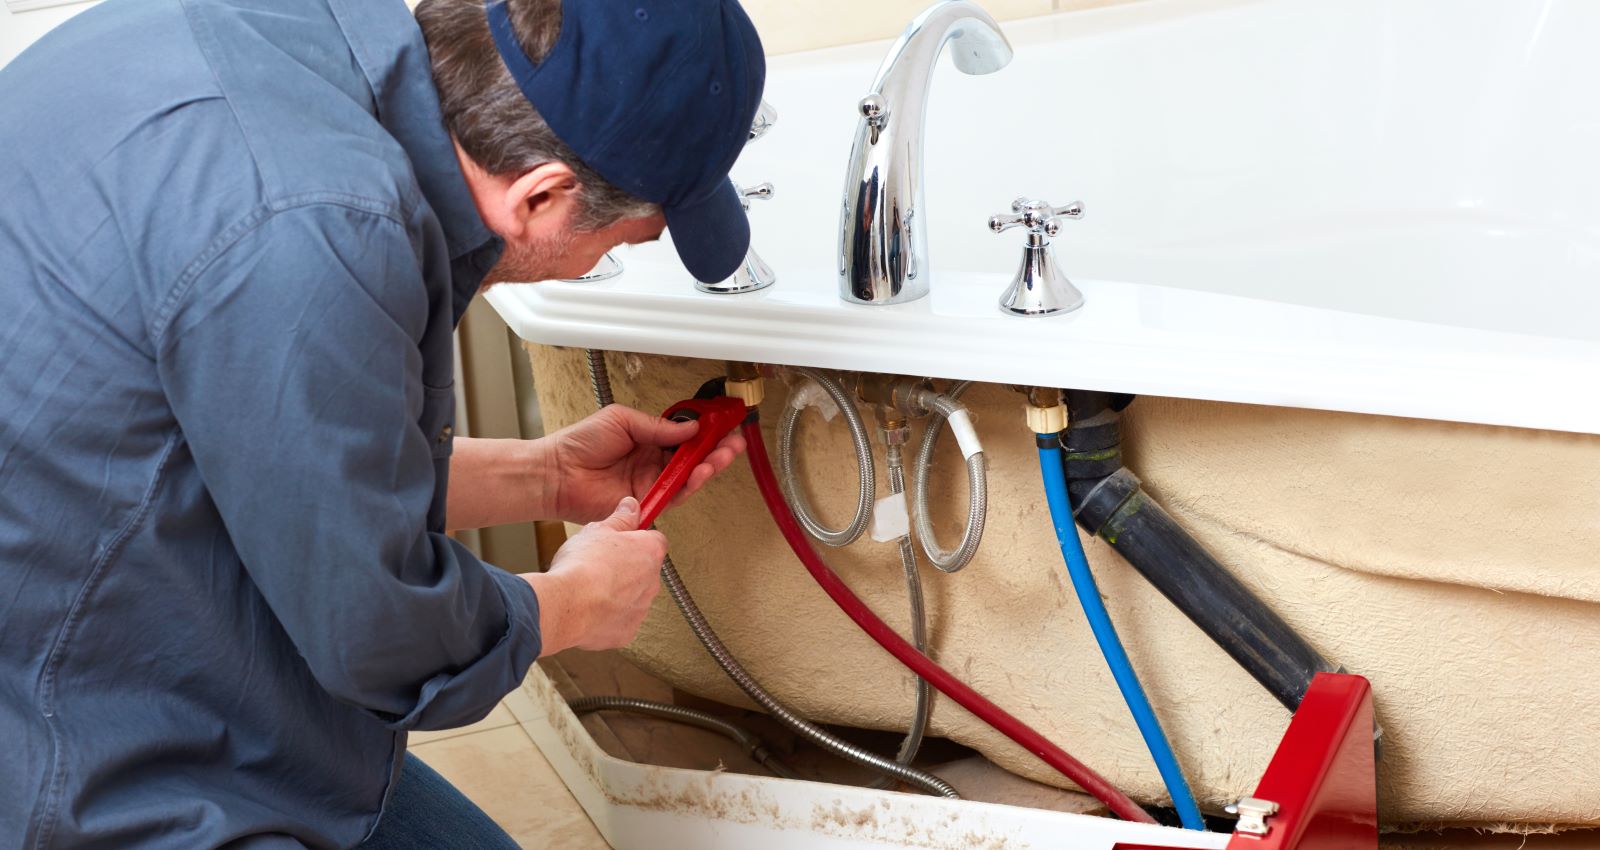
Step 4: Install the Supply Lines
Now that the plumbing connections are prepared, it’s time to install the supply lines for your washing machine. Follow these steps:
- Attach the fittings: Take the water supply hoses and attach the appropriate fittings to each end. Ensure that the fittings are securely fastened.
- Connect the supply lines: Connect one end of the water supply hoses to the hot and cold water supply valves on the wall. Use the adjustable wrench to tighten the connections.
- Connect the other end to the washing machine: Attach the remaining end of the supply lines to the corresponding hot and cold water inlet valves on the back of the washing machine. Again, use the adjustable wrench to tighten the connections.
- Check for leaks: Slowly turn on the main water supply valve and check for any leaks along the supply lines and connections. If you notice any leaks, tighten the fittings further or apply additional plumber’s tape.
Once the supply lines are securely connected and there are no leaks, you can proceed to the next step of connecting the drain pipe.
When installing plumbing for a washing machine, make sure to use a dedicated hot and cold water supply line with shutoff valves. This will allow for easy maintenance and repairs in the future.
Read more: How To Install Washer Drain
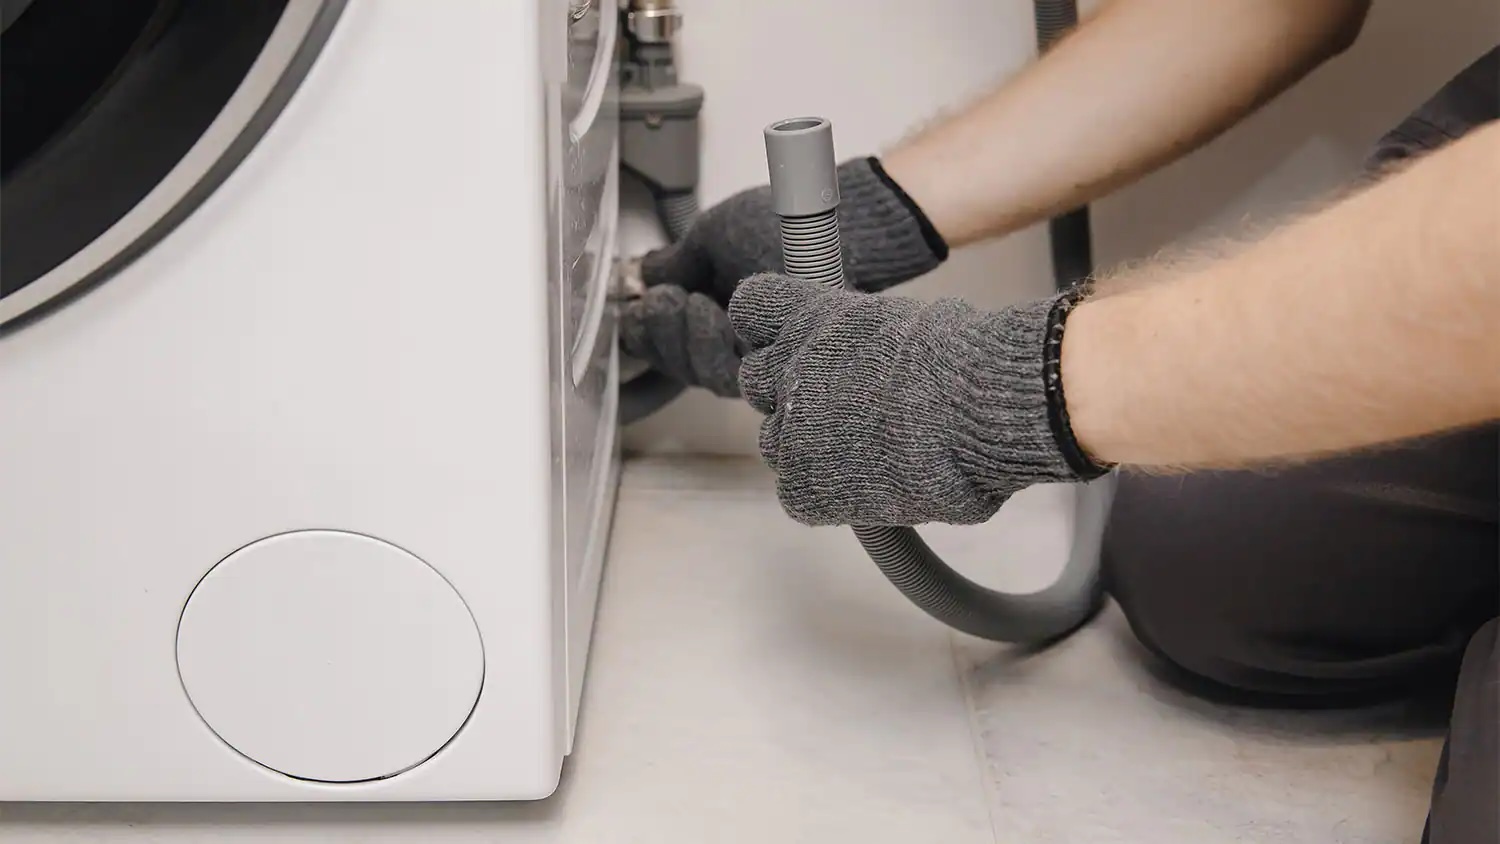
Step 5: Connect the Drain Pipe
Now that the supply lines are installed, it’s time to connect the drain pipe for your washing machine. Follow these steps:
- Locate the drain outlet: Determine the location of the drain outlet on the back of your washing machine. It is typically situated near the bottom of the machine.
- Measure and cut the drain pipe: Measure the distance from the drain outlet to the existing drain pipe or standpipe. Using a tubing cutter, cut the drain pipe to the appropriate length.
- Attach the drain pipe: Slide a hose clamp onto the end of the cut drain pipe. Attach the pipe to the drain outlet on the washing machine and tighten the hose clamp to secure it in place.
- Connect to the existing drain: If you have an existing drain pipe or standpipe, connect the other end of the cut drain pipe to it. Ensure that it is securely attached and there are no leaks.
- Test the drain: Pour a small amount of water into the washing machine and run a short cycle. Monitor the drain to ensure that the water flows smoothly without any backup or leaks.
By connecting the drain pipe properly, you will ensure the efficient drainage of water from your washing machine.
Step 6: Test the Plumbing Connections
After completing the installation of the supply lines and drain pipe, it’s essential to test the plumbing connections to ensure everything is functioning properly. Here’s how to test the plumbing connections:
- Turn on the water supply: Open the main water supply valve to allow water to flow into the supply lines.
- Check for leaks: Inspect all the supply line connections, as well as the drain pipe connection, for any signs of leaks. Look for dripping water or pooling around the connections.
- Monitor water flow: Start a wash cycle on your washing machine and observe the water flow. Ensure that the water is flowing smoothly through the supply lines and into the machine.
- Check drain functionality: As the washing machine completes its cycle, monitor the drain to ensure proper drainage. The water should flow out without any backups or clogs.
- Tighten any loose connections: If you notice any leaks or loose connections during the testing phase, use an adjustable wrench to tighten them. Apply plumber’s tape if necessary to create a tight seal.
Testing the plumbing connections is crucial to identify any potential issues and address them promptly. By ensuring everything is working correctly, you can have peace of mind knowing that your washing machine will operate efficiently.
Step 7: Secure and Insulate the Plumbing
Once you have tested the plumbing connections and verified that everything is functioning properly, it’s time to secure and insulate the plumbing to protect it and ensure long-term durability. Follow these steps:
- Secure the pipes: Use pipe clamps or straps to secure the supply lines and drain pipe to the nearby wall or structure. This will prevent them from moving or vibrating during use.
- Insulate the pipes: Wrap insulation sleeves or foam insulation tape around the exposed sections of the supply lines and drain pipe. This will help prevent heat loss or condensation, particularly if the pipes pass through colder areas of your home.
- Seal any openings: If there are any gaps or openings in the walls or floor near the plumbing connections, use caulk or expandable foam to seal them. This will help maintain temperature control and prevent unwanted pests or debris from entering around the pipes.
By taking these steps to secure and insulate the plumbing, you will enhance its longevity and prevent potential issues such as leaks or damage.
Conclusion
Installing plumbing for a washing machine may seem like a daunting task, but by following these step-by-step instructions, you can successfully set up the necessary connections for efficient water supply and drainage. From gathering the necessary tools and materials to securing and insulating the plumbing, each step plays a vital role in ensuring a smooth installation process.
Remember to carefully identify the location for your washing machine, considering factors such as proximity to water supply and drainage, space availability, and proper flooring and ventilation. This will contribute to the overall functionality and convenience of your laundry area.
By preparing the plumbing connections beforehand, measuring and cutting pipes accurately, and using plumber’s tape to create tight seals, you can prevent leaks and maintain optimal water flow. Properly connecting the supply lines and drain pipe, followed by testing the plumbing connections, will help identify any issues and allow for timely adjustments or repairs.
Finally, securing and insulating the plumbing will provide added protection and longevity to your installation, minimizing the risk of damage and enhancing energy efficiency.
By following these guidelines, you can confidently install plumbing for a washing machine and enjoy the convenience of a fully functional laundry area in your home.
Frequently Asked Questions about How To Install Plumbing For A Washing Machine
Was this page helpful?
At Storables.com, we guarantee accurate and reliable information. Our content, validated by Expert Board Contributors, is crafted following stringent Editorial Policies. We're committed to providing you with well-researched, expert-backed insights for all your informational needs.
0 thoughts on “How To Install Plumbing For A Washing Machine”