Home>Articles>How To Install Loose Lay Sheet Vinyl Flooring In A Few Hours
Articles
How To Install Loose Lay Sheet Vinyl Flooring In A Few Hours
Modified: January 23, 2024
Learn how to easily install loose-lay sheet vinyl flooring in just a few hours with our step-by-step articles. Transform your space with this DIY flooring project!
(Many of the links in this article redirect to a specific reviewed product. Your purchase of these products through affiliate links helps to generate commission for Storables.com, at no extra cost. Learn more)
Introduction
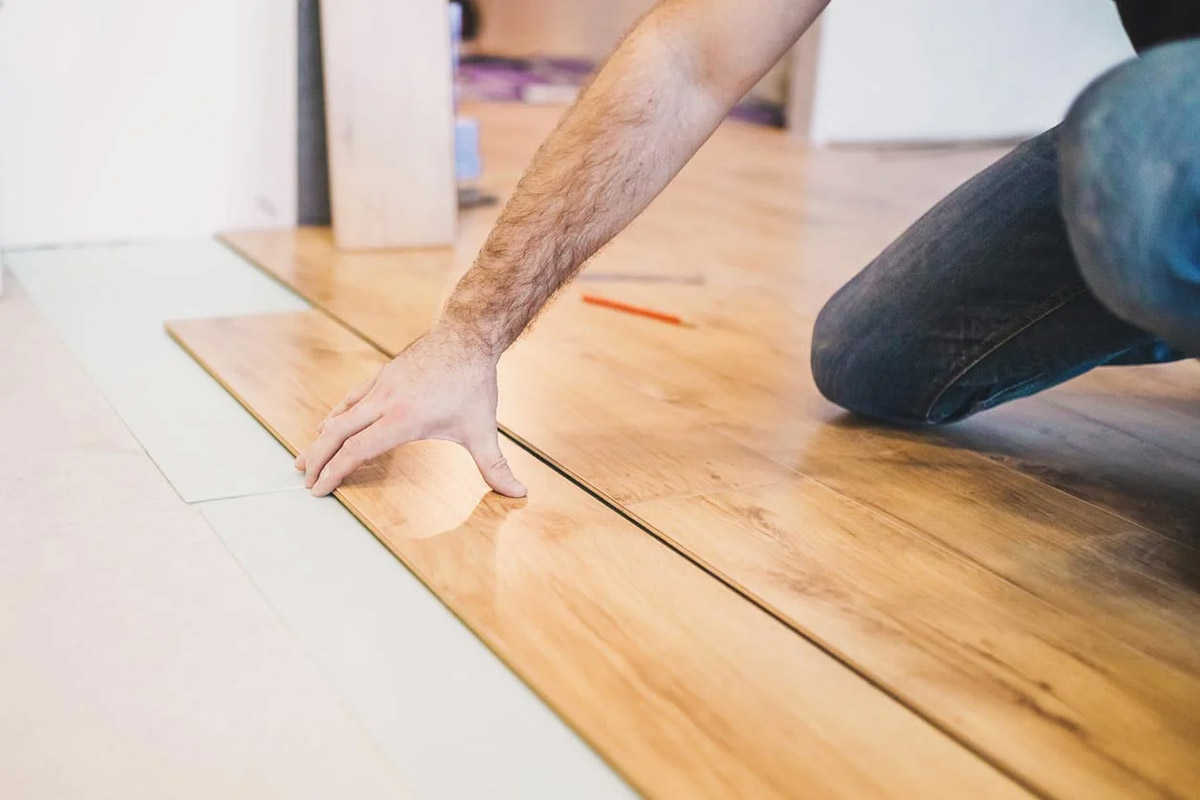
Installing loose-lay sheet vinyl flooring is a cost-effective and convenient way to update the look of any room in your home. With proper installation, this versatile flooring option can instantly transform the appearance of your space, offering both durability and style. Whether you’re a DIY enthusiast or a homeowner looking to save on installation costs, this step-by-step guide will walk you through the process of installing loose-lay sheet vinyl flooring in just a few hours.
Before you begin, it’s important to gather all the necessary materials and tools. This will ensure a smooth installation process and help you avoid any unnecessary delays. Additionally, be sure to measure the area where you plan to install the vinyl flooring, as this will determine the amount of material you’ll need to purchase.
In this article, we will cover each step of the installation process, from preparing the subfloor to cleaning up and enjoying your new flooring. By following these instructions, you’ll be able to achieve professional-looking results without the need for extensive experience or specialized equipment.
Come along as we dive into the world of loose-lay sheet vinyl flooring installation, and get ready to enjoy a beautifully updated space in no time!
Key Takeaways:
- Installing loose-lay sheet vinyl flooring is a DIY-friendly, cost-effective way to revamp your space. Proper preparation, precise measurements, and attention to detail are key to achieving professional-looking results in just a few hours.
- Acclimating the vinyl flooring, laying the first row with care, and finishing the edges are crucial steps for a seamless installation. Consider optional transition strips for a polished look, and don’t forget to enjoy your newly transformed space!
Read more: How To Install Vinyl Floor
Materials Needed
Before you begin installing loose-lay sheet vinyl flooring, it’s important to gather all the necessary materials and tools. Here’s a list of what you’ll need:
- Loose-lay sheet vinyl flooring: Measure the area and purchase enough to cover the entire space, adding a little extra for any mistakes or trimming.
- Utility knife: This will be used to cut the vinyl flooring to the desired size and shape.
- Measuring tape: Essential for accurately measuring the dimensions of the room and the vinyl flooring.
- Straight edge: A ruler or similar straight edge will come in handy when cutting the vinyl flooring.
- Heavy-duty scissors: These will be used to trim the edges of the flooring as needed.
- Adhesive or double-sided tape (optional): If you’d like extra stability, you can use adhesive or double-sided tape to secure the edges of the vinyl flooring.
- Rubber or wooden mallet: This can be used to ensure a secure fit and to smooth out any wrinkles or bubbles that may occur during installation.
- Rolling pin or seam roller: If you’re using adhesive, a rolling pin or seam roller will help ensure proper adhesion between the flooring and the subfloor.
- Safety goggles, gloves, and knee pads: These will provide protection while cutting and installing the flooring.
- Cleaner and mop: Before installation, ensure that the subfloor is clean and free of any debris or dust.
Make sure to gather all these materials before you start the installation process. Having everything ready at hand will make the process smoother and more efficient. Now that you have all the necessary materials and tools, let’s move on to the first step: preparing the subfloor.
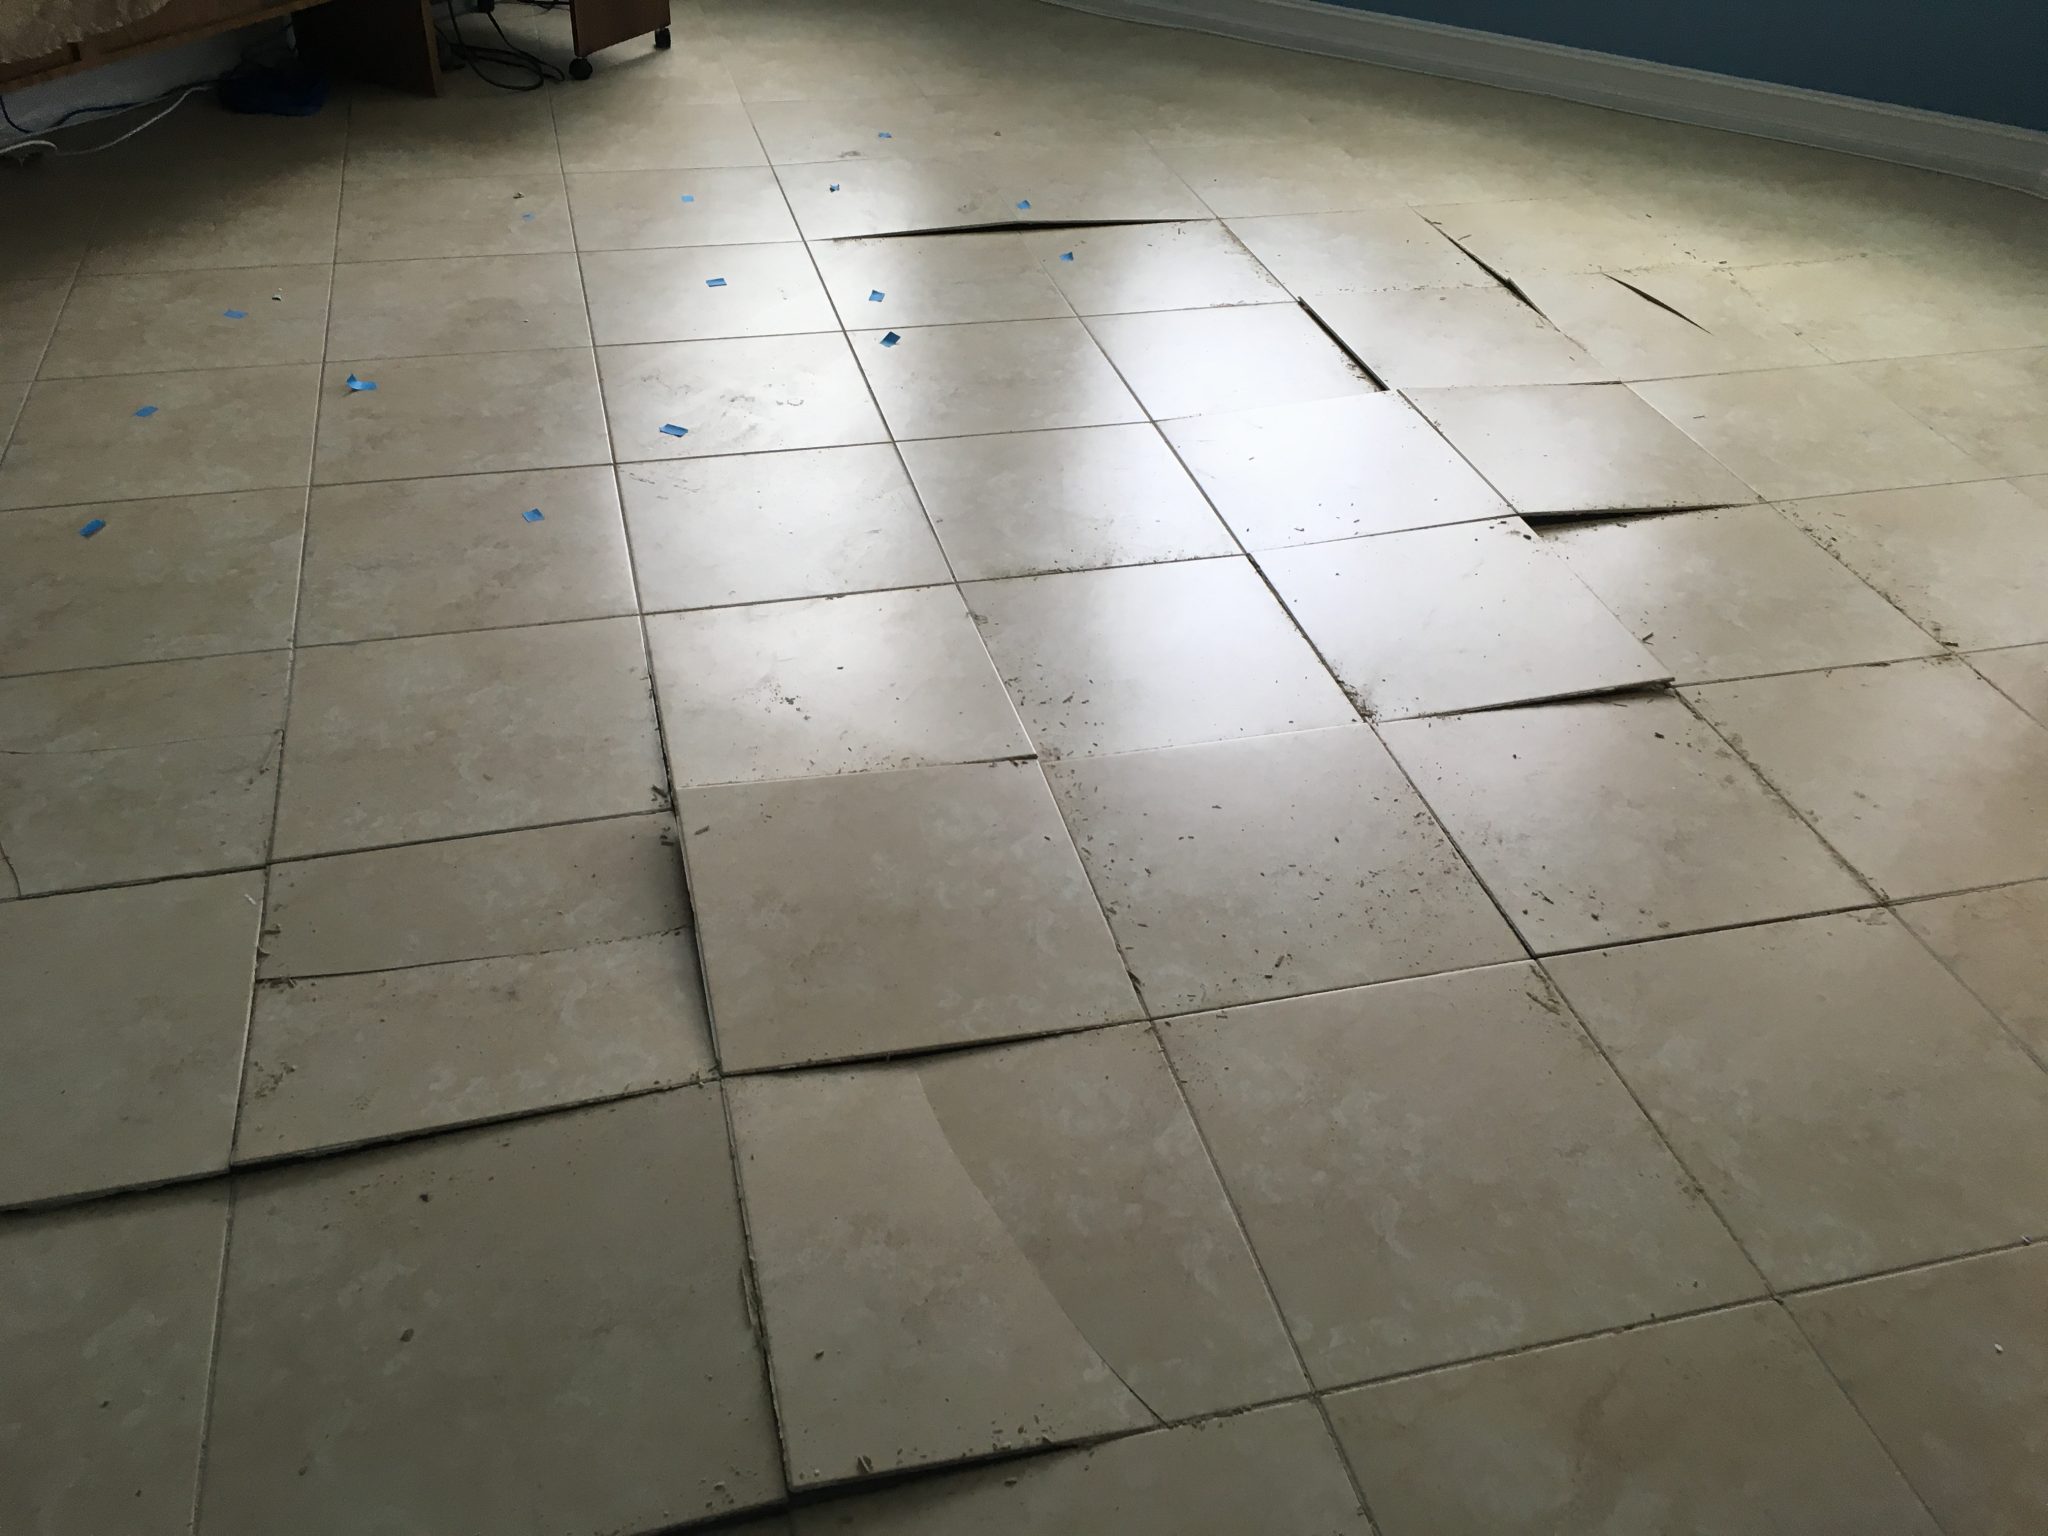
Step 1: Prepare the Subfloor
Before you can begin installing loose-lay sheet vinyl flooring, it’s crucial to properly prepare the subfloor. The subfloor serves as the foundation for your flooring and must be clean, dry, and level to achieve a seamless and long-lasting installation. Follow these steps to prepare the subfloor:
- Clean the subfloor: Remove any dust, dirt, or debris from the subfloor using a vacuum cleaner or broom. Ensure that the surface is free of any loose particles that could impact the adhesion of the vinyl flooring.
- Repair any damages: Inspect the subfloor for any cracks, holes, or uneven areas. Use a suitable filler or patching compound to repair any damages and create a smooth surface.
- Check for moisture: Vinyl flooring is not suitable for areas with excessive moisture, such as basements prone to flooding. Use a moisture meter to check the moisture levels in the subfloor. If the moisture levels are high, you may need to address any underlying moisture issues or choose a different type of flooring.
- Level the subfloor: To ensure a flat and even surface, use a leveling compound to fill in any low spots or uneven areas. Follow the manufacturer’s instructions for application and drying times.
- Allow time for the subfloor to dry: Moisture in the subfloor can affect the installation and long-term performance of the vinyl flooring. Allow ample time for the subfloor to dry completely before proceeding with the installation.
By taking the time to properly prepare the subfloor, you’ll create a solid foundation for your loose-lay sheet vinyl flooring. This will not only ensure a professional-looking installation but also contribute to the durability and longevity of your new flooring. Once the subfloor is clean, dry, and level, you’re ready to move on to the next step: acclimating the vinyl flooring.
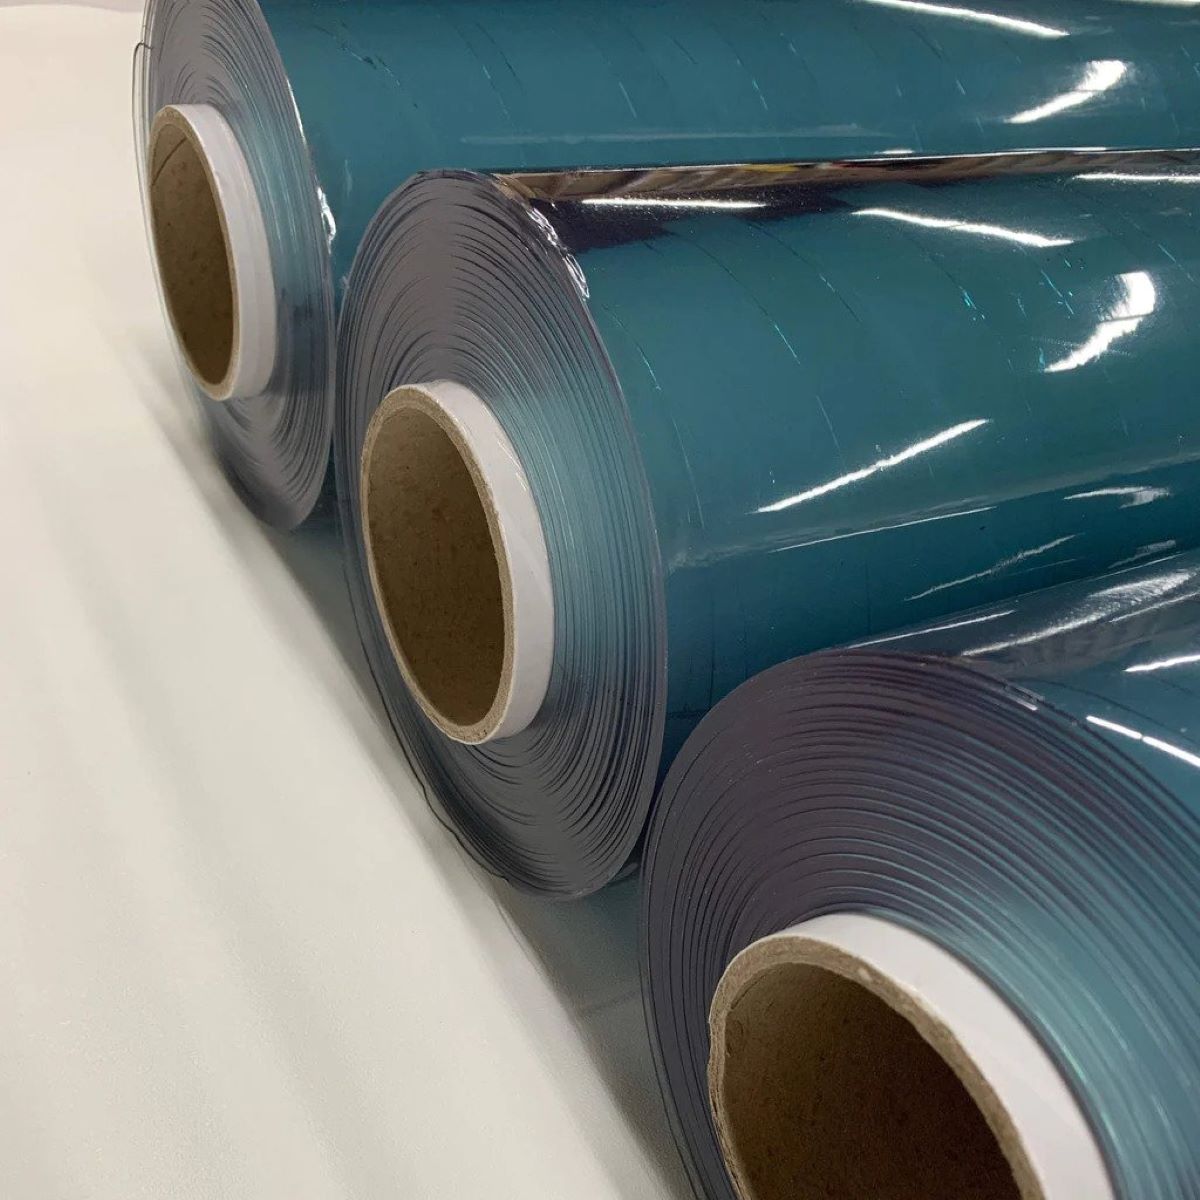
Step 2: Acclimate the Vinyl Flooring
Acclimating the vinyl flooring is an essential step to ensure optimal installation and long-term performance. Acclimation allows the flooring to adjust to the temperature and humidity of the installation area. Follow these steps to properly acclimate the vinyl flooring:
- Unpack the flooring: Remove the loose-lay sheet vinyl flooring from its packaging and lay it flat in the installation area. Leave the flooring to acclimate for at least 24-48 hours. This time may vary depending on the manufacturer’s recommendations, so be sure to check the product’s instructions.
- Check the room conditions: During the acclimation period, monitor the temperature and humidity levels in the room. They should be within the recommended range specified by the manufacturer. This will ensure that the vinyl flooring adjusts to the environment and minimizes the risk of expansion or contraction after installation.
- Keep the flooring away from direct sunlight: Avoid exposing the vinyl flooring to direct sunlight or extreme heat during acclimation. This can cause the material to warp or expand, affecting the installation process.
- Ensure a stable room temperature: Maintain a stable temperature in the room during the acclimation period. Sudden temperature changes can impact the vinyl flooring’s dimensional stability.
Acclimating the vinyl flooring allows it to adapt to the conditions in the room, reducing the risk of problems such as buckling or gapping after installation. By following these steps, you’ll ensure that your loose-lay sheet vinyl flooring is ready for a seamless and long-lasting installation. Once the flooring has acclimated, you’re now ready to measure and cut the vinyl flooring in the next step.
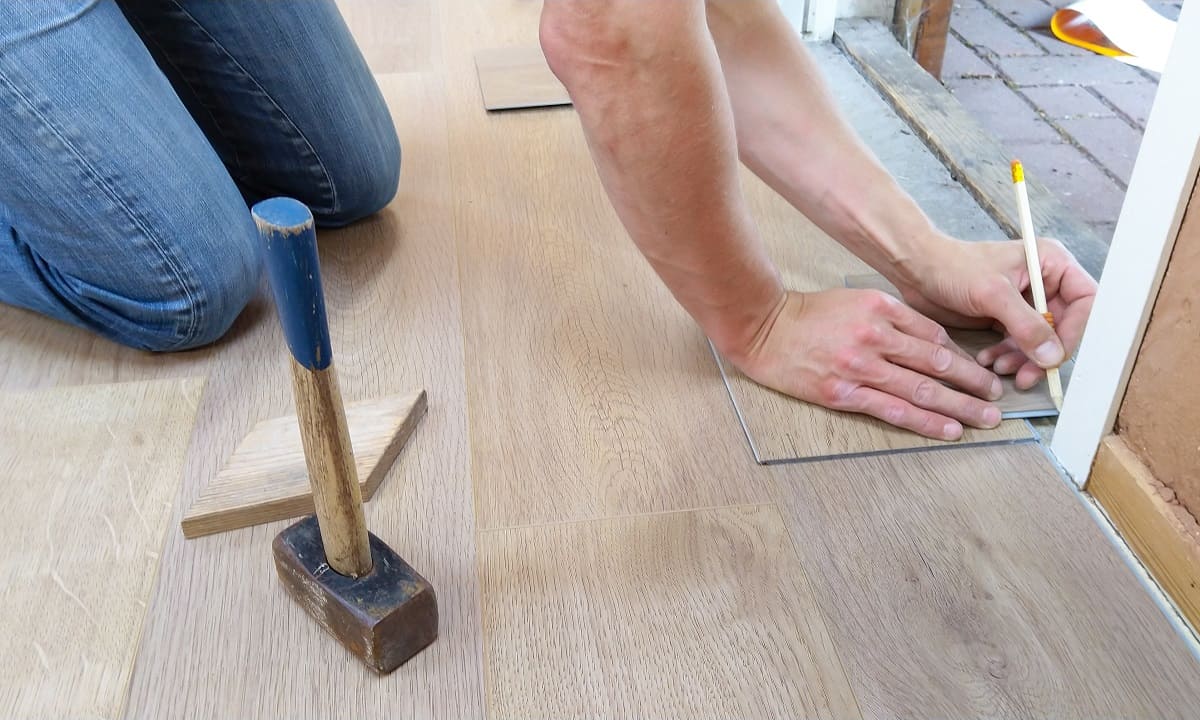
Step 3: Measure and Cut the Vinyl Flooring
Accurate measurements and precise cuts are crucial for a seamless installation of loose-lay sheet vinyl flooring. Follow these steps to measure and cut the vinyl flooring:
- Measure the room: Use a measuring tape to determine the dimensions of the room. Measure each wall individually, accounting for any alcoves or irregularities in the shape of the space.
- Add an allowance for trimming: To ensure a perfect fit, add a small allowance to the measurements. This will account for any adjustments that need to be made during installation.
- Transfer the measurements to the vinyl flooring: Use a straight edge and a pencil or marker to transfer the measurements onto the back of the loose-lay sheet vinyl flooring. Make sure to double-check the measurements before cutting.
- Cut the vinyl flooring: Using a utility knife or a similar cutting tool, carefully cut along the marked lines to separate the vinyl flooring into the desired pieces. Take your time and use proper safety precautions, such as wearing gloves and safety goggles.
- Make additional cuts for obstacles: If there are any obstacles in the room, such as pillars or cabinets, you may need to make additional cuts in the vinyl flooring to accommodate them. Measure the dimensions of the obstacles and adjust the vinyl flooring accordingly.
It’s important to note that the cuts should be made with precision to ensure a tight and seamless fit once the vinyl flooring is laid. Take your time during this step to ensure accurate measurements and clean cuts. Once the vinyl flooring is cut to the appropriate size and shape, you’re ready to move on to the next step: laying the first row of vinyl flooring.
Read more: How To Store Fresh Pasta For A Few Hours
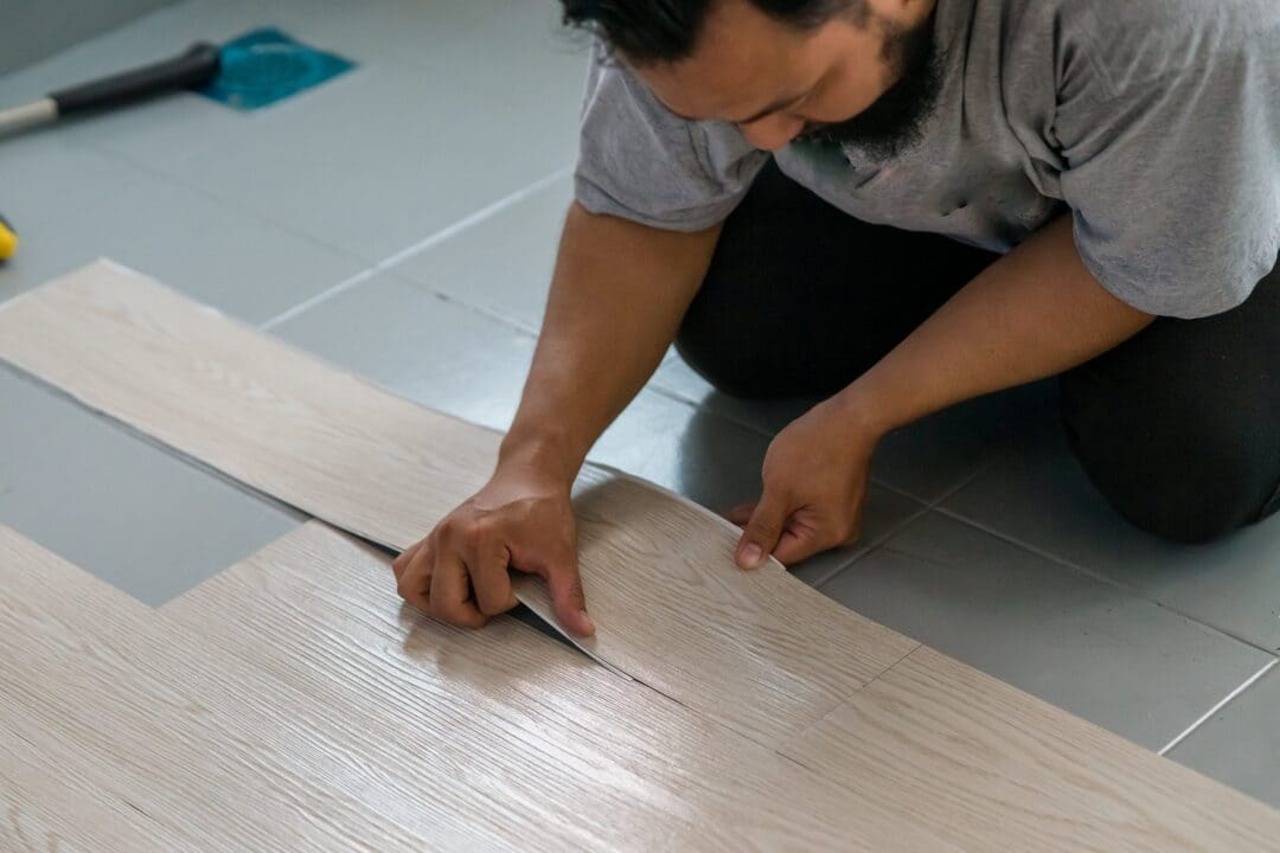
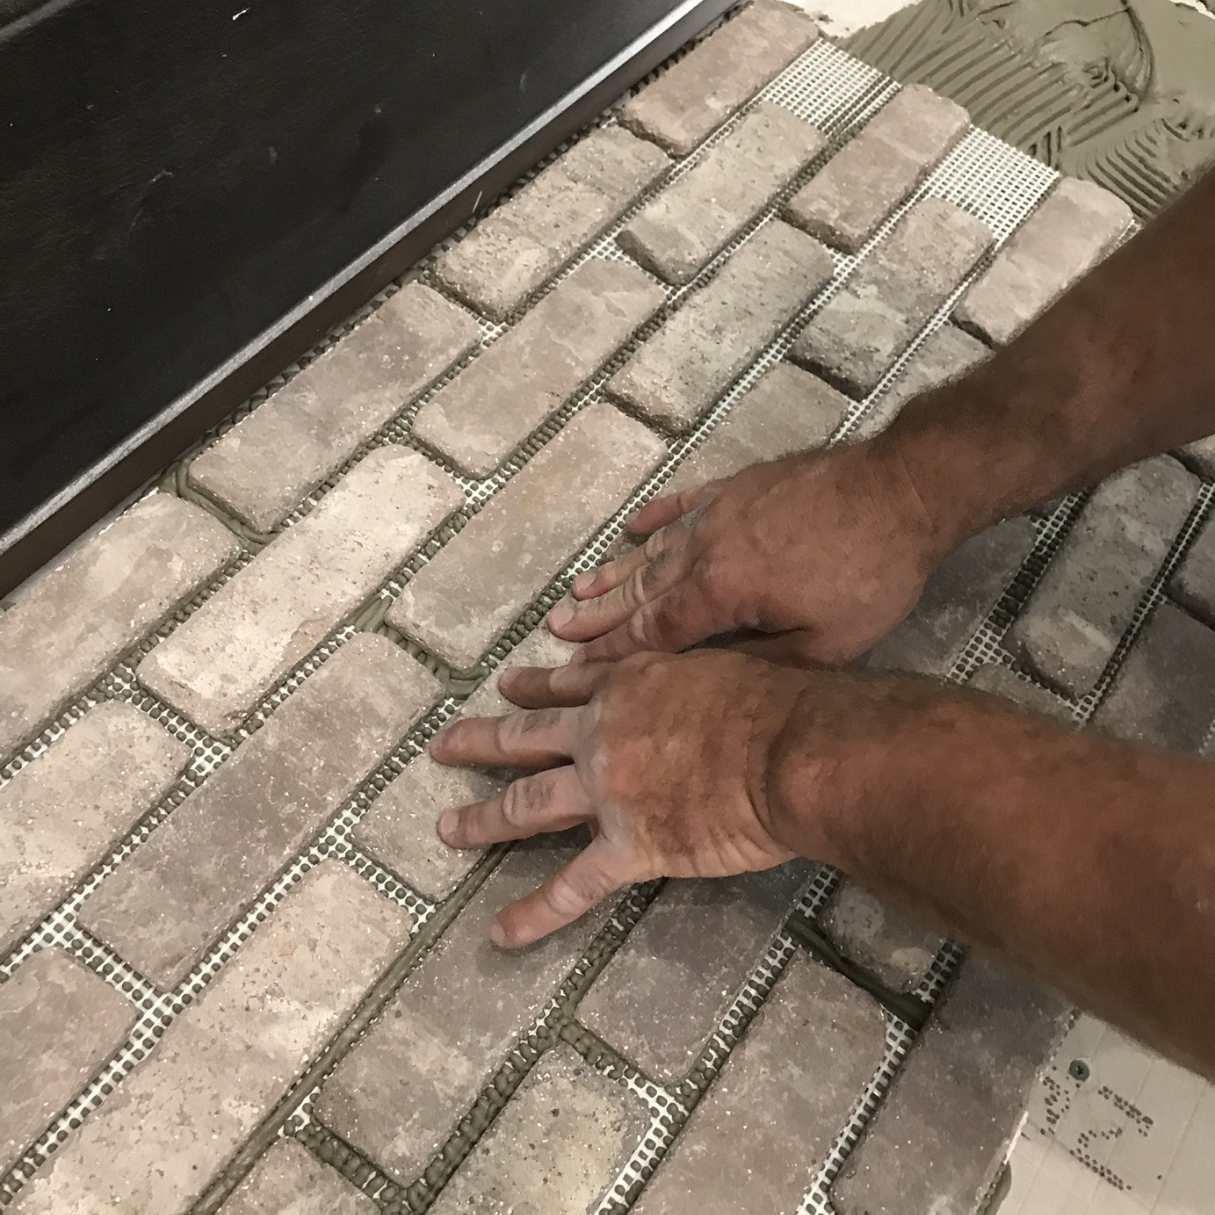
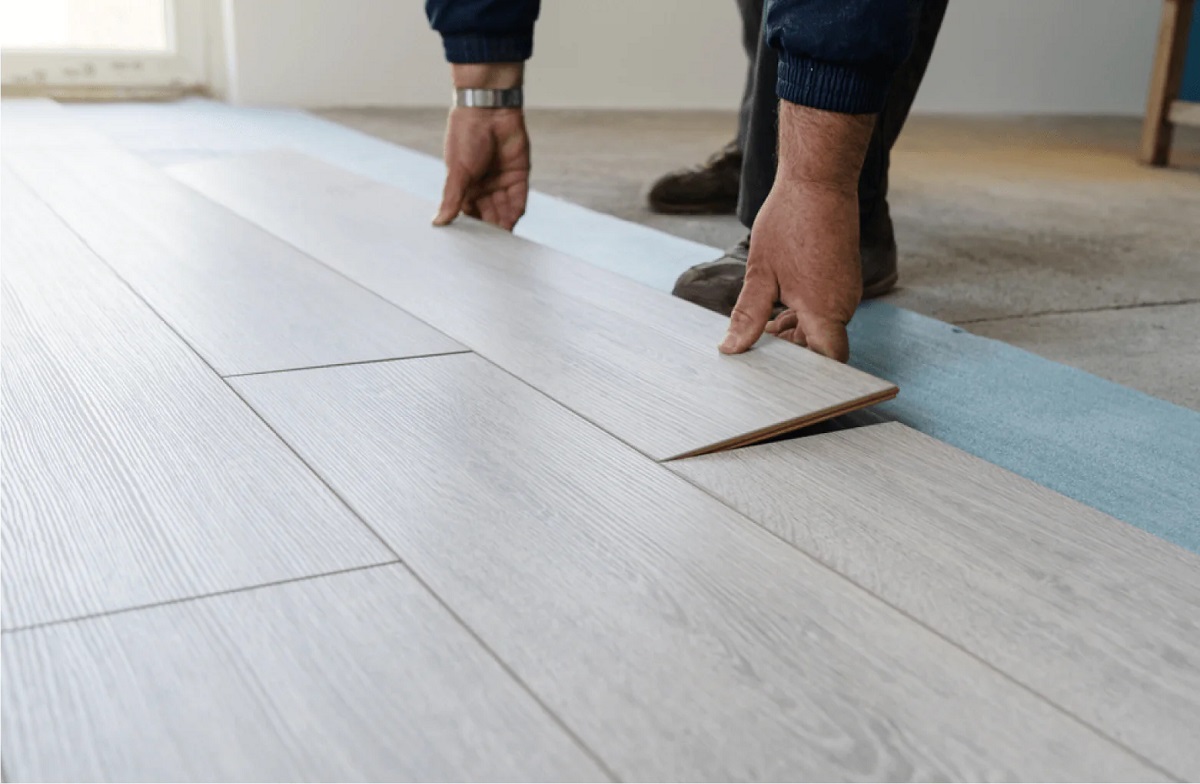
Step 4: Lay the First Row of Vinyl Flooring
Now that you have measured and cut the loose-lay sheet vinyl flooring, it’s time to start the installation process. Follow these steps to lay the first row of vinyl flooring:
- Start in a corner: Choose a corner of the room to begin laying the flooring. This will serve as your starting point.
- Trim the tongue: If your vinyl flooring has a tongue and groove system, trim off the tongue on the side that will be against the wall. This will allow for expansion and contraction of the flooring.
- Position the first plank or sheet: Place the first plank or sheet of vinyl flooring in the corner, aligning it with the starting wall. Leave a small gap (about 1/8 inch) between the edge of the flooring and the wall to allow for expansion.
- Continue laying the first row: Lay the next plank or sheet adjacent to the first one, using the manufacturer’s recommended method for connecting the pieces. Ensure that the edges are aligned properly and the flooring is flat.
- Check for alignment: Regularly check that the flooring is straight and aligned as you continue laying the first row. This will ensure a neat and professional-looking installation.
- Trim the last piece: When you reach the end of the first row, you may need to trim the last piece to fit. Measure the space and cut the vinyl flooring to the appropriate size, leaving a small gap for expansion.
Remember to take your time during this step to ensure that the first row is laid properly. It serves as the foundation for the rest of the installation. Once you have completed laying the first row, you can proceed to the next step and continue installing the loose-lay sheet vinyl flooring.
Before starting the installation, make sure the subfloor is clean, smooth, and dry. Use a utility knife to cut the vinyl to fit the room, leaving a 1/8-inch gap around the edges for expansion.
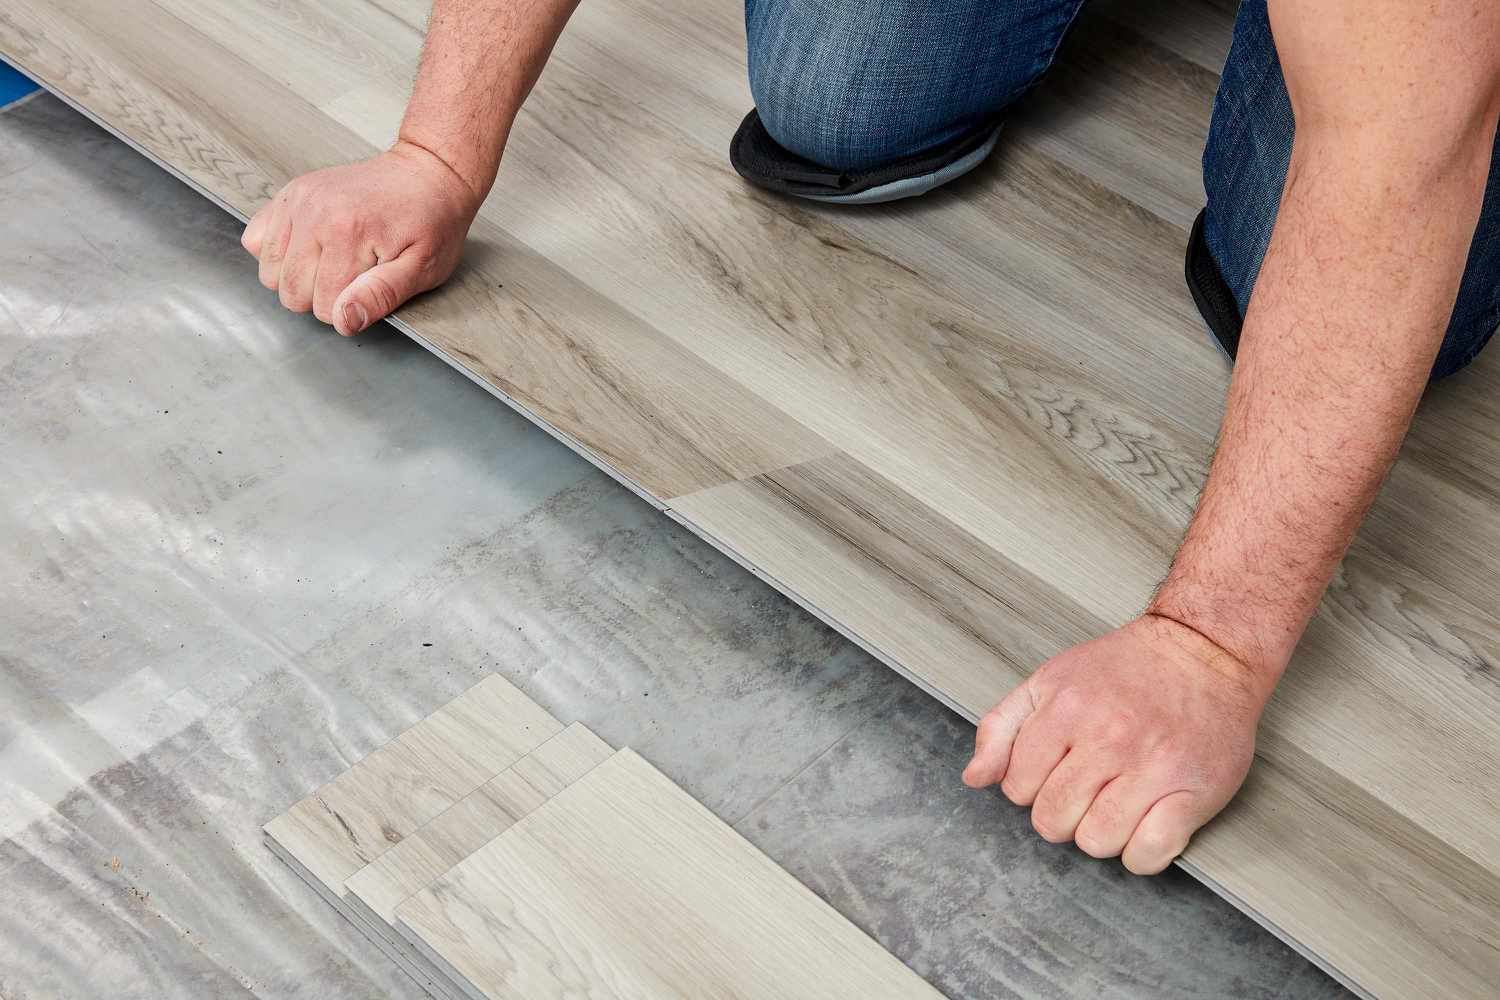
Step 5: Continue Installing the Vinyl Flooring
With the first row of loose-lay sheet vinyl flooring in place, you can now proceed to install the remaining rows. Follow these steps to continue installing the vinyl flooring:
- Apply double-sided tape or adhesive (optional): Depending on the type of loose-lay vinyl flooring you’re using, you may choose to apply double-sided tape or adhesive to secure the edges. This can provide added stability, especially in high-traffic areas.
- Lay the second row: Begin the second row by fitting the first piece against the end of the previous row, making sure the edges are snugly connected. Use a rubber or wooden mallet to gently tap the pieces together if needed.
- Continue with subsequent rows: Repeat the process of laying the next row, connecting the edges tightly. Ensure that the rows are straight and aligned as you work your way across the room.
- Stagger the seams: To achieve a more natural and visually appealing look, stagger the seams between the planks or sheets. This means ensuring that the end joints of adjacent rows are at least 6 inches apart.
- Trim as needed: As you reach walls, corners, or obstacles, you may need to trim the vinyl flooring to fit. Use a utility knife or scissors to carefully cut the flooring to the required shape.
- Check for gaps and bubbles: Regularly inspect the installed flooring for any gaps, bubbles, or unevenness. If you notice any issues, adjust the pieces accordingly or use a rolling pin or seam roller to smooth out imperfections.
Take your time during this step to ensure that each row is installed properly and securely. Pay attention to the alignment of the planks or sheets, as well as the overall smoothness of the flooring. Once you have completed laying all the rows, it’s time to move on to the next step: trimming and finishing the edges.
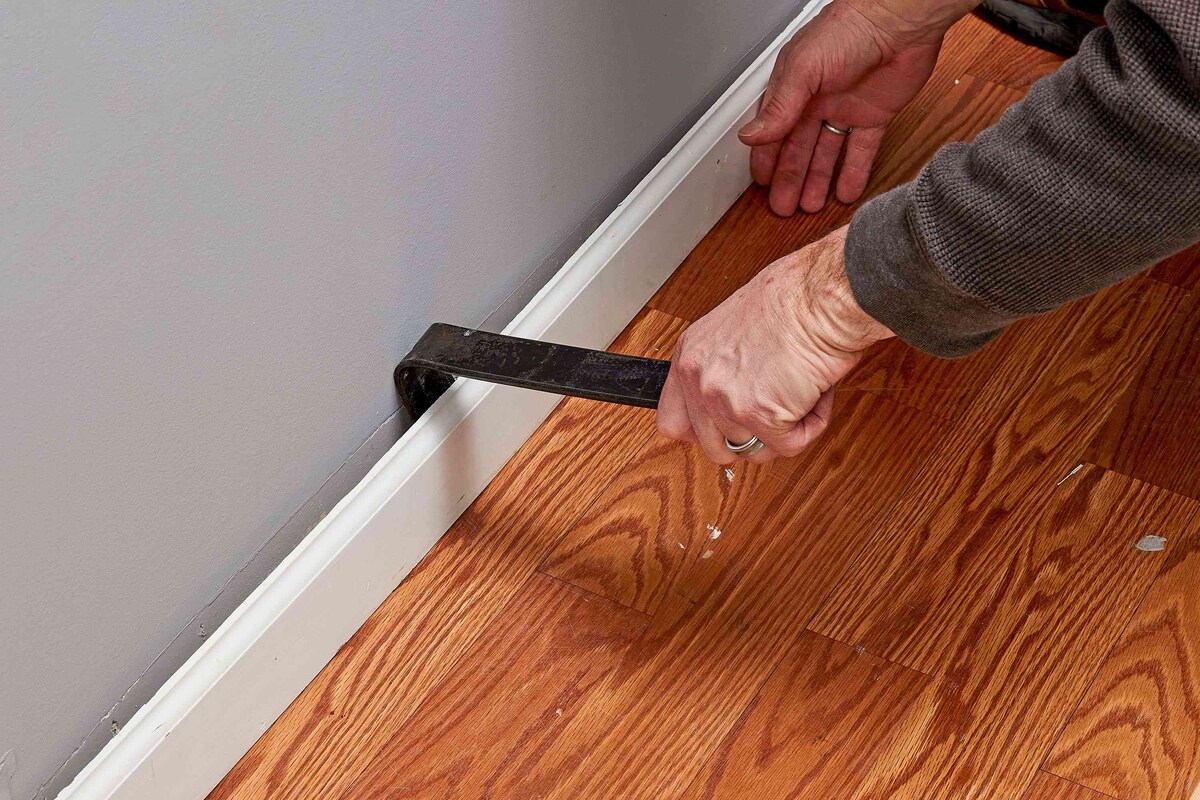
Step 6: Trim and Finish the Edges
Trimming and finishing the edges of your loose-lay sheet vinyl flooring will give it a polished and professional appearance. Follow these steps to trim and finish the edges:
- Measure the remaining gap: Measure the remaining space between the last row of vinyl flooring and the wall or other obstacles.
- Mark the cutting line: Using a straight edge and a pencil or marker, mark the cutting line on the vinyl flooring. Ensure that the line is parallel to the wall and allows for a small expansion gap.
- Cut the vinyl flooring: Carefully cut along the marked line, using a utility knife or scissors. Take your time to make clean and precise cuts.
- Ensure a snug fit: Once the vinyl flooring piece is cut, fit it into the remaining gap. If needed, use a mallet or a rolling pin to press it firmly into place.
- Trim excess material: If there is any excess vinyl flooring extending beyond the edge, trim it off using a utility knife or scissors.
- Finish the edges: Depending on the style and design of your loose-lay sheet vinyl flooring, you may have the option to install baseboards or moldings to cover and protect the edges. This will give the flooring a finished look.
By trimming and finishing the edges, you’ll achieve a clean and seamless transition between the vinyl flooring and the surrounding walls or obstacles. This step is essential for achieving a professional-looking installation. Once the edges are trimmed and finished, you can consider installing transition strips for added visual appeal and functionality, which we’ll cover in the next step (optional).
Step 7: Install Transition Strips (Optional)
If you want to enhance the look and functionality of your loose-lay sheet vinyl flooring, you may consider installing transition strips. Transition strips are narrow pieces of molding that are specifically designed to create a smooth transition between different types of flooring or between rooms. Follow these steps to install transition strips:
- Select the appropriate type of transition strip: Depending on your specific needs, choose the type of transition strip that best suits your flooring and the transition area. Common types include T-molding, reducer molding, and threshold molding.
- Measure the transition area: Use a measuring tape to determine the length and width of the transition area where the strip will be installed. Ensure accurate measurements for a proper fit.
- Cut the transition strip to size: Using a saw or a utility knife, cut the transition strip to the measured length. Make sure to double-check the dimensions before cutting.
- Prepare the subfloor: Clear the area where the transition strip will be installed. Ensure that the subfloor is clean and free of any debris or obstacles that may interfere with the installation.
- Apply adhesive or screws (if needed): Depending on the type of transition strip and the subfloor material, you may need to apply adhesive or use screws to secure the strip in place. Follow the manufacturer’s instructions for proper installation.
- Position and install the transition strip: Carefully position the transition strip in the designated area, ensuring a proper fit. Press or screw it into place according to the installation method specified by the manufacturer.
- Check for a smooth and secure installation: Once the transition strip is installed, step on it and check for any movement or gaps. Make any necessary adjustments to ensure a secure and seamless installation.
Installing transition strips is optional, but it can provide a professional finish and enhance the functionality of your loose-lay sheet vinyl flooring. Consider the type of transition strip that best suits your needs and follow these steps to achieve a smooth and seamless transition between different flooring types or rooms.
Read more: How To Store Pizza Dough For A Few Hours
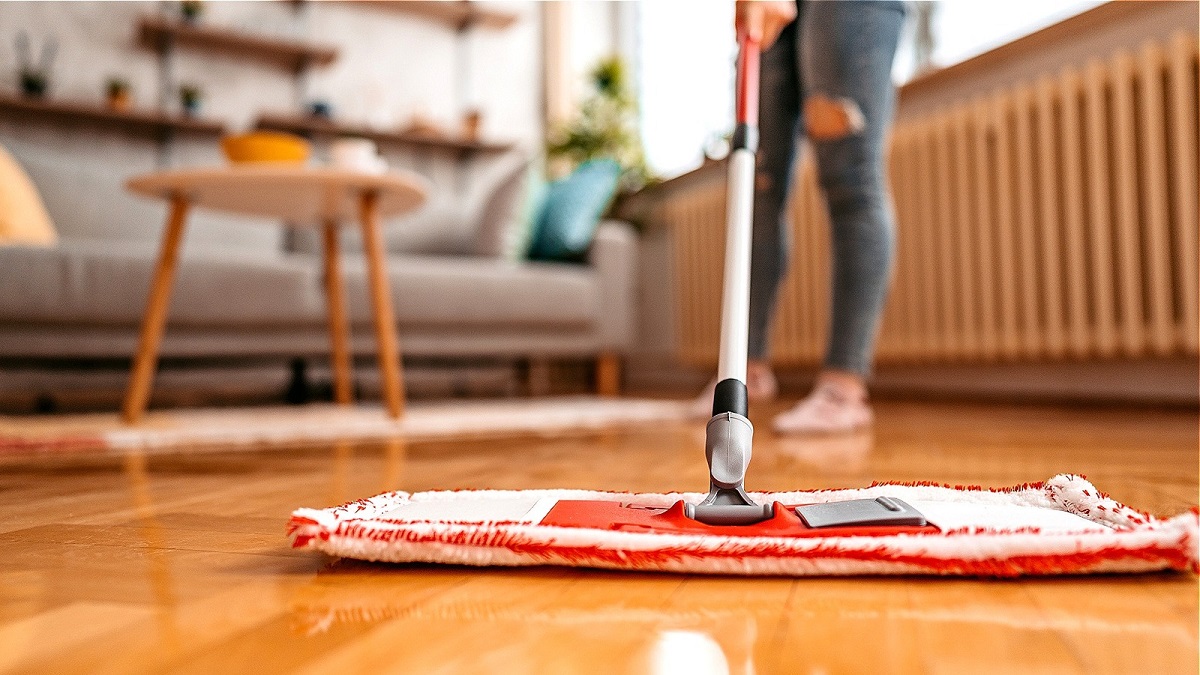
Step 8: Clean Up and Enjoy Your New Flooring!
Congratulations! You’ve successfully installed your loose-lay sheet vinyl flooring. The final step is to clean up and enjoy your newly transformed space. Follow these steps to complete the installation process:
- Remove any debris: Inspect the area and remove any leftover adhesive, scraps of vinyl flooring, or other debris. A vacuum cleaner or broom can help with this task.
- Clean the flooring: Use a mild cleaner recommended for vinyl flooring and a mop to clean the surface of the vinyl flooring. This will ensure that it looks its best and is ready to be enjoyed.
- Inspect for any imperfections: Take a moment to inspect the installed flooring for any imperfections, such as bumps, gaps, or loose edges. If you notice any issues, make the necessary adjustments to ensure a flawless finish.
- Allow the flooring to settle: Give the flooring some time to settle and adjust to the new environment. This will allow any minor expansions or contractions to occur naturally.
- You’re ready to enjoy your new flooring: Once everything is cleaned up and inspected, it’s time to sit back, relax, and enjoy your newly installed loose-lay sheet vinyl flooring. Admire the transformation it has brought to your space!
Remember to follow proper maintenance and cleaning techniques to keep your vinyl flooring looking its best for years to come. Regularly sweep or vacuum the floor to remove dirt and debris, and promptly clean up any spills. Avoid using harsh chemicals or abrasive cleaning tools that could damage the vinyl surface.
With your loose-lay sheet vinyl flooring installed and properly maintained, you can now enjoy the beauty, durability, and easy maintenance that this flooring option provides. Whether it’s in your living room, kitchen, or bathroom, your new flooring will undoubtedly enhance the overall look and feel of your space.
Now, sit back, relax, and relish in the satisfaction of a job well done. Enjoy your new flooring!
Conclusion
Installing loose-lay sheet vinyl flooring is a fantastic way to update your home’s look quickly and affordably. With a straightforward installation process and a wide range of styles and designs to choose from, this versatile flooring option offers both durability and aesthetics.
In this comprehensive guide, we’ve covered each step of the installation process, from preparing the subfloor to enjoying your newly transformed space. By following these steps and taking the time to measure, cut, and lay the vinyl flooring properly, you can achieve professional-looking results without the need for extensive experience or specialized tools.
Remember to acclimate the vinyl flooring and ensure a clean and level subfloor. Take accurate measurements and make precise cuts for a seamless fit. Lay the first row carefully, continue installing the flooring row by row, and trim and finish the edges for a polished look. If desired, consider installing transition strips to create smooth transitions between different flooring types or rooms.
Once the installation is complete, take the time to clean up and enjoy your transformed space. Maintain your new flooring with regular cleaning and proper care, and it will continue to enhance the beauty of your home for years to come.
Now, armed with this knowledge, it’s time to embark on your own loose-lay sheet vinyl flooring installation project. Get ready to enjoy a fresh and stylish look that will impress both family and friends. Happy installing!
Frequently Asked Questions about How To Install Loose Lay Sheet Vinyl Flooring In A Few Hours
Was this page helpful?
At Storables.com, we guarantee accurate and reliable information. Our content, validated by Expert Board Contributors, is crafted following stringent Editorial Policies. We're committed to providing you with well-researched, expert-backed insights for all your informational needs.


0 thoughts on “How To Install Loose Lay Sheet Vinyl Flooring In A Few Hours”