Home>Articles>How To Remove Carpet And Install Vinyl Plank Flooring
Articles
How To Remove Carpet And Install Vinyl Plank Flooring
Modified: January 9, 2024
Learn how to easily remove carpet and install vinyl plank flooring with our step-by-step articles. Upgrade your home today!
(Many of the links in this article redirect to a specific reviewed product. Your purchase of these products through affiliate links helps to generate commission for Storables.com, at no extra cost. Learn more)
Introduction:
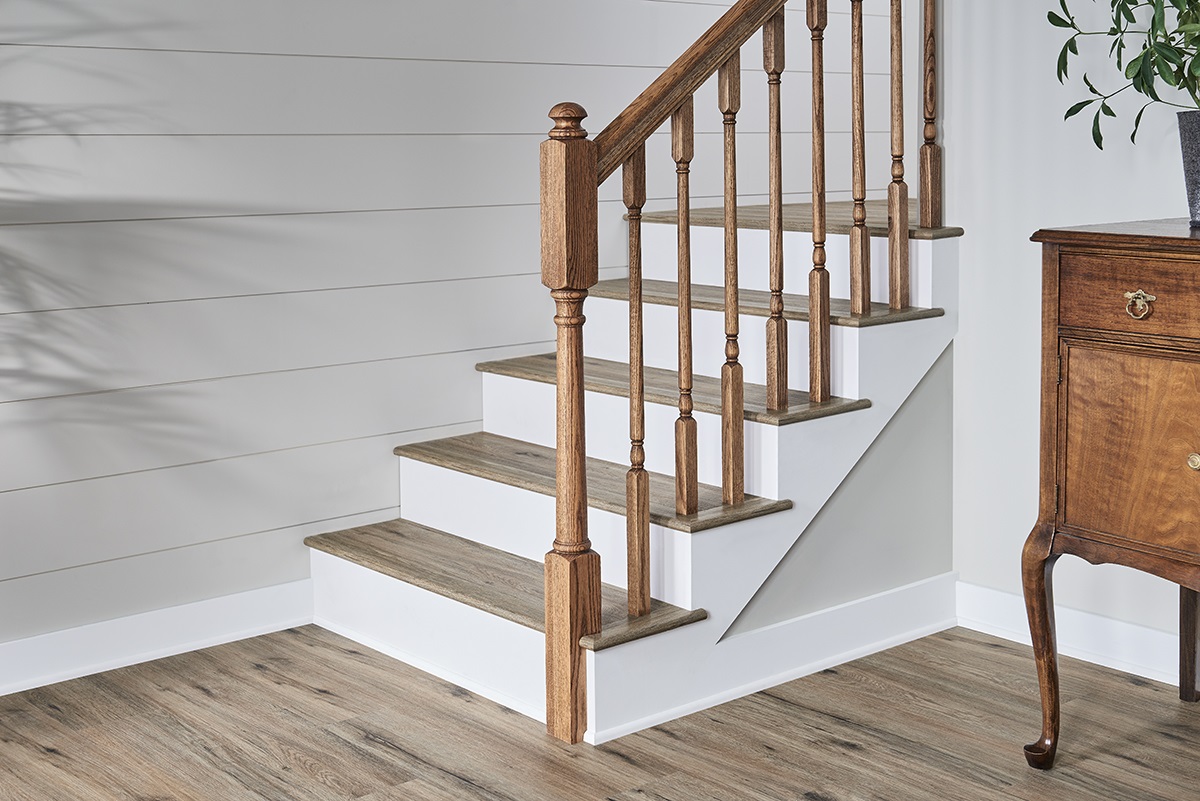
When it comes to flooring options, vinyl plank flooring has gained popularity for its durability, affordability, and aesthetic appeal. If you’re looking to update your home’s flooring and replace your old carpet with vinyl planks, this guide is here to help. In this article, we will walk you through the step-by-step process of removing carpet and installing vinyl plank flooring.
Installing vinyl plank flooring is a cost-effective and relatively easy DIY project that can transform the look of any room. Whether you’re renovating your living room, bedroom, or even your entire house, vinyl plank flooring offers a wide range of design options to suit your personal style and preferences.
Before you jump into the project, it’s important to properly prepare and gather the necessary tools and materials. This will ensure a smooth and successful installation process. So, let’s dive into the first step of preparing for the project.
Key Takeaways:
- Transform your home with durable and affordable vinyl plank flooring by following our comprehensive guide on removing carpet and installing vinyl planks. Proper preparation, precise measurements, and regular maintenance are key to achieving professional-looking results.
- Ensure a successful transition from carpet to vinyl plank flooring by acclimating the planks, installing the underlayment, and meticulously fitting the last row. Regular cleaning and maintenance will help preserve the beauty and longevity of your new floors.
Read more: How To Install Vinyl Plank Flooring
Preparing for the Project:
Before you begin the process of removing your carpet and installing vinyl plank flooring, it’s essential to do some preparation. Here are some key steps to take:
- Clear the room: Start by removing all furniture, rugs, and any other items from the room. This will give you a clear and open space to work with.
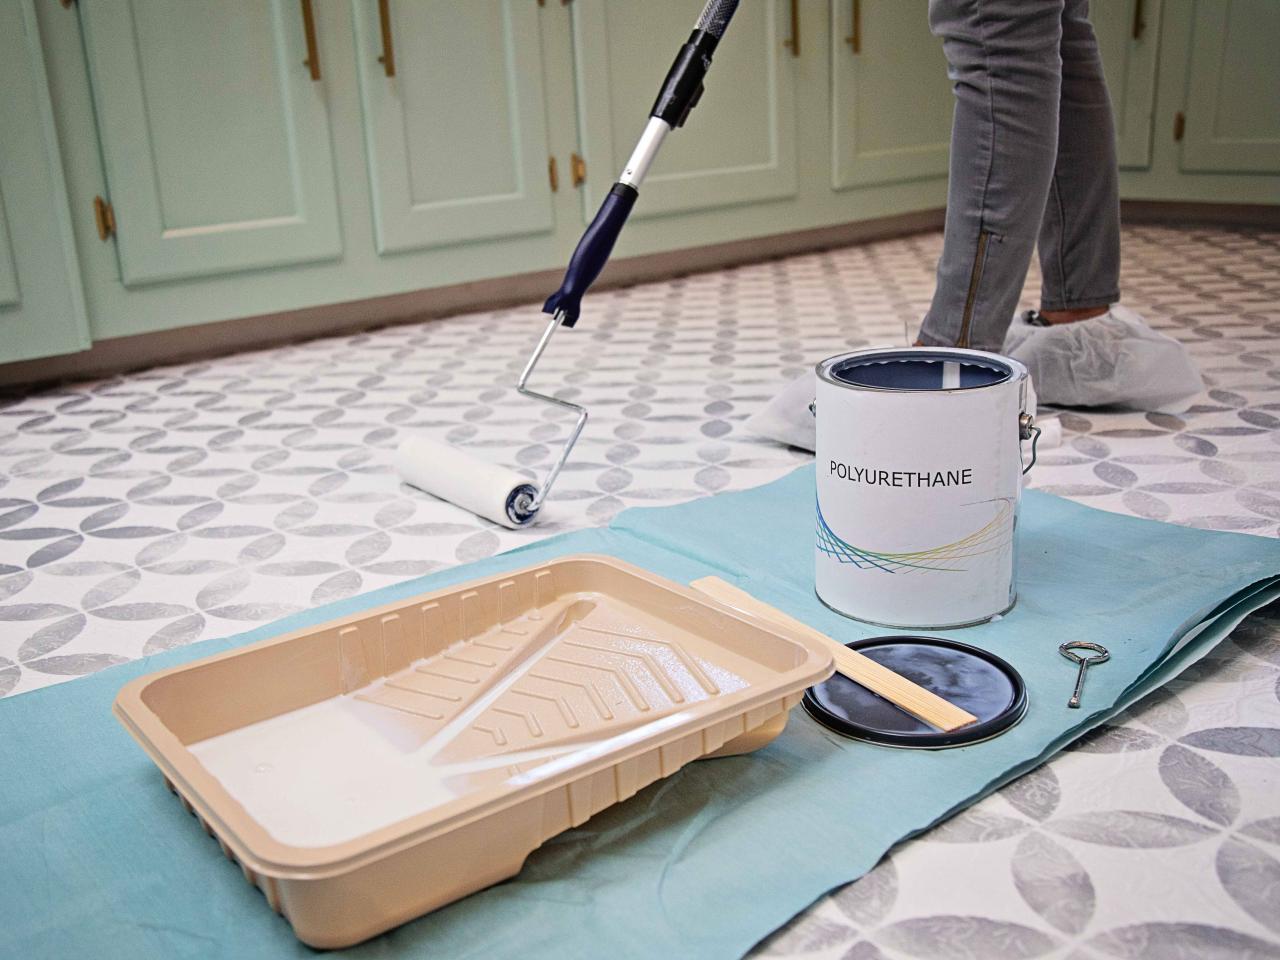
- Gather the necessary tools and materials: To successfully complete the project, you will need a few tools and materials. These may include a utility knife, pry bar, pliers, tape measure, straight edge, underlayment, vinyl plank flooring, adhesive, and a flooring roller. Make sure you have everything on hand before you begin.
- Ensure proper ventilation: It’s important to have proper ventilation during the installation process. Open windows or use fans to ensure that there is proper airflow in the room. This will help to dissipate any fumes or odors from the adhesive used during installation.
- Check the subfloor: Before installing vinyl plank flooring, it’s crucial to inspect the condition of your subfloor. It should be clean, level, and free of any damage or moisture issues. If there are any underlying problems, address them before proceeding with the installation.
- Allow for acclimation: Vinyl plank flooring needs time to acclimate to the temperature and humidity of the room. Follow the manufacturer’s instructions regarding acclimation time. Typically, you will need to leave the flooring in the room for at least 48 hours before installation.
- Plan the layout: Take some time to plan out the layout of the vinyl plank flooring. Consider the direction of the planks, the positioning around doorways, and any intricate cuts that may be required. This will help to ensure a seamless and visually appealing installation.
By properly preparing for the project, you will set yourself up for success and make the installation process much smoother. Once you have completed these preparatory steps, you can move on to the next phase, which is removing the carpet.
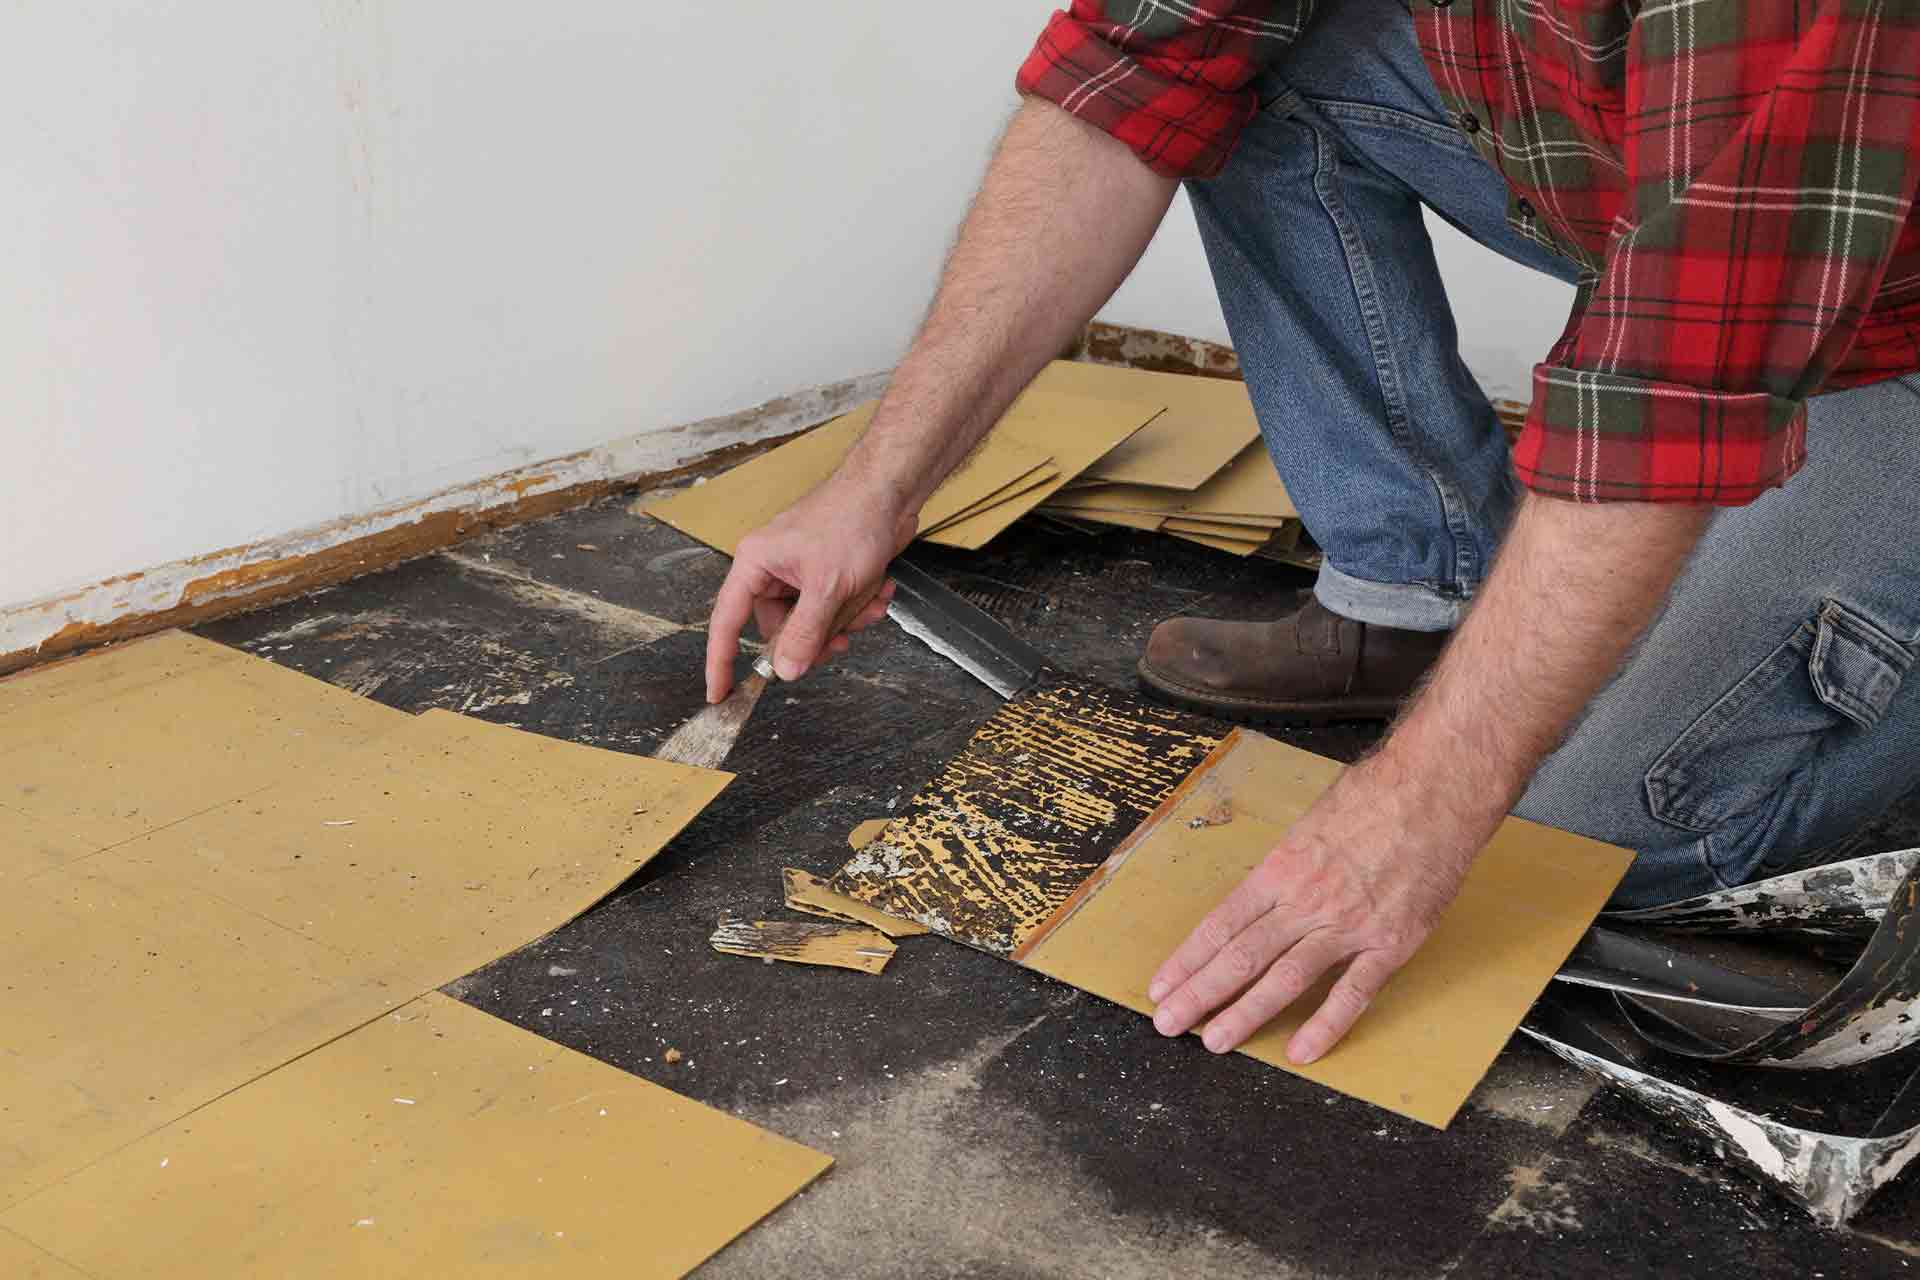
Removing the Carpet:
To begin the process of installing vinyl plank flooring, the first step is to remove the existing carpet. This process may vary slightly depending on the type of carpet you have, but here are the general steps to follow:
- Clear the room: Before you start removing the carpet, ensure that the room is free of any furniture or obstacles. This will give you a clear workspace and make the process easier.
- Wear protective gear: It’s important to protect yourself while removing carpet. Wear gloves to protect your hands and use a dust mask to prevent inhalation of dust and fibers.
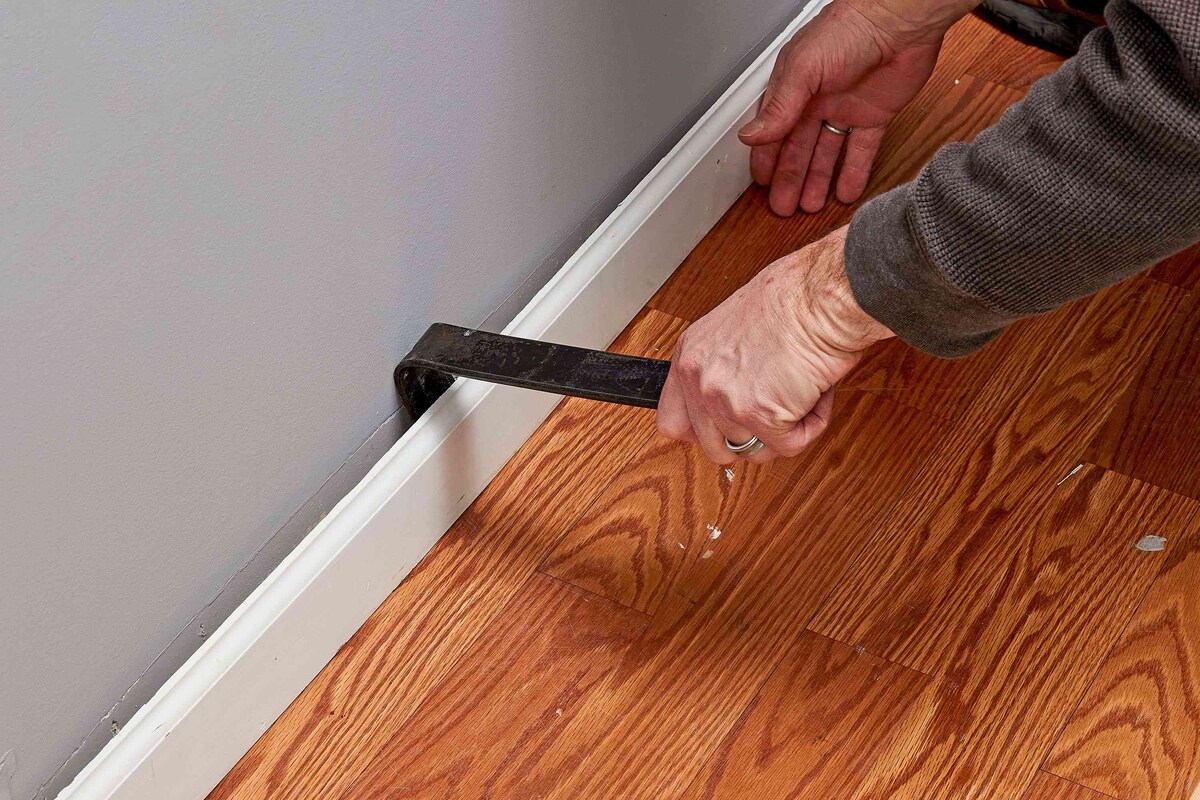
- Start at a corner: Find a corner of the room and use a pair of pliers to grip the edge of the carpet. Slowly pull the carpet away from the wall, using the pliers to grip and separate it from the tack strips.
- Roll up the carpet: Once you have successfully detached the carpet from the wall, begin rolling it up tightly. This will make it easier to remove and dispose of later.
- Remove the carpet padding: Underneath the carpet, there is usually a layer of padding. Use a utility knife to cut and remove the padding. Roll it up and dispose of it along with the carpet.
- Remove any remaining staples or tacks: After removing the carpet and padding, inspect the subfloor for any remaining staples or tacks. Use pliers or a pry bar to remove them, ensuring a clean and smooth surface.
Once you have successfully removed the carpet, you can move on to cleaning the subfloor in preparation for the vinyl plank flooring installation. This involves removing any dust, debris, or adhesive residue that may be present. Cleaning the subfloor thoroughly is crucial for ensuring proper adhesion of the vinyl planks and an overall successful installation.
Now that the carpet has been removed and the subfloor is clean, you’re ready to move on to the next step: cleaning the subfloor.
Cleaning the Subfloor:
After removing the carpet and padding, it’s important to thoroughly clean the subfloor before proceeding with the installation of vinyl plank flooring. Cleaning the subfloor ensures proper adhesion and helps create a smooth and even surface for the new flooring. Here are the steps to follow:
- Sweep or vacuum the subfloor: Start by removing any loose dirt, dust, or debris from the subfloor. Use a broom or vacuum cleaner to sweep or vacuum the entire surface area.
- Remove adhesive residue: If there is any adhesive residue left on the subfloor from the previous carpet or padding, it needs to be removed. You can use a scraper or putty knife to gently scrape off the adhesive. Be careful not to damage the subfloor in the process.
- Clean with a mild detergent: Mix a mild detergent, such as dish soap or floor cleaner, with warm water. Use a mop or sponge to clean the subfloor, ensuring that it is free from any dirt, grease, or stains. Rinse the subfloor with clean water and allow it to dry completely.
- Repair any damage: Inspect the subfloor for any signs of damage, such as cracks or loose boards. If any repairs are needed, address them before proceeding with the vinyl plank flooring installation. This will ensure a stable and long-lasting flooring surface.
- Check for moisture issues: Vinyl plank flooring is not suitable for wet or damp areas. Before installation, test the moisture content of the subfloor using a moisture meter. If there are signs of moisture, address the issue before proceeding.
By thoroughly cleaning and preparing the subfloor, you create an optimal surface for the installation of vinyl plank flooring. This step is crucial for ensuring the longevity and stability of your new flooring. Once the subfloor is clean and dry, you can move on to the next phase: choosing the right vinyl plank flooring for your space.
Choosing the Right Vinyl Plank Flooring:
When it comes to selecting vinyl plank flooring for your project, it’s important to consider various factors such as style, durability, and installation method. With a wide range of options available on the market, here are some key factors to keep in mind:
- Style and Design: Vinyl plank flooring comes in a variety of styles and designs, ranging from classic wood looks to modern stone finishes. Consider the overall aesthetic of your space and choose a style that complements your existing decor.
- Thickness and Durability: The thickness and durability of the vinyl planks are important factors to consider, especially if you have high foot traffic or pets in your home. Thicker planks tend to be more durable and resistant to wear and tear.
- Waterproof or Water-resistant: If you’re installing vinyl plank flooring in areas prone to moisture, such as bathrooms or kitchens, consider choosing a product that is specifically labeled as waterproof or water-resistant. This will provide extra protection against spills and humidity.
- Installation Method: Vinyl plank flooring can be installed in different ways, including click-lock, glue-down, or loose lay. Consider which installation method best suits your skill level and preferences. Click-lock systems are popular for DIY installations, as they are relatively easy to install.
- Warranty: Look for vinyl plank flooring that comes with a warranty. A warranty provides peace of mind and covers any defects or issues that may arise with the product.
- Certifications: Check for certifications such as FloorScore or GREENGUARD, which indicate that the vinyl plank flooring meets certain standards for indoor air quality and sustainability.
Take the time to research and compare different brands and products, read customer reviews, and visit local flooring stores to see and feel the vinyl planks in person. It’s also recommended to request samples to ensure that the color and texture match your expectations.
By carefully considering these factors, you can choose the right vinyl plank flooring that meets your needs and enhances the aesthetic appeal of your space. Once you have selected the flooring, the next step is to acclimate the vinyl planks before installation.
Acclimating the Vinyl Planks:
Before installing vinyl plank flooring, it is crucial to acclimate the planks to the environment in which they will be installed. This helps the vinyl planks adjust to the temperature and humidity of the room, reducing the risk of expansion or contraction after installation. Here are the steps to acclimate the vinyl planks:
- Read the manufacturer’s instructions: Start by carefully reading the manufacturer’s instructions that come with the vinyl plank flooring. They will provide specific guidelines for acclimation, including the ideal acclimation period and conditions.
- Unbox the vinyl planks: Open the boxes of vinyl planks and remove the individual planks from their packaging. Lay them flat on the subfloor or another flat surface in the room where they will be installed.
- Allow for acclimation time: The manufacturer will recommend a specific acclimation period, usually between 24 to 48 hours. During this time, it is important to maintain the room temperature and humidity within the normal range of the installation environment.
- Maintain proper conditions: Keep the room at a stable temperature, ideally between 65 to 85 degrees Fahrenheit (18-29 degrees Celsius), and maintain a humidity level of around 40-60%. This will ensure that the vinyl planks adjust to the room’s environment.
- Check for any defects: While the planks are acclimating, inspect them carefully for any defects or damage. This gives you the opportunity to identify any issues before beginning the installation process.
Acclimating the vinyl planks is an important step to ensure a successful installation. By following the manufacturer’s recommendations and allowing the planks to adjust to the room’s conditions, you minimize the risk of problems such as buckling or warping later on. Once the acclimation period is complete, you can proceed with the installation process.
Next, we will cover the steps involved in installing the underlayment for your vinyl plank flooring.
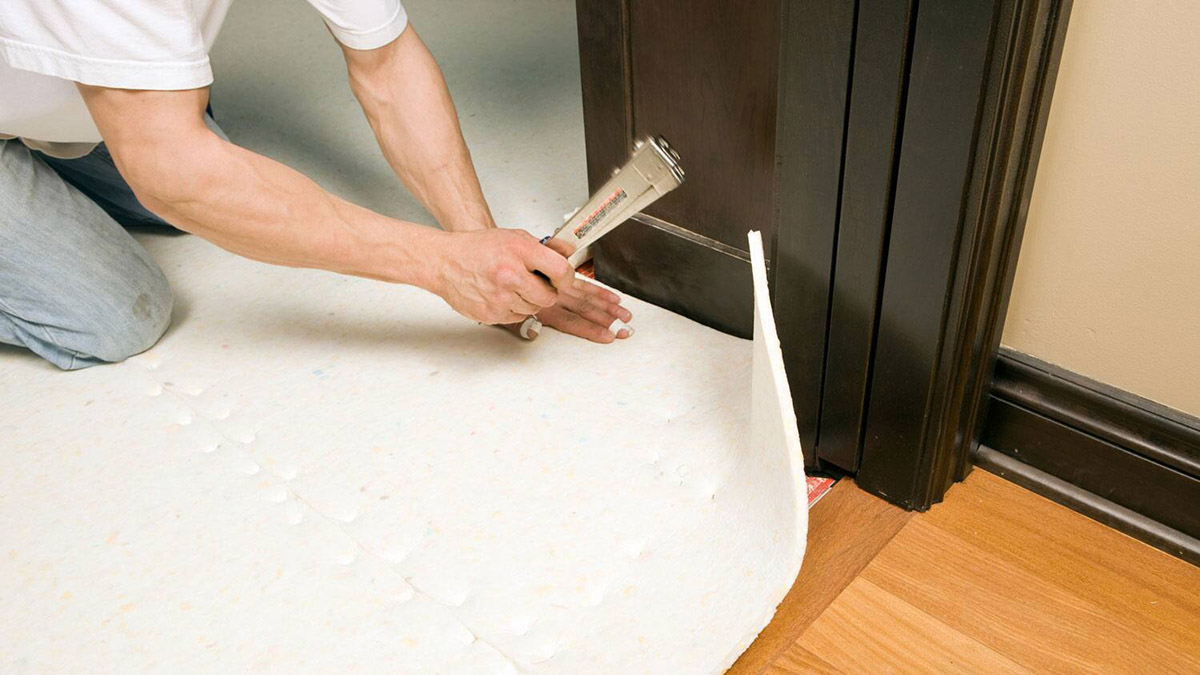
Installing the Underlayment:
The underlayment is an essential component of installing vinyl plank flooring. It provides a smooth surface, minimizes imperfections, and helps with sound absorption. Here’s how to install the underlayment:
- Clean and prepare the subfloor: Ensure that the subfloor is clean, dry, and free of any debris or adhesive residue. Sweep or vacuum the surface to remove any loose particles.
- Measure and cut the underlayment: Roll out the underlayment material across the entire floor. Using a utility knife, carefully measure and cut the underlayment to fit the dimensions of the room. Leave a small gap along the perimeter of the room to allow for expansion.
- Align and secure the underlayment: Once the underlayment is cut to size, align the edges and lay it flat on the subfloor. If your underlayment comes with adhesive strips or tape, remove the backing and press down firmly to secure the seams. If not, use a staple gun to secure the underlayment to the subfloor, making sure to place staples at regular intervals.
- Overlap and seal the underlayment: If your underlayment comes in rolls, overlap the edges by a few inches. Use a moisture-resistant tape to seal the seams, ensuring a tight and secure fit. This will prevent moisture from seeping through the underlayment.
- Inspect the underlayment: Once the underlayment is installed, carefully inspect the entire surface for any loose areas or imperfections. Make any necessary adjustments before proceeding to the next step.
Installing the underlayment provides a stable and even surface for the vinyl plank flooring. It also helps to reduce noise transmission and provides some insulation. Taking the time to properly install the underlayment will ensure a smooth and successful vinyl plank flooring installation.
Now that the underlayment is in place, you’re ready to move on to the next step: measuring and cutting the vinyl planks.
When removing carpet, be sure to properly dispose of the old carpet and padding. When installing vinyl plank flooring, acclimate the planks to the room’s temperature and humidity for 48 hours before installation.
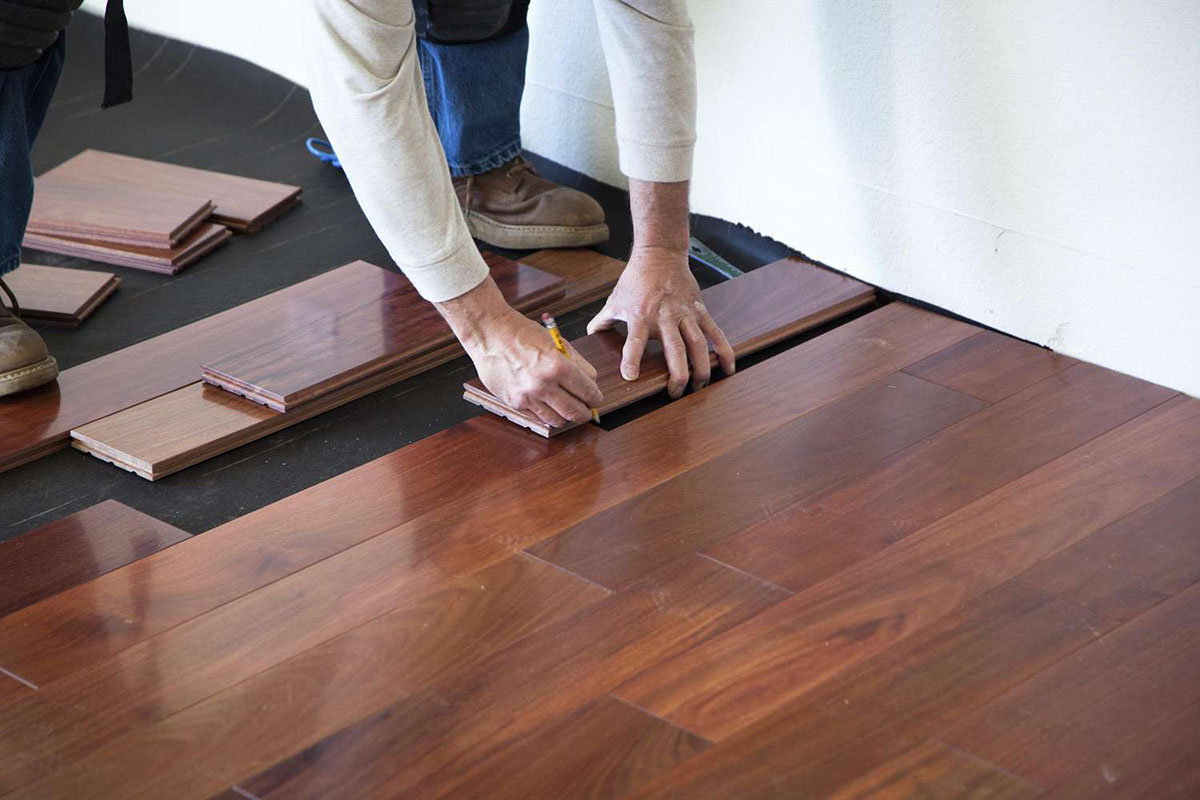
Measuring and Cutting the Vinyl Planks:
Accurate measurements and precise cuts are crucial when installing vinyl plank flooring. Here’s how to measure and cut the vinyl planks:
- Plan the layout: Before starting, plan the layout of the vinyl planks, considering the direction of the planks and the positioning around doorways and other obstacles. This will help to ensure a cohesive and visually pleasing installation.
- Measure the room: Measure the length and width of the room to determine the total square footage needed for the vinyl plank flooring. Add an extra 10% to account for any errors, waste, or future repairs.
- Calculate the plank size: Determine the width of the vinyl planks you will be using. Divide the total width of the room by the width of the planks to find the number of planks required for each row. Adjust the measurements to avoid ending up with a very narrow or wide plank at the edges.
- Cut the first plank: Start the installation by cutting the first plank to the appropriate size. Measure and mark the plank accordingly, ensuring that the cut end will be hidden under baseboards or trim. Use a straight edge and a utility knife to make the cut, scoring the plank first and then snapping it.
- Install the first row: Begin by placing the first cut plank along one wall, making sure to leave a small expansion gap between the plank and the wall. Use spacers to maintain a consistent gap along the entire row. Connect the planks by using the manufacturer’s recommended locking mechanism or adhesive, depending on the type of vinyl planks you are using.
- Continue measuring and cutting: Measure each subsequent row, accounting for the width of the spacers and any necessary adjustments. Cut the planks as needed using a straight edge and a utility knife. Remember to stagger the seams between planks in each row, aiming for a random and natural look.
- Fit around obstacles: For areas with irregular shapes, such as doorways or columns, use a carpenter’s compass or template to transfer accurate measurements onto the vinyl planks. Cut the planks to fit around the obstacles, ensuring a precise and snug fit.
Remember to work slowly and double-check your measurements before making any cuts. It’s always better to cut the vinyl planks slightly larger than needed and then trim them down gradually for a perfect fit. Properly measuring and cutting the vinyl planks is crucial for a seamless and professional-looking installation.
Next, we will cover the steps involved in installing the first row of vinyl plank flooring.
Installing the First Row:
The first row of vinyl plank flooring sets the foundation for the rest of the installation. Follow these steps to ensure a smooth and secure installation of the first row:
- Prepare the first plank: Measure and cut the first plank to the appropriate length, accounting for the expansion gap at each end. Ensure that the cut end will be hidden under baseboards or trim.
- Position the plank: Place the cut plank along one wall, ensuring that it is parallel to the starting wall. Leave a small expansion gap between the plank and the wall, using spacers to maintain a consistent gap.
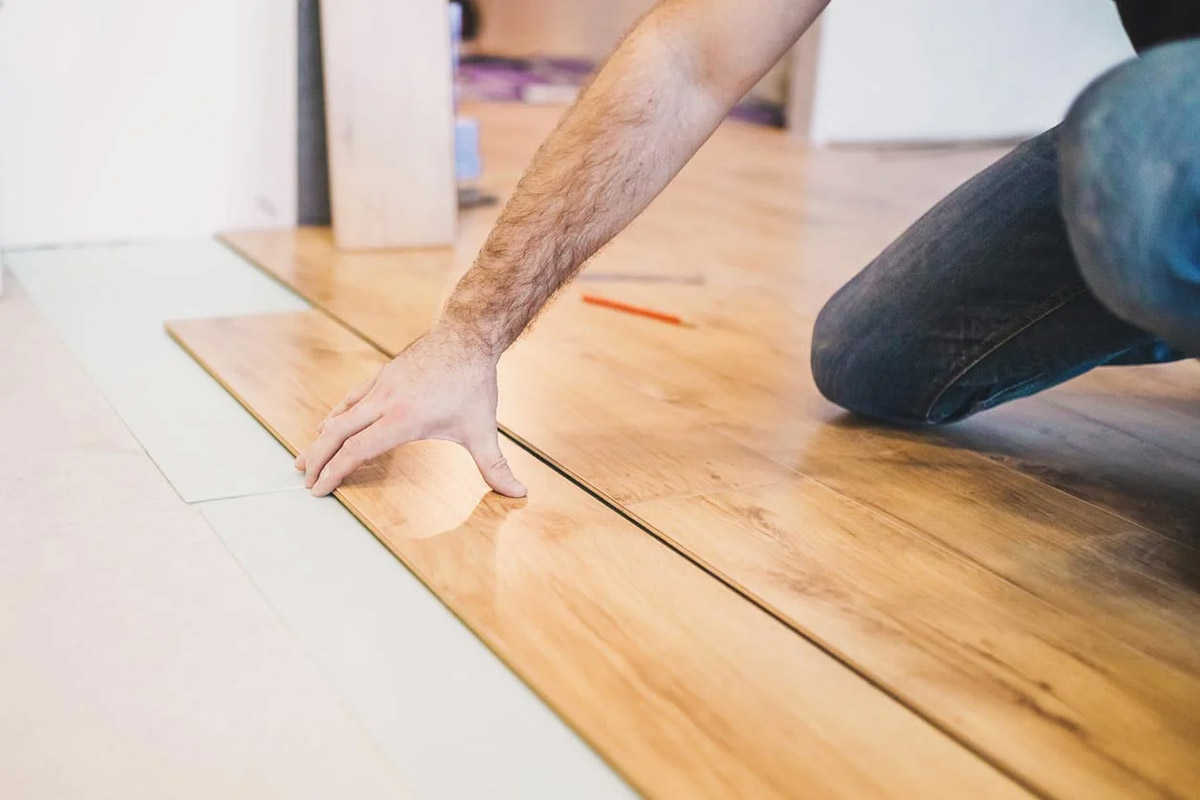
- Connect the planks: If your vinyl plank flooring has a click-lock installation system, align the long edge of the next plank at a slight angle to the first plank. Press down firmly to engage the locking mechanism, creating a secure connection. Continue adding planks in this manner until you reach the end of the row.
- Check for straightness: As you progress with the installation, periodically check the straightness of the first row using a straightedge or a level. Adjust the alignment as necessary to ensure a straight and even installation.
- Trim the last plank: At the end of the row, you may need to trim the last plank to fit. Measure and mark the plank accordingly, maintaining the required expansion gap. Cut the plank using a straight edge and a utility knife.
- Secure the first row: Once the first row is aligned and complete, press down firmly on the entire row to ensure a secure connection. Use a flooring roller over the entire row to ensure proper adhesion and to eliminate any air pockets beneath the planks.
By carefully installing the first row of vinyl plank flooring, you establish a solid base for the rest of the installation. Pay attention to the alignment and ensure a secure connection between the planks. Remember to work methodically and check your work along the way to achieve the best results.
Now, let’s move on to installing the subsequent rows of vinyl plank flooring.
Read more: What To Use To Mop Vinyl Plank Flooring
Installing the Subsequent Rows:
Once the first row of vinyl plank flooring is securely in place, you can proceed with installing the subsequent rows. Follow these steps to ensure a seamless and professional installation:
- Prepare the next row: Measure and cut the first plank of the next row to the appropriate length, ensuring a staggered seam pattern with the previous row. Remember to account for the expansion gap at each end.
- Angle and connect the planks: Align the long edge of the plank at a slight angle to the previous row. Insert the tongue of the new plank into the groove of the previous row. Press down firmly to engage the locking mechanism and create a secure connection. Continue connecting the planks in this manner.
- Tap with a rubber mallet: If necessary, gently tap the planks with a rubber mallet to ensure a tight fit between the rows and eliminate any gaps. Be cautious not to hit the planks too forcefully, as it can damage the locking mechanism.
- Stagger the seams: As you progress with the installation, make sure to stagger the seams between the planks by at least 6 inches. This creates a more seamless and visually appealing appearance.
- Trim the last plank of each row: At the end of each row, you may need to trim the final plank to fit. Measure and mark the plank accordingly, maintaining the required expansion gap. Use a straight edge and a utility knife to make a precise cut.
- Continue the installation: Repeat the process of angling and connecting the planks row by row until you reach the final row. Ensure that each plank is securely locked in place before proceeding to the next one.
- Check for straightness and gaps: As you install each row, periodically check for straightness and ensure there are no gaps between the planks. Use a straightedge or a level to ensure that the rows are aligned correctly.
By following these steps and maintaining a staggered seam pattern, you will achieve a clean and uniform appearance for your vinyl plank flooring. Remember to work carefully and take your time to ensure a professional-looking installation.
Once you have completed installing the subsequent rows, we will move on to fitting the last row of vinyl plank flooring.
Fitting the Last Row:
When you reach the final row of vinyl plank flooring installation, you may need to adjust the width of the planks to fit the remaining space. Follow these steps to properly fit the last row:
- Measure the remaining space: Measure the width of the gap between the previous row and the wall at multiple points along the length of the last row. Take the smallest measurement as your guide.
- Calculate the plank width: Subtract the smallest measurement from the width of the plank, accounting for the expansion gap. This will give you the width you need to cut for the last row.
- Trim the planks: Using a straight edge and a utility knife, carefully cut the planks to the calculated width. Ensure that the cut ends will be hidden under baseboards or trim.
- Install the last row: Beginning with the first trimmed plank, angle and connect it to the previous row. Continue installation, connecting each plank until you reach the end of the row.
- Press down firmly: Once the last row is in place, press down firmly on the entire row to ensure a secure connection. Use a flooring roller to apply even pressure across the planks, helping to eliminate any air pockets and ensure proper adhesion.
- Check for a snug fit: Inspect the last row to ensure a snug fit against the wall. There should be a slight gap for expansion, but the planks should be securely in place.
Fitting the last row of vinyl plank flooring can be a bit challenging due to the limited space. Take your time to measure accurately and make precise cuts to achieve the best fit possible. It may be helpful to use a pull bar or tapping block to assist with installation and ensure a tight connection.
Once the last row is fitted and secured, take a moment to step back and admire your newly installed vinyl plank flooring. From here, you can proceed to the final steps of the installation process, such as installing baseboards or trim.
Next, we will discuss how to properly install baseboards or trim to complete the look of your vinyl plank flooring.
Installing Baseboards or Trim:
To give your vinyl plank flooring a finished look, it is essential to install baseboards or trim along the edges of the walls. Follow these steps to properly install baseboards or trim:
- Choose the appropriate trim: Decide on the type and style of trim that matches your design aesthetic. Common options include baseboards, quarter round, or cove molding.
- Measure and cut the trim: Measure the length of each wall where the trim will be installed. Use a miter saw or a miter box to make precise 45-degree angle cuts at the ends of each piece, ensuring a clean and seamless fit.
- Prep the trim: Sand any rough edges and wipe clean to remove any dust or debris. If desired, paint or stain the trim before installation and allow it to dry completely.
- Apply adhesive: Apply a small amount of adhesive along the backside of the trim, spreading it evenly within the length of the trim. Be careful not to use excessive adhesive, as it can cause the trim to warp or create gaps between the trim and the wall.
- Install the trim: Place the trim against the wall, aligning it with the edge of the vinyl plank flooring. Press firmly to secure it in place. Use finishing nails or a brad nailer to further secure the trim, ensuring it is flush against the wall. Repeat this process for each piece of trim along all the walls.
- Fill any gaps: If there are any gaps between the trim and the wall, use a wood filler to fill them in. Once the filler is dry, sand it smooth and touch up with paint or stain, matching the color of the trim.
- Caulk the edges: Apply caulk along the top edge of the trim where it meets the wall. Smooth the caulk with a caulk smoothing tool or a damp finger to create a clean and finished look.
- Touch up the trim: If necessary, touch up any areas of the trim with paint or stain to ensure a uniform finish. Clean any excess adhesive, paint, or caulk from the surface of the vinyl plank flooring using a soft cloth or a damp sponge.
Installing baseboards or trim completes the overall appearance of your vinyl plank flooring installation. It covers the expansion gaps and adds a polished touch to the room. Take your time to measure accurately, make precise cuts, and ensure a secure and seamless installation.
With the baseboards or trim successfully installed, your vinyl plank flooring project is nearly complete. All that’s left is to clean and maintain your new flooring for long-lasting beauty. Let’s explore the final steps to clean and maintain vinyl plank flooring.
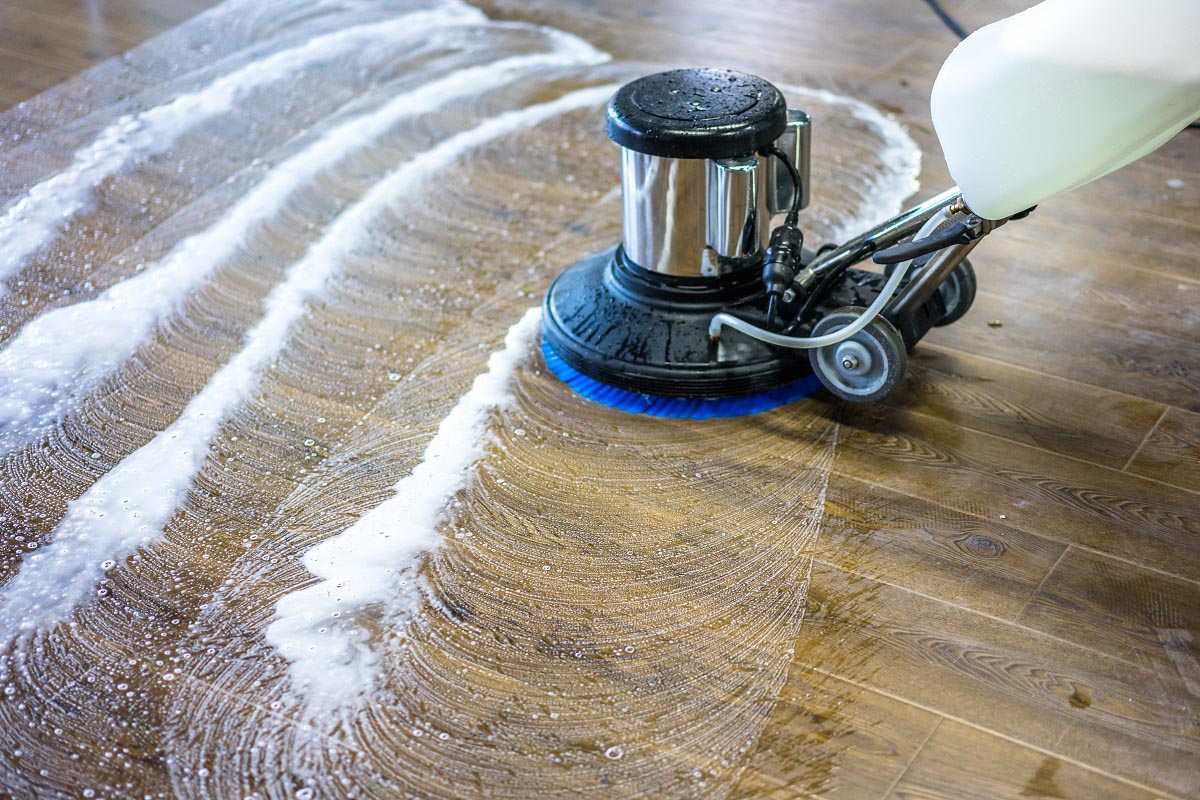
Cleaning and Maintaining Vinyl Plank Flooring:
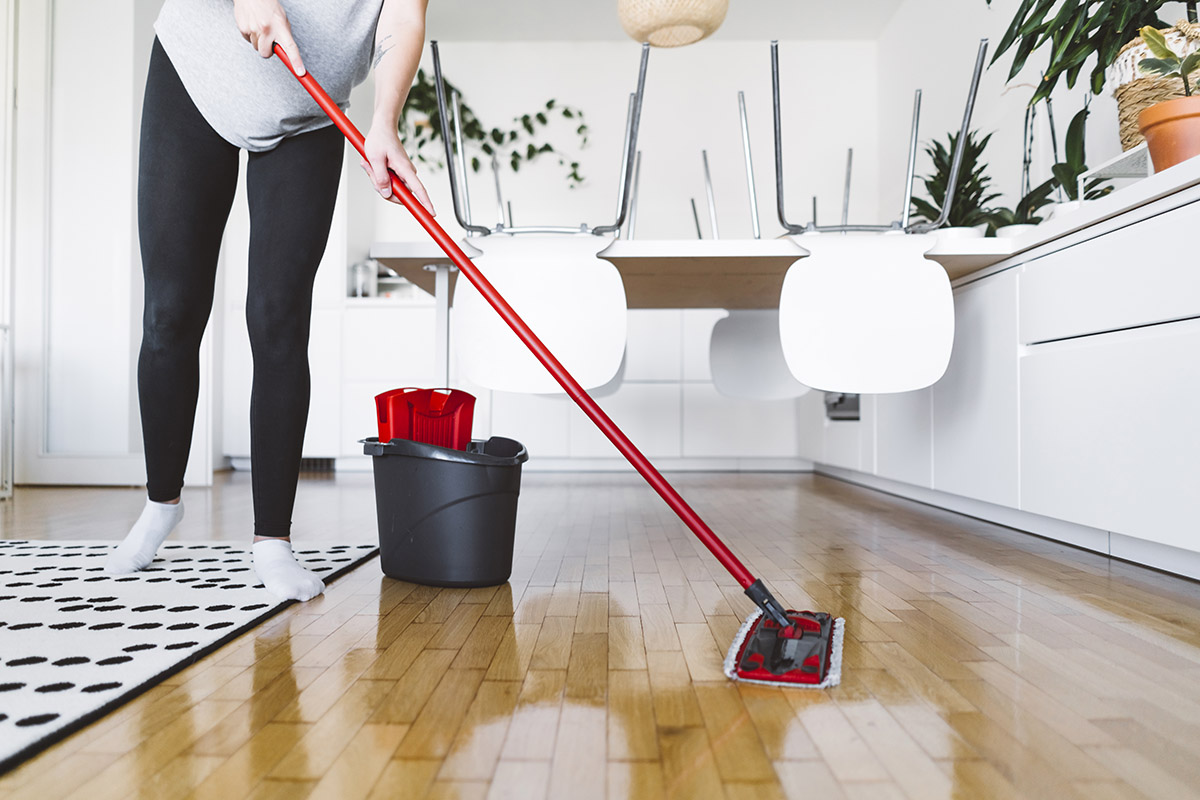
To keep your vinyl plank flooring looking its best, regular cleaning and maintenance are essential. Here are some tips to help you properly clean and maintain your vinyl plank flooring:
- Vacuum or sweep regularly: Use a soft-bristle broom or a vacuum cleaner with a bare floor attachment to remove loose dirt, dust, and debris from the surface of the vinyl plank flooring. Regular sweeping or vacuuming helps prevent scratches and keeps your floors looking clean.
- Mop with a recommended cleaner: For a deeper clean, use a manufacturer-approved vinyl plank flooring cleaner. Mix the cleaner according to the instructions and mop the floor using a damp, not wet, mop. Avoid using excessive water to prevent damage to the flooring or the subfloor.
- Wipe up spills immediately: Vinyl plank flooring is water-resistant, but it’s still important to wipe up any spills or liquid accidents promptly. Use a microfiber cloth or a paper towel to absorb the liquid, avoiding any pooling or standing water on the floor.
- Avoid harsh chemicals and abrasive cleaners: To protect the surface of your vinyl plank flooring, avoid using harsh chemicals, abrasive cleaners, or wax-based polishes. These can damage the finish or leave a residue that dulls the appearance of the floor. Stick to mild, pH-neutral cleaners recommended by the manufacturer.
- Place doormats and rugs in high-traffic areas: To prevent tracking dirt and grit onto your vinyl plank flooring, place doormats or rugs in entryways and high-traffic areas. This helps minimize the amount of dirt and debris that can scratch or damage your floors.
- Use furniture protectors: To prevent scratches or indentation from heavy furniture, use felt or rubber protectors on the bottom of furniture legs. These protectors help distribute the weight evenly and reduce the risk of damage to your vinyl plank flooring.
- Avoid dragging or sliding heavy objects: When moving furniture or other heavy objects, avoid dragging or sliding them directly on the vinyl plank flooring. Use furniture sliders or lift the objects instead, as dragging can cause scratches or damage to the floor surface.
- Regularly trim pet nails: If you have pets, make sure to regularly trim their nails. Scratches from pet claws can damage the surface of your vinyl plank flooring and diminish its appearance over time.
- Protect from direct sunlight: Prolonged exposure to direct sunlight can cause fading or discoloration of vinyl plank flooring. Use blinds, curtains, or UV-blocking window film to prevent excessive sunlight from reaching the floor.
By following these cleaning and maintenance tips, you can help prolong the beauty and lifespan of your vinyl plank flooring. Regular upkeep will keep your floors looking pristine and ensure that they continue to be a stunning part of your home for years to come.
Congratulations! You’ve now learned how to remove carpet and install vinyl plank flooring, along with maintenance tips to keep it looking its best. Enjoy your beautiful new floors!
Read more: How To Install Vinyl Floor
Conclusion:
Replacing your old carpet with vinyl plank flooring can transform the look and feel of your home. This comprehensive guide has provided you with step-by-step instructions on how to remove carpet and install vinyl plank flooring. By following these guidelines, you can successfully complete the project and enjoy the benefits of durable, affordable, and attractive flooring.
Throughout the process, it is crucial to prepare adequately, carefully measure and cut the vinyl planks, and install them with precision. By taking the time to acclimate the vinyl planks, install the underlayment, and ensure a secure and seamless connection, you can achieve professional-looking results.
Once the vinyl plank flooring is installed, it is essential to maintain it properly. Regular cleaning and maintenance will prolong its lifespan and keep it looking its best. Remember to sweep or vacuum regularly, mop with a recommended cleaner, wipe up spills promptly, and protect the flooring from heavy furniture and direct sunlight.
With the right preparation, tools, and techniques, along with attention to detail, you can successfully complete the transition from carpet to vinyl plank flooring. Not only will you enjoy a beautiful and functional floor, but you will also add value and appeal to your home.
Now that you have the knowledge and skills to remove carpet and install vinyl plank flooring, it’s time to embark on your home improvement journey. Get started and create a space that is stylish, durable, and easy to maintain with vinyl plank flooring!
Frequently Asked Questions about How To Remove Carpet And Install Vinyl Plank Flooring
Was this page helpful?
At Storables.com, we guarantee accurate and reliable information. Our content, validated by Expert Board Contributors, is crafted following stringent Editorial Policies. We're committed to providing you with well-researched, expert-backed insights for all your informational needs.